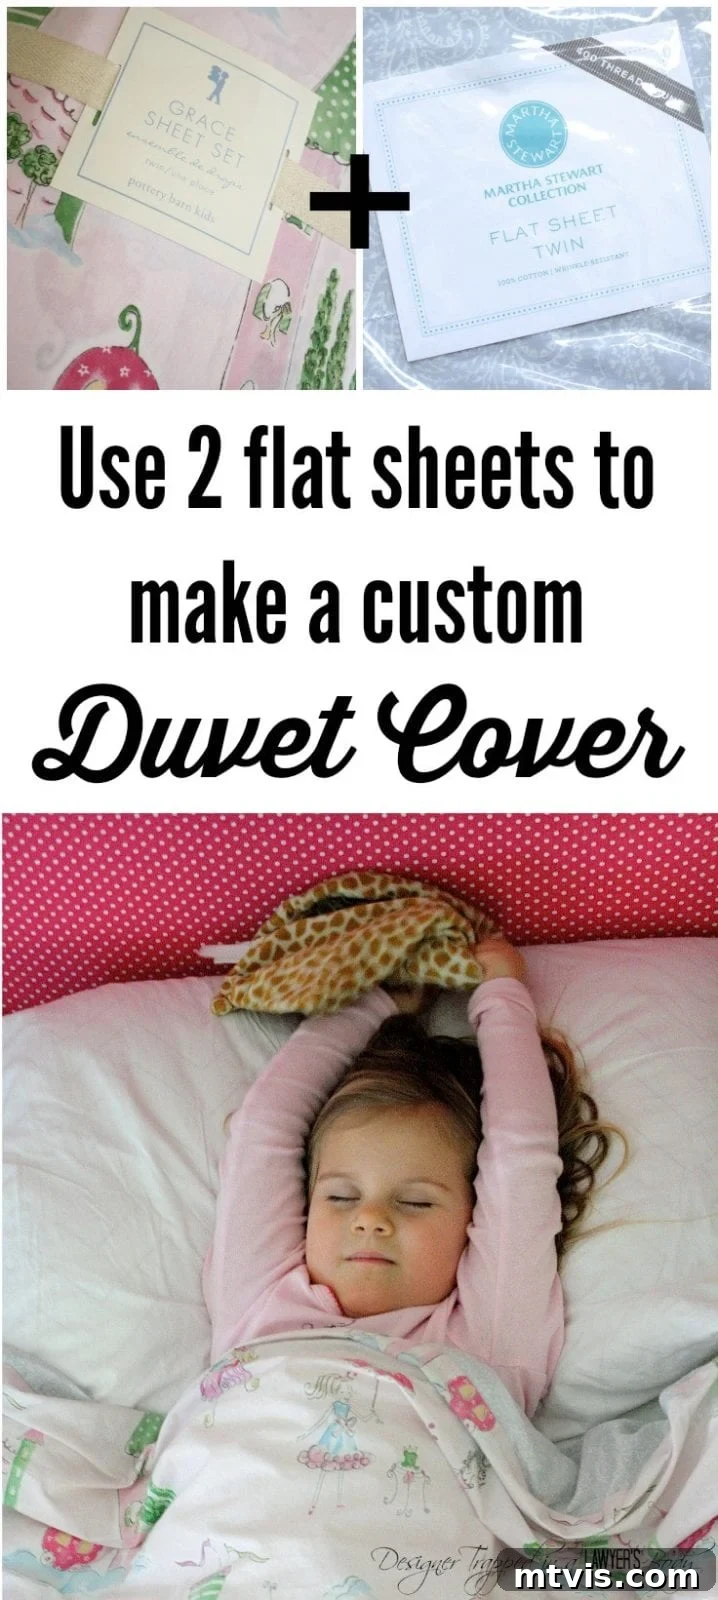
Transforming your bedroom doesn’t have to break the bank. If you’ve been dreaming of custom bedding that perfectly matches your style but cringed at the retail prices, this DIY duvet cover tutorial is for you. Learn how to craft a beautiful, personalized duvet cover using just two flat sheets – a truly thrifty and creative way to achieve the look you desire without compromise. Whether you’re decorating a child’s room, a guest suite, or your own master bedroom, this project offers endless possibilities for customization and significant savings. I originally made these for my twin girls’ room, but the principles apply universally; simply adjust the sheet sizes to fit any duvet, from twin to king.
Creating your own duvet cover not only allows for complete control over design and fabric choice but also provides a sense of accomplishment. Say goodbye to limited selections and hello to bespoke bedding that reflects your unique taste. This guide will walk you through each step, ensuring even novice sewers can achieve professional-looking results. This post contains some affiliate links. Click here to read my full disclosure policy.
Essential Materials for Your DIY Duvet Cover
Gathering your supplies is the first exciting step in bringing your custom bedding vision to life. The beauty of this project lies in its simplicity and minimal material requirements. Here’s what you’ll need:
- Two Flat Sheets of the Same Size: The cornerstone of your DIY duvet cover. For a twin duvet, you’ll need two twin flat sheets. For a full-size duvet, use two full flat sheets, and so on.
- Pro Tip on Sheet Selection: This is where the budget-friendly magic happens! High-end duvet covers can be surprisingly expensive, often upwards of $100 or even $200 for a single cover. By opting for flat sheets, you tap into a vast market of patterns, colors, and textures at a fraction of the cost. For instance, I found beautiful princess-themed sheets by Pottery Barn Kids that I adored, but their duvet covers were $129 each! Instead, I purchased two sheet sets (on sale for $50 each) and two inexpensive flat twin sheets from Macy’s for $9.00 each. By combining one decorative flat sheet from Pottery Barn Kids with one inexpensive Macy’s sheet, I created the perfect custom duvet covers for my daughters. Plus, I still had pillowcases and fitted sheets left over! This smart shopping strategy allowed me to get two complete bedding sets for a total of $120.00 – a remarkable saving compared to buying ready-made duvet covers. Look for sales, clearance items, or even mix and match sheets from different brands to create truly unique combinations. The advantage of flat sheets is that their pre-hemmed edges reduce the amount of sewing required, making the project even easier.
- Sharp Scissors: Essential for precise fabric cutting and trimming.
- Matching Thread and a Sewing Machine: A basic sewing machine is perfectly adequate for this project. Choose a thread color that blends seamlessly with your chosen sheets.
- Duvet Closure Material: Options include ribbon, buttons, hook-and-loop tape (Velcro), or even a zipper. We will focus on ribbon ties in this tutorial for a charming finish.
- Pins: To secure your fabric layers before sewing and mark your sewing lines.
- Fabric Measuring Tape or Ruler: For accurate measurements.
Curated Design Inspiration: Stunning Sheet Combos for Your Custom Duvet
One of the most exciting aspects of making your own duvet cover is the creative freedom to design a bedding ensemble that truly expresses your style. To inspire your next project, I’ve gathered some fantastic sheet combinations that would make truly stunning duvet covers. Each pairing offers a unique aesthetic, allowing you to achieve a complete bedding set, much like my own thrifty creation. From elegant florals to modern geometrics, you’ll find options to suit various tastes, including feminine and masculine styles. Consider mixing patterns with solids, or contrasting colors to create a bold statement.
|
|
|
|
|
Xhilaration Sheet Set from Target |
|
|
|
|
Xhilaration Paisley sheet set from Target |
|
|
|
Room Essentials Oxford sheet set from Target |


(Note: Placeholder images have been used in the table to represent various sheet designs. Please imagine beautiful patterns and colors here!)
Step-by-Step DIY Duvet Cover Tutorial
Now that you have your materials and design chosen, let’s dive into the sewing process. Don’t be intimidated; this tutorial is designed for ease and clarity. Take your time, and soon you’ll have a gorgeous, custom duvet cover.
Step 1: Prepare Your Sheets for Sewing
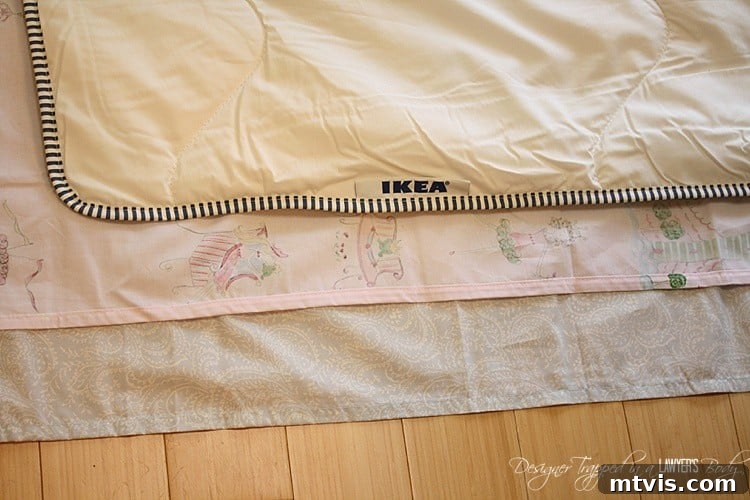
Begin by laying your two flat sheets out on a large, clean surface – the floor often works best for twin, full, or queen sizes. Ensure the “right sides” (the patterned or finished sides you want to see) are facing each other. This means the sheets will appear “inside out.” Carefully place your comforter or duvet insert directly on top of these layered sheets. Align the comforter precisely with the top edge and one of the side edges (e.g., the right edge) of your layered sheets. You’ll notice that this alignment will leave excess fabric extending beyond your comforter on the opposite side (the left edge) and along the bottom edge. Do not worry about these overhangs; we will address them in subsequent steps. The goal here is to establish the correct dimensions for your duvet cover based on your comforter.
Step 2: Pinning Your Sewing Guide
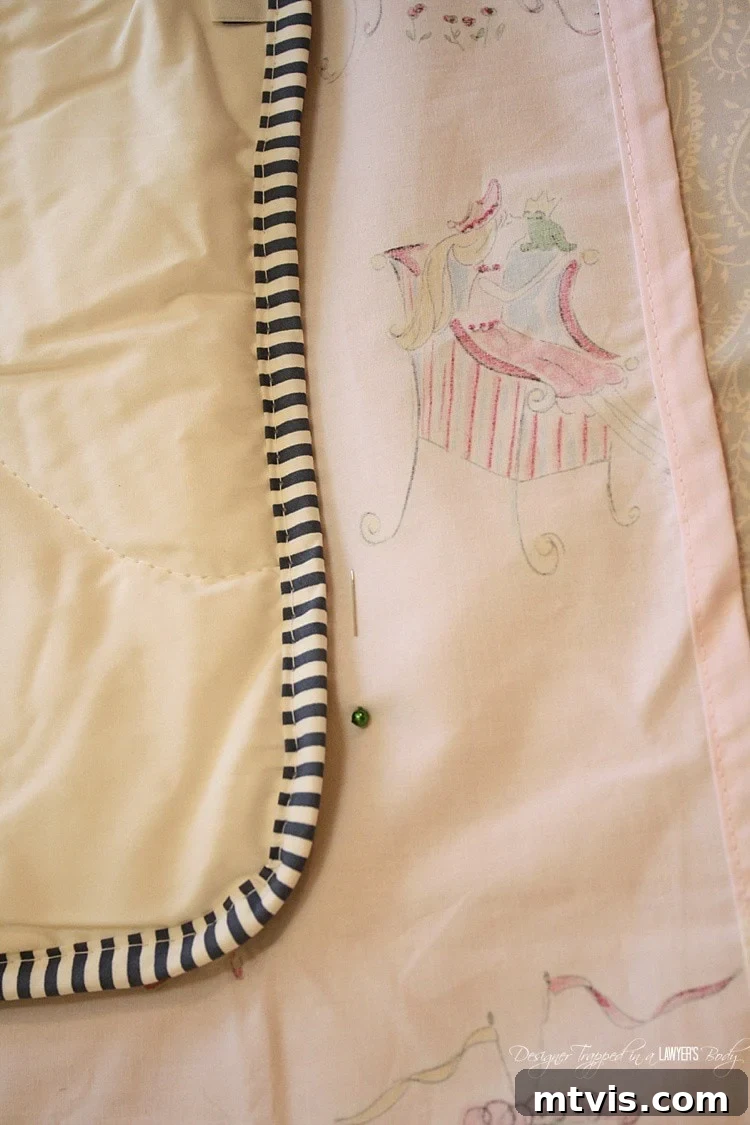
With your comforter still in place on the layered sheets, begin to pin along the left edge of the comforter. These pins will serve as your guide for where to sew, marking the exact perimeter of your duvet cover. Place pins approximately every 10-12 inches to secure the two sheet layers together and indicate your intended seam line. It’s crucial to pin only along the top and the designated side edges (the right and left, where the comforter aligns). Crucially, DO NOT pin the bottom edge closed. This edge will remain open for inserting your duvet and will be dealt with separately later. Learning from my own past mistakes, I strongly advise against sewing all four sides shut – it results in unnecessary seam ripping and extra work!
Step 3: Sewing the Top and Side Edges
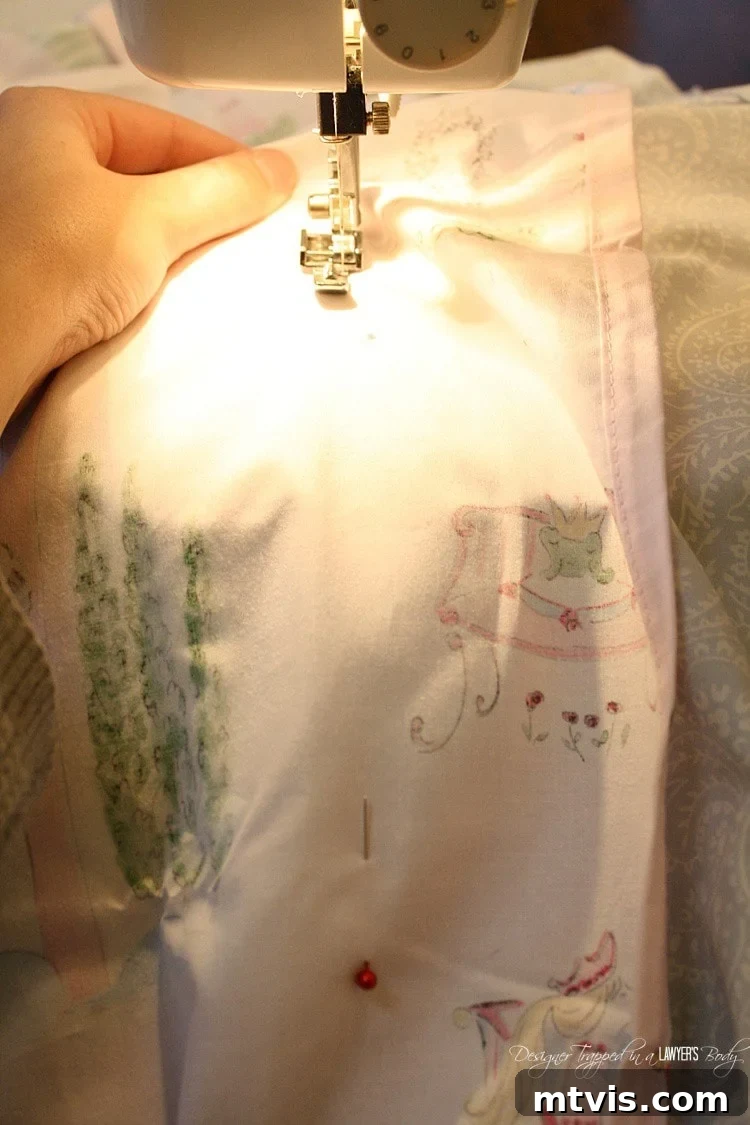
Remove your comforter from between the pinned sheets. Now, take your pinned sheets to your sewing machine. You will sew along the top edge and the two side edges. The top and the pre-aligned side (e.g., the right side) will be straightforward to sew, as the sheets should line up perfectly. When you sew the left side, use your pins as your precise guide, ensuring a straight and even seam that follows the dimension of your comforter. Maintain a consistent seam allowance (e.g., 1/2 inch or 1 cm) as you stitch. Remember, the sheets should remain inside out throughout this sewing process, ensuring that once you turn the duvet cover right-side out, your seams will be neatly hidden on the inside.
Step 4: Trim Excess Fabric
Once you have completed sewing the top and side edges, carefully trim any excess fabric from the left side, about 1/2 inch away from the seams you just created. This step helps to reduce bulk within your duvet cover and gives it a cleaner, more professional finish. Use your sharp scissors for a neat cut.
Step 5: Addressing the Bottom Edge
The bottom edge of your duvet cover needs special attention, as this is where you’ll insert and remove your duvet. Often, flat sheets come with a wider hem on one end. If one of your sheets is longer than the other, or if you need to create a neater edge, now is the time to even them up. Using your scissors, carefully trim the longer sheet to match the length of the shorter one, or to achieve your desired length. Then, sew a small, neat hem along the bottom edge of the sheet(s) you had to cut. This creates a finished look and prevents fraying. If both sheets already have neat, even hems, you might skip trimming and just prepare for the closure.
Step 6: Adding the Closure System
For the bottom opening of your duvet cover, you have several options for closure, but for a charming and easily customizable look, I chose ribbon ties. To implement this, cut several 4-inch lengths of 1/4-inch ribbon. On the inside of one bottom hem, sew one end of a ribbon length every 6 inches or so. Repeat this process on the inside of the other bottom hem, ensuring the ribbons align perfectly across from each other when the duvet cover is laid flat. When your duvet is inside the cover, you’ll simply tie these opposing ribbon pieces into neat bows to secure the opening. This method is aesthetically pleasing and allows for easy access when changing or washing your duvet cover. Other options include sewing on buttons and buttonholes, or attaching strips of hook-and-loop tape (Velcro) along the opening.
And that’s it! Once you turn your duvet cover right side out, insert your comforter, and tie the ribbons, you’ll be amazed at your beautiful, custom creation. They are not only stunning but also completely unique to your personal style.



Beyond the Duvet: Explore More DIY Home Decor Projects
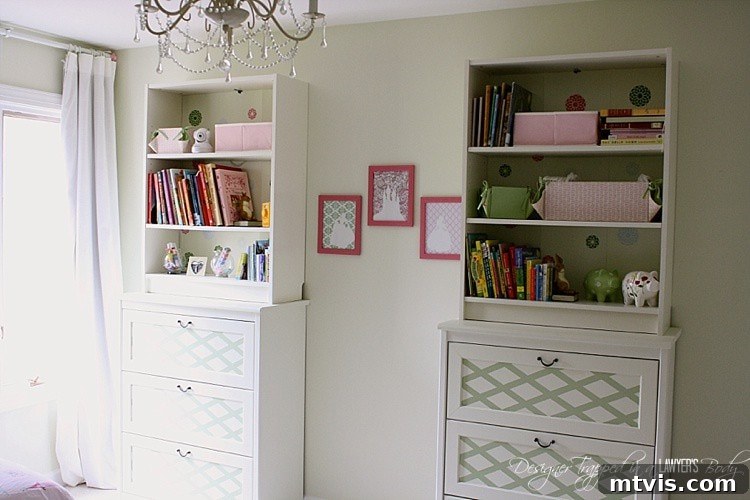
Now that you’ve mastered the art of creating a custom duvet cover, you might be inspired to tackle more home improvement projects. This duvet cover was just one element in transforming my girls’ “big girl” room. You can discover all the details of our complete room reveal here. It’s packed with tons of other clever DIYs that can help you personalize every corner of your home, including:
- A revolutionary no-sew, no-cut bed skirt tutorial that will truly amaze you!
- Creative DIY washi tape wall decals for a removable and customizable accent wall.
- Instructions for building stylish DIY floating shelves to maximize storage and display space.
- A guide to crafting elegant DIY upholstered headboards for a touch of luxury.
- And clever tips on how to customize Ikea furniture to achieve a sophisticated, built-in look.
Each of these projects is designed to be accessible and rewarding, allowing you to infuse your personality into your living space without a hefty price tag. Happy crafting!