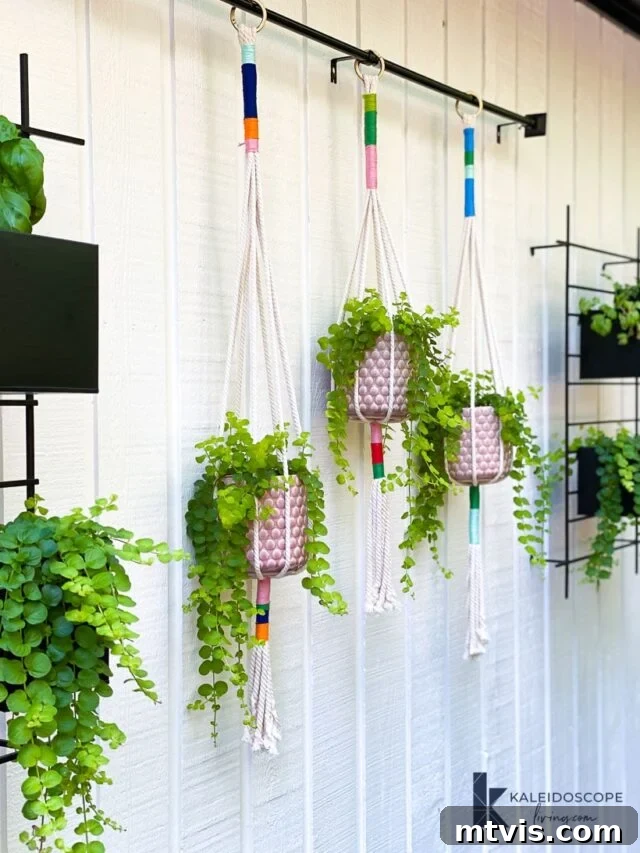
Craft Your Own Colorful Macrame Plant Hangers: An Easy DIY Guide for Stunning Outdoor Decor
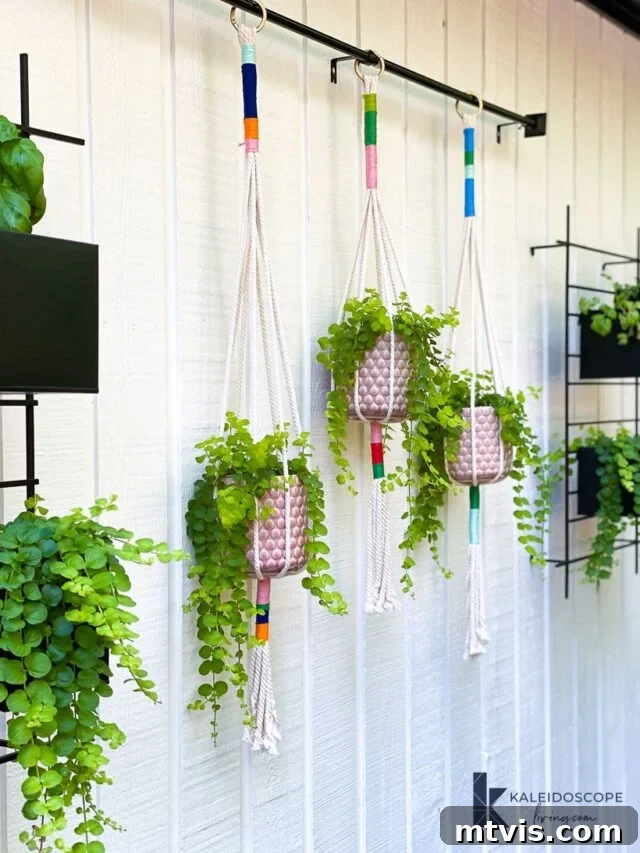
There’s nothing quite like adding a personal touch to your home decor, especially when it comes to bringing life and color to your outdoor spaces. This summer, elevate your patio, deck, or balcony with stunning, handmade macrame plant hangers. Forget complicated knots and expensive supplies – this DIY project is designed to be simple, quick, incredibly budget-friendly, and perfect for makers of all skill levels. Imagine customizing your hangers with any color combination imaginable, transforming ordinary pots into eye-catching focal points that radiate warmth and personality.
For months, I’ve been on the lookout for engaging and accessible craft projects that my daughters and I can enjoy together. The joy of discovering a new, fun activity that captivates everyone is truly unmatched! Recently, we stumbled upon the wonderful world of rope wrapping, and it’s safe to say we’re all hooked. There’s a deeply therapeutic quality to the repetitive motion of wrapping, and it’s a craft that children can easily pick up and excel at. We began our journey with some epic wall hangings that now adorn their bedroom doors, bringing a unique flair to their personal spaces. Buoyed by our success and newfound passion, we transitioned our creative energy to outdoor decor, resulting in these magnificent DIY macrame plant hangers. They’ve added such a vibrant, handmade charm to our exterior, and I can’t wait to share how you can create your own!
How to DIY a Macrame Plant Hanger: A Step-by-Step Tutorial
Creating your own macrame plant hanger is a rewarding experience that combines simple techniques with endless creative possibilities. Follow this guide to craft beautiful, durable hangers that will showcase your favorite plants in style.
Materials Needed:
- Cotton Rope (6mm): This is your primary material. Opt for natural cotton rope for a classic macrame look and feel. The 6mm thickness is ideal for providing a sturdy structure for your plant hanger while still being manageable to work with. It offers a good balance between strength and flexibility. You can experiment with different thicknesses for varied aesthetics, but 6mm is a great starting point for beginners.
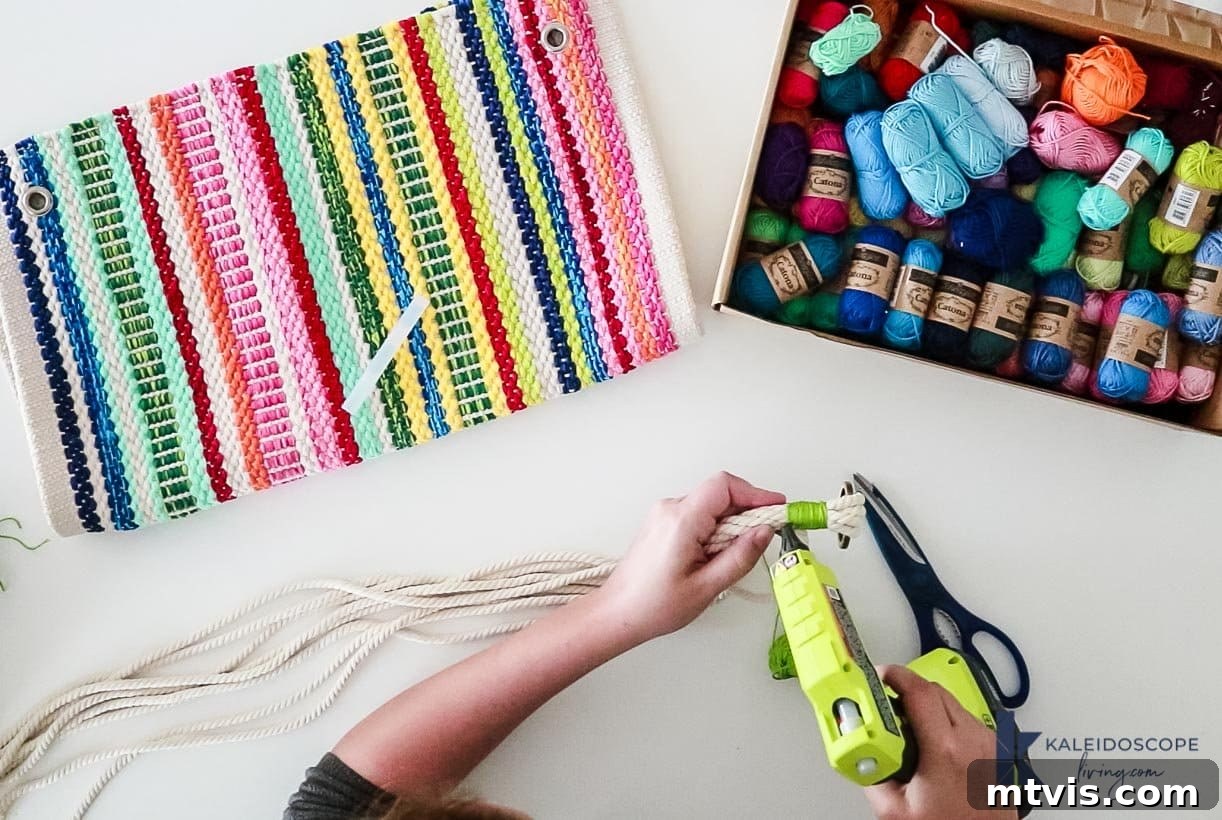
- Fine Yarn (also known as floss or embroidery thread): This is where the “colorful” aspect truly comes to life! You’ll use this thread for wrapping around the cotton rope, adding brilliant pops of color and intricate patterns.
- I highly recommend investing in a large box of assorted yarn, like the one I bought with 109 GORGEOUS colors. Having a wide selection allows for maximum creativity and ensures you’ll always have the perfect hue for any project. This versatility is key for all your wrapped rope creations!
- Carabiner Rings (1 ½ inch): These rings serve as the top anchor for your plant hanger, providing a secure and convenient way to hang your creation. The 1 ½ inch size is robust enough to support a potted plant without being overly bulky. You can also use wooden rings or metal hoops, but carabiners offer easy attachment and removal.
- Glue Gun: A reliable glue gun is essential for securing the ends of your yarn, ensuring your colorful wraps stay neatly in place. I personally used my beloved cordless glue gun for this project, which offers fantastic freedom of movement without being tethered to an outlet. Any standard glue gun will do the job perfectly.
- Pots that are 6″-8″ in diameter: The size of your pots will dictate the overall dimensions and structure of your plant hanger. Pots within the 6-8 inch diameter range are common for small to medium-sized houseplants and provide a good fit for this particular design. (These are the exact pots I used). Consider the weight of your chosen pots and plants when selecting your rope and hanging location.
- Measuring Tape: Accuracy is key in crafting, so a good measuring tape will ensure your rope lengths are consistent and your hanger is balanced.
- Sharp Scissors or Fabric Shears: While not explicitly listed in the original, you’ll definitely need a pair of sharp scissors to cleanly cut your cotton rope and fine yarn. This prevents fraying and ensures a neat finish.
Steps:
If you prefer visual learning, a video tutorial might be available on the original platform. For detailed, step-by-step written instructions, please continue reading below.
1. Prepare Your Rope Sections: Begin by unrolling your cotton rope. The length of your hanger is entirely customizable. For a standard long plant hanger, measure a section of rope to 40 inches. Once you have your desired length, *double* this section without cutting it from the main spool. You’ll repeat this process four times in total, which will give you four doubled-up rope loops. When you cut them, you will have eight individual strands of rope of equal length. This method ensures all your main support ropes are perfectly uniform, which is crucial for a balanced hanger. Creating these foundational loops is the first step in building a strong and aesthetically pleasing base for your plant.
2. Attach the Carabiner Ring and Prepare for Tassel: Gather all eight rope strands together. Take one of your carabiner rings and thread all the rope loops through it at the top. This effectively secures your hanger to its future attachment point. Once all loops are through the ring, ensure the rope strands are evenly distributed. Now, take your scissors and cut the bottom end of each of your four doubled rope loops, transforming them into eight individual strands. These individual strands at the bottom will eventually form the lovely tassel, adding a classic macrame finish to your plant hanger. This step defines the top hanging mechanism and prepares the base for further decorative work.
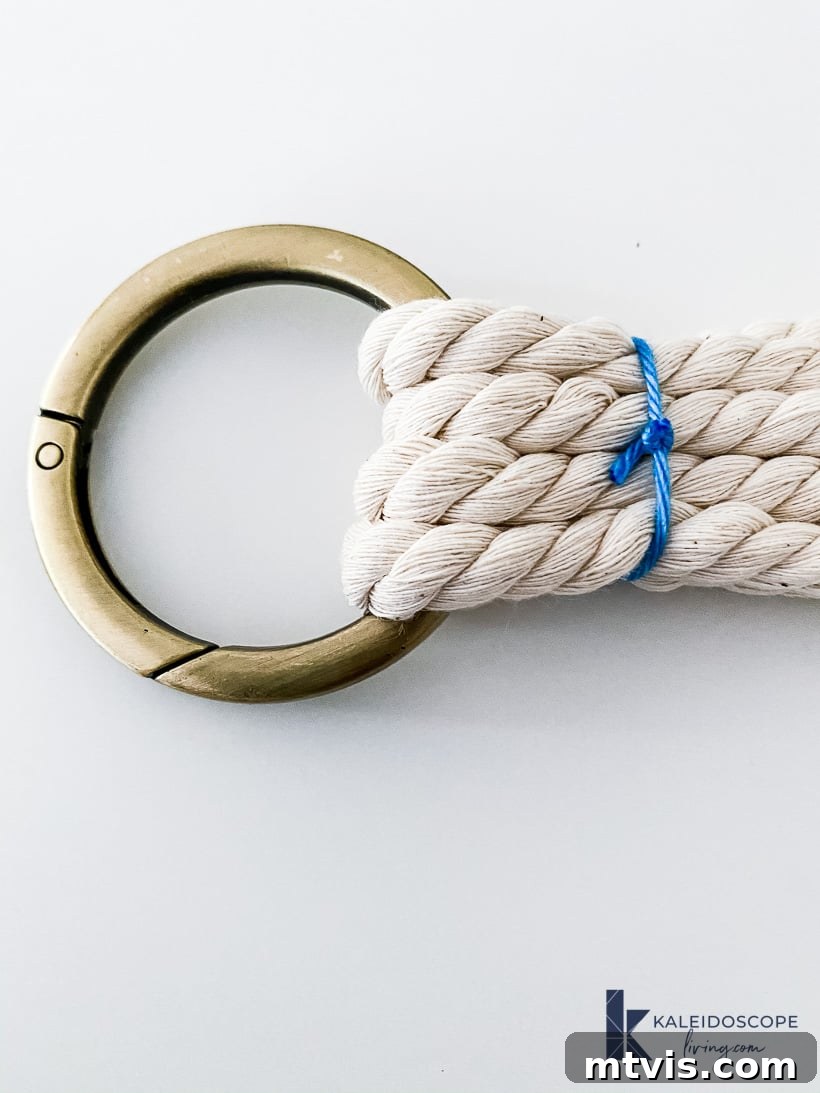
3. Begin Your Colorful Yarn Wrapping: Now comes the exciting part – adding color! To start, use a single piece of your colored thread/yarn to tie all eight rope strands together, just below the carabiner ring. This initial tie helps to keep the ropes neat, tidy, and uniformly aligned as you begin your decorative wrapping. Unleash your creativity by choosing your desired colors and deciding on the length of each wrapped block. This section is entirely up to your artistic vision! To ensure a secure and durable wrap, use your glue gun. Apply a small dab of hot glue to secure the very end of your yarn before you start wrapping around the cotton rope. Wrap the yarn tightly and evenly, covering the desired length. When you’re ready to switch colors or end a section, apply another small dab of glue to secure the end of that color before trimming any excess. This technique ensures a clean transition between colors and prevents unraveling, making your plant hanger both beautiful and long-lasting.
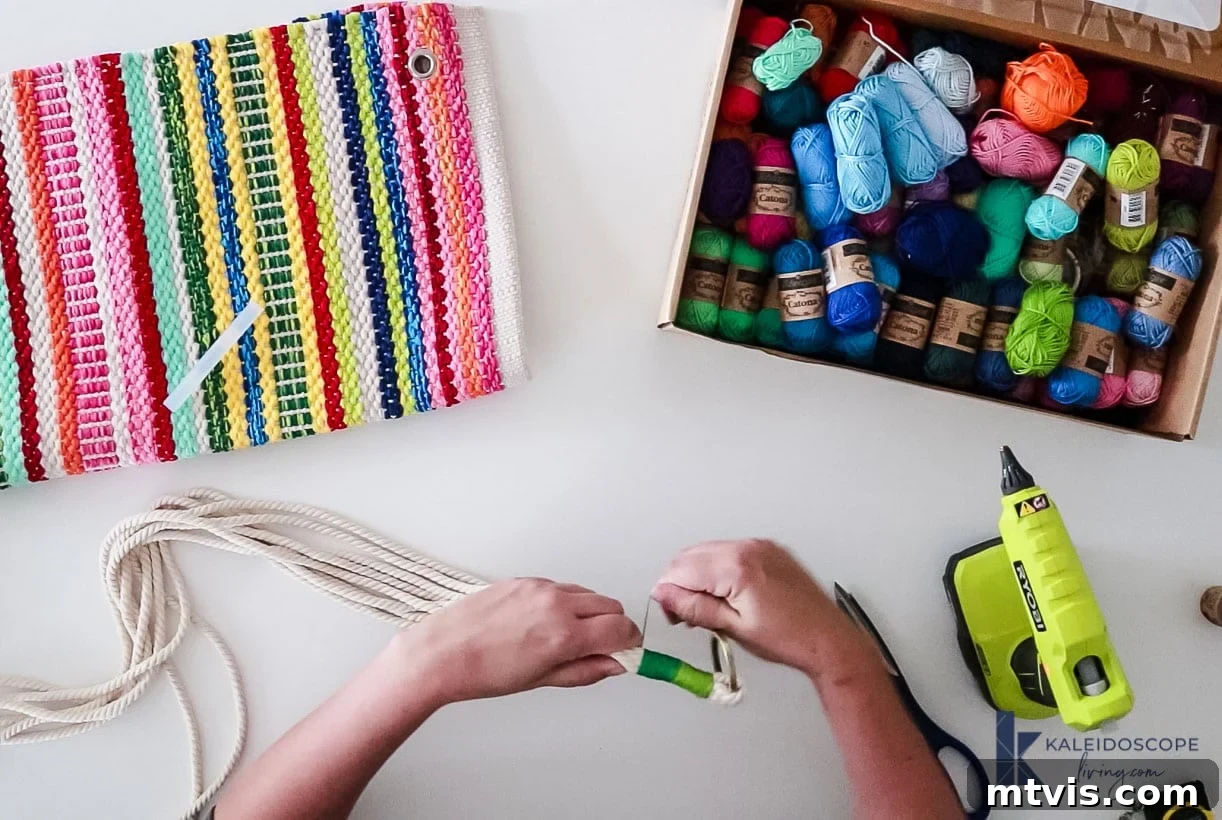
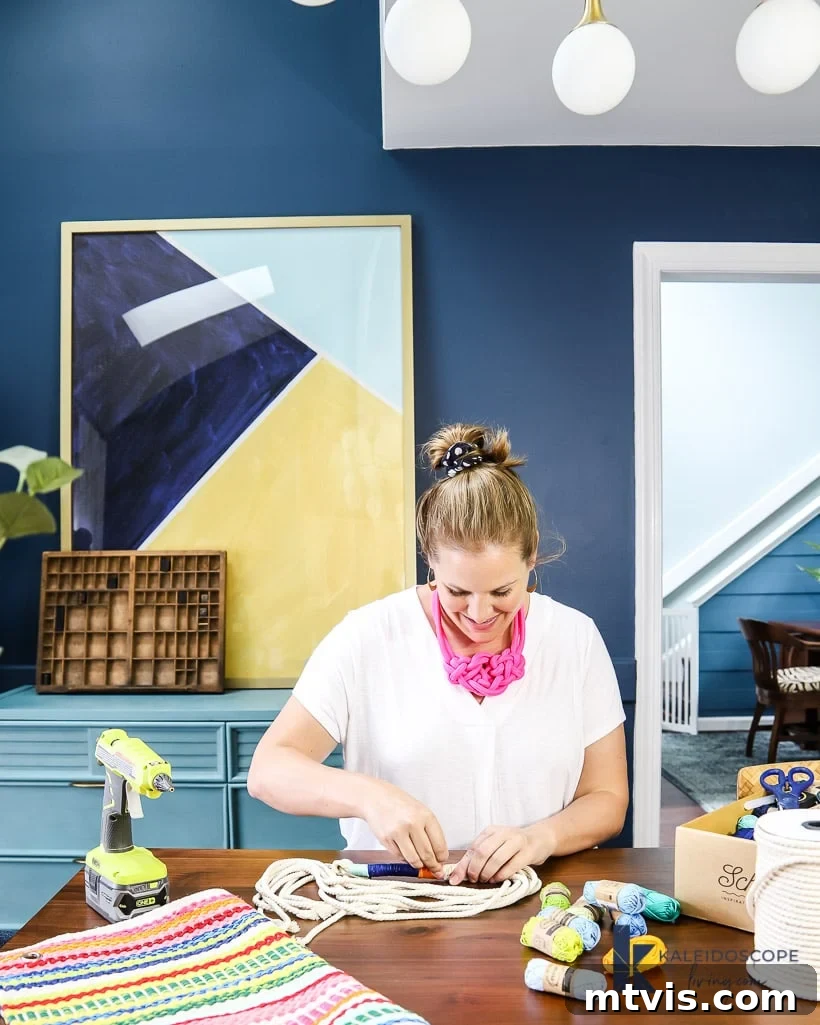
4. Create the Pot-Holding Section: After completing your initial wrapped section, you’ll need to create the ‘basket’ part of the hanger where your pot will sit. To do this, you’ll work with the eight individual rope strands. Divide these eight strands into four pairs (2 ropes per pair). Now, approximately 8-10 inches below your first wrapped section (this distance will vary depending on the size of your pot and how deep you want it to sit), take one pair of ropes and tie a simple overhand knot. Repeat this for all four pairs, ensuring your knots are at roughly the same height to keep the hanger balanced. This step is crucial for forming the base that will cradle your plant pot securely.
5. Form the Final Support Ring: Once you have your four individual knots from Step 4, it’s time to connect them. Take one rope from a pair and pair it with an adjacent rope from the next knotted pair. Tie another overhand knot, about 3-5 inches below the previous knots. Repeat this process all the way around, connecting all adjacent ropes. This creates a sturdy ‘net’ or ‘ring’ that will firmly hold the bottom of your pot. Ensure these knots are also at a consistent height. This double knotting method (first in pairs, then connecting adjacent ropes) forms a strong and reliable structure for your plant pot.
6. Finalize the Tassel and Prepare for Hanging: Move down to the very bottom of your hanger. You should have eight individual rope ends hanging freely. Gather all these ropes together and create one large knot approximately 6-8 inches below your pot-holding section. This large knot prevents the ropes from separating and allows the remaining rope ends to hang freely, creating a beautiful, natural tassel effect. Make sure to leave plenty of room at the bottom for this tassel, as it adds to the visual appeal and classic macrame look. You can trim the tassel ends to your desired length for a clean finish or leave them rustic. Congratulations, your DIY macrame plant hanger is now complete and ready to bring life to your space!
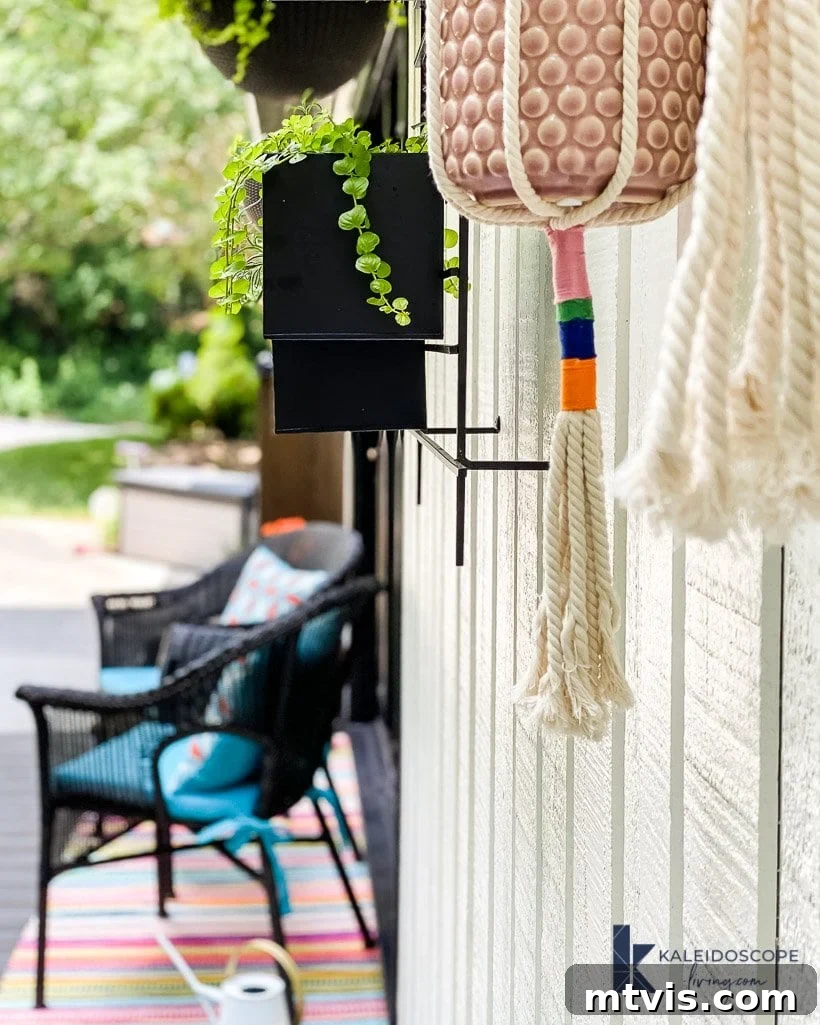
Displaying Your Handmade Creations
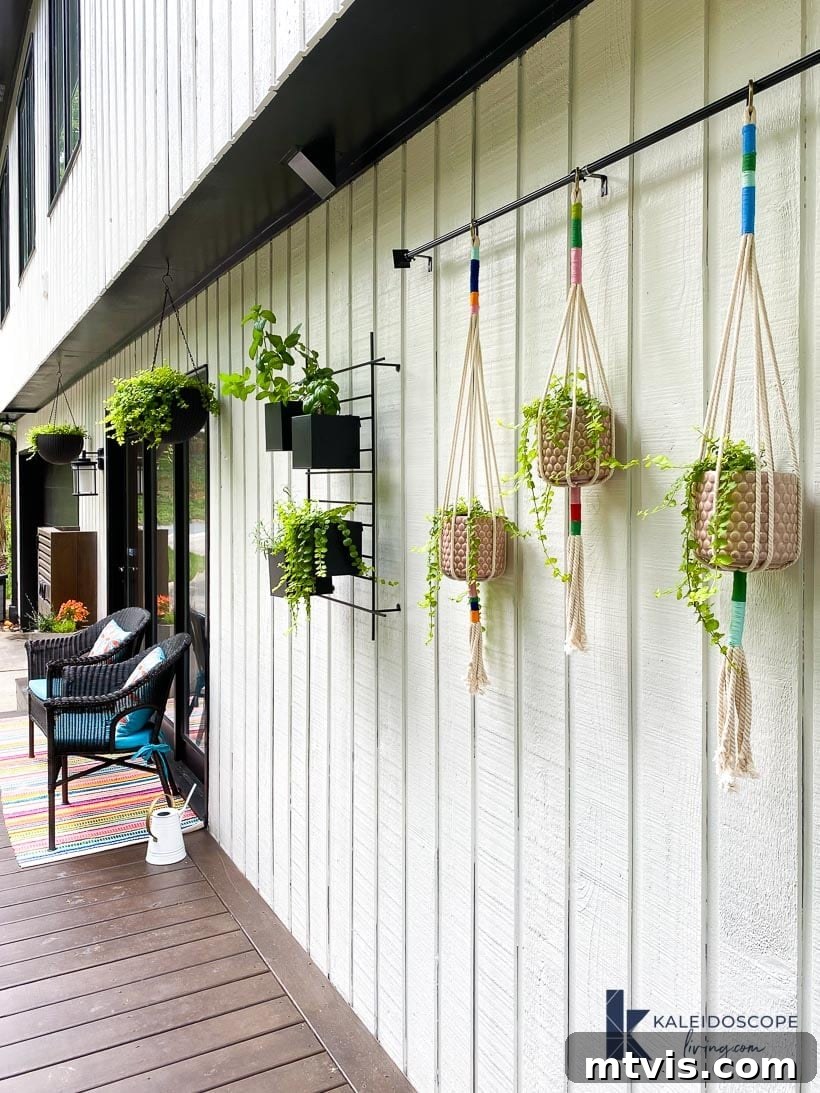
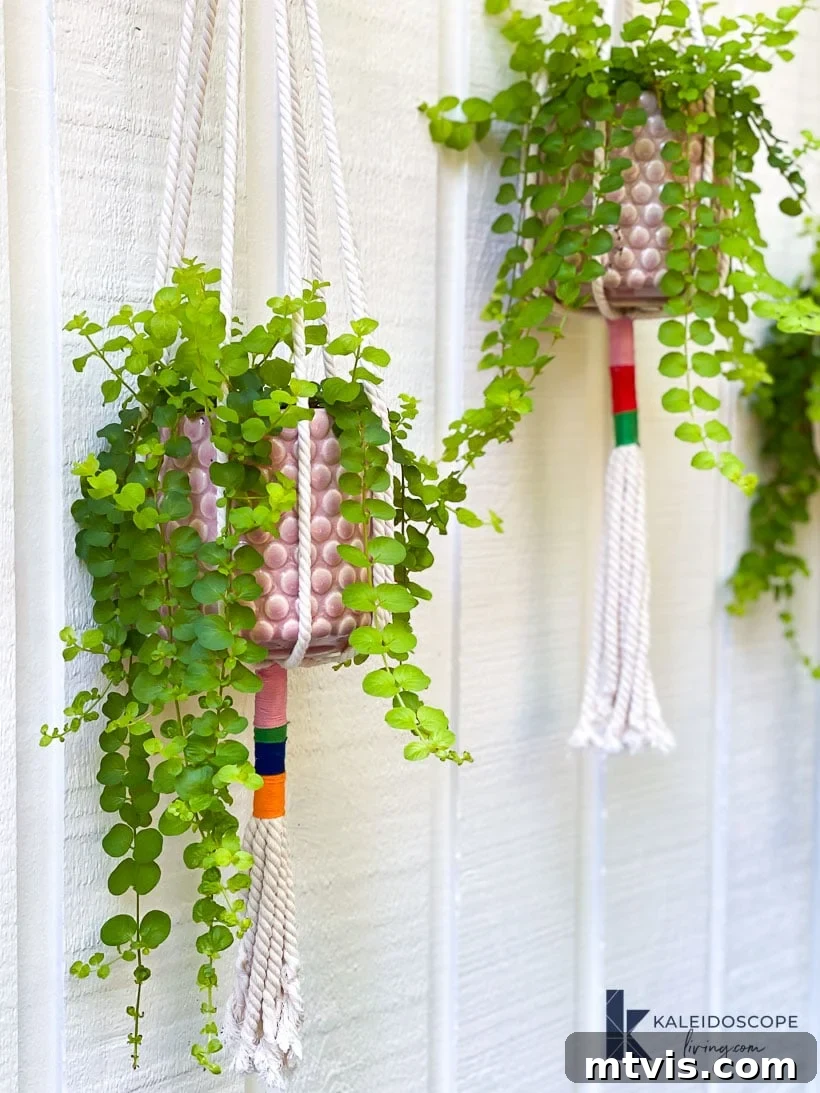
Now for the most satisfying part: hanging up your magnificent DIY macrame plant hangers and popping in your pots! We opted to hang ours from a simple curtain rod, allowing them to create a beautiful, continuous line. The varying lengths of the hangers add even more visual interest, creating a dynamic and engaging display. This arrangement looks absolutely stunning on our back deck, perfectly filling a large wall and transforming it into a vibrant vertical garden. Consider hanging them from sturdy ceiling hooks, pergolas, or even a tree branch in your yard. Don’t be afraid to group several hangers together at different heights to create a lush, layered effect.
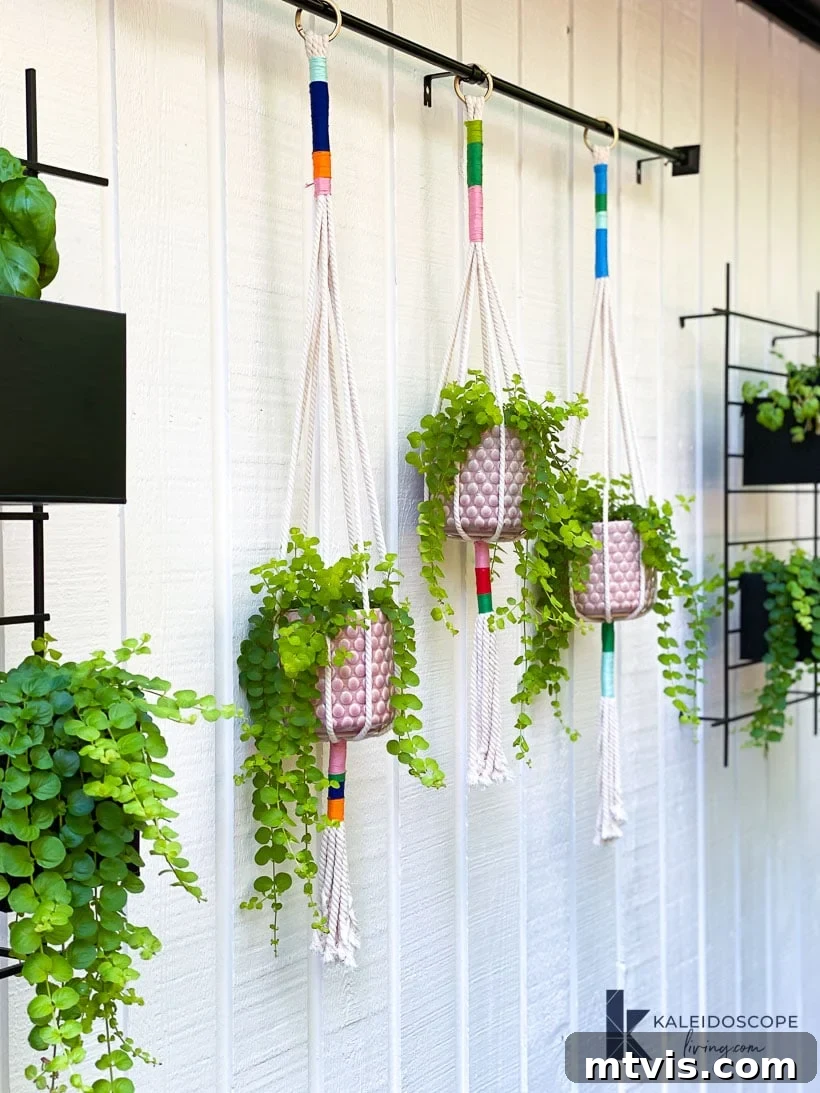
Why Choose DIY Macrame Plant Hangers?
Beyond the sheer satisfaction of creating something with your own hands, DIY macrame plant hangers offer a multitude of benefits. Firstly, they are incredibly cost-effective. Store-bought macrame hangers can be surprisingly expensive, especially for unique designs. By making your own, you save money while still achieving a high-end look. Secondly, customization is at your fingertips. You are not limited by what’s available in stores; you can choose the exact colors, lengths, and even add embellishments to perfectly match your decor scheme. This level of personalization makes your space truly unique.
Furthermore, engaging in crafts like macrame can be wonderfully therapeutic. The repetitive motions and focus required can be meditative, offering a calming escape from daily stresses. It’s an activity that can be enjoyed solo for quiet reflection or with family and friends, creating cherished memories together. Finally, these hangers are a fantastic way to introduce more greenery into your home, both indoors and out, without taking up valuable floor space. Hanging plants add dimension, purify the air, and bring a touch of nature’s tranquility to any environment.
Tips for Plant Selection and Care
Choosing the right plants for your macrame hangers is crucial for both aesthetics and plant health. Look for vining plants that trail beautifully, such as Pothos, Philodendron, Spider Plants, or String of Pearls. These plants naturally cascade over the edges of the pot, enhancing the visual appeal of the hanger. For outdoor use, consider petunias, ivy, or other annuals that thrive in hanging baskets. Ensure your pots have drainage holes to prevent root rot, and always use a saucer inside the hanger if you’re concerned about drips, especially indoors.
When watering, take the plant down from its hanger if possible, to allow for thorough drainage. This prevents water from accumulating at the bottom of the pot and potentially damaging your hanger or the surface below. Periodically check the strength of your hanger and the security of your knots, especially if it’s exposed to outdoor elements. Cotton rope can be quite durable, but extreme weather can cause wear over time. With proper plant selection and care, your DIY macrame plant hangers will be a thriving, beautiful addition to your home for seasons to come.
Embrace Your Creativity
And that’s it! A super simple DIY project that yields incredibly high-end results. I genuinely adore how these macrame plant hangers turned out; they look absolutely amazing hanging together, creating a cohesive yet varied display. You all know there is nothing that makes me happier than a vibrant pop of color, and these hangers deliver just that! Don’t be afraid to experiment with different knot styles as you gain confidence, or to mix and match yarn textures for even more visual interest. The beauty of DIY is in making it truly your own.
If you’re eager to transform more rooms and spaces in your home, just like we’ve done with our outdoor area, I highly recommend checking out Designer in a Binder®. It’s an affordable and straightforward system designed to help you confidently decorate your home.
For even more exclusive content, behind-the-scenes sneak peeks, and fresh DIY inspiration delivered straight to your inbox, be sure to subscribe before you go! Join our community of fellow DIY enthusiasts and let’s keep crafting beautiful spaces together.
More OUTDOOR IDEAS
SEE ALL outdoor POSTS
-
The Most Inspiring Screened-in Porch Ideas
-
Fire Pit Ideas for Every Outdoor Space
-
How to Make a DIY Outdoor Chandelier
-
DIY Outdoor Electrical Box Cover
-
A Complete Review of Vego Garden Beds: Pros, Cons, and Everything In-between
-
Inspiring Front Porch Christmas Decorations & Tips