Sparkling Easter Eggs: A Simple, No-Mess Glitter Dot Craft for Kids and Adults
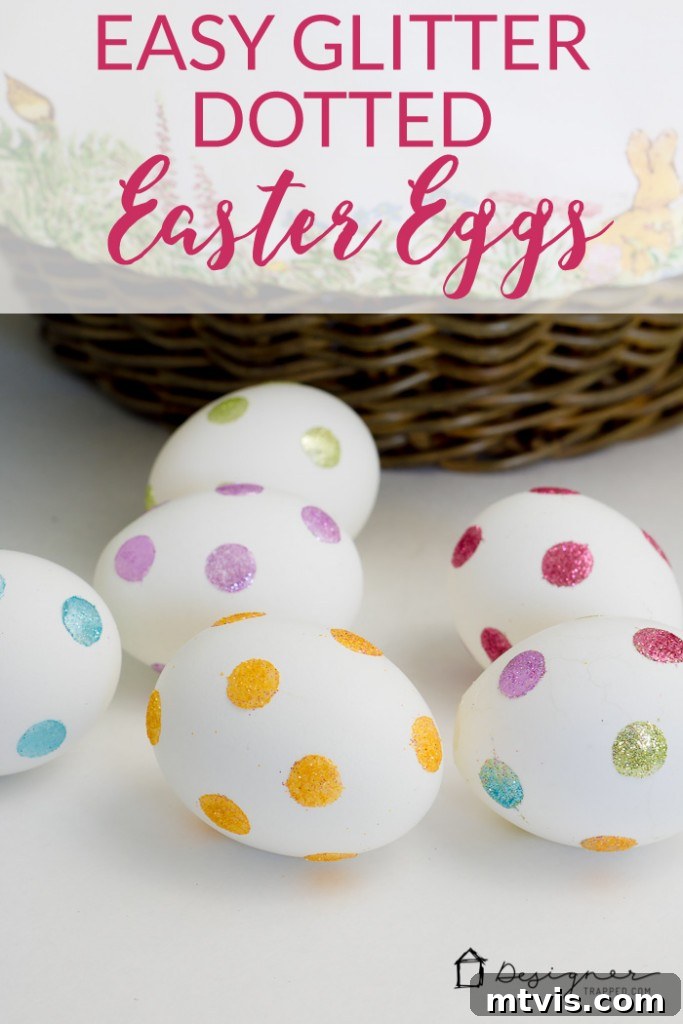
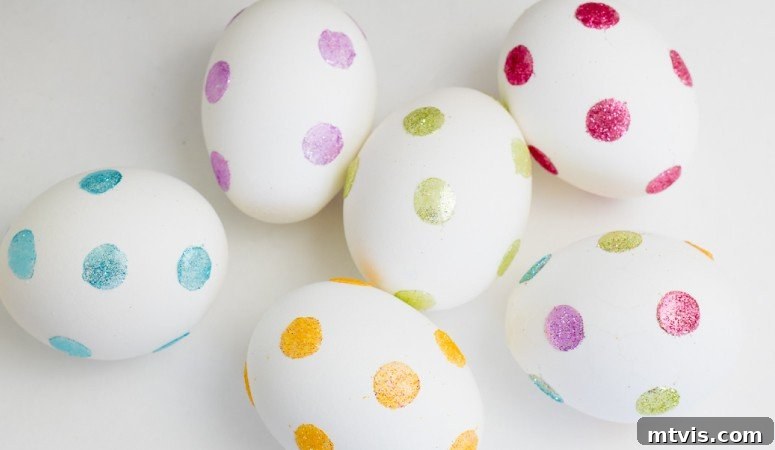
Hello, creative friends! As the days grow longer and the scent of spring fills the air, many of us find our thoughts turning to the joy and warmth of Easter. For families with young children, holidays like Easter, Christmas, and Valentine’s Day take on an even more magical quality. Their unbridled excitement and wonder make every tradition, every craft, and every decoration feel incredibly special. This year, I wanted to discover a delightful new way to decorate Easter eggs that my daughters, Attley and Avery, could easily participate in, and that would capture their vibrant, sparkly personalities. The answer? Glitter-dotted Easter eggs! This method is incredibly simple, remarkably less messy than traditional dyeing, and yields absolutely adorable results that are sure to bring a smile to everyone’s face. Get ready to transform ordinary eggs into dazzling works of art with dots and glitter – it’s a craft that promises both ease and endless fun!
Whether you’re looking for a quick Easter craft, a fun activity to do with preschoolers, or simply a way to add a touch of sparkle to your holiday decor without the usual fuss of dyes and spills, this glitter dot technique is a game-changer. Forget the stained fingers and the potential for colorful accidents; this method focuses on precision, beauty, and a surprisingly clean process. It’s an ideal choice for busy parents, educators, or anyone who loves a good DIY project that delivers maximum impact with minimal effort. Plus, the finished eggs are so elegant and whimsical, they make fantastic additions to Easter baskets, table centerpieces, or even a festive Easter egg hunt.
This post contains some affiliate links for your convenience. Click here to read my full disclosure policy.
Decorating Easter Eggs with Dots and Glitter: A Step-by-Step Tutorial for Dazzling Results
Get ready to unleash your inner artist and create some truly stunning Easter eggs! This tutorial breaks down the process into easy, manageable steps, ensuring beautiful results every time. Follow along to craft sparkling, eye-catching decorations that will brighten your holiday.
Essential Materials for Your Glitter Egg Project:
Gathering your supplies beforehand ensures a smooth and enjoyable crafting experience. Here’s what you’ll need to create your beautiful glitter-dotted Easter eggs:
- Hard-boiled eggs: These provide a sturdy, ready-to-decorate canvas. Ensure they are completely cooled and dry before starting your project. The smooth surface of a hard-boiled egg is perfect for the adhesive dots.
- Artist’s paint brush: A small, fine-tipped brush is ideal for applying glitter with precision. This tool allows you to control the glitter and keep it confined to your adhesive dots, minimizing stray sparkle.
- Glitter: The star of the show! We highly recommend using a variety pack of glitters. These are my favorite glitter variety packs because they offer a fantastic range of colors and textures, allowing for endless creative combinations. Fine glitter works best for a delicate, refined look, while chunkier glitter can add extra sparkle and dimension.
- Adhesive glue dots: These are the secret to a mess-free and perfectly dotted application. Adhesive glue dots come in various sizes and are incredibly easy to use. They provide a strong, immediate bond for the glitter without the stickiness or drying time associated with liquid glue, making this project ideal for kids.
Simple Steps to Dazzling Glitter Easter Eggs:
This process is so straightforward, you might be surprised at how quickly you can create a beautiful collection of glitter-dotted Easter eggs. Let’s get started!
Step 1: Strategically Place Your Glue Dots on Each Egg.
Begin by carefully peeling a single adhesive glue dot from its backing. Press it firmly onto the surface of your cooled, hard-boiled egg. You can create various patterns: scatter dots randomly for a whimsical look, arrange them in neat rows for a more organized design, or form simple shapes like hearts or stars using multiple dots. The beauty of glue dots is their ease of application, allowing for precise placement and immediate adhesion. Encourage children to experiment with different arrangements – there’s no right or wrong way to make them sparkle!
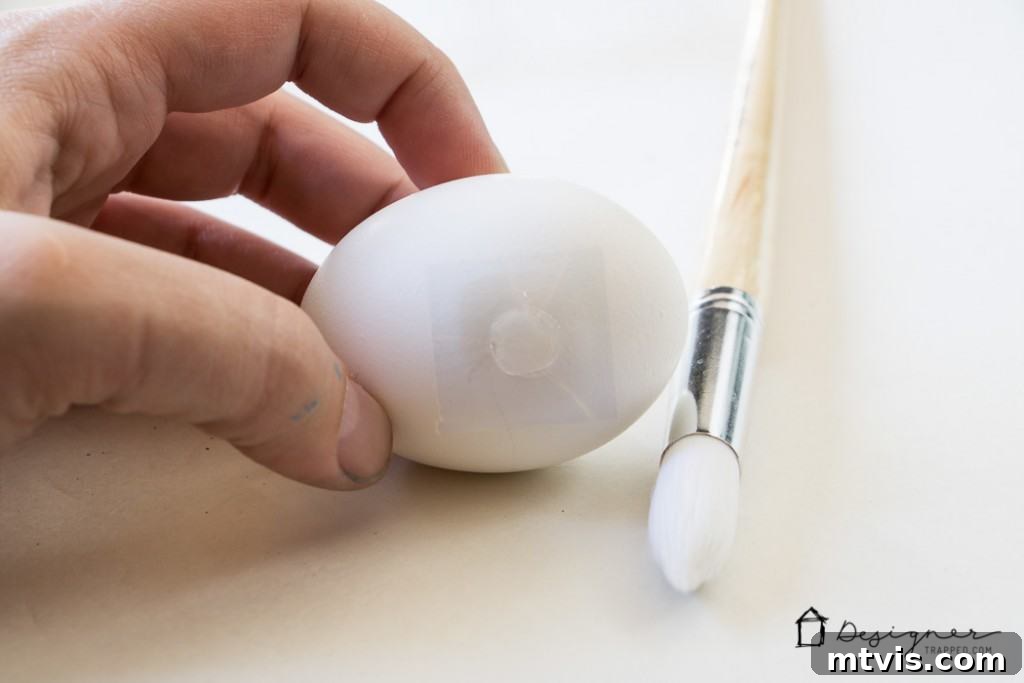
Step 2: Liberally Cover the Glue Dots with Your Chosen Glitter.
Once a glue dot is securely in place, carefully peel off the protective backing paper, exposing the sticky surface. Now, take your artist’s brush and gently pick up some glitter. Carefully dab or sprinkle the glitter directly onto the exposed glue dot, ensuring full coverage. You’ll be amazed at how easily the glitter adheres to the dot! For a truly vibrant effect, make sure the entire sticky surface is coated. This step is incredibly satisfying as you watch the plain dots transform into shimmering treasures. Feel free to use different glitter colors on different dots for a multicolored effect, or stick to a single hue for elegant uniformity.
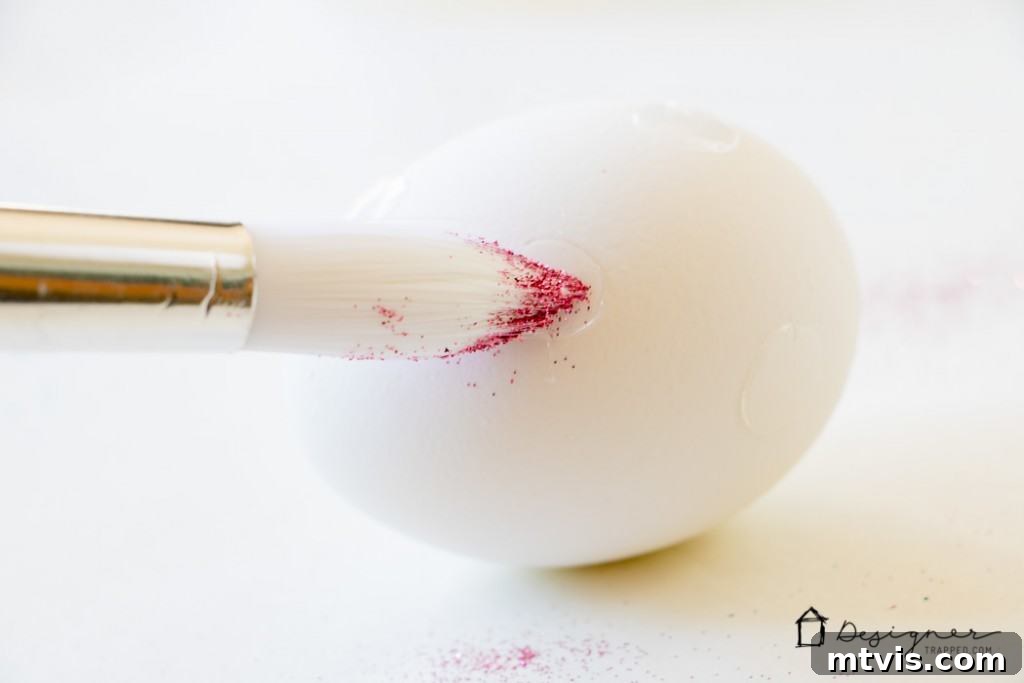
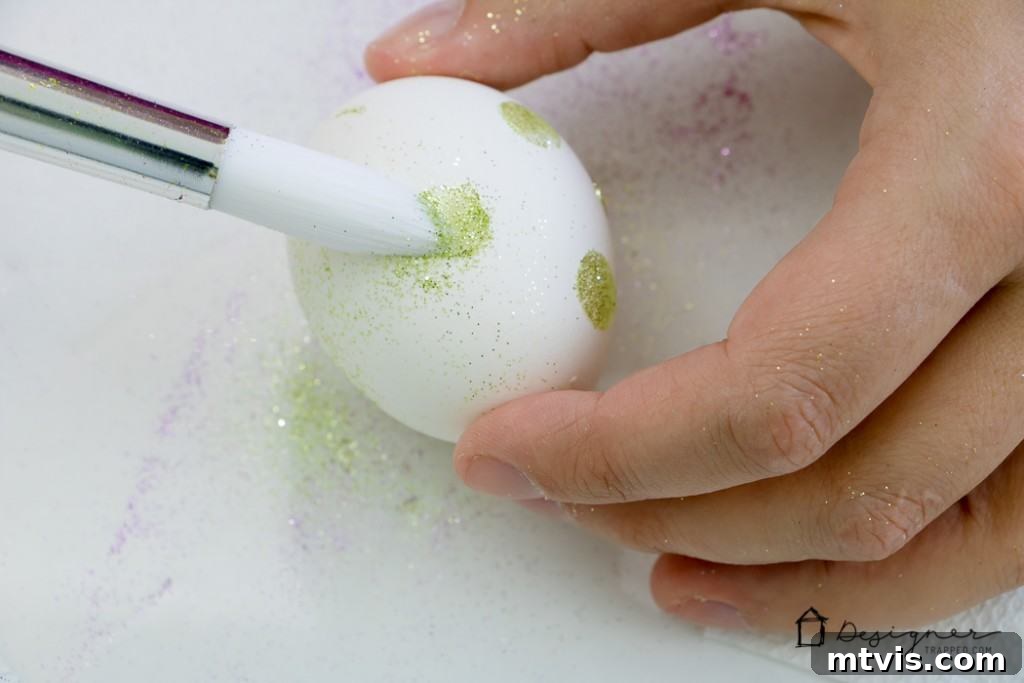
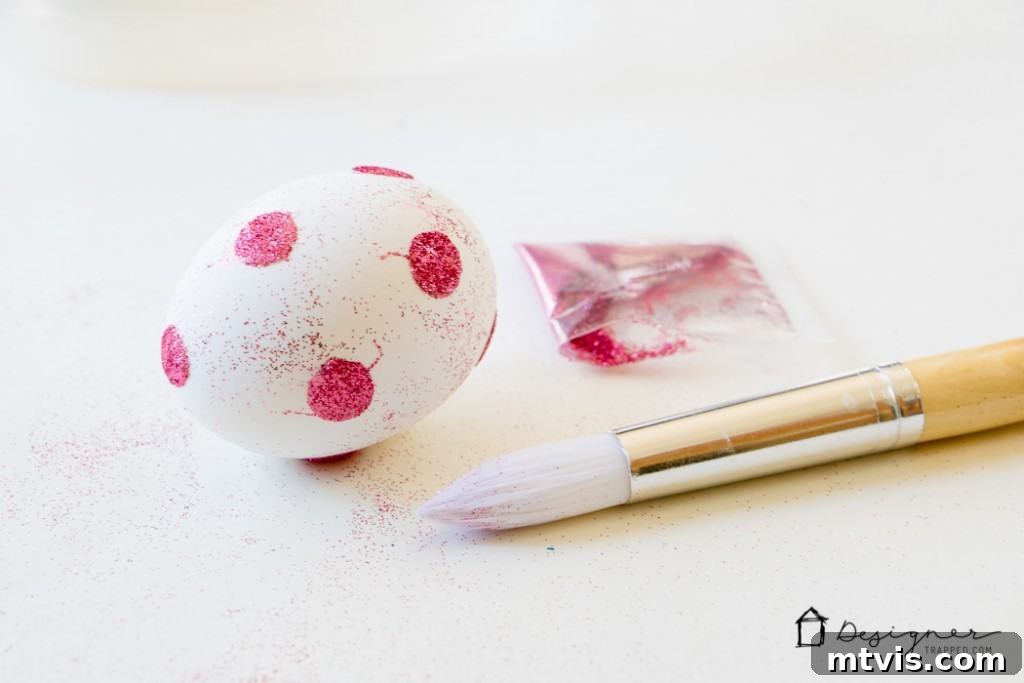
Step 3: Gently Tap and Wipe Away Any Excess Glitter.
Once your glue dot is fully covered, carefully lift the egg and gently tap it over a piece of scrap paper or a tray. This will dislodge any loose glitter that hasn’t adhered to the dot. For an even cleaner finish, use a clean, dry brush or a soft cloth to lightly brush away any remaining stray glitter from the egg’s surface. This ensures that your glitter dots stand out crisply and beautifully against the egg, creating a professional and polished look.
THAT’S IT! Seriously, it’s that easy. My daughters, Attley and Avery, were absolutely smitten with their creations. The sheer joy on their faces as they saw the glitter transform plain eggs into sparkling masterpieces was priceless. What do you think of this simple yet stunning method? I bet your little ones (or even you!) will fall in love with it too!
Why Choose Glitter-Dotted Easter Eggs?
Beyond their undeniable charm, glitter-dotted Easter eggs offer several compelling advantages over traditional dyeing methods:
- Minimal Mess: This is perhaps the biggest selling point for parents! No messy dyes, no stained hands or countertops, and no potential for spills on clothes or carpets. The controlled application of glitter means a much cleaner crafting experience.
- Kid-Friendly: The process is incredibly simple for young hands. Placing glue dots and sprinkling glitter are fine motor skills activities that children can easily master and enjoy, fostering a sense of accomplishment.
- Instant Gratification: Unlike dyes that require drying time, glitter eggs are ready almost immediately. Kids love seeing instant results, and this craft delivers!
- Stunning Visuals: The sparkle and texture of glitter create a unique and eye-catching aesthetic that stands out from traditionally dyed eggs. They catch the light beautifully and add a festive shimmer to any Easter display.
- Customizable: With a variety of glitter colors and dot patterns, the creative possibilities are endless. Each egg can be a unique expression of creativity.
Tips for Perfect Glitter Egg Decorating:
To ensure your glitter dot Easter eggs turn out flawlessly and beautifully, consider these helpful tips:
- Work on a Protected Surface: While this method is less messy, working over a tray, newspaper, or a craft mat will catch any stray glitter, making cleanup even easier.
- Use a Small Dish for Glitter: Pour a small amount of your chosen glitter into a shallow dish or onto a paper plate. This makes it easier to pick up with your brush and prevents contamination of your main glitter supply if you’re using multiple colors.
- Experiment with Dot Sizes: Glue dots come in various sizes. Try using a mix of small and large dots on the same egg for added visual interest and a dynamic look.
- Consider Empty Eggshells: If you want to keep your glitter eggs as decorations year after year, gently blow out the contents of raw eggs before decorating. Ensure the shells are clean and dry before applying dots and glitter.
- Seal for Longevity (Optional): For extra durability and to prevent glitter shedding, you can lightly mist the finished eggs with a clear craft sealant spray. Do this outdoors or in a well-ventilated area, and allow them to dry completely.
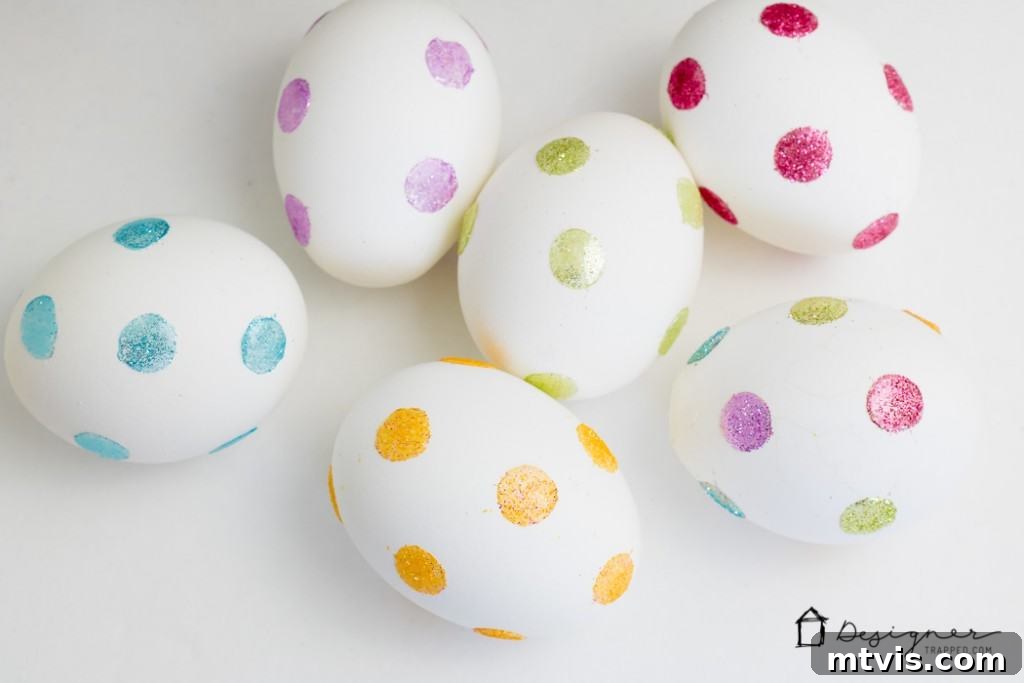
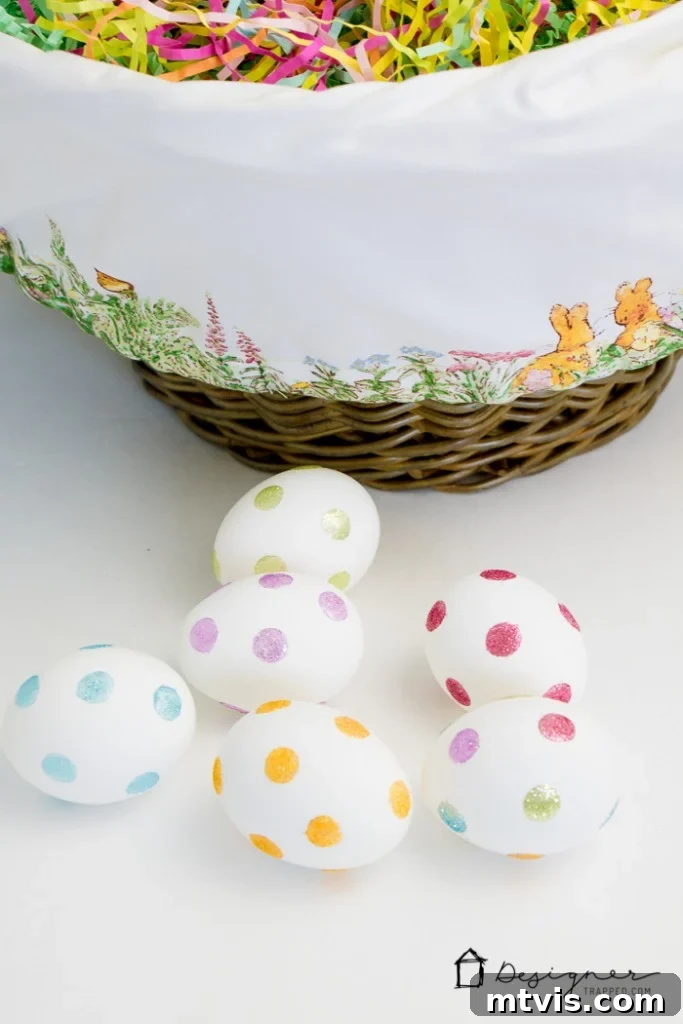
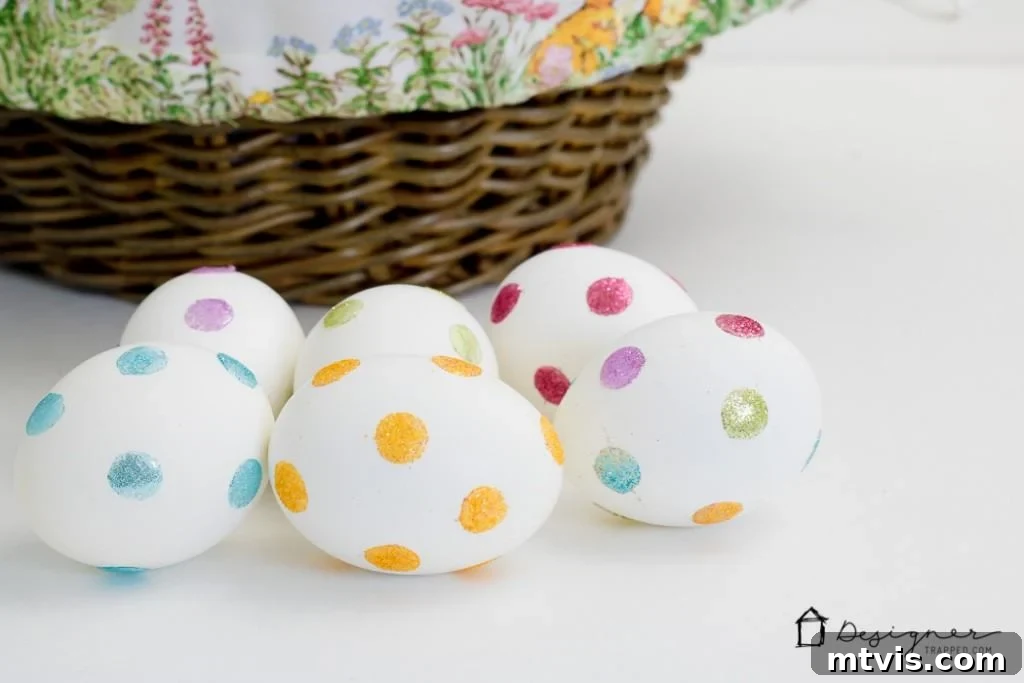
If you’ve enjoyed this simple and enchanting Easter egg decorating idea, don’t forget to pin it to your favorite craft or Easter board on Pinterest! This way, you can easily refer back to it next year or share it with friends looking for fresh holiday inspiration. And before you go, make sure to explore some of our other delightful spring and Easter projects designed to add charm and creativity to your home.
Other Festive Spring and Easter Projects You’ll Love:
The spirit of Easter extends beyond just eggs! Dive into more creative DIYs that celebrate the season of renewal and joy. From clever decorations to delightful treats, these projects are perfect for adding a handmade touch to your spring celebrations:
- Easy Dotted Sharpie Easter Eggs: If you loved the dot concept but prefer a non-glitter approach, discover how to create stunning patterns with just Sharpie markers. A wonderfully simple and artistic alternative!
- My Favorite DIY Easter Decorations + More: Explore a curated collection of our best Easter crafts and decorating ideas. Find inspiration for centerpieces, wreaths, and other festive accents to transform your home for the holiday.
- Easter Egg Carrot Cupcakes: Beyond decorating eggs, why not bake some delicious treats? These adorable carrot cupcakes, designed to look like Easter eggs, are perfect for dessert and a fun baking project with the kids.
- Personalized Easter Mason Jars: Learn how to craft charming personalized mason jars, ideal for holding Easter treats, acting as small vases, or gifting to loved ones. A versatile and heartfelt DIY.
- Easter Basket Gift Ideas: Looking for unique and thoughtful additions to your Easter baskets? This post is packed with creative ideas that go beyond candy, ensuring memorable gifts for everyone.
Wondering how I approach transforming rooms and spaces in our home, making them beautiful and functional without breaking the bank? Check out Designer in a Binder®. It’s my signature method that simplifies the decorating process, making stylish design accessible and achievable for anyone, regardless of budget or experience.
And if you’re eager for exclusive content, behind-the-scenes sneak peeks into our latest projects, and insider tips that I only share with my community, be sure to subscribe to our newsletter before you head out! Join our creative family and never miss out on inspiration for your home and holidays.