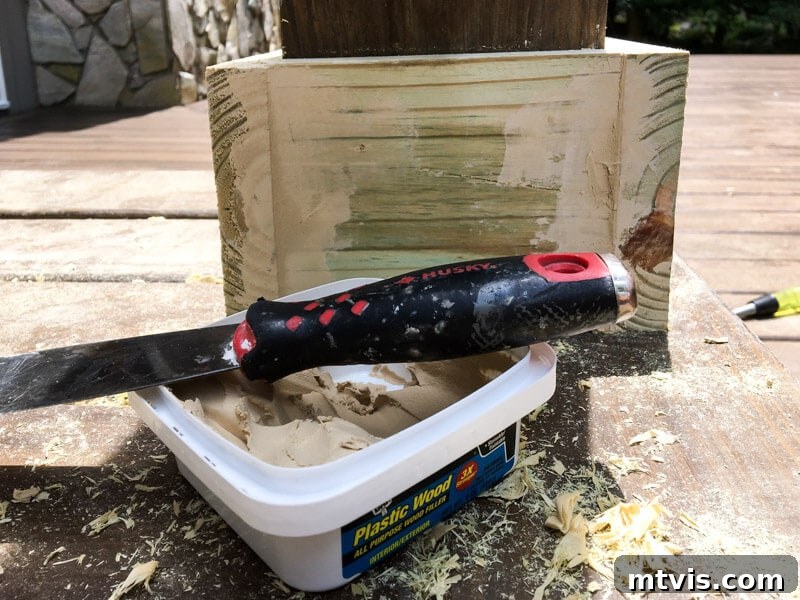
For years, many DIY enthusiasts, ourselves included, have faced the frustration of meticulously completing a woodworking project only to have its beauty diminished by poorly filled screw and nail holes. We understand that disheartening moment when a stained piece, which looked incredible in its raw form, ends up appearing amateurish due to visible imperfections from filler. This experience often led us to paint furniture that we originally intended to stain, simply because the finished look didn’t meet our expectations. A significant part of this learning curve involved mastering the art of wood filler application. We learned from our mistakes, and today, we’re excited to share our perfected tips and tricks to help you achieve truly flawless finishes on all your woodworking and home improvement projects.
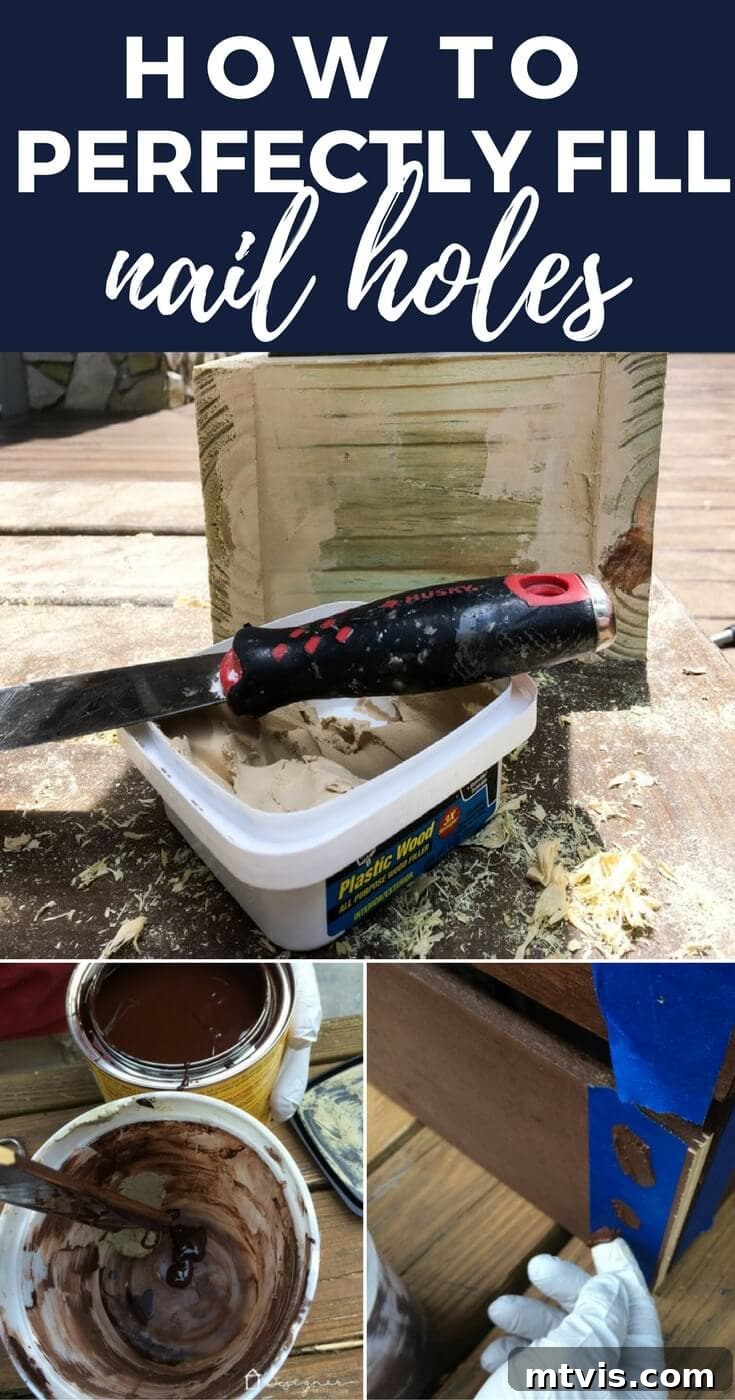
This post is brought to you by DAP, a trusted name in quality sealants and fillers.
Every DIY project is a journey of skill development, and for us, achieving a professional finish with wood filler was a major turning point. The good news is that these essential techniques for filling screw and nail holes are surprisingly simple and, in retrospect, completely obvious. But like many things, they need to be learned. By incorporating these straightforward tips into your process, you’ll elevate the quality of your stained wood projects, ensuring they look truly exceptional. Say goodbye to visible blemishes and hello to seamless, professional results that you’ll be proud to show off.
Mastering Wood Filler: Essential Tips for Flawless Screw and Nail Hole Repairs
**Choosing the Right Wood Filler for Your Project**
Before diving into application, selecting the appropriate wood filler is crucial for a successful repair. Not all fillers are created equal, and understanding their differences will significantly impact your final results, especially if you plan to stain or paint your project. Wood fillers come in various formulations:
- Water-Based Latex Fillers: These are popular for interior projects due to their easy cleanup with water, low odor, and quick drying time. They sand smoothly and accept paint well. However, they can shrink slightly in deep holes and may not take stain as evenly as the surrounding wood, making them better suited for painted finishes.
- Solvent-Based (Wood Putty) Fillers: Often oil-based, these fillers offer superior durability and resistance to shrinking. They are excellent for both interior and exterior applications and generally accept stain better than latex options, though achieving a perfect match still requires care. They require mineral spirits for cleanup and have a stronger odor.
- Epoxy-Based Fillers: For heavy-duty repairs, especially on damaged or rotted wood, epoxy fillers are the go-to choice. They are incredibly strong, waterproof, and can be sanded, drilled, and painted. However, they typically come in two parts that need mixing, have a longer curing time, and are generally overkill for simple nail holes.
For most screw and nail hole repairs on furniture or interior trim, a high-quality solvent-based wood putty or a good latex filler (if painting) will suffice. Always check the product label for specific recommendations on staining, painting, and indoor/outdoor use. Understanding these distinctions will save you time and frustration, ensuring your chosen filler complements your project’s intended finish.
**Preparing the Surface for Optimal Adhesion**
A successful repair begins with proper preparation. Even the best wood filler won’t perform optimally on an unclean or poorly prepped surface. Before applying any filler, take a moment to ensure the area around the screw or nail hole is clean, dry, and free of any loose debris. Use a clean cloth to wipe away dust, sawdust, or grease. For older holes, you might gently scrape away any loose wood fibers with a utility knife. It’s also beneficial to slightly countersink the nail or screw head if it’s protruding, ensuring the filler has a clean, recessed void to fill. This meticulous preparation promotes better adhesion of the wood filler, leading to a more durable and invisible repair.
How to Apply Wood Putty Effectively
Applying wood filler might seem straightforward, but a few techniques can make all the difference. The goal is to press the filler firmly into the void, ensuring no air pockets remain. We typically use a putty knife, which allows for precise application and helps create a smooth surface. For tiny nail holes, your finger can work just as well, allowing you to really press the filler in. The key is to slightly overfill the hole, creating a small mound above the wood surface. This accounts for any minor shrinkage as the filler dries and provides ample material for sanding down to a perfectly flush finish. One crucial step often overlooked is to remove any significant excess wood putty *before it dries*. Doing so prevents unnecessary sanding later on and keeps your project cleaner. Gently scrape away the excess with your putty knife, leaving only a slight mound over the hole. You can clearly see the transformative impact of properly applied wood putty when we tackled the posts on our DIY deck bar, creating a seamless, finished look.
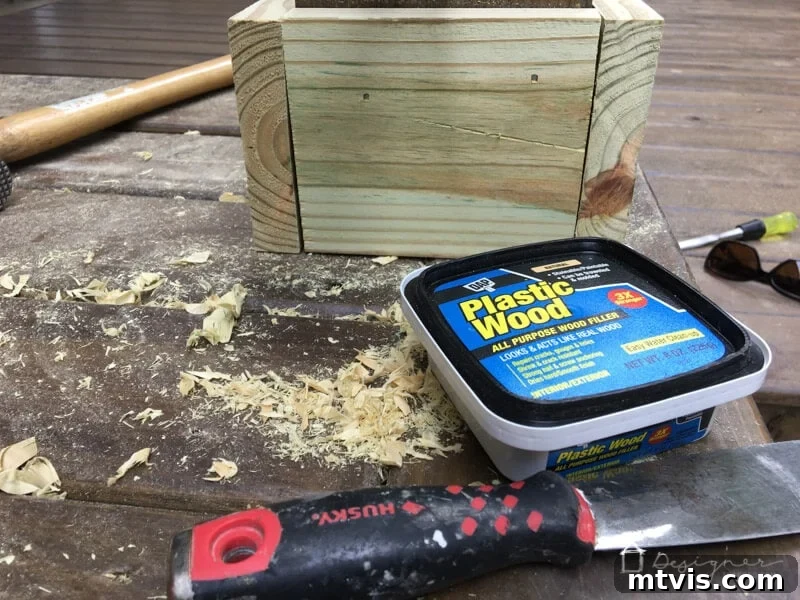
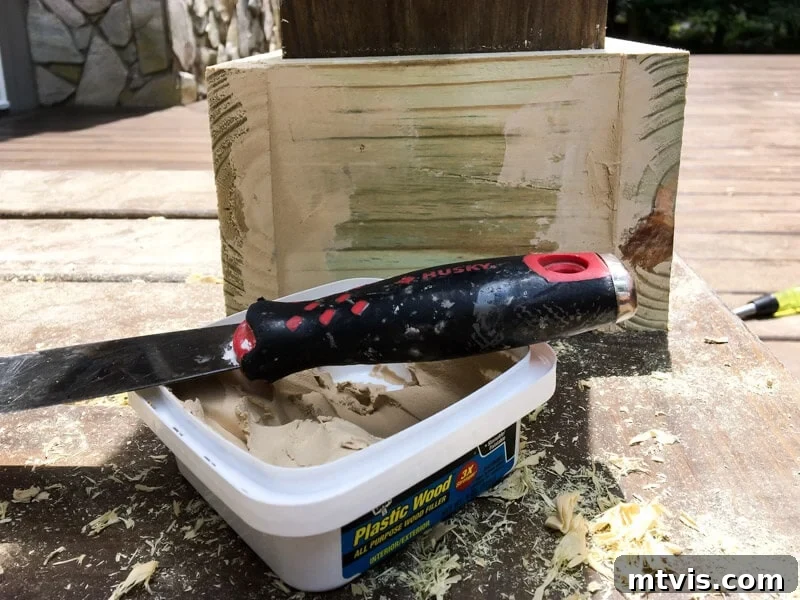
Ensuring Adequate Drying Time for Wood Putty
Patience is a virtue, especially when it comes to drying wood filler. One of the most common mistakes we used to make was rushing this step, attempting to sand or stain the filler before it was completely dry. This invariably leads to disastrous results: crumbly filler, uneven stain absorption, or even damage to the surrounding wood. The drying time of wood putty can vary significantly based on the product type, the thickness of the application, and environmental factors like humidity and temperature. Always consult the manufacturer’s instructions for recommended drying times. A simple yet effective test to determine if your wood putty is ready is the “fingernail test.” Gently press the end of one of your fingernails into the filled area. If your fingernail leaves any indentation, the filler is still wet and needs more time to cure. Resist the urge to proceed; waiting a few extra hours, or even overnight, can make the difference between a subpar finish and a perfectly executed repair. Proper drying ensures the filler hardens completely, providing a stable base for subsequent sanding and finishing steps.
How to Sand Wood Putty for an Invisible Repair
Sanding is perhaps the most critical step in making wood filler repairs truly disappear, yet it’s often rushed or inadequately performed. Our past projects suffered from insufficient sanding, resulting in the filler absorbing stain differently than the wood, making the repair glaringly obvious. To achieve a seamless finish, put genuine effort into this stage. The goal is to blend the filled area perfectly with the surrounding wood, creating a smooth, uninterrupted surface. Start with a medium-grit sandpaper (around 120-150 grit) to quickly remove the slight overfill and level the filler. Always sand with the grain of the wood to prevent scratches. Once the filler is flush, move to a finer grit (180-220 grit) to smooth out any sanding marks and prepare the surface for staining or painting. An orbital sander can make quick work of larger areas, but for smaller, delicate repairs, hand sanding is often preferred to maintain control and precision. After sanding, run your hand over the repaired area; if you can feel any bumps or depressions, continue sanding until the surface feels perfectly smooth and uniform. This meticulous approach ensures that once stained or painted, your repair will be virtually invisible, allowing the natural beauty of the wood (or the vibrancy of your paint) to shine through without distraction.
How to Fill Screw and Nail Holes on Pre-stained Wood
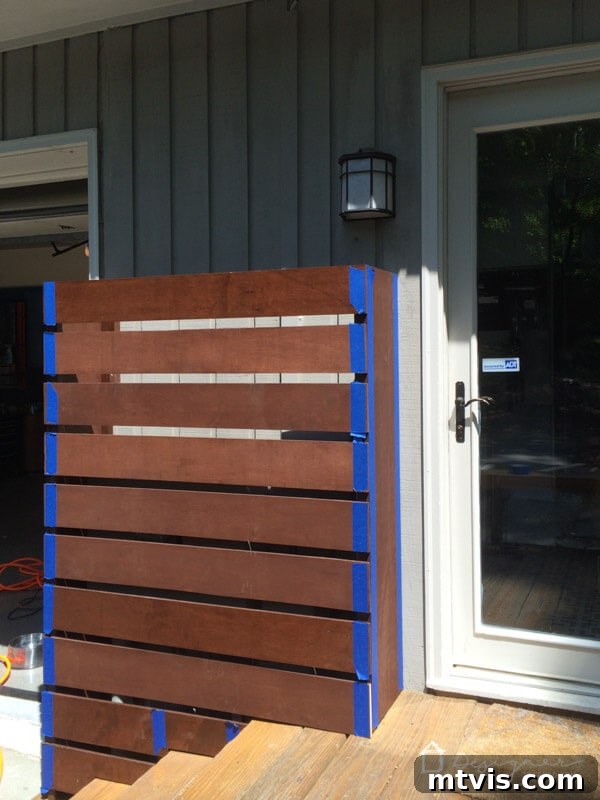
One challenge that took us far too long to master was how to effectively fill screw and nail holes on wood that had already been stained. Many projects, such as installing trim, creating custom built-ins, or assembling furniture components, often require staining the wood *prior to its installation*. This means that when you drive nails or screws, you’re inevitably creating holes in an already finished surface. The traditional method of applying wood filler and then staining over it won’t work here, as the filler won’t match the pre-existing stain. Fortunately, the process for addressing these pre-stained holes is incredibly simple and yields exceptional results. This technique proved invaluable when constructing our DIY outdoor electrical box cover, where a consistent finish was paramount.
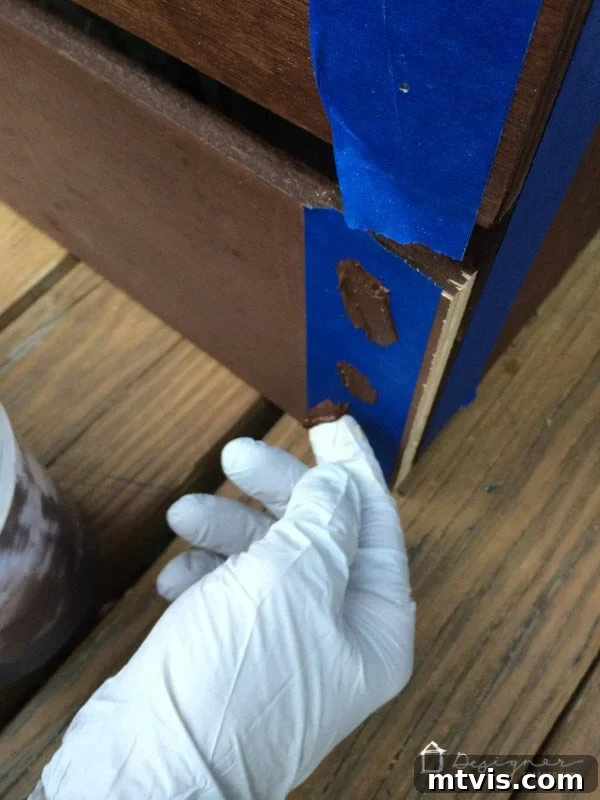
The first step involves protecting the surrounding stained wood from any stray filler. We achieve this by carefully taping off the area around where each nail or screw will be driven, using high-quality painter’s tape. This barrier ensures that only the intended hole is exposed. Once the tape is in place, you can proceed to drive your nails or screws, creating the necessary holes within the protected zones.
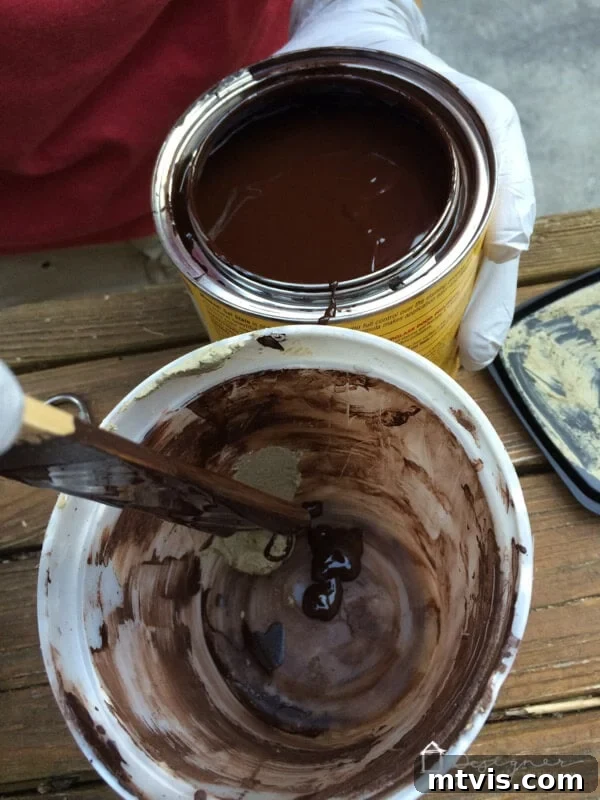
The real secret to an undetectable repair lies in custom color matching the filler. Instead of using plain wood filler, we mix a small amount of the original stain that was used on the wood directly into the wood filler. Start with a tiny amount of stain and gradually add more, mixing thoroughly until you achieve a color that closely matches your pre-stained wood. It’s always a good idea to test this mixture on a scrap piece of wood that has also been stained to ensure the color match is accurate once dry.
Once your custom-colored filler is ready, apply it using your fingers or a putty knife, pressing it firmly into the screw or nail hole. The painter’s tape acts as a shield, ensuring that any excess filler doesn’t get onto the already stained wood, preventing discoloration or dulling. Use a putty knife to carefully remove any excess filler, leaving a slight overfill. Crucially, remove the painter’s tape while the filler is still slightly wet but has set enough not to smear. This technique ensures clean lines and a perfectly filled area that blends seamlessly with the pre-stained wood, leaving you with an almost invisible, professionally repaired nail or screw hole.
**Advanced Tips for Challenging Repairs**
While the techniques above cover most situations, some repairs require a bit more finesse. For exceptionally deep screw holes or significant voids, applying wood filler in multiple, thinner layers is recommended. Allow each layer to dry completely before applying the next to prevent shrinkage and cracking. This “layering” technique builds up the filler gradually, ensuring a solid, durable repair. Another common challenge is repairing edges or corners. For these areas, consider using a piece of painter’s tape or a small block of wood as a temporary “form” to hold the filler in place while it dries, helping you maintain sharp lines and contours. Always remember to clean your tools immediately after use; dried wood filler is notoriously difficult to remove from putty knives and spreaders. By keeping your tools clean and understanding these advanced tips, you’ll be well-equipped to tackle almost any wood repair challenge with confidence and achieve superior results every time.
There you have it! By integrating these comprehensive screw and nail hole filler tips and tricks into your DIY arsenal, you’ll avoid the common pitfalls we once faced and achieve truly professional, stunning results on all your woodworking projects. Say goodbye to noticeable repairs and hello to seamless, beautifully finished pieces you’ll be proud to display.
More OUTDOOR IDEAS
SEE ALL outdoor POSTS
-
Fire Pit Ideas for Every Outdoor Space
-
How to Make a DIY Outdoor Chandelier
-
Modern DIY Garden Trellis
-
DIY Outdoor Electrical Box Cover
-
DIY Diamond Wire Trellis for a Vine
-
A Complete Review of Vego Garden Beds: Pros, Cons, and Everything In-between
Curious about how to transform other rooms and spaces in your home with confidence? Explore our proven methodology in Designer in a Binder® – your ultimate guide to affordable and stylish home decoration.
For even more exclusive content, behind-the-scenes sneak peeks, and fresh DIY inspiration delivered straight to your inbox, be sure to subscribe before you go!