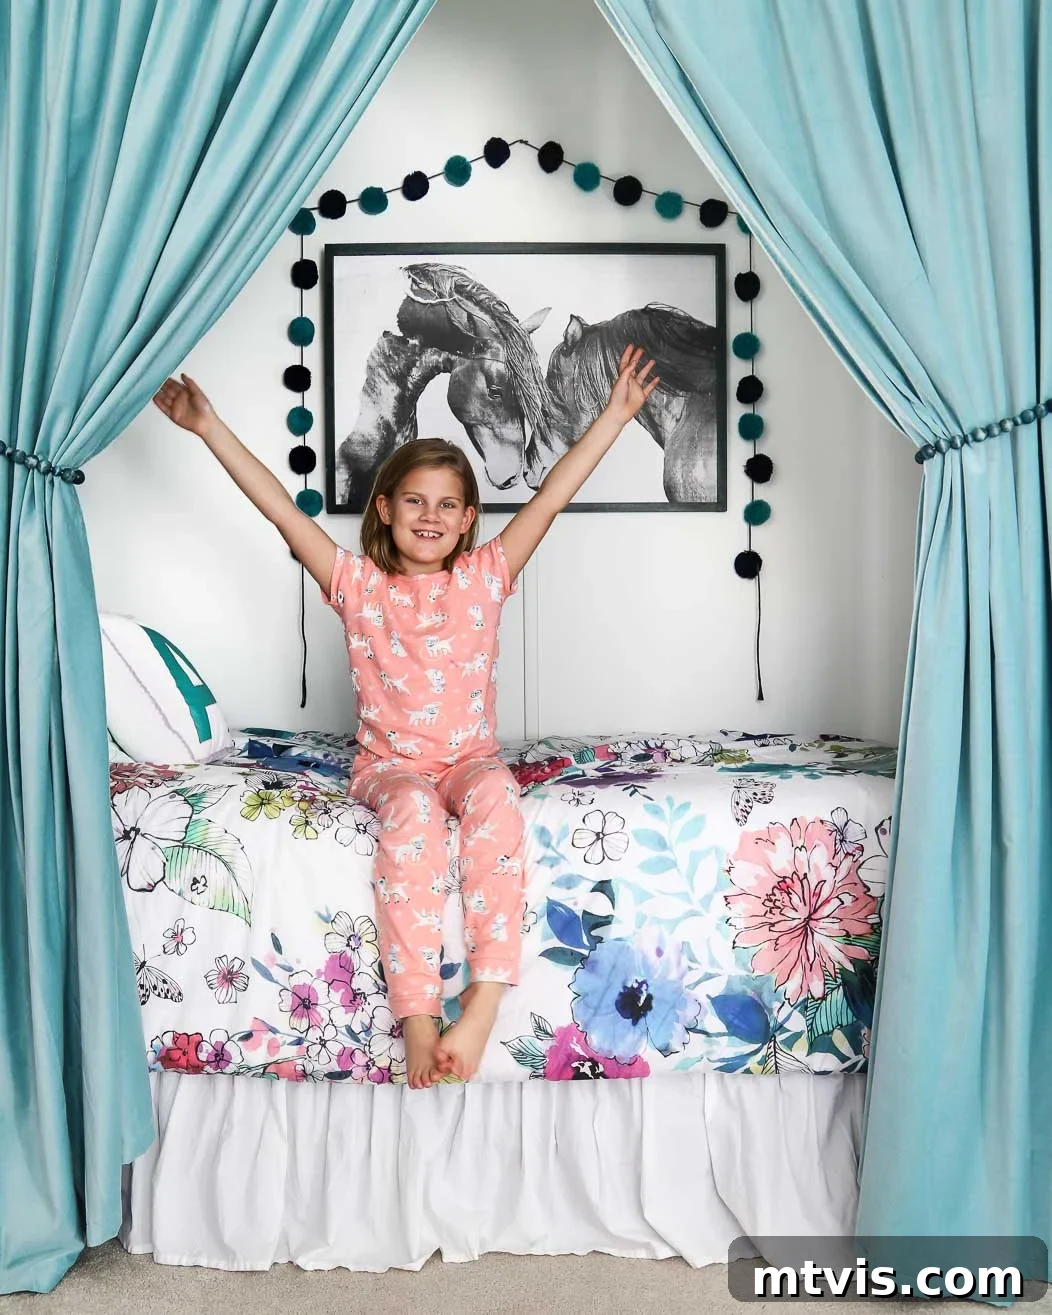
Transform Your Home: Create a Cozy Closet Bed Nook
Are you yearning for more usable space in your child’s bedroom, or perhaps need an ingenious solution for accommodating overnight guests without sacrificing precious square footage? If so, reimagining an ordinary closet as a delightful and functional bed nook might be the perfect DIY project for your home. This brilliant concept not only liberates significant floor space in any room but also crafts a charming, private sleeping area that many children dream of having. The best part? Converting a closet into a cozy bed nook is a surprisingly straightforward and budget-friendly endeavor. Read on to uncover precisely how you can achieve this captivating transformation yourself!
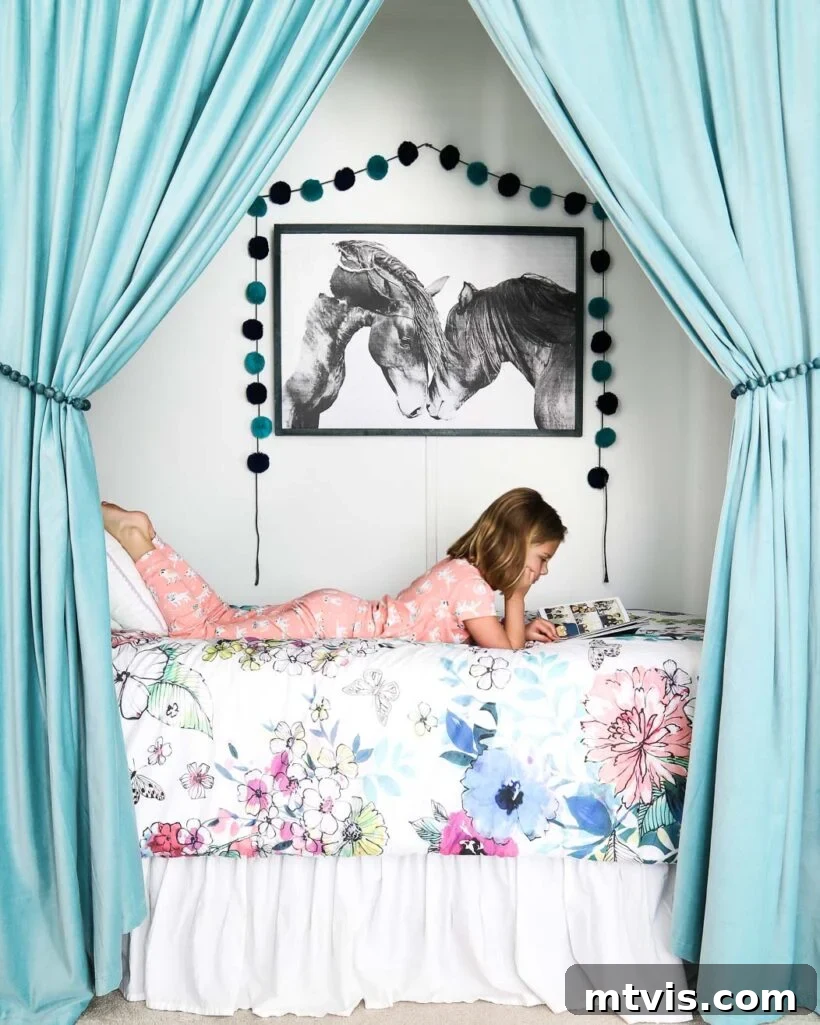
Table of Contents
Why a Closet Bed Nook is a Game Changer
Maximizing space is a perennial challenge for homeowners, especially when it comes to children’s bedrooms or accommodating occasional guests. A closet bed nook offers a transformative solution, turning underutilized space into a practical and enchanting feature. In our old home, my daughter Avery’s room remarkably featured two closets, a luxury she certainly didn’t need. Recognizing the potential, we converted her unused closet into a wonderfully cozy bed nook. This remains one of my absolute favorite DIY projects to date!
Even if your room only boasts a single closet, don’t dismiss this ingenious idea. You can easily relocate clothing storage to a stylish dresser or an armoire, effectively freeing up the closet for its new purpose. A bed nook provides more than just a place to sleep; it creates a semi-private, enclosed space that feels like a secret hideaway. This element of coziness and personal sanctuary is often irresistible to children, fostering imaginative play and offering a quiet retreat for reading or relaxing. For adults, it’s a chic and space-saving guest sleeping area that adds character without cluttering a room with a traditional bed frame.
This post contains affiliate links for your convenience. Click here for my full disclosure policy.
How to Create a Bed Nook in a Closet
Planning Your Closet Bed Nook
Before you even pick up a tool, meticulous planning is key to a successful closet bed nook conversion. Start by identifying the perfect closet: an empty, unused, or significantly underutilized space is ideal. Next, accurate measurements are crucial. You’ll need to confirm that the closet is wide enough to comfortably accommodate your chosen mattress size – be it a twin, an extra-long twin, or even a full-sized mattress. Remember to factor in not just the mattress dimensions, but also any necessary clearance for bedding.
Beyond width, consider the vertical space. The closet must be tall enough for the sleeper to get in and out of bed with ease, and to sit up comfortably for reading or relaxing without hitting their head. Think about potential lighting, ventilation, and power access for charging devices. Visualize the finished space: will it feel airy or confined? How will you enhance its comfort and functionality? A well-thought-out plan ensures a smooth project and a highly cherished end result.
Materials Needed
- Screwdriver or Electric Driver: Essential for removing existing closet components like doors, rods, and shelving brackets. An electric driver will significantly speed up this process.
- Putty Knife: Used for applying spackling compound and smoothing out wall repairs.
- DAP Alex Plus Spackling: An excellent choice for repairing any holes, dents, or imperfections left on the walls after demolition. Its smooth consistency makes it easy to work with and sand.
- Sandpaper (various grits): For smoothing repaired areas on the walls, ensuring a seamless surface for painting. Start with a medium grit and finish with a fine grit for best results.
- Face Mask: Absolutely necessary for safety during sanding to protect against dust inhalation.
- Inside Mount Curtain Rod Brackets: Specifically designed to mount curtain rods within the door frame, providing a neat and finished look for your nook’s curtains.
- Metal Bed Frame: A simple, inexpensive metal frame provides a sturdy foundation for your mattress and box spring. Alternatively, you could build a custom platform.
- Mattress & Box Spring (or platform bed): Choose a comfortable mattress that fits your measured closet dimensions. A box spring provides height and support, but a platform bed offers a lower profile.
- Paint and Primer: For refreshing the interior of your closet and covering any repaired areas.
- Curtains: To add privacy, warmth, and a cozy aesthetic to your bed nook.
Step-by-Step Tutorial
Time needed: 1 day and 6 hours
This project took us about a day and a half because we had some drywall repair work and paint touch-ups to do. Otherwise, it would have taken way less time!
-
Step 1: Assess and Prepare Your Space
Reconfirm your closet’s dimensions, ensuring it can comfortably fit your desired mattress size (twin, full, etc.) and allows adequate head clearance for sitting up. Our closet was perfectly deep and wide enough for an extra-long twin mattress, proving to be an ideal candidate for this project. Check for any electrical outlets or switches that might be present and plan around them. Consider if you’ll need to add any new lighting or power sources within the nook. This initial assessment prevents unwelcome surprises down the line.
-
Step 2: Demolition – Clearing the Way
Time for some careful demolition! Begin by removing the closet door(s) and their hinges. Next, take out any existing closet rods, shelving, and their supporting brackets. Use your screwdriver or electric driver for this. Be mindful of potential damage to the surrounding drywall as you work. Once everything is removed, you’ll be left with a bare closet cavity, ready for its transformation. This step is about creating a clean slate, so take your time to remove all extraneous elements.
-
Step 3: Wall Repairs and Painting for a Flawless Finish
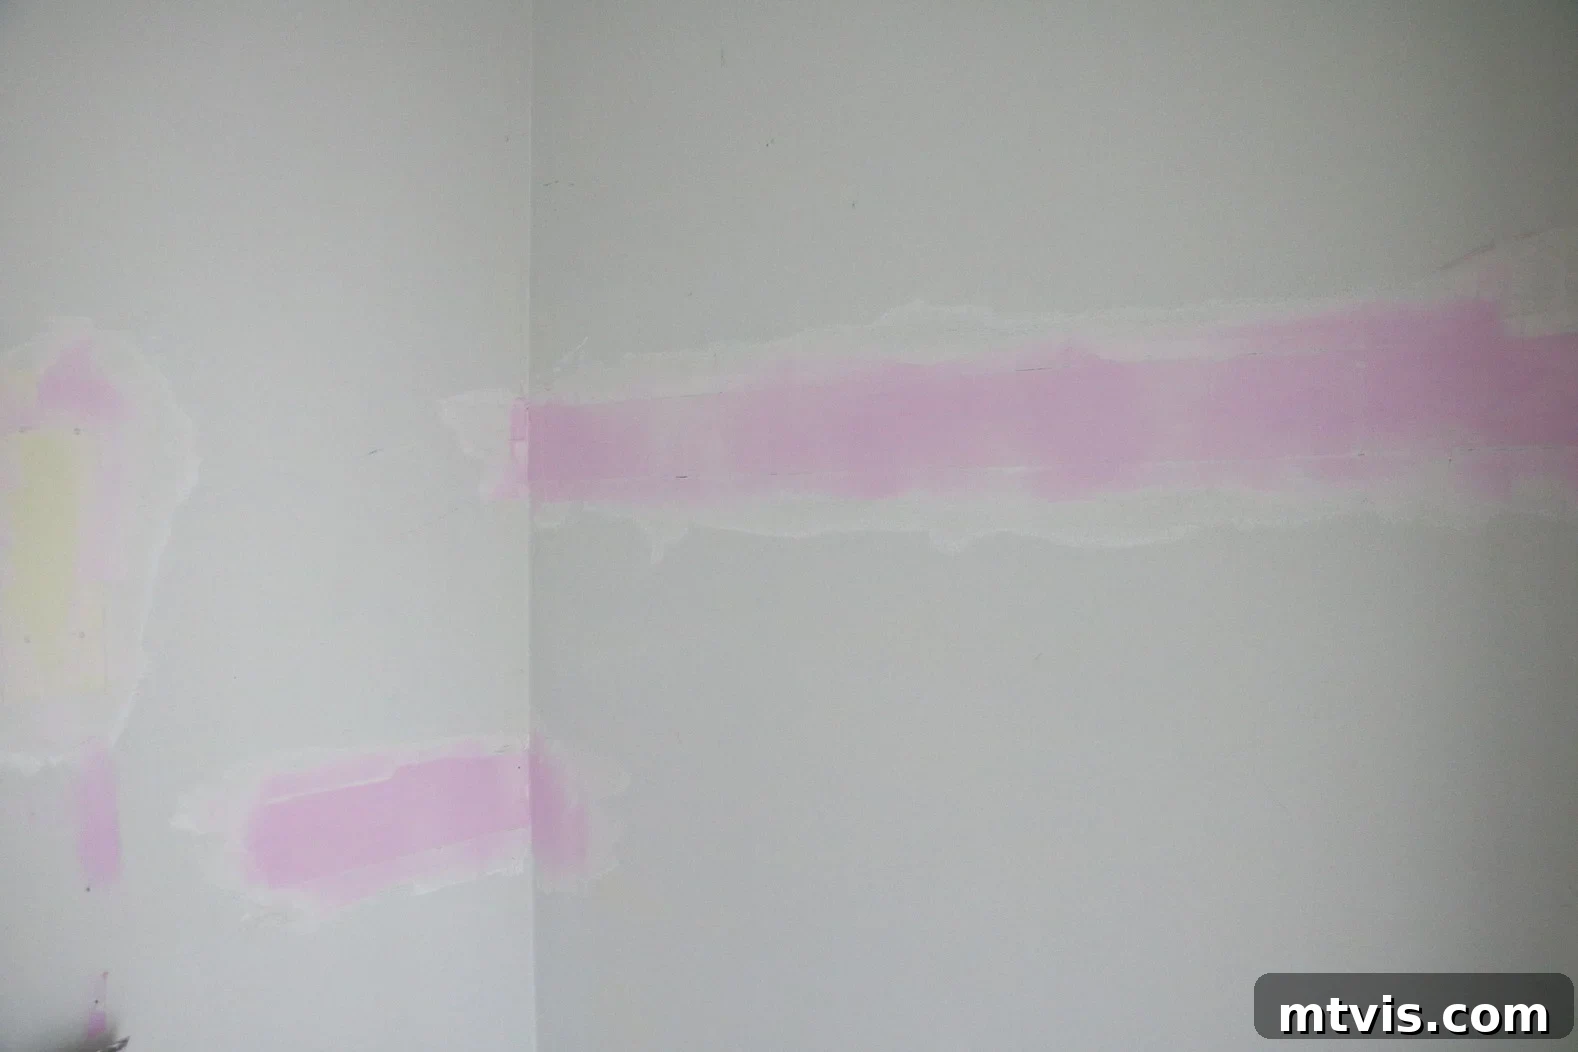
Often, removing closet components leaves behind holes, cracks, or minor damage on the walls. This is where your repair work comes in. We had a fair amount of repairs to make, and we found DAP Alex Plus Spackling to be incredibly effective. Its unique consistency makes it smoother and easier to apply than many traditional spackle products, almost like a hybrid of caulk and spackle. Apply the spackling with a putty knife, ensuring you fill all holes and smooth out any imperfections. Once dry, don a face mask and sand the repaired areas until they are perfectly smooth and flush with the rest of the wall. This step is crucial for a professional-looking finish. After sanding, wipe away any dust, then prime and paint the entire interior of the closet in your chosen color. A fresh coat of paint will instantly brighten and revitalize the space, making it feel inviting and new. For more detailed drywall repair tips, you can refer to my guide on repairing drywall here.

-
Step 4: Installing Your Bed Frame and Mattress
When it came to Avery’s bed nook, we opted for the easiest route to success. While building a custom, integrated bed frame is an option (fun fact: several years later, we did install DIY built-in bunk beds in this very same closet!), for a quick and budget-friendly solution, a simple metal bed frame works wonders. These frames are typically inexpensive, easy to assemble, and provide robust support. Place your mattress and box spring (if using) onto the frame. To elevate the aesthetic and conceal the metal frame, we added a decorative bed skirt. We also enhanced the comfort and style by attaching a simple DIY upholstered headboard directly to the back wall of the nook (I updated the fabric to match the room’s decor before installation). This step transforms a basic bed into a truly inviting centerpiece for your new nook.
-
Step 5: Adding Curtains for Ultimate Coziness and Privacy
Curtains are the secret ingredient to creating that quintessential cozy “nook” feeling. They add softness, texture, and visual appeal, instantly transforming the formerly open closet into a private sanctuary. To achieve this look, you’ll need inside mount curtain rod brackets, which are designed to fit perfectly within the door frame. Install these brackets securely, then hang your chosen curtains. We found beautiful, inexpensive blue velvet curtains at IKEA that perfectly complemented the room’s aesthetic. Curtains also offer practical benefits, such as controlling light and providing a sense of enclosure, perfect for a child’s imagination. To complete the look and keep the curtains neatly pulled back when not in use, consider adding DIY curtain tie-backs.
-
Step 6: Personalizing Your Bed Nook with Decor and Lighting
This final step is where your bed nook truly comes to life and reflects the personality of its occupant. Thoughtful decor and lighting can turn a simple sleeping area into a magical retreat. If space permits, installing picture ledges at the foot or sides of the bed is an excellent idea; they provide perfect, shallow storage for books, small toys, or decorative items without taking up valuable floor space. We utilized picture ledges from Ikea for this purpose. Good lighting is essential for a cozy reading spot. We installed a wall-mounted lamp, which saves space on a nightstand (if you even have room for one!). Beyond functional elements, personalize with decorative accents. Consider hanging DIY art prints, fun pom-poms (like the ones we discovered at the Target Dollar Spot), or string lights to create a warm, inviting glow. Cushions, throws, and favorite stuffed animals will complete the look, making the bed nook a beloved corner of the room.
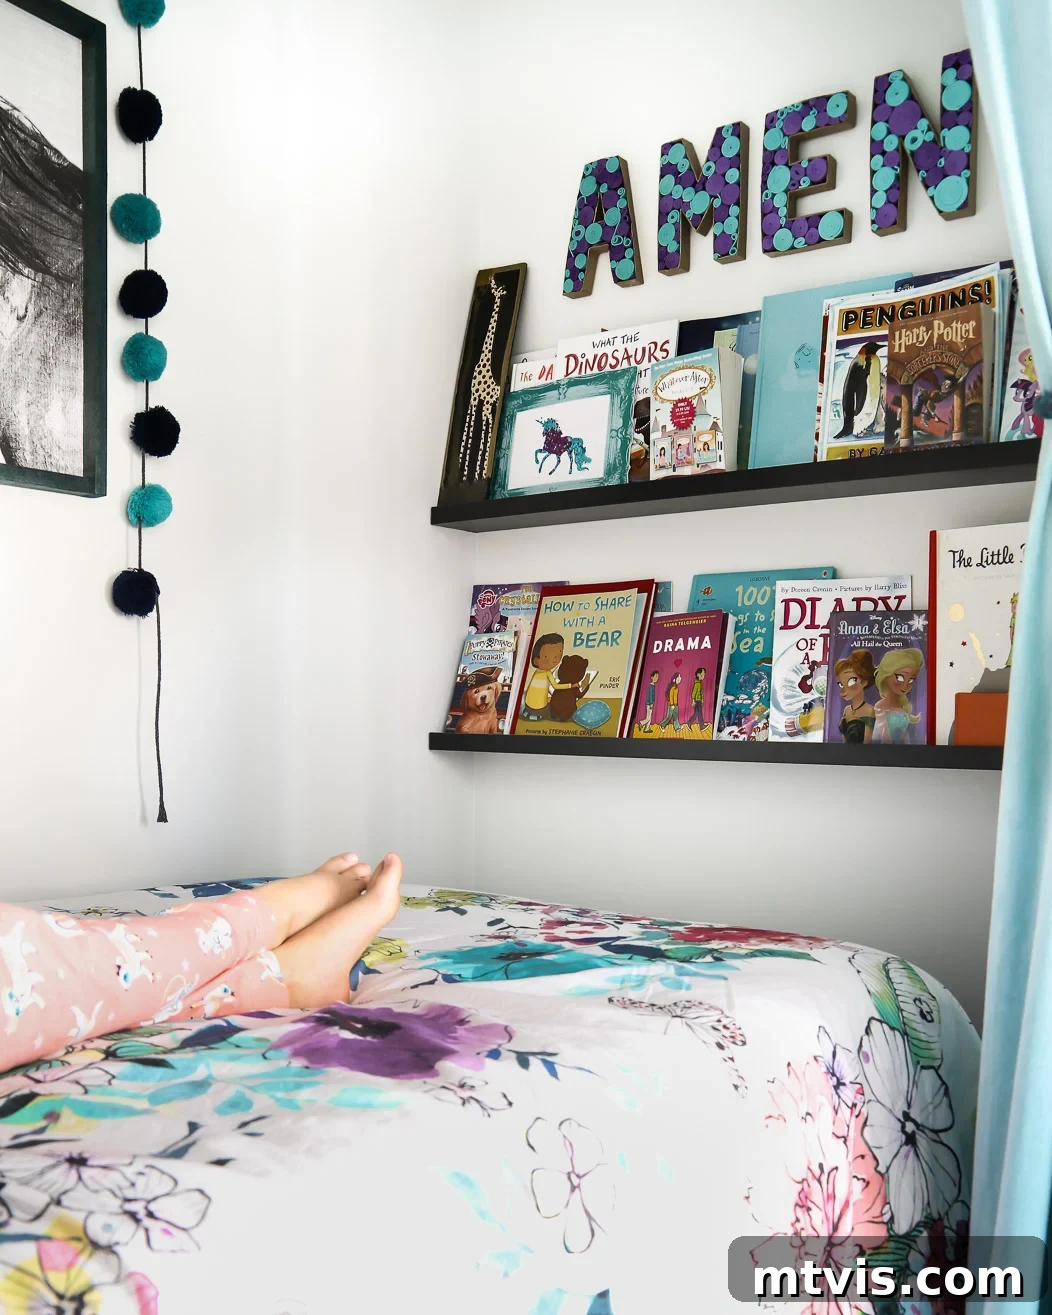
Take a look! It truly goes without saying that Avery was absolutely thrilled with her new bed nook, and it quickly became her favorite spot in the house.
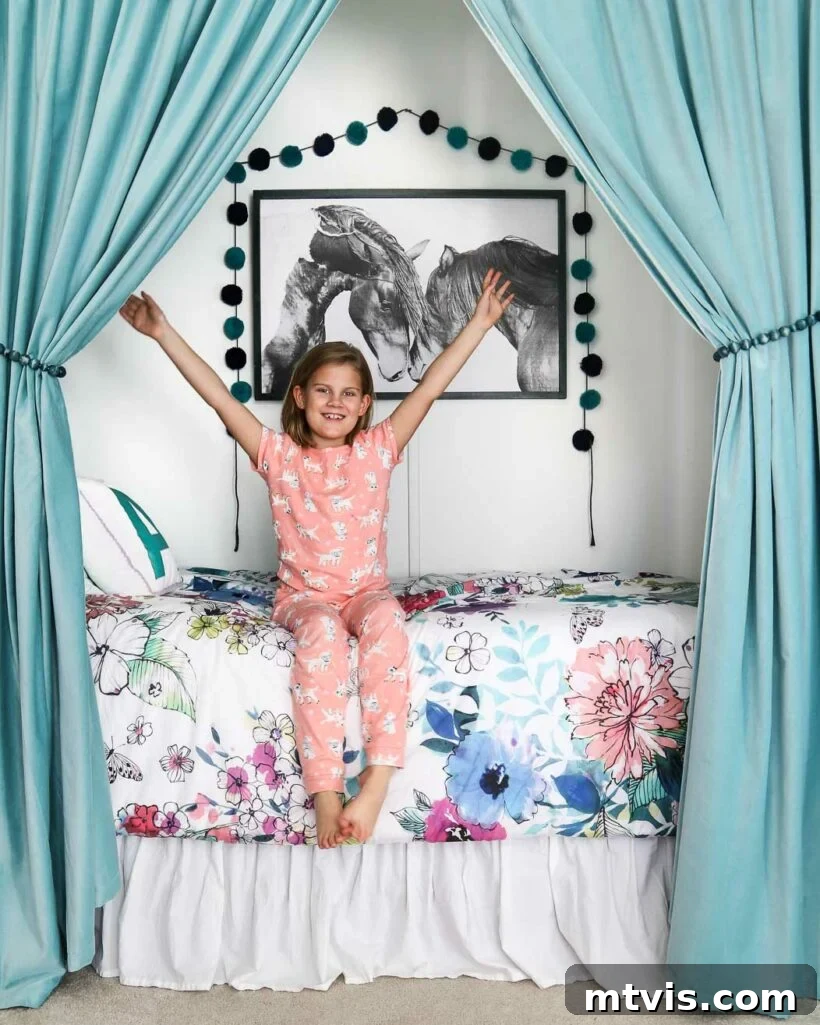
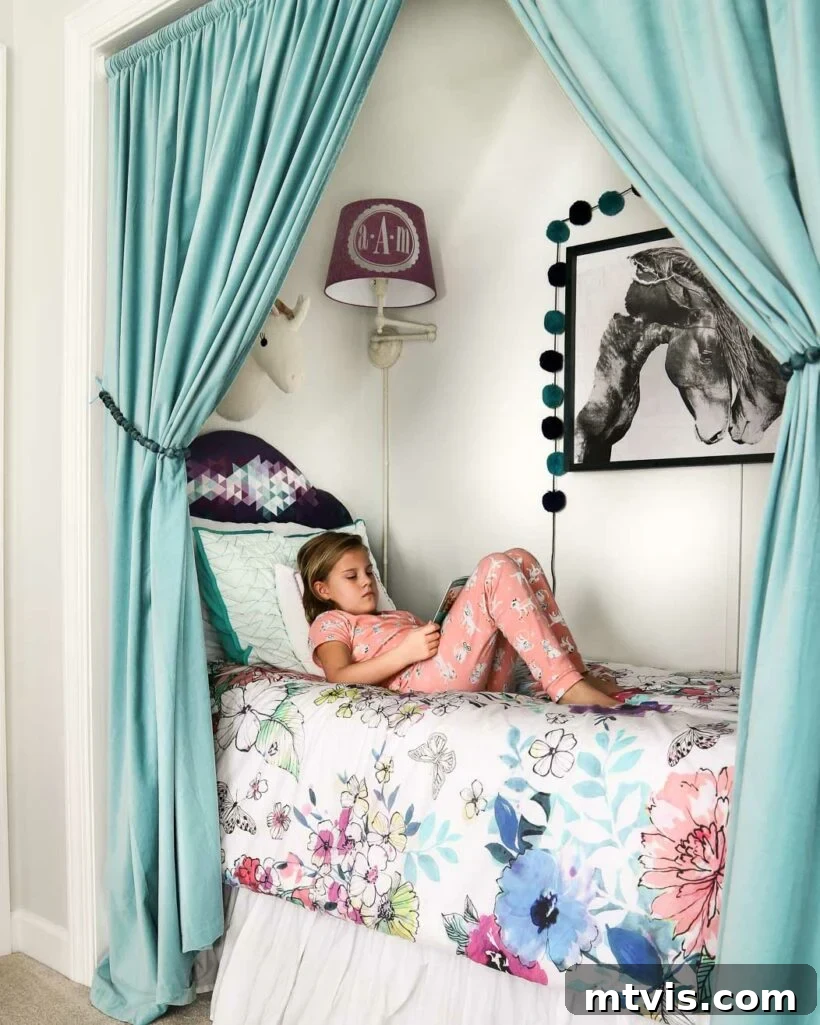
As you can see, transforming a closet into a bed nook is a fantastic home improvement project that will undoubtedly convert any child’s bedroom or spare room into a truly cozy, functional, and fun space. This DIY project is relatively easy to execute, wonderfully budget-friendly, and completely customizable to suit any style or need. With careful planning, the right materials, and a dash of creativity, you can craft a beautiful and unique bed nook that your little one, or even your guests, will enjoy and cherish for many years to come. So, gather your tools, unleash your creativity, and embark on this rewarding home transformation!
More IDEAS FOR KIDS’ SPACES
SEE ALL kid’s spaces
-
IKEA Billy Bookcase Hack for Loads of Storage
Discover how to transform basic IKEA Billy bookcases into stylish, built-in storage solutions that maximize space and add custom flair to any room, perfect for organizing toys and books.
-
Fun and Stylish Playroom Décor Ideas & Tips
Get inspired with creative and practical ideas to design a playroom that’s both fun for kids and stylish for your home, balancing imagination with functionality.
-
28 Dreamy Bedroom Ideas for Girls
Explore a collection of enchanting bedroom ideas designed to inspire and delight girls of all ages, from whimsical themes to sophisticated spaces.
-
How to Decorate Bedroom Doors to Look Like Apartment Doors
Learn a viral DIY trick to transform ordinary bedroom doors into charming “apartment” doors, adding a unique and playful architectural detail to your hallway.
-
25 Unique Bedroom Ideas for Teen Boys and Girls
Find inspiration for creating personalized and stylish bedroom retreats that reflect the unique tastes and personalities of teen boys and girls.
-
30 Genius Shared Bedroom Ideas for Kids
Explore clever and creative solutions for designing shared bedrooms that are functional, harmonious, and fun for multiple children, regardless of space constraints.
Other posts you may enjoy:
- Creative DIY Bunk Bed Ideas
- Girls’ Wall Art: Top Designer Picks
- DIY Headboard With Customizable Messages
- Stylish Dressers We Love (That Don’t Break the Budget!)
- 17 Gorgeous DIY Headboard Ideas
Wondering how I approach transforming rooms and spaces in our home? Check out Designer in a Binder®, my comprehensive guide to decorating your home with confidence and ease.
And if you want exclusive content and behind-the-scenes sneak peeks, be sure to subscribe to our newsletter before you head out!