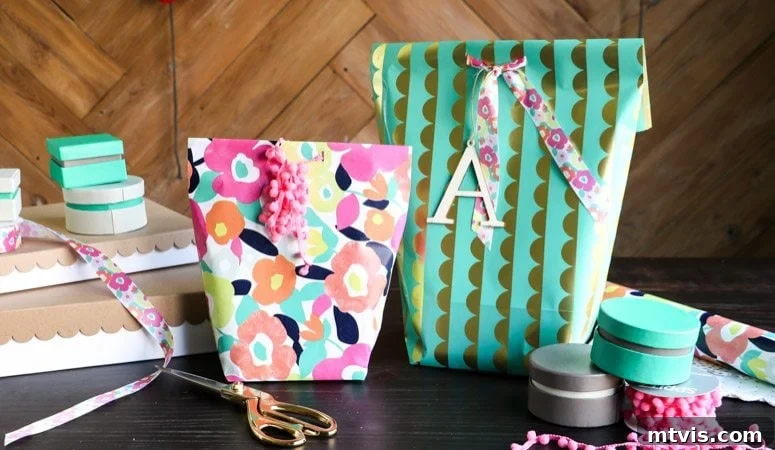
Do you often find yourself with a uniquely shaped gift that defies conventional wrapping techniques? Or perhaps you’re in a pinch, needing a gift bag but realizing you’ve run out or can’t find one that fits? Put your worries aside! This comprehensive guide will show you how to craft your very own beautiful and functional DIY gift bags using standard wrapping paper. Not only are these handmade gift bags incredibly simple to create, but I genuinely believe they possess a charm and personal touch often missing from mass-produced options found in stores. Dive into this easy-to-follow tutorial and discover the perfect, creative solution for presenting those tricky, oddly shaped presents with flair and individuality.
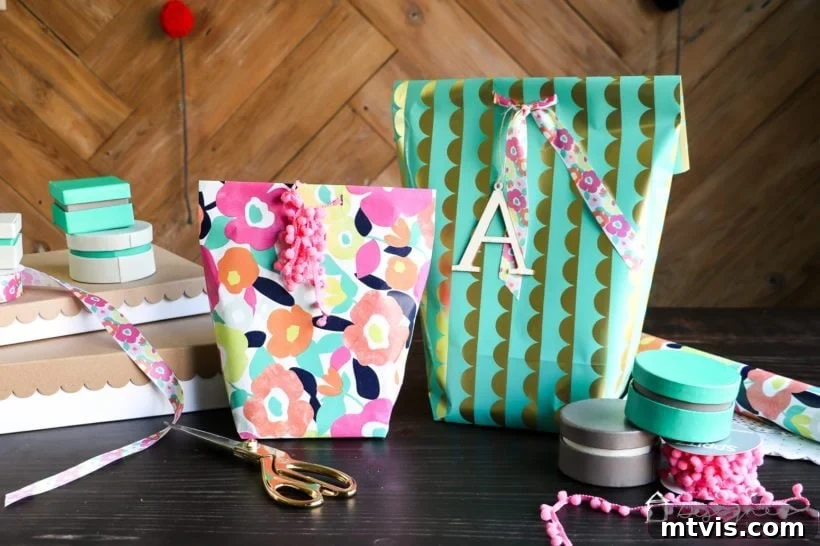
The inspiration for this ingenious gift-wrapping hack struck me around Christmas, watching a captivating demonstration on a morning show. They showcased how effortlessly one could transform a simple sheet of gift wrap into a sturdy, elegant paper bag. I was immediately hooked! Like many of you, I accumulate a collection of exquisite wrapping papers throughout the year, but finding equally beautiful, high-quality gift bags can be a challenge – and an expensive one at that. This DIY method not only solves the problem of odd-shaped gifts but also allows you to utilize your favorite paper designs, ensuring every present is wrapped with unique charm.
This post contains some affiliate links for your convenience. You can read my full disclosure policy here.
How to Make a Gift Bag from Wrapping Paper
Creating your own gift bags offers a multitude of benefits beyond just solving the oddly-shaped gift dilemma. It’s a fantastic way to save money, as a roll of wrapping paper is often far more cost-effective than purchasing multiple pre-made bags. This method also allows for incredible personalization; you can select paper that perfectly matches the recipient’s personality, the gift’s theme, or the occasion. Furthermore, embracing DIY crafts like this contributes to more sustainable gifting practices by reducing reliance on single-use items and encouraging creativity with materials you likely already own. Imagine the delight of presenting a gift in a bag thoughtfully crafted by your own hands!
This tutorial breaks down the process into easy, manageable steps. While some prefer visual learning, the detailed written instructions below are designed to guide you through each fold and tape application, ensuring a perfect result every time. No complex tools are required, just a few basic craft supplies, and a little bit of patience. Let’s transform that roll of wrapping paper into a stunning custom gift bag!
Materials Needed to Make a DIY Gift Bag
- Scissors: A sharp pair for clean cuts.
- Scotch Tape: Strong, clear tape for secure seams.
- Rectangle Hole Punch: For creating neat openings for your ribbon handles. A standard circular punch also works if you don’t have a rectangle one.
- Ribbon: Choose a beautiful ribbon that complements your wrapping paper design. Consider different textures and widths to add character.
- Wrapping Paper: The star of our project! I highly recommend exploring options from Minted, Etsy, and Rifle Paper Co. for their unique and high-quality designs. Thicker paper tends to yield a more durable and professional-looking bag. Feel free to browse some exquisite options below by clicking on them for more details.
Steps to Make a DIY Gift Bag
Time needed: 10 minutes
-
Determine how much wrapping paper you need.
Begin by rolling out your chosen wrapping paper onto a clean, flat surface. Position the gift you intend to bag on top of the paper. This initial placement is crucial for gauging the correct paper dimensions. Ensure you have enough paper to comfortably cover the item, allowing for extra length to create the bag’s height and sufficient width for the side and bottom folds. Once satisfied with the coverage, carefully cut your wrapping paper to size. A good rule of thumb is to allow for approximately double the width of your gift plus a few inches, and the height of your gift plus about half its width for the bottom and top folds.
-
Fold and tape the sides to begin forming your gift bag.
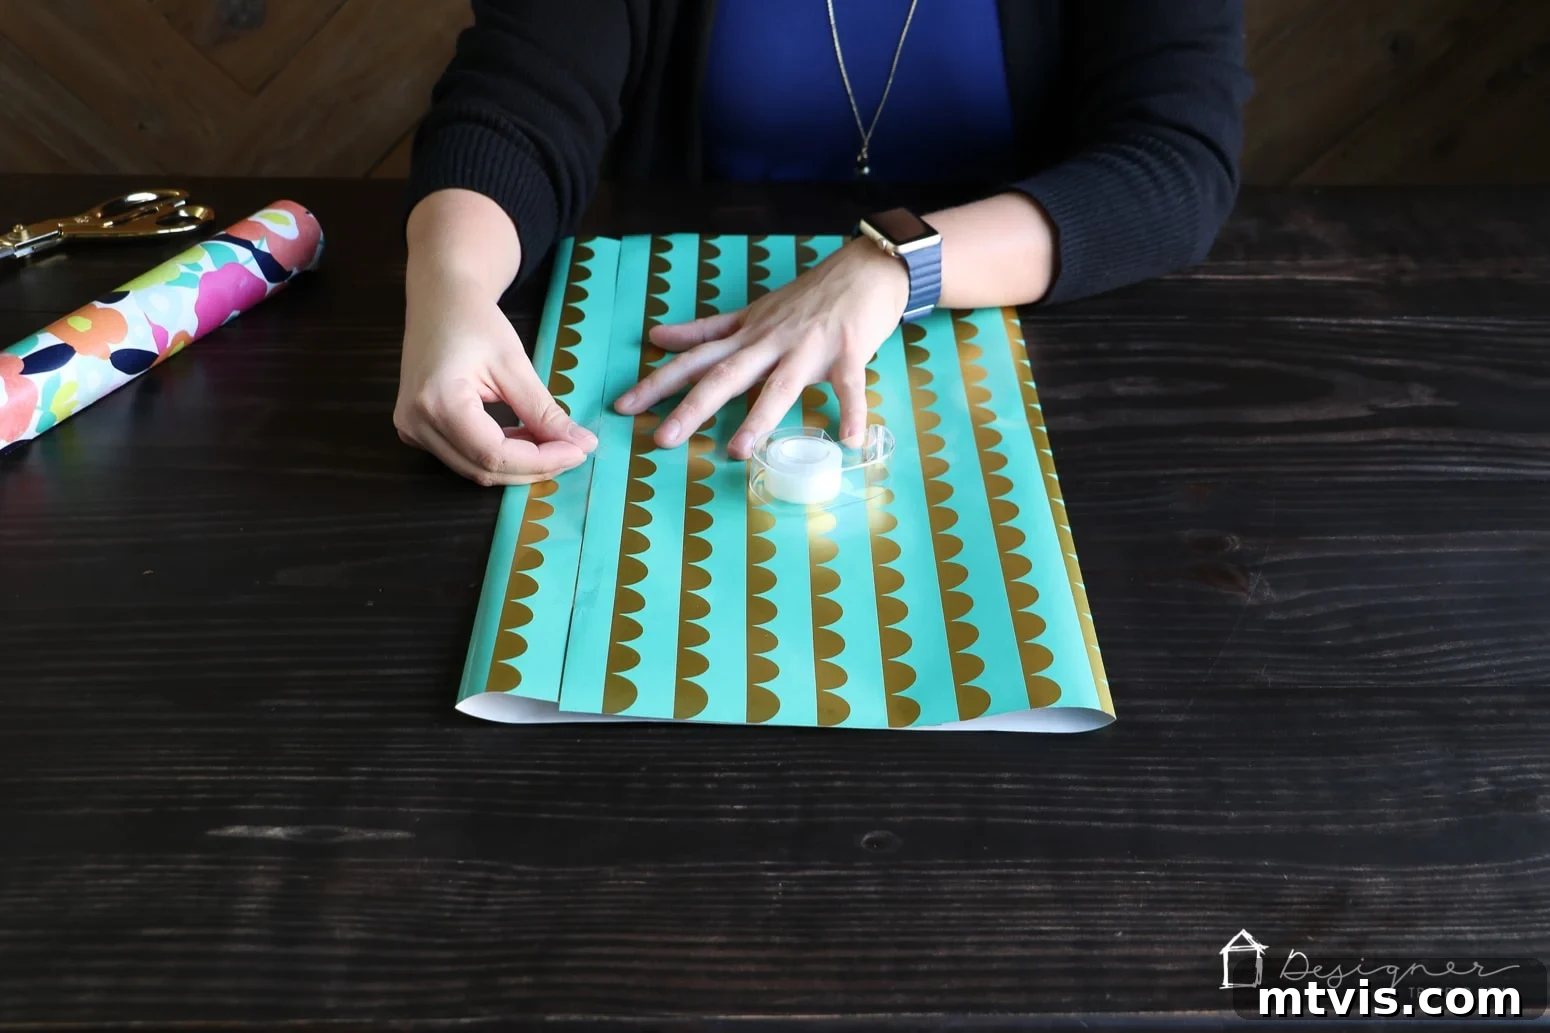
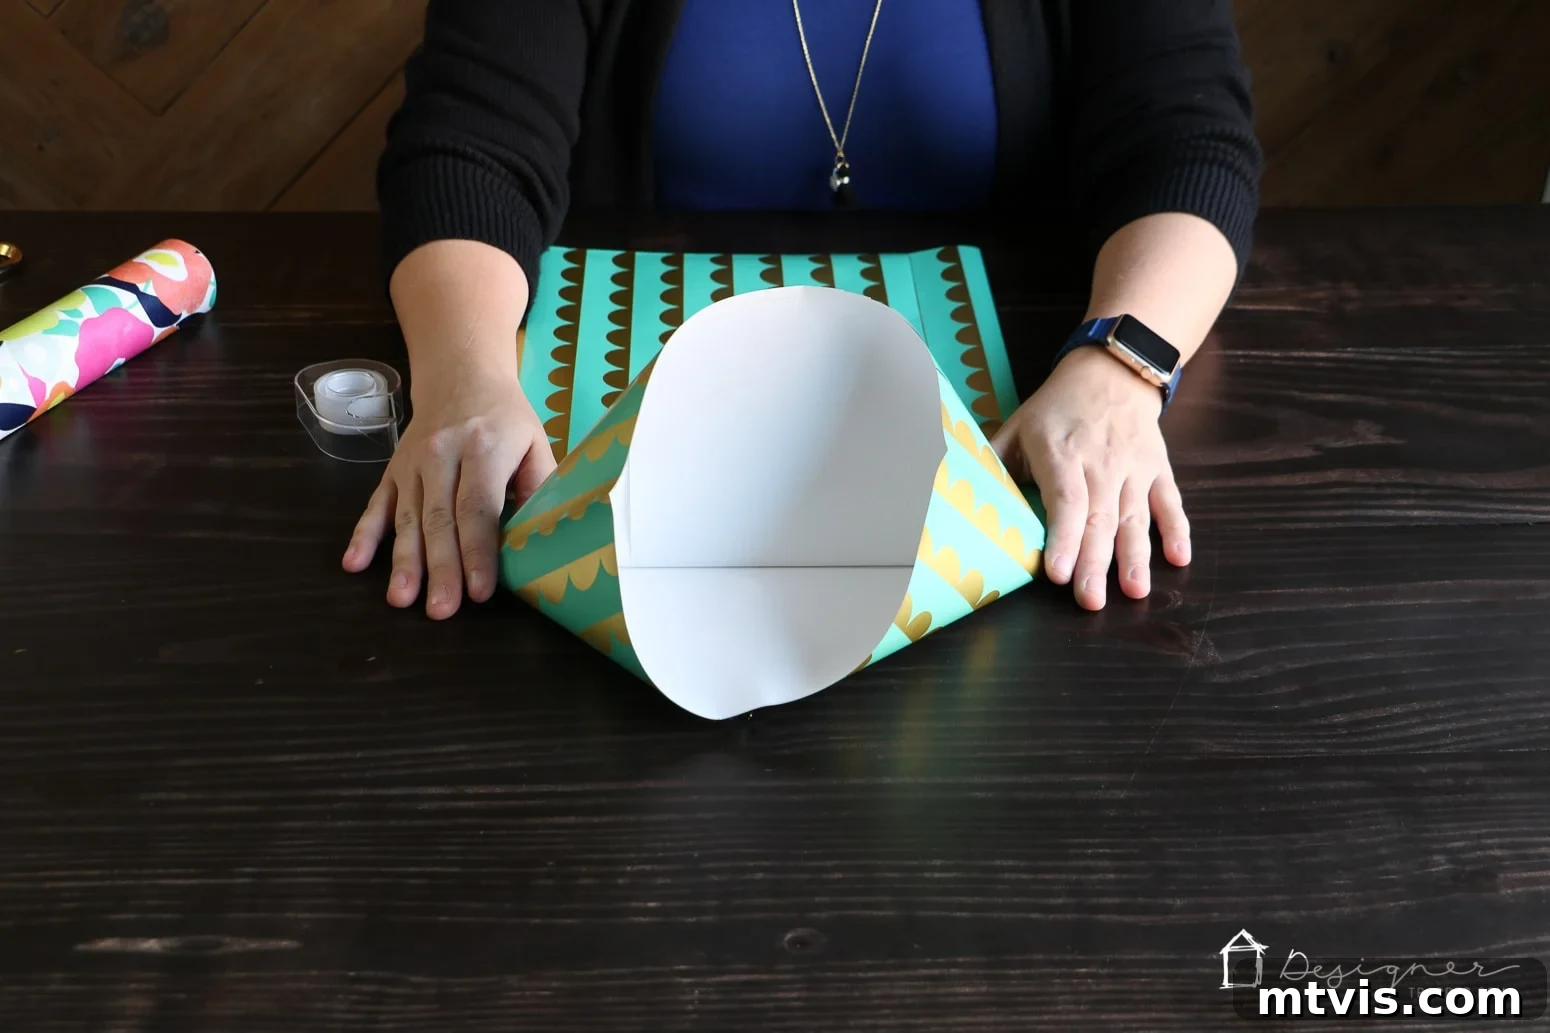
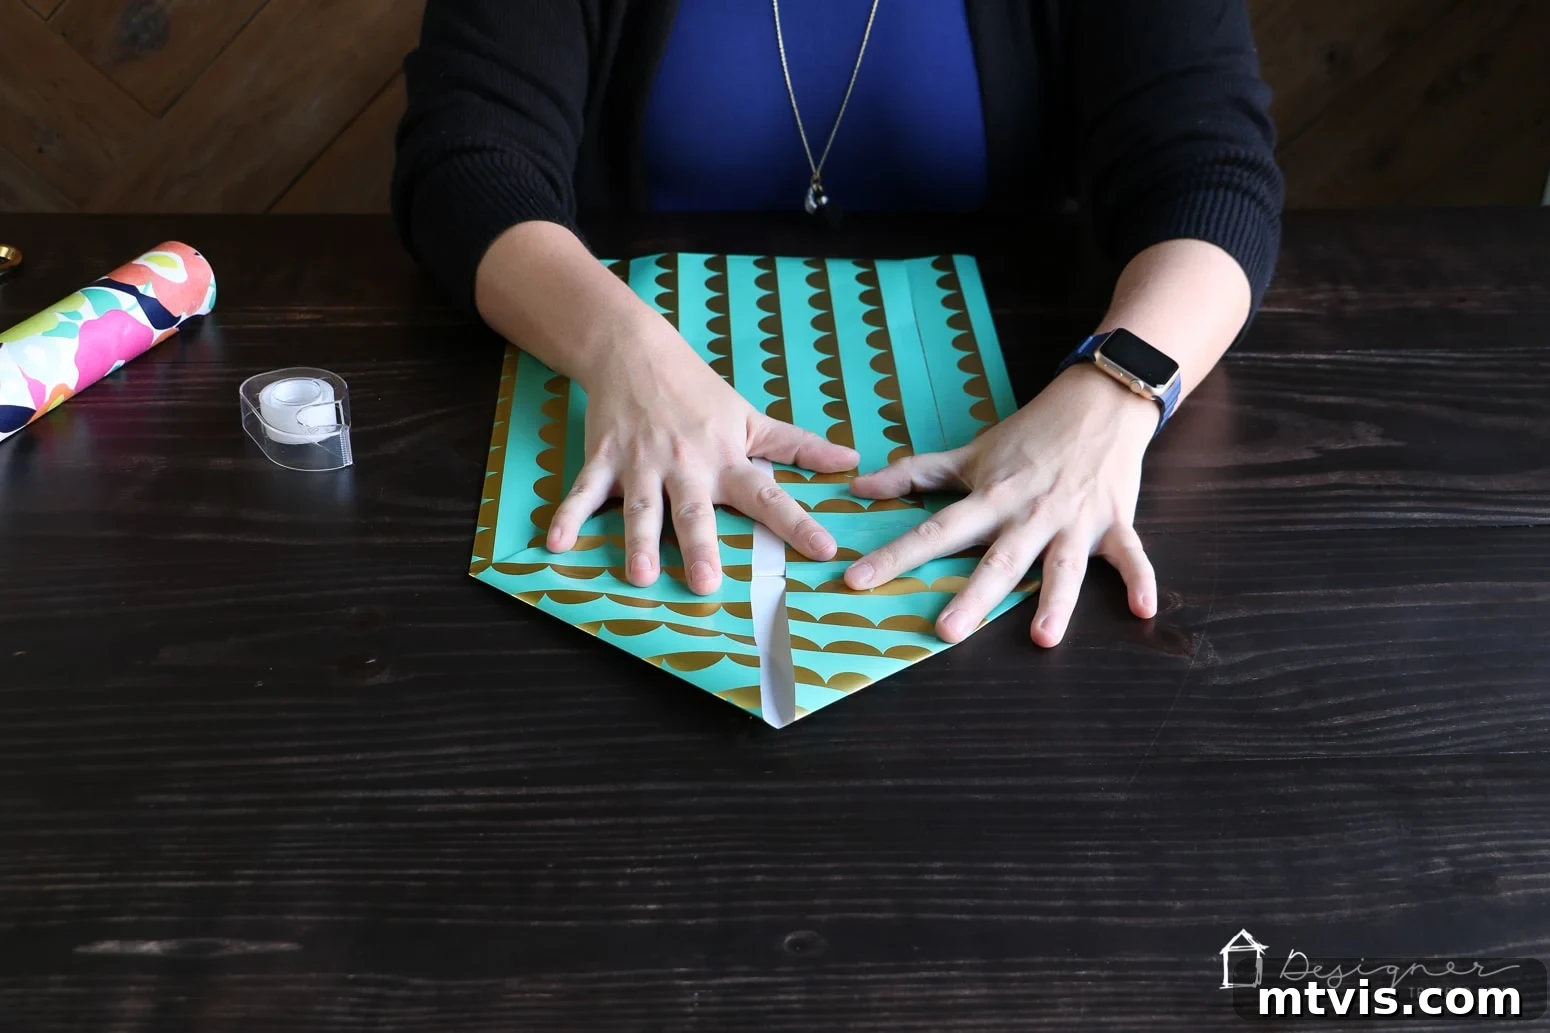
Lay your cut wrapping paper face down on your table. Take the right edge of the paper and fold it inward towards the center. Repeat this with the left edge, ensuring that the two folded sides overlap by about half an inch to an inch in the middle. This overlap will form the bag’s central seam. Press down firmly to create crisp creases. Once aligned, secure this overlapping seam with strong scotch tape, running a strip along the entire length of the overlap. This step forms the main cylindrical body of your gift bag.

-
Fold the bottom.
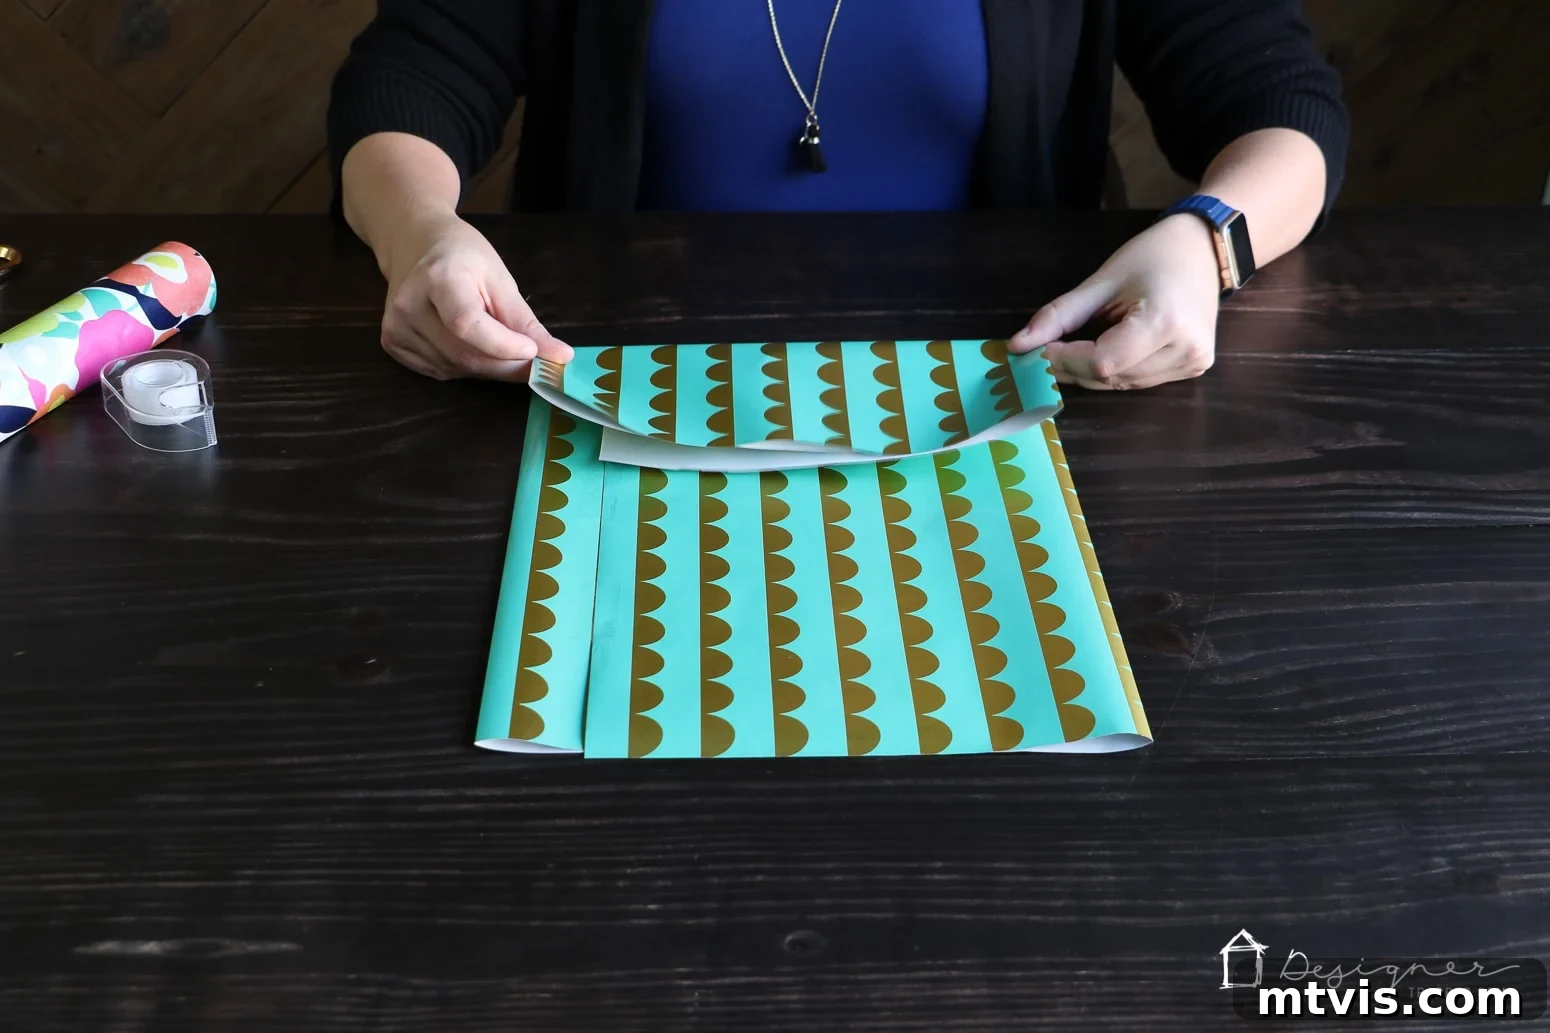
Now, let’s create the foundation of your gift bag. With the taped seam facing upwards, fold the bottom edge of your wrapping paper upwards. The height of this fold will dictate the depth of your finished bag’s bottom. For a deeper, more stable bag, fold it higher. For smaller items or flatter gifts, a smaller fold will suffice. Make sure this fold is straight and even across the paper. Press down firmly along the crease to prepare for the next step, which will give the bag its structural base.
-
Fold the base of your gift bag into a triangle shape.
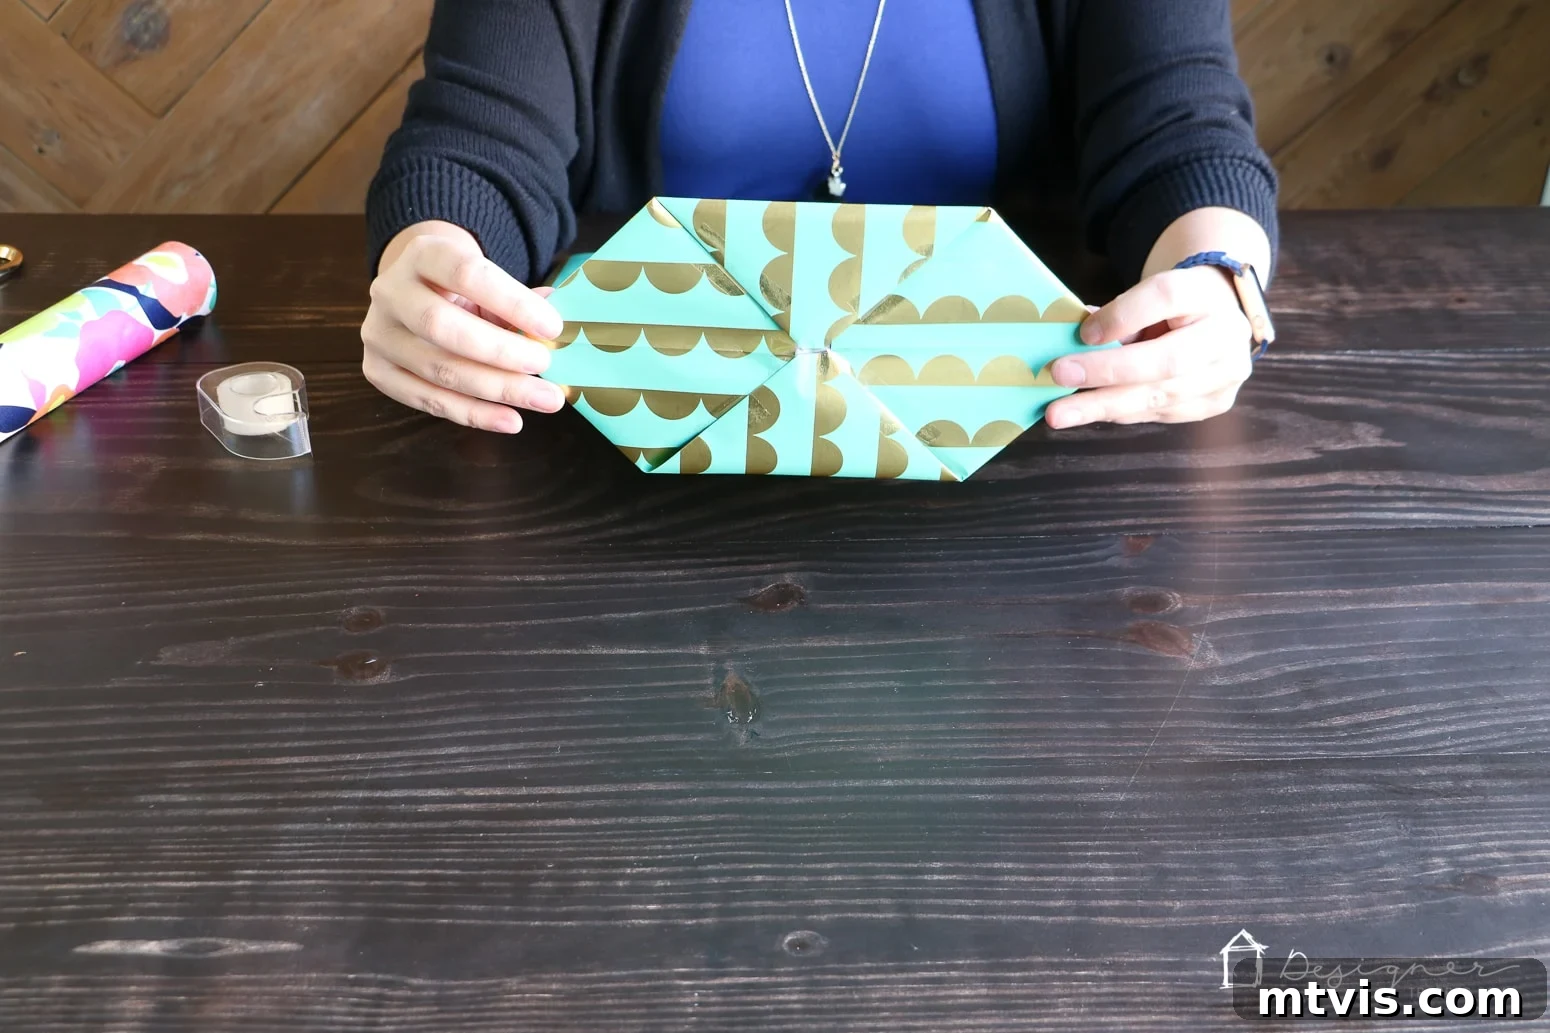
This step might seem a bit tricky at first, but with a little practice, it becomes surprisingly simple! Gently separate the two layers of the upward-folded paper. Now, carefully flatten out the corners on each side of this fold. As you do this, you’ll notice the paper naturally wants to form a triangle, or more precisely, a diamond shape when fully flattened. Ensure your creases are sharp and symmetrical on both sides. This creates the gussets that will give your bag its depth and stability. Take your time here to make sure both sides are evenly folded.
-
Finish and tape the bottom of your gift bag.
You’re almost there! With the diamond shape now formed at the bottom, take the bottom tip of one of the triangles and fold it up towards the center of the diamond. Then, take the top tip of the other triangle and fold it down, overlapping the first fold. These two folds should meet or slightly overlap in the middle, creating a sturdy, flat bottom for your bag. Secure both of these flaps firmly with tape. Apply tape generously along all newly formed seams at the bottom to ensure the bag can hold its contents without falling apart. A robust bottom is essential for a reliable gift bag!
-
Open your bag and fill it.
Congratulations, your basic gift bag structure is complete! Gently open the bag, pushing out the sides to form its rectangular shape. Flatten the newly formed bottom against your working surface to ensure it’s stable. Before placing your gift inside, take a moment to double-check all your taped seams. Reinforce any areas that look weak or feel loose with additional tape to prevent any mishaps. Once you’re confident in its sturdiness, carefully place your gift inside. If your gift is smaller or creates empty space, fill the bag with colorful tissue paper for added presentation and cushioning.
-
Fold top of your gift bag.
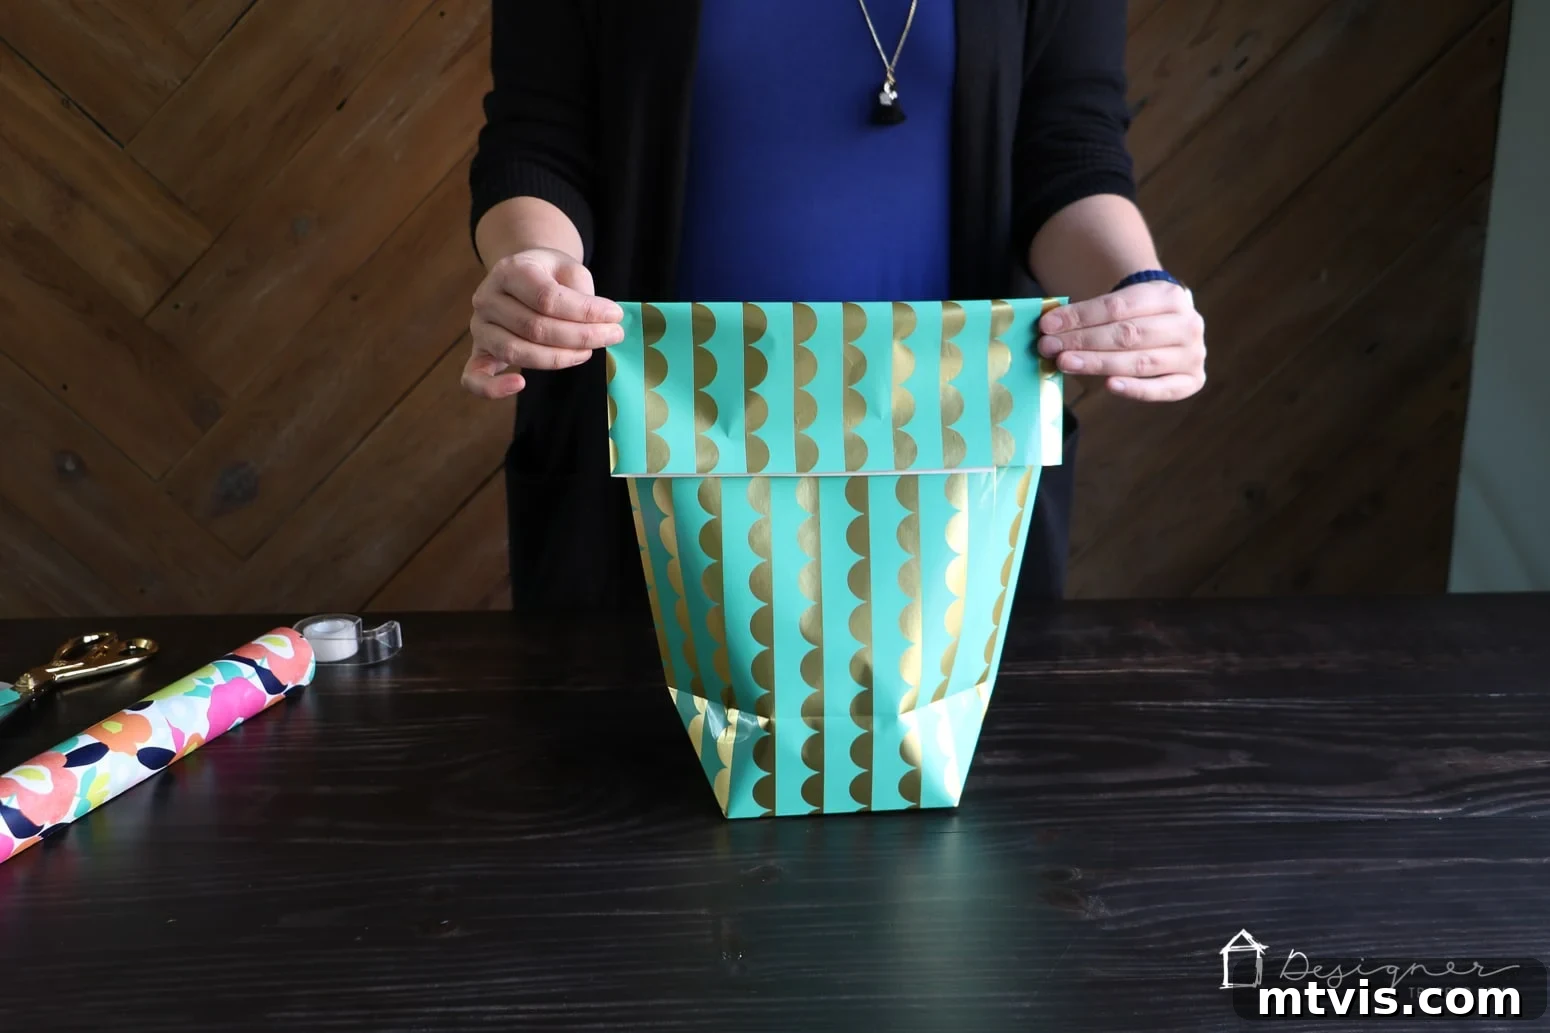
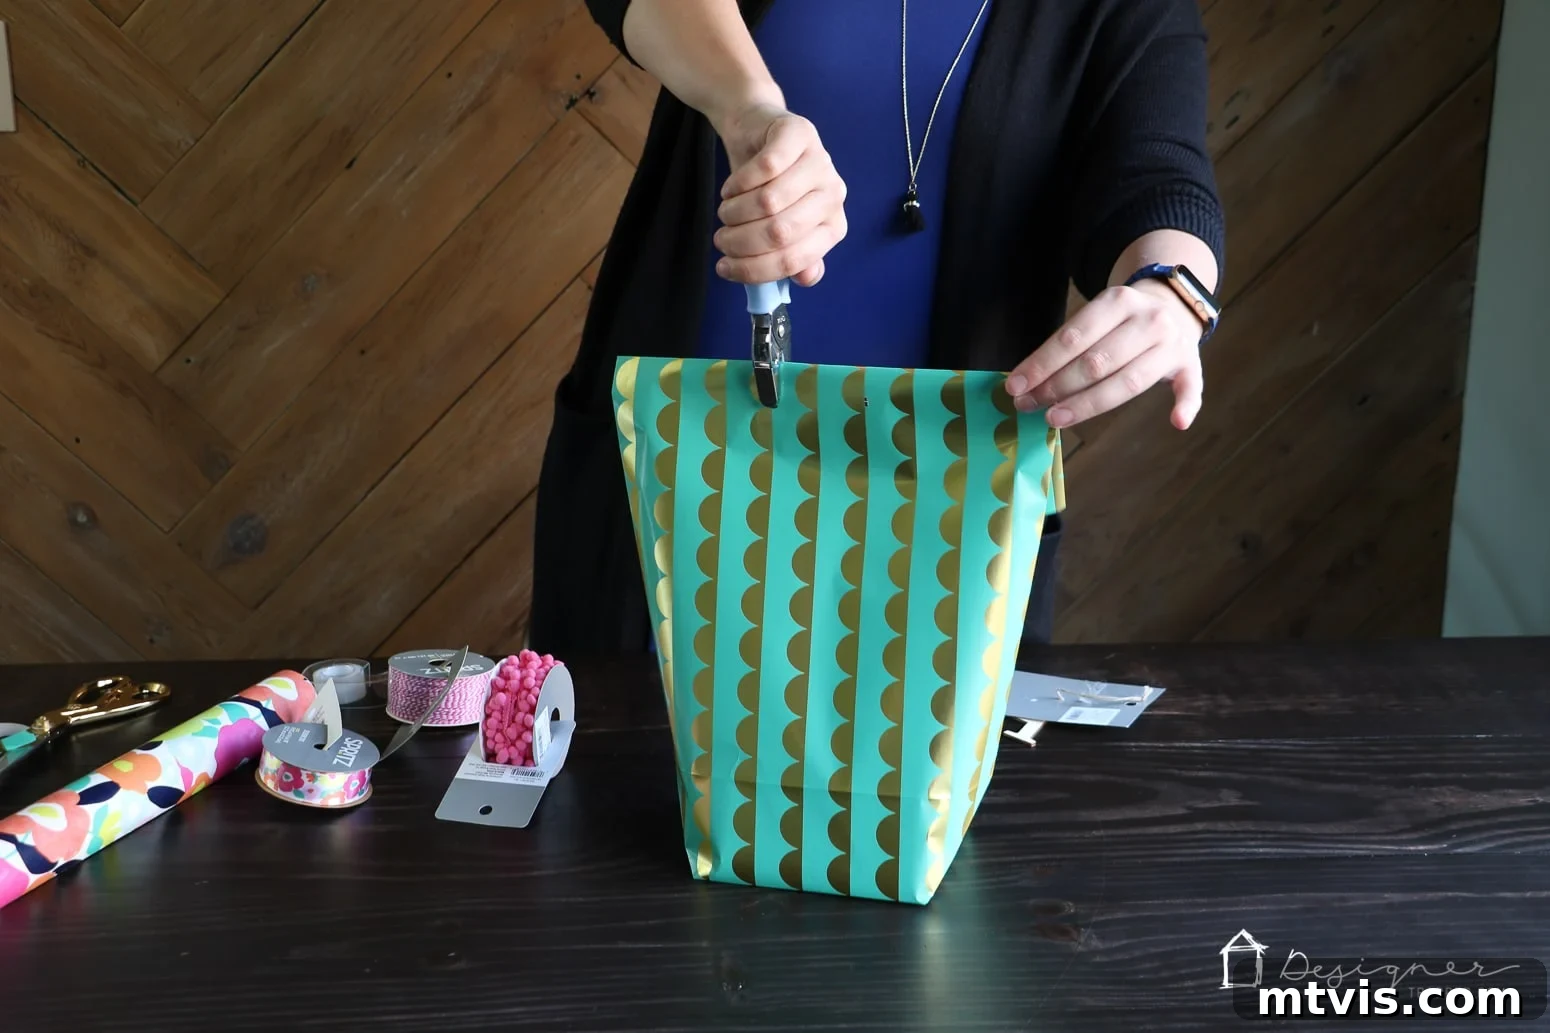
With your gift nestled securely inside, it’s time to finish the top. Fold the top edge of the bag over towards the backside. This creates a neat, reinforced edge and provides a sturdy area for the handles. Ensure this fold is even and crisp. Now, take your rectangle hole punch (or a standard circular punch) and create two evenly spaced holes through this folded top flap. These holes will serve as the anchors for your chosen ribbon handles. The spacing should be appropriate for the size of your bag and the gift within.
-
Finish it off with ribbon.
The grand finale! Cut a length of your chosen ribbon. Thread one end of the ribbon through one of the punched holes from the outside in, and then back out through the other hole. Adjust the ribbon so both ends are of equal length on the outside. Tie a beautiful knot to secure the ribbon, or for an extra touch of elegance, fashion it into a decorative bow. You can also add a small gift tag, hanging it from the ribbon, to complete your personalized presentation. Your custom-made gift bag is now ready to impress!
There you have it – a complete guide on how to create stunning, personalized gift bags from ordinary wrapping paper! Aren’t these DIY gift bags absolutely charming? The simplicity and effectiveness of this method mean you’ll never look at store-bought options the same way again.
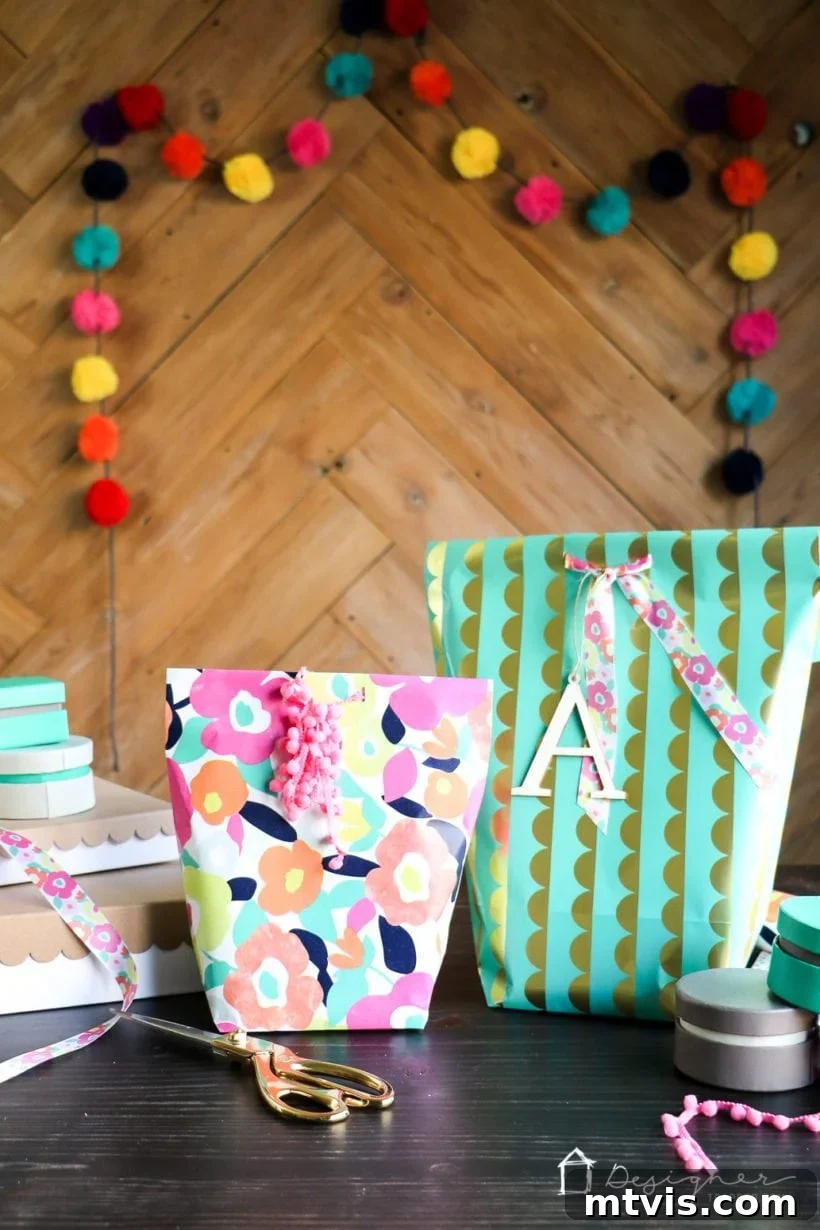
With just a few easy steps, you can transform a flat sheet of wrapping paper into the perfect vessel for any gift. This technique is especially invaluable for those awkward, oddly shaped items that are a nightmare to wrap traditionally. Once you’ve mastered how to make a gift bag, I doubt you’ll ever want to buy one again. The satisfaction of a handmade presentation is simply unmatched.
Tips for Success with Your DIY Gift Bags:
- Choose Quality Paper: While any wrapping paper works, a slightly thicker, higher-quality paper will result in a more durable and professional-looking bag. It holds creases better and is less prone to tearing.
- Crisp Creases: Use a bone folder or the edge of a ruler to achieve sharp, clean folds. This attention to detail significantly enhances the final appearance of your bag.
- Practice Makes Perfect: If you’re new to this, try a smaller piece of scrap paper first to get a feel for the folds, especially the bottom diamond shape.
- Reinforce Heavy Gifts: For heavier items, consider adding a piece of cardboard to the bottom of the bag (secured with tape inside) for extra support.
- Personalize: Don’t stop at just the ribbon! Add embellishments like glitter, stickers, custom labels, or even small charms to make each bag truly unique.
Looking for some exquisite wrapping paper to elevate your DIY gift bag game? Below are some of my top recommendations. Investing in high-end paper, even at a slightly higher price point, still often results in a more affordable and undoubtedly more beautiful bag than most store-bought options. Plus, premium papers tend to be thicker, offering better durability and a wider range of unique, sophisticated patterns. Many of these selections are available in rolls or convenient packs of single sheets, making your crafting even faster and easier! Stock up on a few of your favorite designs to always have on hand for quick and easy homemade gift bags.
For product details, please search for similar items from your preferred retailers.
GIFT GUIDES & Ideas
SEE ALL gift guides
-
The Best Gifts for Crafters, DIYers and Makers
-
The 19 Best Gifts for Grandparents
-
The Absolute Best Housewarming Gift Ideas
-
Thoughtful Mother’s Day Gift Ideas
-
Favorite Things Gift Ideas Under $25
-
Holiday Gift Guide Collection
Curious about how I approach transforming rooms and spaces in our home? Be sure to explore Designer in a Binder® – your affordable and straightforward solution to home decoration.
And for those who desire exclusive content, behind-the-scenes sneak peeks, and the latest updates, remember to subscribe before you leave!