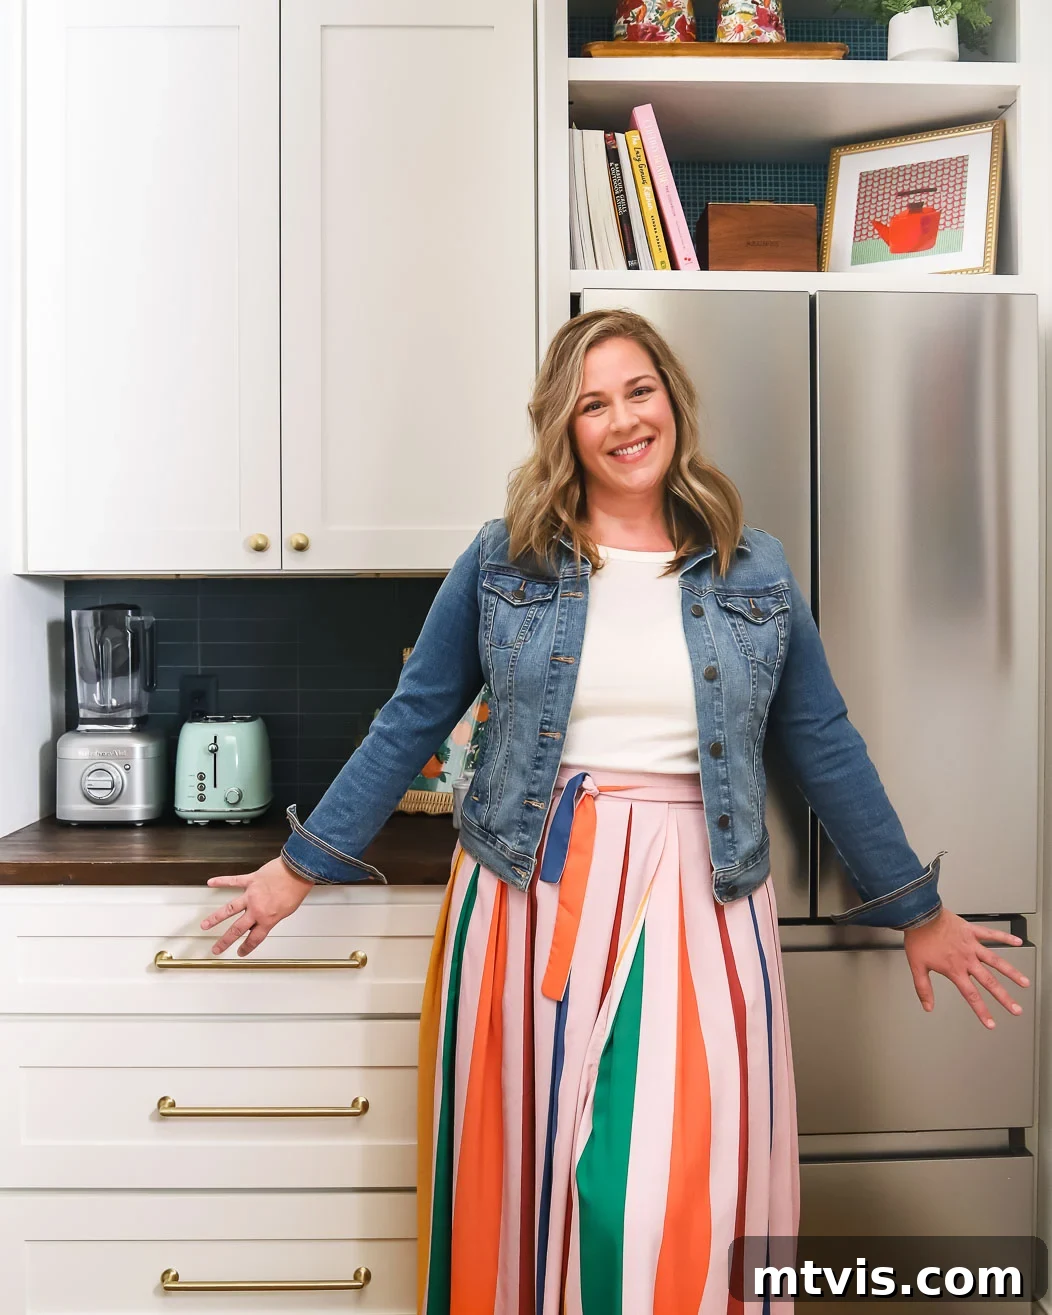
Do you have one of those often-unused built-in desks in or near your kitchen? You know the kind – a relic from the 1980s and 1990s that somehow found its way into homes, often ending up as a cluttered catch-all rather than a functional workspace. For many, these spaces, though initially well-intentioned, simply don’t serve a modern purpose. We certainly didn’t find ours useful, which inspired us to reimagine and transform it into a highly functional butler’s pantry!
This post is packed with inspiring photos of our finished butler’s pantry, showcasing its beauty and practical design. More importantly, I’ll guide you through our entire transformation journey: explaining why we decided to make these significant changes, detailing how we developed the space plan and overall design, and sharing invaluable insights into the design process itself. It’s crucial to understand the thought and effort behind the polished “after” photos, and I truly hope you find our experience helpful and inspiring for your own home projects!
Table of Contents
This post contains affiliate links for your convenience. Click here for my full disclosure policy.
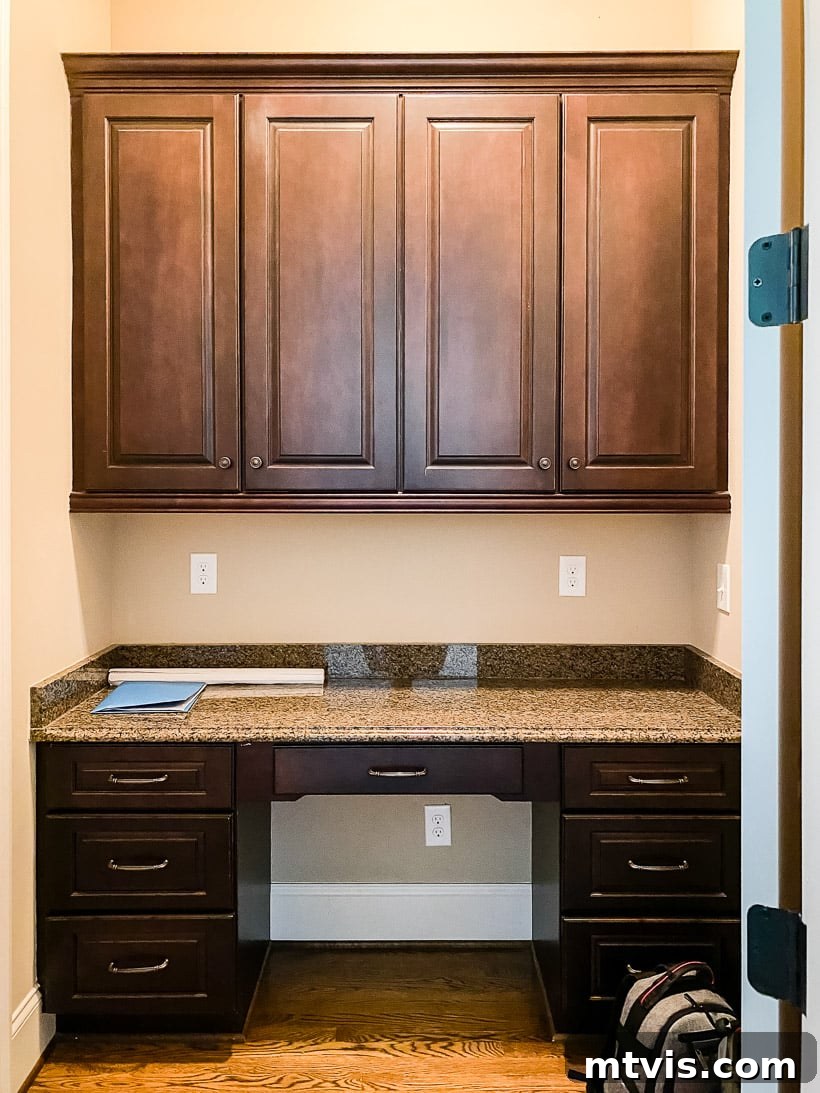
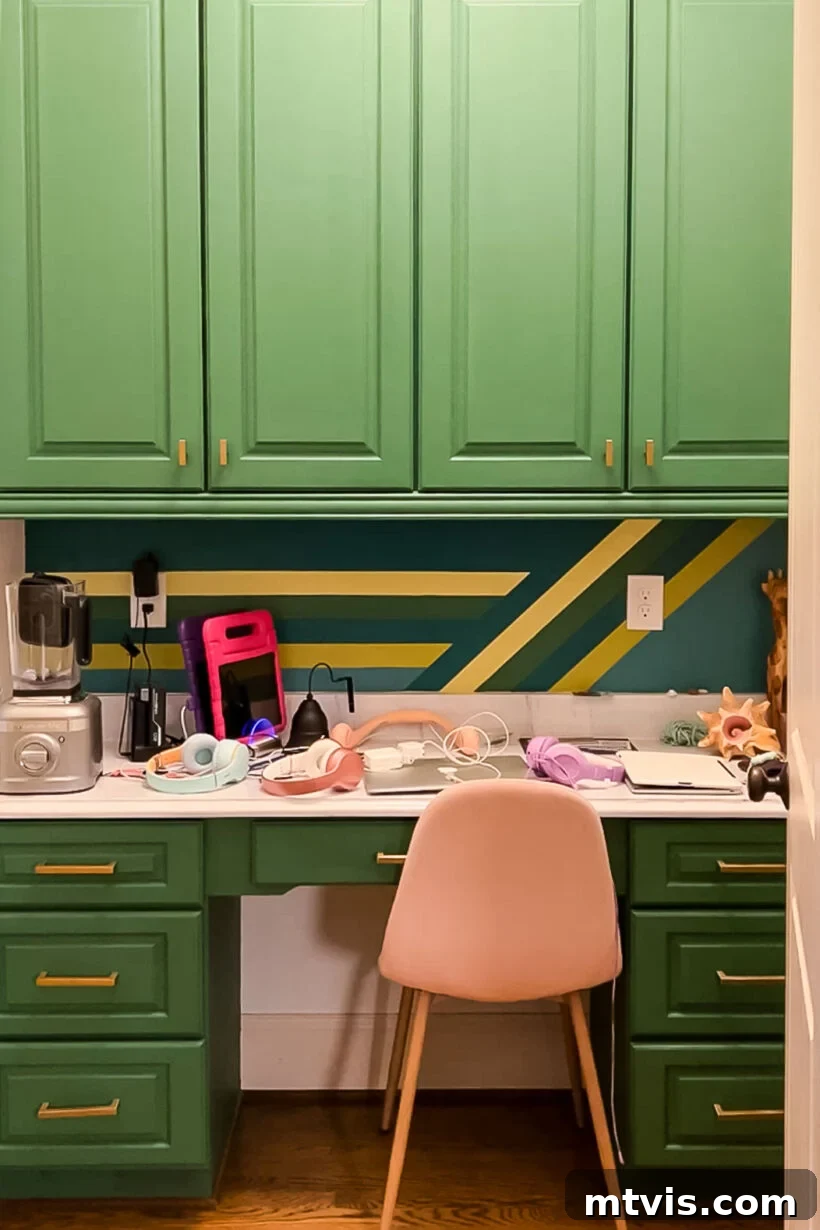
Even though our current home was built in 2012, well after the built-in desk fad had passed, it still featured one of these awkward desk/office areas positioned between our kitchen and a spacious walk-in pantry. As you can see below, this is how the space looked when we first moved in. About two years ago, we attempted a cosmetic refresh, painting the cabinets, updating the backsplash, and covering the dated granite countertops with a faux marble vinyl. While it offered a slight improvement, it didn’t fundamentally solve the underlying issue of functionality.
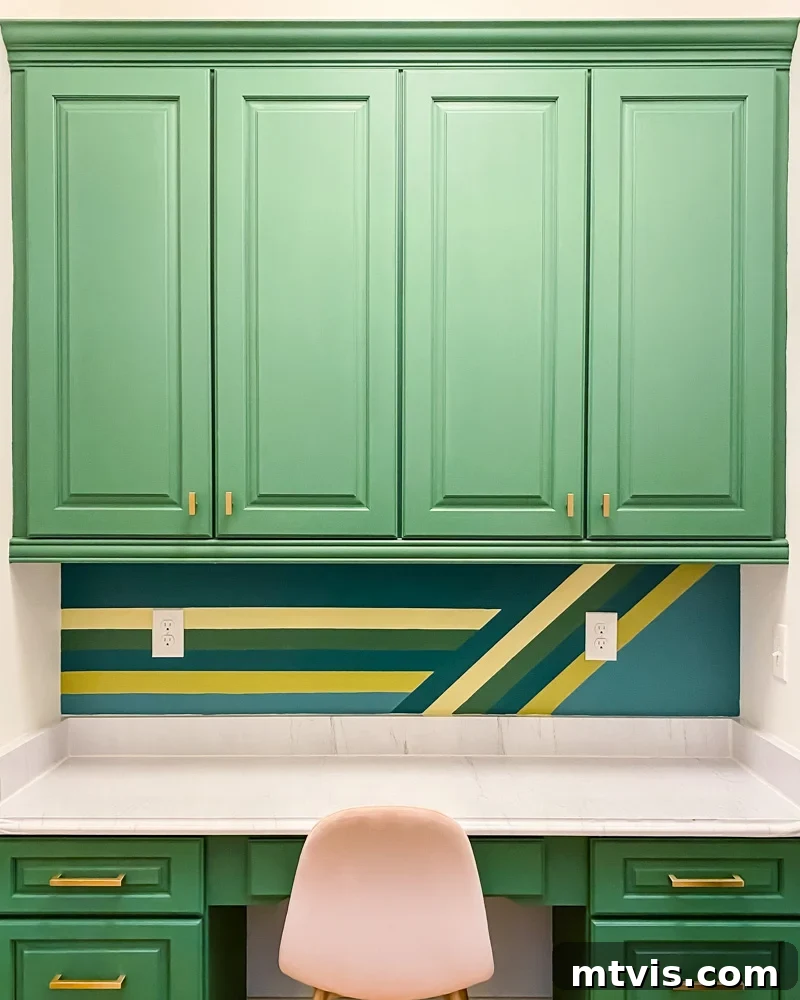
The Unloved Built-In Desk: A Common Kitchen Dilemma
Despite its designation, this space never truly functioned as an office for us. We already had a dedicated desk area with filing drawers in our family room, perfect for managing bills and other administrative tasks, located conveniently next to our DIY wall shelves. So, the reality of this built-in desk was far from its intended purpose. It became a constant magnet for clutter, an ever-present horizontal surface that collected random items. Even though we pride ourselves on being tidy people, the lack of a clear, daily use for this area meant it frequently fell into disarray, undermining the overall organization and aesthetic of our kitchen.
This inefficient use of valuable square footage became a major source of frustration. For anyone who’s followed my blog or social media, you’ll know that wasted or underutilized spaces are a pet peeve of mine. Our homes should work for us, making daily life easier and more enjoyable. A perpetually cluttered corner, regardless of cosmetic updates, simply wasn’t cutting it. It was clear this space needed a radical reinvention. This realization spurred our decision to transform this neglected area into a highly functional butler’s pantry – a space we would genuinely use multiple times every single day, dramatically enhancing our home’s efficiency and appeal.
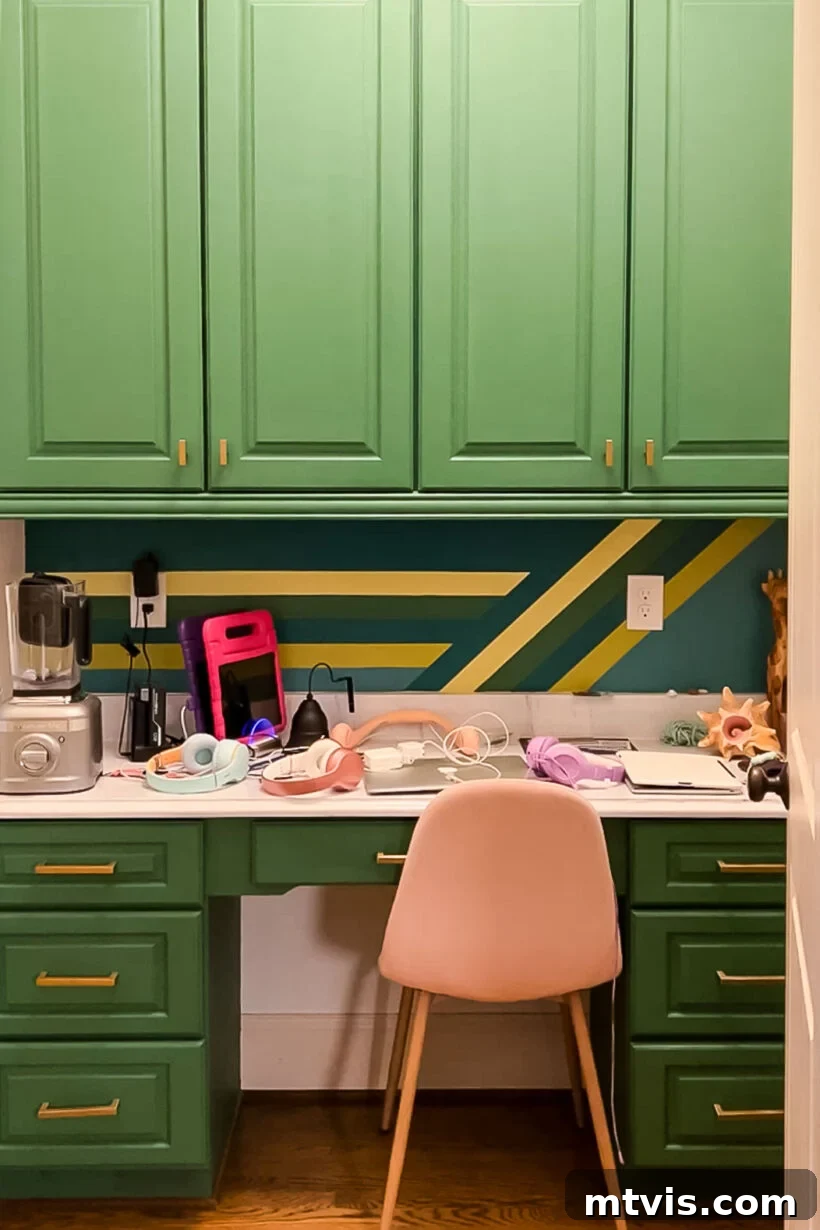
Understanding the Butler’s Pantry: History, Evolution, and Modern Applications
To truly appreciate the transformation of our space, it helps to understand what a butler’s pantry is and its evolving role in home design. Historically, a butler’s pantry was a dedicated room or area, typically situated between the kitchen and the dining room in grand homes. Its primary function was as a service and storage hub, allowing household staff to prepare and stage meals, store fine china and silver, and manage cleanup out of sight from dinner guests. This strategic location ensured that the main kitchen – often a bustling, messy workspace – remained hidden, preserving an elegant dining experience for the hosts and their guests.
Today, the concept of a butler’s pantry has adapted to modern living, becoming a highly versatile and coveted feature in many homes. While it still offers valuable additional storage, its utility has expanded far beyond just concealing kitchen messes. Many homeowners now utilize butler’s pantries as secondary food preparation areas, allowing for light cooking, smoothie making, or lunch packing without cluttering the main kitchen. Others find it ideal for storing less aesthetically pleasing but highly functional small appliances, such as blenders, toasters, air fryers, and coffee machines, keeping them readily accessible yet out of sight when not in use. It can also serve as a dedicated bar area for entertaining or a supplementary ‘working kitchen’ behind the primary one, providing a quiet zone for culinary tasks. This evolution highlights the butler’s pantry’s enduring appeal as a space designed to enhance convenience, organization, and the overall flow of a busy household.
Why a Butler’s Pantry Was Our Perfect Solution: Enhanced Functionality and Style
For our family, the decision to convert our neglected built-in desk into a butler’s pantry was driven by several key needs that this functional space perfectly addressed. Firstly, our grocery shopping habits often benefit from a secondary refrigerator. While a garage fridge is an option, having a second fridge conveniently located within the house, just steps from the kitchen, is incredibly practical for fresh produce, drinks, and overflow items. Given that our existing built-in area sat directly between our main kitchen and our already extensive walk-in pantry, it presented the ideal location for this essential appliance, making our daily routines much more efficient.
Secondly, the size of our main kitchen, while adequate, is deceptively short on usable counter space. This meant that everyday small appliances like our blender and toaster often took up prime real estate, contributing to a feeling of clutter. A butler’s pantry offers a dedicated zone to house these items, freeing up our main kitchen counters for primary cooking tasks. This setup creates a perfect, specialized spot for making morning smoothies, preparing toast, or packing lunches, streamlining these common activities. The added benefit of a dedicated countertop in the pantry ensures that these quick prep tasks can happen without disrupting the main kitchen’s workflow or aesthetics. Essentially, our new butler’s pantry serves as a vital extension of our kitchen, providing much-needed secondary refrigeration, organized storage for small appliances, and a convenient prep area that significantly enhances both the functionality and enjoyment of our home.
Crafting the Vision: Our Butler’s Pantry Layout and Design Process
With a clear understanding of our needs and the potential of the space, the exciting part of designing our butler’s pantry began. My first step was to consult my trusted Designer in a Binder®. This incredible resource, with its structured worksheets and insightful questions, provided instant clarity on critical aspects like functionality, space allocation, and aesthetic preferences. It’s truly amazing how quickly the answers to these questions help to define the project scope.
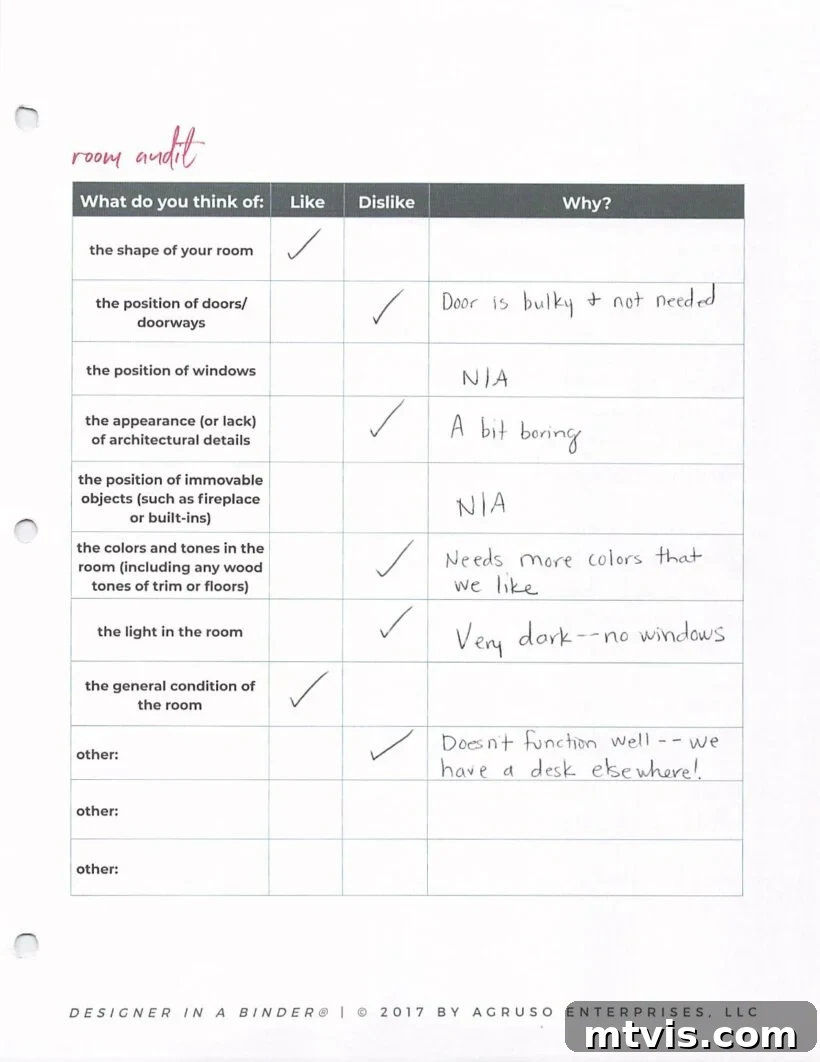
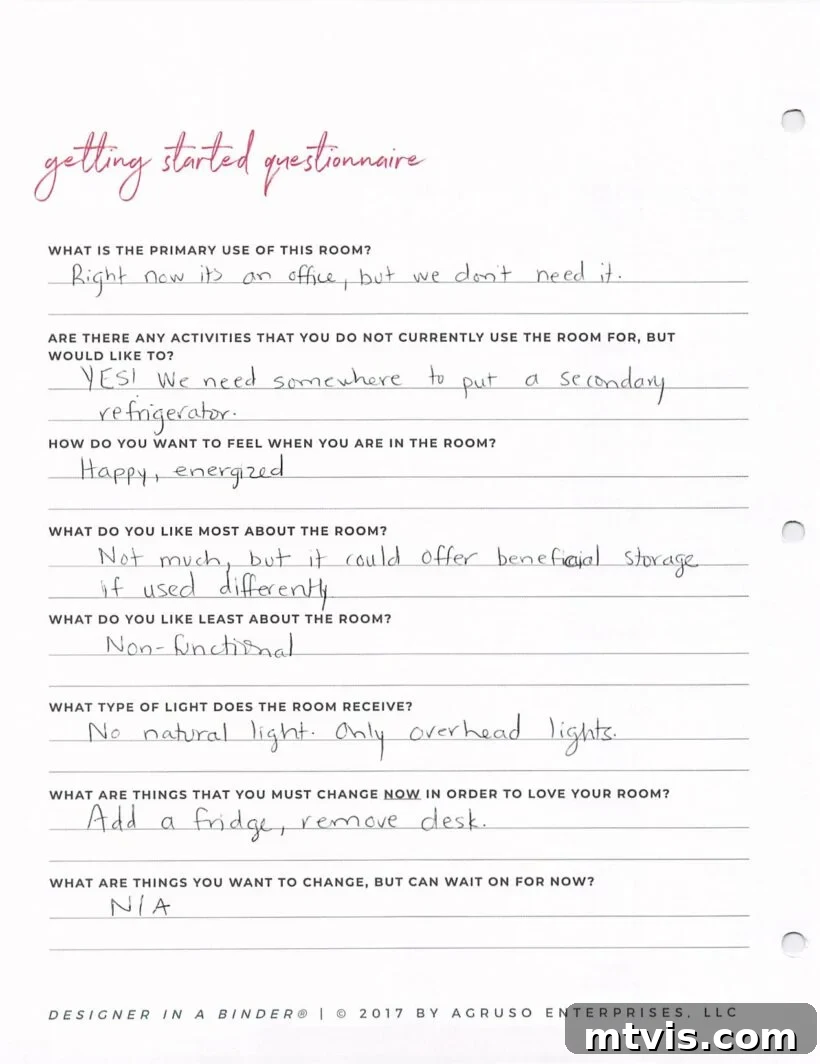
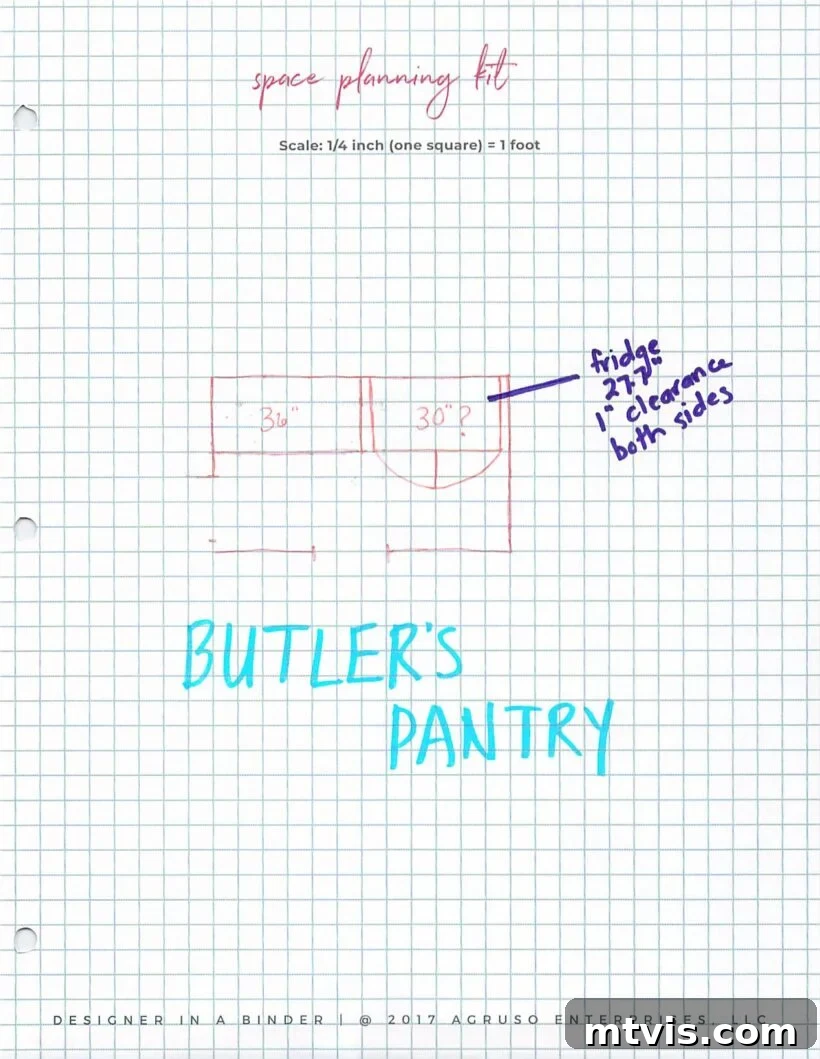
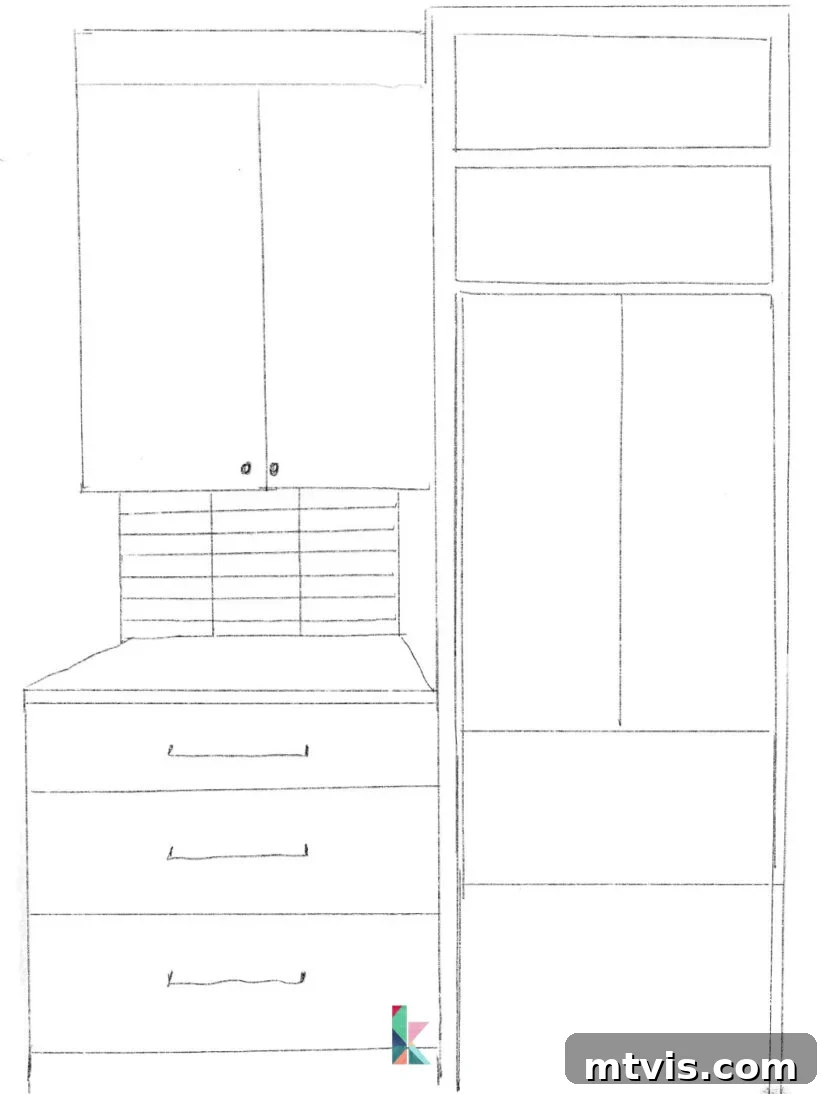
Once the worksheets provided a foundational understanding of what we needed and what was realistically possible, I moved on to sketching. Knowing what we could (barely) fit into our future butler’s pantry—primarily the secondary refrigerator, cabinets, and a countertop—allowed us to create a practical layout. Here is a sketch representing the efficient design we developed, optimizing every inch of the compact space.
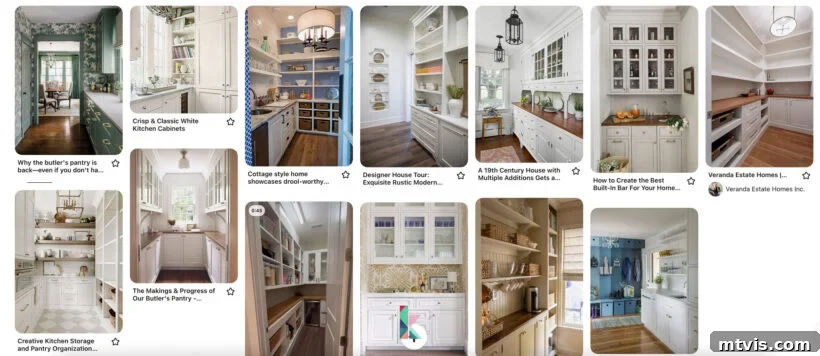
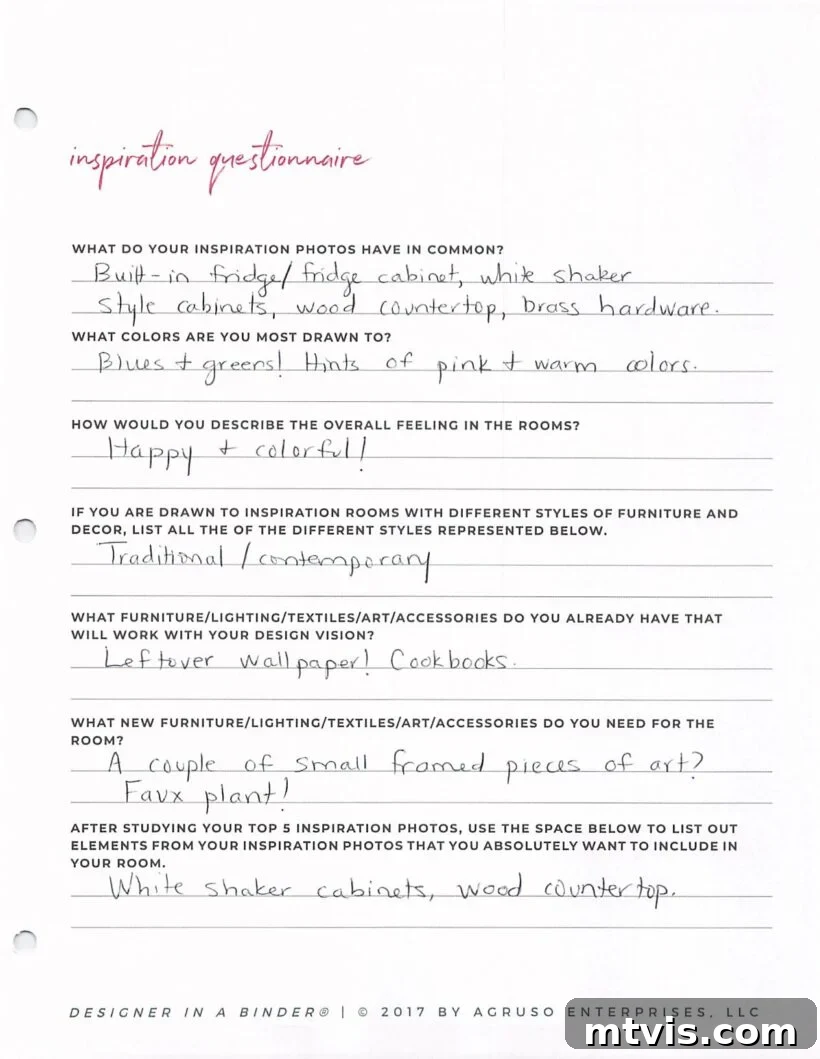
Next came my absolute favorite part of any design project: finding inspiration and developing a cohesive design plan. I immersed myself in the inspiration section of Designer in a Binder®. The method taught in the binder for pinpointing inspiration and translating it into a concrete design is incredibly effective and surprisingly effortless. I pinned and carefully studied numerous inspiration photos, meticulously filling out the associated questionnaire in the binder. This process quickly revealed a strong preference for white cabinets and warm wood countertops. I also noticed that three of my top inspiration designs incorporated wallpaper, which immediately signaled its importance as an element to include in our plan!
To pull all these elements together and visualize them harmoniously, I created a mood board using Canva. This digital collage allowed me to experiment with different colorful kitchen art pieces until I achieved a look that felt cohesive and vibrant. A stroke of luck significantly helped with our budget: we had leftover wallpaper from a previous project where I’d added it behind the DIY wall shelves in our family room. Even better, we had enough tile remaining from our DIY fireplace makeover to tile the entire backsplash area! My only minor disappointment was realizing that the color-block runner we adored from our old house’s hallway was about six inches too long for this new space. However, these small victories in repurposing materials truly made the design process both fun and cost-effective.
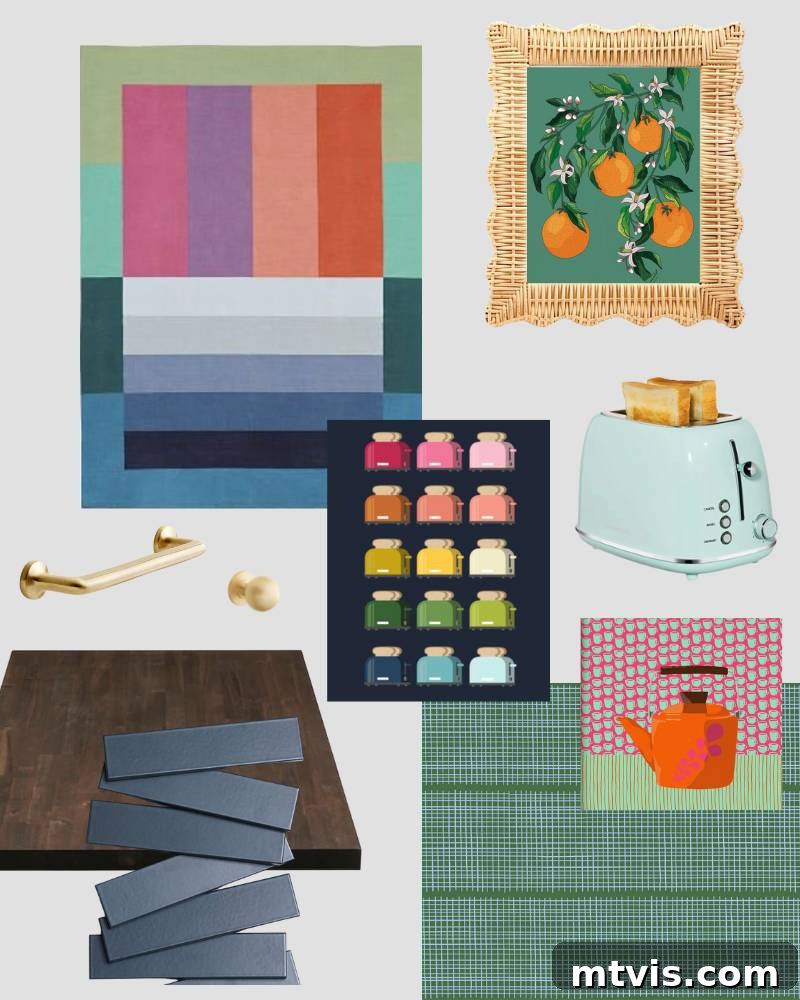
SHOP THE DESIGN
Turn on your JavaScript to view content (or find links in the source list below).
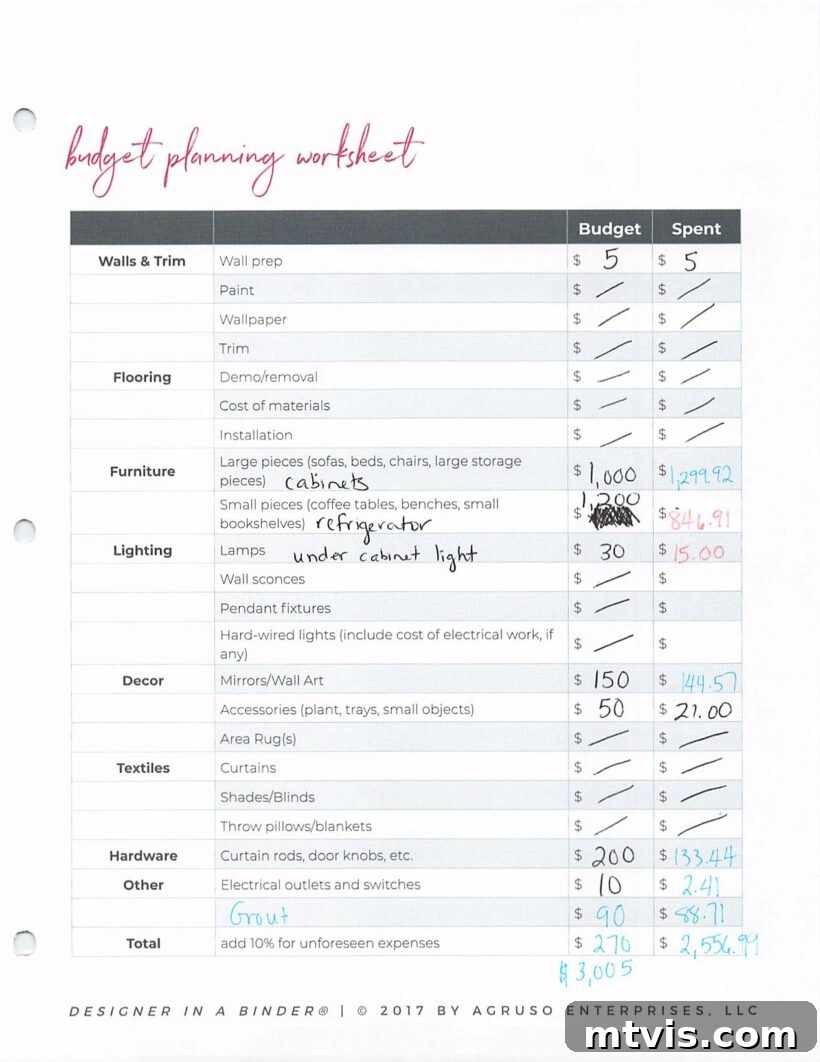
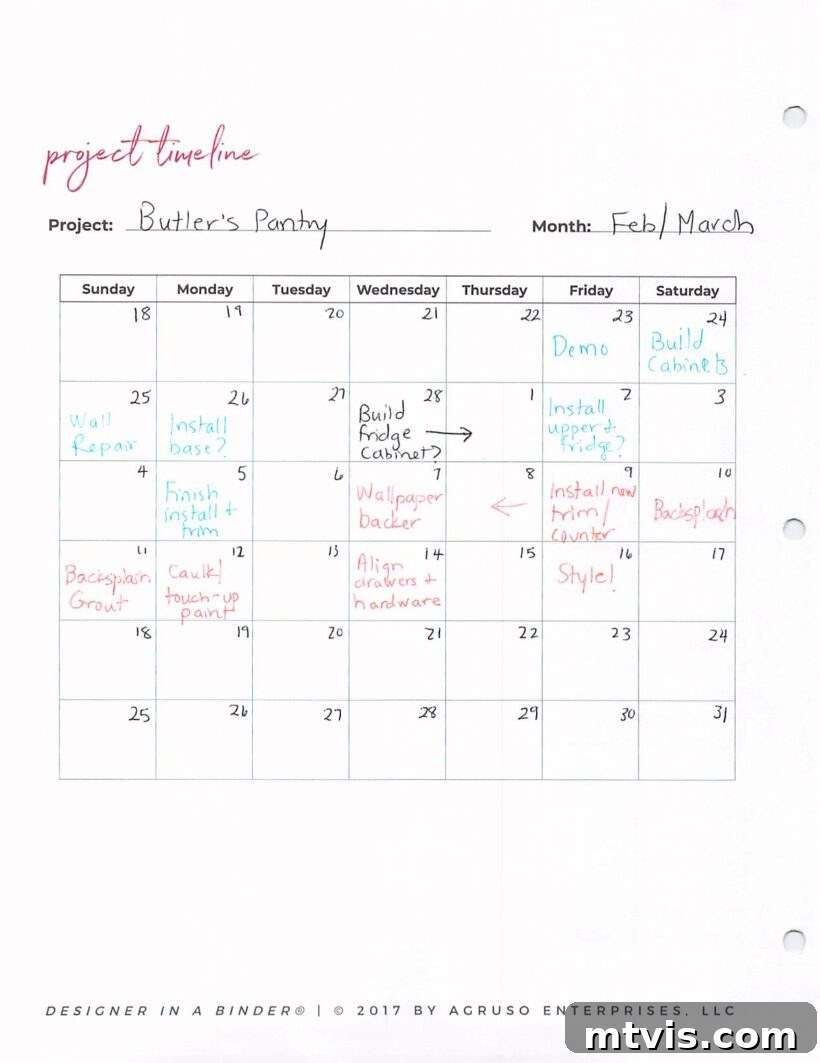
Once the design was finalized, I turned back to Designer in a Binder® to create a realistic budget, a comprehensive to-do list, and a detailed schedule for the project. As you can see from a couple of the worksheets below, this methodical approach is invaluable for keeping any home renovation on track. This particular project took us a while to complete, as we worked on it incrementally whenever we had spare time. It’s a great reminder that significant home projects, unlike the quick time-lapse videos you often see on social media, inherently require time and patience to bring to fruition.
Related Posts
- How to Install a Tile Backsplash
- 5 Tips for Decorating With Color Even When It Scares You
- Sherwin-Williams Pure White Color Review
- Interior Trim Ideas That Aren’t White
The Transformation Begins: Demolition and DIY Build Journey
Once the design and planning phases were complete, it was time to get our hands dirty and bring the vision to life. The first major step was the demolition of the old built-in office area. This involved carefully dismantling the existing cabinetry and countertops, creating a clean slate for our new butler’s pantry. We documented every step of this project, from the initial demo to the final touches. You can watch a condensed recap of the entire process in the video linked below. It’s important to remember, however, that while a video might make it look quick, this project spanned approximately a month from start to finish. This timeframe is entirely normal for a DIY renovation of this scope; home projects, especially those involving custom builds, simply require time and dedication.
A significant part of our DIY journey involved building a custom cabinet to perfectly house our secondary refrigerator. Since this 27.7″ refrigerator isn’t a standard size, off-the-shelf cabinets wouldn’t fit seamlessly. This custom build allowed us to ensure a perfectly integrated look, blending our DIY efforts with the pre-purchased upper and lower cabinets. This meticulous approach was crucial for achieving a high-end, cohesive finish that truly maximized the functionality and aesthetic appeal of our new butler’s pantry.
Watch a summary of our entire DIY butler’s pantry transformation here: [Link to Video Recap]
The Grand Reveal: Our Beautiful and Functional Butler’s Pantry
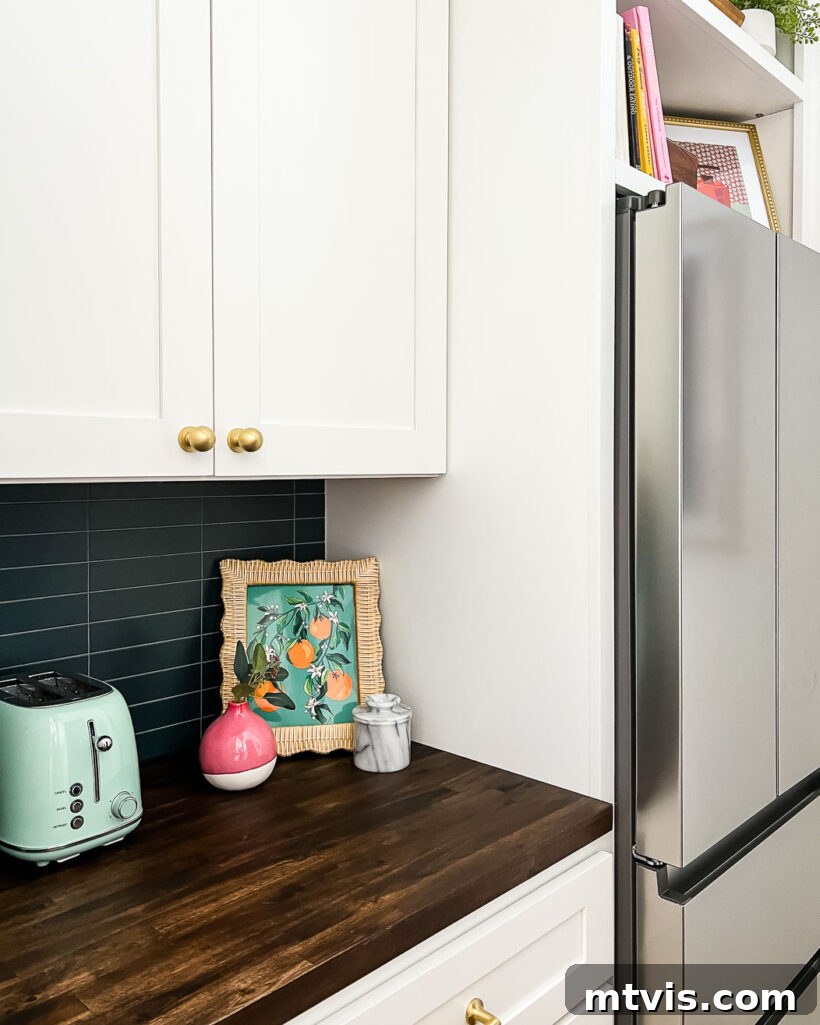
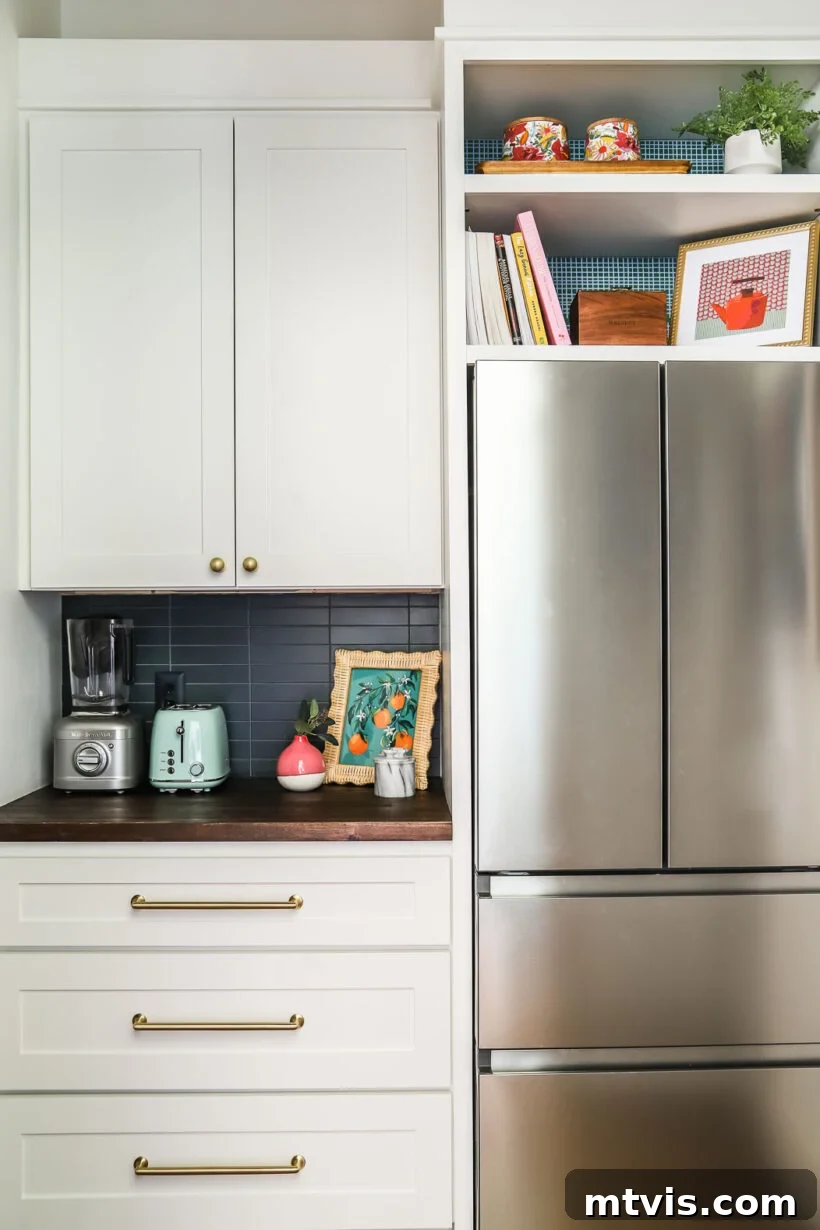
Having followed our journey from a cluttered, unused built-in desk to a carefully planned and executed renovation, it’s finally time for the grand reveal! The transformation is truly remarkable. If you followed our progress on Instagram, you’ll know that we purchased the core upper and lower cabinets. However, a proud accomplishment for us was building a custom cabinet specifically for our secondary refrigerator. Since this 27.7″ refrigerator is not a standard size, a custom build was essential. I’m incredibly pleased with how seamlessly our handcrafted cabinetry blends with the store-bought units, creating a unified and polished look.
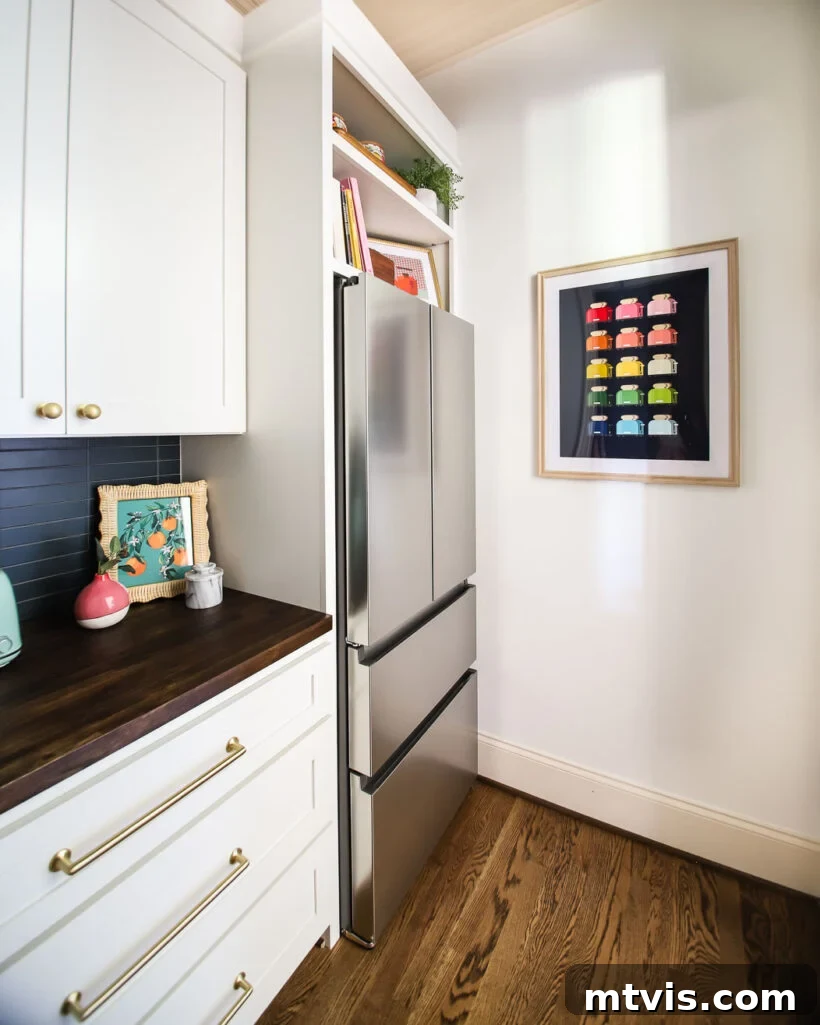
I am absolutely thrilled with how the backsplash turned out, adding a sophisticated pop of color and texture to the space. For those inspired to tackle a similar project, you can learn how to install a tile backsplash the easy way in my detailed tutorial, and explore more budget-friendly DIY backsplash ideas here. The combination of classic white cabinetry, the warmth of the wood countertop, and the vibrant navy tile backsplash creates a balanced, elegant foundation that truly makes the pantry shine.
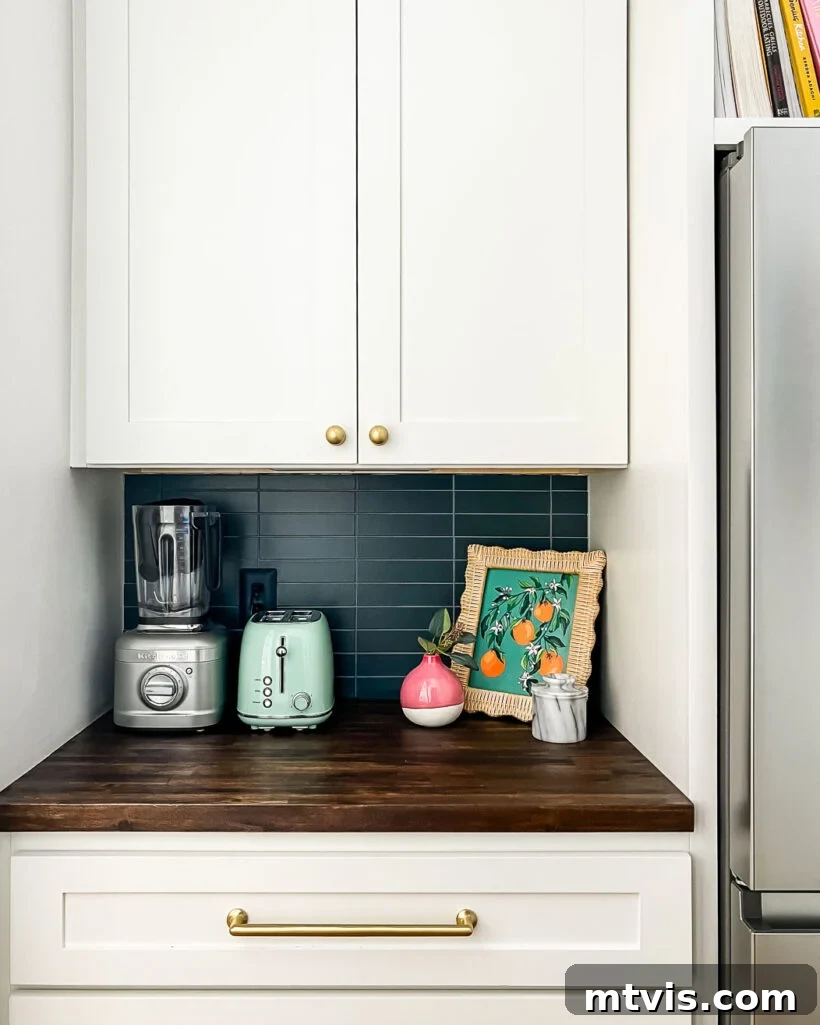
Injecting Personality: Color and Decor in Our Pantry Design
While the structural elements of the pantry—white cabinetry, wood countertop, and navy tile backsplash—create a beautiful, neutral foundation, you know I couldn’t resist bringing in some vibrant color! My goal was to infuse personality and charm through creative decor choices. If the idea of decorating with color excites you but also makes you a little nervous, I encourage you to check out my post: 5 Tips for Decorating With Color Even When It Scares You. It’s all about building confidence to embrace a colorful aesthetic.
My first strategic pop of color came from using this beautiful wallpaper to cover the back panel of the refrigerator cabinet. I absolutely adore how it looks peeking out from behind the open shelving. For added flexibility, I utilized my proven method for making any wallpaper removable, ensuring we can easily change the look if we ever desire a refresh. This small detail makes a huge impact, adding an unexpected layer of visual interest.
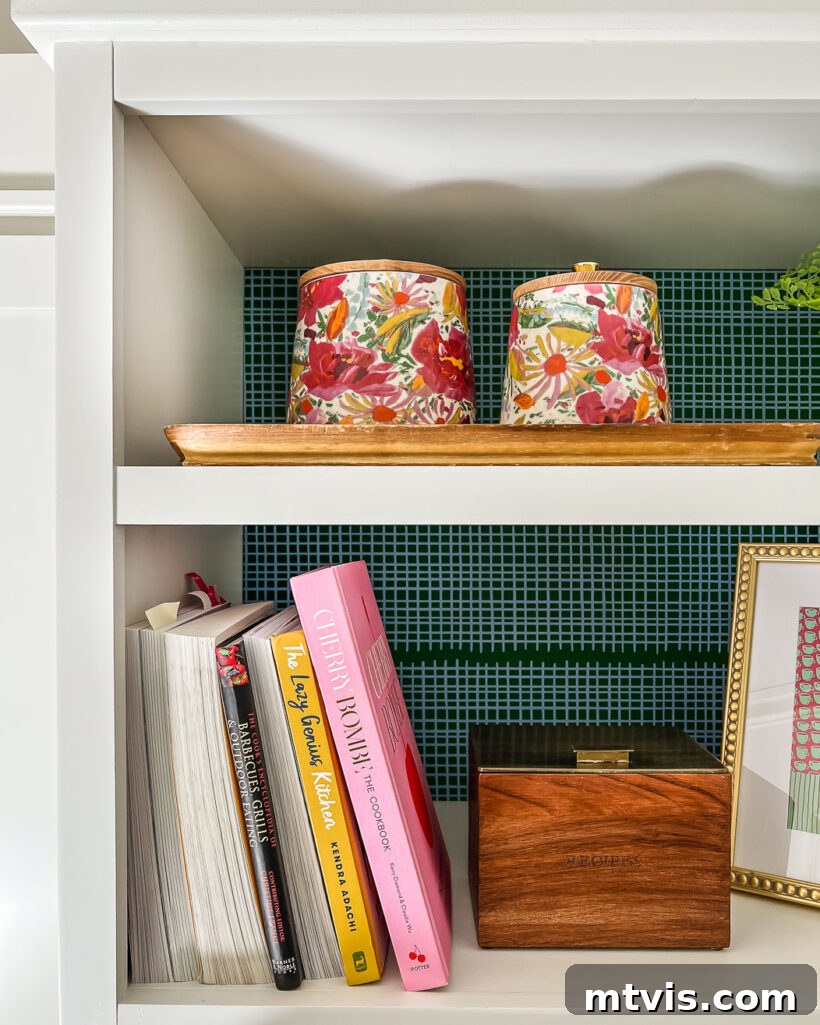
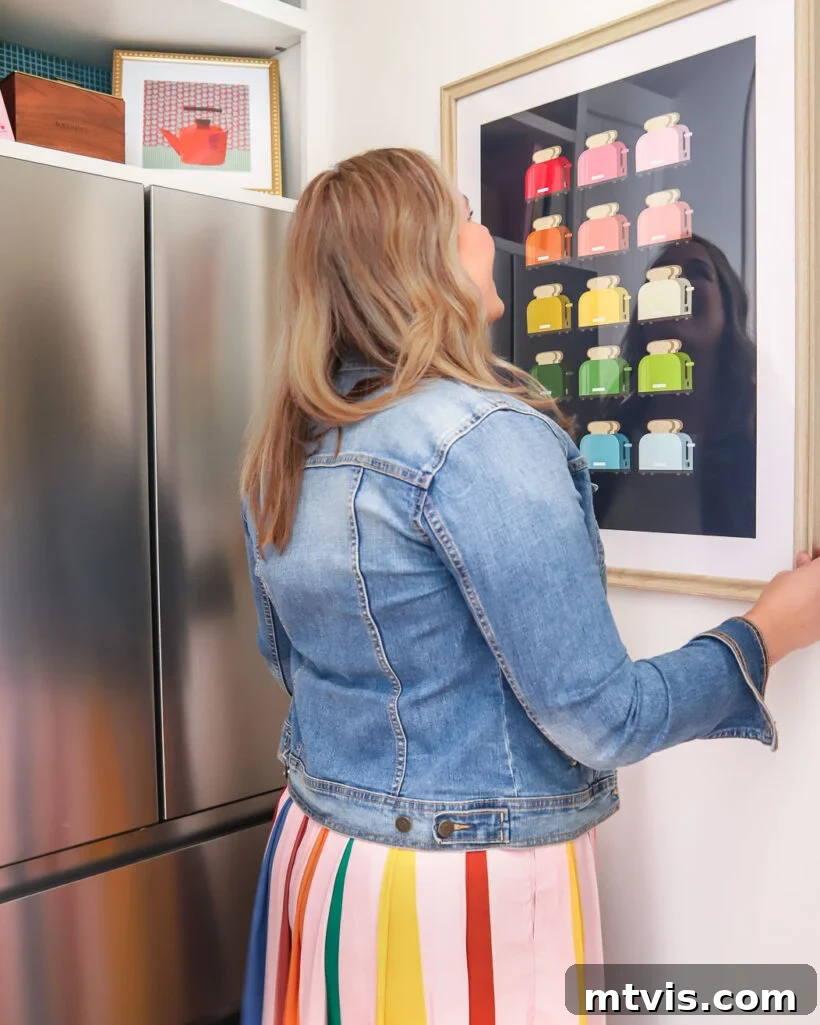
To further enhance the vibrant theme, I brought in more color through carefully selected kitchen art, a display of our favorite cookbooks, and even our charming toaster, which now sits proudly on the counter. These elements collectively contribute to a cheerful and inviting atmosphere, proving that functional spaces can also be incredibly beautiful. Every piece was chosen to complement the existing color palette while adding its own unique flair.
Finally, I added a deeply personal touch: a collection of paint-by-number postcards that our girls and I painted together about five years ago. These special pieces are displayed on a narrow strip of wall beside the door opening, serving as a sweet reminder of cherished memories every time we walk in and out of the pantry. It’s these small, sentimental details that truly make a house feel like a home. We are absolutely in love with our new butler’s pantry and incredibly grateful to now utilize this once-wasted space every single day!
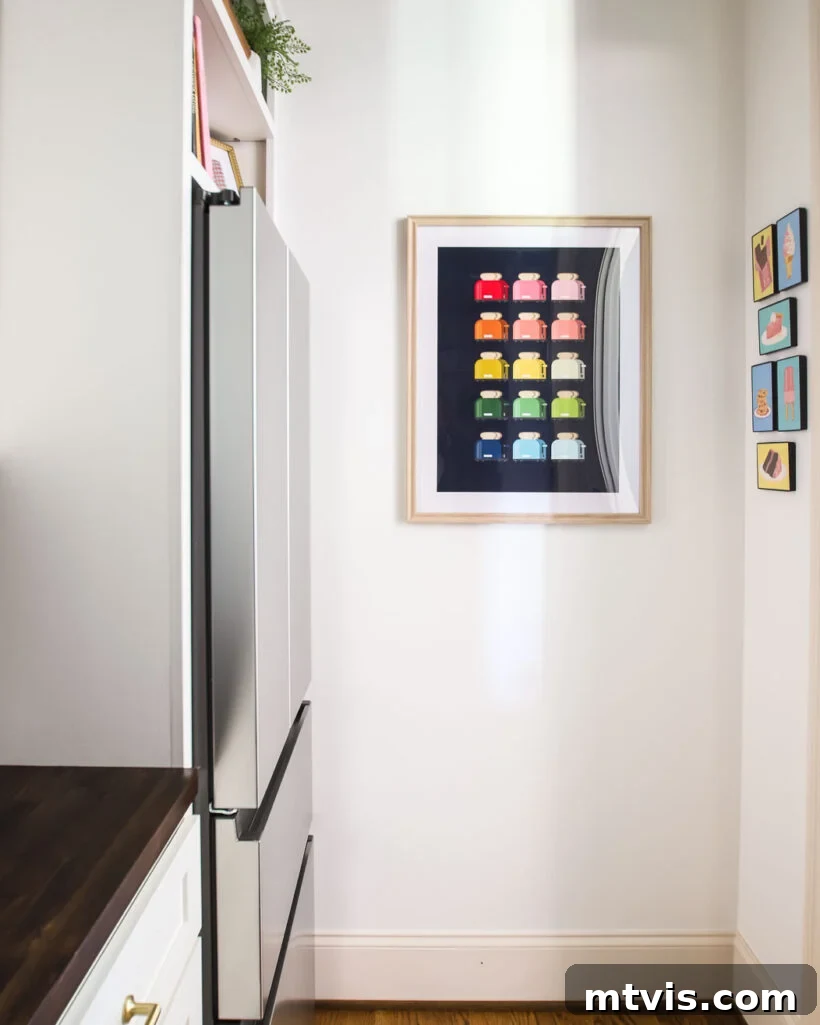
This project has been a true labor of love, and we couldn’t be happier with the outcome. I’ll be sharing more detailed tutorials on specific aspects of the build, along with tips on how we organize and efficiently use this space in upcoming posts. But for now, here’s one last look at the dramatic before and after transformation before you go!
Your Essential Guide: Butler’s Pantry Source List
Here’s a comprehensive list of all the products and materials we used to create our dream butler’s pantry. This will help you find the exact items featured in our transformation, making your own project planning easier:
- Backsplash Tile
- Toaster
- Mable Butter Keeper
- Refrigerator
- Drawer Pulls (ours are 12 inches long)
- Cabinet Knobs
- Wood Countertop
- Cabinets
- Wallpaper
- Orange Blossom Art
- Scallop Rattan Frame
- Gold Bead Frame
- Tea Kettle Art
- Recipe Box
- Faux Fern
- Colorful Toaster Art
- Wood Poster Frame
Expand Your Home’s Potential: More Design & Organization Inspiration
If you’re looking to further enhance your home’s functionality and aesthetic, consider diving into these related posts. They offer additional insights and creative ideas for maximizing your spaces and embracing color in your decor. Whether you’re planning another kitchen project or simply seeking fresh inspiration, these resources are here to help:
- Kitchen Pantry Organization Tips & Ideas
- Affordable DIY Countertops That Will Blow Your Mind
- How to Refinish Butcher Block Countertops
- Budget-Friendly Kitchen Makeover Reveal
- Creative Pantry Shelving Ideas to Optimize Storage Space
- How to Maximize Your Walk-In Pantry Space
More Design Inspiration
SEE MY DESIGNS
To see more of my own designs and successful transformations from fellow Designer in a Binder® customers, explore these inspiring posts:
-
Tips for a Budget Bathroom Makeover + Attley’s Bathroom Reveal
-
How to Decorate Bedroom Doors to Look Like Apartment Doors
-
Our Kitchen Renovation Reveal- It’s Neutral AND Colorful
-
Our Neutral But Still Colorful Kitchen Design
-
Why We Decided to Renovate Our Kitchen + The New Layout
-
Our Budget-Friendly Pantry Makeover
Curious about my personal approach to transforming rooms and spaces in our home? Look no further than Designer in a Binder® – it’s the comprehensive guide that walks you through every step of the design process, from inspiration to execution.
For exclusive content, behind-the-scenes sneak peeks, and direct updates on our latest projects, make sure to subscribe to our newsletter before you leave!
Thank you for joining us on this exciting journey of transforming our home, one purposeful space at a time. Your support and inspiration mean the world to us!