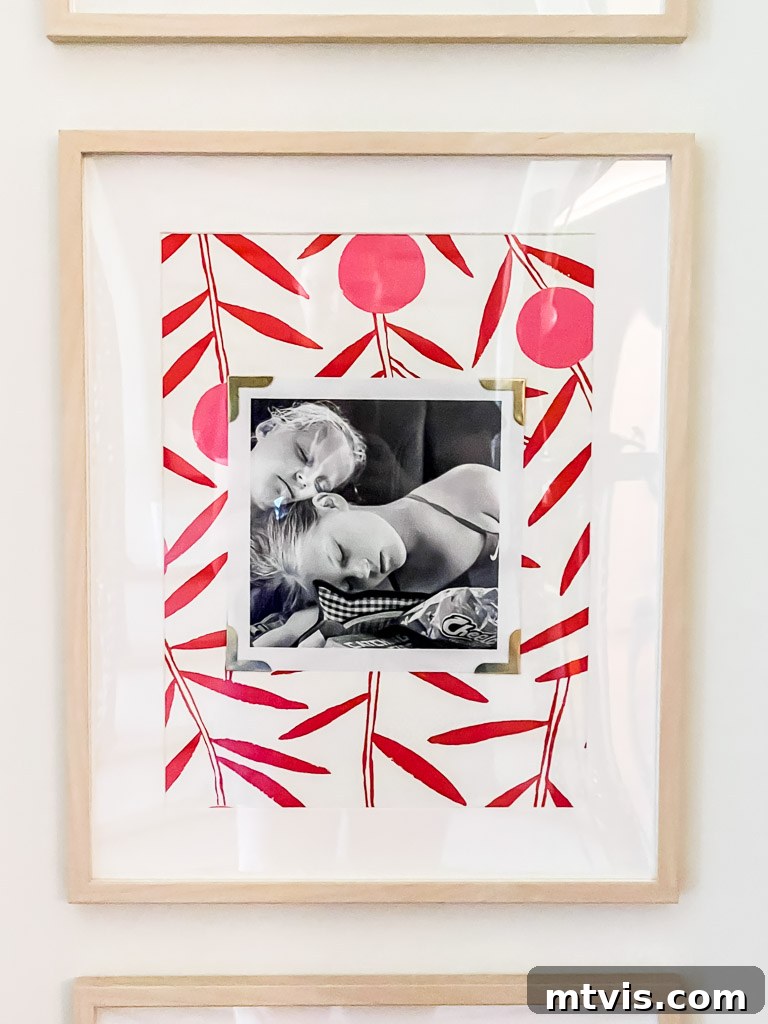
Crafting a Dazzling Family Photo Gallery Wall: A Unique DIY Guide with Wallpaper & Wrapping Paper
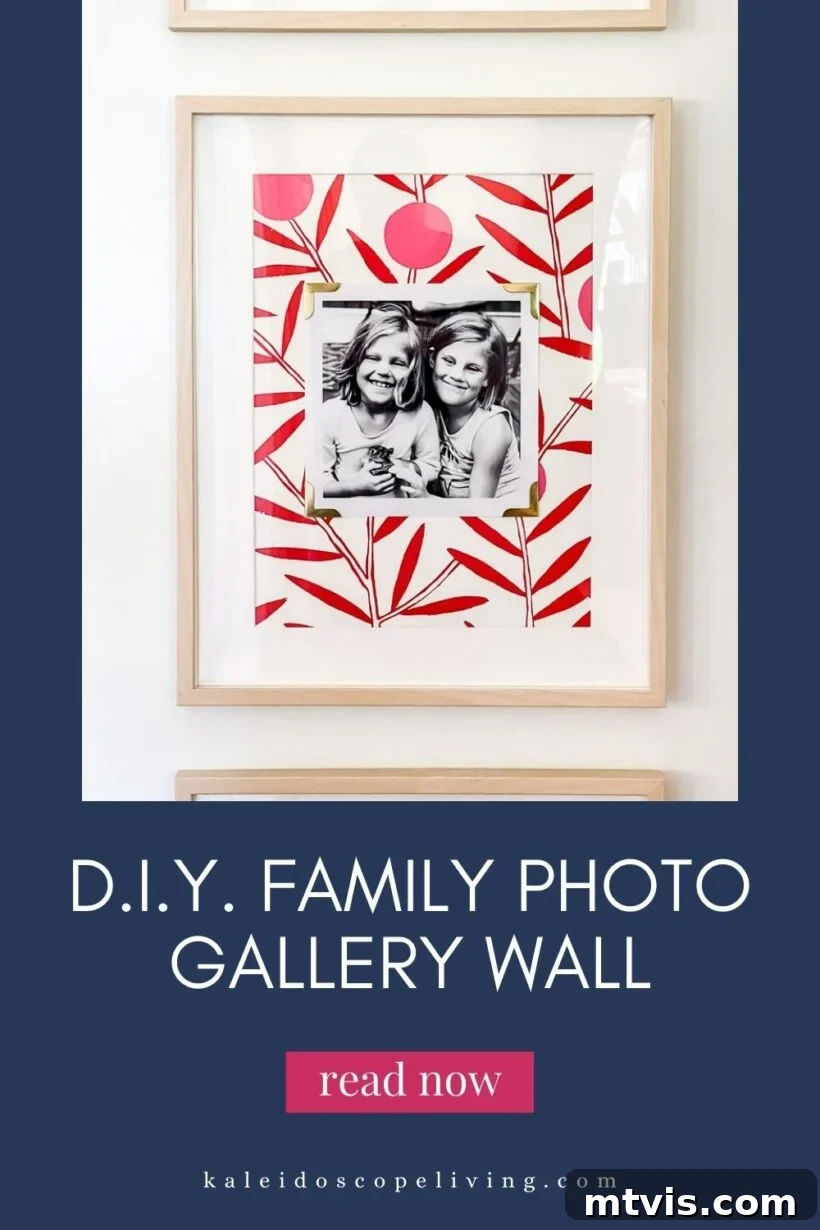
Hello, fellow home decor enthusiasts! If you’ve been following my journey on Instagram, you might have already caught a glimpse of this stunning family photo gallery wall project. It’s a creative and budget-friendly way to display your cherished memories, adding a vibrant splash of personality to any space. I’m thrilled to finally share a comprehensive tutorial, guiding you through every step. While the process isn’t overly complicated, some key supply choices and photo printing specifics are crucial for achieving that polished, high-end look. If you’re ready to transform an ordinary wall into an extraordinary showcase of your family’s moments, you’ve certainly landed in the right place.
There’s something incredibly special about surrounding yourself with family photos. They bring warmth, personality, and a sense of history into a home. You might recall the lively gallery wall that adorned the upstairs hallway of our previous home. While I absolutely adored that display, I found that those specific frames didn’t quite fit the aesthetic of our current upstairs board and batten hallway. Despite several attempts to rehang them, they just didn’t feel right. However, my desire to create a dedicated space for our most beloved family photos in our new home remained strong.
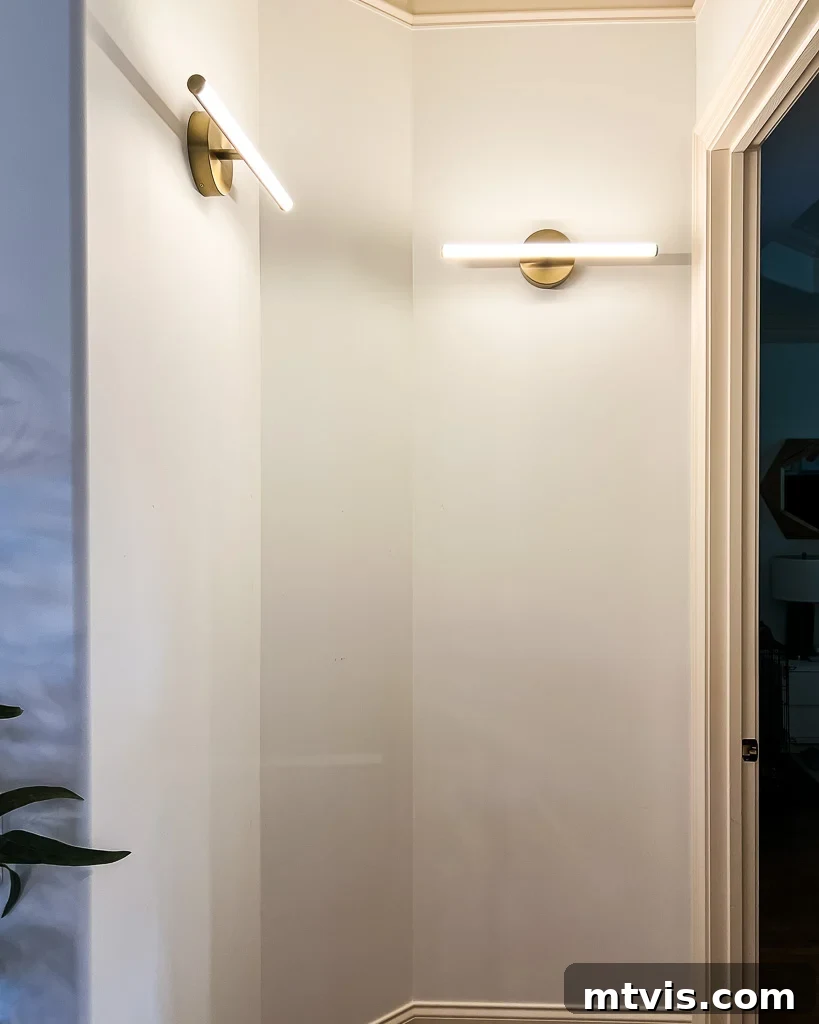
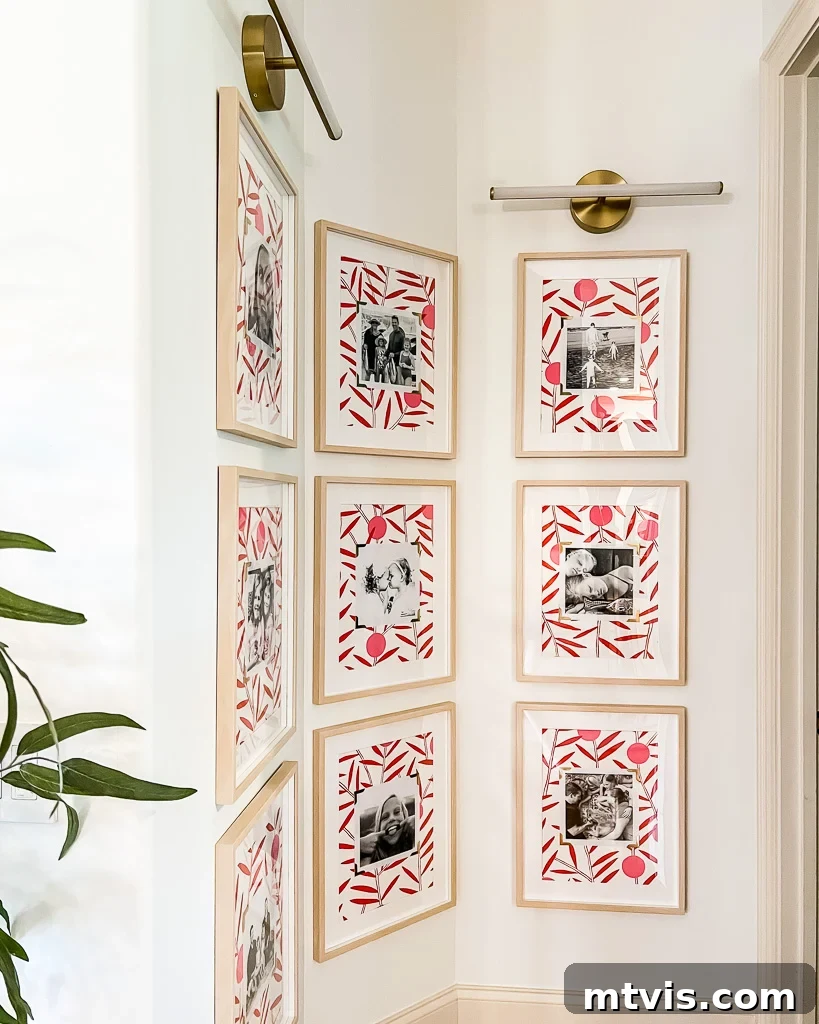
After settling in and observing the flow of our new living space, I realized that a charming little alcove, strategically located just outside our primary bedroom, was the ideal candidate. This particular spot desperately craved a touch of color, texture, and visual interest. By incorporating this unique family photo gallery wall, I was able to achieve two significant design goals simultaneously: beautifully displaying our family’s journey and infusing a much-needed decorative element into an otherwise overlooked area. It’s truly rewarding when a single project can accomplish so much, creating a focal point that is both meaningful and aesthetically pleasing.
How to Create Your Custom Family Photo Gallery Wall: A Step-by-Step Guide
Embarking on this DIY project is a fantastic way to personalize your home decor. The secret to elevating this gallery wall beyond the ordinary lies in combining affordable materials with thoughtful design choices. Here’s everything you’ll need to gather before you begin:
Materials Needed for Your DIY Family Photo Gallery Wall:
- 16 x 20-inch Frames: I highly recommend these inexpensive IKEA frames. They offer exceptional value and a clean, versatile aesthetic that suits many decor styles.
- Gold Photo Corners: These small but impactful details add a touch of vintage charm and sophistication. While I found mine at Hobby Lobby, you’ll discover numerous elegant options online or at local craft stores.
- Wallpaper or Wrapping Paper: This is where you infuse personality! I used this specific wallpaper, which comes in various appealing colorways. Remember, you’ll only need a fraction of a roll, making this a cost-effective design hack. For an even more budget-friendly approach, consider using high-quality wrapping paper with a beautiful pattern.
- Hot Glue Gun: Essential for securely attaching the photo corners and photos to your decorative paper.
- 8 x 8-inch Black and White Photos: For a cohesive and artistic look, I suggest printing your photos in black and white with a matte finish. Crucially, ensure they are printed by Shutterfly (or a similar service) with a distinct .4-inch white border around each image. This border creates a visual separation, allowing your photos to pop beautifully against the patterned background.
- Tape: Useful for temporarily securing the wallpaper to the photo mats and attaching non-adhesive photo corners.
- Laser Level: An indispensable tool for ensuring your frames are perfectly aligned and level on the wall. This is the one we personally use and highly recommend for its accuracy and ease of use.
Selecting the right wallpaper or wrapping paper can truly define the character of your gallery wall. I’ve curated a selection of options that I believe would perfectly complement this project, offering a range of styles from subtle to bold. When choosing, consider the existing color palette and decor style of your room to ensure a harmonious integration. Think about patterns that bring joy or colors that evoke a particular mood you wish to create in your space.
Explore various wallpaper and wrapping paper designs to find the perfect backdrop for your cherished memories.
Inspirational Wallpaper Options for Your Photo Frames
When selecting wallpaper, consider patterns that offer visual depth without overwhelming your photographs. Geometric prints, subtle florals, or elegant damasks can all create a sophisticated backdrop. The beauty of this project is that you only need a small amount, making it an excellent opportunity to experiment with bolder designs you might shy away from on an entire wall. Look for papers with complementary colors to your home’s existing palette.
Creative Wrapping Paper Options for a Budget-Friendly Gallery Wall
For an even more economical yet equally stunning approach, high-quality wrapping paper offers an endless array of designs. From whimsical patterns to sophisticated textures, wrapping paper allows for frequent changes and a diverse collection of backdrops. Ensure the paper is thick enough to prevent wrinkling and provides good color saturation for a professional finish. This option is perfect for those who love to refresh their decor regularly.
Before diving into the detailed step-by-step instructions, I highly recommend watching the short video overview provided below. It offers a visual summary of the entire project, which can be incredibly helpful in understanding the flow and key techniques involved. Seeing the process in action often clarifies doubts and provides valuable insights before you begin your own DIY journey.
Detailed Steps to Assemble Your Unique Family Photo Gallery Wall:
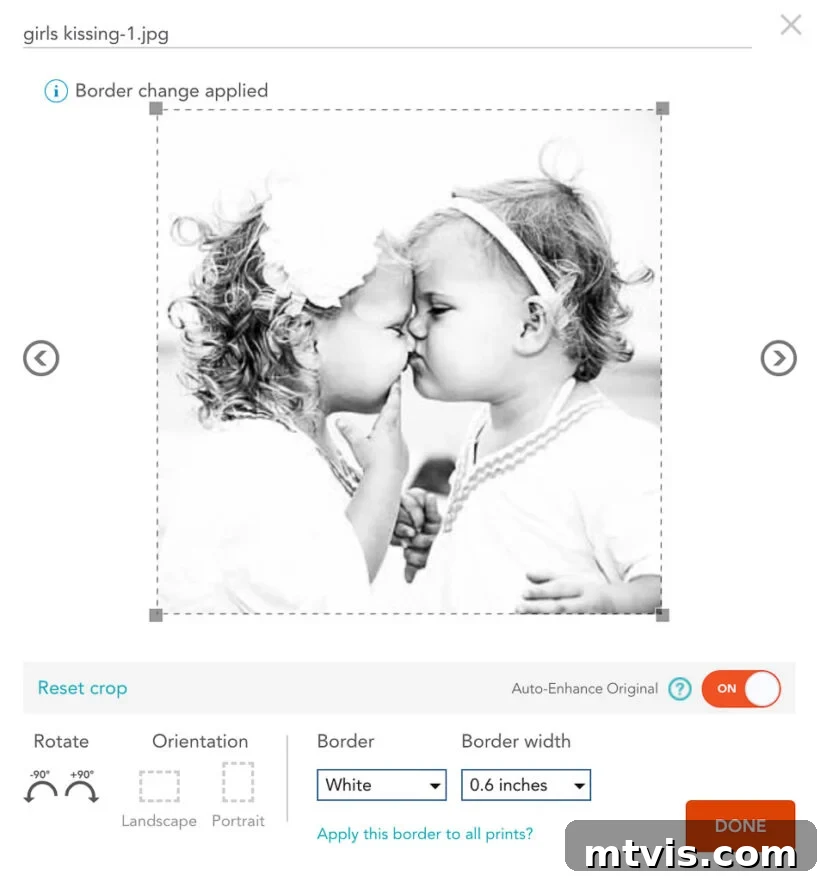
Let’s begin with a crucial element: how to prepare your photos for printing. For this project, I strongly advocate for ordering your photos in black and white with a matte finish. This choice provides a timeless, elegant, and cohesive look that allows the patterns of your wallpaper or wrapping paper to shine without competing with colorful images. The most critical detail, however, is to ensure your photos are printed by Shutterfly (or a similar reputable service) with a distinct .4-inch white border around the entire photograph. This white border is absolutely essential; it acts as a visual buffer, allowing your black and white image to truly pop and stand out beautifully against the chosen patterned background, preventing it from blending in or looking “slapped on.” When customizing your order on most photo printing platforms, you can usually find this option by clicking an “edit” or “customize” button (often represented by a pencil icon) and then selecting the “border” feature. You’ll typically be presented with various thickness options; the .4-inch choice offers the perfect balance of prominence and subtlety for this design.
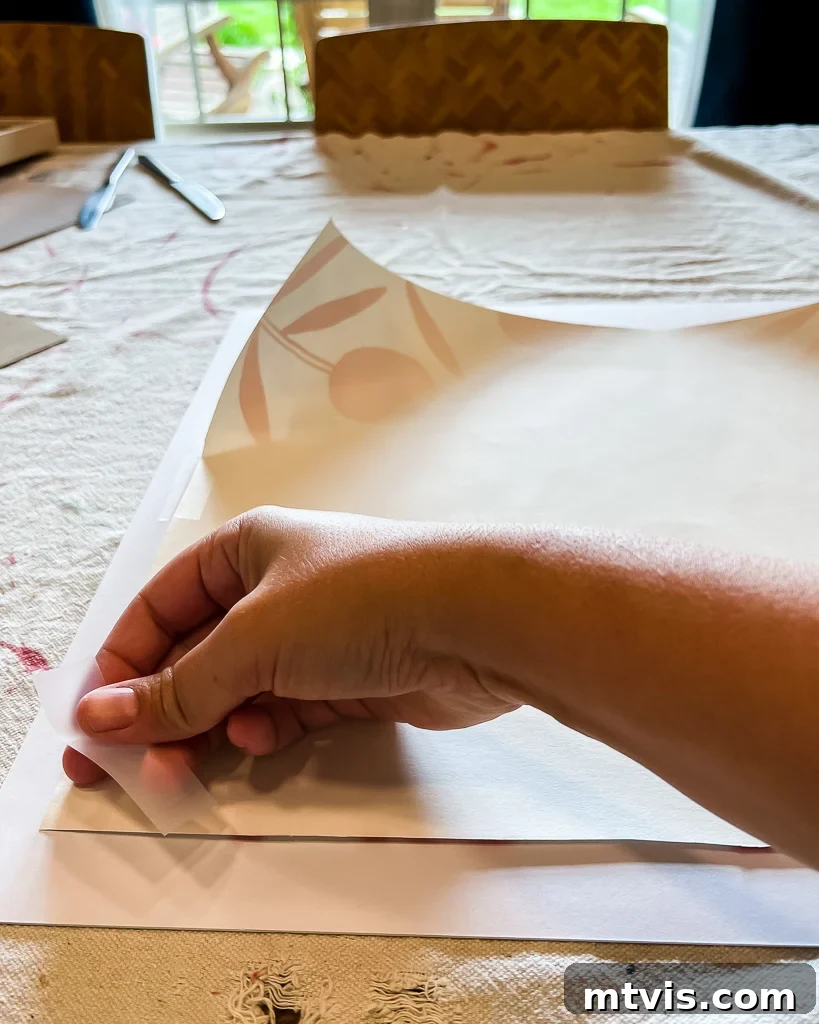
Step 1: Prepare Your Decorative Background. Begin by carefully cutting your chosen wallpaper or wrapping paper to precisely fit behind the photo mats that come with your 16×20 inch frames. Precision here is key for a neat finish. Once cut, use regular tape to securely attach the wallpaper to the back of each photo mat. This ensures the paper lies flat and smooth, creating a seamless background for your photographs. This initial step is where the unique character of your gallery wall truly starts to take shape, transforming a simple mat into a vibrant canvas.
Step 2: Adorn Your Photos with Gold Corners. The gold photo corners are more than just decorative; they lend an authentic, heirloom feel to your modern display. My chosen photo corners did not come with pre-applied adhesive, which is a common occurrence. If yours are similar, simply use small pieces of tape on the back of the photo corners to secure them to each of your 8×8-inch black and white photos. Position them carefully at each corner of the photo’s front, ensuring they are evenly spaced and aligned. This meticulous detail significantly enhances the perceived value and unique charm of your framed artwork.
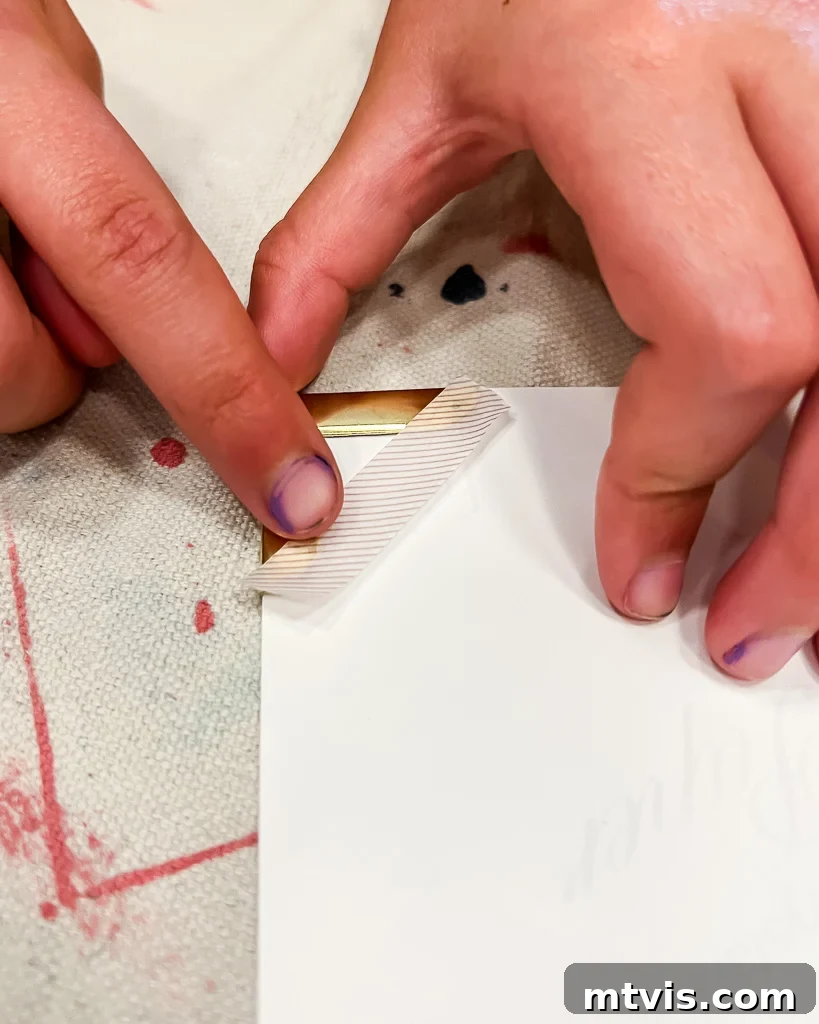
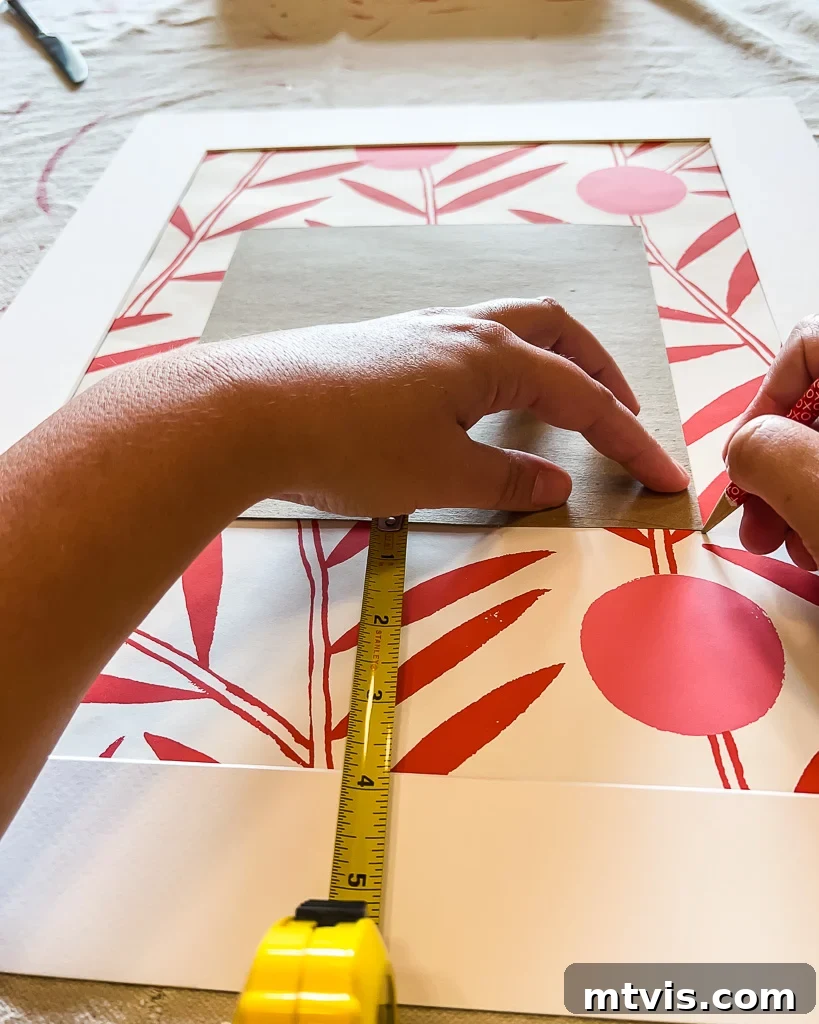
Step 3: Precise Photo Placement. Before permanently attaching your photos, it’s crucial to measure and mark their exact placement on the wallpaper-backed mats. I opted for a perfectly centered placement within each photo mat, which offers a balanced and professional look. Use a ruler and a light pencil mark to identify the center point for your photo. This preliminary step ensures that each image is consistently positioned, contributing to the overall harmony and neatness of your gallery wall. Accuracy here will pay dividends in the final presentation.
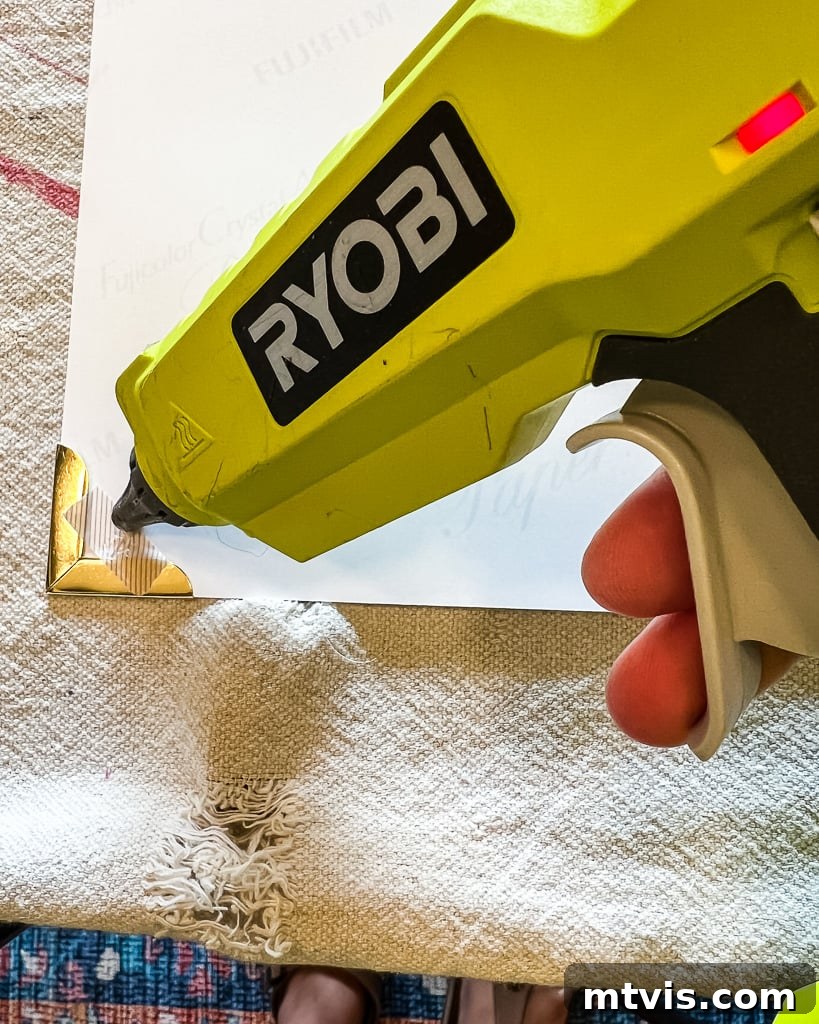
Step 4: Secure Your Photos. With your placement marked, it’s time to affix your photos to the wallpaper background. As with the photo corners, if your corners lack adhesive, you’ll need a reliable method to secure the photo itself. I used a hot glue gun, applying a small dab of glue to the four corners on the back of each photo. Quickly and carefully, press the photo onto your marked spot on the wallpaper-backed mat. Hot glue provides a strong and immediate bond, but work efficiently as it cools quickly. If you prefer, a strong craft adhesive or double-sided tape designed for photos could also work, just ensure it won’t damage the photo or wallpaper over time.
Step 5: Frame and Hang Your Masterpiece. The final step is to insert your newly decorated mats and photos into your 16×20 inch frames. Once assembled, it’s time to hang them! For impeccable alignment and a professional display, I cannot stress enough the value of a trusty laser level. This tool will help you effortlessly center each frame within its designated section of your alcove or wall and ensure that all frames are perfectly level with one another. Take your time during this stage to step back and assess the arrangement, making small adjustments as needed until you achieve your desired layout. The precise hanging of each frame is the crowning touch to your custom gallery wall.
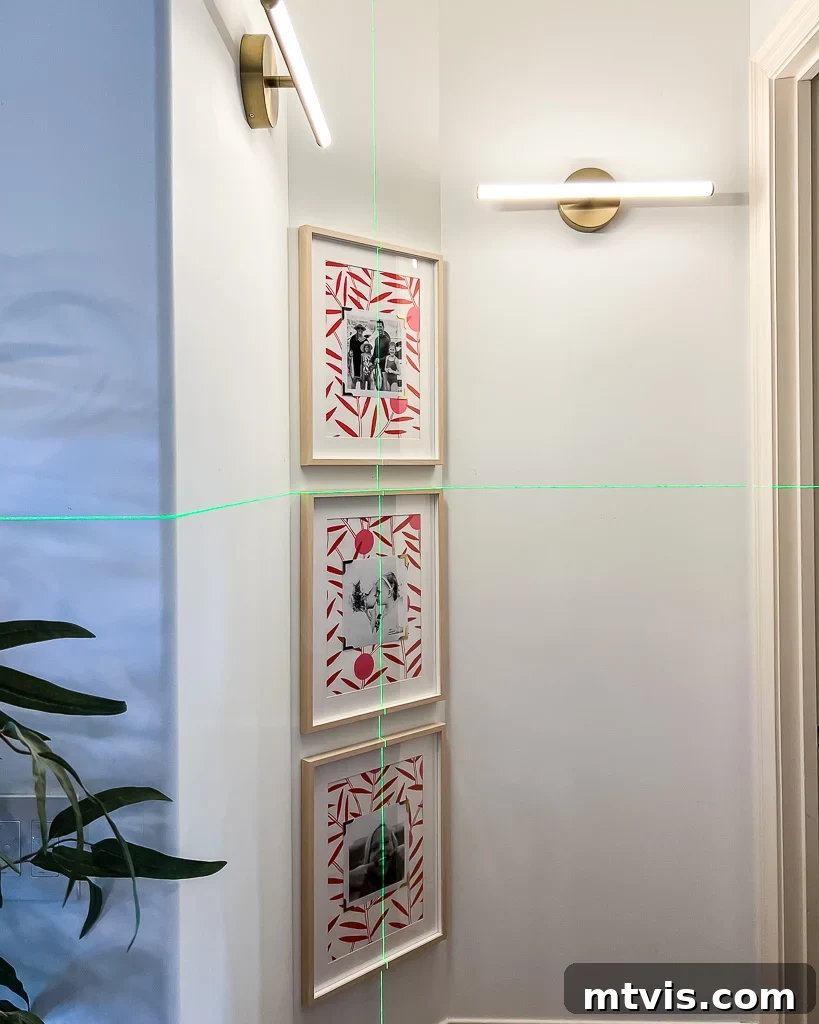
And there you have it! I am absolutely thrilled with how simple yet profoundly impactful this family photo gallery wall turned out. It perfectly satisfies my desire to infuse this particular alcove with a dynamic blend of color and pattern, all without the commitment of wallpapering the entire wall – a concept my husband, Joe, wasn’t quite on board with, as many partners often aren’t, haha! This creative solution brings so much life and personality to a previously bare space. Just take a moment to appreciate the remarkable transformation it brings to this corner of our home.
Allow me to offer a closer look at a couple of the individual frames. I genuinely believe that the thoughtful combination of the crisp white border on the photos and the elegant gold photo corners is what truly elevates this project. Without these meticulous details, I fear this gallery wall of family photos might have appeared somewhat haphazard or unfinished, as if I had merely stuck regular photos directly onto wallpaper and then popped them into frames. The subtle contrast and refined accents, however, create an incredibly sophisticated and polished presentation. I absolutely adore this elevated way of displaying our treasured family memories!
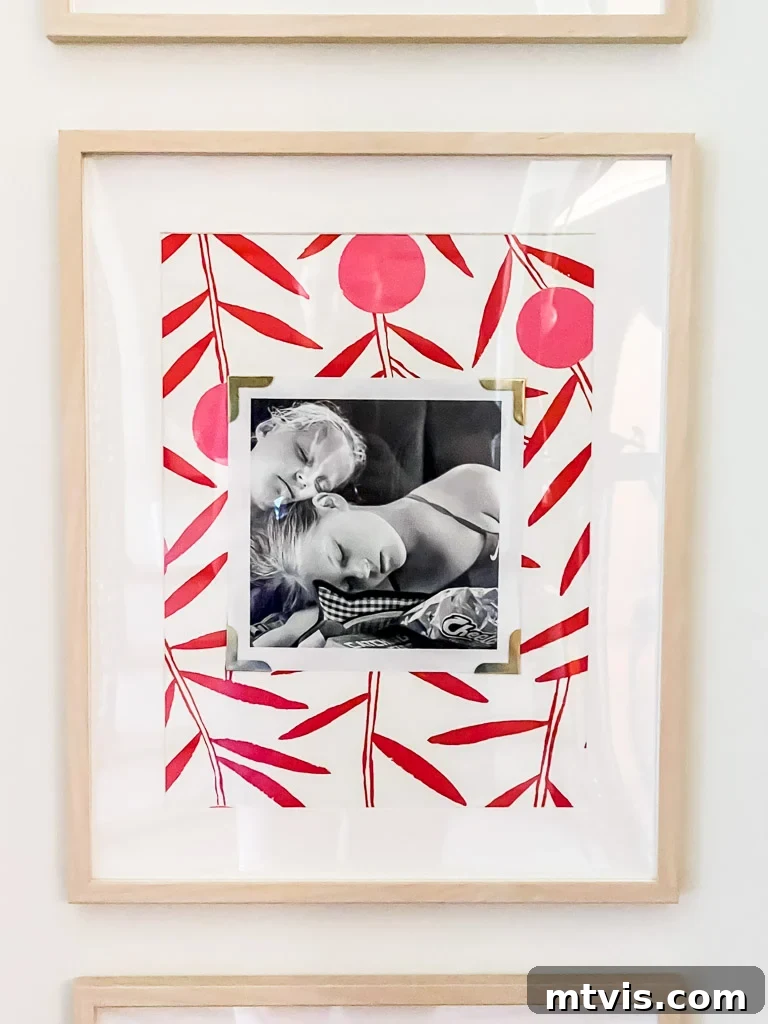
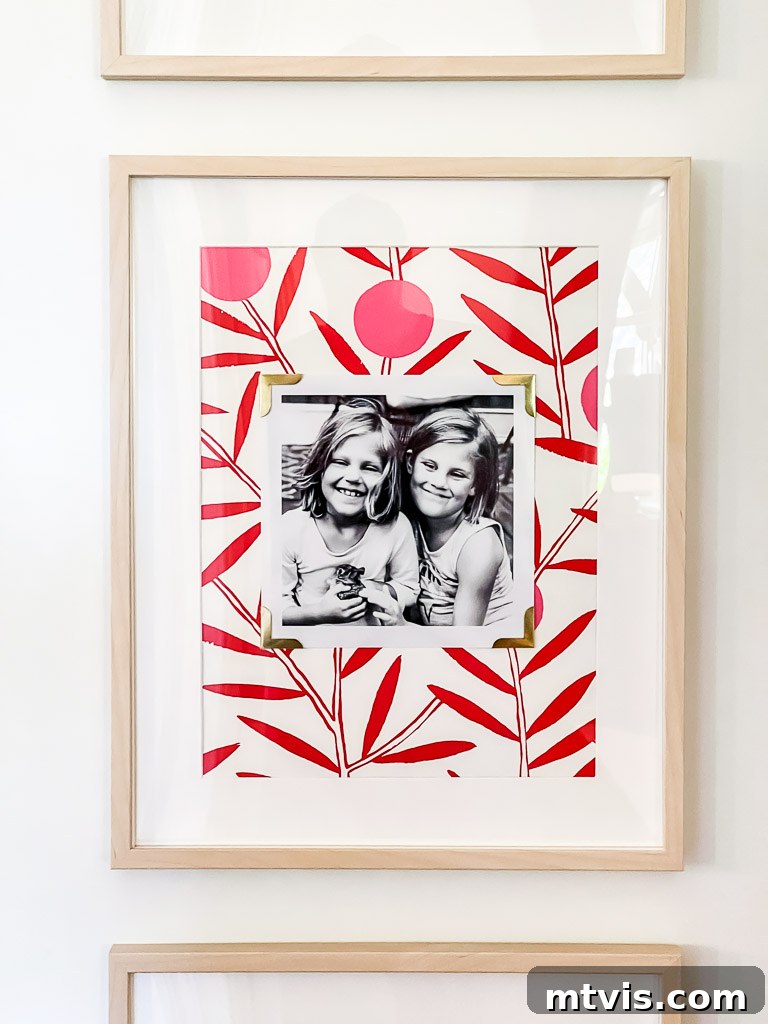
What are your thoughts on this unique approach to a family photo gallery wall? If you’re inspired by this idea and plan to try it yourself, please consider sharing it on your favorite social media platforms or saving it to one of your Pinterest boards. This not only helps others discover creative home decor solutions but also ensures you can easily find this tutorial when you’re ready to start your project!
Explore More Inspiring Decor Ideas:
- 16 Gallery Wall Ideas (and Tips) To Inspire Your Home
- Sherwin-Williams Pure White Color Review with Real-Life Pictures
- DIY: How to Make Any Wallpaper Removable & Renter-Friendly
- Create Your Own DIY Photo Canvas Prints With Authentic Texture
- 15 Genius Hallway Decor Ideas to Transform Your Passageways
- Stylish Family Photo Wall Display Ideas for Every Home Aesthetic
Curious about my systematic approach to transforming rooms and spaces within our home? Discover the secrets and strategies I use in Designer in a Binder® – your comprehensive guide to designing spaces you’ll love.
And for those who desire even more exclusive content, behind-the-scenes sneak peeks, and direct insights into my latest projects, be sure to subscribe to our newsletter before you navigate away! Join our community of home decor enthusiasts and never miss out on fresh inspiration and practical tips.
Thank you for joining me on this creative journey!