
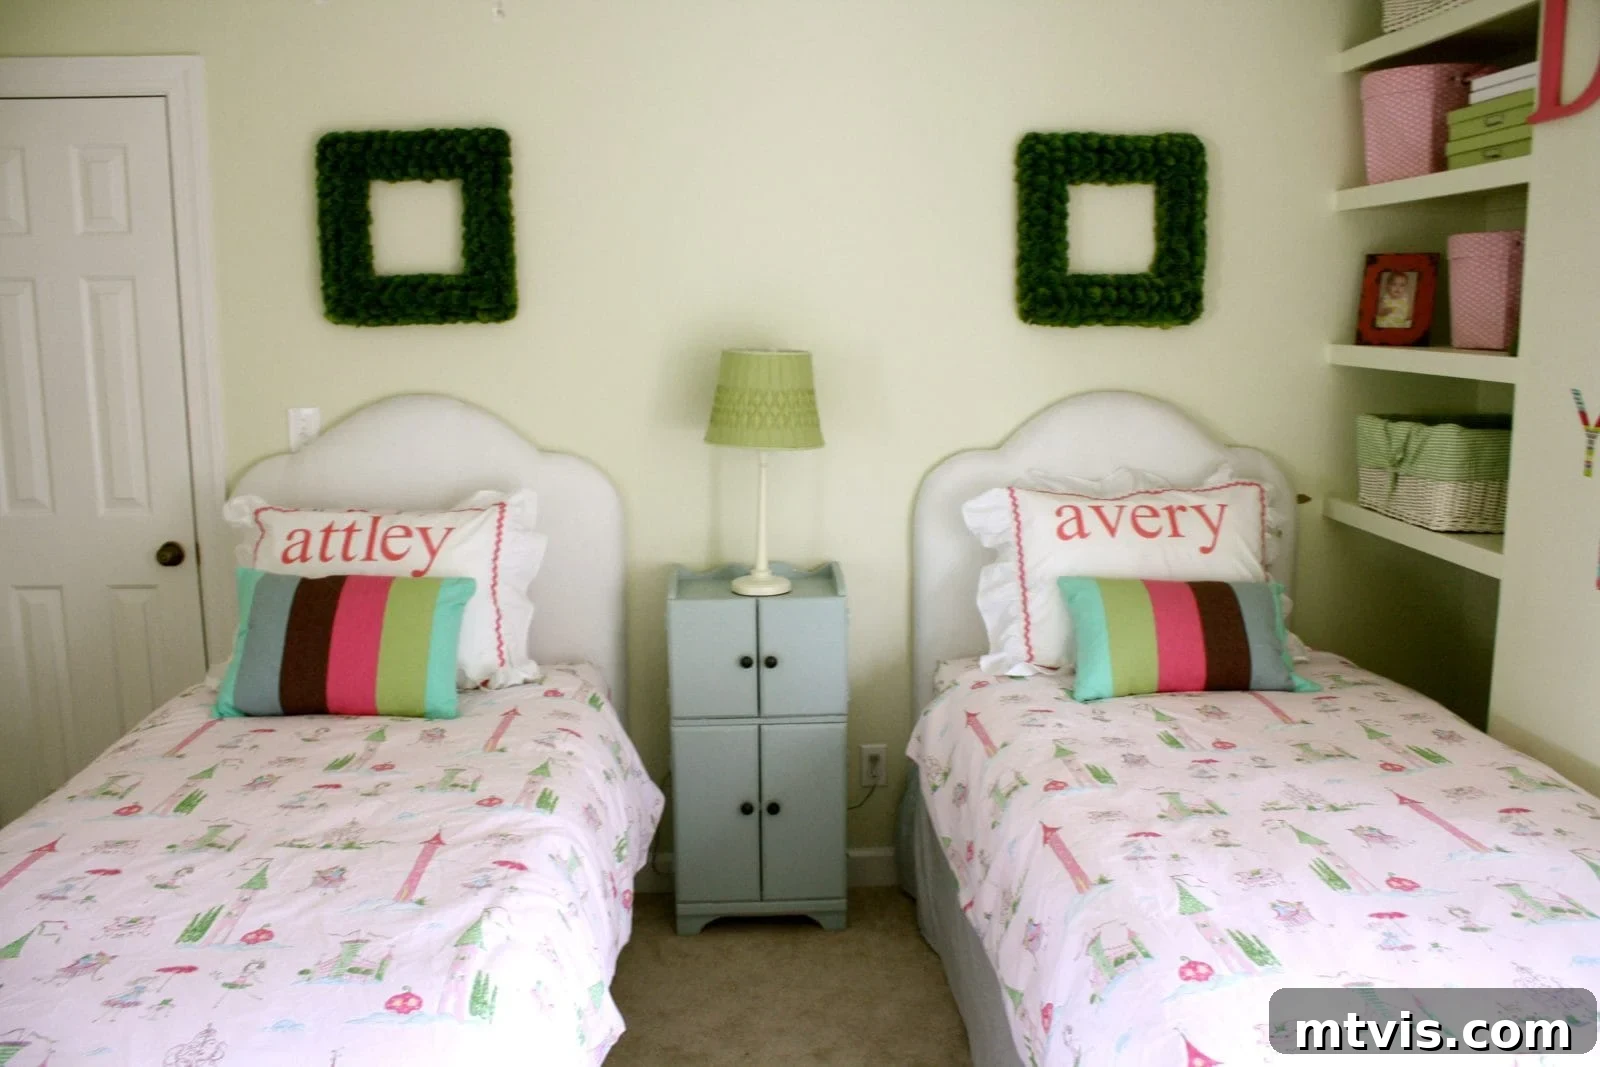
Craft Your Dream Headboard: An Easy & Affordable DIY Upholstered Headboard Tutorial Under $50
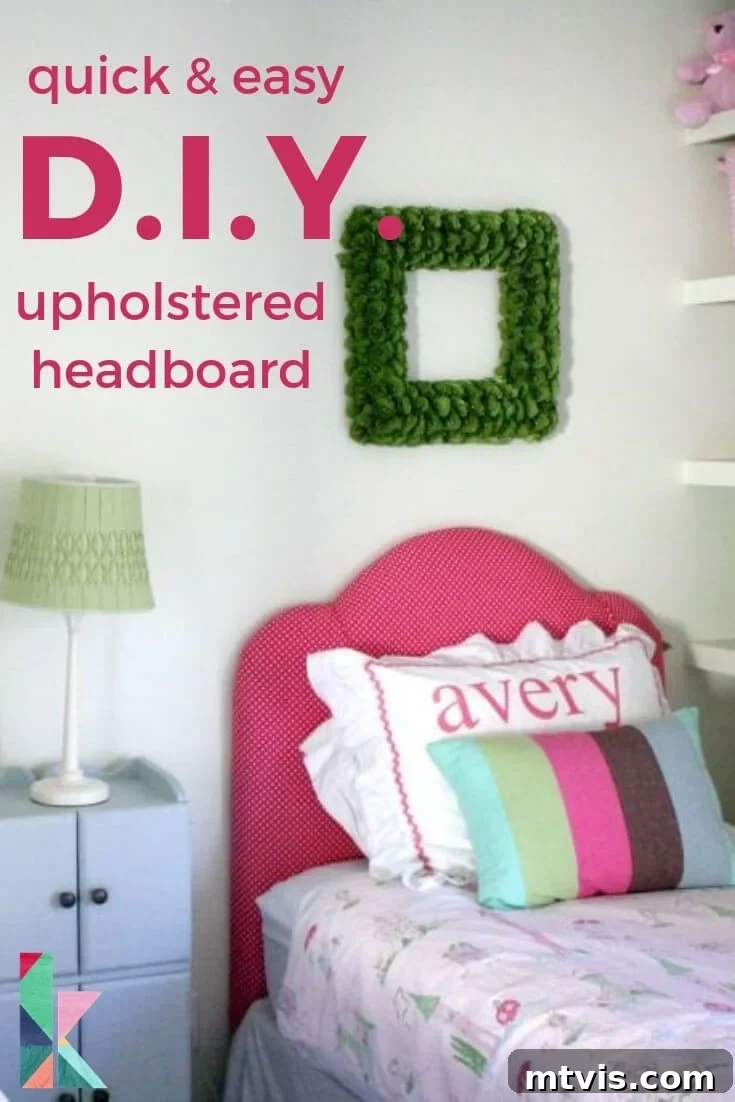
Transforming a bedroom doesn’t have to break the bank, especially when it comes to adding that touch of comfort and style an upholstered headboard provides. We are thrilled to share a comprehensive, step-by-step tutorial on how to create a stunning DIY upholstered headboard that is not only incredibly easy but also surprisingly affordable – we’re talking under $50! This project was genuinely more straightforward than anticipated, and we’re confident that with our guidance, you can achieve professional-looking results right in your own home.
The allure of upholstered headboards lies in their ability to instantly elevate a room’s aesthetic, adding a soft, cozy, and luxurious feel. For our twin girls’ “big girl” room, a DIY approach was not just a creative choice but a necessity to manage our budget, allowing us to allocate resources to other essentials like mattresses. If you haven’t yet seen their charming room reveal, you can click HERE for a peek into their princess-approved space. Now, let’s dive into the details of crafting your very own custom upholstered headboard.
Please note: This post contains some affiliate links for your convenience. Click here to read our full disclosure policy.
Essential Materials for One Twin Size DIY Upholstered Headboard
Gathering your materials is the first step towards your beautiful new headboard. Here’s what you’ll need to create one twin-size upholstered headboard:
- 1/2 inch thick, 4×8 foot piece of OSB: OSB (Oriented Strand Board) is a fantastic budget-friendly choice. You can also use MDF (Medium-Density Fiberboard) or plywood if you have some on hand or prefer a smoother finish. Keep in mind that a standard 4×8 foot sheet is typically enough to make two twin headboards, so consider having it cut in half at the store if you’re only making one to potentially save on cost and transportation.
- Fabric of your choice: The amount needed will depend on your headboard’s final dimensions and the width of your chosen fabric. For a twin headboard, roughly 2-3 yards of 54-inch wide fabric is usually sufficient. Consider upholstery-grade fabrics for durability, or choose a delightful pattern and texture to match your decor.
- 1 twin egg crate mattress topper: This is our secret weapon for an incredibly plush and affordable headboard! We found ours for around $14.99 at Target, which offers excellent value compared to traditional upholstery foam. Look for one with a good loft for maximum softness.
- Batting: Batting adds an extra layer of softness, smooths out the foam, and helps protect your fabric. Approximately 2 yards of 48-inch wide batting should be plenty for one twin headboard.
- Scissors: For cutting fabric and batting. A sharp pair will make the job much easier.
- A sharpie or other marker: Essential for marking your design and cut lines on the wood and foam.
- Staple Gun and staples: A sturdy staple gun is crucial for securing the egg crate, batting, and fabric to your wooden base. Ensure you have plenty of staples appropriate for your staple gun.
- Circular Saw: For making straight cuts on your wood panel.
- Jig Saw: Indispensable for cutting out any curves or intricate shapes for your headboard design.
Your Step-by-Step Guide: How to Make an Upholstered Headboard
Follow these detailed steps to bring your custom upholstered headboard to life:
1) Determine the Size and Shape of Your Padded Headboard: This is where your creativity comes into play! The shape of your headboard dramatically influences the overall feel of your bedroom. Options range from classic rectangles to elegant arches, sophisticated camelbacks, or modern geometric designs. For inspiration, you can explore various designs like those found at Headboard Direct, which offers a handy visual guide. After careful consideration, my husband and I opted for the “York” shape for our DIY upholstered headboards. We loved its clean lines and gentle curves, making it both simple and sweet—perfect for a three-year-old girls’ room, yet versatile enough for any space.
2) Decide on the Dimensions of Your Headboard: Once you’ve settled on a shape, it’s time to take measurements. For our twin headboards, we chose a width of 39 inches (matching the width of a standard twin mattress) and a height of 44 inches at its tallest point. The ideal height of your headboard can vary significantly based on your bed frame, mattress thickness, and aesthetic preferences. We planned to mount our headboards on the wall, with the lower portion discreetly hidden behind the mattress. Consider these factors—your mounting method, desired visibility, and the overall scale of your room—when determining the perfect dimensions for your space.
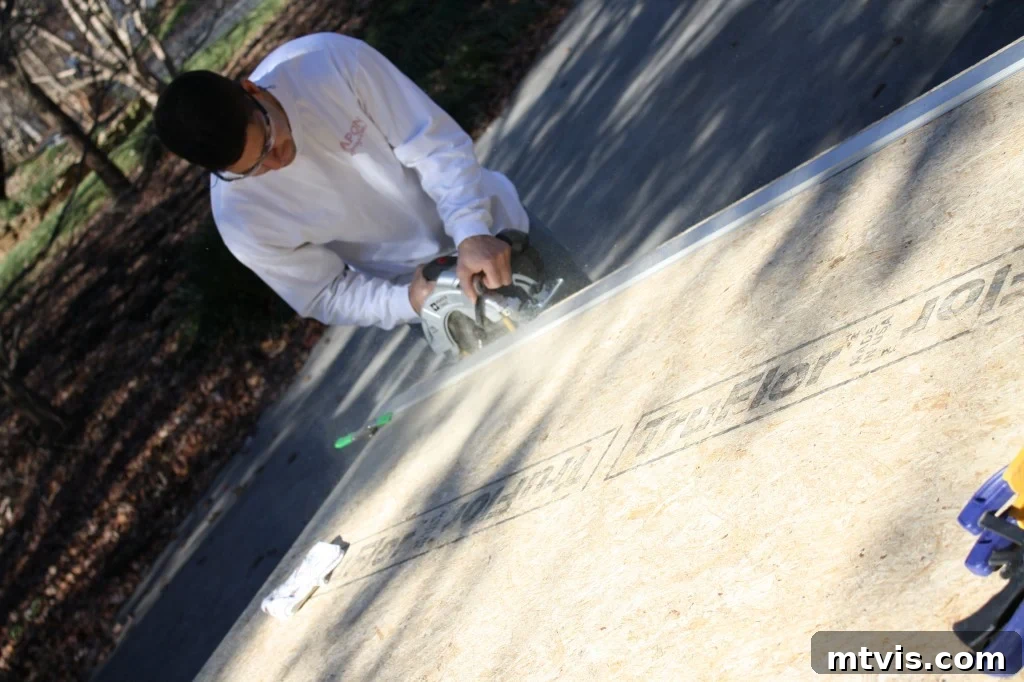
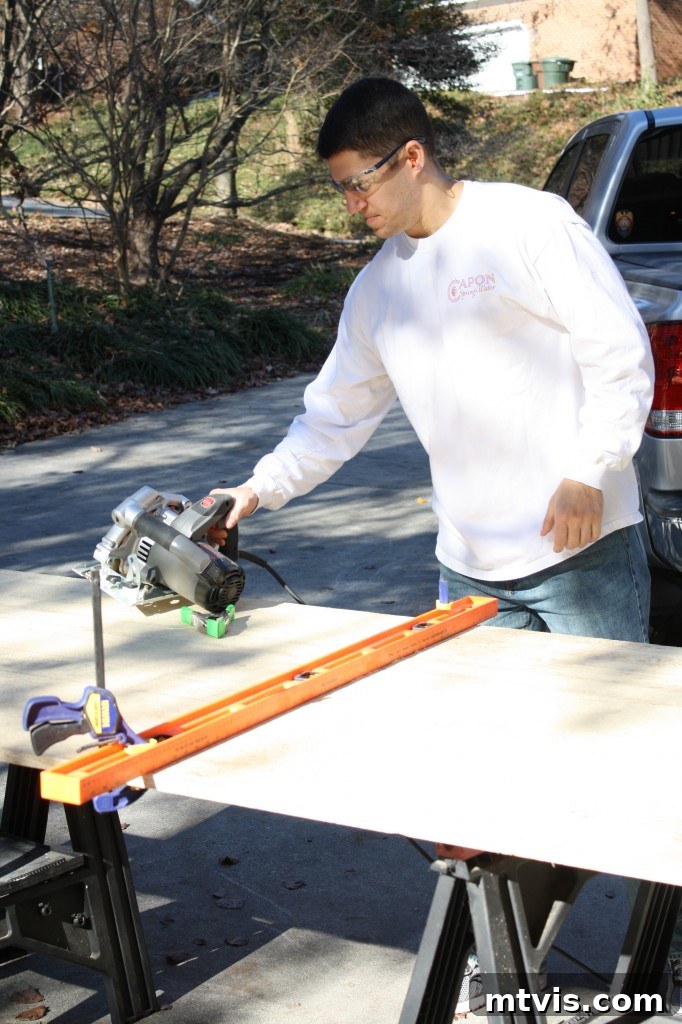
3) Cut Your Wood to Size: With your dimensions finalized, it’s time to cut your OSB panel. Using a circular saw and a straight edge (or a guide), carefully cut the board to your chosen width and height—in our case, 39×44 inches. Always remember to prioritize safety when operating power tools, wearing appropriate eye and ear protection. If you don’t have access to power tools or prefer not to use them, most major hardware stores like Lowe’s or Home Depot offer cutting services, often for a small fee, which can save you time and effort.
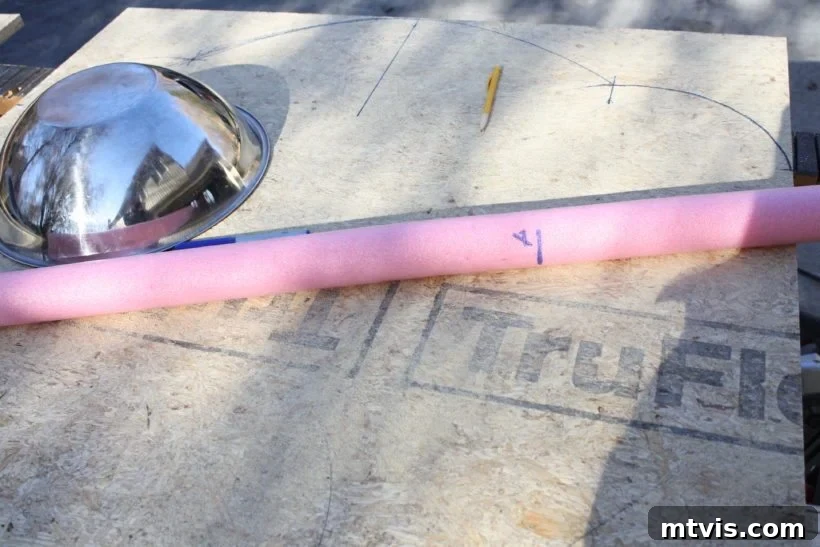
4) Mark Your Shape: This step, surprisingly, proved to be the trickiest for us. Achieving those perfectly symmetrical, soft curves required a bit of ingenuity. After some trial and error, we discovered that a large mixing bowl and even pool noodles (yes, you read that right!) were excellent tools for tracing the desired gentle arcs. We marked the top center of the wood panel and two equidistant points on each side. Then, using our makeshift templates, we carefully traced the curves with a Sharpie, ensuring a balanced design. Take your time here; a well-defined outline makes the next cutting step much easier.
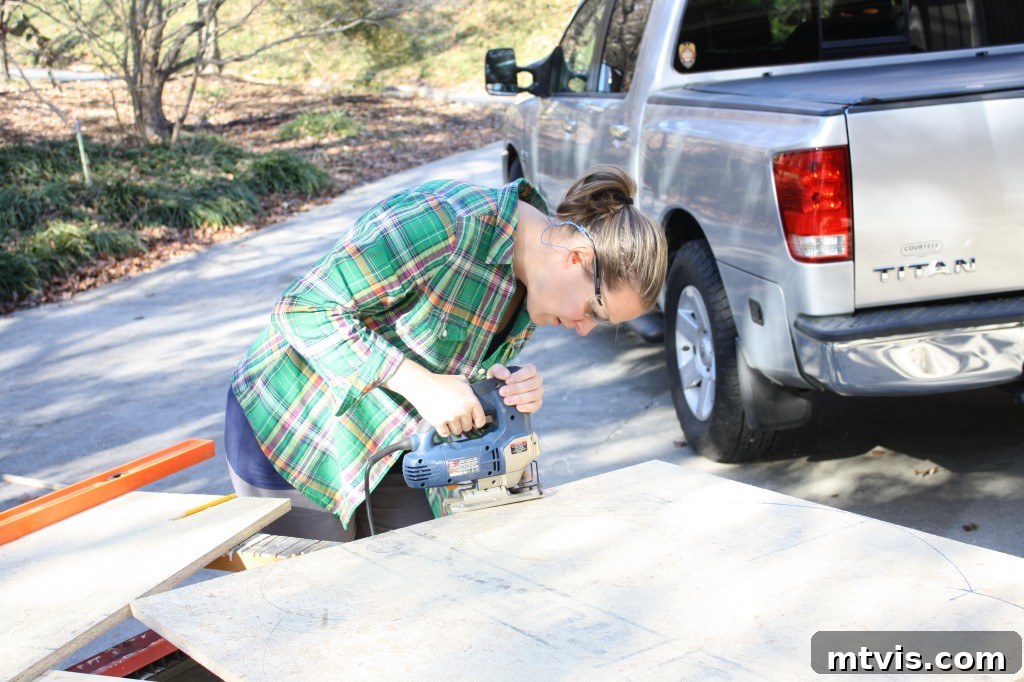
5) Cut Out Your Shape with a Jigsaw: If you enjoy working with power tools, this step can be quite satisfying! Carefully follow the lines you’ve drawn with your marker using a jigsaw. Take it slow and steady, guiding the saw smoothly along the curves for a clean, precise cut. Before you know it, you’ll have the perfectly shaped base for your DIY upholstered headboard! If you’re creating multiple headboards, as we did, save time by laying your first completed headboard on top of the second wood panel and tracing its shape. This ensures identical designs without the need to re-figure the curves.
6) Cover Your DIY Upholstered Headboard with the Egg Crate: This brilliant trick for affordable plushness comes courtesy of Sarah at Thrifty Decor Chick (a fantastic resource for DIY enthusiasts!). First, we cut our twin egg crate mattress topper lengthwise, effectively giving us two thinner pieces. To achieve maximum softness and thickness, we then layered both pieces of egg crate on top of each other, ensuring the “egg” sides faced inwards. Finally, we positioned this doubled-up foam directly onto our cut-out headboard base and securely stapled it in place around the edges. While traditional upholstery foam is an option, egg crates offer a significantly more cost-effective solution without compromising comfort.
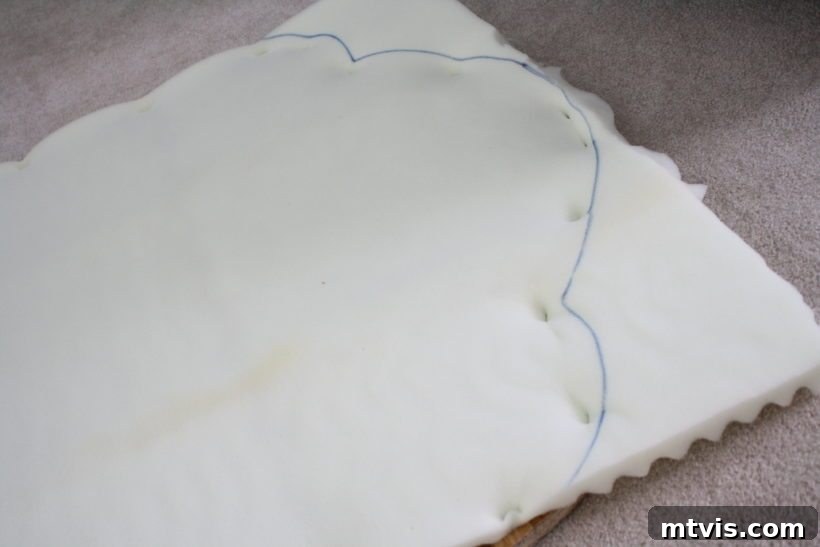
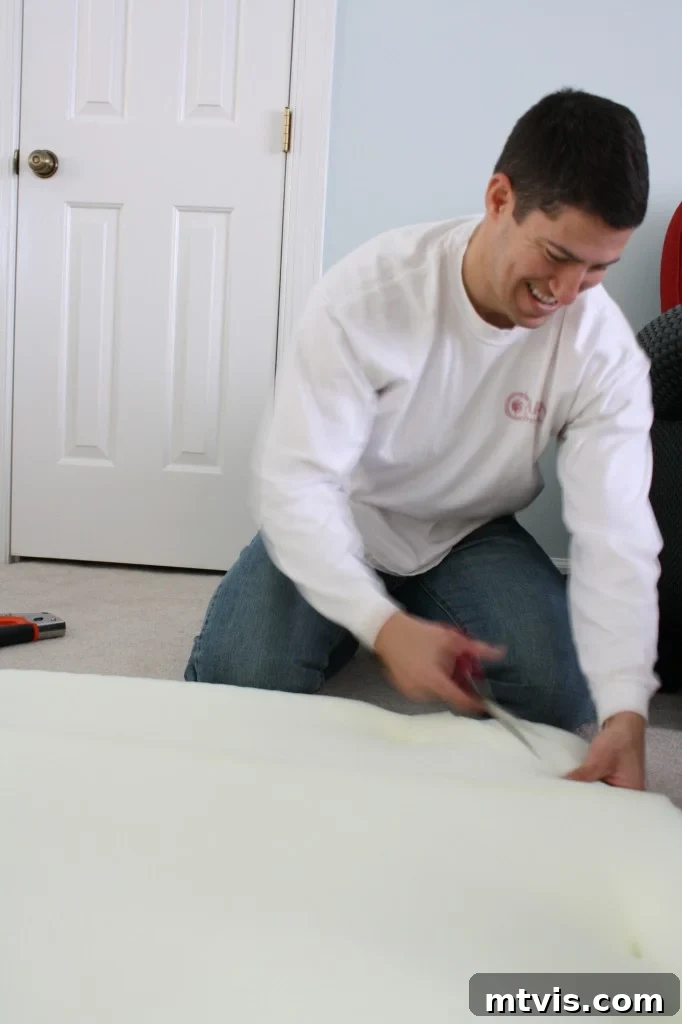
7) Trim the Excess Foam: Once the egg crate is securely stapled, use a pair of sharp scissors to trim away any excess foam extending beyond the edges of your headboard. We found it helpful to trace a guideline onto the foam with a marker beforehand, ensuring a neat and even trim around the entire perimeter. This step guarantees a clean foundation for the subsequent layers.
8) Cover the Headboard with Batting: The next layer is the batting, which plays a crucial role in creating a smooth, professional finish. It not only adds an extra layer of softness but also helps to conceal any imperfections from the egg crate, creating an even surface for your final fabric. Lay the batting over the entire padded headboard, ensuring it’s centered and evenly distributed. Wrap the batting snugly around to the back of the headboard, pulling it taut, and staple it securely in place around the perimeter. For each twin headboard, two yards of 48-inch wide batting provided ample coverage, allowing for a generous wrap-around.
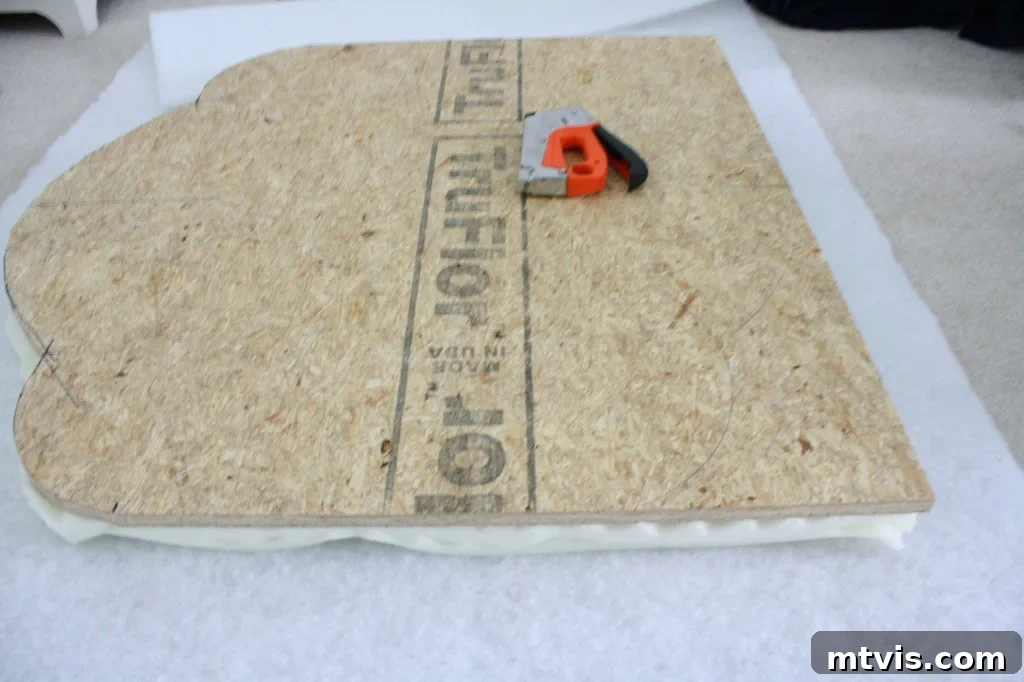
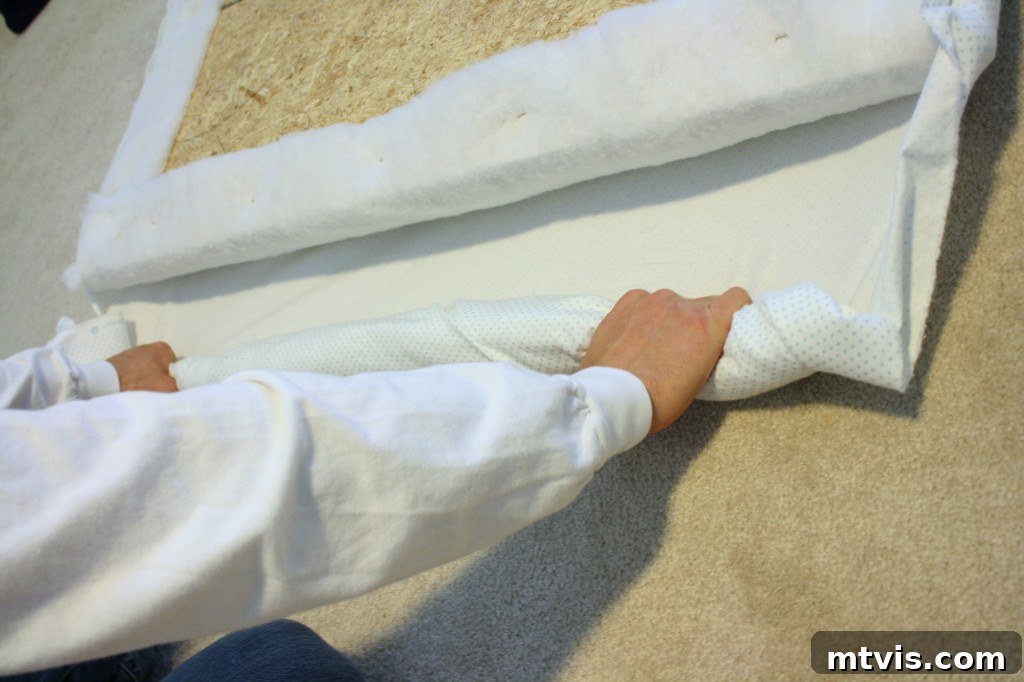
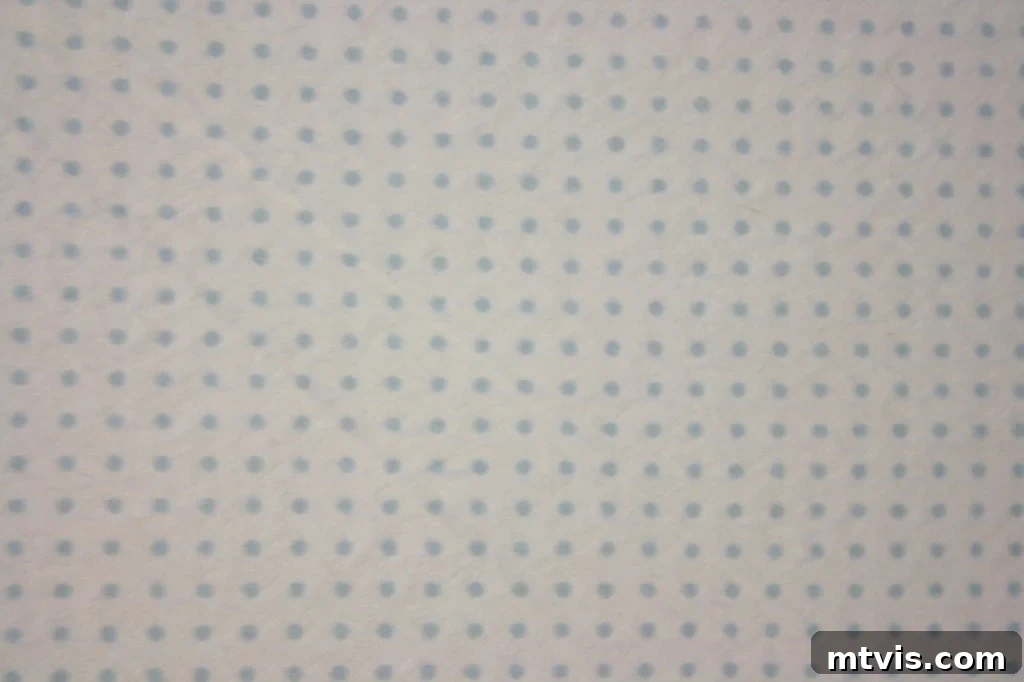
9) Cover the Headboard with Fabric: This is the moment you’ve been waiting for—the transformation! Up until now, your DIY upholstered headboard might have looked a bit like a work in progress, but the fabric layer truly brings it to life. Carefully position your chosen fabric over the batting, ensuring the pattern (if any) is aligned as desired. For our headboards, we selected a charming white flannel with tiny blue polka dots. The fabric was 41 inches wide, which was just enough to cover the headboard with minimal overhang for stapling. We used two yards per headboard, which proved to be more than sufficient given the 44-inch maximum height. Just like with the batting, wrap the fabric firmly around to the back of the headboard and staple it securely in place.
A few crucial tips for this step:
- Teamwork makes the dream work: Having an extra set of hands, or even two, is incredibly beneficial. One person can hold the fabric tautly around curves and corners with both hands, while the other expertly staples it down.
- Pull it TIGHT: The key to a wrinkle-free, professional-looking upholstered finish is to pull the fabric as tightly as possible before stapling. This is especially important around the curves and corners to eliminate any slack.
- Mind the corners: For neat corners, fold the fabric much like you would wrap a gift, creating clean pleats or gathers before stapling. Practice on a scrap piece of wood if you’re unsure.
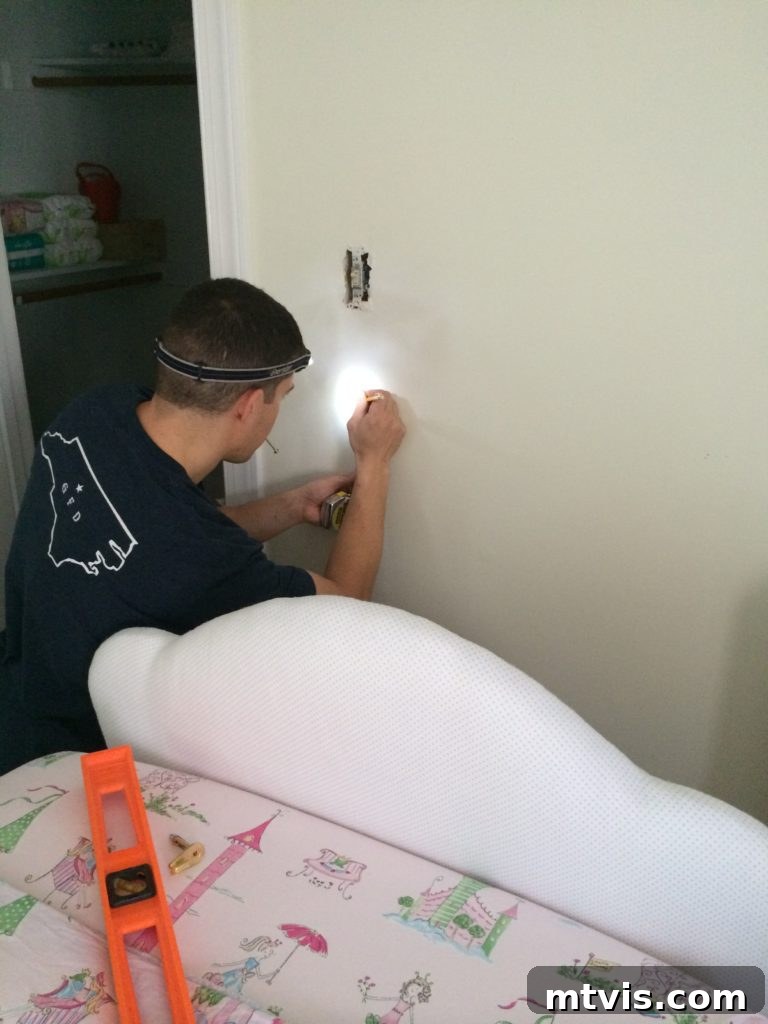
10) Hang Your DIY Upholstered Headboard: With the upholstery complete, it’s time to install your beautiful creation. We used D-rings attached to the back of our headboards, then securely mounted them to the wall. For wall mounting, it’s crucial to locate wall studs for the strongest support. If studs aren’t available where you need to hang the headboard, ensure you use appropriate, heavy-duty drywall anchors to prevent sagging or accidental detachment. Another popular option is to attach the headboard directly to your bed frame using universal headboard brackets, which provides stability and moves with the bed.
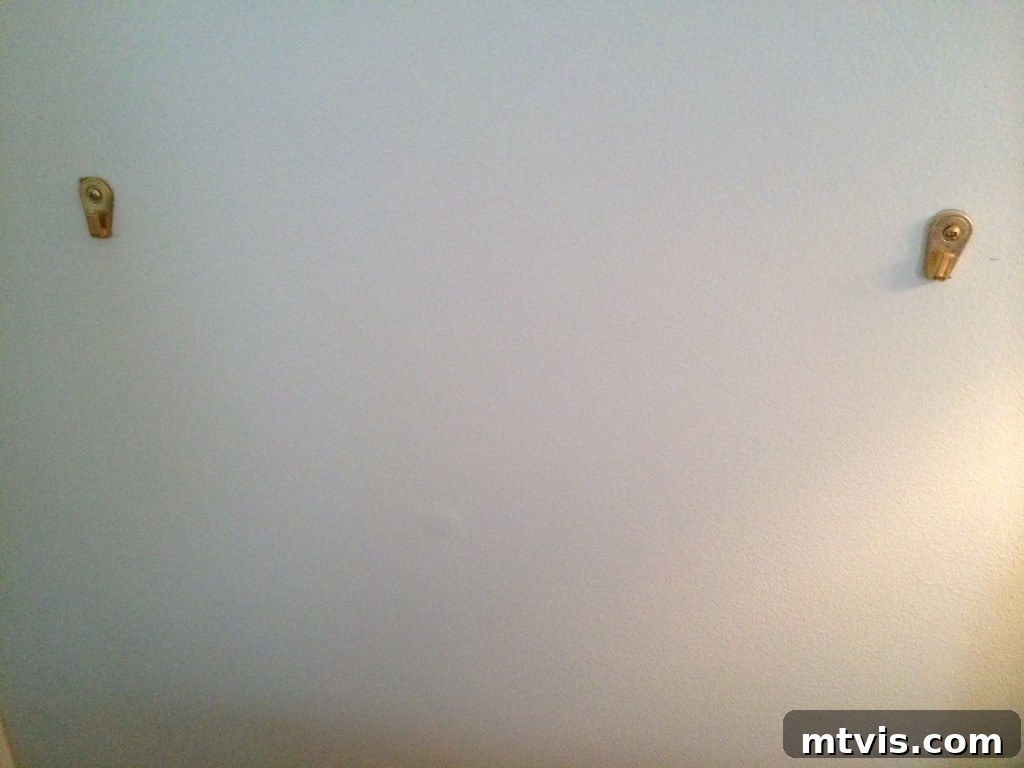
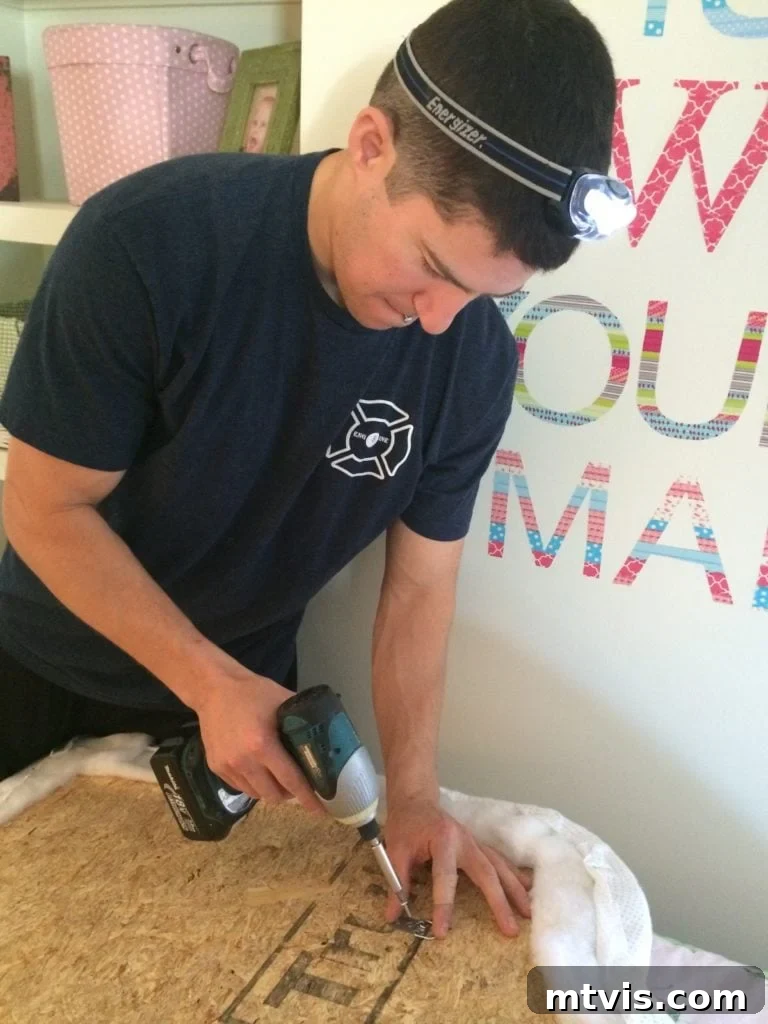
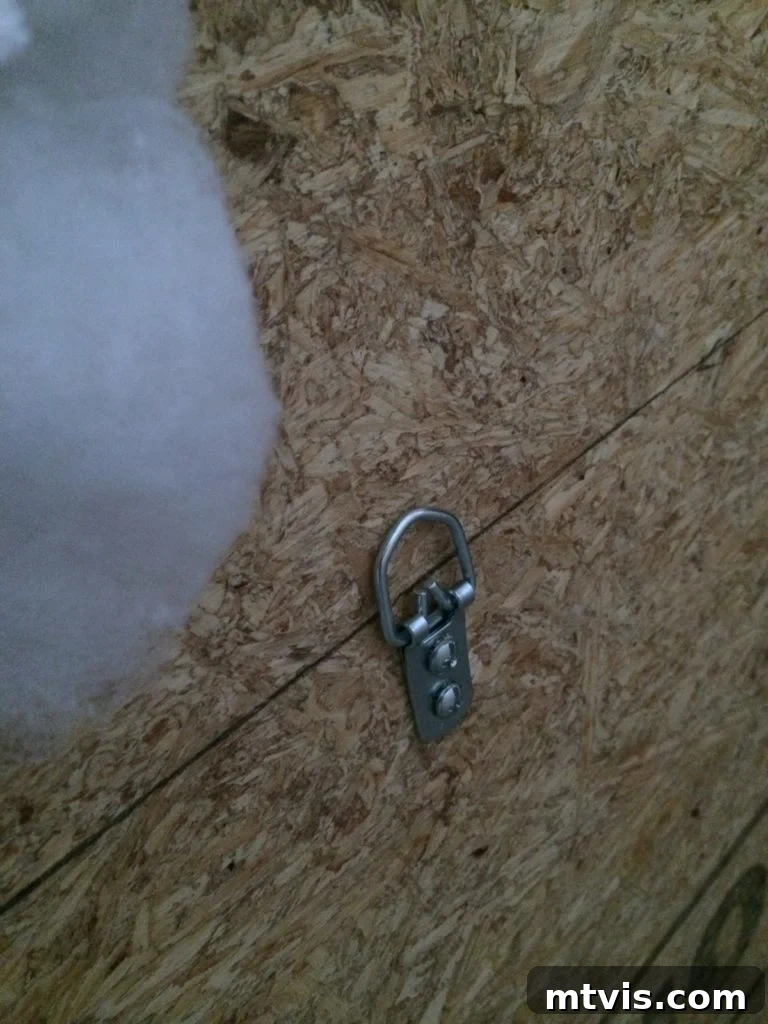
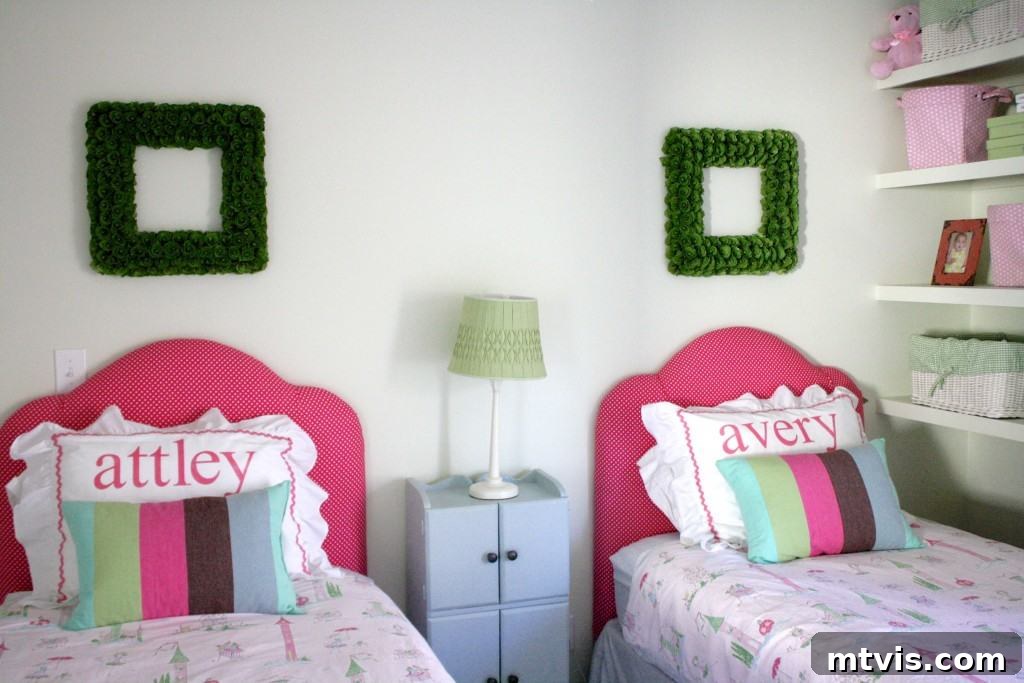
11) Stand Back and Admire Your Beautiful DIY Upholstered Headboard: Congratulations! You’ve successfully created a custom upholstered headboard. There’s immense satisfaction in stepping back and appreciating a piece you’ve crafted with your own hands. We absolutely adore our girls’ headboards, and one of their greatest advantages is their adaptability. Should we ever tire of the current fabric, or if it gets stained (like when hair dye accidentally found its way onto one of ours during a multitasking moment!), we can easily re-cover it with new fabric without having to start the entire project from scratch. The core hard work is already done! In fact, we updated the fabric about a year later for a brighter color that pops beautifully against the wall, as you can see in the image below.
Cost Breakdown for 1 DIY Upholstered Headboard:
One of the most appealing aspects of this project is the incredible cost savings. Here’s a breakdown of what we spent:
- OSB: $10 (A 4×8 foot board costs approximately $20, but it yields enough for two twin headboards, effectively halving the cost per headboard).
- Egg Crate: $15
- Fabric: $6.98 (We found ours on sale for $3.49 per yard, needing 2 yards).
- Batting: $4.98 (Also purchased on sale for $2.49 per yard, needing 2 yards).
- Hardware for hanging: $6.00 (For D-rings and drywall anchors).
TOTAL: $42.96
For a completely custom, soft, and stylish upholstered headboard, this price point is truly unbeatable! When you compare this to retail options, the value becomes even clearer. For instance, a similar upholstered headboard from Pottery Barn Kids can easily retail for over $400 for just the headboard, not even including the bed frame! That’s nearly ten times what our DIY version cost. Crafting it yourself not only saves you a significant amount of money but also allows for complete personalization to perfectly match your home decor.
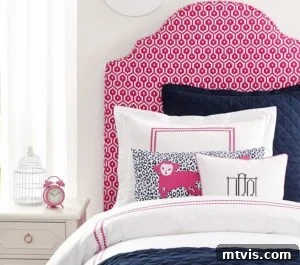
Source: Pottery Barn Kids
Make this yourself and save tons and tons of money!
Project Timing: How Long Does It Really Take?
Transparency about project duration is important to us. When our laundry room reveal was featured on Apartment Therapy, a commenter questioned the time frame I’d stated. Let me assure you, we strive for complete honesty regarding the effort and time involved in our DIY projects. We’ll tell you when something is hard and laborious, and we’ll certainly tell you when it’s easy and fast. While individual experiences may vary based on skill level and available tools, our aim is to provide helpful guidance for your planning.
That said, both my husband Joe and I found this upholstered headboard project to be remarkably quick and straightforward. With all materials purchased and our design decisions made in advance, we tackled this during one of our girls’ afternoon naps. We completed Steps 3 through 9 for two DIY upholstered headboards within approximately three hours! This means a single headboard was completed in less than two hours. It truly is a project that almost anyone can accomplish in an afternoon.
Ready to Upgrade Your Bedroom?
What are your thoughts? Is this a DIY upholstered headboard project you’re eager to try? Have you already tackled a similar endeavor? If so, we’d love to hear about your experience and which headboard shape is your favorite. Sharing your insights can inspire others!
Once you’ve created a headboard you absolutely adore, the next step is to design a cohesive room around it that you’ll love waking up to every day. Click below for our free guide on designing a room that reflects your style and brings you joy.
