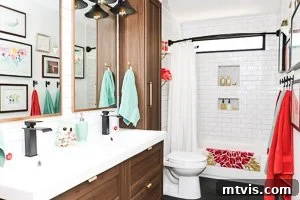
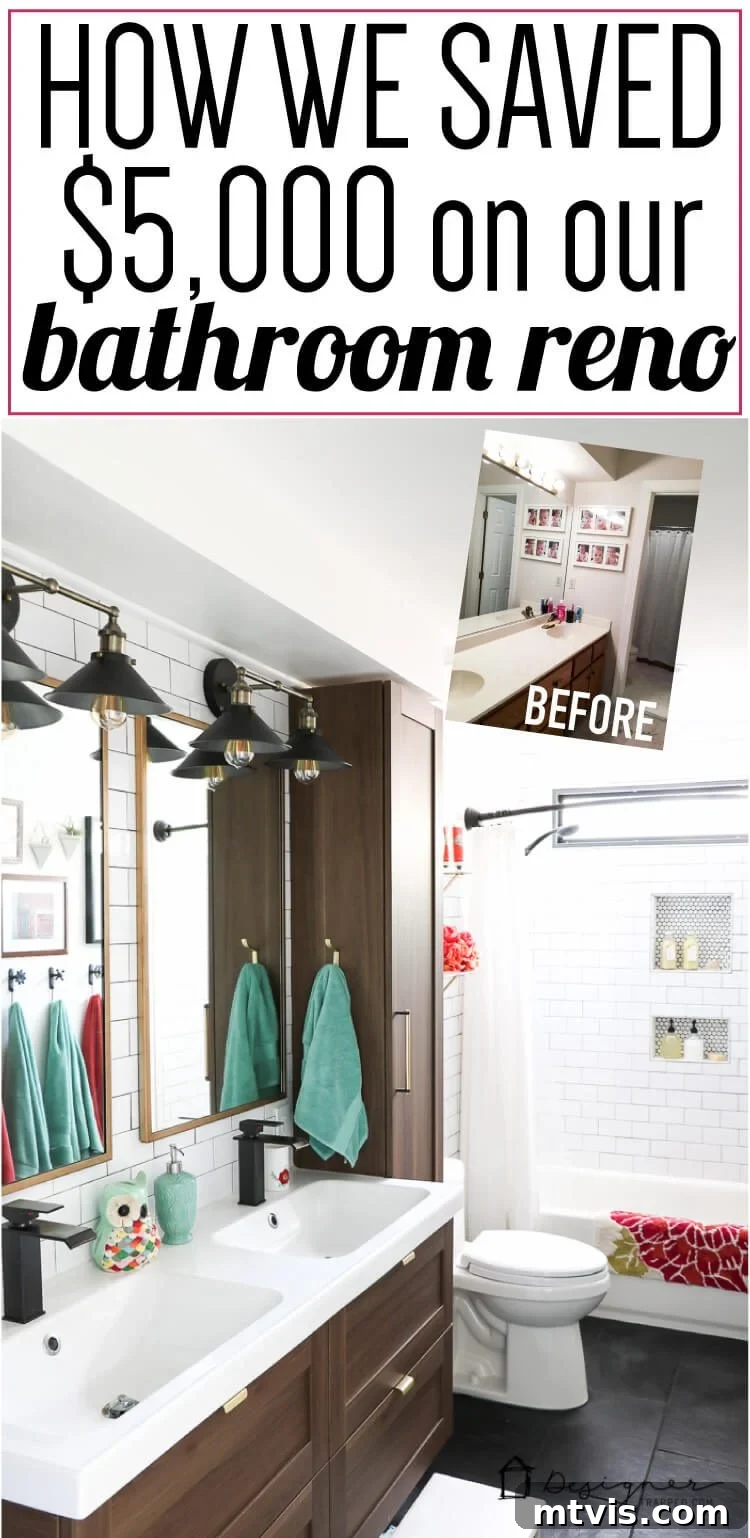
Embarking on a comprehensive DIY bathroom remodel is no small feat, but we are absolutely thrilled to share that we not only survived but thrived! For those who have been following our journey here on the blog, you know that this project demanded countless hours of dedication, meticulous planning, and sheer hard work. Today, we’re celebrating the finish line, and despite the exhaustion, every drop of sweat and every ounce of effort poured into this transformation was unequivocally worth it. We’re excited to unveil our stunning new bathroom, a testament to what can be achieved with a DIY spirit and a vision.
When considering a bathroom renovation, cost is often a primary concern. According to industry reports, the average mid-range bathroom remodel in 2016 ranged from $10,499 (National Kitchen and Bath Association) to $14,975 (BathroomRemodel.com). These figures can be daunting, pushing many aspiring renovators towards budget-friendly alternatives. Our approach? We tackled nearly every aspect of this project ourselves, leading to substantial savings. We’re proud to announce that our entire DIY bathroom remodel cost just over $5,000! By embracing the challenge and getting our hands dirty, we managed to create a luxurious and highly functional space for a fraction of the typical cost. A detailed cost breakdown is available at the end of this post, showcasing how you can achieve similar results without breaking the bank.
Before we dive into the breathtaking reveal photos, let’s recap the extensive list of tasks we undertook. This wasn’t just a cosmetic refresh; it was a complete overhaul, meticulously planned and executed by us, the homeowners.
Our DIY Warrior Project List: Transforming Every Detail
- Full Demolition: We stripped the space down to its bare bones, removing everything down to the studs and subfloor, laying the groundwork for a fresh start.
- Structural Modifications: A key design decision was to remove the wall separating the vanity area from the shower/tub, creating a more open and cohesive flow in the bathroom.
- Essential Relocation: We meticulously moved plumbing and electrical lines to accommodate the new layout, ensuring optimal functionality and modern aesthetics.
- Natural Light Integration: A significant improvement was the installation of a brand-new window, bringing much-needed natural light into a space that previously had none.
- Subfloor Reinforcement: We replaced damaged sections of the old subfloor with new, sturdy materials, providing a solid foundation for the new flooring.
- New Bathtub Installation: A modern, comfortable bathtub was expertly installed to enhance the bathing experience.
- Hardie Board Installation: We applied Hardie board to three of the bathroom walls and the entire floor, ensuring a durable, moisture-resistant surface ready for tiling.
- Professional Painting: The ceiling and the singular wall not covered in tile received a fresh coat of paint, brightening the space.
- Soffit Reframing: The soffit above the sinks was reframed, reducing its depth and height to create a cleaner, more contemporary look.
- Elegant Tiling: We meticulously installed classic subway tile in the shower area and on the wall behind the toilet and sinks, creating a cohesive and timeless design.
- Black Slate Flooring: The floor was laid with striking black slate tiles, offering a sophisticated contrast and robust durability.
- Precision Grouting: All the newly laid tiles were expertly grouted, ensuring a polished and waterproof finish.
- Modern Lighting Solutions: We installed sleek new vanity lights and added can lights in the ceiling, drastically improving the bathroom’s illumination.
- Enhanced Ventilation: A new, efficient bathroom fan was installed to ensure proper air circulation and moisture control.
- Stylish Cabinetry: New cabinetry was fitted, providing ample storage and a contemporary aesthetic.
- Mirrors and Shelving: Mirrors and functional shelves were installed, adding both style and practical storage.
- Trim Work: We installed and painted base trim, door trim, and quarter-round along the ceiling for a refined finish.
- Sink and Faucet Upgrades: A new sink and modern faucets were installed, completing the vanity area.
- New Toilet Installation: A brand-new toilet was installed, enhancing both comfort and water efficiency.
While our DIY spirit powered most of this project, we understood the importance of bringing in professionals for specific tasks that required specialized expertise, ensuring the highest quality and safety standards.
Key Projects Where We Sought Professional Assistance:
- Specialized Plumbing Work: A small but complex amount of plumbing work was required to reconfigure the tub drain area, a task best left to licensed plumbers.
- Gallery Wall Drywall and Ceiling: We hired out the drywall installation for the gallery wall and ceiling, recognizing the need for perfectly smooth finishes in these visible areas.
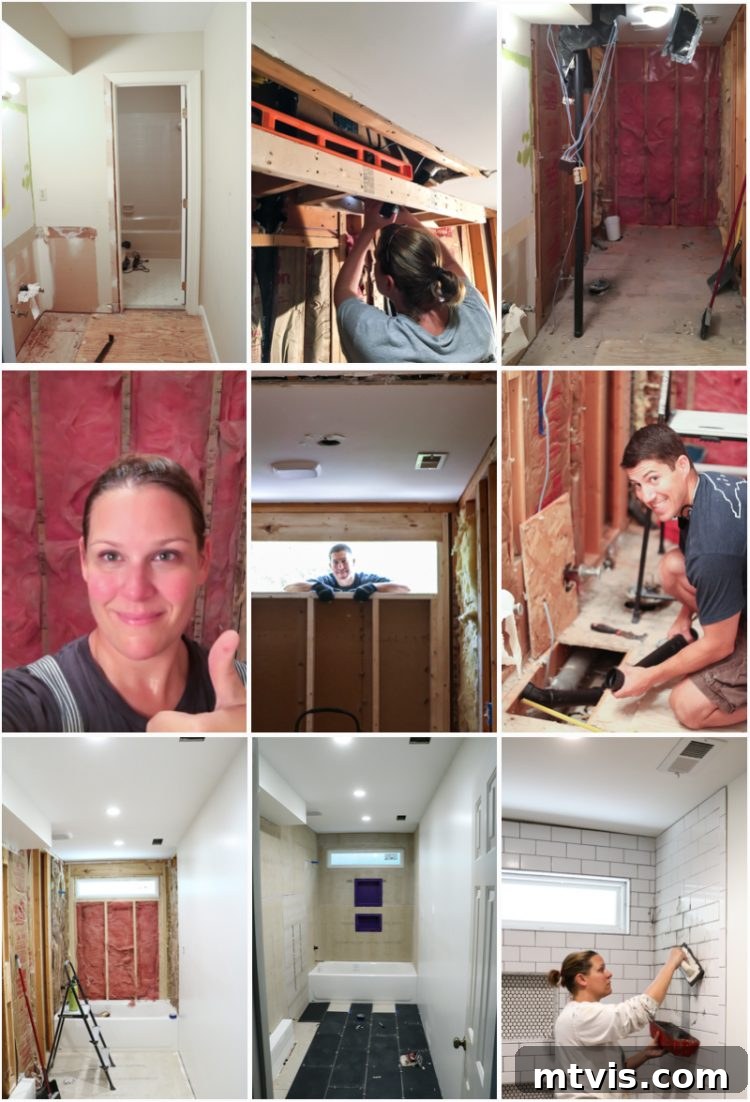
Phew! As you can see, this was a monumental undertaking, but one filled with incredible learning experiences and immense satisfaction. To give you a glimpse into the journey, here’s a photo collage of the “in progress” shots taken along the way, illustrating the transformation from chaos to creation.
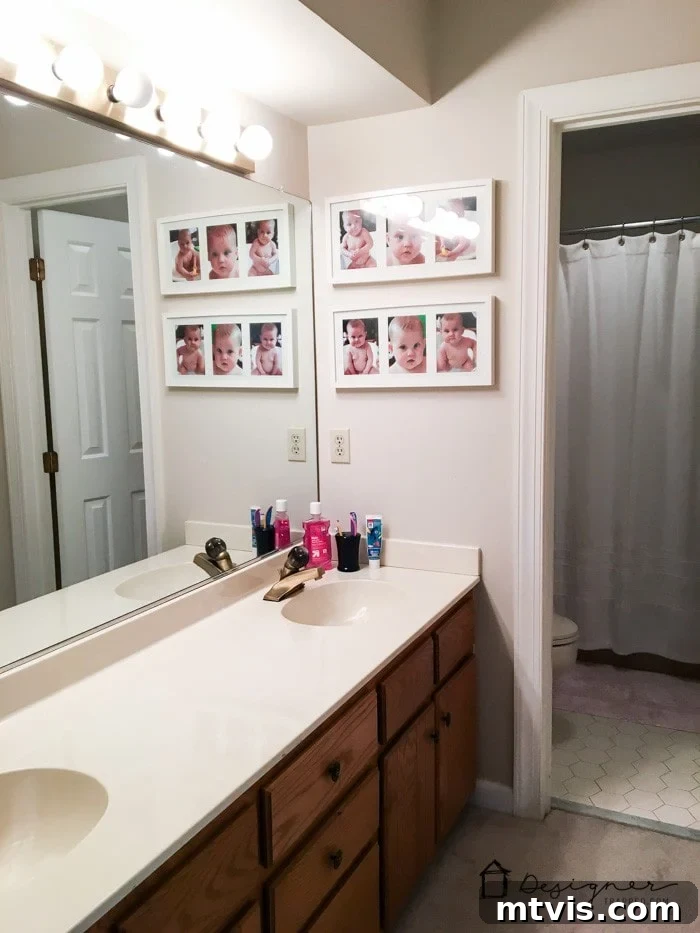
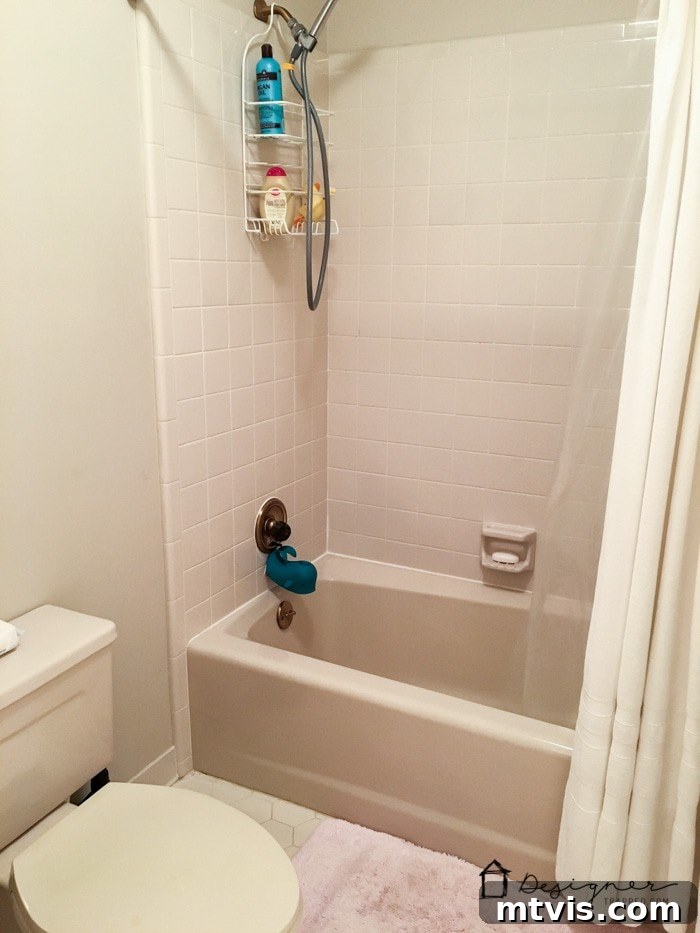
Before we immerse ourselves in the beauty of the completed space, it’s essential to appreciate just how far this bathroom has come. Prepare yourself for the “before” photos, which truly highlight the dramatic transformation. Yes, you read that correctly – there was actually dirty carpet on the floor, a stark reminder of its severely outdated state. The room lacked any natural light, making it perpetually dim and uninviting. This was a bathroom desperately in need of a complete overhaul, a space crying out for modern functionality and aesthetic appeal. Our mission was clear: to infuse light, style, and practicality into this neglected area.
 |
 |
The Stunning DIY Bathroom Remodel Reveal: Modern Elegance Achieved!
And now, the moment you’ve all been waiting for! Let’s unveil the spectacular transformation of our DIY bathroom remodel. The difference is truly night and day, a testament to thoughtful design and relentless effort. We can’t wait for you to see how this once-neglected space has evolved into a stylish, functional, and inviting sanctuary. You’ll find a complete source list at the bottom of this post, detailing every item used to achieve this stunning look.
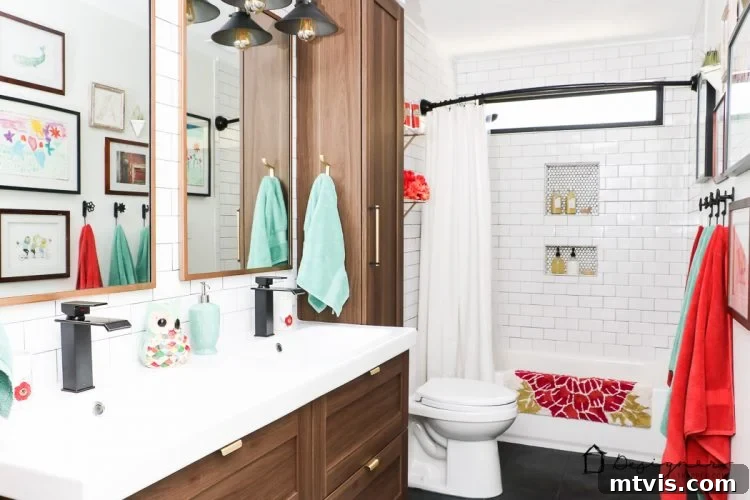
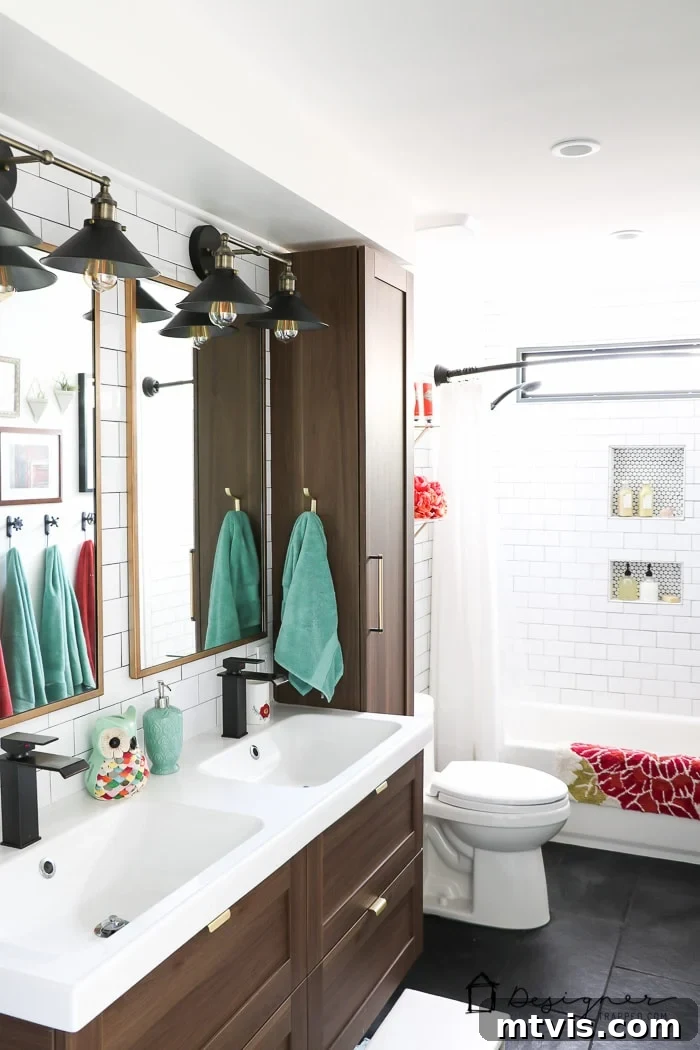
One of the design decisions we are most proud of, despite the considerable effort involved, was extending the classic subway tile from the floor all the way to the ceiling on the main wall of this DIY bathroom remodel. This choice has profoundly impacted the room’s aesthetic, instantly elevating it with a sense of grandeur and cohesion. The crisp, clean lines of the subway tile create a sophisticated backdrop that truly makes a statement. It’s the perfect canvas for showcasing other elements, like the incredible lucite shelves we discovered at HomeGoods. These transparent shelves virtually float against the tiled wall, allowing their contents to take center stage and adding a touch of modern elegance. This effect simply wouldn’t be as striking or dramatic if the wall had merely been painted; the tile provides unparalleled depth and texture. Stay tuned, because I’ve already figured out how to DIY these lucite shelves, and a tutorial will be shared in a few weeks!
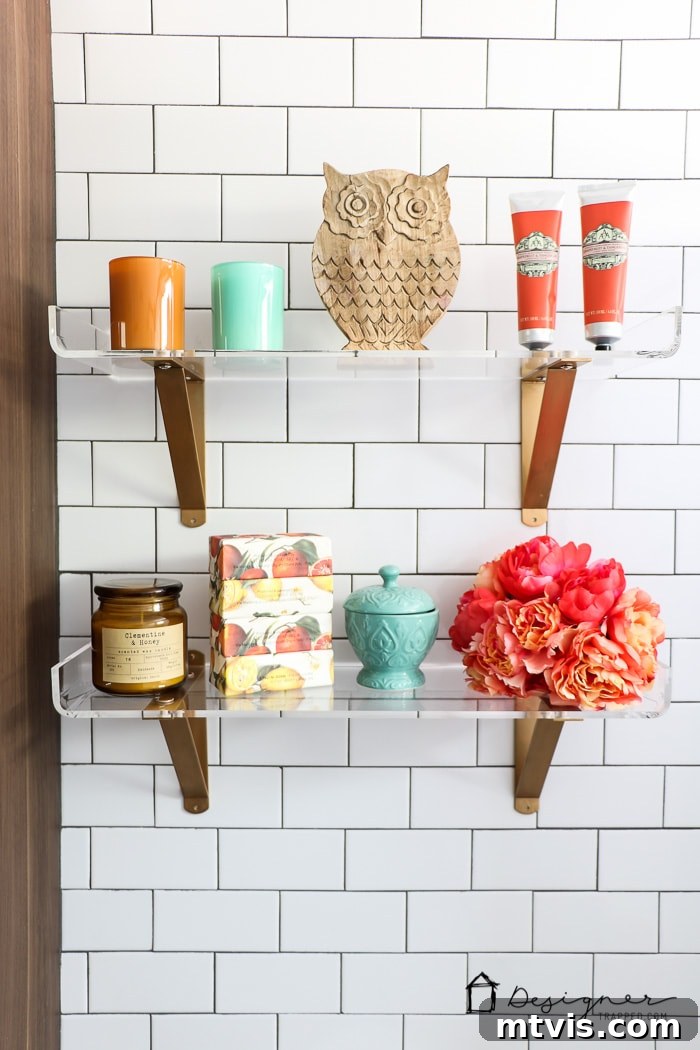
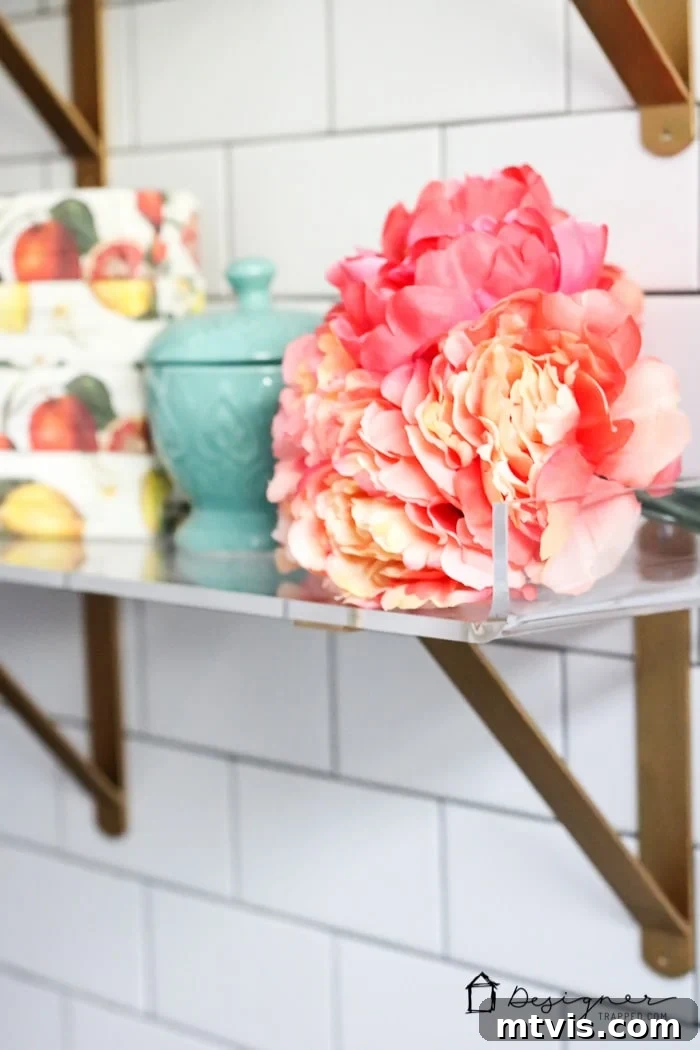
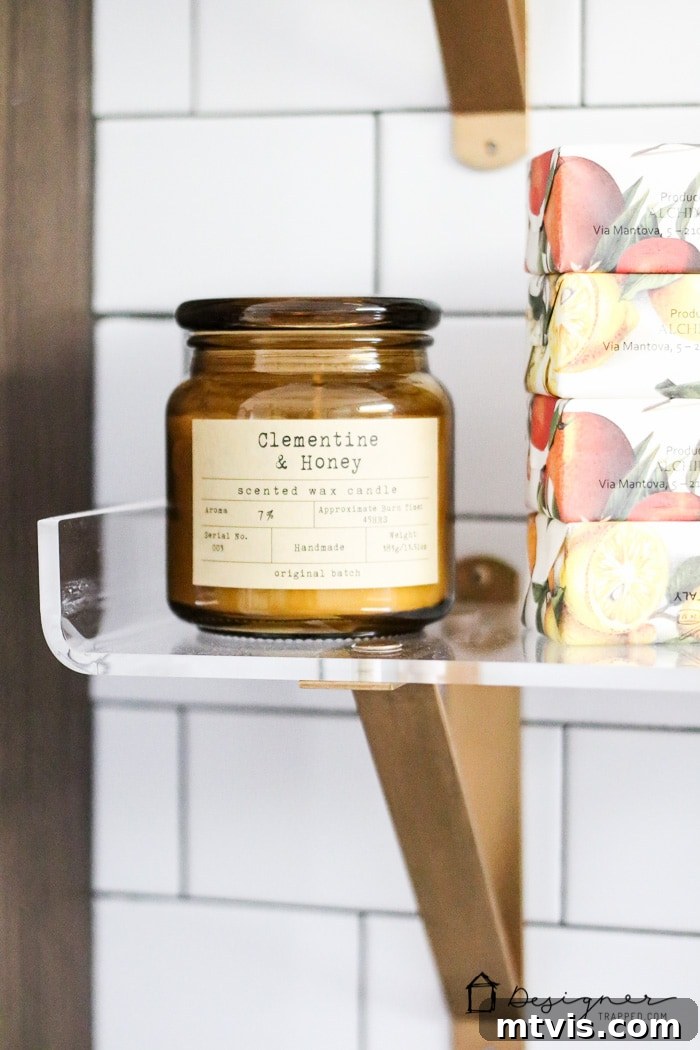
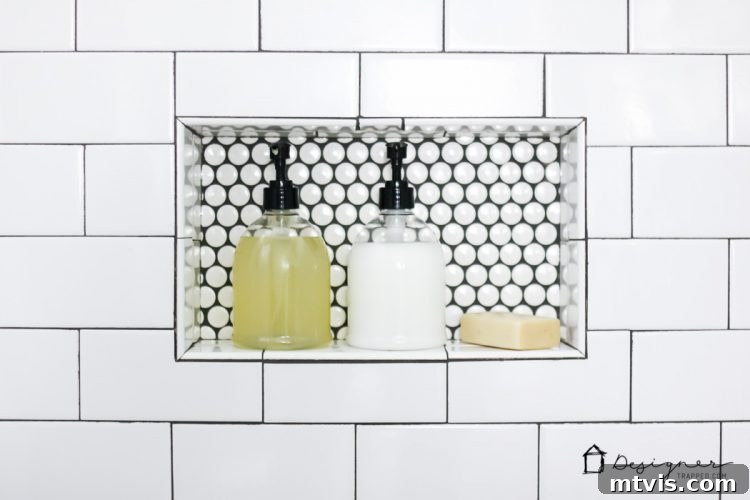
Another decision that fills us with immense satisfaction is the incorporation of charming penny tile within the shower niches. This small but impactful detail adds a delightful layer of visual interest and texture, creating a beautiful contrast against the larger subway tiles. The circular pattern of the penny tile draws the eye, turning a functional recess into a subtle design feature. Furthermore, the newly installed window has been completely transformed by simply painting its frame a bold black. This single stroke of color dramatically enhances its presence, making it “pop” and beautifully tying into the other black accents throughout the room. The black frame not only defines the window but also amplifies the natural light streaming in, making it one of the best design decisions we made.
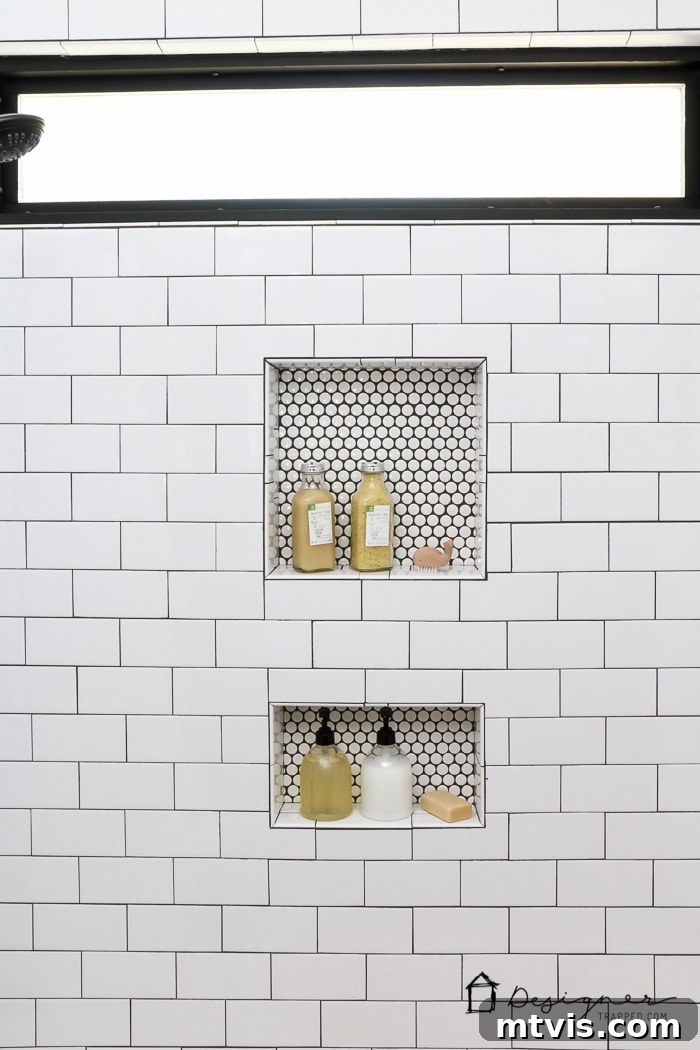
To keep the bathroom organized and kid-friendly, we introduced these adorable plastic pump dispensers for the girls’ shampoo and conditioner. Now that they’re showering independently, these dispensers make it incredibly easy for them to access their products without the fuss of squeezing traditional bottles, adding a touch of practical convenience to our beautifully renovated space.
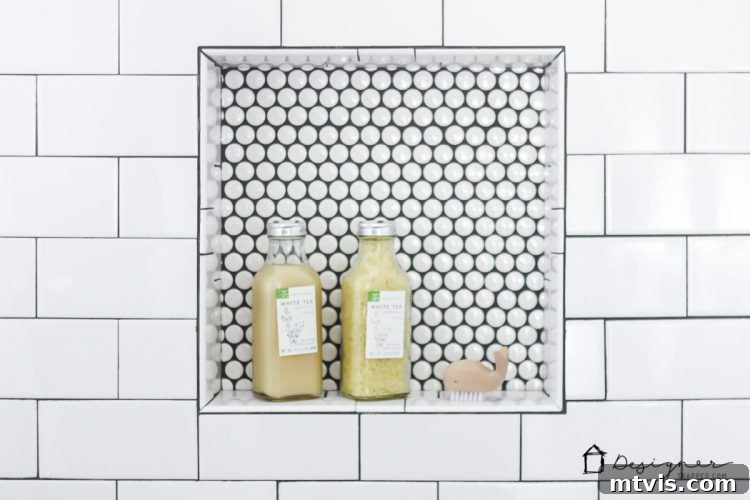
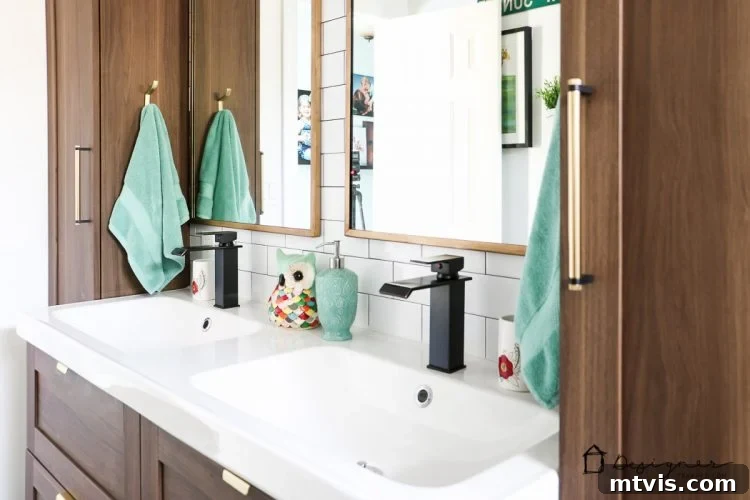
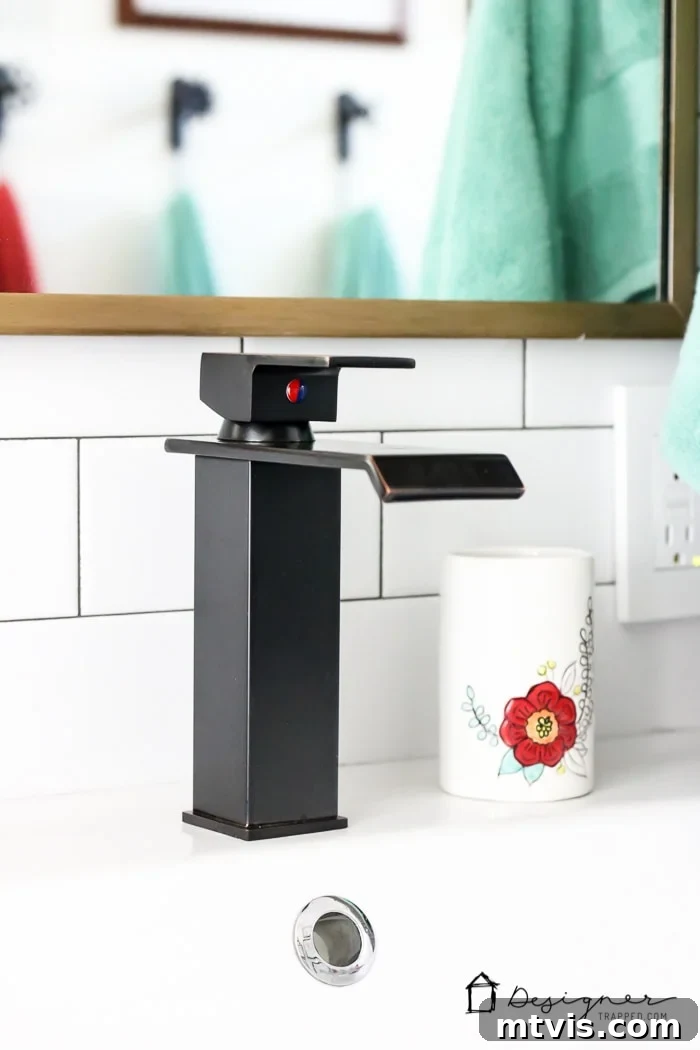
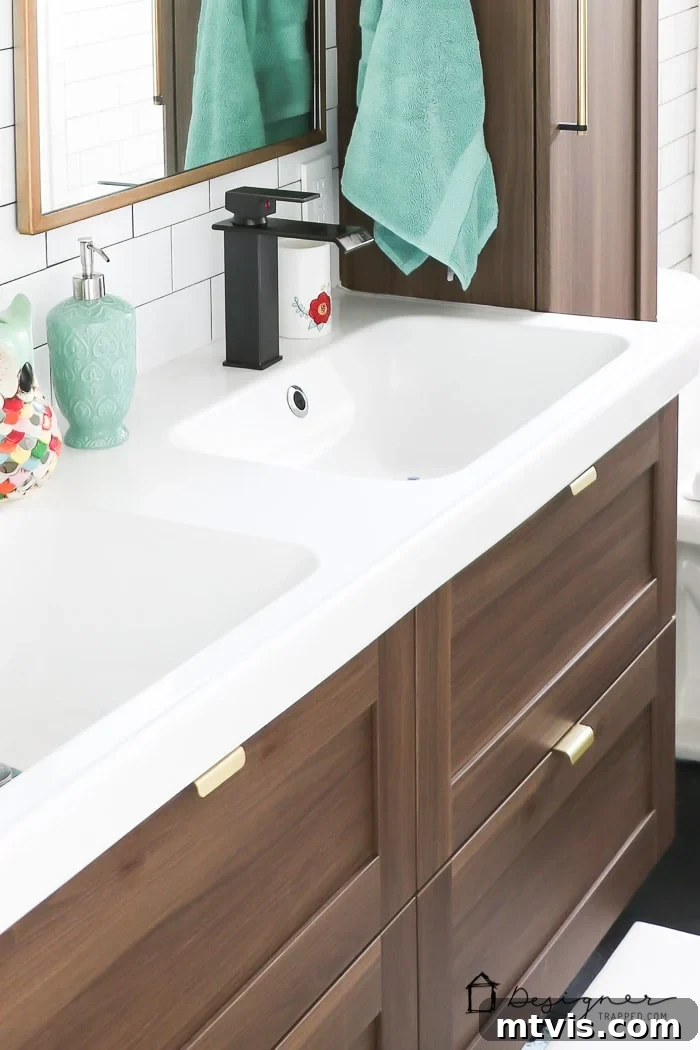
As always, it’s the meticulous attention to small details that truly makes a room feel complete and special. In our DIY bathroom remodel, we painstakingly selected every element to contribute to the overall aesthetic and functionality. We absolutely adore the super inexpensive faucets we chose; their sleek design belies their affordability, proving that style doesn’t have to come with a hefty price tag. And those stunning mirrors above the vanity? We snagged them at an incredible bargain! With a little DIY magic, we added that gorgeous gold finish ourselves, customizing them to perfectly match our vision. This personal touch not only saved us money but also ensured that every detail was exactly as we envisioned. A tutorial on how we achieved this custom mirror finish will be coming soon, so you can replicate this budget-friendly high-end look in your own home!
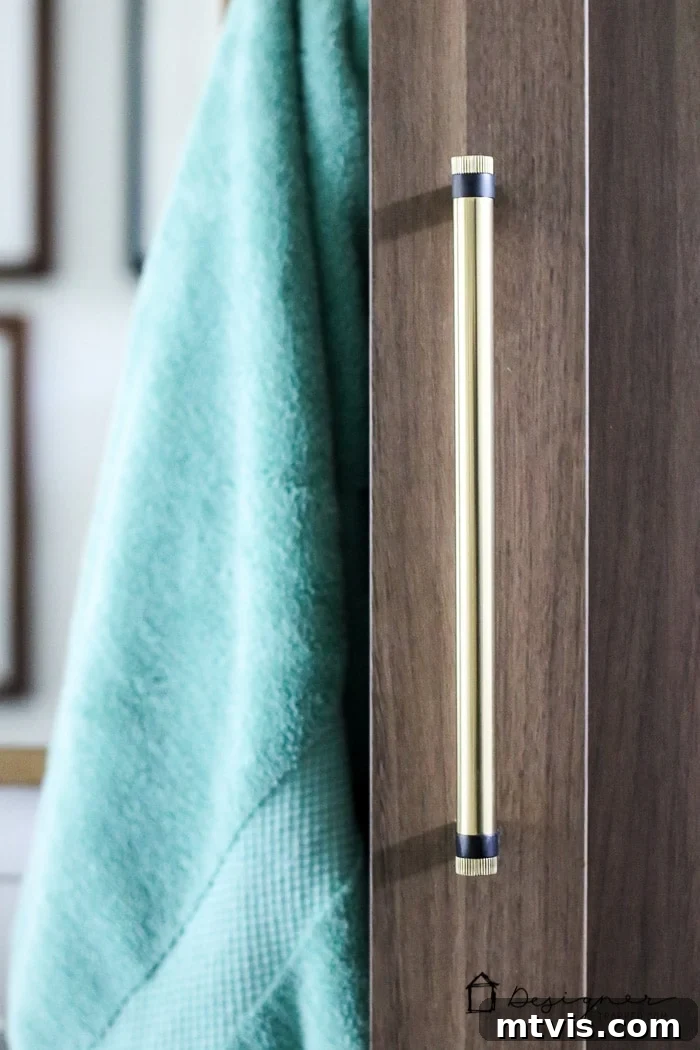
Speaking of those critical details, allow us to gush about the cabinet and drawer hardware we painstakingly sourced. Finding the perfect hardware can be like finding a hidden gem, and when we discovered these pieces, we instantly fell in love. Their modern, minimalist design perfectly complements the sleek lines of our new cabinetry and floating vanity. The subtle texture and elegant finish add a sophisticated touch that ties together the black, white, and walnut palette beautifully, proving that even the smallest elements can make a monumental difference in a DIY bathroom remodel.
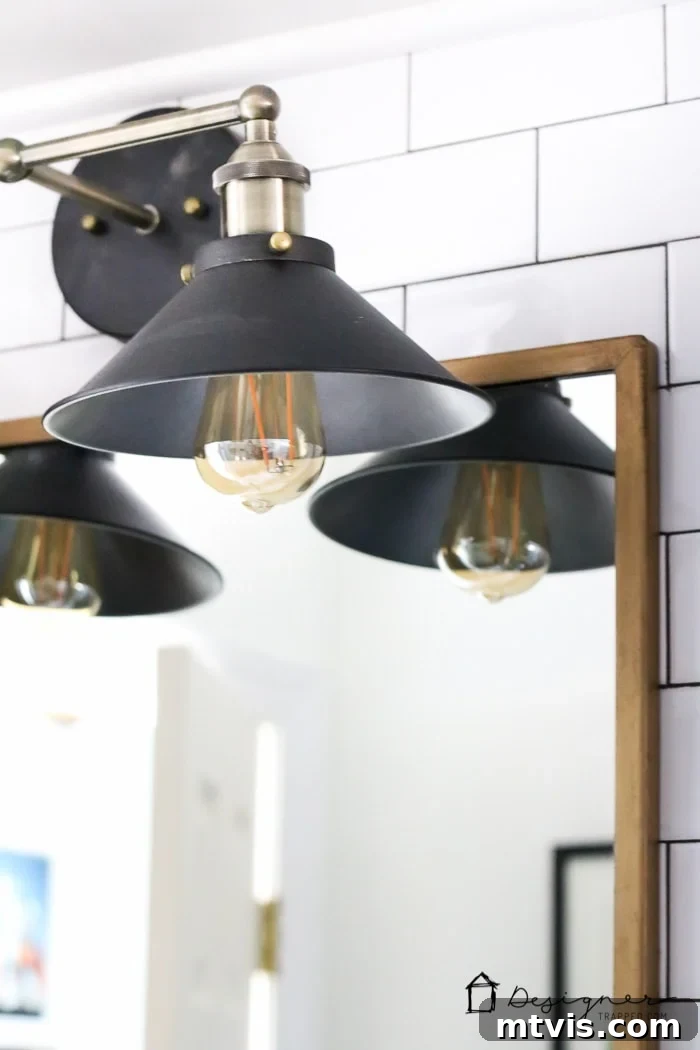
And let’s not overlook the vanity lights! They are undeniably one of our absolute favorite touches in this entire DIY bathroom remodel. Their striking design and warm glow not only provide essential illumination but also act as stylish focal points, perfectly framing the mirrors and enhancing the overall ambiance. What makes them even more remarkable is their incredibly affordable price point. We managed to find vanity lights that deliver a high-end look without the high-end cost, a true testament to smart shopping and careful selection during our renovation journey.
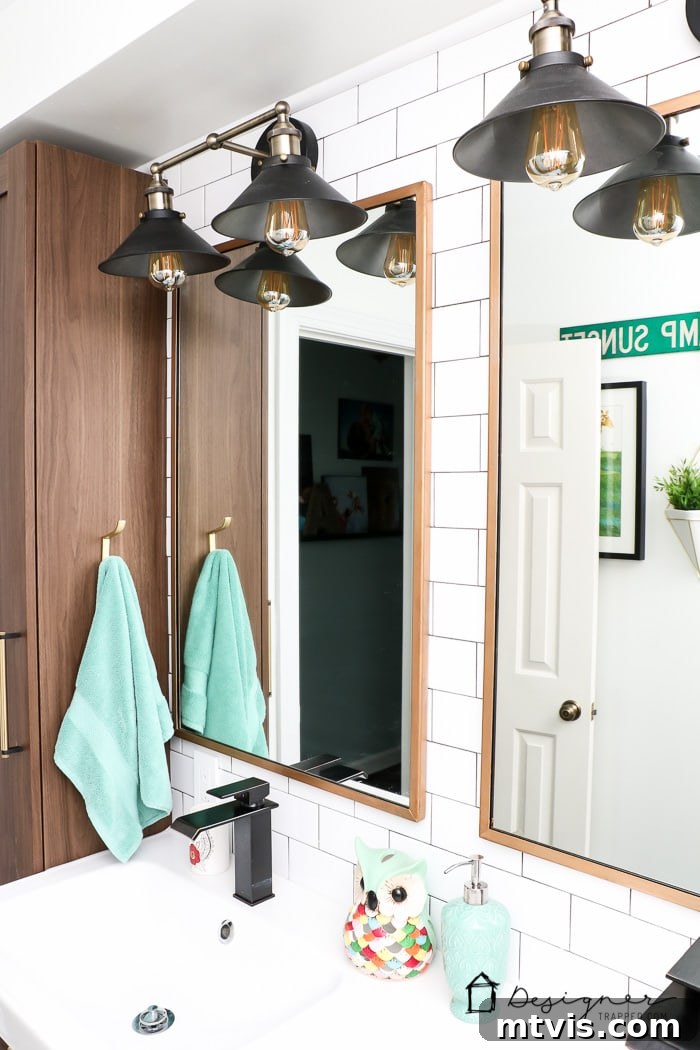
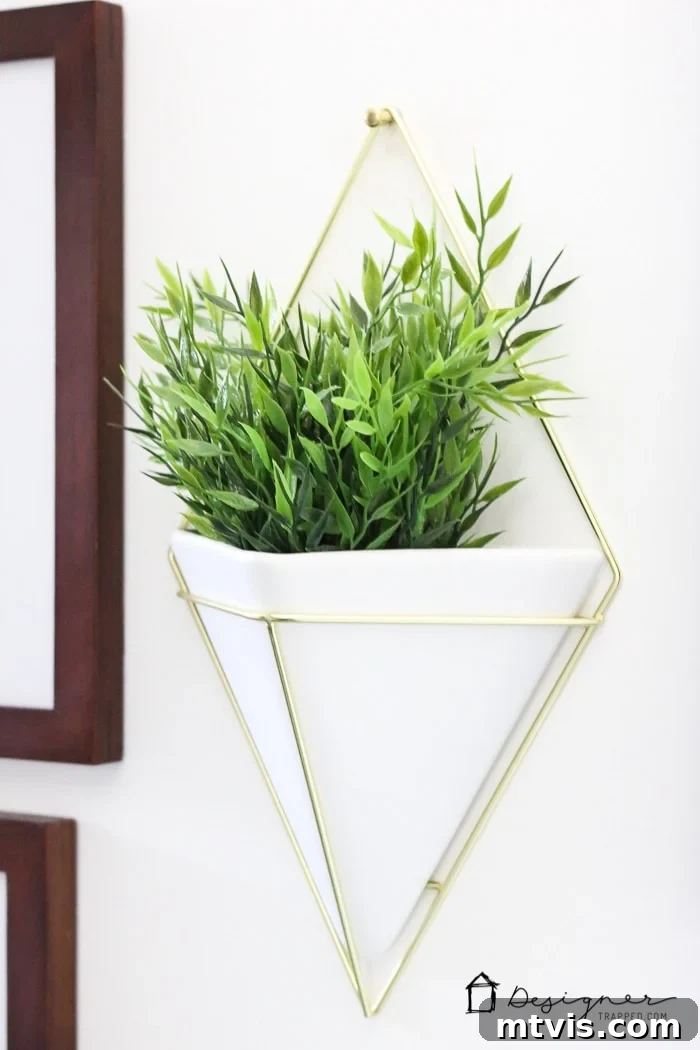
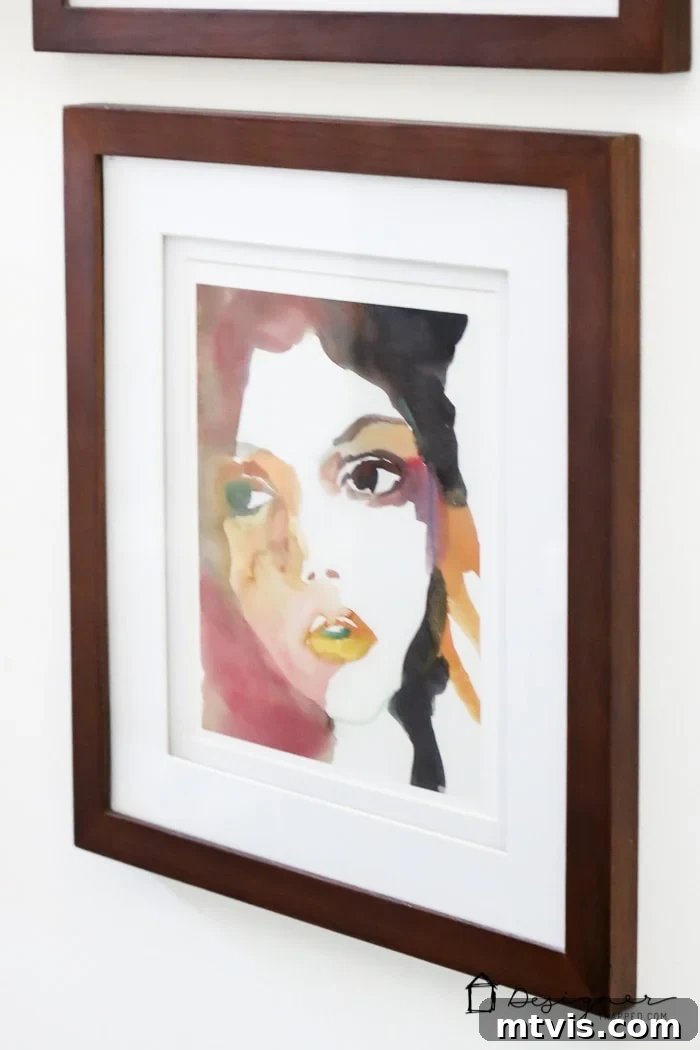
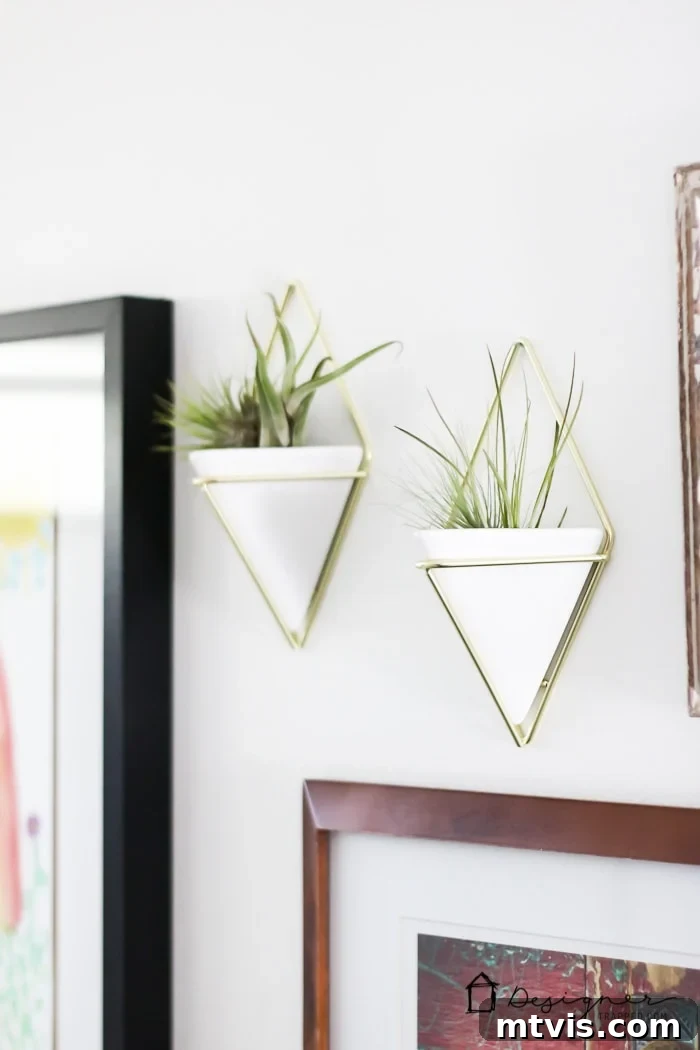
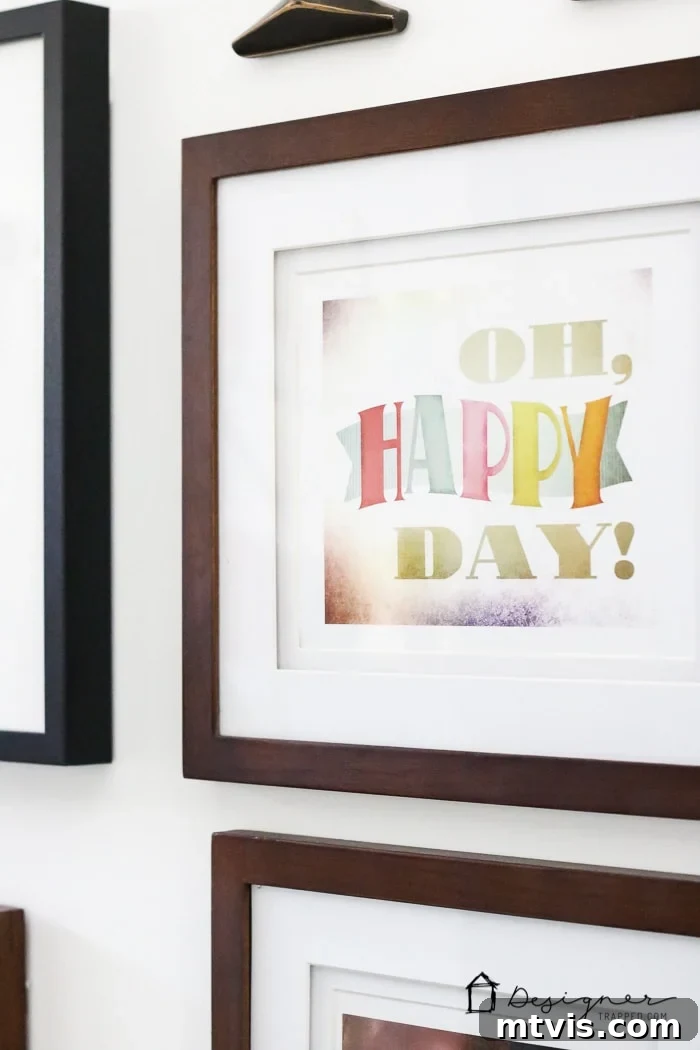
Now, shifting our focus to the opposite wall, you’ll discover a truly special feature: a vibrant art gallery curated specifically for our sweet girls. This personal touch brings immense warmth and character to the bathroom. It proudly displays some of their original artwork, alongside other charming pieces we either already owned or sourced from incredibly inexpensive art print books. These budget-friendly prints were simply popped into existing frames, creating a gallery that feels both high-end and deeply personal. To complete the look, we added a few fun geometric wall vases housing low-maintenance air plants, providing a touch of natural greenery and modern flair. The result is a dynamic and inspiring wall that celebrates creativity and adds a unique, heartwarming dimension to our DIY bathroom remodel.
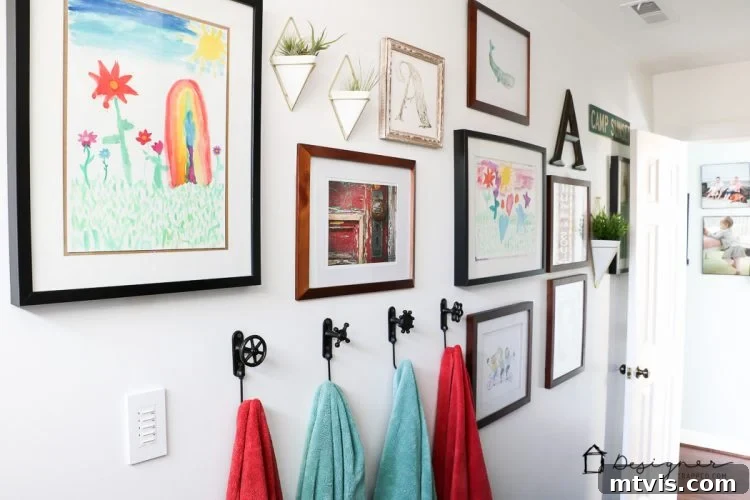
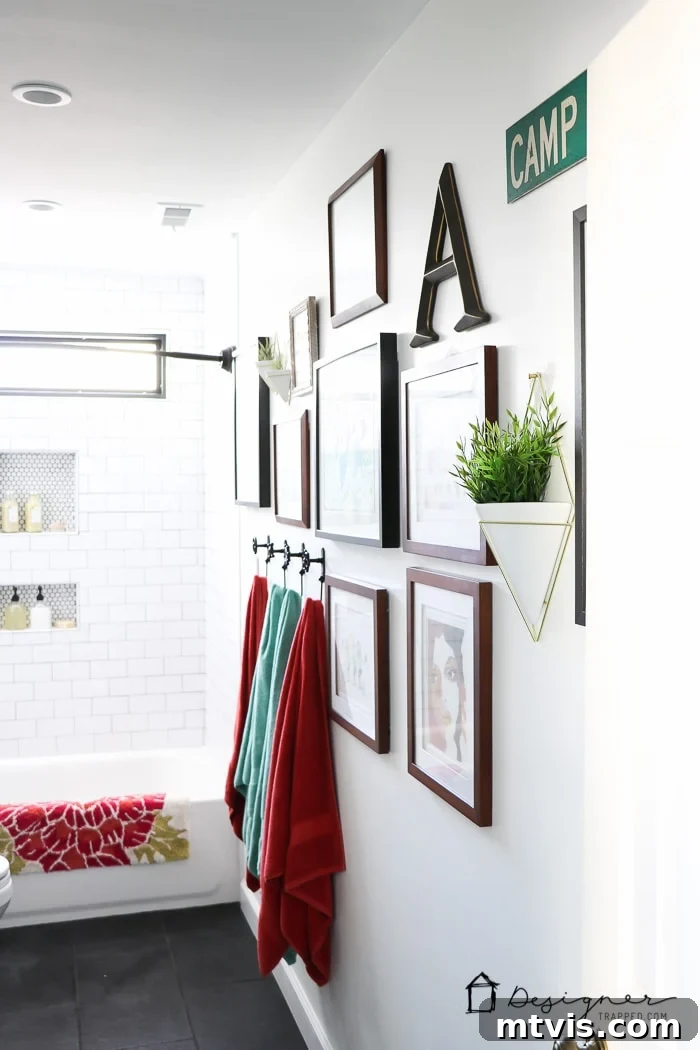
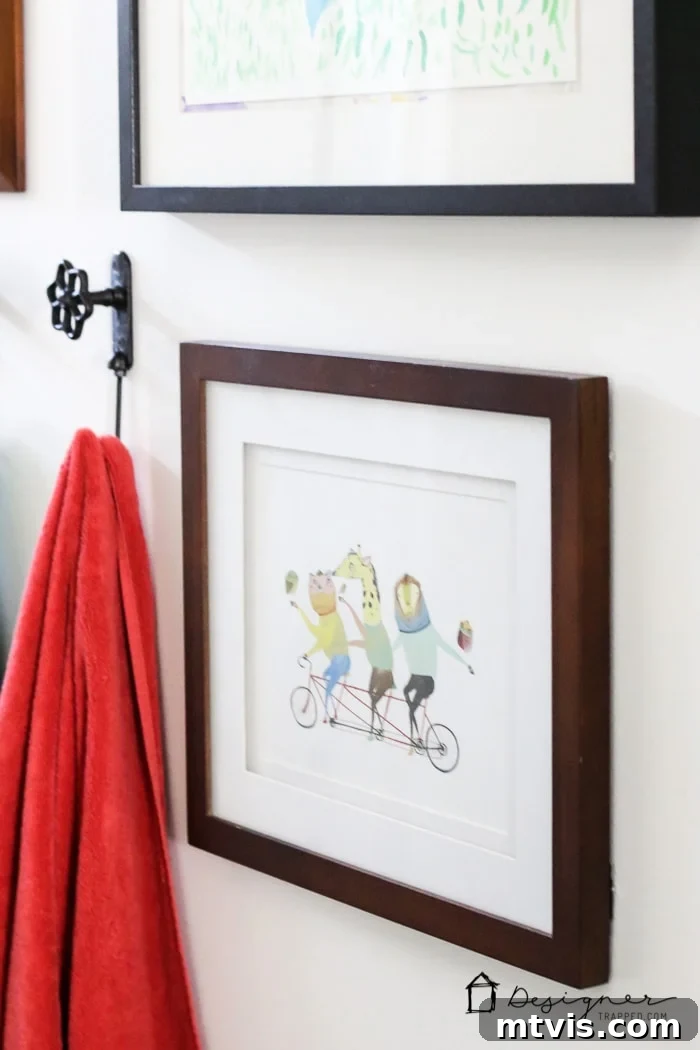
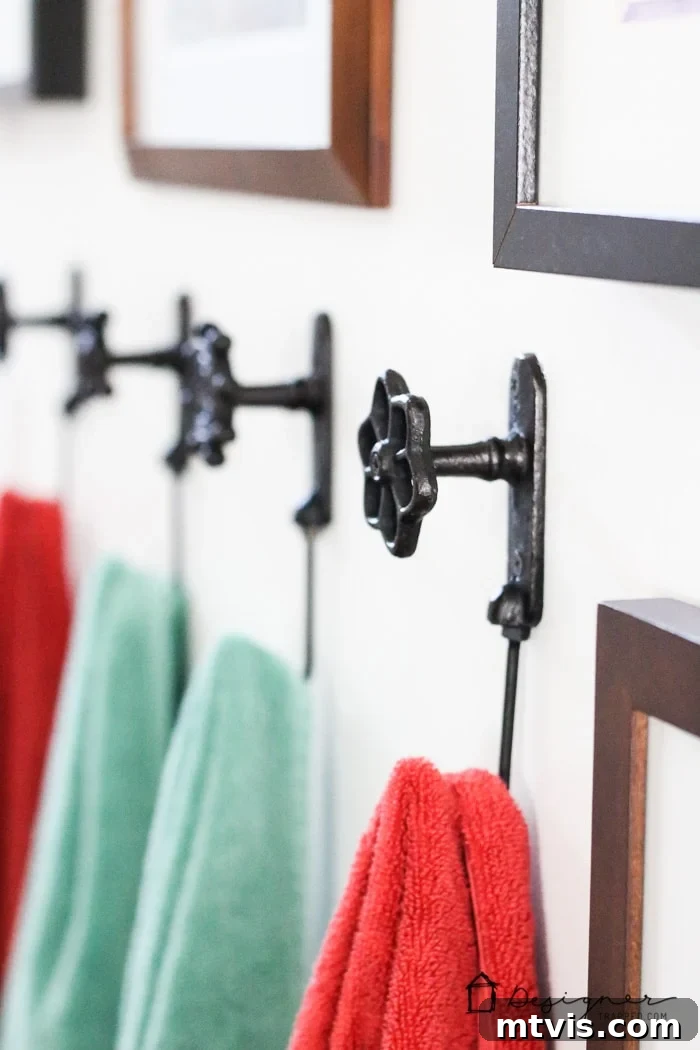
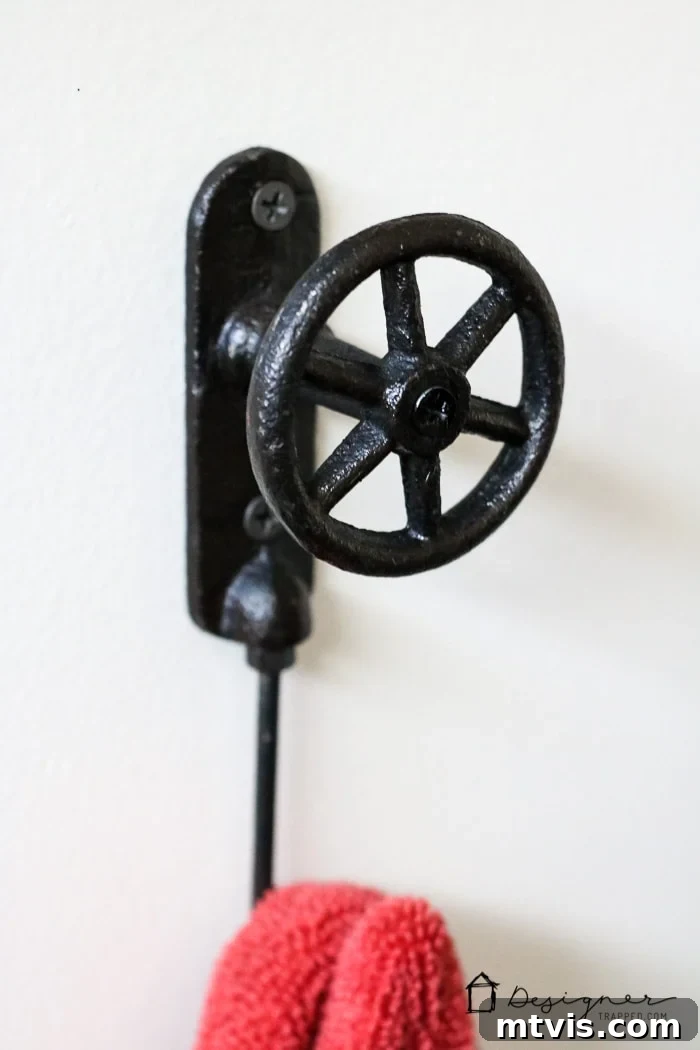
And let’s talk about those delightful towel hooks – aren’t they just absolutely perfect?! Not only do they add a touch of charming character to the wall, but their practical design makes it incredibly easy for our girls to hang up their towels neatly after showering. This simple addition helps keep the bathroom tidy and organized, a crucial feature in a busy family home. We were lucky enough to order these fantastic hooks from Decor Steals about eight months ago, and we are so incredibly pleased with how they complete the look and functionality of our DIY bathroom remodel.
So, there you have it, folks – the full reveal of our labor of love: the DIY bathroom remodel! We truly believe it’s absolutely perfect. Our guiding principle was to select classic and neutral choices, such as the timeless black and white tile, the elegant walnut finish on the cabinetry, and sophisticated gold and black accents. This strategic design ensures incredible versatility; as our girls grow and their tastes evolve, it will be effortlessly simple to update the decor with more “mature” elements, whether they prefer a burst of color or a continuation of the calm neutrality. Moreover, this classic and neutral foundation significantly enhances the home’s resale value. Should we ever decide to sell, the broad appeal of such a well-designed and understated space will undoubtedly attract a wide range of potential buyers, making this DIY endeavor a smart investment in both lifestyle and future equity.
Unveiling the True Cost: Our DIY Bathroom Remodel Budget Breakdown
One of the most compelling aspects of tackling a project like this yourself is the incredible cost savings. As promised, here’s a transparent breakdown of our DIY bathroom remodel expenses. Keep in mind, as we mentioned earlier, that the average professional bathroom remodel in 2016 typically cost anywhere from $10,499 to $14,975, a figure that has likely increased since then. Our DIY approach allowed us to achieve a high-end look without the high-end price tag.
- Cabinets and Sink: $1,084 (A fantastic foundation for our floating vanity look.)
- New Tub: $185 (An affordable yet quality replacement.)
- New Toilet: $149 (Learn how to install a new toilet yourself and save even more!)
- Tile and All Tiling Supplies from Floor & Decor: $813 (Including Hardie Board and the wet saw, proving you can get high-quality materials on a budget.)
- White subway tile
- White penny tile
- Black slate floor tile
- Faucets: $78 ($39 each – incredible value for stylish fixtures.)
- Vanity Lights: $138 ($69 each – adding modern illumination without the splurge.)
- Drawer and Door Hardware: $170 (The small details that make a big impact.)
- Mirrors: $198 ($99 each – a steal for custom-finished mirrors.)
- Raw Materials: $657 (Covering plumbing supplies, subfloor, can lights, paint, caulk, trim, and other miscellaneous essentials.)
- Limited Hired Labor (Plumbing & Drywall): $1,535 (This cost clearly illustrates how quickly labor adds up if you don’t do it yourself! We strategically outsourced only the most complex and finish-critical tasks.)
TOTAL COST OF OUR DIY BATHROOM REMODEL: $5,007
TOTAL SAVINGS BY TACKLING THIS OURSELVES: $5,492 to $9,968
The numbers speak for themselves! By dedicating our time and effort, we saved thousands of dollars, proving that a dream bathroom is achievable even on a strict budget. This substantial saving allowed us to invest in quality materials and create a truly custom space that reflects our style without financial strain.
Now for that comprehensive source list for our DIY bathroom remodel that I promised you. This list details every item, making it easy for you to recreate elements of our design in your own home. This post contains some affiliate links for your convenience. Click here to read my full disclosure policy.
DIY Bathroom Remodel Source List:
Staple Items for a Timeless Foundation:
- Wall color: Falling Snow by Behr
- Cabinets & Sink (We opted for the elegant walnut effect cabinets paired with the Odensvik sink, offering a floating vanity look.)
- Tall Cabinets (For essential vertical storage and a streamlined appearance.)
- We sourced all our high-quality tile from Floor & Decor, ensuring durability and style:
- White subway tile (Grouted with a striking charcoal gray grout for definition.)
- White penny tile (Also grouted with charcoal gray grout, creating a beautiful contrast.)
- Black slate floor tile (Installed with black grout for a seamless, sophisticated finish.)
- Vanity Mirrors (The perfect base for our custom gold finish.)
- Vanity Lights (Affordable yet impactful lighting solutions.)
- Faucets (Modern design at an unbeatable price.)
- Drawer Pulls (Selected for their sleek design and ergonomic feel.)
- Cabinet Door Handles (Completing the modern look of our cabinetry.)
Thoughtful Decor Items to Personalize Your Space:
- Aqua Towels (Adding a subtle splash of calming color.)
- Coral Towels (A vibrant accent for a pop of warmth.)
- Floral Bath Mat (Bringing in soft textures and a touch of nature.)
- Round Aqua Bath Mats (Perfect for comfort and complementary color.)
- Italian Soaps (A luxurious detail for daily indulgence.)
- Peony Bunch (Faux florals for lasting beauty and freshness.)
- Clementine & Honey Candle (Infusing the space with a delightful aroma.)
- Opaque Glass Jar Candles (Creating a soft, inviting ambiance.)
- Ceramic Cup/Toothbrush Holder (A functional and elegant counter accessory.)
- Soap Dispenser (Matching the aesthetic for a cohesive look.)
- Ceramic Canister with Lid (For stylish storage of essentials.)
- Iron faucet wall hooks (Originally purchased during a one-day deal on Decor Steals; similar ones can be found here or here for lasting style.)
- Wooden owl (A unique, whimsical find from HomeGoods.)
- Lucite shelves (Another HomeGoods treasure that adds modern transparency.)
- Colorful owl on sink (A beloved piece purchased years ago from Urban Outfitters, adding a playful touch.)
Shower Fixtures and Accessories for a Spa-like Experience:
- Shower Head (Selected for its modern design and excellent water pressure.)
- Tension Curved Shower Curtain Rod (Maximizes space and enhances the shower area.)
- Double Glide Shower Rings (Ensuring smooth movement and ease of use.)
- White Shower Curtain with Gold Thread Detail (Adding a subtle shimmer and elegant texture.)
- Whale Fingernail Brush (A whimsical and practical addition.)
- Shampoo and Conditioner Pump Bottles (Keeping bath time organized and effortless for the girls.)
Gallery Wall Items to Spark Creativity and Personality:
- All of the captivating art prints you see on the gallery wall (excluding those painted by our talented girls) were creatively sourced from these two incredibly inexpensive yet high-quality framable print books:
- Art for the Eclectic Home
- Art for the Contemporary Home
- Set of 2 Geometric Small Wall Vases (Perfect for subtle greenery and modern architectural interest.)
- Large Geometric Wall Vase (A statement piece for additional greenery or decorative elements.)
- Botanical A Foil-Stamped Print (Adding a touch of refined elegance and natural beauty.)
And if it’s easier for you to shop visually, you can click on any of the photos throughout this post for more information on the specific items you see, linking you directly to their sources.
What do you think of our DIY bathroom remodel? We are so incredibly proud of this transformation! Can you believe the dramatic difference from the “before” to the “after”? We’d love to hear your thoughts and favorite elements in the comments below. Your feedback inspires us to keep creating and sharing our home renovation journeys!
Other Posts You May Enjoy to Inspire Your Next Project:
- How to Install a Toilet: A Step-by-Step Guide for Beginners (Master this essential DIY skill!)
- 25 Stunning Powder Room Makeovers (Get inspired by these impressive small space transformations.)
- The Best Colorful Shower Curtains (Add a vibrant pop to any bathroom with these stylish selections.)
- Attley’s Budget-Friendly Bathroom Renovation (Another inspiring example of achieving style on a budget.)
- Avery’s Budget-Friendly Bathroom Makeover (Discover more clever ways to refresh your bathroom without overspending.)
- Affordable Master Bathroom Remodel REVEAL (See how a master bath can be transformed on a practical budget.)
- The Easy Way to Update Bathroom Tile Without Replacing It! (Learn smart tricks for refreshing your existing tile.)
Curious about my proven methods for transforming rooms and spaces in our home, from initial concept to stunning completion? Dive into Designer in a Binder®, my comprehensive guide that simplifies the design process and empowers you to create spaces you love.
For even more exclusive content, behind-the-scenes sneak peeks into our latest projects, and first access to new tutorials, be sure to subscribe to our newsletter before you go! Join our community of DIY enthusiasts and get all the inspiration and practical tips directly in your inbox.