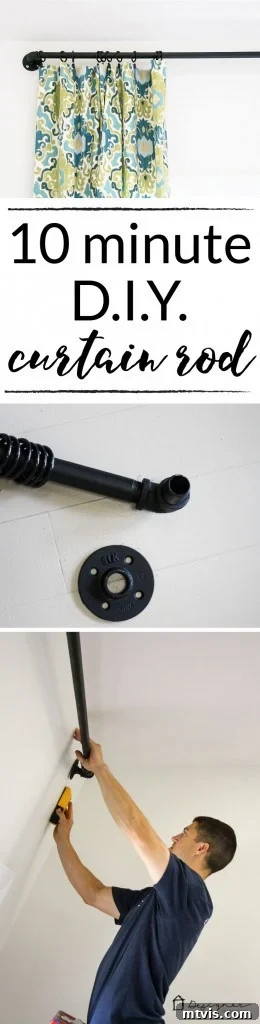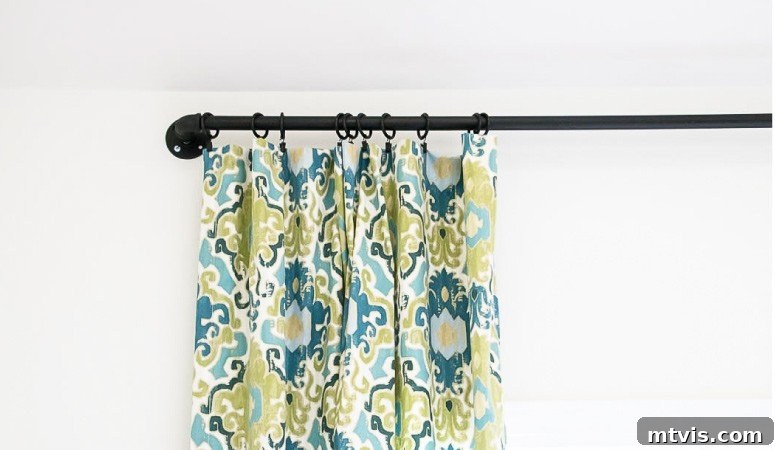
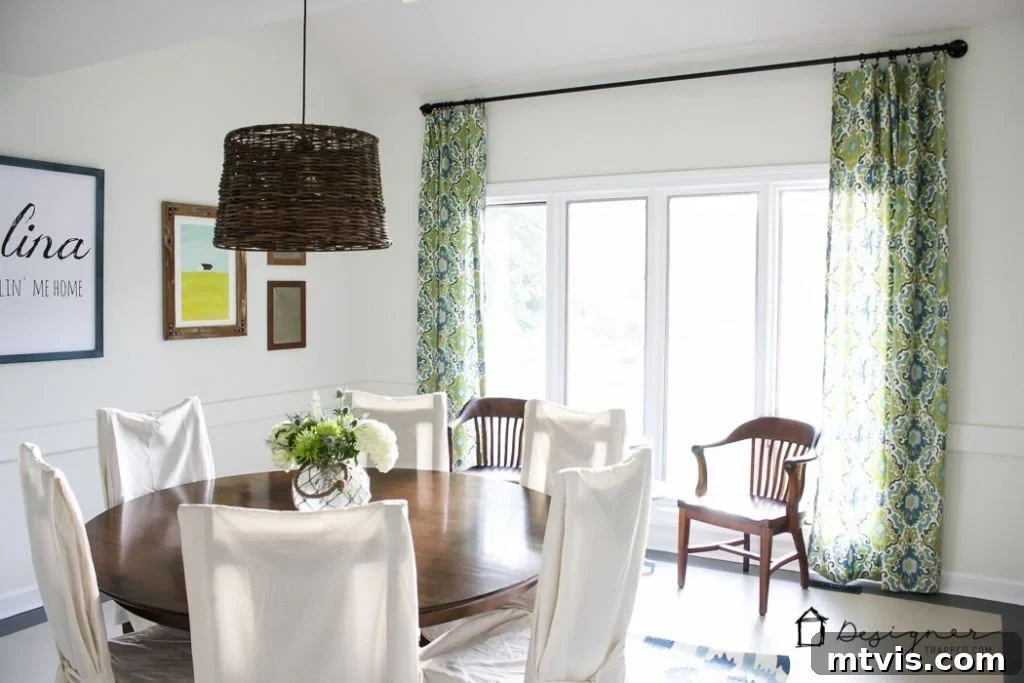
Welcome, fellow DIY enthusiasts and home decor lovers! Today, I am thrilled to finally share a project that has garnered immense attention since its debut in my dining room makeover this past summer. If you’ve been searching for a curtain rod solution that combines robust functionality with striking industrial aesthetics, look no further. This DIY industrial pipe curtain rod isn’t just a stylish statement piece; it’s a testament to how easily you can create high-end home features on a budget. And yes, it’s incredibly simple to construct, proving that even a beginner can achieve professional results. The most challenging part might just be transporting the length of pipe home in your vehicle! For those new to my space, you can glimpse the finished product gracing our dining room window in the image below, showcasing its unique charm and sturdy presence.
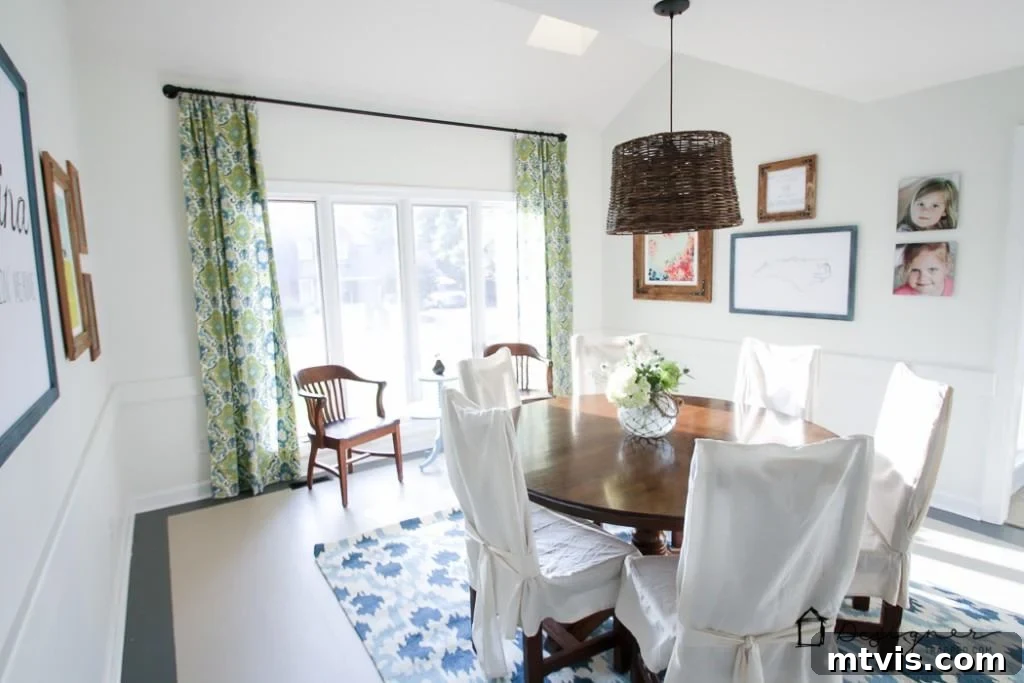
Let’s be honest: finding a substantial, long curtain rod that resists sagging and doesn’t break the bank is a formidable task. Many off-the-shelf options either sag under the weight of heavier drapery or come with an exorbitant price tag. If you’ve been on a quest for an affordable, durable, and visually appealing curtain rod that offers unwavering support for your window treatments, this comprehensive DIY curtain rod tutorial is precisely what you need. It’s designed to be straightforward, empowering anyone to create a custom solution that perfectly complements their home decor. Say goodbye to flimsy, expensive curtain rods and hello to a sturdy, stylish, and budget-friendly alternative.
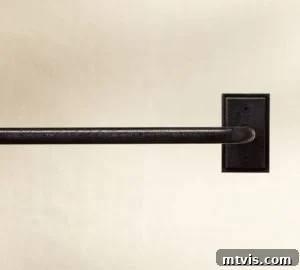
My inspiration for this particular DIY project stemmed from a beautiful, albeit pricey, cast iron curtain rod I admired from Pottery Barn. I was captivated by its raw, industrial aesthetic and the robust feel it offered. However, I envisioned a rod with even greater thickness and knew, deep down, that I could replicate and even improve upon this look while saving a considerable amount of money by crafting my own. Driven by this vision, I embarked on creating a DIY version that not only captured the essence of industrial design but also surpassed it in terms of customizability and value.
This post contains some affiliate links for your convenience. Click here to read my full disclosure policy.
Crafting Your Own Industrial Pipe Curtain Rod: A Step-by-Step Guide
Creating this stunning industrial pipe curtain rod is a rewarding project that transforms your windows with a touch of rugged elegance. The robust nature of steel ensures your curtains will hang beautifully without any worry of sagging, even with heavier fabrics. Here’s everything you’ll need to get started:
Materials Needed:
- 1-inch Black Steel Pipe: This is the backbone of your curtain rod. We opted for a 10-foot length to span our large dining room window, but you can easily find pre-cut lengths at your local Home Depot or Lowe’s to suit any window size. The 1-inch diameter provides excellent stability and a substantial industrial look.
- Two 1-inch Black Steel Elbow Joints: These critical fittings allow the rod to extend outwards from the wall, creating the necessary clearance for your curtains and adding to the pipe’s distinctive shape.
- Two 1-inch Black Steel Floor Flanges: These are the mounting points for your curtain rod, providing a secure and stable connection to your wall. Their broad base helps distribute the weight effectively.
- Two 1-inch x 1-inch Black Steel Nipples: These short sections of pipe act as connectors, bridging the elbow joints to the floor flanges, ensuring a tight and cohesive assembly.
- Drill: Essential for pre-drilling holes and securely mounting the flanges to the wall.
- Stud Finder: Crucial for locating wall studs, providing the most secure mounting points for your heavy-duty rod.
- Wall Anchors: Necessary if you cannot find studs directly where you need to mount your rod. Choose heavy-duty anchors suitable for the weight of your pipe and curtains.
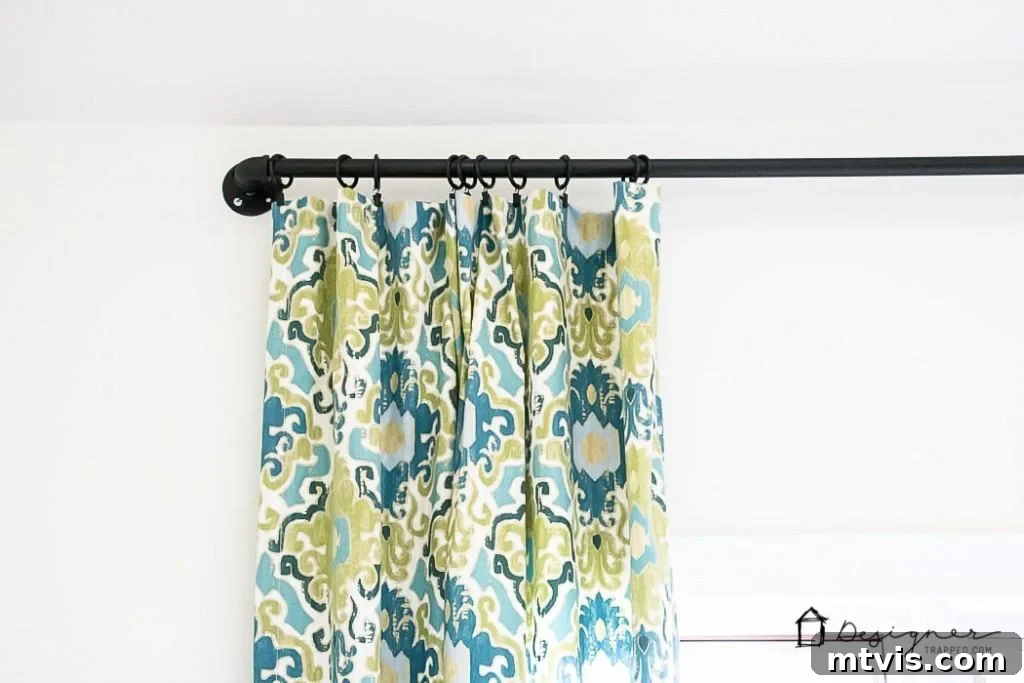
- Drapery Rings: These will hold your curtains to the rod, allowing them to glide smoothly. Ensure they match the 1-inch diameter of your pipe for a perfect fit.
Detailed Steps for Assembly and Installation:
Follow these steps carefully to construct and install your robust new curtain rod. Precision and attention to detail will ensure a beautiful and long-lasting result.
1) Thoroughly Clean Your Pipe: Most black steel pipes come with a protective, often greasy or oily, coating from the manufacturing process, along with various stickers. It’s imperative to clean this off before assembly. Using a strong degreaser like Simple Green and a sturdy cloth, scrub the entire length of the pipe until it’s clean to the touch. This not only makes the pipe more pleasant to handle but also prevents any residue from transferring to your curtains or walls. Don’t skip this step – a clean pipe ensures a pristine finish!
2) Add Drapery Rings to the Pipe: This is a crucial, easily forgotten step! Before assembling the end pieces, slide all your chosen drapery rings onto the main length of your steel pipe. Once the elbow joints are attached, you won’t be able to add or remove the rings, so double-check that you have the correct number and that they are all on the rod. This simple pre-assembly prevents frustration later on.
3) Attach the Elbow Joints: Take one black steel elbow joint and securely screw it onto each end of your pipe rod. Ensure these are tightened by hand until they are snug. These joints will provide the outward curve, allowing your curtains to hang freely away from the window frame.
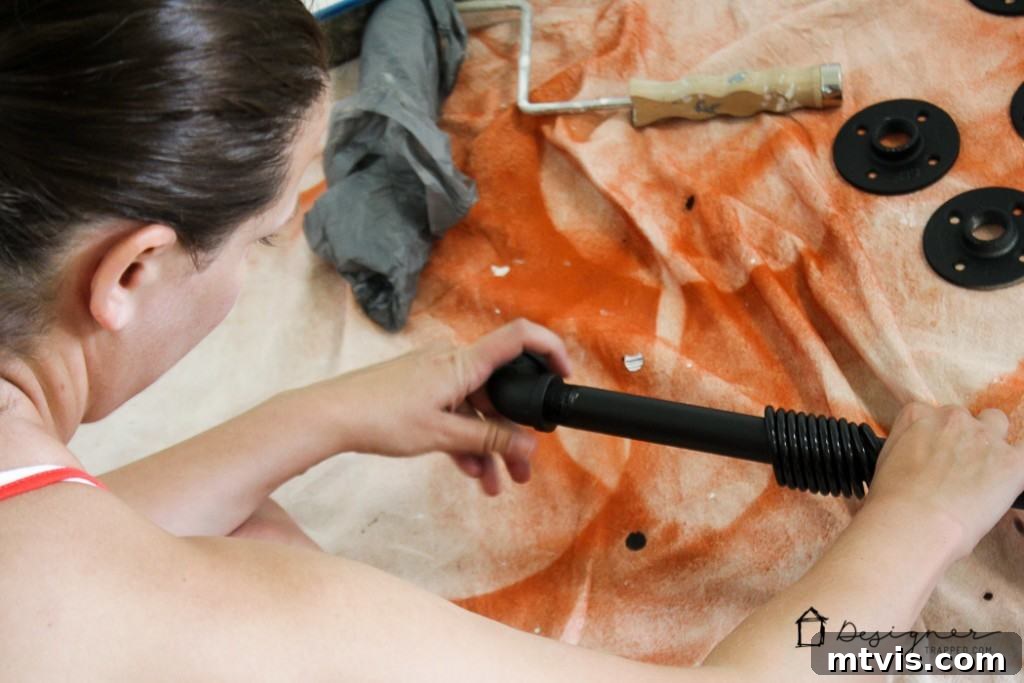
4) Connect Nipples and Floor Flanges: Next, screw one of the 1-inch steel nipples into the open end of each elbow joint. Following that, attach a floor flange to the other end of each nipple. Twist all components together until they are tightly secured. This completes the full assembly of your curtain rod and its mounting brackets, creating a single, solid unit ready for installation. Ensure everything is aligned and snug.
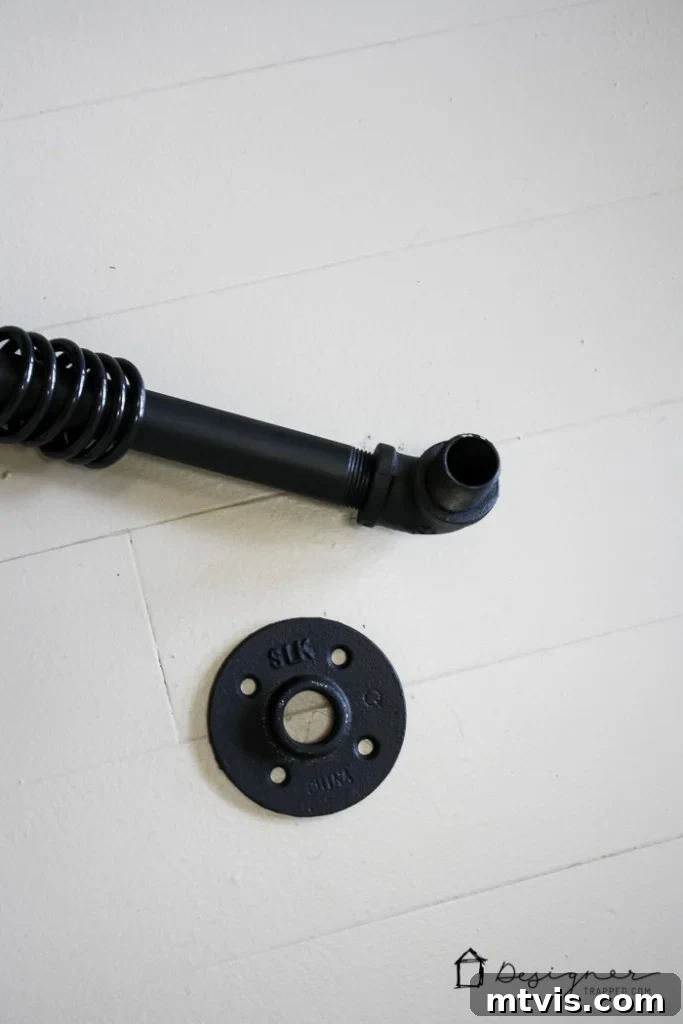
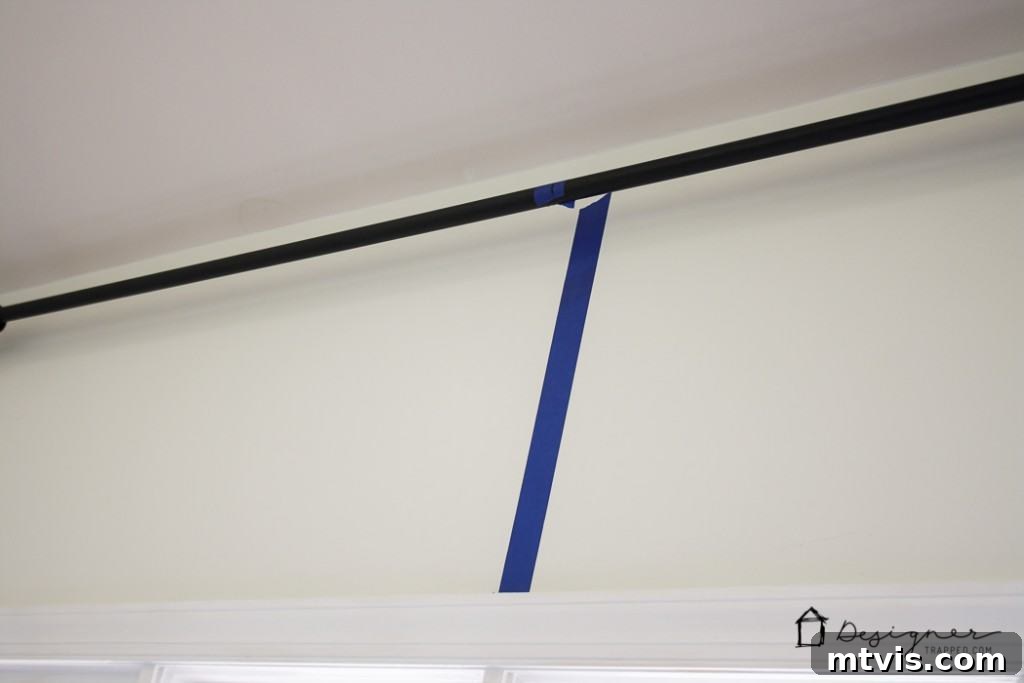
5) Prepare for Hanging: Now, it’s time to hang your newly assembled industrial pipe curtain rod! If you’re using a longer pipe, such as our 10-foot length, this is definitely a two-person job due to its weight and length. To ensure perfect alignment, use painter’s tape to mark the exact center of your window frame and then mark the center of your assembled rod. This visual guide will help you easily line them up when lifting the rod into position, guaranteeing a symmetrical installation. Also, consider the desired height for your curtains; typically, hanging them higher and wider than the window frame creates an illusion of larger windows and more grandeur.
6) Mark and Drill for Mounting: With your helper, carefully lift the assembled rod into place against the wall, aligning your center marks. Use a pencil to mark through the screw holes in each floor flange onto the wall. Once your marks are made, carefully set the rod down. Now, use your stud finder to check if any of your marks align with wall studs. Hitting a stud provides the most secure attachment for heavy items. If you’re lucky enough to hit studs for all mounting points, pre-drill pilot holes. If not, you’ll need to install appropriate wall anchors (e.g., toggle bolts for drywall) into your pre-drilled holes before proceeding. Always choose anchors rated for the combined weight of your rod and curtains.
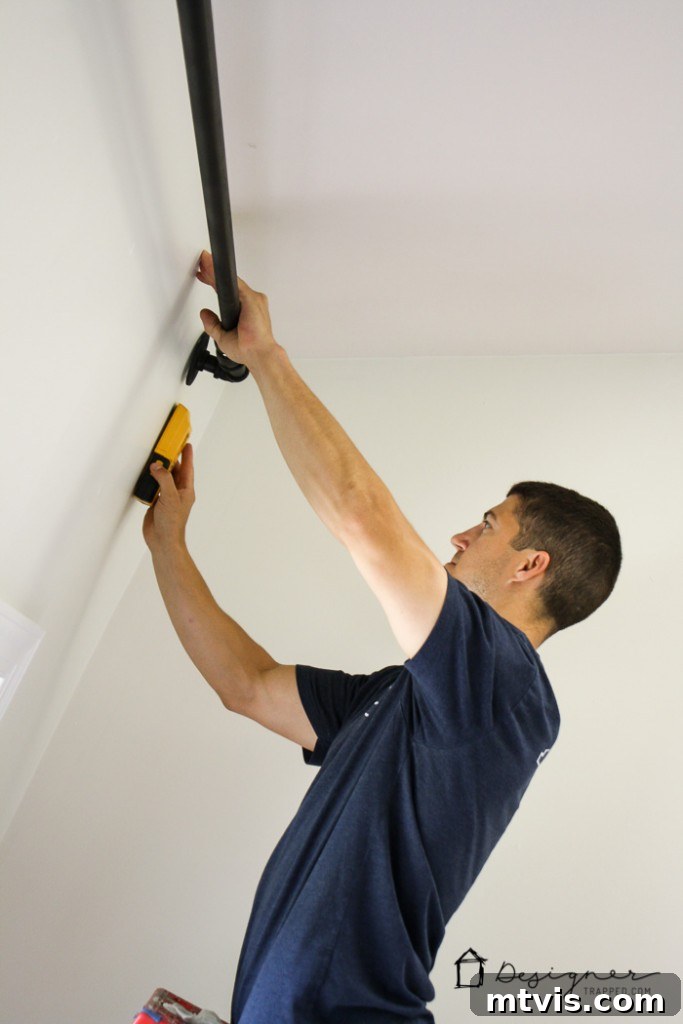
7) Securely Screw into Place: With pilot holes drilled (and anchors inserted if necessary), lift the rod back into position. Using appropriate screws for your wall type (wood screws for studs, machine screws for anchors), securely fasten the floor flanges to the wall. Drive the screws in until the flanges are flush and stable against the wall, ensuring there is absolutely no wobble. This is where the structural integrity of your rod truly comes to life.
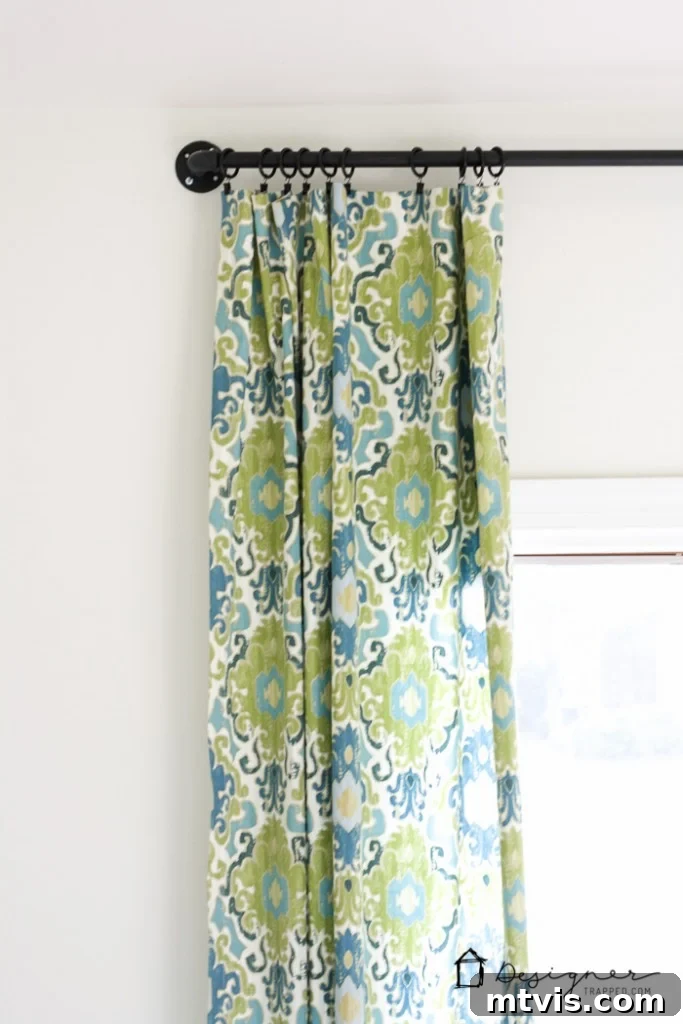
8) Attach Your Curtains: Finally, with your robust new curtain rod firmly in place, attach your curtains to the drapery rings. Arrange them evenly, allowing them to hang gracefully. Step back and admire your handiwork! The industrial pipe provides a fantastic contrast to softer fabrics, creating a focal point that is both stylish and incredibly functional.
The Enduring Appeal of DIY Industrial Decor
And there you have it! This project has genuinely transformed my dining room, and I couldn’t be more delighted with the outcome. For approximately $45.00, we now boast a substantial, visually stunning curtain rod that perfectly captures that coveted industrial aesthetic. What makes this DIY pipe curtain rod truly exceptional is its inherent strength; constructed from solid steel, this baby simply does not sag, even with our heaviest drapes. The robust design also eliminates the need for unsightly center support brackets, maintaining a clean and uninterrupted visual line across your window. It’s an investment in both style and durability that will serve your home for years to come.
If you’re eager to complete the look, you can delve deeper into how I created those gorgeous curtains the easy way by clicking here. And for a full tour of our DIY dining room makeover, including all the other budget-friendly transformations, be sure to see the rest of our DIY dining room makeover by clicking here.
For a continuous flow of inspiring ideas for windows, floors, and general home decor, make sure to follow my dedicated board on Pinterest. It’s a treasure trove of creative solutions and beautiful designs to spark your next home improvement project!