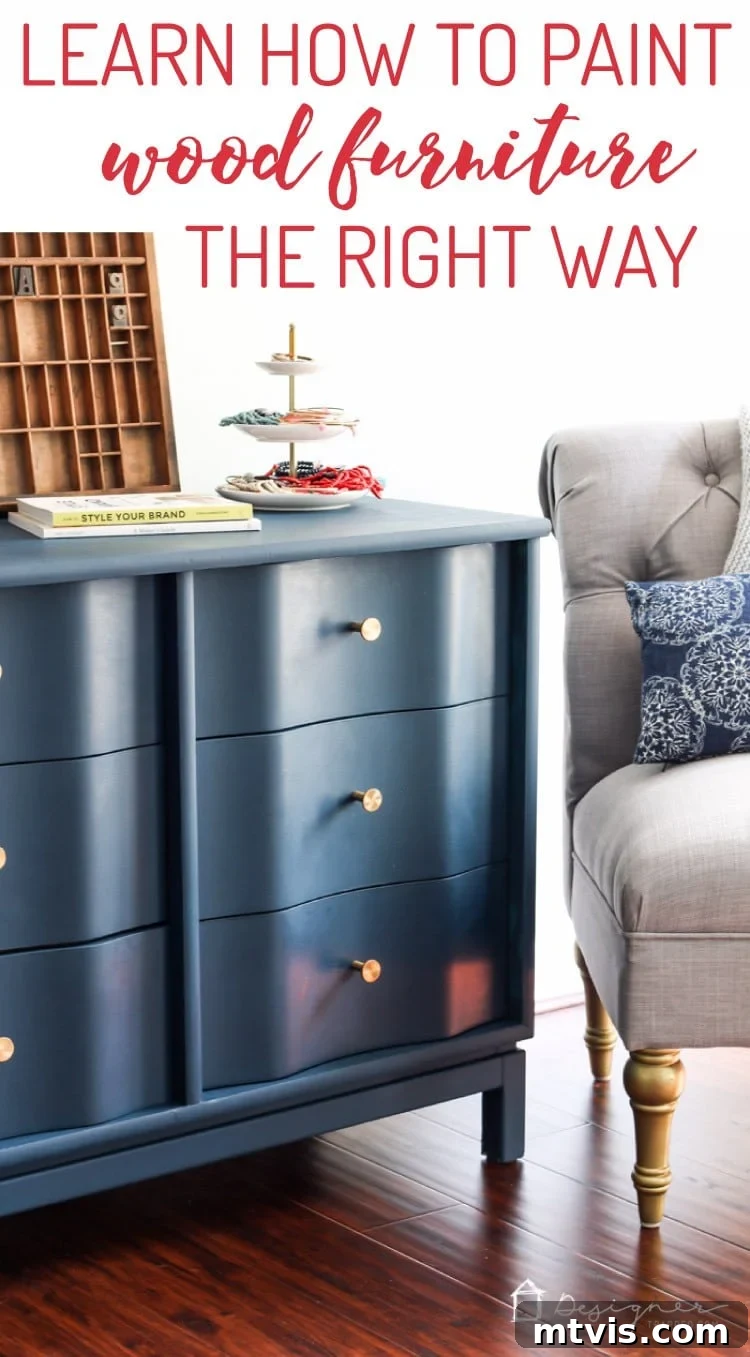
Transforming old, tired wood furniture into stunning, personalized pieces is one of the most rewarding DIY projects a homeowner can undertake. It’s a question I frequently receive: “How do you paint wood furniture?” Many people assume it’s a complex task, but I’m here to demystify the process and share the secrets to achieving a professional, long-lasting finish. I’ve been painting furniture for years, turning inexpensive finds into cherished home decor, and I’ve learned invaluable lessons along the way – especially about what *not* to do!
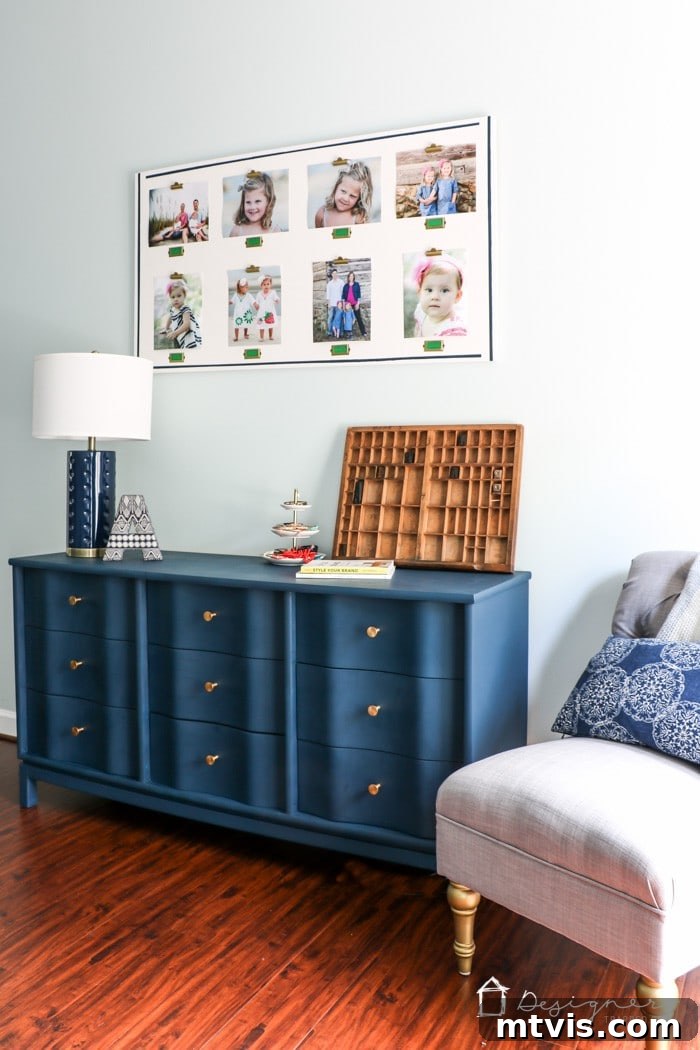
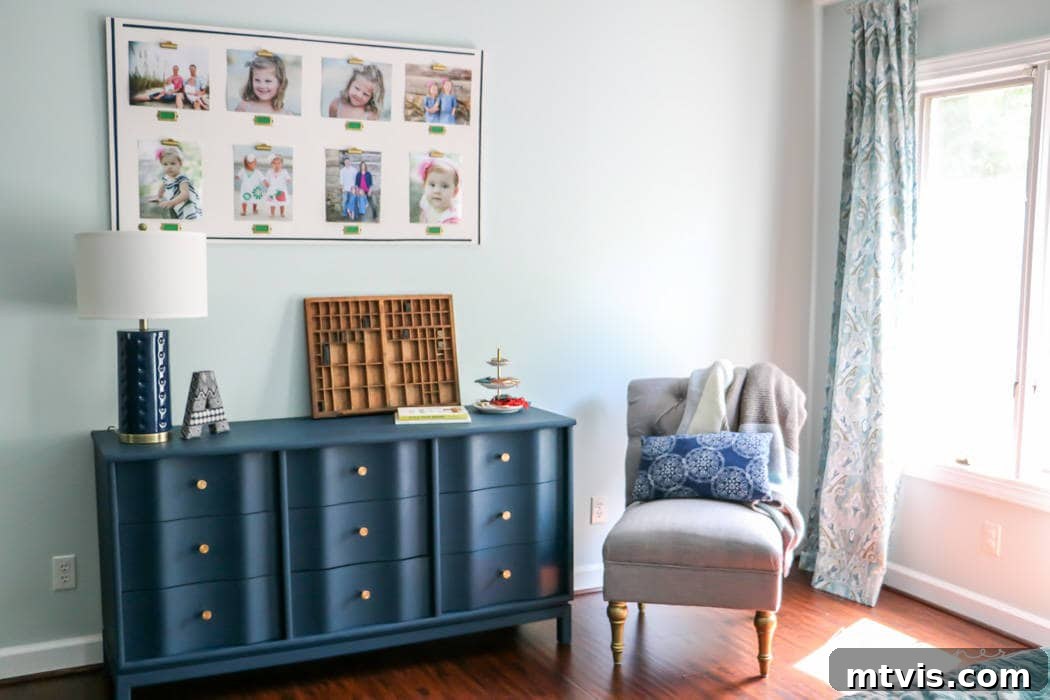
The allure of painted wood furniture isn’t just about aesthetics; it’s about giving new life to forgotten pieces. Imagine finding a solid, well-built dresser at a thrift store for a fraction of the cost of new furniture, and then transforming it to perfectly match your unique style in just a few hours. This isn’t just a dream; it’s a reality with the right techniques and materials. My own master bedroom dresser is a perfect testament to this power of transformation, showcasing how a strategic paint job can breathe new vitality into any space.
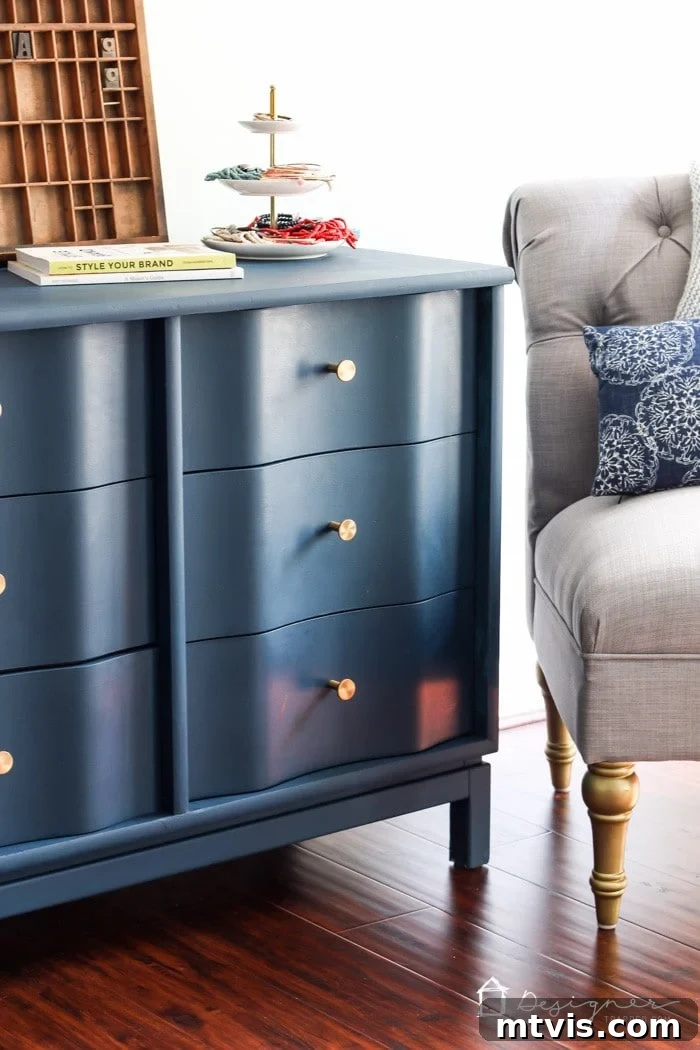
About a decade ago, I stumbled upon an absolutely stunning dresser with elegant, curved drawer fronts at a local thrift store. Despite its damaged and unattractive wood finish, its solid construction and structural integrity were undeniable. I paid around $100 for it, and even today, it remains one of my favorite pieces. It serves its purpose beautifully in our master bedroom, providing ample storage for my husband’s folded clothes and adding a touch of timeless charm.
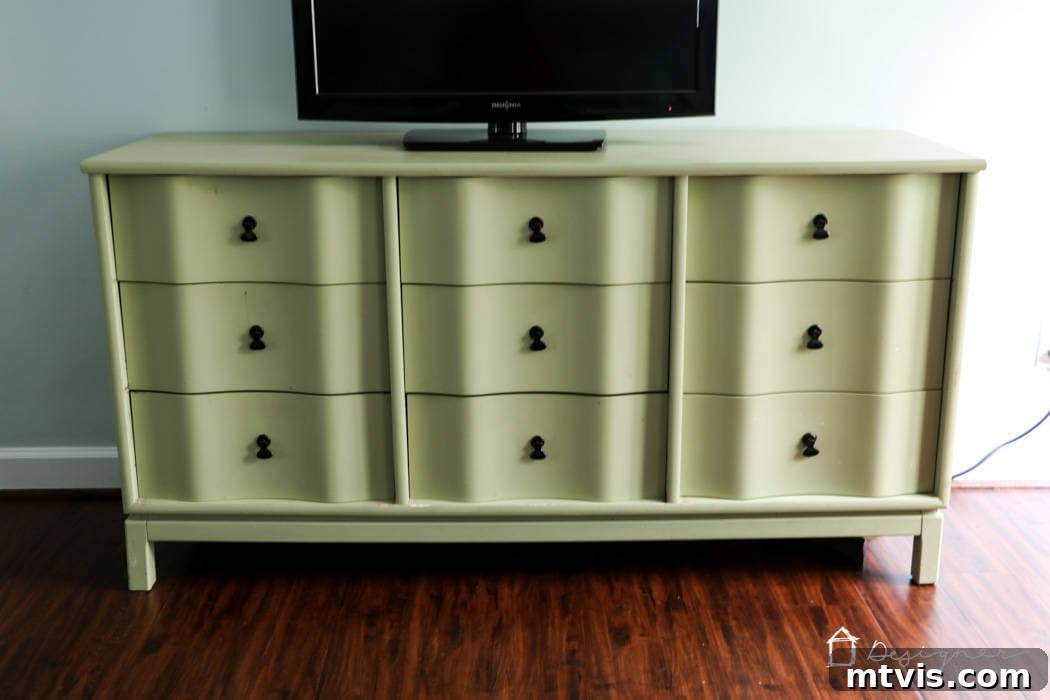
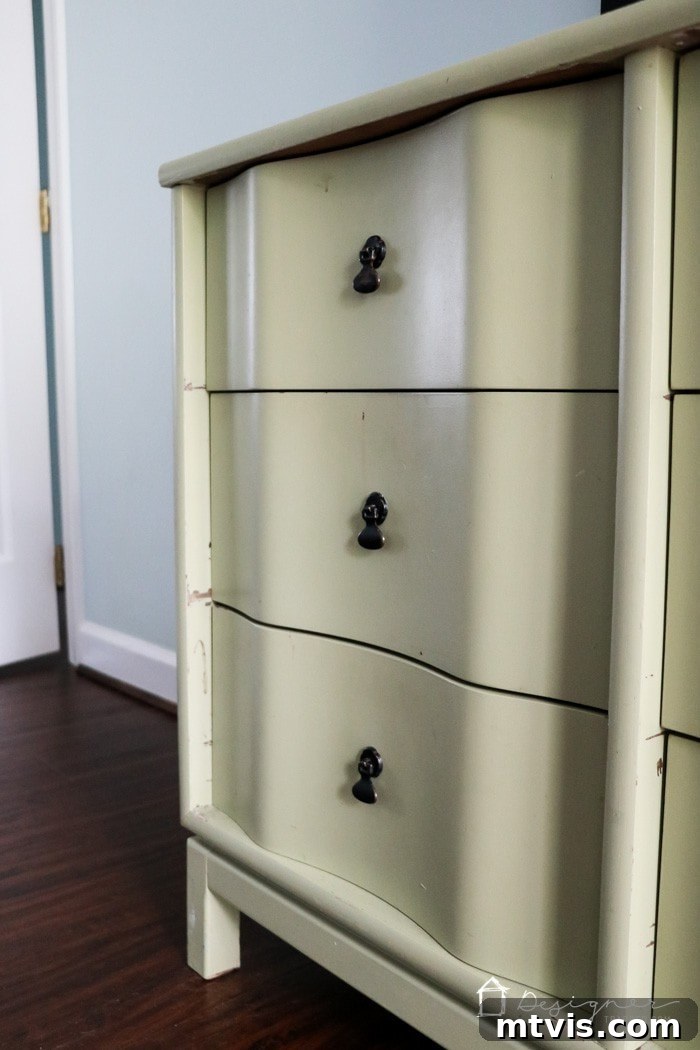
However, my initial attempt at painting this cherished piece was a learning experience, to say the least. Back then, I mistakenly believed that regular latex paint, similar to what’s used on walls, would suffice for furniture. Big mistake! The latex paint started chipping almost immediately, and over the years, it only worsened, leaving the dresser looking tattered and unkempt. It was a clear demonstration of why choosing the correct type of paint is absolutely critical when refinishing wood furniture, especially if you desire a finish that truly endures.
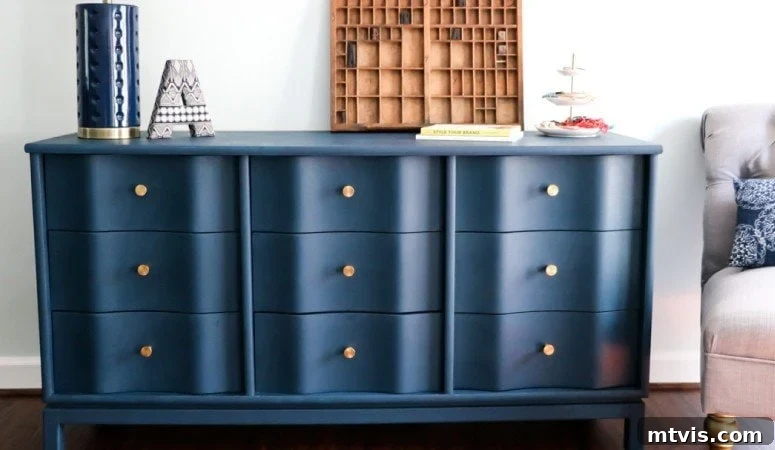
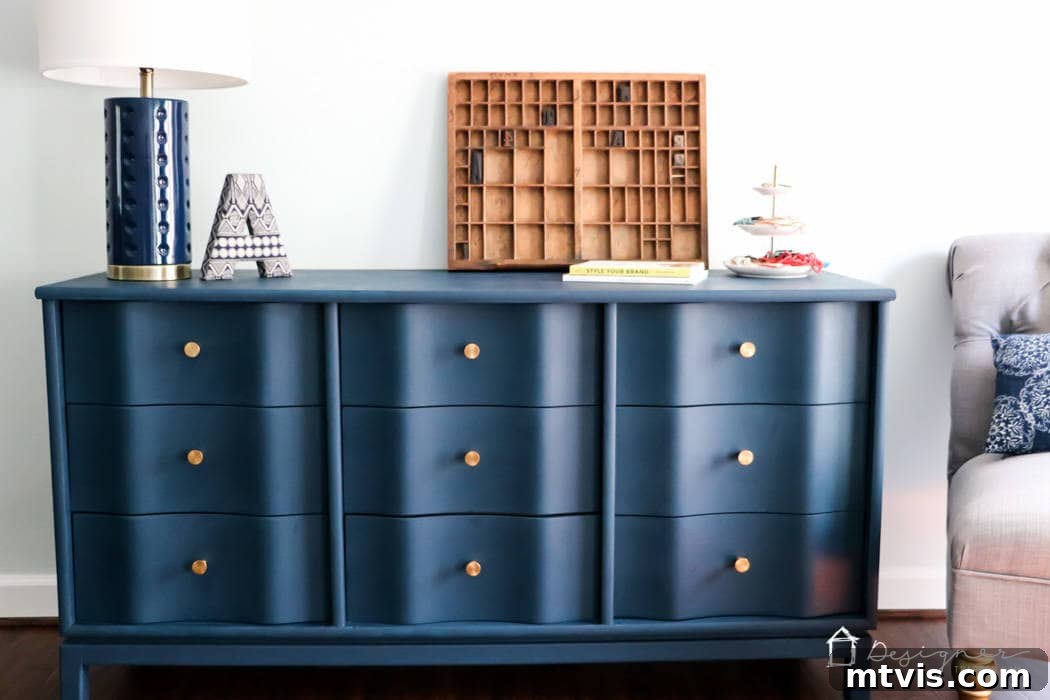
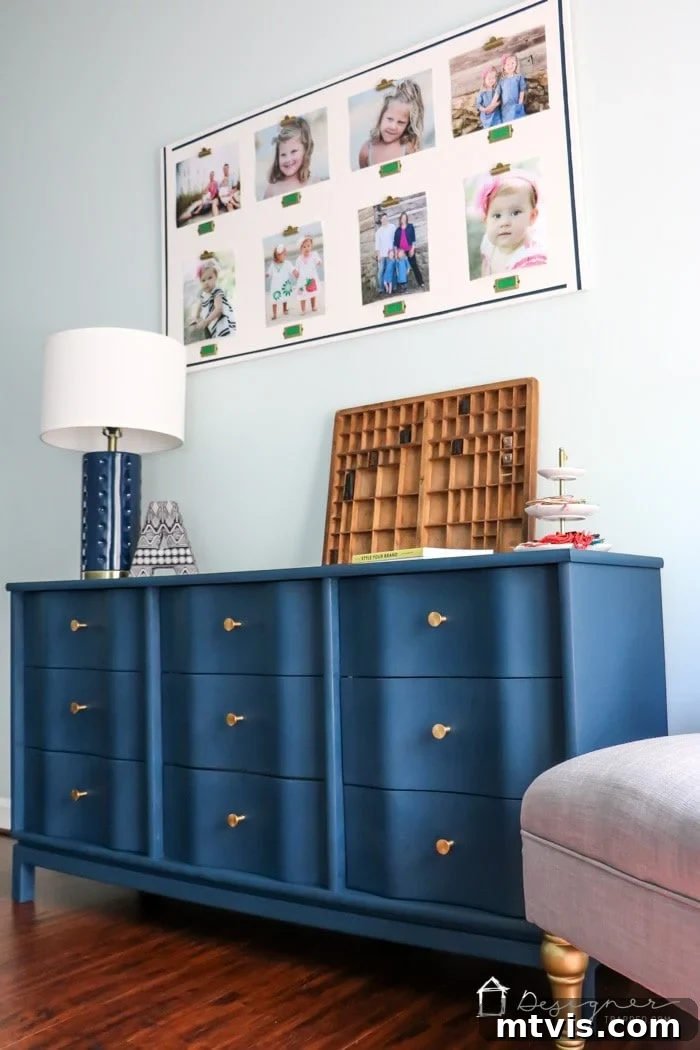
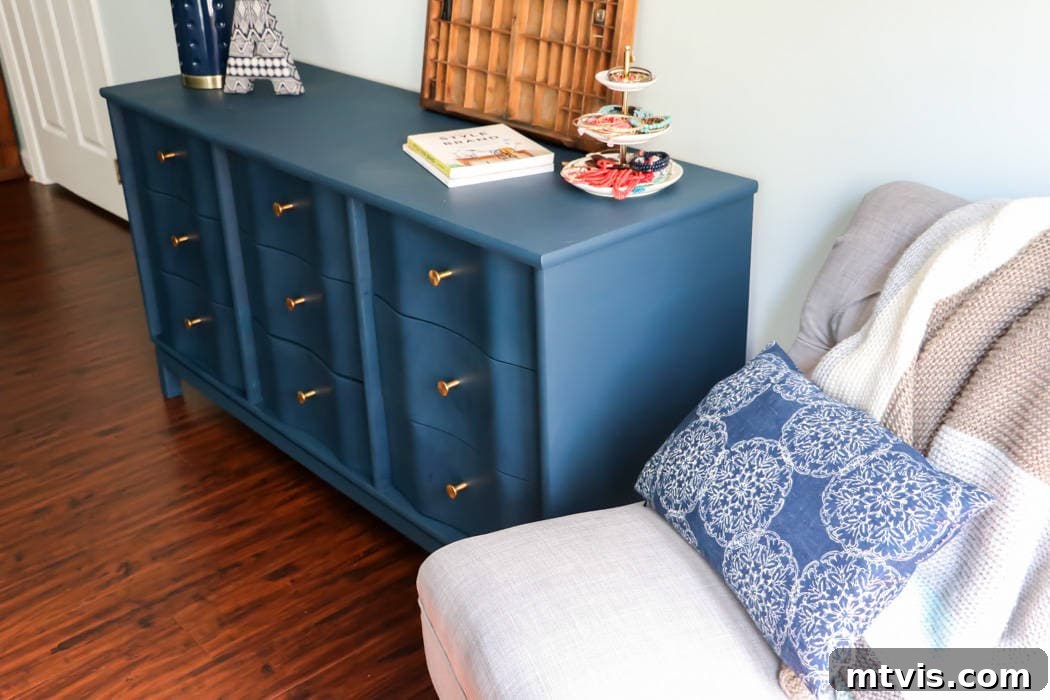
Fortunately, my skills and knowledge have evolved significantly since then. I’ve mastered the art of painting wood furniture correctly, ensuring durable and beautiful results that stand the test of time. Inspired by the vibrant energy of the upcoming Rio 2016 Olympic Games (I’m a huge fan of the Olympics, especially swimming and diving!), and with a new navy blue color palette in our master bedroom, I finally decided it was time for this dresser’s ultimate makeover. I transformed it into a gorgeous, velvety navy blue, updated its hardware, and couldn’t be more thrilled with the outcome. This project proves that with the right approach, any piece can be revitalized.
If you’re ready to give your own wood furniture a stunning and lasting transformation, keep reading. This comprehensive guide will walk you through every step of how to paint wood furniture the right way, ensuring your pieces look fantastic for years to come. You’ll learn the essential materials, the proper techniques, and critical tips to avoid common pitfalls. This post contains some affiliate links for your convenience. Click here to read my full disclosure policy.
How to Paint Wood Furniture for a Lasting Finish
Painting wood furniture doesn’t have to be daunting. In fact, it can be an incredibly enjoyable and creative process. With the right materials and a clear understanding of each step, you can achieve professional-quality results that rival expensive store-bought pieces. The key lies in proper preparation and selecting the correct type of paint. Let’s dive into what you’ll need and the simple, yet crucial, steps to follow for a successful furniture painting project.
Essential Materials for Your Furniture Painting Project
Gathering all your supplies before you begin will make the process smoother and more efficient, allowing you to focus on the creative aspects of your furniture makeover. Here’s a comprehensive list of what you’ll need to paint wood furniture effectively:
- High-Quality Chalk-based Paint: This is arguably the most critical component for a durable finish. Unlike latex paint, high-quality chalk paint adheres beautifully to most surfaces with minimal preparation, offering excellent durability, self-leveling properties, and a gorgeous matte or velvety finish. (I personally used Amy Howard At Home’s One Step Paint in “Lady Singing the Blues” for this project, known for its exceptional coverage and adhesion).
- Why chalk-based paint is crucial: I cannot stress this enough. Using standard latex wall paint on furniture is a common DIY mistake that inevitably leads to chipping, peeling, and frustration, as it lacks the necessary adhesion and flexibility for furniture. Chalk paint is specifically formulated for furniture applications, offering superior bonding to various surfaces (wood, laminate, metal) without extensive sanding or priming. It significantly reduces the need for time-consuming prep work, saving you effort while guaranteeing a much more resilient and professional-looking result. My past experience with latex paint is a stark reminder of this vital difference.
- Protective Top Coat (Wax or Polycrylic): While chalk paint is durable on its own, a top coat adds an essential extra layer of protection, enhances the finish, and makes the piece easier to clean and maintain. For a soft, matte look, furniture wax is ideal. For higher traffic pieces or those needing maximum durability (like dining tables), a water-based polycrylic sealer is an excellent choice. (I used Amy Howard At Home’s Light Antique Wax for this project, which deepened the navy hue and provided a subtle sheen).
- High-Quality Cleaning Supplies: Proper cleaning is the foundational step for successful paint adhesion and a smooth finish. Don’t underestimate its importance. (I recommend gathering your cleaning essentials from a reputable store like Lowe’s):
- Absorbent paper towels (such as Bounty): Essential for wiping down and drying surfaces.
- Mr. Clean Magic Erasers: Invaluable for tackling stubborn grime, scuff marks, and sticky residue that regular cleaners might miss.
- All-purpose degreaser cleaner (such as Simple Green): Mixed with water according to package directions, this helps cut through grease, oil, and accumulated dirt, creating a clean surface for paint.
- Quality Paint Brush: A good brush is essential for getting into intricate details, carved areas, and for achieving a smooth, even finish. Look for one designed for chalk paint or a high-quality synthetic brush that won’t shed bristles. (A multi-pack can be useful for various applications and sizes).
- Smooth Foam Roller: Ideal for achieving a streak-free, ultra-smooth finish on large, flat surfaces like tabletops, drawer fronts, and side panels. A foam roller minimizes brush strokes and provides excellent coverage. (A 6-inch cabinet and door foam roller works perfectly for most furniture pieces).
- New Hardware (Optional but highly recommended): Swapping out old, dated hardware for new pulls or knobs can dramatically update the entire look of your piece, adding a fresh, modern, or custom touch. (I chose these beautiful brushed gold drawer pulls, which added a touch of elegance and sophisticated flair to my navy dresser).
Your Step-by-Step Guide to Painting Wood Furniture
Now that you have all your essential materials gathered, let’s get started on bringing your furniture vision to life. Following these steps carefully will ensure you achieve a stunning, professional, and durable finish that you’ll be proud of for years to come.
Step 1: Remove All Hardware
Before you do anything else, carefully remove all existing hardware from your furniture piece. This includes drawer pulls, knobs, hinges, or any decorative elements. Use the appropriate screwdriver or tool to ensure you don’t damage the wood or the hardware itself. Place them in a labeled bag or container to keep them organized, especially if you plan to reuse, clean, or update them. This seemingly simple step is crucial as it ensures you get a clean, even coat of paint across the entire surface without painting over existing fixtures, making the final assembly much smoother and more polished.
Step 2: Thoroughly Clean and Prepare Your Wood Furniture
Preparing your wood furniture for paint is a foundational step that cannot be skipped or rushed. It is absolutely crucial for ensuring proper paint adhesion and a long-lasting, chip-free finish. Start by giving your piece a deep, thorough cleaning. I always begin by wiping down the entire surface with strong, absorbent Bounty Paper Towels saturated with an all-purpose degreaser cleaner like Simple Green, mixed per the instructions on the bottle. This initial wipe-down helps remove surface dirt, dust, and any loose grime. Don’t be shy; really get into all the nooks, crannies, and carved details where dirt often accumulates.
After the initial cleaning with Simple Green, it’s vital to rinse the piece thoroughly. Spray your furniture down with clean water (using a spray bottle works well) and immediately dry it with fresh, clean paper towels. This step ensures that no Simple Green residue remains on the surface. Any lingering cleaner could potentially interfere with the paint’s ability to adhere properly, leading to peeling, an uneven finish, or a shorter lifespan for your painted piece down the line. I’m almost embarrassed to share just how much dirt and grime came off my dresser, but it perfectly illustrates why this rigorous cleaning step is so incredibly important for any successful furniture transformation!
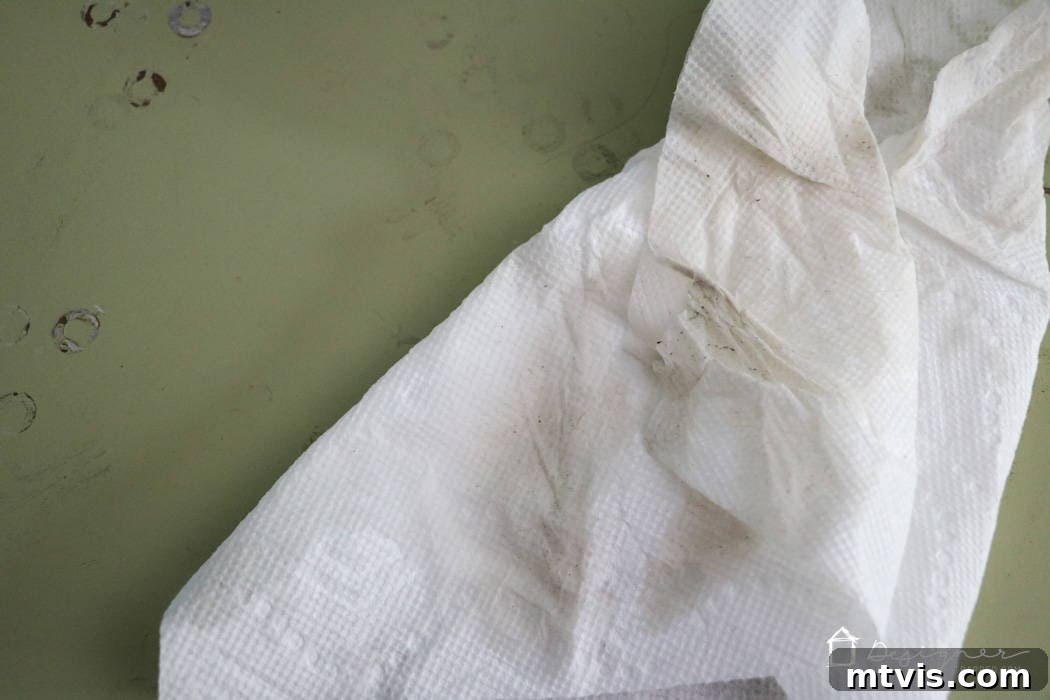
Once the piece is clean and dry, I go over any particularly grimy areas, stubborn stains, or deep scuff marks with a Mr. Clean Magic Eraser. If you haven’t discovered the magic of these cleaning pads yet, you’re truly missing out! They work wonders, effortlessly lifting marks, scuffs, crayon, and built-up dirt that traditional cleaning solutions often can’t touch. These erasers are excellent for creating a perfectly clean and slightly scuffed canvas, which further aids in paint adhesion without the need for heavy sanding.
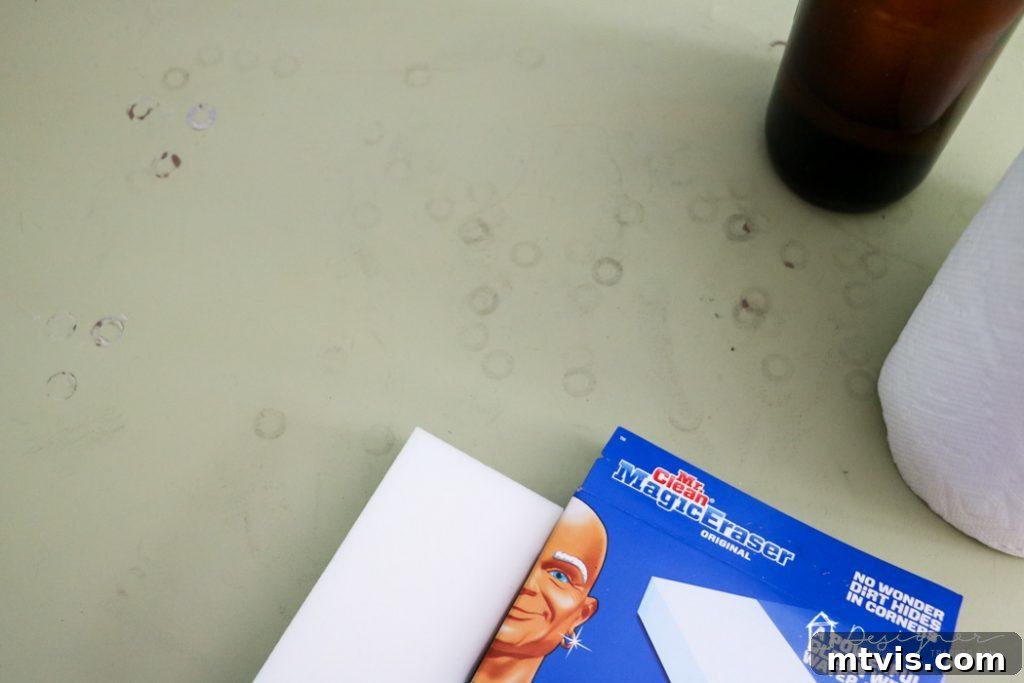 |
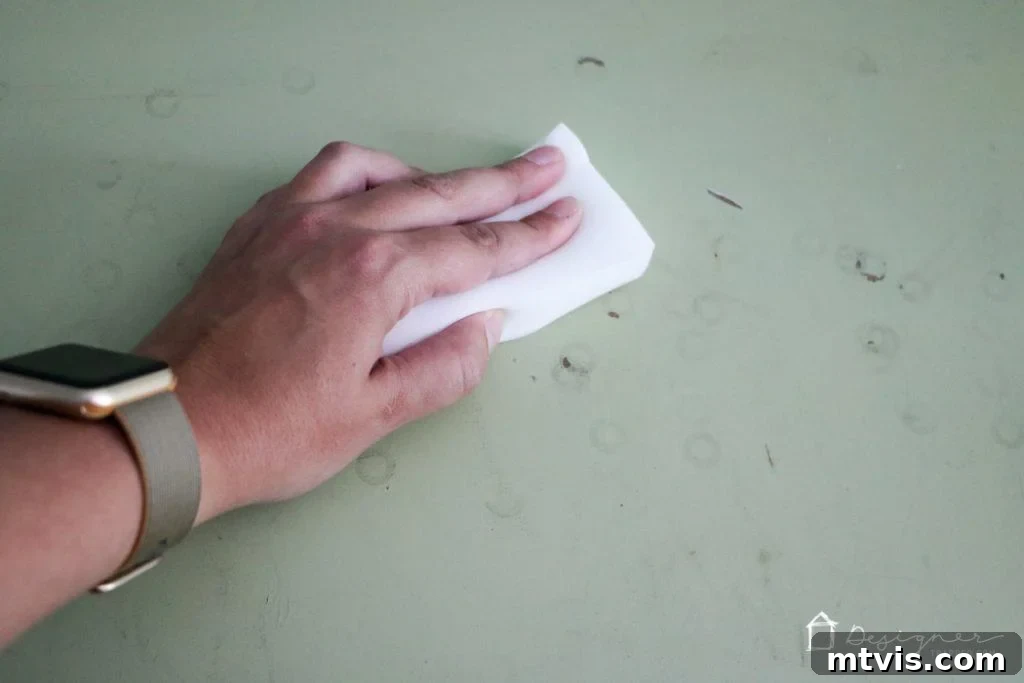 |
Step 3: Apply Your Chalk-Based Paint for a Flawless Finish
Once your furniture piece is immaculately clean and completely dry from the cleaning process, you’re ready for the exciting part: painting! Here’s where the magic of high-quality chalk-based paint truly shines. If you’re using a product like Amy Howard’s One Step Paint, you can often bypass the tedious and messy steps of sanding off existing finishes or applying primer. This makes the painting process incredibly efficient and enjoyable.
For large, flat surfaces, I highly recommend using a smooth foam roller. This tool helps you achieve a remarkably smooth, streak-free finish without the visible brush strokes often associated with furniture painting. Use a quality paint brush only for intricate details, carved areas, and those hard-to-reach nooks and crannies where a roller can’t go. Apply your paint in thin, even coats. Avoid applying thick coats, as this can lead to drips, uneven drying, and a less durable finish. It’s always better to apply multiple thin coats for optimal coverage and adhesion than one heavy one.
For my dresser, I applied three coats of the rich navy blue chalk paint. One of the best aspects of chalk-based paint is its incredibly fast drying time. This means you can typically apply subsequent coats within an hour or two, significantly speeding up your project. I was able to paint the entire exterior of my dresser (I didn’t paint the inside of the drawers) in about an hour, from start to finish for all coats. Remember to let each coat dry to the touch before applying the next. The quick drying time of chalk paint is a major advantage for busy DIYers, making it possible to complete a furniture transformation in a single afternoon!
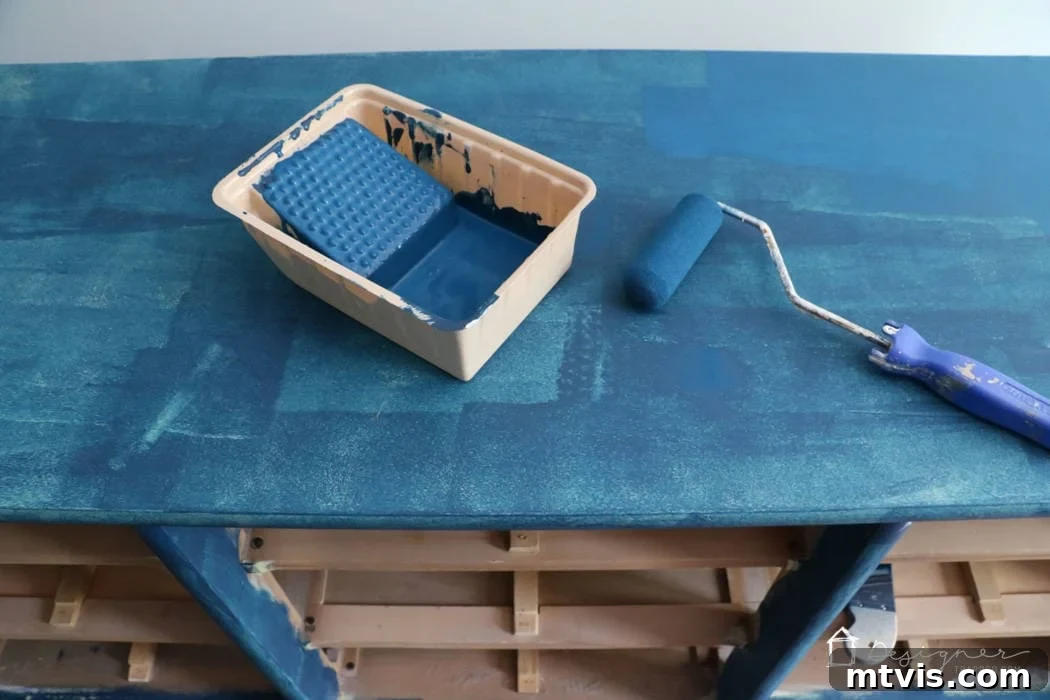
Step 4: Apply Your Protective Furniture Wax or Top Coat
Once your final coat of paint is completely dry (typically chalk paint dries to the touch quickly, but allowing 12-24 hours for full cure before applying a top coat is often recommended, follow specific product instructions), it’s time to apply a protective top coat. This step is essential for sealing the paint, increasing its durability against daily wear and tear, and adding a beautiful, long-lasting finish. While chalk paint offers good adhesion, a top coat provides an extra layer of defense against moisture, stains, and scratches, ensuring your hard work stands the test of time. For this dresser, I opted for light antique wax, which not only added a subtle luster but also deepened the rich navy blue finish and gave it a soft, velvety feel.
If you’re using wax, apply it thinly and evenly with a lint-free cloth or a dedicated waxing brush. Work in small sections, rubbing the wax into the paint with gentle circular motions, then immediately buff off any excess with a clean, dry cloth. This process gives the surface a smooth, polished look and creates a protective barrier. For areas that will see heavy use, you might consider applying multiple thin coats of wax, allowing each to cure for several hours (or overnight) before buffing. Alternatively, for high-traffic pieces like dining tables or desks, a water-based polycrylic sealer offers robust, hard-wearing protection and is easy to apply with a brush or foam roller, drying to a clear finish.
Step 5: Reattach or Install New Hardware
With your paint and top coat fully cured (wax typically cures within a few days, while polycrylic may take longer), the final step is to reattach your original hardware or, even better, install brand new hardware. This is a quick and incredibly impactful way to complete the transformation of your furniture piece. New hardware can dramatically elevate the entire look, making it feel fresh, modern, or completely custom, aligning perfectly with your updated style. For my dresser, I chose stunning brushed gold drawer pulls, which perfectly complemented the rich navy blue paint. The elegant gold finish reminded me of the Olympic medals, adding a celebratory, ‘gold medal worthy’ touch to the finished project!
And there you have it! You’ve successfully learned how to paint wood furniture like a pro. This process, when followed correctly and with the right materials, yields durable, beautiful results that will last for years to come. Isn’t it amazing how simple yet incredibly transformative this project can be? I truly feel like this dresser makeover is worthy of a gold medal, a testament to the power of DIY! #PGBringHomeTheGold
Tips for Success and Troubleshooting Common Issues
To ensure your furniture painting project goes smoothly and yields the best results, consider these additional tips:
- Work in a well-ventilated area: Always ensure good airflow when painting, especially when using cleaners, paints, and waxes. Open windows, use fans, or work outdoors to minimize fume inhalation and promote faster drying.
- Protect your workspace: Lay down drop cloths, old sheets, or newspapers to protect your floors and surrounding areas from paint drips, spills, and dust.
- Test hidden areas: If you’re unsure how a cleaner, paint, or top coat will react with your specific furniture piece, always test it on an inconspicuous area first (e.g., the back of a drawer or an inside leg) to check for adhesion or any adverse reactions.
- Don’t rush the drying process: While chalk paint dries quickly to the touch, allowing adequate time between coats and especially for the final top coat to fully cure is crucial for durability. Rushing can lead to a less resilient finish that is prone to scratching or peeling.
- Avoid over-applying wax: Too much wax can make the surface feel sticky, uneven, or even look cloudy. Apply in thin layers and buff thoroughly until smooth and dry to the touch.
- Dealing with stubborn odors: Older furniture sometimes retains musty or lingering odors. After thorough cleaning, a thin coat of shellac-based primer (though typically not needed for adhesion with chalk paint) can effectively seal in lingering smells before painting.
- Smooth finish tips: For an exceptionally smooth, glass-like finish, you can lightly sand between chalk paint coats with a very fine-grit sandpaper (220+ grit). Gently scuff the surface, then wipe clean with a tack cloth before applying the next coat. However, with a good foam roller, this step is often unnecessary.
Caring for Your Newly Painted Furniture
Once your beautifully painted furniture piece is complete and fully cured, a little ongoing care will ensure it stays stunning and pristine for many years:
- Gentle cleaning: Dust your painted furniture regularly with a soft, dry microfiber cloth. For deeper cleaning, use a damp cloth with a very mild, non-abrasive soap solution, then immediately dry with another clean cloth. Avoid harsh chemical cleaners, as these can strip or damage the paint and top coat.
- Avoid excessive moisture: Wipe up spills immediately, especially on wax-finished pieces, as prolonged exposure to water can leave water rings or damage the finish.
- Protect from heat and sharp objects: Always use coasters under drinks, placemats under hot dishes, and felt pads under decorative items to prevent marks, scratches, and heat damage.
- Re-waxing: If you’ve used wax as your top coat, you might consider reapplying a thin layer of wax every 1-3 years, depending on how frequently the piece is used and how much wear it receives, to maintain its protective qualities and lustrous sheen.
What do you think of this transformation? I hope this detailed guide empowers you to tackle your next furniture painting project with confidence, turning forgotten pieces into cherished treasures that perfectly reflect your style!

This is a sponsored conversation written by me on behalf of Procter & Gamble/Lowe’s. The opinions and text are all mine.