Even the most diligent homeowners will inevitably encounter minor blemishes and imperfections on their walls. Whether it’s a small chip from moving furniture, an accidental scuff from playful children, or just the wear and tear of daily life, our walls occasionally need a little extra attention to maintain their pristine appearance. The good news is that you don’t need to embark on a full-scale painting project, complete with drop cloths and paint rollers, to keep your home looking its best. I am a firm believer in the transformative power of a quick and precise paint touch-up. These small, targeted repairs can make a huge difference, instantly refreshing your living spaces and restoring their beauty. By following these proven techniques and utilizing the right tools, you can achieve quick, seamless, and professional-looking touch-ups every time.
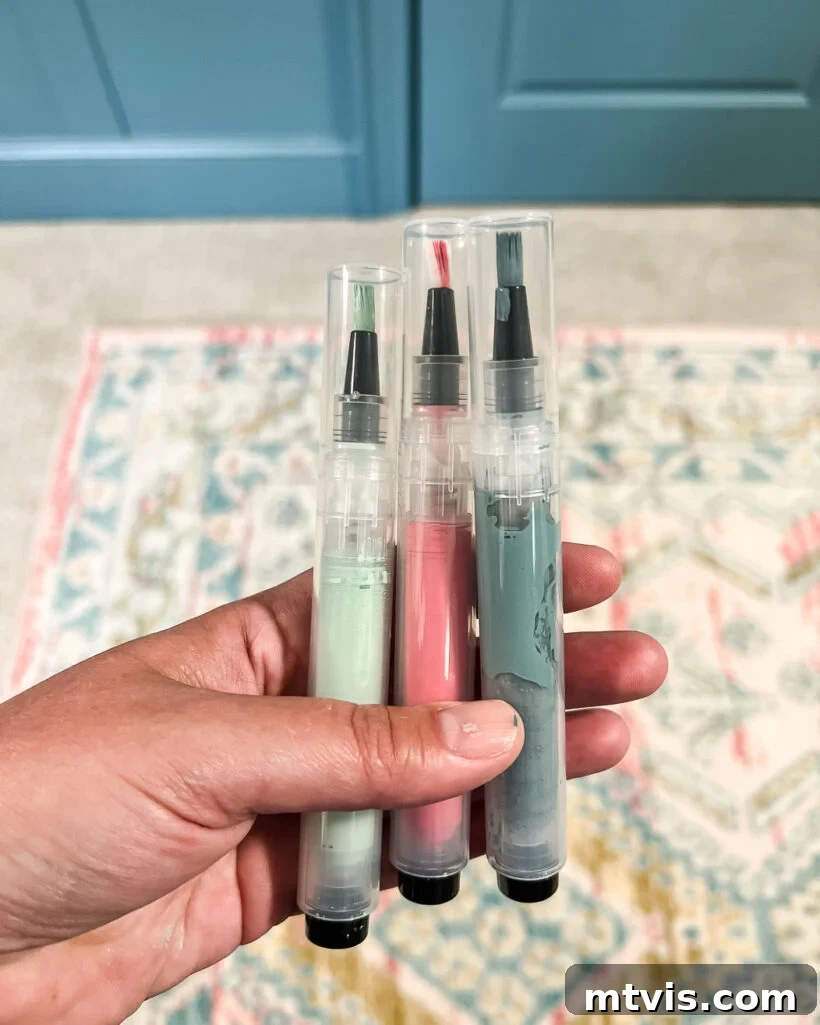
Table of Contents
DIY Paint Touch-Up Tips for Flawless Results
Achieving an invisible paint touch-up is less about brute force and more about finesse and attention to detail. It truly is an art form. Simply dabbing paint onto a damaged spot won’t cut it; you need a strategic approach to ensure the new paint blends seamlessly with the existing finish. Follow these expert tips to achieve the best possible results and make those imperfections vanish without a trace.
Match the Paint Color AND Sheen Perfectly
This is arguably the most critical step in any successful paint touch-up. It’s not enough to simply match the color; you must also perfectly match the paint’s sheen. A slight mismatch in either can make your touch-up job glaringly obvious, creating a noticeable patch on your wall. If you don’t have leftover paint cans or detailed information about the paint previously used on your walls, don’t despair. I highly recommend checking out my comprehensive guide on how to match a paint color that’s already on a wall. This resource provides invaluable techniques for identifying existing colors. Furthermore, understanding paint sheens can be tricky, as they range from flat to high-gloss. My detailed paint sheen guide will help you accurately identify the correct finish, ensuring your repair is truly undetectable. Remember, even a perfect color match with the wrong sheen will stand out like a sore thumb.
Clean the Surface Thoroughly Before Painting
Before you even think about applying paint, thorough cleaning is non-negotiable. Painting over dirt, grime, or scuffs will result in a terrible finish that not only looks unprofessional but also won’t adhere properly. Sometimes, what appears to be a paint chip might just be a stubborn scuff or a bit of surface grime that can be easily removed with a little effort. Grab a soft sponge, some mild soap, and warm water, then apply some elbow grease to gently scrub away any dirt or marks. This preparatory cleaning step is crucial for paint adhesion and a smooth finish. A word of caution: while “magic” cleaning sponges can be tempting, I only use them if I’m absolutely certain I’ll be painting over the spot. These powerful erasers can sometimes alter the sheen of your existing paint, leaving a dull or shiny spot that will be visible if not painted over. Always test any cleaning agent on an inconspicuous area first to ensure it won’t damage your paint finish.
Master the Feather and Blend Technique
Once your surface is clean and dry, it’s time to apply the paint using the crucial “feather and blend” technique. For most wall paint touch-ups, I generally recommend using a high-quality bristle brush. Unlike foam brushes, bristles allow for better control and finer edges, which are essential for blending. Load your paintbrush with only a minimal amount of paint – just enough to cover the damaged area. The less paint you use, the better your chances of achieving an invisible repair. Excessive paint will create a noticeable texture difference.
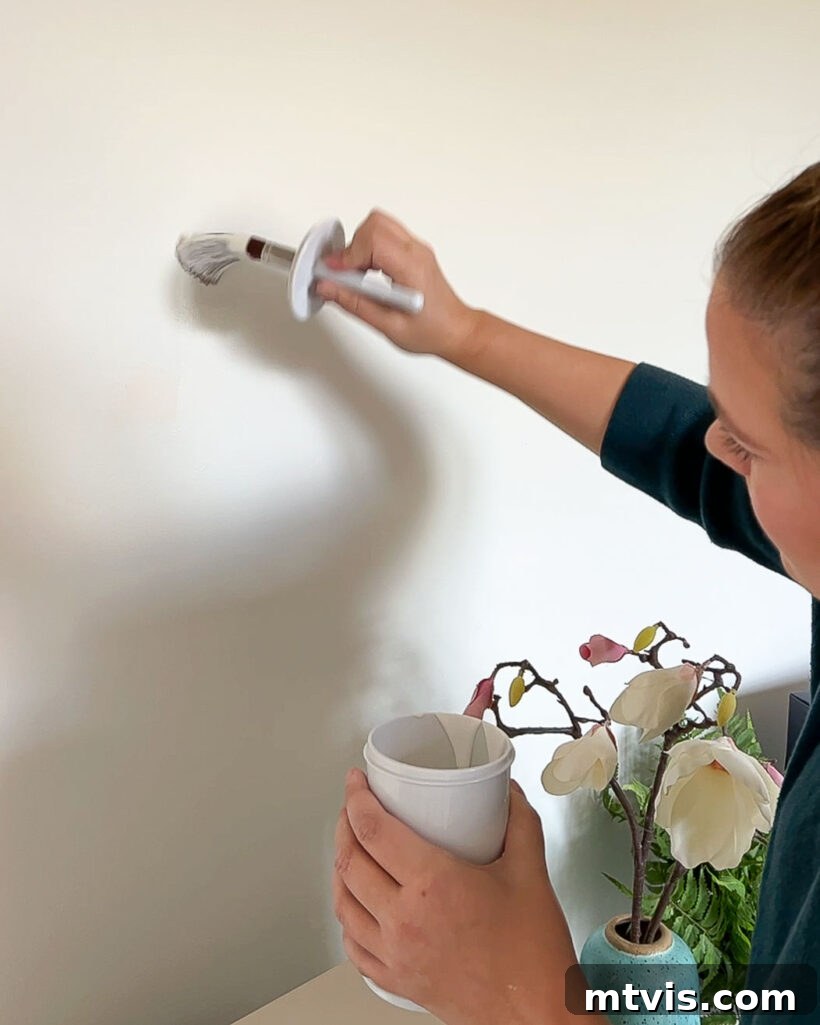
Begin applying the paint with feather-light strokes, starting from the very center of the touch-up area. Gradually work your way outwards, extending your strokes slightly beyond the immediate blemish. This outward motion, coupled with increasingly lighter pressure as you reach the edges, is what we call “feathering.” Feathering means you are diffusing the new paint into the old, preventing sharp lines or obvious paint build-up. As you feather, ensure you do NOT reload your brush with more paint. The goal is to use the minimal paint already on the brush to soften the edges, allowing the new paint to seamlessly merge with the surrounding wall. If executed correctly, your brush will have very little paint on it as you blend the outer edges. This technique is challenging to master with a foam brush, which is why a bristle brush is highly recommended. Applying too much paint or failing to feather the edges properly will result in an obvious patch, defeating the purpose of your touch-up.
Pre-Paint Repairs: Filling Imperfections
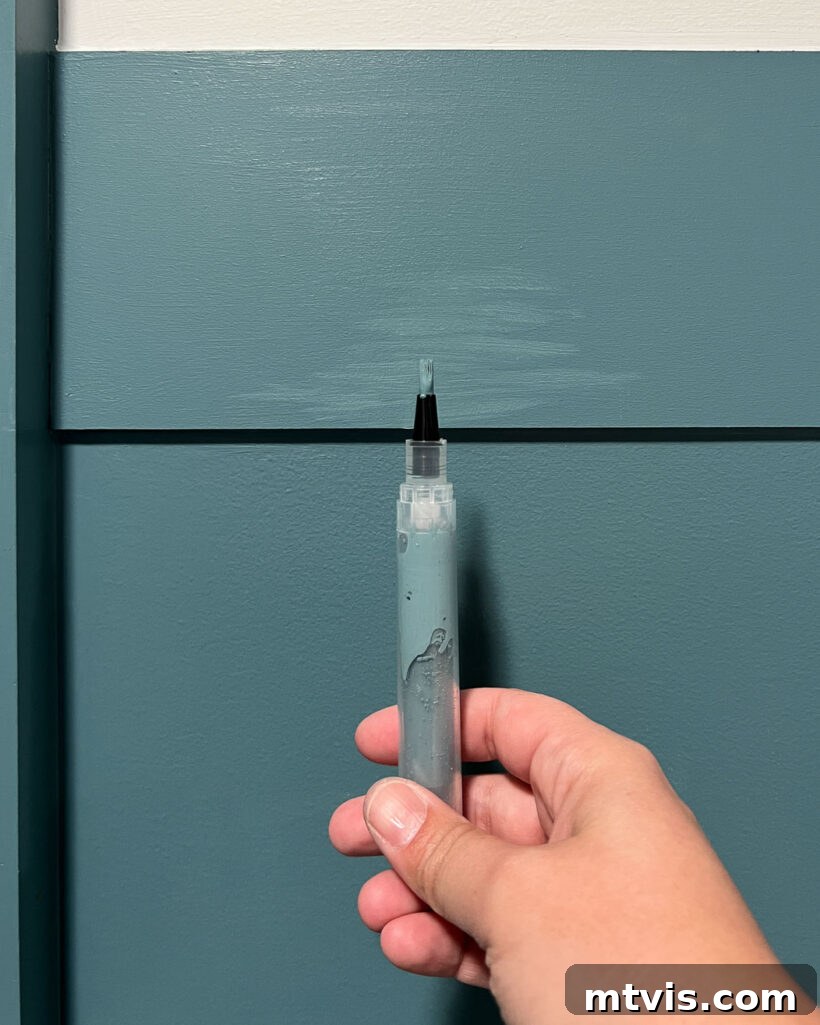
Before you even consider touching up the paint, it’s crucial to address any underlying wall damage. Simply painting over holes, dents, or cracks will only highlight them. Spackle and other patching compounds are indispensable for filling in gaps, patching small nail holes, or repairing minor dents in your drywall. I have a comprehensive post on how to repair drywall that covers all the tips for tackling these small DIY jobs effectively. Taking the time to properly repair these imperfections first will prevent you from having to redo your work later when paint alone proves insufficient. Apply spackle, allow it to dry completely, then sand it smooth to be flush with the wall surface. Wipe away any dust before proceeding. It’s important to note that some spackle products can cause paint to “flash” (where the touched-up area appears shinier or duller than the surrounding paint), even if the color and sheen match. To avoid this, you may need to spot-prime the repaired areas with a quality primer before applying your final wall color. This creates a uniform surface for the paint, ensuring an even finish and seamless blend.
This post contains affiliate links for your convenience. Click here for my full disclosure policy.
Must-Have Paint Touch-Up Tools for Every Homeowner
When it comes to maintaining beautiful walls, having the right tools readily available is half the battle. Being prepared to tackle any small scratch or scuff as soon as it appears is one of my top secrets for keeping my home looking impeccable. These carefully selected tools are my secret weapons, allowing me to perform quick, efficient touch-ups that keep my walls looking fresh and flawless without constant major efforts.
A short video demonstrating some of my favorite paint touch-up tools would typically appear here. For instructional purposes, you can imagine seeing them in action, making quick work of small repairs.
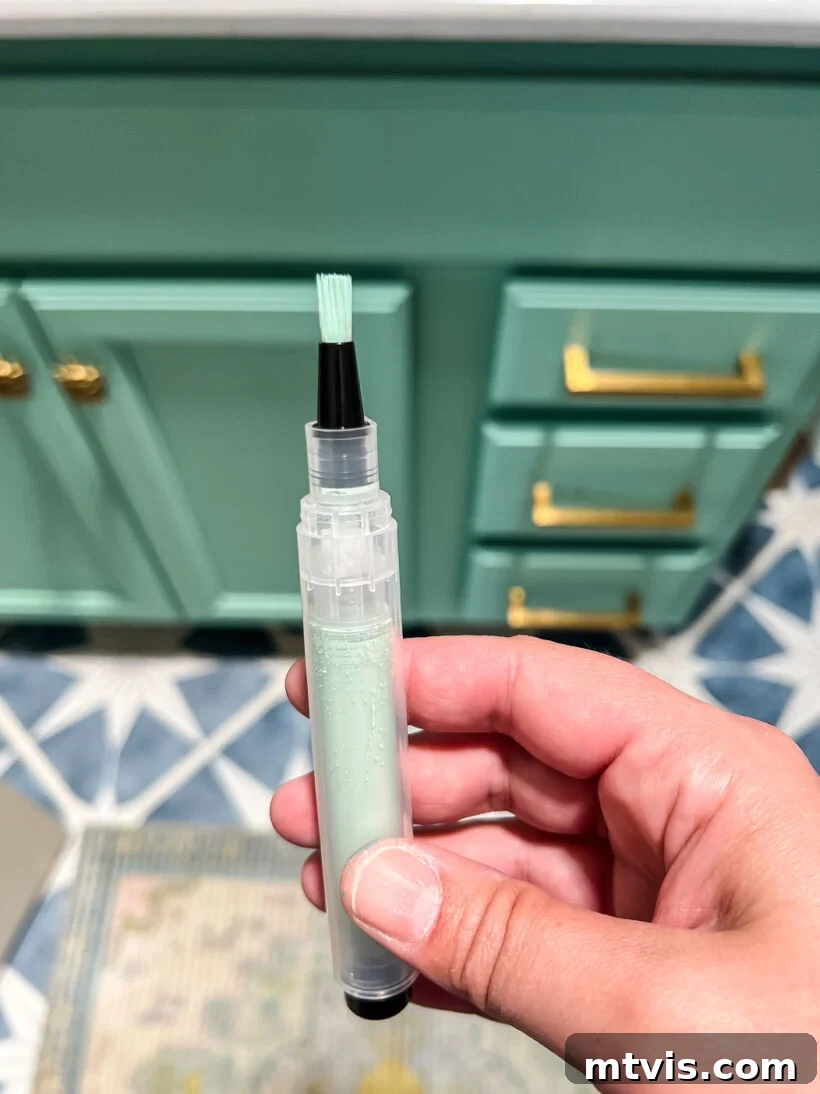
Refillable Paint Pens: Precision for Minor Flaws
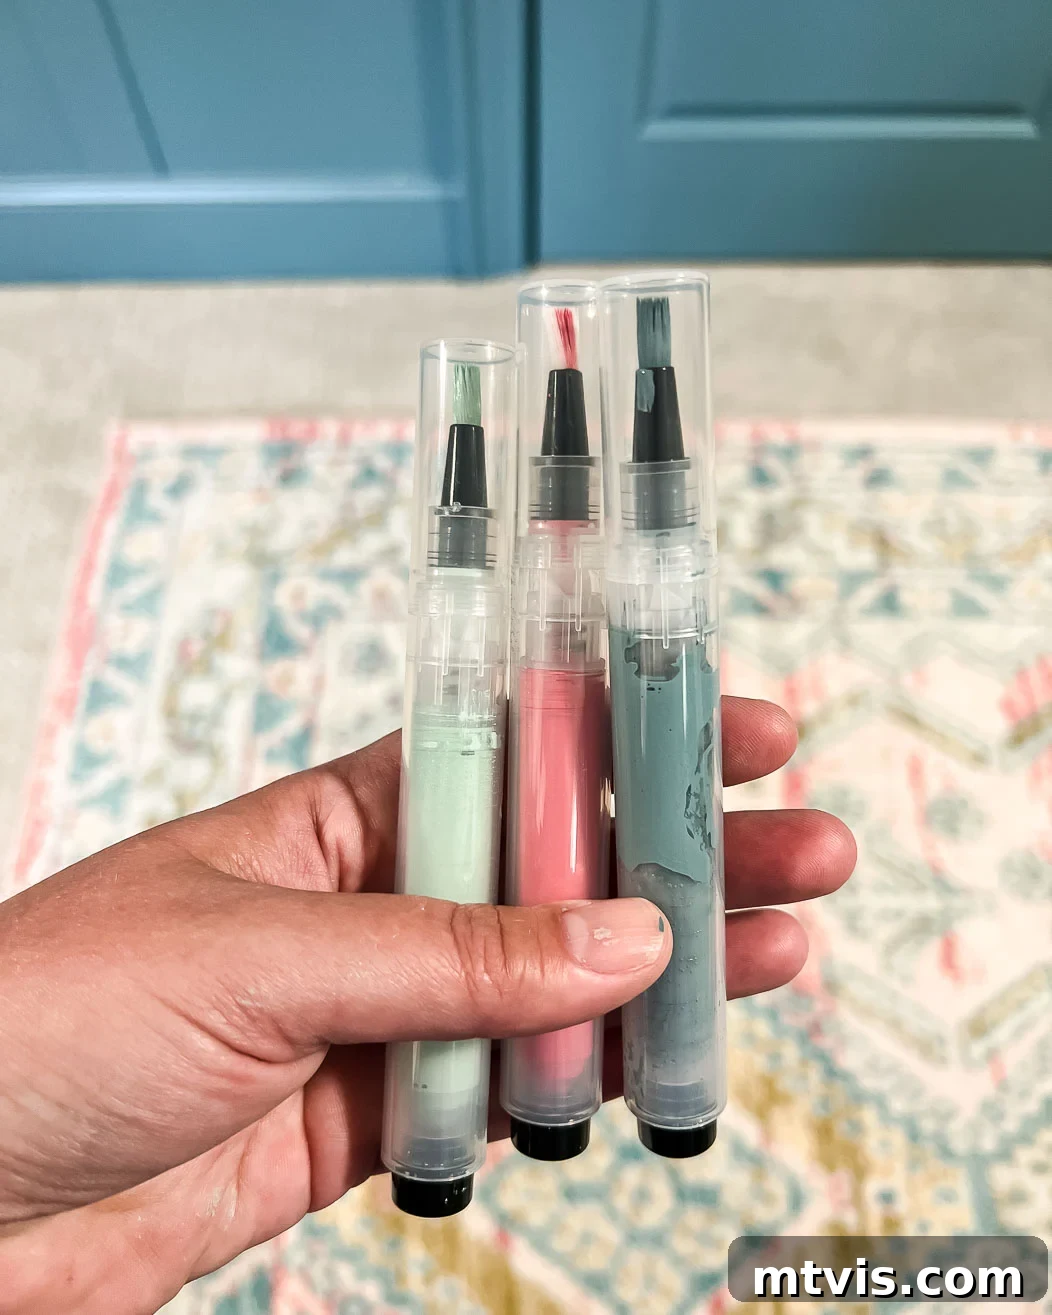
Refillable Touch-Up Paint Pens are absolute game-changers for addressing small chips, nicks, or fine scratches on your walls. Their ingenious design makes them incredibly affordable and user-friendly, transforming what could be a messy job into a quick, clean task. To use them, simply fill the pen’s reservoir with your desired wall paint color. Once filled, you can apply the paint with the precision of a marker or a very fine paintbrush. This makes them ideal for intricate details, corners, or any hard-to-reach, tight spots where a traditional brush would be cumbersome. They’re perfect for those tiny imperfections that catch your eye but don’t warrant a full brush and paint tray setup. The convenience they offer in targeting minuscule blemishes is truly remarkable, making touch-ups incredibly simple and efficient.
Innovative Touch-Up Paint Storage & Brushes
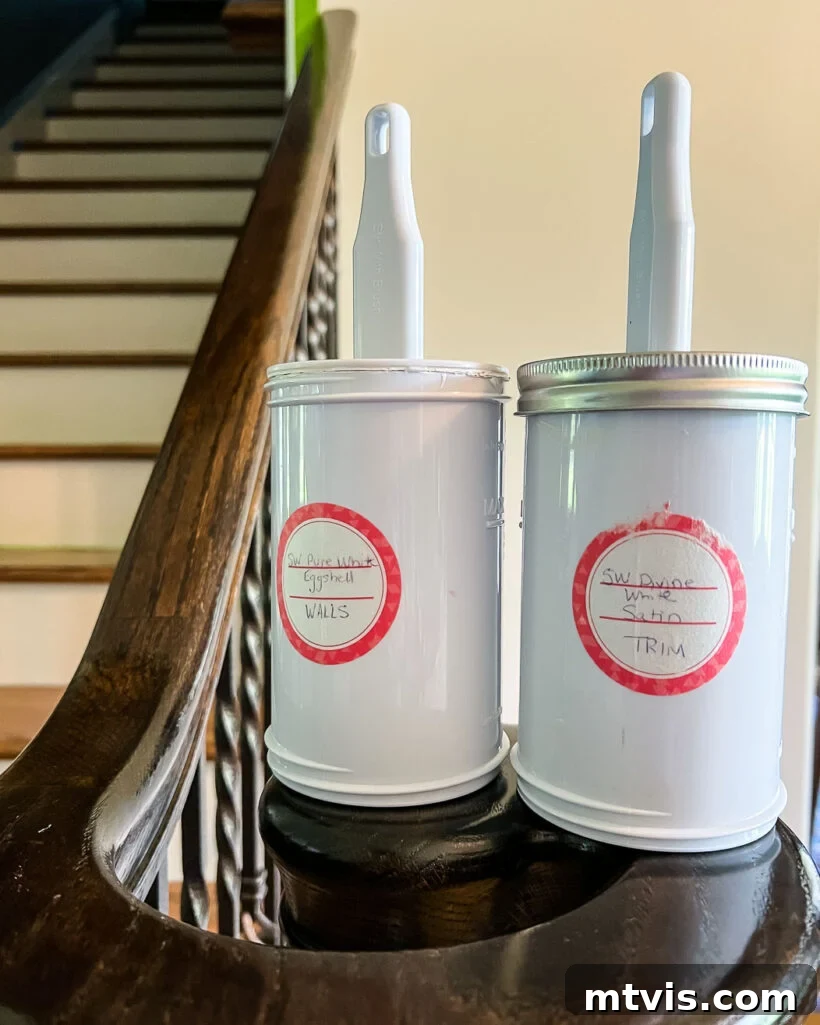
I cannot stress enough how much I adore these No Mess Touch-Up Paint Storage + Brush tools; I’ve raved about them countless times on social media! This innovative system is, without a doubt, my number one favorite paint touch-up hack. It’s an all-in-one solution meticulously designed for seamless paint touch-ups. The genius lies in its construction: a small paint container with a lid that has a bristle brush attached. This means you store the paint *and* the brush together, sealed within the container. The best part? You don’t have to clean the brush after each use! I’ve been relying on these for over three years now, and their ease of use and sheer convenience are unparalleled.
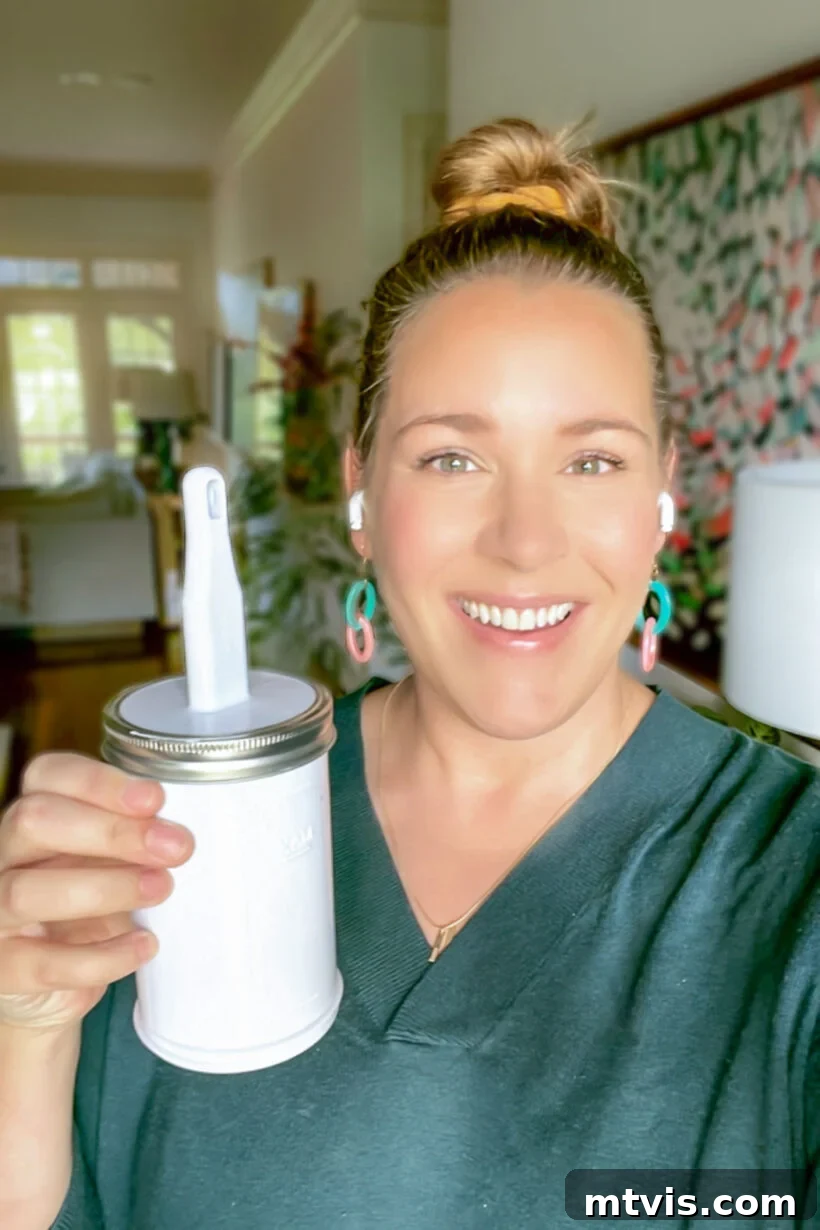
I keep several of these containers pre-filled and ready to go for paints I use across multiple rooms, such as Sherwin-Williams Pure White for my walls, our ceiling paint, and our consistent trim color, like Divine White by Sherwin-Williams. If you need to tackle something slightly larger than a tiny scratch or small chip, this tool is perfectly suited for the job. These small, integrated brushes are ideal for precisely targeting touch-up areas that larger rollers or brushes simply can’t access effectively. They are available in various sizes, allowing you to choose the perfect fit for your specific needs. I frequently walk around my house, quickly addressing any scuffs or scratches I encounter, thanks to the effortless convenience of this tool. It truly simplifies paint maintenance.
Spackle and Patching Compounds: Foundation for a Smooth Finish
As mentioned earlier, repairing any wall damage before touching up the paint is an absolute must. Spackle is an indispensable product for filling in minor holes, dents, or small gaps in your walls before you even think about applying paint. For more extensive repairs, you might consider patching compounds designed for larger holes or cracks. I’ve detailed a complete guide on how to repair drywall, offering all the essential tips for tackling various small DIY jobs. Addressing these foundational problems first will save you immense frustration and the need to redo your work when paint alone simply isn’t enough to conceal the damage. After applying spackle or patching compound, allow it to dry thoroughly according to manufacturer instructions, then sand it smooth until it’s perfectly flush with the wall surface. Remember to wipe away any sanding dust before proceeding. It’s crucial to note that certain spackle types can cause paint to “flash,” meaning the patched area might appear different in sheen than the surrounding wall, even if the color matches. To prevent this, it’s often advisable to spot-prime the repaired areas with a quality primer before applying your wall paint. This ensures a consistent surface for your topcoat, resulting in a perfectly blended and professional finish.
Painter’s Tape: Your Ally for Sharp Edges and Protection
While taping can sometimes feel like a tedious extra step, painter’s tape is undeniably essential for many paint jobs, regardless of their size. This simple tool is your best friend for protecting any adjacent surfaces you want to keep paint-free. For instance, if you’re touching up paint on your stair spindles and want to avoid accidentally getting paint on the handrail, applying painter’s tape provides a clean, crisp barrier. Beyond protection, painter’s tape is invaluable for achieving precision, especially when painting crisp edges and clean corners of walls, trim pieces, or contrasting colors. Taking a few moments to properly apply tape, particularly if precision isn’t your natural forte, is always worth the effort. It helps maintain tidiness, prevents unsightly errors, and ultimately saves you from the much larger headache of cleaning up accidental paint marks. Choose a good quality tape for clean removal without residue or paint peeling.
Maximizing Your Touch-Up Success: Additional Tips & Tricks
Beyond the essential techniques and tools, a few extra tips can elevate your paint touch-up game, ensuring truly flawless and long-lasting results. These insights will help you anticipate challenges and make informed decisions, transforming you into a touch-up pro.
Drying Times and Re-application
Patience is a virtue, especially when it comes to paint touch-ups. Always allow ample drying time between coats, and before evaluating your work. Rushing the drying process or applying a second coat too soon can lead to uneven finishes, bubbling, or peeling. Refer to your paint manufacturer’s recommendations for specific drying and re-coat times. If a second coat is needed, apply it using the same feather and blend technique to maintain consistency and prevent visible lines. Often, a single thin, well-feathered coat is sufficient for minor blemishes, but sometimes a second, equally thin coat may be necessary to fully obscure the damage.
Test the Touch-Up Area First
If you’re unsure about the exact paint match or how a particular cleaning agent might react, always perform a test. Choose an inconspicuous area, such as behind a piece of furniture, inside a closet, or a hidden corner. Apply your cleaning solution and then a small dab of touch-up paint. Let it dry completely and observe how it looks under different lighting conditions. This simple step can save you from potential mistakes and ensure you’re confident in your approach before tackling more visible areas of your wall.
Storing Leftover Paint Properly
Having readily available matching paint is key to quick touch-ups. Proper paint storage is crucial for maintaining its longevity and usability. Ensure paint cans are tightly sealed to prevent air from drying out the paint. Storing cans upside down can create a better seal. Keep paint in a cool, dry place, away from extreme temperatures that can cause it to spoil. Label your cans clearly with the paint color, sheen, and the room or area where it was used. For smaller quantities needed for touch-up pens or brush containers, transfer the paint into smaller, airtight jars or containers to minimize air exposure and prolong its freshness. This proactive storage approach guarantees you’ll always have perfectly matched paint ready for those inevitable touch-ups.
With all these essential items on hand, you’ll be perfectly equipped to tackle any blemish or imperfection that appears on your walls. Armed with these expert tips and the right tools, touching up paint around your home no longer has to be a daunting task. Investing in quality supplies and techniques guarantees that no matter what minor repairs come along, you’ll always be prepared to handle them efficiently and effectively. So, gather your supplies and get started! You’ll be amazed at how fresh and polished your home looks – so much so that everyone will wonder if you recently hired a professional painter!
More Paint Posts
SEE ALL PAINT POSTS
-
9 Life-Changing Painting Hacks Everyone Should Know
-
How Durable are DIY Painted Kitchen Cabinets?
-
How to Paint Kitchen Cabinets (From a DIYer Who Has Done it 3 Times)
-
How Have Our Painted Countertops Held Up?
-
How to Paint IKEA Furniture and Mistakes to Avoid
-
How Much Paint Do I Need for My Room?
Curious about my personal approach to transforming rooms and spaces within our home? Discover the strategies and insights within Designer in a Binder®.
For exclusive content, behind-the-scenes glimpses, and the latest home improvement tips, make sure to subscribe before you go!