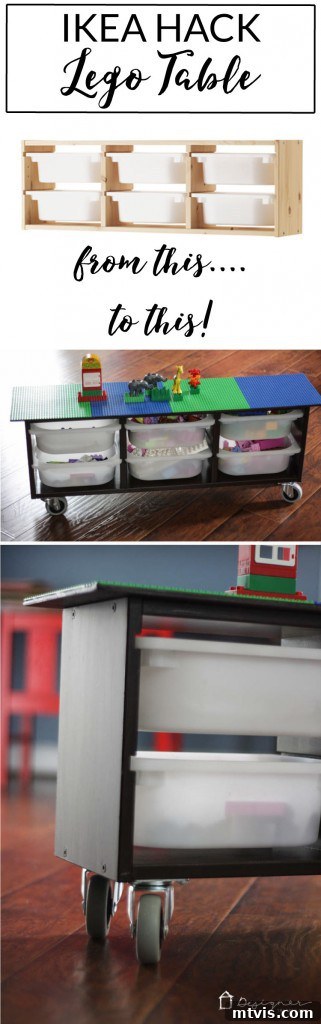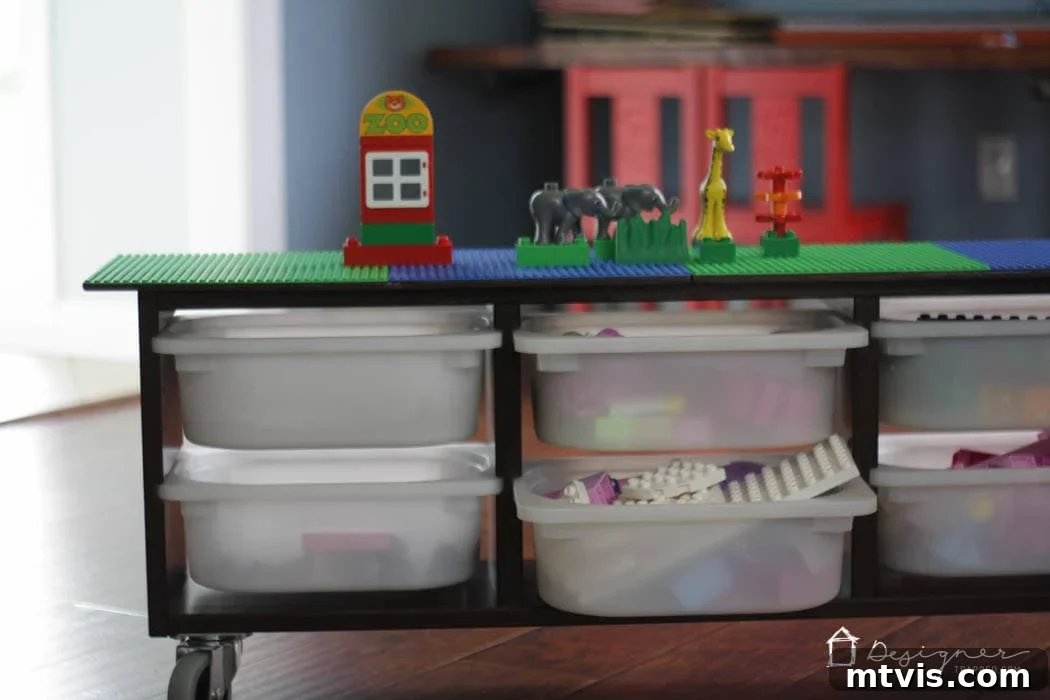
Welcome back to the blog, where we’re constantly exploring innovative ways to bring order and joy to our homes. This month, our focus has been squarely on organization, especially tackling the vibrant chaos that often defines a playroom. For parents of active children, you understand the delightful challenge of managing a burgeoning collection of toys, particularly those intricate sets like Legos, which come in countless shapes, sizes, and colors.
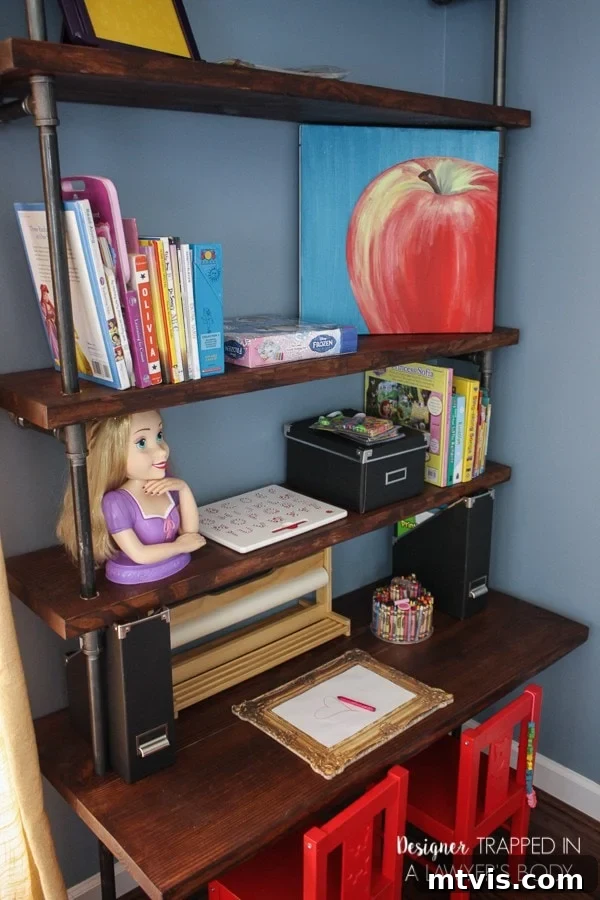
A few seasons ago, we embarked on a significant playroom renovation, installing robust industrial pipe bookshelves and integrated desks. While this project dramatically improved our general storage capacity and created dedicated workspaces for our twin girls, we quickly realized a specific gap remained: an effective, engaging solution for their ever-growing Lego collection. Loose bricks and half-built creations often found their way into every corner, making cleanup a constant battle and often discouraging independent play.
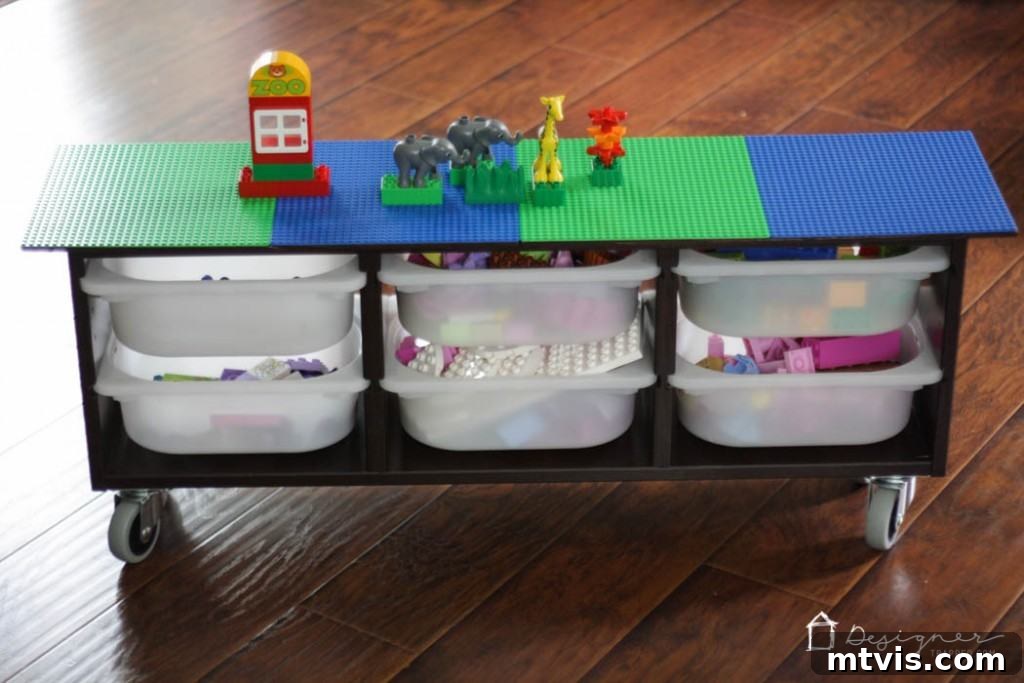
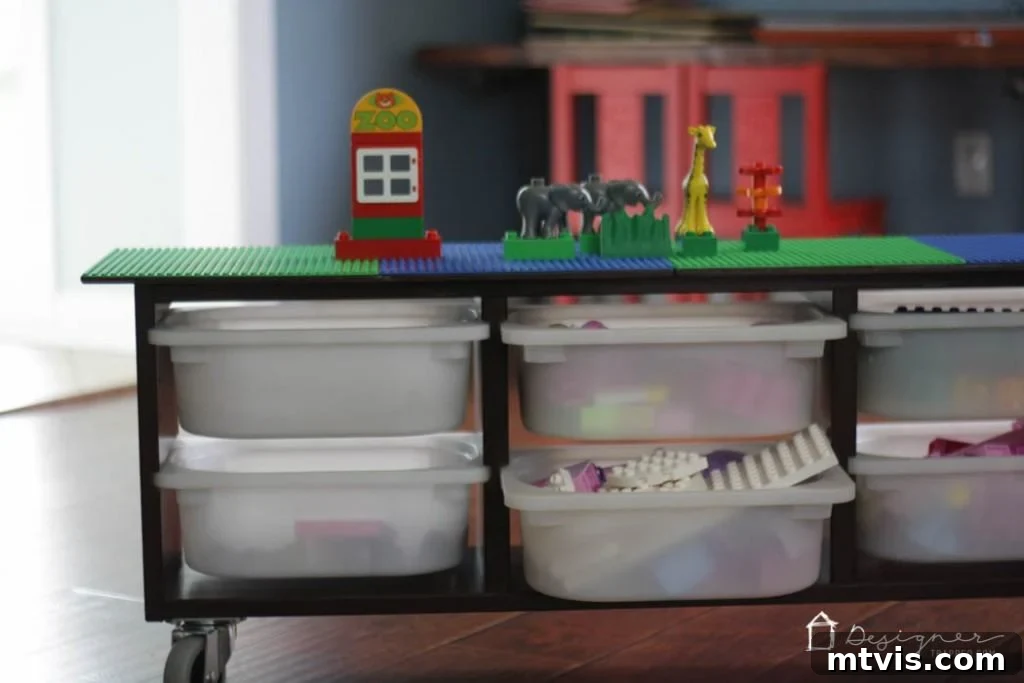
But fear not, fellow organizers! We’ve since discovered and implemented a transformative solution that has not only brought pristine order to their Lego hoard but has also ignited an unprecedented level of creative engagement from our girls. They’re now building more, collaborating more, and actually enjoying the process of organizing their bricks. The secret? A thoughtfully designed, mobile DIY Lego table. This incredible project is an accessible and easy Ikea hack that truly anyone can create, turning a simple piece of furniture into a dynamic play and storage hub. Prepare to revolutionize your playroom and watch your children’s creativity flourish!
This post contains some affiliate links for your convenience. Click here to read my full disclosure policy.
Unlock Creativity with a DIY Mobile Lego Table: An Easy IKEA Hack
Are you tired of stepping on stray Lego bricks or sifting through disorganized piles? Imagine a dedicated space where creativity can truly take hold, where every brick has its place, and where the entire building station can roll wherever inspiration strikes. This comprehensive guide will walk you through creating your very own DIY Lego table using the versatile IKEA Trofast storage system. This project is not just about organization; it’s about fostering a love for building, encouraging independent play, and adding a functional yet stylish piece to any kid’s room or playroom.
Why Build a DIY Lego Table?
Beyond simply providing storage, a custom-built Lego table offers numerous benefits:
- Enhanced Organization: With integrated storage bins, bricks can be sorted by color, size, or set, making cleanup and finding specific pieces incredibly efficient.
- Dedicated Play Space: A permanent building surface means projects can remain assembled without being disturbed, encouraging longer, more complex builds.
- Mobility: Adding casters transforms the table into a portable play zone, allowing children to move their creative hub from room to room, adapting to their play environment.
- Encourages Independent Play: Everything is within reach, empowering children to set up, play, and clean up on their own, fostering responsibility and self-sufficiency.
- Stimulates Creativity: A clean, organized, and accessible building platform invites more frequent and imaginative play.
- Cost-Effective: Leveraging IKEA furniture allows for a high-quality, customized solution without breaking the bank.
- Customizable Aesthetic: Choose stains or paints that match your existing decor, making this functional piece a seamless addition to your home.
Materials Needed for Your DIY Lego Table:
Gathering all your supplies before you begin ensures a smooth and enjoyable building process. Here’s a detailed list of what you’ll need for this ingenious IKEA Trofast hack:
- Ikea Trofast Wall Storage Unit: This is the cornerstone of our mobile Lego station. Its modular design and compatible bins make it ideal for storing a vast array of Lego bricks and accessories. Choose a size that best fits your space and storage needs.
- Gel Wood Stain (optional, but highly recommended for a custom look): If you desire a rich, darker finish that elevates the natural wood grain, a gel stain is perfect. We opted for a Mahogany finish to achieve a sophisticated, deep tone that stands up to playtime.
- 1/8 inch Plywood, cut to size: This will serve as the sturdy tabletop surface for your Lego base plates. The 1/8 inch thickness provides a stable yet lightweight foundation. You can often have this cut to your desired dimensions at most hardware stores.
- 4 Lego Base Plates: These are essential for creating the building surface. Standard green or gray plates are versatile, but you can choose any color to match your desired aesthetic. Ensure they are the standard Lego brand for optimal brick compatibility.
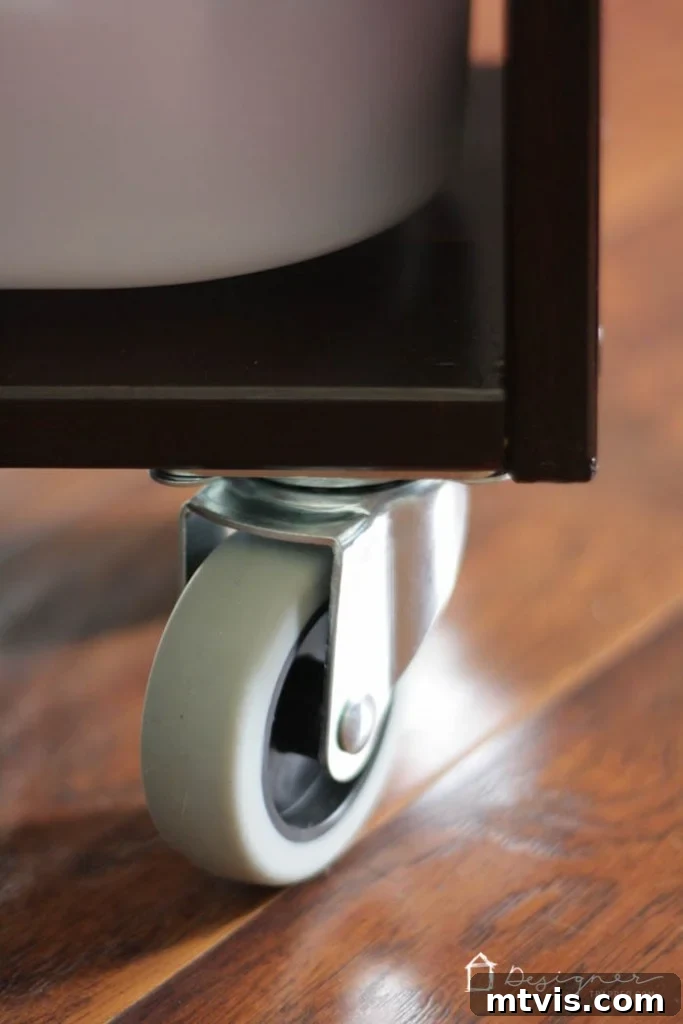
- 4 Casters (we used 3-inch casters): Mobility is a key feature of this DIY Lego table. Opt for sturdy, smooth-rolling casters that can support the weight of the table plus a full load of Legos. The 3-inch size provides excellent stability and easy maneuverability on various floor surfaces.
- Multi-surface Glue: A powerful adhesive is crucial for securely attaching the Lego base plates to the plywood. We highly recommend Elmer’s ProBond Advanced for its strong, durable bond, ensuring your base plates stay put through countless building adventures.
Tools You’ll Need:
- Pencil
- Ruler or tape measure
- Jigsaw or circular saw (for cutting plywood, if not pre-cut)
- Drill with appropriate drill bits (for attaching casters and potentially plywood)
- Sandpaper (fine grit for smooth finish after cutting, if needed)
- Staining rags or brush (if staining)
- Clamps or heavy objects (for gluing base plates)
- Safety goggles and gloves
Steps to Build Your DIY Mobile Lego Table:
Follow these straightforward steps to transform your IKEA Trofast unit into the ultimate Lego play and storage hub. Remember to always prioritize safety and take your time with each step for the best results.
1) Prepare and Stain Your Trofast Unit (Optional, but Recommended for a Custom Look)
If you’re aiming for a specific aesthetic, staining your IKEA Trofast unit is a fantastic first step. While the natural pine finish of the Trofast is appealing, a darker stain can add a touch of sophistication and depth, helping the table blend seamlessly into more refined living spaces or simply offering a custom look. We chose a rich General Finishes Gel Stain in Mahogany finish to achieve a deep, lustrous color that beautifully complements our playroom decor. Gel stains are particularly forgiving and easy to apply, making them an excellent choice for DIY enthusiasts. Begin by wiping down your Trofast unit to ensure it’s clean and free of dust. Apply the gel stain evenly with a cloth or foam brush, working in the direction of the wood grain. Allow it to penetrate for a few minutes before wiping off any excess. Repeat coats until you reach your desired depth of color. Remember to let it dry completely according to the manufacturer’s instructions, typically overnight, before moving on. If you prefer the natural look or plan to paint, you can certainly skip this step.
2) Outline Your Lego Base Plates on the Plywood
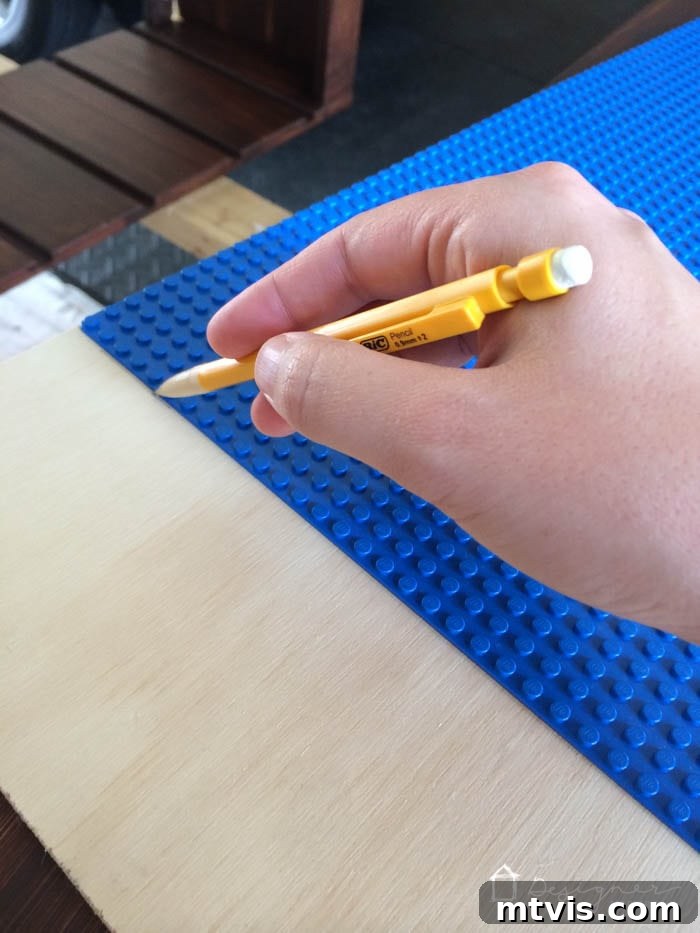
This step ensures a perfect fit for your building surface. Lay your four Lego base plates directly onto your piece of 1/8 inch plywood. Arrange them closely together, ensuring there are no gaps between the plates. This creates a continuous, expansive building area once assembled. Once you’re satisfied with the arrangement, carefully trace an outline around the perimeter of the combined base plates using a pencil. This outline will serve as your precise guide for cutting the plywood. Double-check your lines to ensure accuracy, as this directly impacts the final tabletop dimensions.
3) Cut Your Plywood to Size
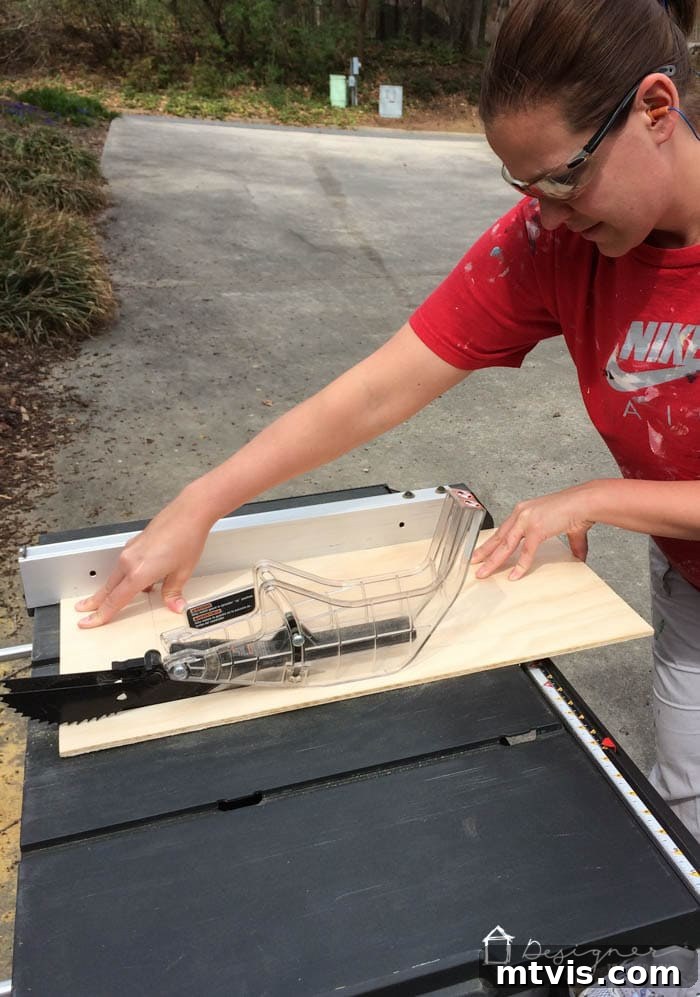
Now it’s time to cut your plywood. Using a jigsaw or circular saw, carefully cut along the pencil lines you just drew. Safety is paramount here: always wear safety goggles and use clamps to secure your plywood to a stable workbench. If you’re using scrap plywood, as we did, you might find yourself working with two smaller pieces rather than one continuous sheet. This is perfectly fine! The key is that the combined pieces precisely match the dimensions needed to accommodate the Lego base plates. We found that simply using the four Lego base plates as our direct guide, rather than taking precise measurements, was an effective and straightforward method since the plates would be glued directly on top. If you do use multiple pieces, ensure their edges align perfectly to create a seamless surface. Once cut, briefly sand the edges to remove any splinters and create a smooth finish.
4) Stain the Bottom Side of the Plywood (Optional)
This step is purely for aesthetic consistency, but it makes a significant difference in the finished look of your DIY Lego table. Since the plywood tabletop will overhang the Trofast unit slightly, the bottom edges and underside of the plywood will be visible. Staining this portion ensures a uniform and polished appearance from all angles. There’s no need to stain the top side of the plywood, as this surface will be completely covered by the Lego base plates. Apply your chosen stain, just as you did with the Trofast unit, to the bottom and edges of your cut plywood, allowing it to dry thoroughly before proceeding.
5) Attach Your Casters to the Bottom
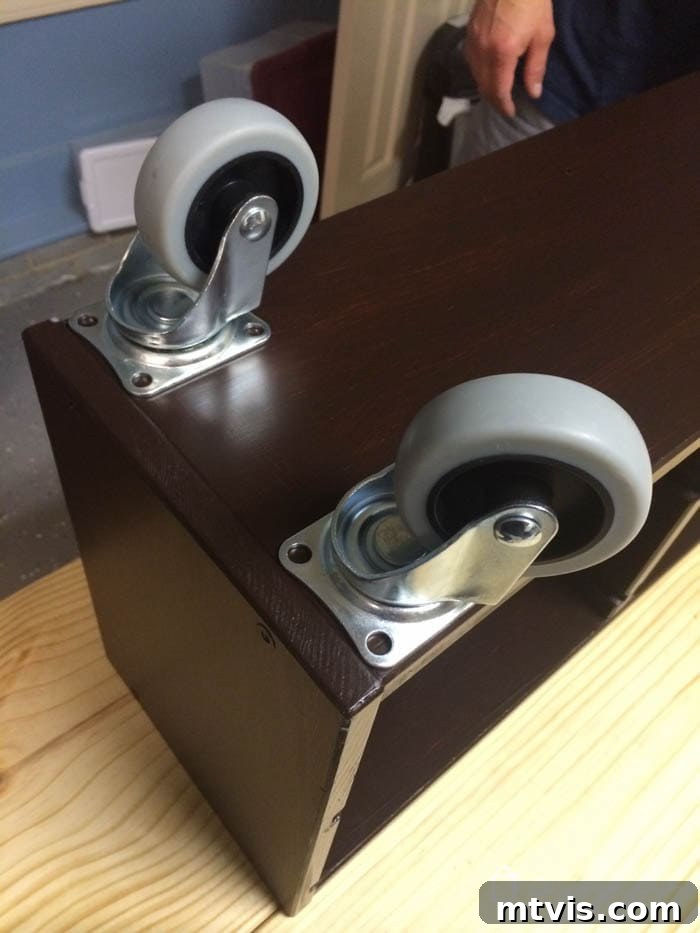
The magic of mobility comes alive in this step! Carefully turn your stained Trofast unit upside down. Position a caster at each of the four bottom corners of the unit. Ensure they are aligned consistently and placed far enough from the edges to provide stable support without interfering with the structure of the unit. Using a drill with an appropriate drill bit, pre-drill pilot holes for the caster screws. This prevents splitting the wood and makes screw insertion much easier. Securely attach each caster using the screws provided, ensuring they are tightened firmly but not overtightened. Once all four casters are attached, gently turn the unit upright and test its rolling capability. It should glide smoothly and stably.
6) Attach Your Plywood Tabletop to the Top of the Trofast Unit
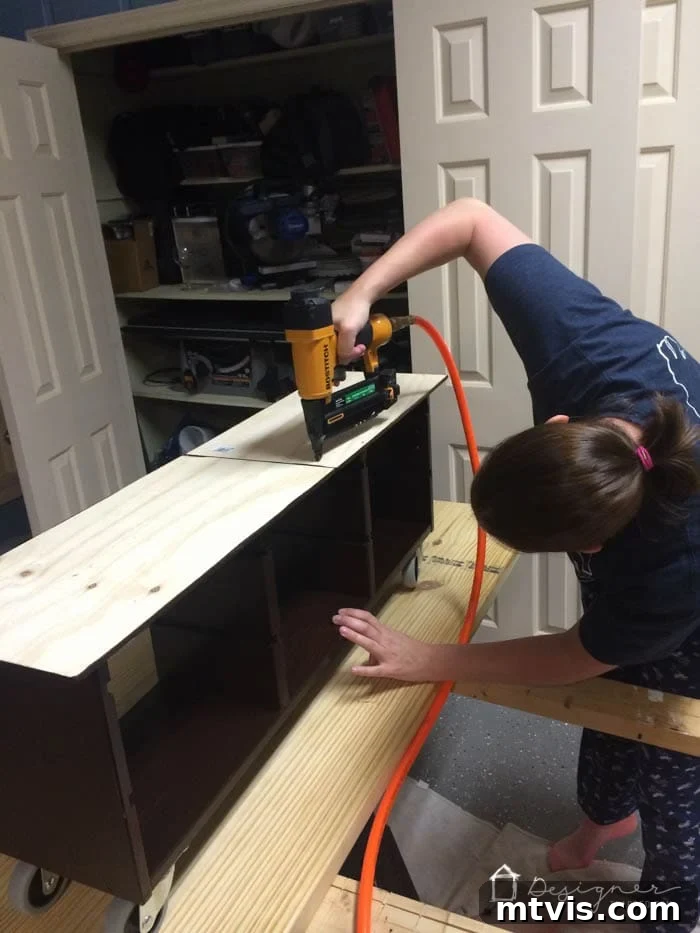
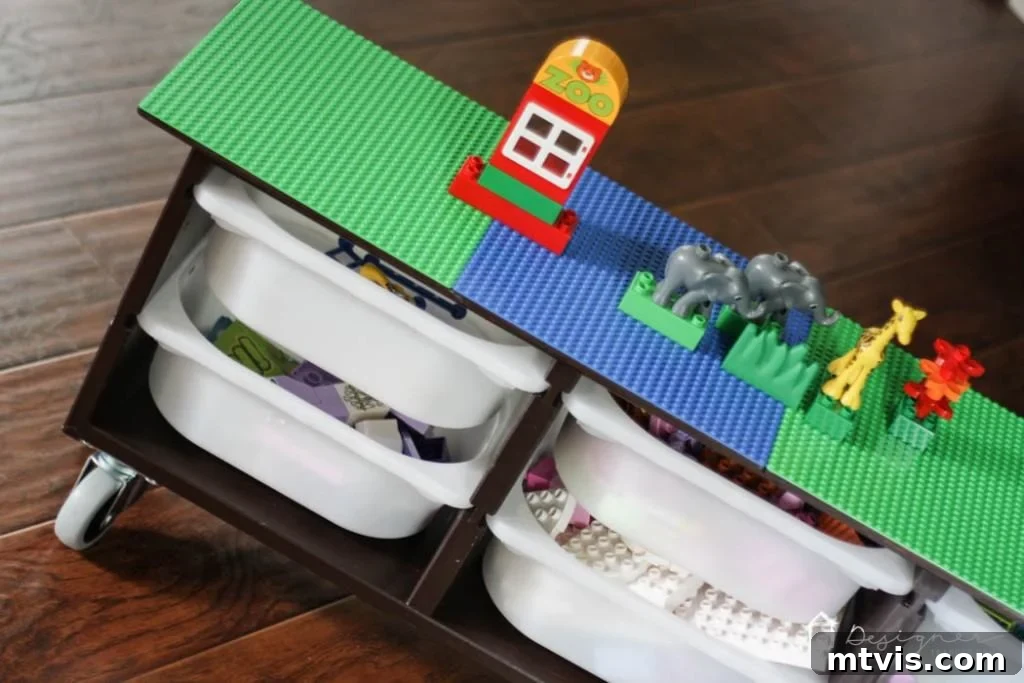
With your Trofast unit now mobile, it’s time to add the tabletop. Carefully place your prepared plywood onto the top surface of the Trofast unit. The key here is to center the plywood perfectly, allowing for an even overhang on all four sides. This overhang is intentional, creating a comfortable lip for builders and enhancing the table’s visual appeal. Once centered, secure the plywood to the Trofast. You can use wood screws (pre-drilling is advised) from underneath the Trofast top into the plywood, or use a strong wood adhesive for a seamless finish. We used screws to ensure maximum stability, which is crucial for an active play surface. And if you’re wondering about my attire in some of these project photos – yes, I’m often in my PJs! Most of our DIY adventures happen late at night, long after the girls are asleep, turning our home into a bustling workshop after hours.
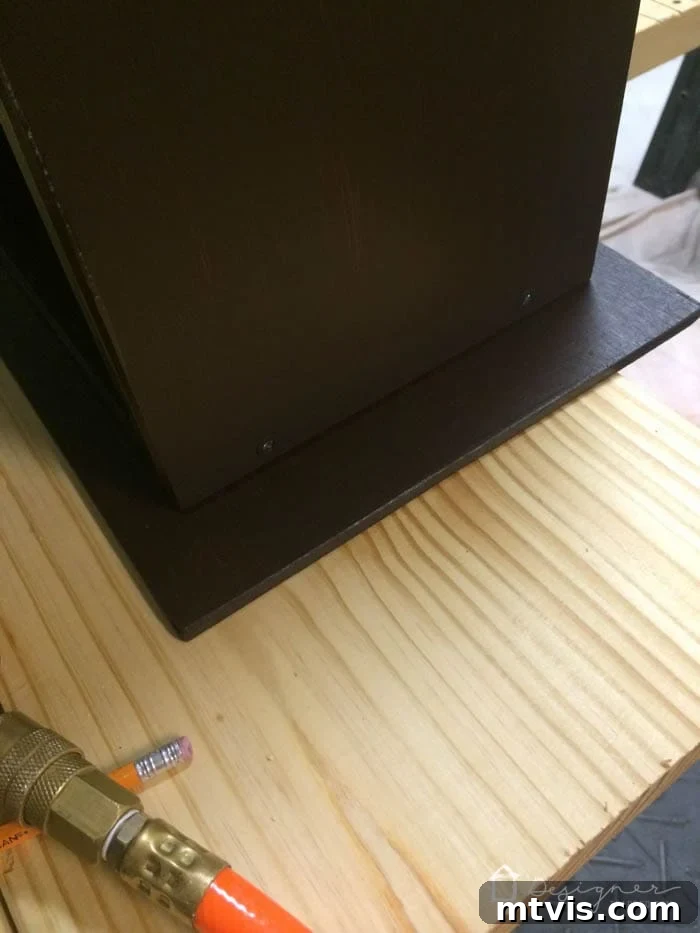
The reason we stained the bottom of the plywood becomes evident at this stage—the stained overhang portion is gracefully visible from underneath, maintaining a cohesive and finished look that truly elevates this DIY piece. This attention to detail ensures your table looks professionally made from every angle.
7) Glue on Your Lego Base Plates
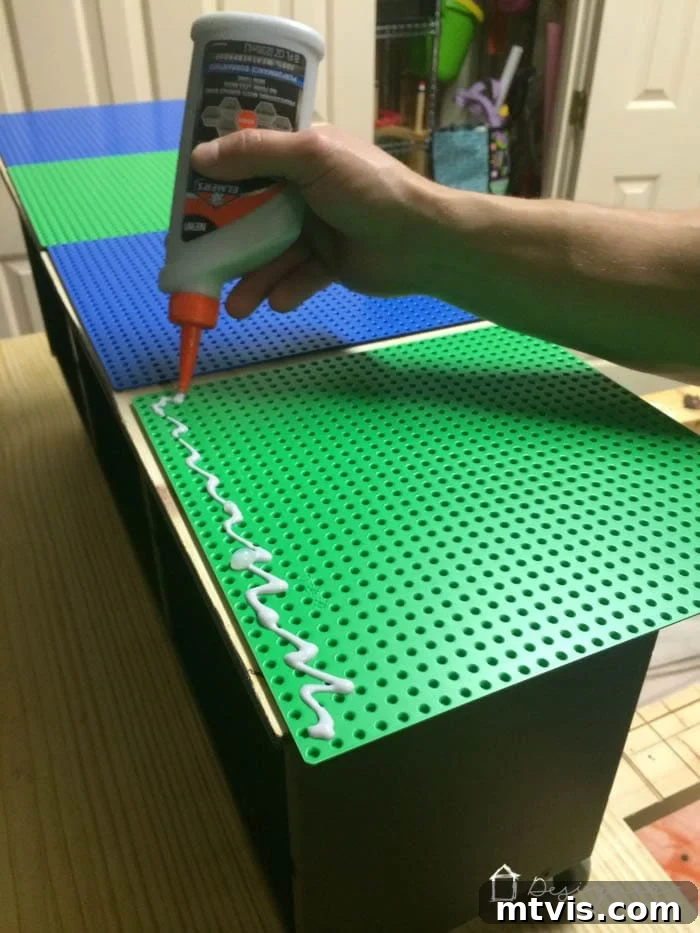
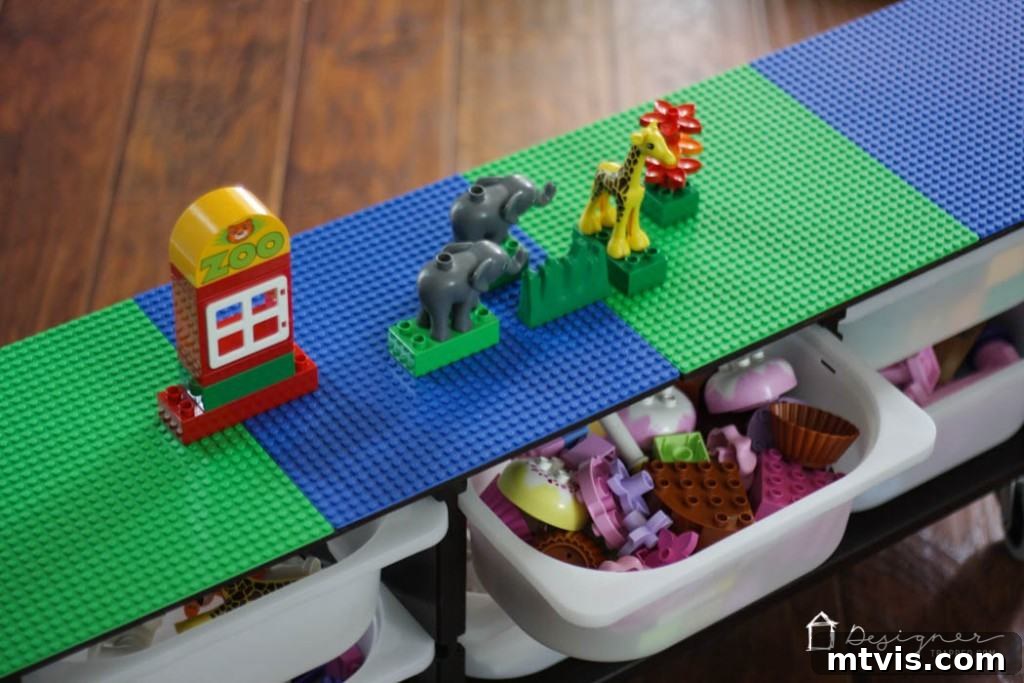
This is the final, satisfying step to create your ultimate Lego building surface. Carefully position your four Lego base plates onto the stained plywood, ensuring they are perfectly aligned and spaced with no gaps, just as you outlined them in step 2. Once satisfied with their placement, apply a generous, even layer of multi-surface glue, such as Elmer’s ProBond Advanced, to the back of each base plate. Press each plate firmly onto the plywood, making sure to apply even pressure across the entire surface of each plate. To ensure a strong, permanent bond, place something heavy, like books or weights, evenly across the top of the base plates. This direct pressure helps the glue cure properly and prevents any lifting or warping. Allow the glue to dry and cure completely overnight, or for the duration recommended by the adhesive manufacturer. Once fully cured, your Lego base plates will be securely attached, ready for endless hours of building!
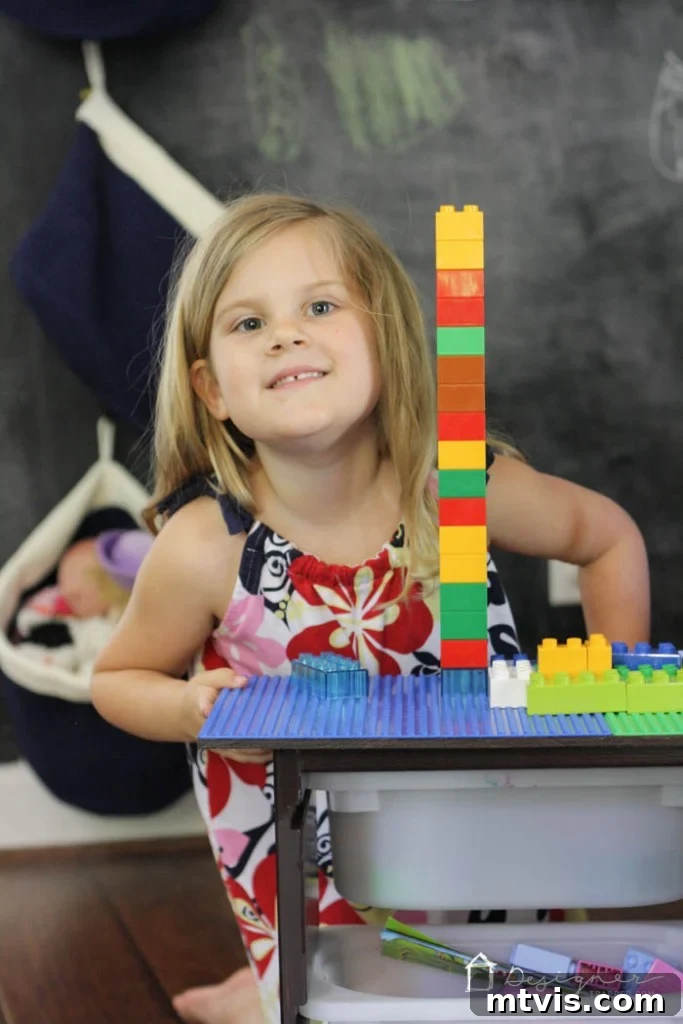
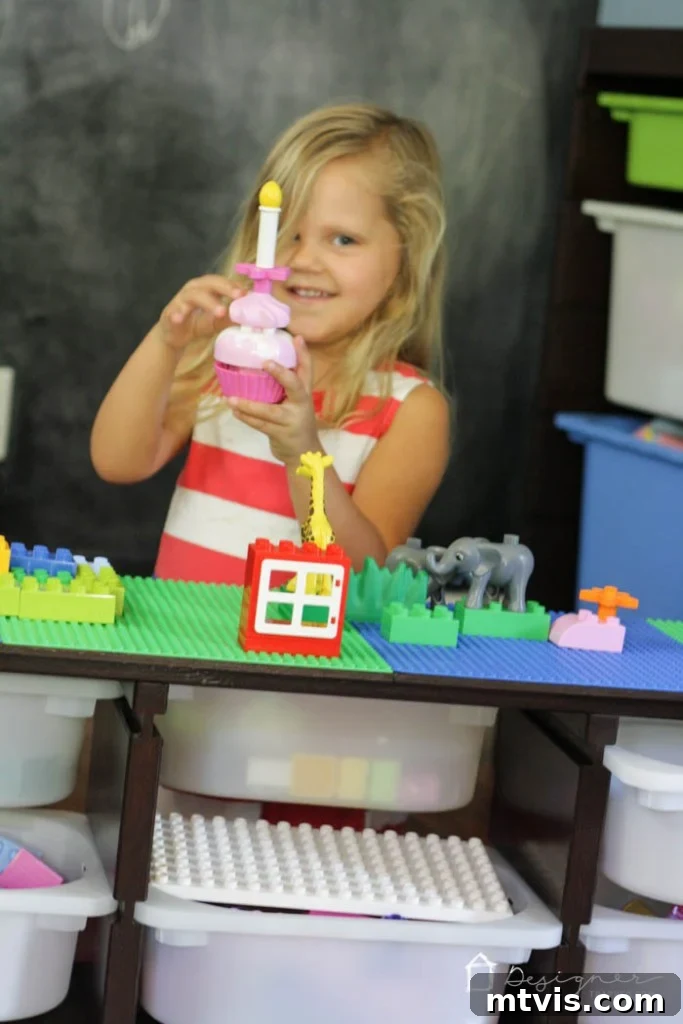
And just like that, you’re done! How incredibly easy and rewarding is that? From a simple IKEA storage unit, you’ve crafted a custom, mobile Lego building station that will transform your children’s playtime and your playroom’s organization. We can personally attest to its effectiveness; this DIY Lego table has kept our girls’ Legos beautifully organized, transforming chaotic piles into tidy, accessible collections. But the best part? Our daughters are now playing with their Legos more enthusiastically than ever before! They absolutely adore being able to easily roll the table to different areas of the room – whether it’s for collaborative building sessions in the center of the playroom or quiet, individual projects tucked away in a corner. They’re actually EXCITED to sort their Legos by color or kit into the Trofast bins, a task that once felt like a chore. It’s a definite win-win for both parents and kids!
What do you think of this functional and aesthetically pleasing finished product? We’d love to hear your thoughts and see your creations!
If you’re continually seeking out practical and stylish toy storage and playroom organization solutions, you’re in the right place! We’ve tackled several other projects that might inspire your next home improvement endeavor. Check out these related posts for more creative ideas to keep your kid’s spaces tidy and functional:
DIY Industrial Pipe Shelves and DesksTransform any room with a robust and stylish storage solution that also integrates dedicated workspaces. This tutorial details how to build custom industrial pipe shelving with built-in desks – perfect for encouraging study and creative pursuits in a highly organized environment.
|
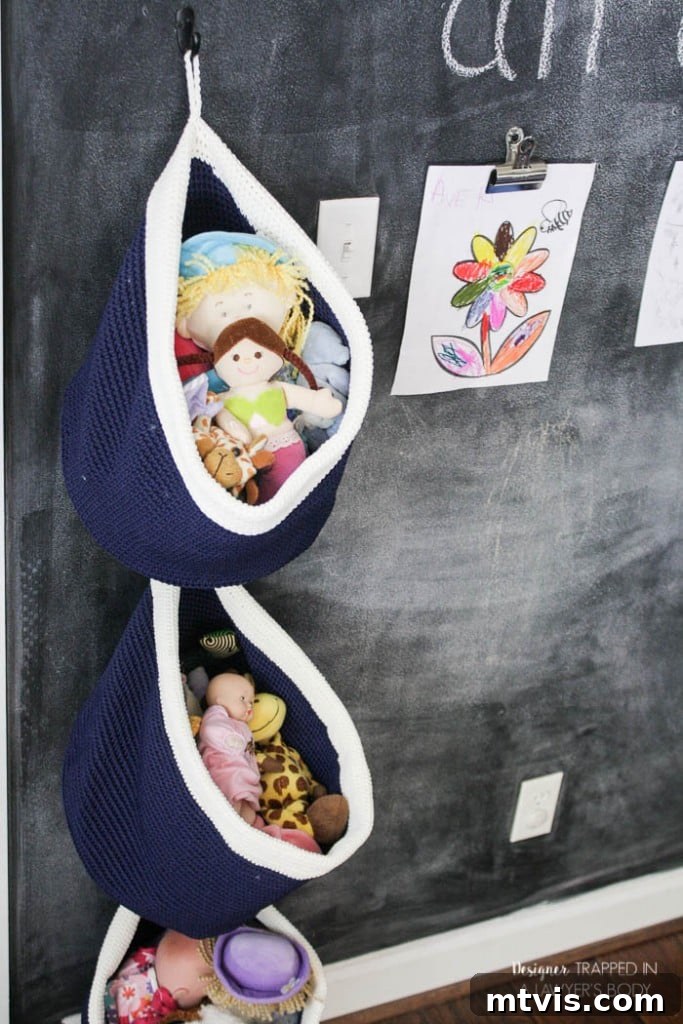
Easy Hanging Toy Storage SolutionsDiscover a brilliant and incredibly simple method to manage toy clutter using readily available items. This tutorial guides you through creating easy, DIY hanging toy storage with baskets, perfect for any kid’s space. It’s a space-saving solution that keeps toys off the floor and within easy reach.
|
If you loved creating this fantastic mobile Lego table and found this tutorial helpful, be sure to pin it! This way, you can easily refer back to it whenever you need a reminder of the steps or want to share this ingenious IKEA hack with friends and family. Happy building and organizing!