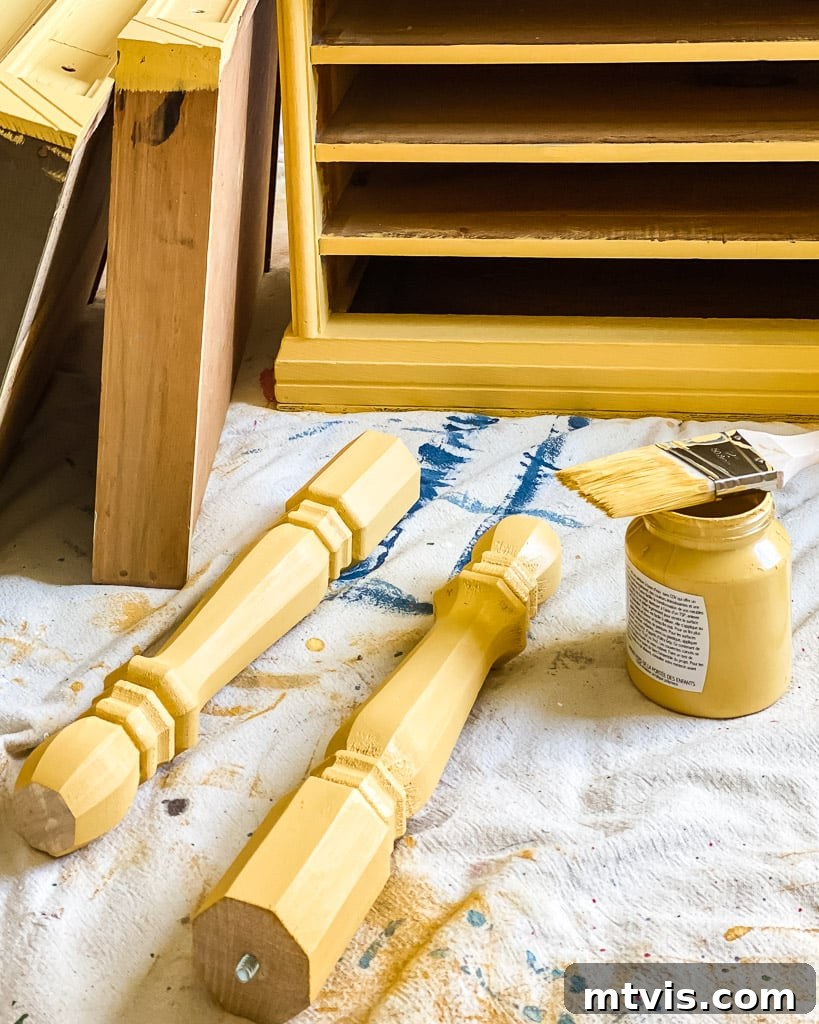
As a seasoned DIY enthusiast with nearly 100 furniture painting projects under my belt over the last two decades, I’ve found that giving old furniture pieces a fresh coat of paint is an incredibly rewarding and budget-friendly way to revitalize your home decor. However, not all paints are created equal. Selecting the absolute best paint for your specific furniture project is paramount to achieving the professional-looking and long-lasting results you envision.
If you’ve ever pondered, “What truly is the best paint to use on furniture?” then this comprehensive guide is tailored for you. I’m excited to share my top recommendations for the most durable and aesthetically pleasing paints suitable for a wide range of furniture types, including both solid wood and laminate pieces. With the right paint and proper technique, you can transform any piece of furniture into a beautiful and resilient statement piece. Trust me on this.
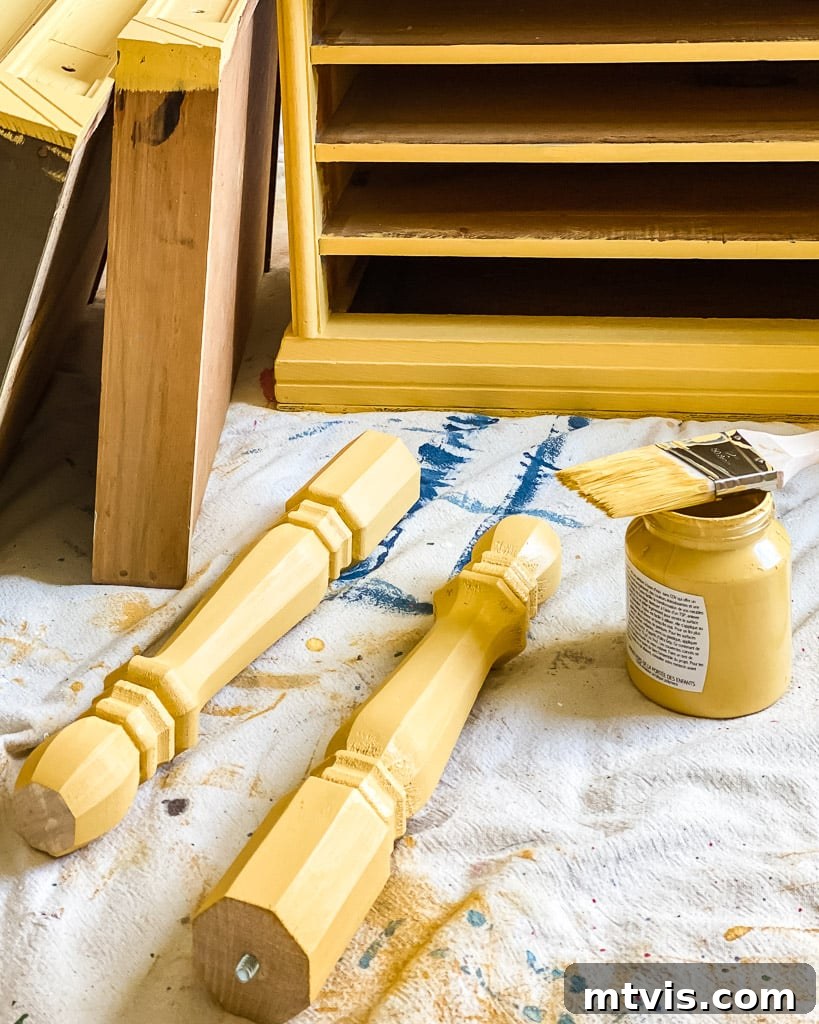
The Best Paints for Every Type of Furniture Project
Surprisingly, my recommended paints remain consistent whether you are tackling a solid wood dresser or a sleek laminate bookshelf. However, it’s crucial to understand that for laminate furniture, I strongly advise consulting this detailed tutorial for painting IKEA laminate furniture. There’s a specific primer that is absolutely essential for laminate surfaces, even if you are using one of the high-adhesion paints I’m about to discuss. This small extra step ensures your paint job will be truly resilient.
Below, you’ll find my curated list of the best paints for furniture. It’s important to remember that regardless of your paint choice, a certain level of preparatory work is always required. We’ll delve into the specifics of proper prep later in this guide to ensure your project is a resounding success.
This post contains affiliate links for your convenience. Click here for my full disclosure policy.
Chalk Paint: The Minimal Prep Marvel
Chalk-based paint is a fantastic water-based option known for its distinctive ultra-matte finish and exceptional adhesion properties. Its strong grip means you can often bypass the tedious tasks of extensive sanding or priming, making it a favorite among DIYers looking for a quicker transformation. Beyond its ease of use, chalk paint is typically low or zero-VOC (Volatile Organic Compounds), which makes it a safe choice for indoor projects, eliminating concerns about harsh fumes. While inherently durable, applying a wax finish adds an extra layer of protection, enhancing its longevity and depth, and it’s surprisingly quick and simple to apply. Another significant advantage of chalk paint is its excellent self-leveling capabilities, which effectively minimize brush marks, leaving you with a wonderfully smooth and professional-looking surface.
My go-to chalk-based paint brand is:
Amy Howard One-Step Paint
The Amy Howard at Home paint line is the brainchild of veteran furniture designer and manufacturer Amy Howard. Her signature product, the One Step Paint, is a revolutionary chalk-based formula designed to streamline furniture and cabinetry transformations. It lives up to its name by often requiring no stripping, sanding, or priming. Being water-based and free of VOCs and other toxins, it’s even safe for children’s furniture. It delivers a beautifully consistent matte finish that exudes elegance.
The coverage provided by One Step Paint is truly impressive. A single 32oz quart typically covers approximately 135-140 square feet, making it efficient for larger projects. For smaller endeavors, a 16oz pint covers about 65 square feet, and a 4oz sample size is sufficient for roughly 16 square feet. It’s important to clarify that “One Step” refers to the minimal prep, not necessarily a single coat. From my extensive experience, most colors require two coats for optimal depth and uniformity. However, given its rapid drying time, applying a second coat is never a hindrance and keeps projects moving swiftly.
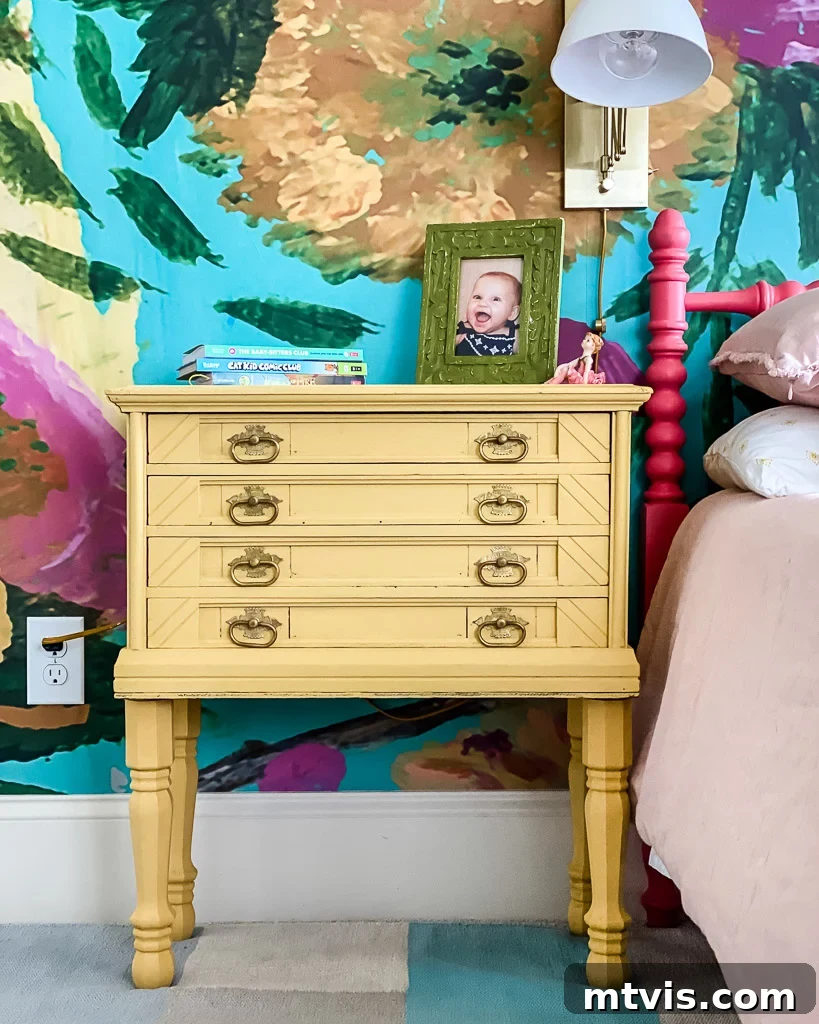
I have used Amy Howard One Step Paint to revitalize countless furniture pieces, including the dresser featured in our vibrant colorful guest room below. I even have a dedicated post detailing how to paint a dresserusing this product, covering the minimal prep it requires and offering guidance on waxing for protection and achieving a subtle antique effect if desired. This paint is a true workhorse for transforming pieces with minimal effort and maximum impact.
Mineral Paint: Enhanced Durability with Natural Pigments
Mineral paint distinguishes itself by using natural earth minerals for its vibrant color pigments. These pigments are expertly blended with a robust binder, typically an acrylic resin, and a solvent. The inclusion of acrylic resin is key to mineral paint’s outstanding adhesion and its remarkable durability, making it an excellent choice for high-traffic furniture pieces that require a resilient finish.
My preferred mineral paint is:
Fusion Mineral Paint
Fusion Mineral Paint is aptly described as “professional paint for the everyday DIYer.” I cannot express enough how much I adore this incredibly durable paint. It boasts an extensive palette of over 50 colors, with countless custom recipes available to expand your creative options even further. A standout feature of Fusion Mineral Paint is its built-in top coat, formulated with 100% acrylic resin, which means added protection is often optional, though you can apply one for maximum resilience. It’s also celebrated for being non-toxic, lead-free, virtually odorless, and completely free of ammonia or formaldehyde, ensuring a safer painting experience.
Similar to chalk paint, Fusion Mineral Paint demands very little in terms of preparatory work. I’ve successfully used it to breathe new life into everything from cherished furniture pieces to tired kitchen cabinets. It has become my personal favorite and the paint I consistently reach for most often. While I’ve never been sponsored or financially compensated by Fusion Mineral Paint, I am genuinely one of its biggest advocates!
EXCLUSIVE DISCOUNT
While I am not sponsored by Fusion Mineral Paint, they have graciously extended a special 10% discount to my readers. This discount will be automatically applied when you click and orderhere.
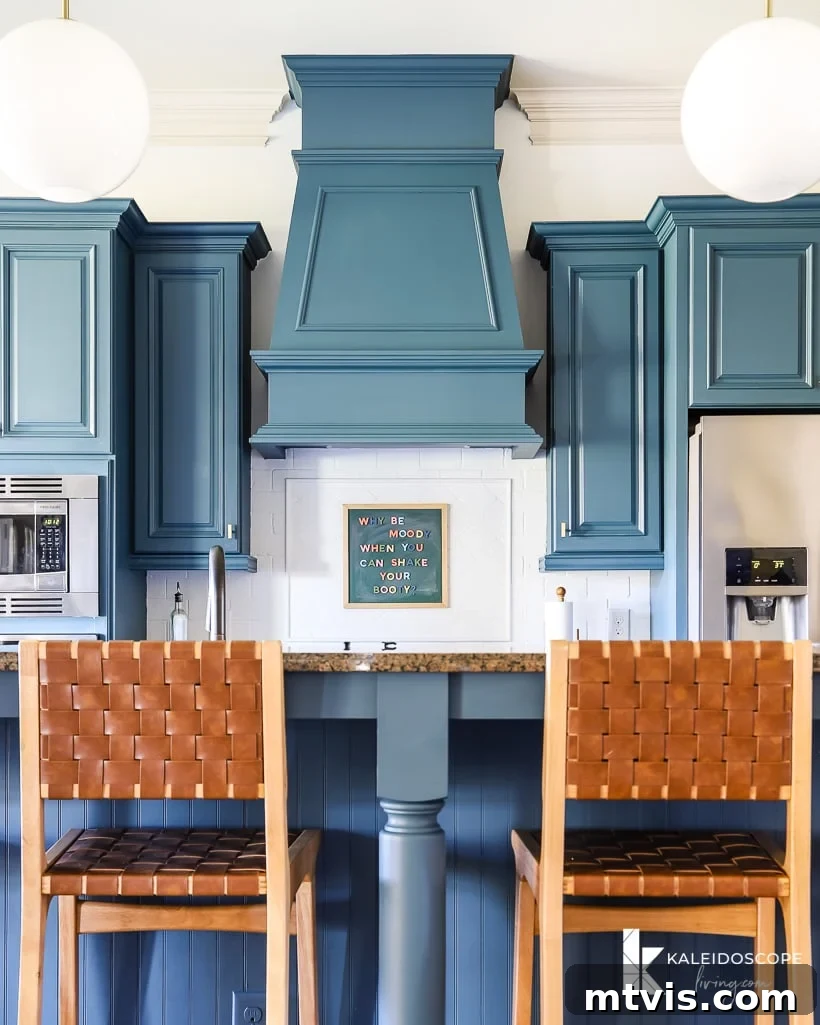
A little goes a very long way with this remarkable paint. For instance, we only needed four pints to completely transform the wood surfaces of our kitchen cabinets as part of our budget-friendly kitchen makeover. This highlights its excellent coverage and cost-effectiveness.
Perhaps the best aspect is Fusion Mineral Paint’s minimal preparation requirement. A clean surface is paramount, and often, only a light hand-sanding is needed to ensure optimal adhesion. This was precisely what we did in Thea’s kitchen; the light sanding took no more than 30 minutes for all her cabinets combined. Don’t let this minor step deter you – her kitchen cabinets turned out magnificently and remain in perfect condition today, showing no signs of peeling or chips. The transformation was truly remarkable!
Fusion Mineral Paint provides incredible coverage, with just one pint extending over 75 square feet. This efficiency means that, in most scenarios, a single coat is all that’s required, making it a more time-efficient option compared to other paints like One Step Paint. Furthermore, its inherent durability means it performs exceptionally well with or without an additional top coat, offering flexibility for your projects.
I personally used Fusion Mineral Paint on our kitchen cabinets, and remarkably, only four pints were needed for the entire job! To get started, refer to my full tutorial on using Fusion Mineral Paint on kitchen cabinets (the application process is identical for furniture). This guide includes comprehensive details on proper surface preparation and how to seal and protect both light and dark colors if you choose to add an extra layer of defense.
Acrylic Paint: Smooth Application, Superior Adhesion
High-quality acrylic paint is a joy to work with, known for its effortless application and smooth, self-leveling finish that beautifully minimizes brush strokes. What sets it apart is its significantly greater durability compared to standard latex paint, coupled with excellent adhesion. These qualities mean acrylic paint requires minimal preparatory work, and in many cases, a top coat is entirely optional, a testament to its robust finish.
My preferred high-quality acrylic paint is:
General Finishes Milk Paint
General Finishes Milk Paint is a premium, water-based acrylic paint designed for both interior and exterior applications, formulated with Zero VOC Colorants. It offers a sophisticated low sheen finish, which is distinct from the very chalky or flat appearance of traditional chalk or mineral paints. I would characterize its sheen as a perfect midpoint between an eggshell and a satin finish, providing a subtle luminosity. If you’re unsure about paint sheens, my paint sheen guide offers a helpful breakdown. Like my other top recommendations, General Finishes Milk Paint excels at self-leveling, ensuring a virtually brush-stroke-free finish.
We famously used this paint to paint the kitchen cabinets in our old house without the need for sanding or priming, and we were absolutely astonished by their enduring durability. For those cabinets, we did opt for a top coat to achieve the highest possible level of protection. Even five years later, when we finally undertook a complete gut renovation of that kitchen, the painted cabinets still looked incredibly beautiful and held up remarkably well.
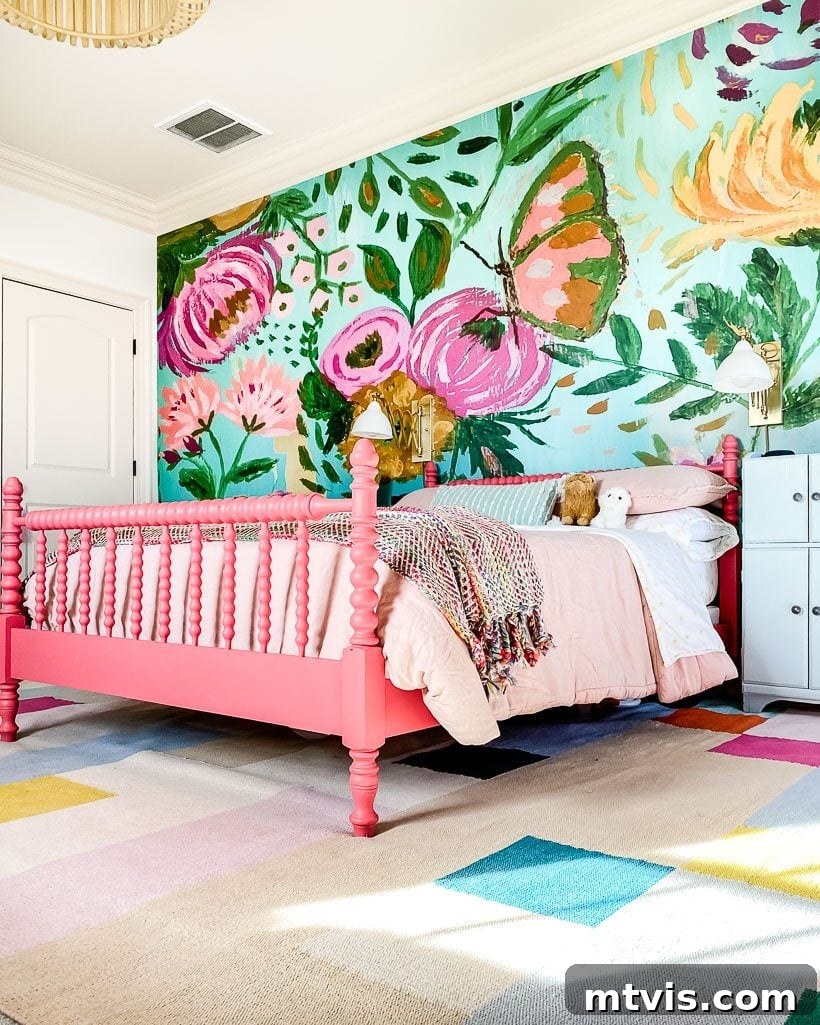
Since then, I have continued to use General Finishes Milk Paint for numerous furniture projects, including transforming the vintage Jenny Lind bed in Attley’s bedroom. It applies like a dream, offers incredible coverage, and consistently delivers a very durable finish on furniture, even when I choose to skip a separate top coat. Its reliability and beautiful results make it a staple in my DIY toolkit.
Urethane Enamel Paint: The Hard-Wearing Champion
Water-based urethane enamel paints are an excellent modern alternative to traditional oil-based options. They offer superior resistance to yellowing over time while still delivering an exceptionally hard and durable finish that stands up remarkably well to everyday wear and tear. This makes them ideal for furniture pieces that experience frequent use or need extra protection.
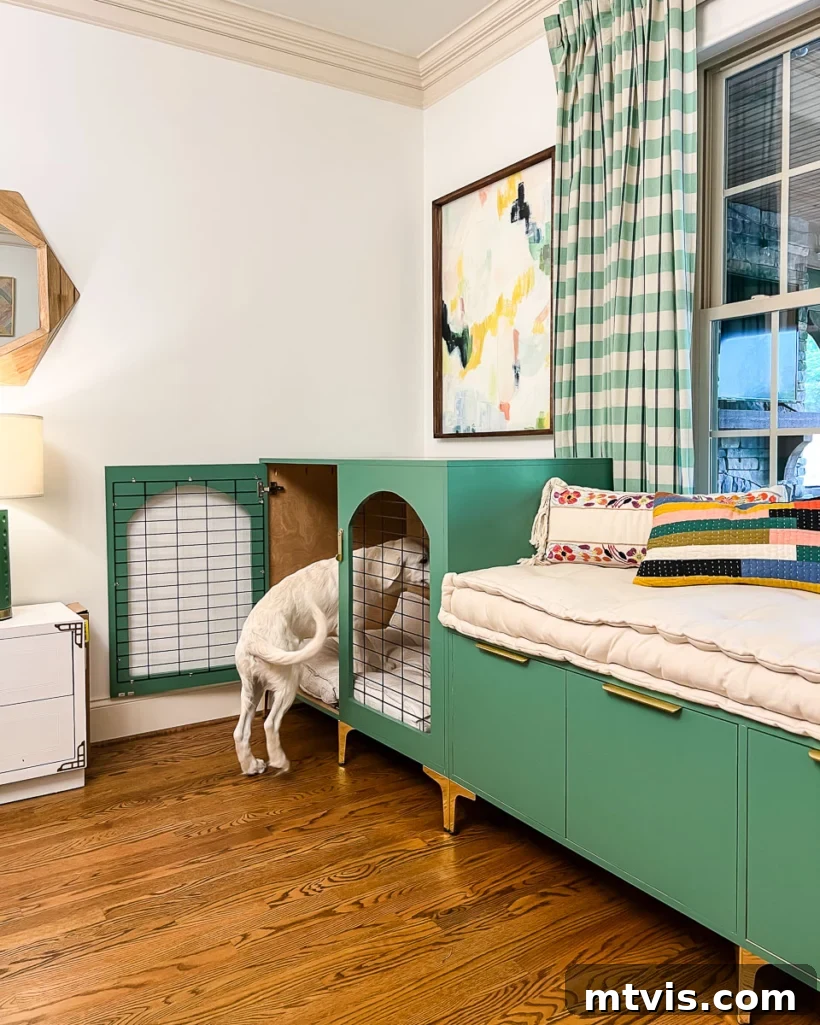
The only brand of urethane enamel paint I have personally used and can confidently recommend is Sherwin Williams Emerald Urethane Trim Enamel. I first discovered its incredible durability when we used it to replace our stair balusters and update our stair railing. I was so impressed with its resilience that I chose it for painting the DIY dog crates and matching bench we constructed recently. This paint is wonderfully self-leveling, resulting in a flawless finish. By lightly sanding between coats, I achieved an unbelievably smooth surface. I’m a huge advocate and fully anticipate using it for many more furniture painting projects in the future! An added benefit is the convenience of purchasing it in gallon sizes, which is perfect for tackling larger furniture transformations or multiple pieces.
Types of Paint to AVOID When Painting Furniture
While knowing which paints perform best is crucial, understanding which types of paint to steer clear of when refinishing furniture is equally important to avoid frustrating and disappointing results.
Latex Paint: Not Recommended for Furniture
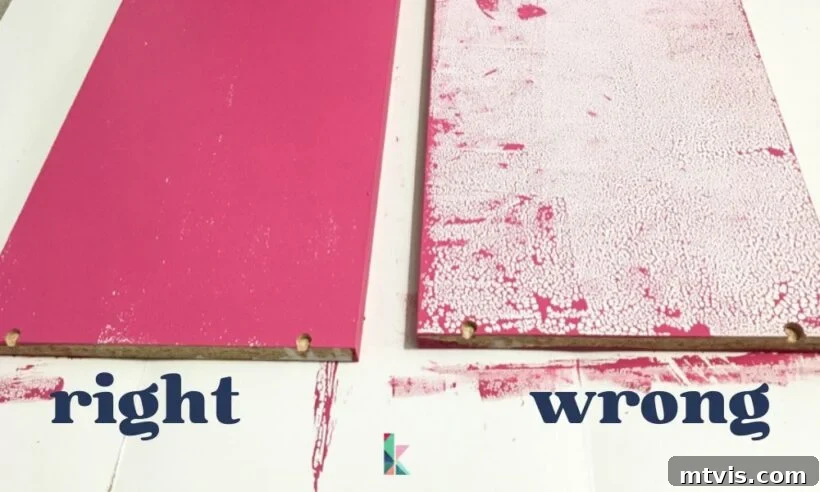
It can be incredibly tempting to reach for leftover wall paint or to purchase new latex paint for furniture projects, primarily due to its affordability and common availability. However, my extensive experience has taught me that using latex paint (the typical choice for painting walls) on furniture is almost always a mistake. Unlike the specialized furniture paints mentioned above, latex paint lacks the strong adhesion required for furniture surfaces. When I have experimented with it, I’ve consistently encountered issues with chipping and/or peeling, even with diligent prep. While applying a protective topcoat might slightly improve its performance, I still strongly advise against using latex paint for furniture. Its inherent flexibility and lower adhesion simply aren’t suited for the wear and tear furniture endures.
Spray Paint: Best Reserved for Specific Applications
Spray paint often seems like a convenient and easy solution for furniture painting due to its quick application. However, I only recommend using spray paint for very specific scenarios, such as refreshing plastic outdoor chairs where a spray paint formulated to bond with plastic is necessary. For most indoor furniture projects, and particularly if you’re aiming for a high-quality, durable, and smooth finish, spray paint is generally not your best option. It can be challenging to achieve even coverage without drips, and the finish often lacks the resilience and aesthetic appeal of brush-on or roll-on furniture paints.
The Importance of Prep Work for Lasting Results
Achieving a professional and lasting furniture paint job hinges on two critical elements: PREP and PRODUCT. Having already covered my top product recommendations, let’s now turn our attention to the indispensable topic of preparation.
Always Clean First: The Non-Negotiable Step
You might have noticed that my favorite paints boast “little to no” prep work, which is indeed a major advantage. However, there’s one foundational step that can never be skipped: properly cleaning your furniture before painting. This might seem obvious, but many people overlook cleaning if a furniture piece doesn’t visibly appear dirty. Yet, unseen dirt, grime, and dust accumulate over time. Failing to thoroughly clean your furniture risks not only a subpar-looking paint job but, more critically, it can severely compromise the adhesion of your paint, leading to premature chipping or peeling.
My go-to solution for pre-painting cleaning is Simple Green, diluted according to the product instructions. After cleaning your piece thoroughly with Simple Green, it’s absolutely vital to wipe it down again with plain water. This ensures that all residue from the cleaner is completely removed, leaving a perfectly clean surface ready for paint adhesion.
Sometimes Additional Prep is Necessary: Knowing When to Go Further
Many aspiring furniture painters wonder, “Can you paint wood without sanding it first?” As I’ve highlighted, my preferred furniture paints are indeed formulated to generally eliminate the need for extensive sanding or priming. However, there are a few specific exceptions where additional prep is highly recommended to guarantee the best possible outcome.
If your piece is real wood, but is very smooth or shiny
Even if you’re certain your furniture is solid wood or wood veneer, a little extra preparation can make a significant difference if the surface is exceptionally smooth or glossy. A slick finish doesn’t provide enough “tooth” for paint to properly grip. In these cases, I highly recommend either lightly scuffing the surface with a liquid deglosser OR performing a very light scuff sanding. Deglossing or scuff sanding a smooth, shiny surface creates a microscopic texture that allows the paint to adhere much more effectively. This crucial step ensures your paint job will not only look beautiful upon completion but will also remain durable and chip-free for many years to come.
If your piece is laminate or another synthetic material
Painting laminate, plastic, or other synthetic materials directly without proper priming is almost guaranteed to result in disappointment. The paint will likely bead up, separate, or simply refuse to adhere, creating a frustrating mess. If you’re uncertain whether your furniture is real wood or a synthetic material, a simple test in an inconspicuous spot can quickly reveal its true nature.
For furniture made of laminate or any other synthetic material, the use of a BIN (shellac-based) primer is an absolutely CRUCIAL step for achieving a successful and durable finish. This step doesn’t need to be perfect or aesthetically pleasing; simply purchase your BIN primer, grab any basic paintbrush, and apply it evenly over the entire piece. Skipping this primer will inevitably lead to paint adhesion failure, no matter how good your chosen topcoat paint is. The primer creates the essential bond necessary for the paint to stick properly.
Frequently Asked Questions About Painting Furniture
I frequently receive a variety of questions regarding furniture painting projects, so I’ve compiled answers to some of the most common inquiries, including recommendations for other essential painting supplies.
From my experience, our paint sprayer consistently delivers the smoothest, most professional-grade finish. It also drastically speeds up the entire painting process. However, there are a couple of considerations: first, you need a suitable space for spraying, and second, the setup and meticulous cleaning of the spray gun can eat into the time savings. For these reasons, I often opt for a combination of a roller and brush, especially for smaller projects, to bypass the hassle of setting up our spray tent and the subsequent cleaning regimen.
While I’m not overly particular about specific paintbrush brands, I do have a strong preference for angled brushes, which are excellent for precise detail work and cutting in edges. For larger, flat surfaces, I consistently use 4 or 6-inch smooth foam paint rollers like these. These rollers are fantastic for achieving an even, smooth finish with minimal texture, making them ideal for everything except the intricate detailing.
Truthfully, I typically skip sanding between coats. I know, I probably should! Most paint manufacturers, especially for the high-quality furniture paints I endorse, recommend a light sanding with fine-grit sandpaper between coats to achieve the absolute smoothest finish. If I were refinishing furniture to sell, I would certainly take this extra step to ensure a flawless, perfect result. However, for pieces I’m painting for my own home, I often prioritize efficiency and find the finish to be perfectly acceptable without this intermediate sanding step.
Oil-based paints are generally known for their superior durability compared to water-based latex paints, so theoretically, they could be a durable option for furniture. However, I personally choose to avoid them due to several drawbacks. I strongly dislike the strong fumes associated with oil-based paints, which necessitate excellent ventilation. Furthermore, the cleanup process for brushes after using oil-based paints is significantly more involved and less pleasant than with water-based alternatives, requiring mineral spirits rather than just soap and water.
We currently own and absolutely love this cordless paint sprayer. It has been a game-changer for larger projects; for instance, it saved us an enormous amount of time when painting all the upstairs doors after installing our DIY board and batten in the hallway. However, it is an investment and can be a bit pricey.
Before upgrading, we used this corded spray gun for many years and were quite satisfied with its performance. The main drawback is its cord, which can unexpectedly hinder movement and convenience when spraying a furniture piece. Nevertheless, it’s an excellent starter spray gun and offers great value for its reasonable price.
While technically possible, I generally wouldn’t recommend painting directly on raw, unprimed wood. It’s significantly more cost-efficient and yields better results to prime raw wood first. Why? Raw wood is highly absorbent and will quickly soak up multiple coats of your more expensive paint. Primer, on the other hand, is much less costly and effectively seals the wood, preventing excessive absorption. Additionally, priming raw wood first ensures a much more even and consistent finish, preventing blotchiness or uneven color distribution.
I sincerely hope this comprehensive guide to the best furniture paints has provided you with clarity and confidence for your next DIY furniture painting project! Happy painting!
More Paint Posts
SEE ALL PAINT POSTS
-
9 Life-Changing Painting Hacks Everyone Should Know
-
How Durable are DIY Painted Kitchen Cabinets?
-
How to Paint Kitchen Cabinets (From a DIYer Who Has Done it 3 Times)
-
How Have Our Painted Countertops Held Up?
-
How to Paint IKEA Furniture and Mistakes to Avoid
-
How Much Paint Do I Need for My Room?
Curious about my unique approach to transforming rooms and spaces in our home? Be sure to explore Designer in a Binder®, my signature system for stress-free decorating.
For exclusive content and behind-the-scenes sneak peeks into my latest projects, remember to subscribe to my newsletter before you leave!