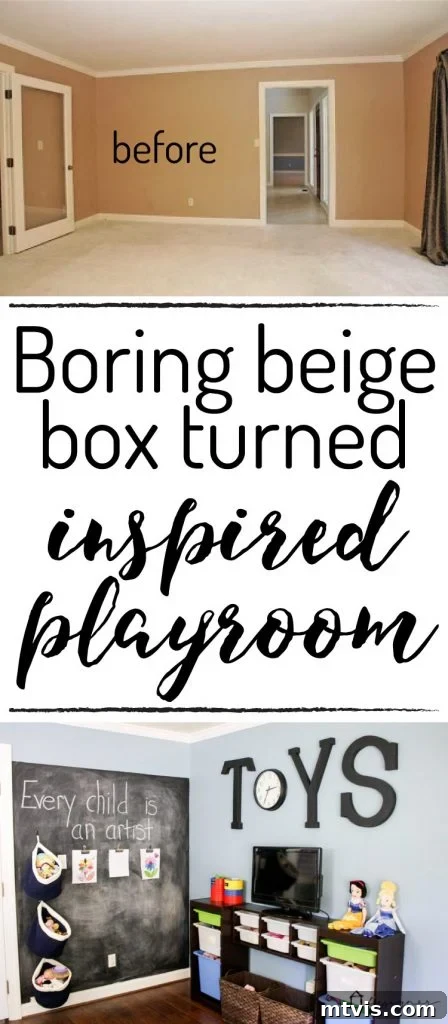
Oh, what a joy it is to finally unveil a space that has been a labor of love and a beacon of creativity! Today, we’re throwing open the doors to a room that was once nothing more than a dull, beige box and has now been gloriously transformed into a vibrant and functional kids’ playroom. This isn’t just any playroom; it’s a testament to how thoughtful design, clever DIY projects, and imaginative decor can elevate a standard room into a children’s haven. Prepare to be inspired by a plethora of ingenious playroom decor ideas and practical playroom storage solutions that promise to bring order and cheer to any home. And don’t worry, a comprehensive source list of all the items and paint colors used in this delightful space awaits you at the end of this post!
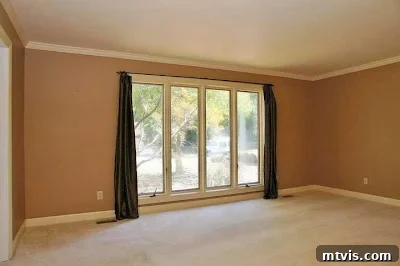
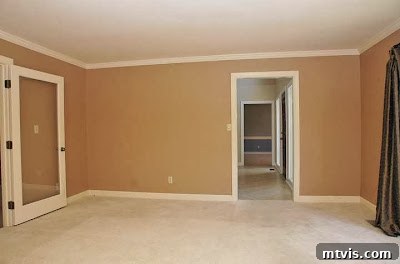
Before we dive into the colorful transformation, let’s take a moment to reflect on the “before” state of this room. When we first stepped into this house, this particular space immediately struck us with two words: “boring” and “depressing.” It was clearly intended to be a formal living area, a space typically reserved for special occasions and quiet contemplation. However, our family is anything but formal! We lead an active, joyful life, and the idea of a fancy, unused room simply didn’t align with our lifestyle. We needed a dynamic space, a room where our children could explore, create, and simply be kids. Despite its initial drabness, I instantly recognized its immense potential. The room boasts wonderfully large casement windows, flooding the space with an abundance of natural light – an absolute dream for any playroom. Furthermore, I adored the elegant glass French doors that seamlessly connect it to our family room, offering both privacy when needed and an open, integrated feel.
 |
 |
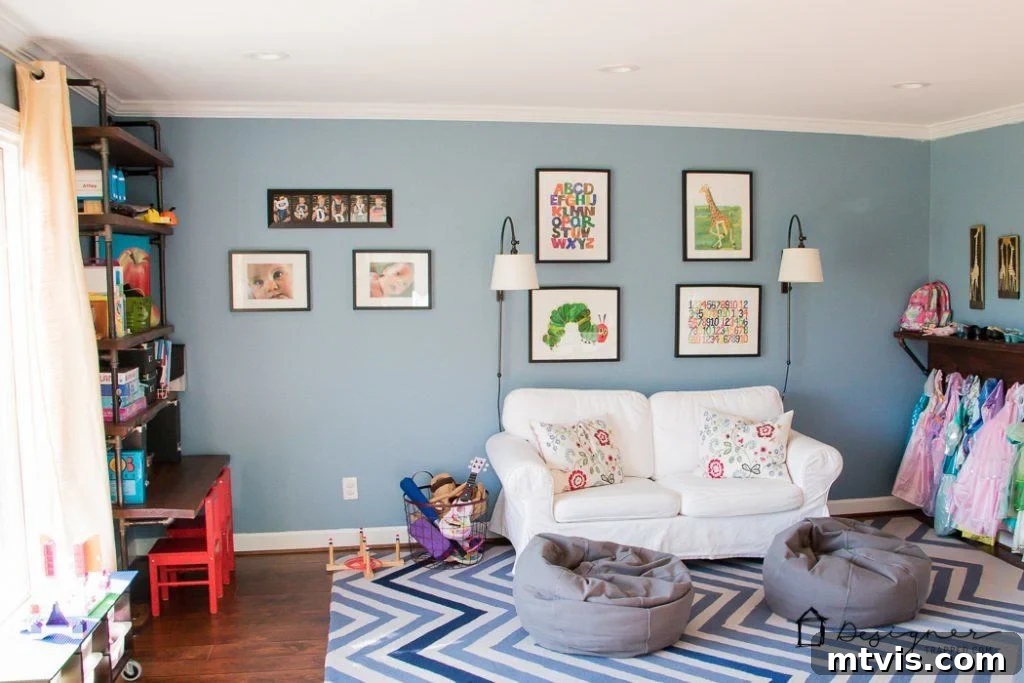
The journey to create the ultimate kids’ playroom began with Phase 1: a dramatic and refreshing splash of color. We knew a bright, uplifting hue was essential to banish the beige, so we painted the walls a gorgeous blue. This vibrant shade, far from being overwhelming, created an instantly playful and inviting atmosphere, serving as the perfect backdrop for all the adventures to come. Complementing the new wall color, we painted all the trim a crisp, true white. This was a significant upgrade from the dated taupe/beige trim that previously made the room feel heavy and outdated. My husband, Joe, also undertook the seemingly minor yet incredibly impactful task of replacing all the almond-colored electrical outlets and light switches with modern white ones. It’s truly astonishing how such small details can drastically update the overall feel and freshness of a room.
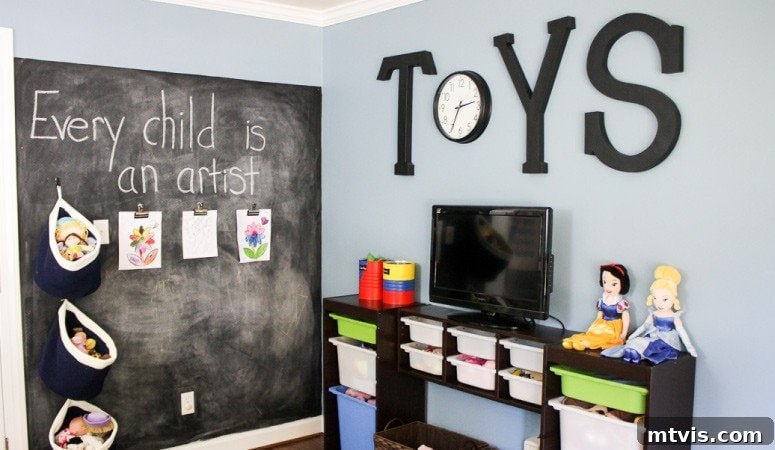
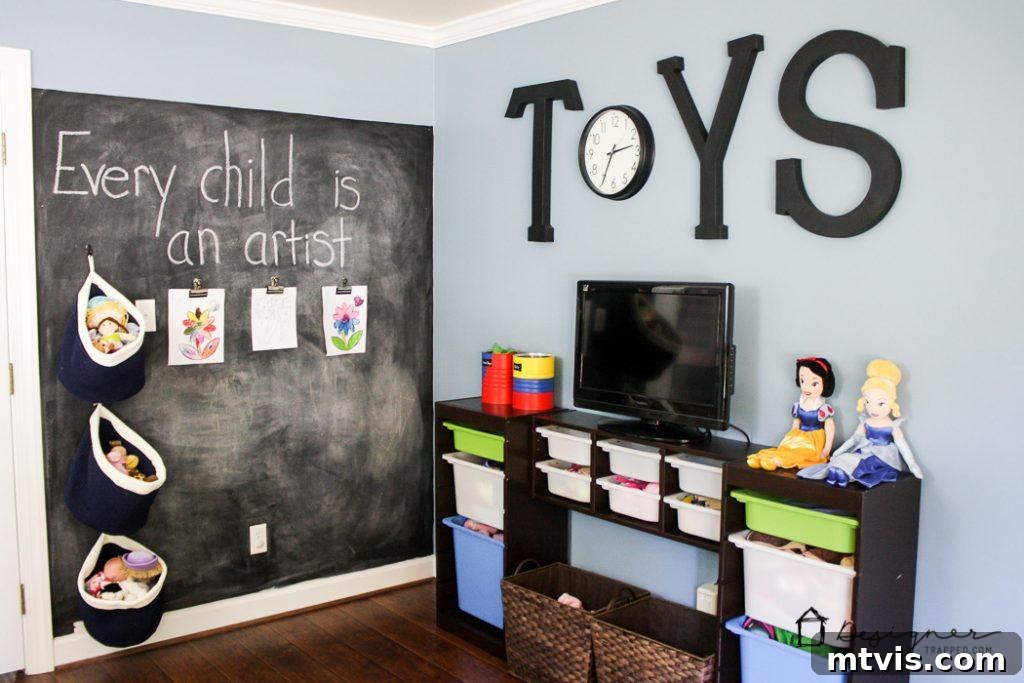
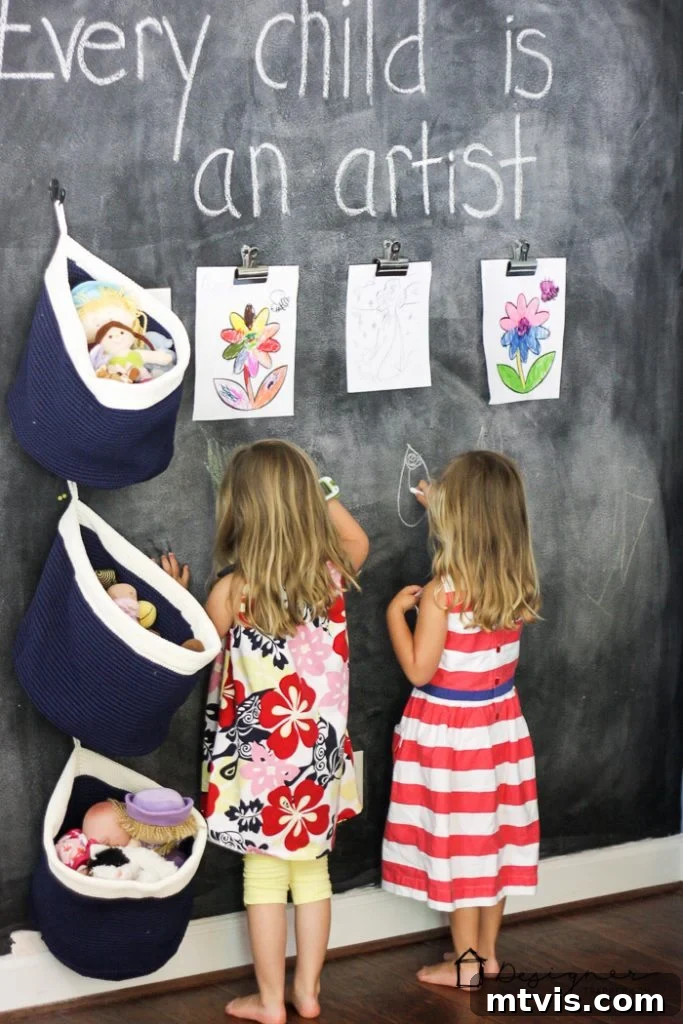
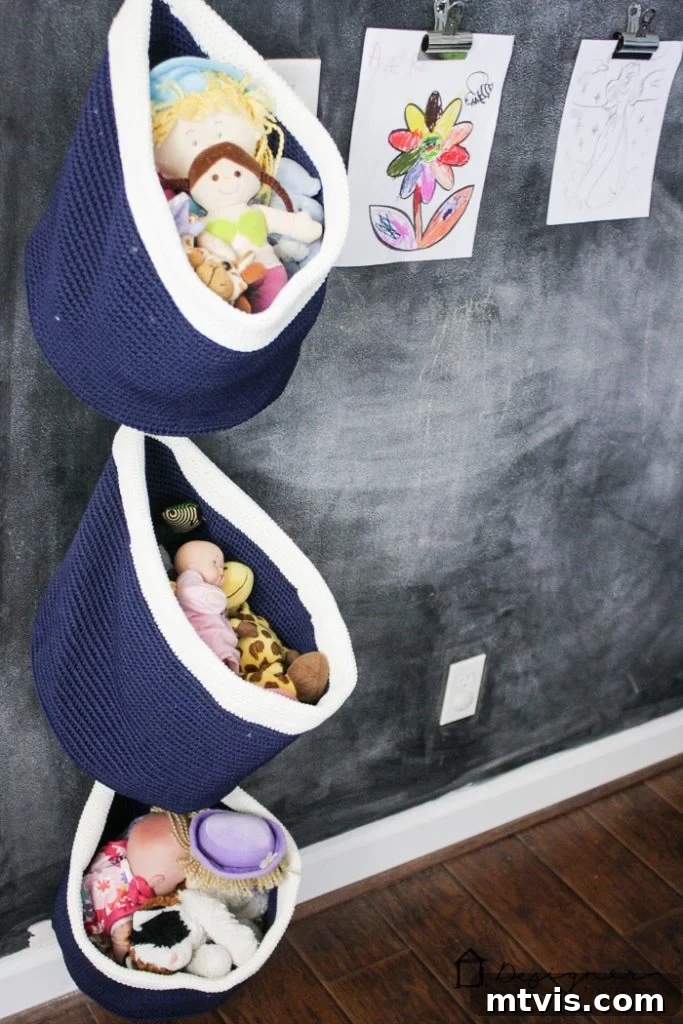
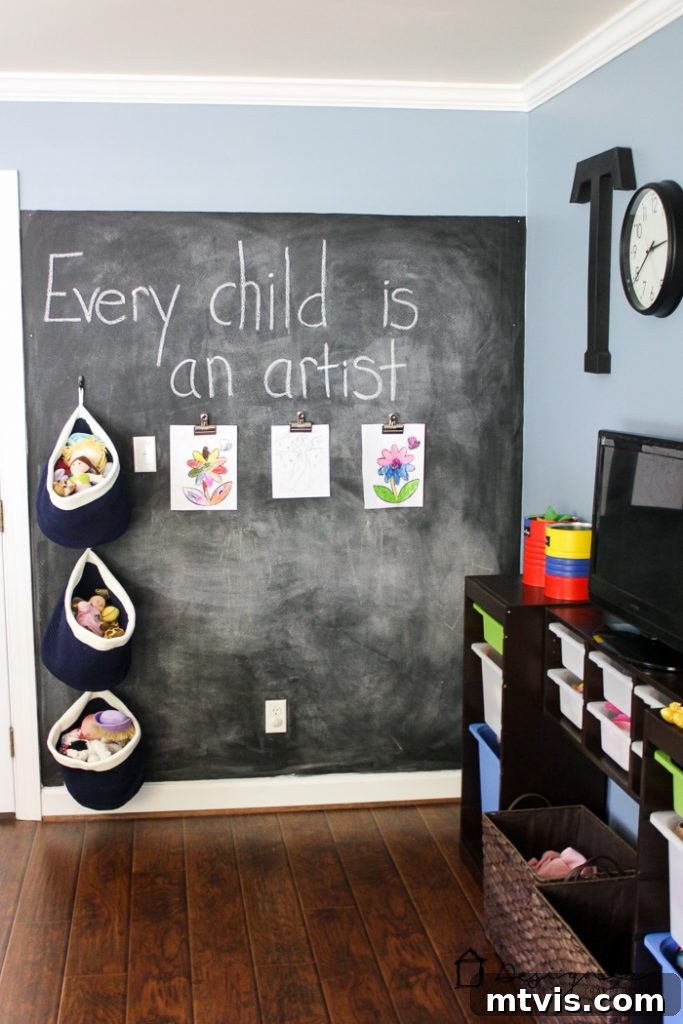
One of the most exciting elements we introduced during this phase was a dedicated creative space. To the right of the French doors, I meticulously prepared a wall with magnetic primer and then topped it with a chalkboard paint finish. The vision was to create a dynamic art zone where our twin girls could draw, write, and display their magnetic letters and art. While the chalkboard topcoat was a huge hit with the girls, I must share a candid disclaimer: if I were to do this again, I would skip the magnetic primer. In practice, it proved to be quite messy to apply and barely holds a magnetic letter with any real strength. It simply wasn’t worth the extra time, effort, or cost, despite its promising theoretical appeal. However, the chalkboard wall itself is a beloved feature, providing endless opportunities for spontaneous artistic expression and fun.
Phase 2 of our playroom makeover addressed the foundation of the room: the flooring. The old, worn-out carpet was not only unsightly but also highly impractical for a bustling children’s play area. It harbored allergens and was a nightmare to keep clean. Tearing out that nasty carpet was incredibly satisfying, paving the way for one of my favorite elements in the room: the most gorgeous hand-scraped laminate floors I have ever seen. You might be surprised to hear “laminate,” but this modern flooring offers incredible durability, ease of cleaning, and a stunning aesthetic that rivals real wood. Its rich texture and warm tones instantly elevated the room, making it both beautiful and incredibly functional for spills, play, and everyday life with kids. If you’re considering durable and stylish flooring options for your home, especially for high-traffic areas, you can read all about the laminate floors we chose and WHY we chose laminate floors for our home here.
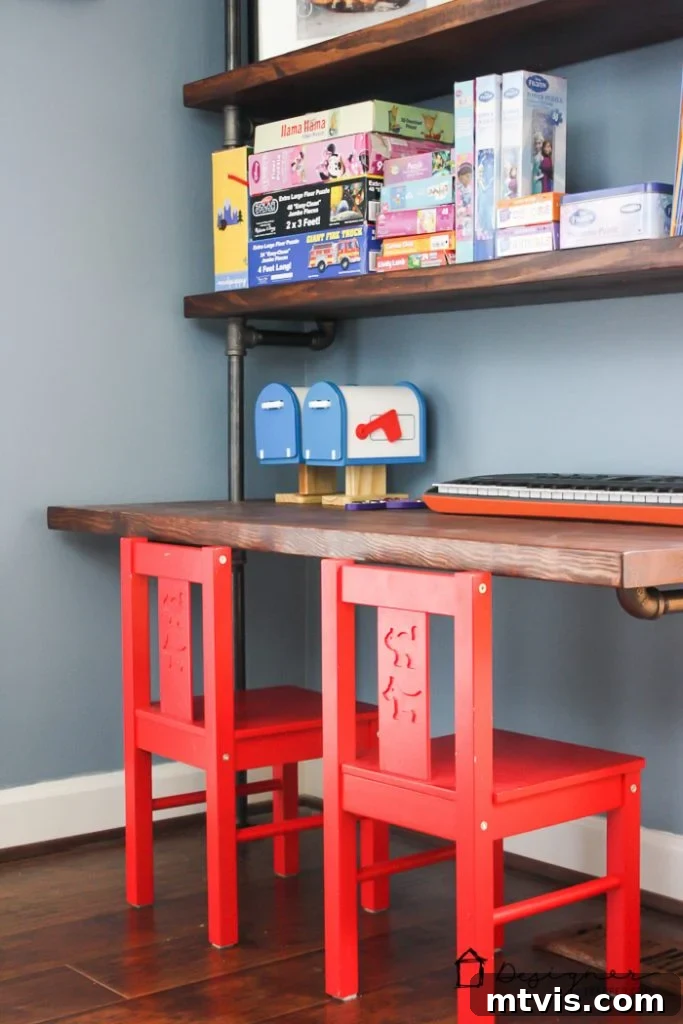
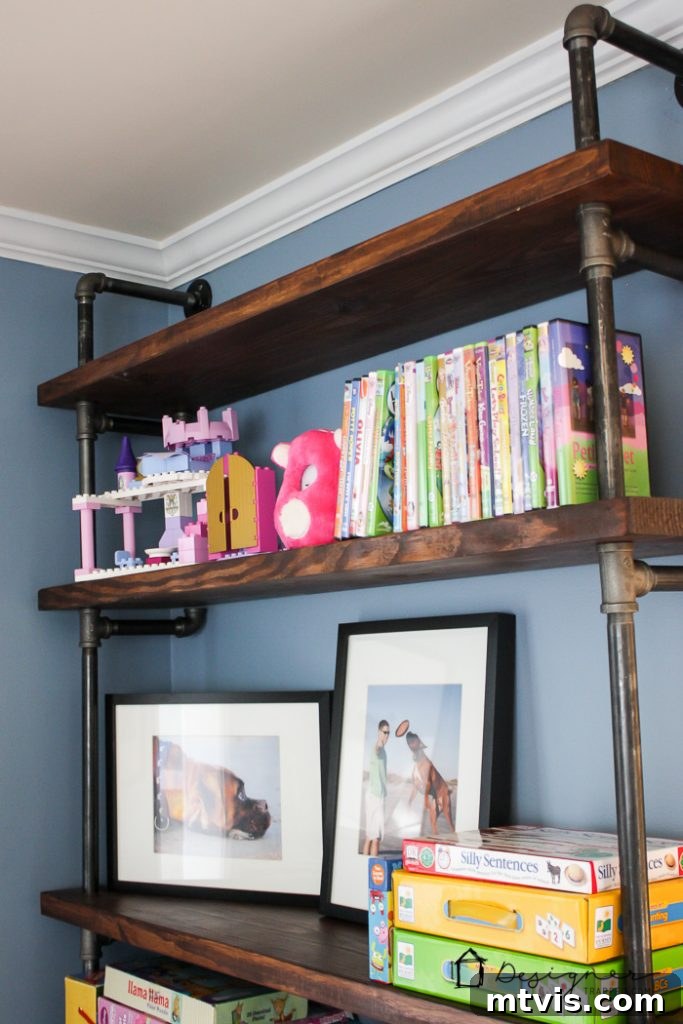
The third phase brought in custom-built functionality and comfort. We embarked on a fantastic DIY project, constructing bespoke pipe bookshelves and built-in desks. This ingenious design not only provided abundant storage for books and toys but also created dedicated workstations for creative projects and homework as the girls grow. The industrial-chic aesthetic of the pipe shelving adds a cool, modern edge to the room while keeping everything within easy reach and beautifully organized. This project was a game-changer for maximizing the room’s potential and encouraging independent play and learning. You can read all about these DIY pipe shelves and desks here.
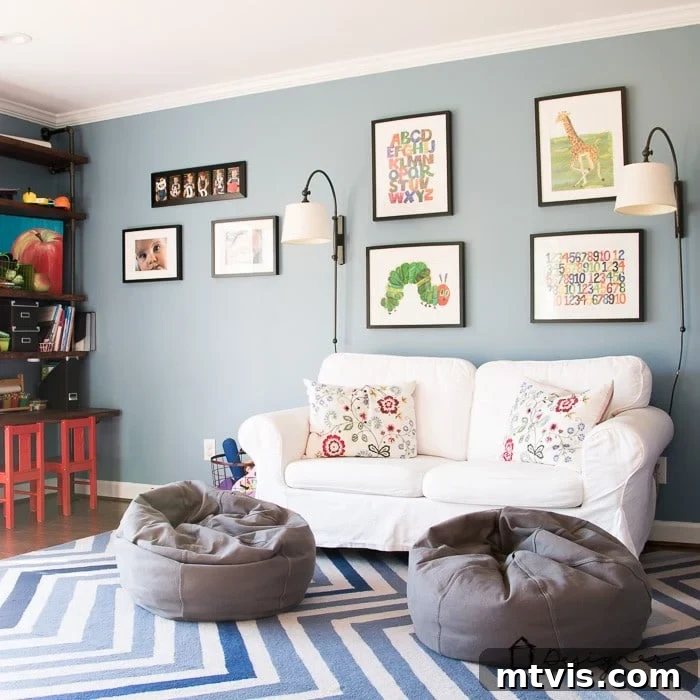
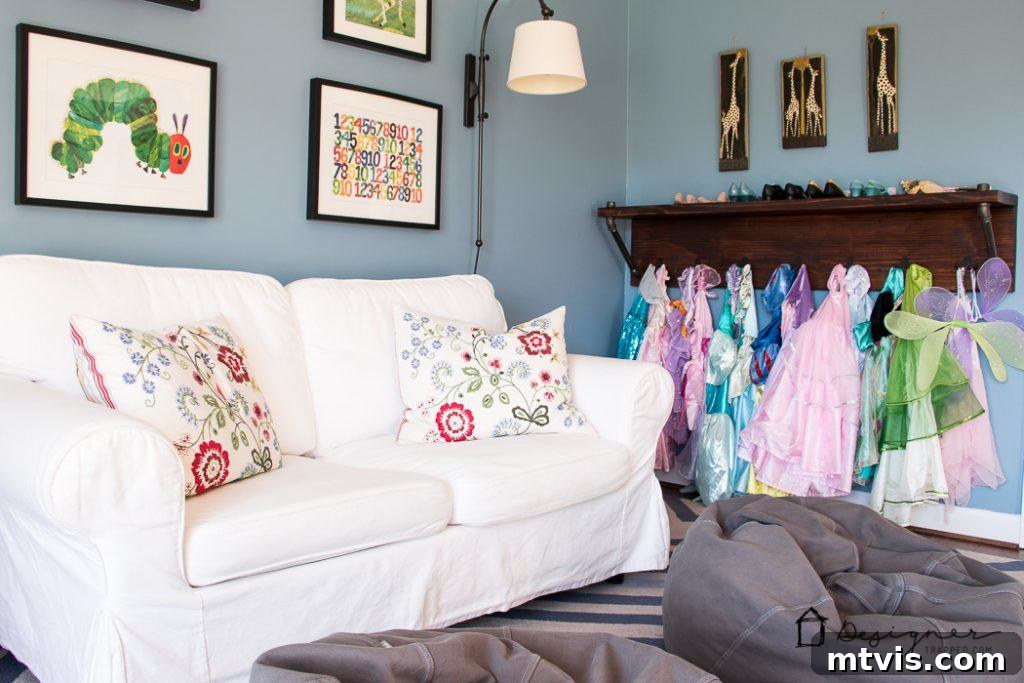
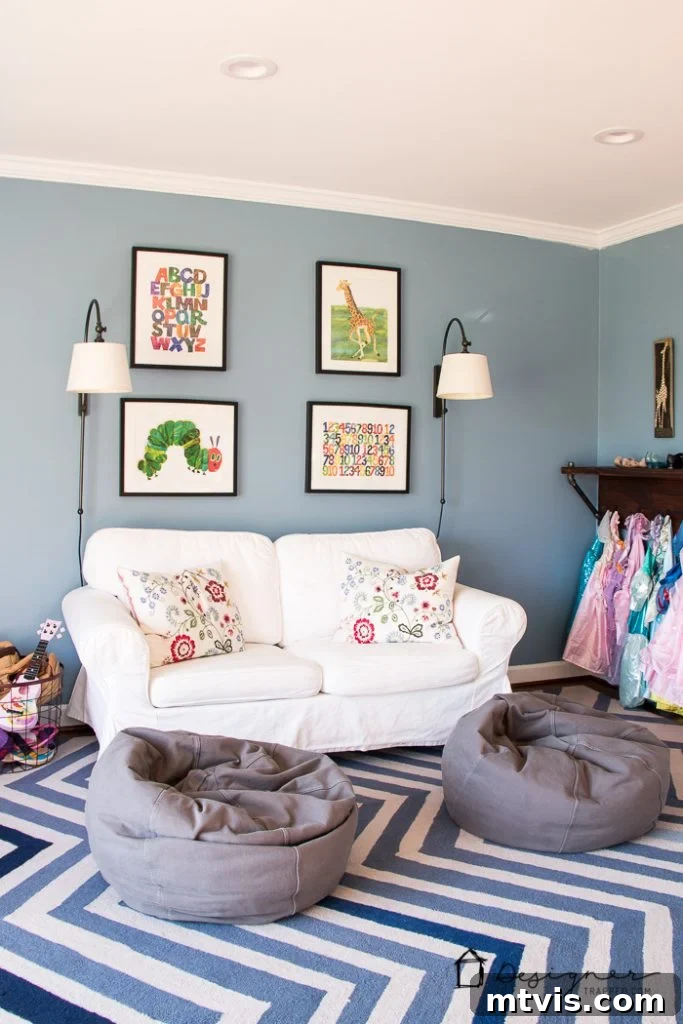
To infuse the space with comfort and a sense of coziness, we repurposed existing pieces from other areas of our home. We moved the soft, inviting rug from our family room into the playroom, instantly defining the play area and adding warmth underfoot. The beloved loveseat, which had served us well in the girls’ nursery when they were babies, found a new life here, providing a comfortable spot for reading, snuggling, or quiet play. Finally, addressing a crucial functional need, we added can lights to the room. The existing lighting was woefully inadequate for a space designed for active play and learning, so the addition of bright, recessed lighting made a tremendous difference, illuminating every corner and enhancing both safety and ambiance. (Keep an eye out for the tutorial on how we installed these lights, coming soon to Remodelaholic!)
Enough with the chatter! I know what you’re really here for – the photos! Prepare to be inspired by the transformation and gather tons of practical playroom decor and storage ideas. Here they are!
Kids’ Playroom Source List & Design Details
Creating a functional and beautiful kids’ playroom requires careful selection of colors, DIY solutions, and smart furniture choices. Here’s a detailed breakdown of everything we used to bring this vision to life:
Paint Colors:
- Blue Wall Color: We chose “Nostalgia” by Valspar, a captivating blue that infuses the room with a serene yet playful energy, perfect for fostering creativity.
- Chalkboard Paint: For the interactive wall, I used Rustoleum’s Chalkboard Paint. It provides a durable, smooth surface for endless drawing fun (remember my note about the magnetic primer above!).
DIY Projects for Playroom Functionality:
Embracing the DIY spirit allowed us to customize storage and workspaces perfectly tailored to our children’s needs.
- DIY Pipe Shelves and Desks: These built-in units are the backbone of our playroom’s organization and creativity zones. The industrial pipe design adds character, while the expansive shelves and desk surfaces provide essential space for learning and play.
- How to Update Ikea Trofast Cabinets with Gel Stain: To elevate the look of standard Ikea Trofast storage systems, we applied a gel stain. This simple technique transformed basic storage into stylish furniture pieces that seamlessly integrate with our playroom’s aesthetic while keeping toys neatly tucked away.
- DIY Hanging Toy Storage: Utilizing vertical space is key in a playroom. Our custom hanging toy storage helps keep clutter off the floor and makes it easy for kids to access their favorite playthings.
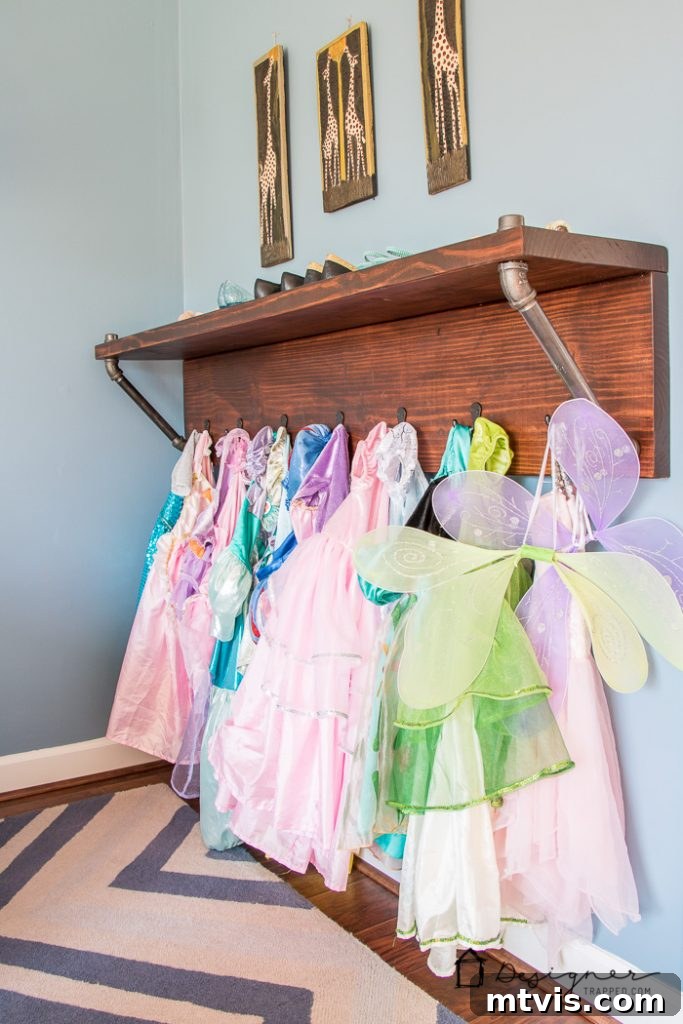
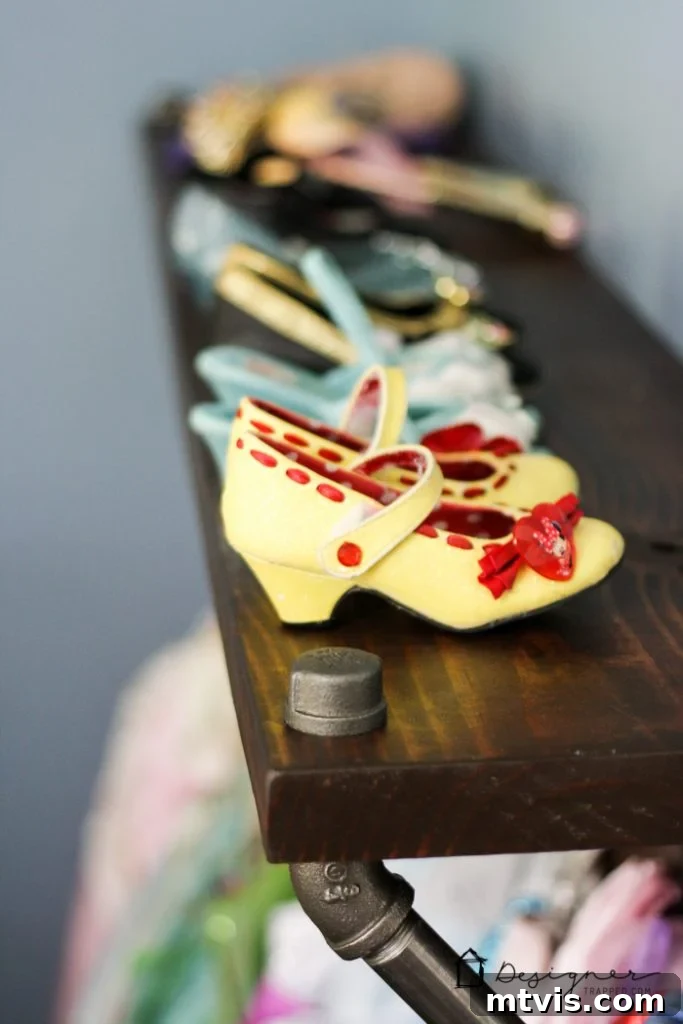
- DIY Pipe Shelf for Dress-Up Clothes: A dedicated area for dress-up costumes encourages imaginative role-play. This simple pipe shelf keeps outfits organized and accessible (tutorial coming soon!).
Furniture & Accessories for Comfort and Style:
Each piece was chosen for its durability, comfort, and ability to grow with our children, ensuring longevity and versatility.
- White Loveseat: Our cozy loveseat, originally from Ikea, creates a inviting reading nook. If you’re not near an Ikea, here is a similar one that offers the same comfort and style.
- Red Kids’ Chairs: We sourced our bright red chairs from Ikea, adding a pop of color and practical seating for our little ones. For those without local access, here are similar chairs that I actually prefer for their prettier red hue and sturdy design.
- Hanging Navy and Ivory Baskets: These versatile baskets are perfect for corralling smaller toys, craft supplies, or even soft blankets, adding a touch of texture and color to the room.
- Ikea Trofast Storage System: A staple for any organized playroom, the Trofast system offers flexible storage with bins. While more affordable at Ikea directly, you can order them through Amazon here for convenience.
- Paper Mache Letters and Clock that spell “TOYS”: We personalized these classic paper mache letters by painting them black, creating a fun and thematic wall decoration that clearly designates the play zone. The integrated clock helps teach time in a playful way.
- Chevron Rug: This stylish chevron-patterned rug anchors the main play area, providing a soft surface for floor play and defining the zone. As of this post’s writing, there is a GREAT deal on this rug on Amazon – don’t miss it here!
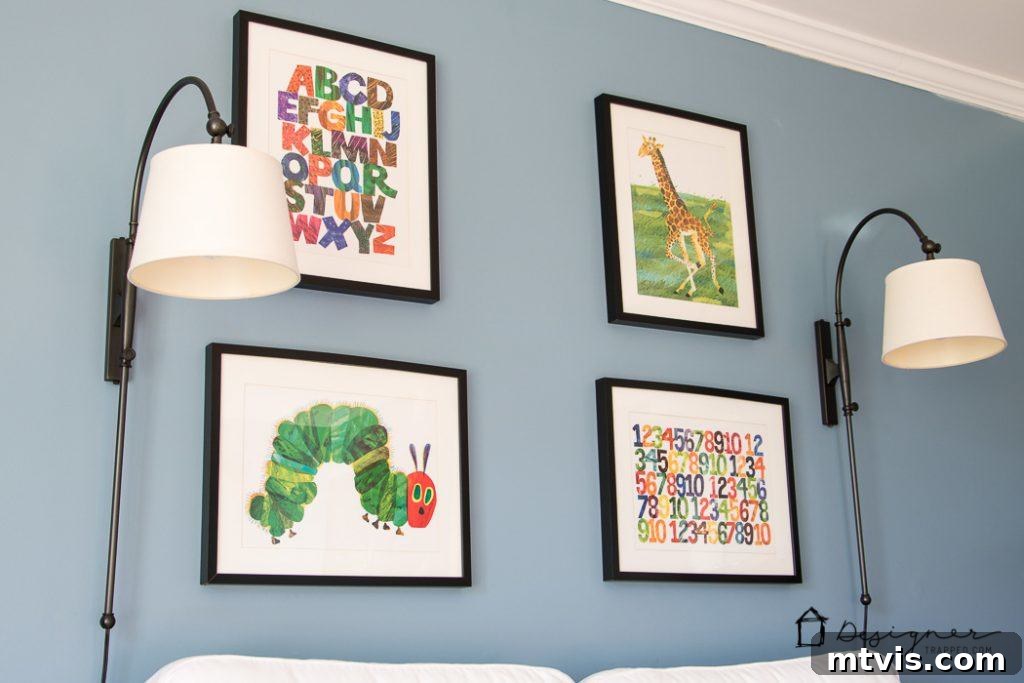
- Eric Carle Prints Hanging Above Loveseat: Adorning the wall above the loveseat, these iconic Eric Carle prints add a touch of classic children’s literature and vibrant artistry to the reading nook.
- Gray Bean Bag Chairs: These versatile and comfortable bean bag chairs offer flexible seating options, perfect for lounging, reading, or creating an impromptu fort.
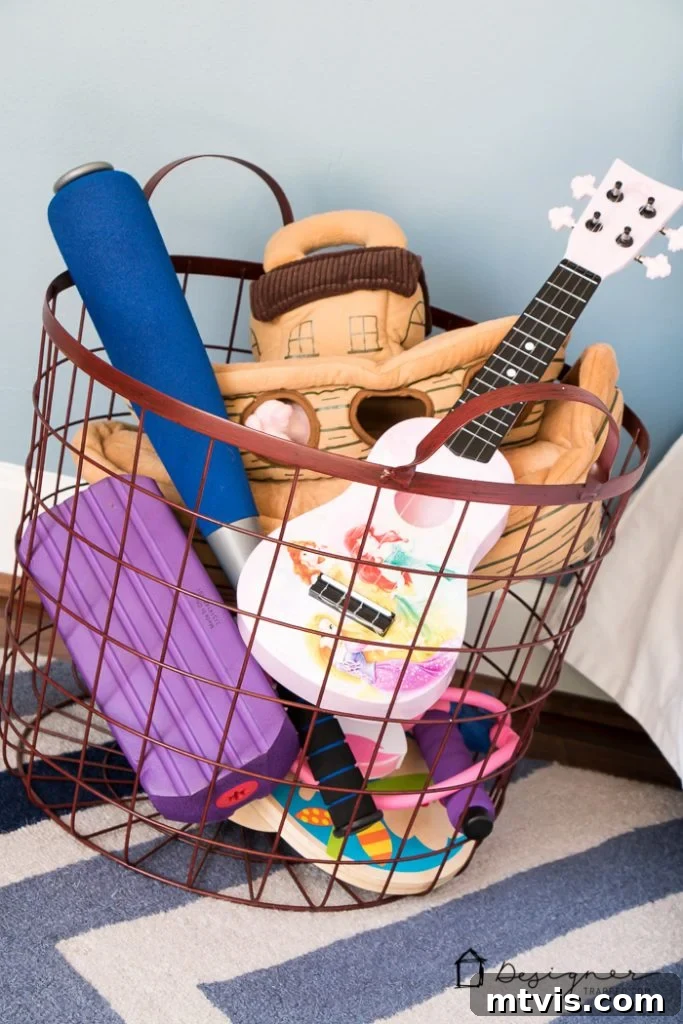
- Red Metal Storage Basket: I found our charming red metal basket at Hobby Lobby, which is ideal for storing larger toys or even dress-up accessories. If you can’t find the exact one, these similar options are equally cute and functional.