Transform Your Home with a Stunning DIY Wood Slat Accent Wall: A Complete Guide
Elevate Your Space: Easy & Affordable DIY Wood Slat Wall Treatment Tutorial
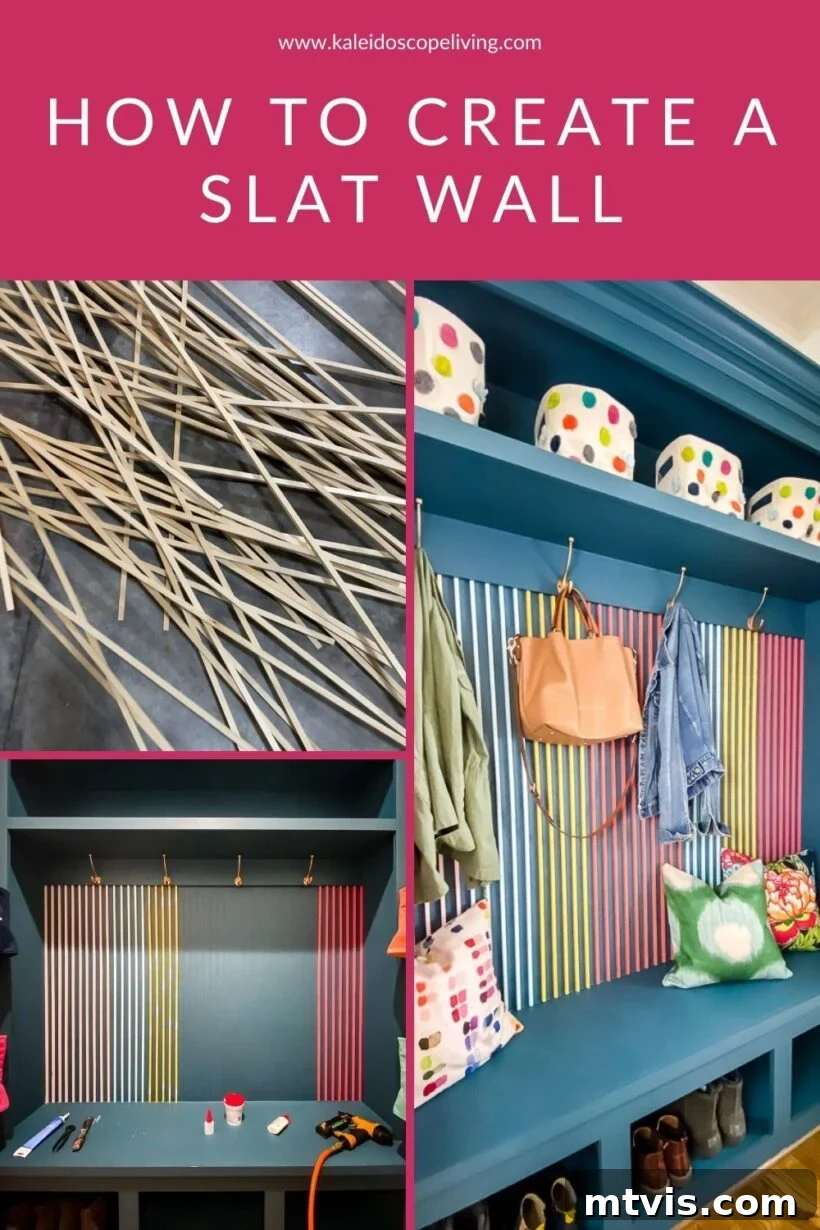
Are you searching for an innovative yet simple way to inject personality and modern charm into your living space? A DIY wood slat wall could be the perfect solution! This increasingly popular design trend offers incredible visual impact, adding texture, depth, and a contemporary flair to any room. Whether you’re aiming for a bold statement or a subtle enhancement, an accent wall crafted from wood slats is surprisingly easy and affordable to create. Dive into our comprehensive guide to achieving this stunning look, complete with a detailed materials list, step-by-step instructions, and expert tips for a flawless finish.
If you’ve been following my home improvement journey, especially our recent colorful mudroom makeover over on Instagram, you’ve likely caught a glimpse of this captivating wood slat wall project. The overwhelming positive feedback and enthusiasm for this transformation were immense, prompting me to develop this in-depth tutorial just for you! This project truly stands out for its ease of execution and its budget-friendliness. More importantly, it demonstrates how a seemingly small addition can create a monumental impact, particularly in a compact yet high-traffic space like our mudroom.
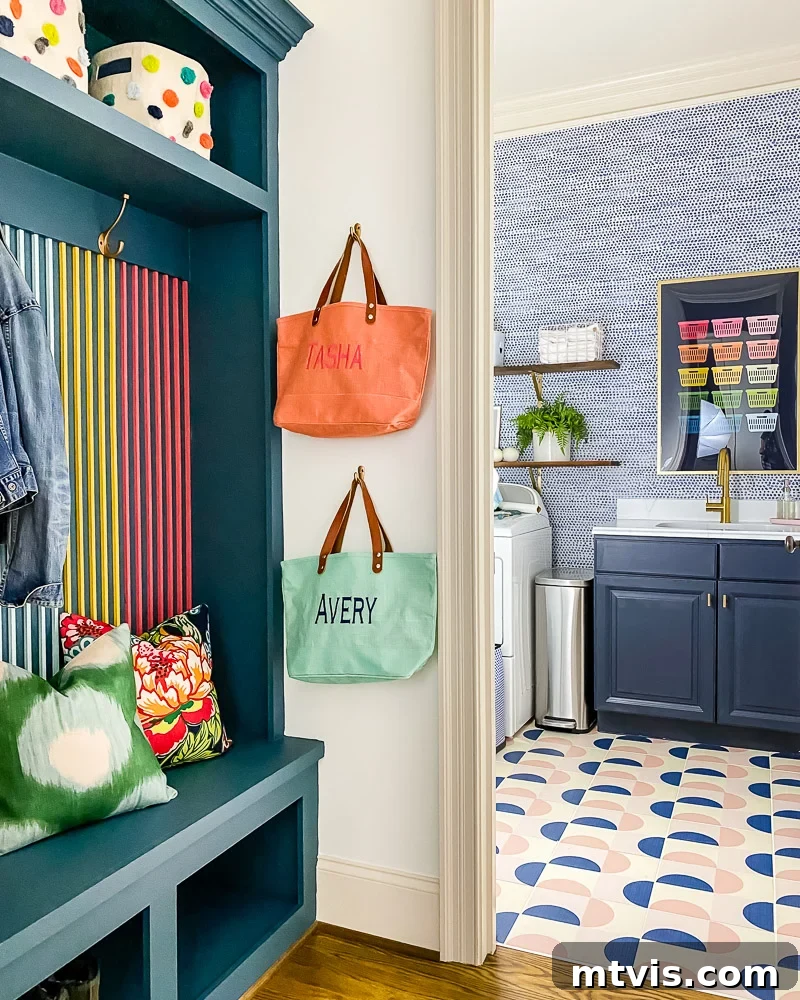
My motivation for revamping our mudroom was deeply rooted in the desire for design cohesion. Having recently completed our vibrant and highly functional laundry room renovation, the adjacent mudroom felt outdated and lifeless in comparison. The stark contrast between a beautifully updated laundry space and a drab mudroom was jarring and unsatisfying. I knew the mudroom needed an injection of life and style to complement its newly refreshed neighbor, creating a seamless and inviting transition. This project not only brought much-needed visual appeal but also significantly enhanced the overall flow and aesthetic harmony between these two crucial areas of our home. You’ll see exactly how these spaces connect and benefit from this transformation in the stunning “before and after” photos towards the end of this post, truly highlighting the power of a well-executed DIY project.
A special thank you to DAP Products for their generous sponsorship of this post. Rest assured, all opinions expressed are genuinely my own and reflect my honest experience with their products. This post may also contain some affiliate links for your convenience. Click here to read my full disclosure policy.
Why Choose a Wood Slat Wall for Your Home?
Wood slat walls are more than just a fleeting trend; they represent a versatile and enduring design element that can dramatically enhance nearly any interior. Their clean, linear pattern introduces architectural interest and a sense of verticality, which can make ceilings appear higher and rooms feel more expansive and open. Beyond pure aesthetics, they offer a unique tactile texture that can either soften an otherwise stark space or infuse a modern, sophisticated edge, depending on your chosen finish and color palette. This DIY project is particularly appealing because it allows for immense customization. You have the freedom to select any wood type, the precise size of the dowel, your preferred spacing, and an endless array of paint colors or natural stains to perfectly match your existing decor or create an entirely new, captivating focal point. It’s an ideal project for those seeking a high-impact design upgrade without the high cost or complexity often associated with major home renovations, making it accessible for DIY enthusiasts of all skill levels.
DIY Wood Slat Wall Tutorial: Installing Square Wood Dowels with Ease
While the visual transformation a wood slat wall provides is undeniably impressive, the process itself is surprisingly straightforward and achievable for most DIYers. Below, you’ll find a detailed written tutorial designed to guide you through each step of creating your own stunning wood slat accent wall. From preparation to final touches, we’ll ensure you have all the information needed to confidently embark on this project. Get ready to transform your space with remarkable results!
Materials and Tools You’ll Need:
- Square Wood Dowels: We opted for 3/8″ square wood dowels, which provide a delicate yet defined linear look. For our specific mudroom area, we utilized 47 pieces of the 4-foot lengths (you can find similar lengths here). Always calculate a few extra pieces (10-15% overage) to account for any potential miscuts, learning curve, or imperfections in the wood.
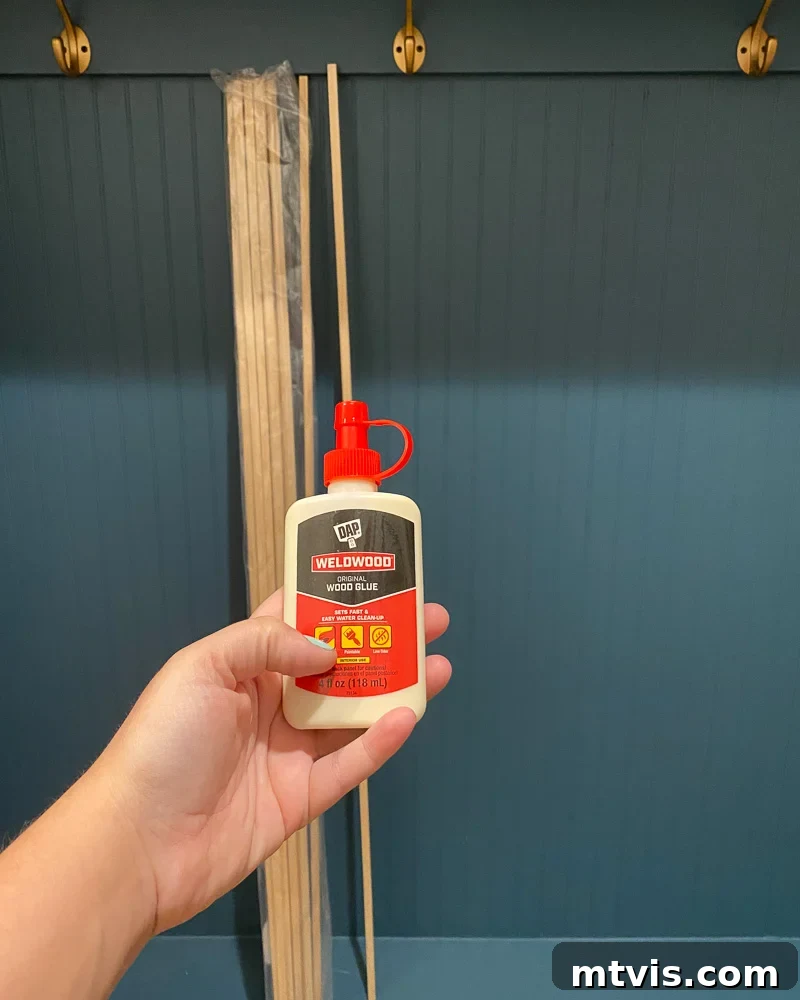
- High-Quality Wood Glue: DAP Weldwood Original Wood Glue is essential for a strong, lasting bond, providing superior adhesion between the dowels and the wall surface. This ensures your slats remain securely in place over time.
- Cutting Tool: A compound miter saw is ideal for making quick, precise, and repeatable cuts, especially when dealing with many pieces. If you don’t own one, don’t worry! Many local hardware stores offer cutting services for lumber purchased from them. Alternatively, you can achieve accurate straight cuts using a more traditional approach with a reliable hand saw and miter box.
- Nail Gun: A finishing nailer significantly speeds up the installation process and creates minimal, easily concealed holes. We used 16 gauge 1 1/2″ finishing nails, which provide secure temporary holding power while the wood glue cures. For those without a nail gun, small finishing nails and a hammer will also work effectively, though they require a bit more manual effort and care to avoid damaging the dowels.
- Paint: This is where you infuse your unique style! Choose your favorite colors to bring your design vision to life. For our vibrant mudroom, we used a lively combination of Bee, Swimming, Oleander, and Quite Coral by Sherwin-Williams, complemented by Coral Crush in this specific brand for the dowels. For context, the built-in elements of the mudroom were painted with this paint in Seaside, creating a cohesive and appealing color scheme.
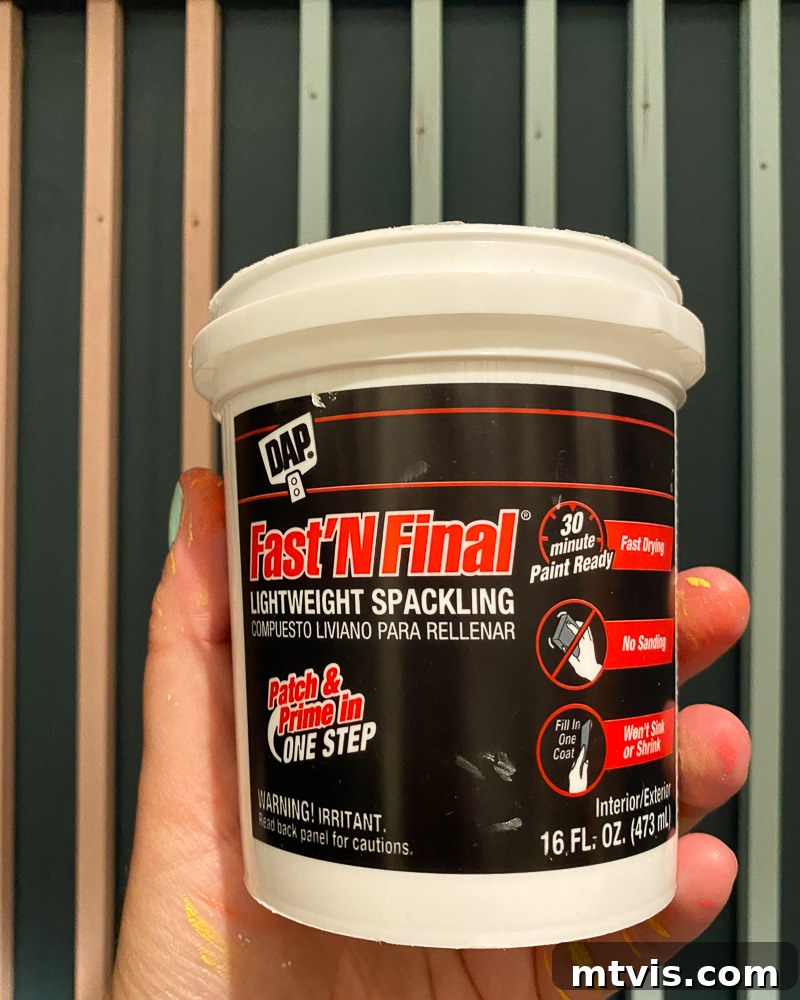
- Spackling Compound: DAP Fast N’ Final Lightweight Spackling is a fantastic choice for seamlessly filling any nail holes. It’s highly favored for its quick-drying properties and its ability to be patched and primed in a single step, saving you valuable time and effort in the finishing phase.
- Sandpaper: Essential for smoothing any rough edges or splinters after cutting the dowels and for ensuring a perfectly seamless finish after spackling. Have a few different grits (e.g., 120-grit for initial smoothing, 220-grit for final touch-ups) on hand.
Step-by-Step Installation Guide:
Creating your wood slat wall is a rewarding process that can be broken down into a few manageable steps. Patience and meticulous attention to detail at each stage will ensure a professional-looking and durable finish that you’ll be proud to showcase.
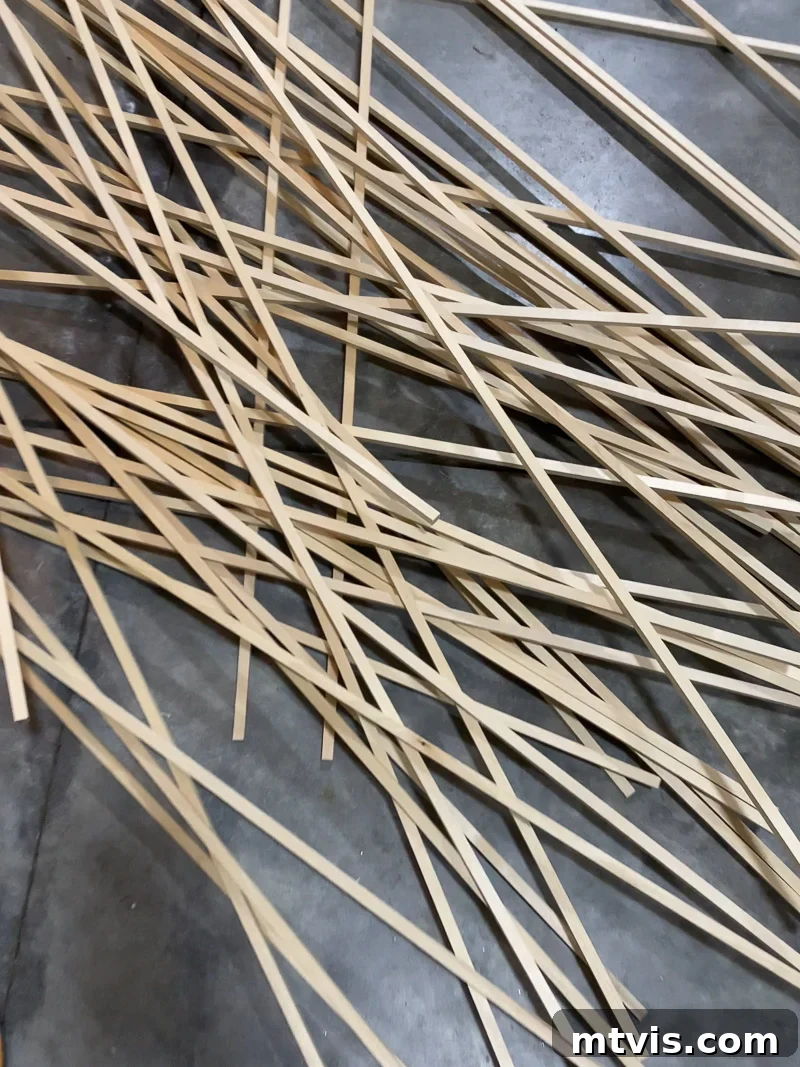
1) Cut Your Dowels to Length with Precision: Begin by accurately measuring the height of your wall where the slats will be installed. Measure in several spots to account for any slight variations in ceiling or floor height, and use the shortest measurement to ensure all dowels fit perfectly. Once you’ve determined the correct length, set up a simple jig on your miter saw. A jig is a fantastic time-saver; it’s essentially a stop block that allows you to cut multiple dowels to the exact same length without having to measure each piece individually, making the cutting process remarkably fast, consistent, and efficient. Safety is paramount when operating power tools, so always wear appropriate eye protection and hearing protection, and follow your saw’s operating instructions carefully. After cutting all your pieces, gently sand any rough edges or splinters that may have resulted from the cuts. This small but crucial step significantly contributes to the overall polished and smooth look of your accent wall, making the dowels pleasant to touch and visually appealing.
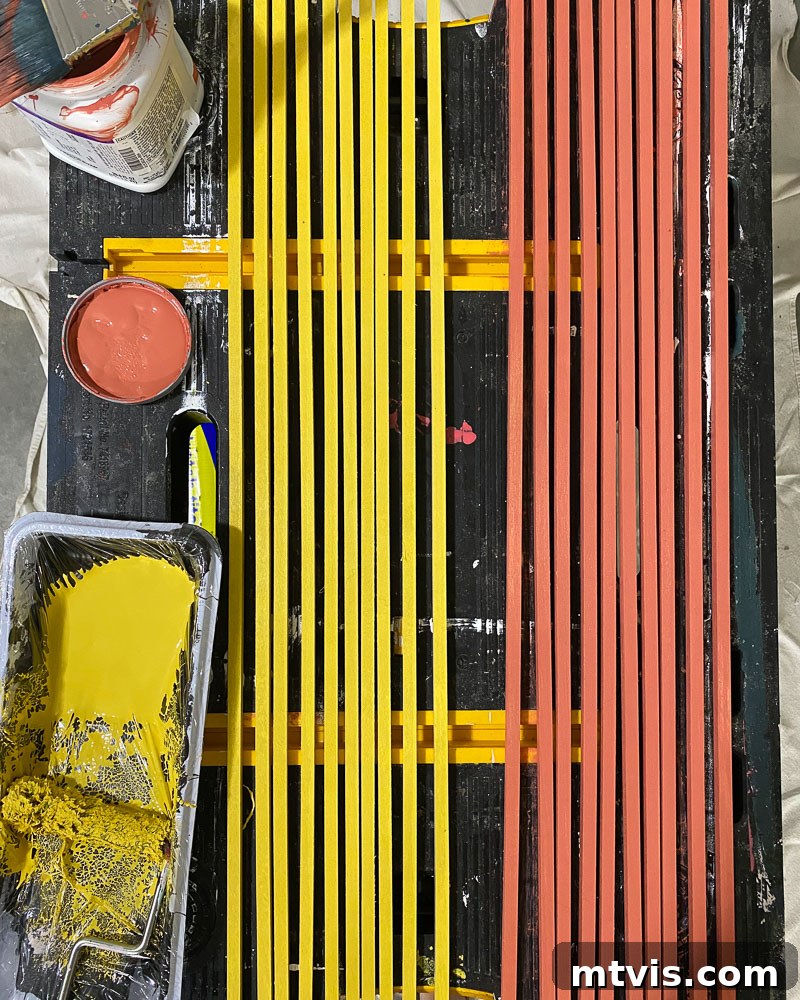
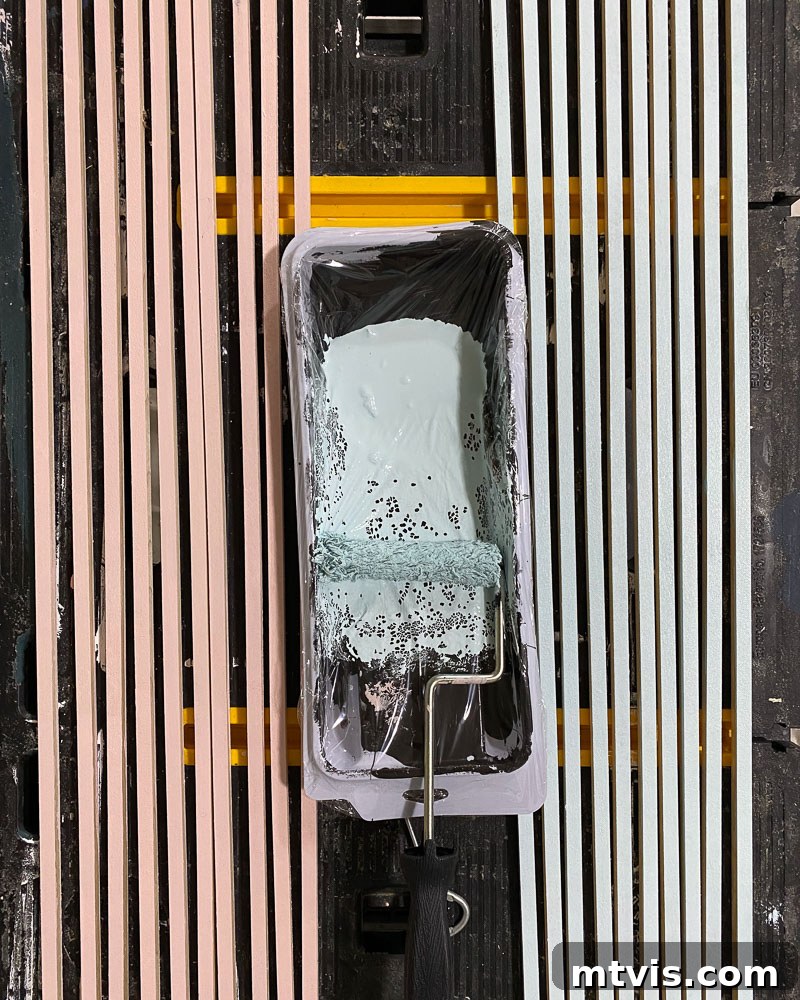
2) Prepare Your Dowels with a Pop of Color: This is where your design vision truly comes to life! Carefully paint three visible sides of each wood dowel in your chosen color palette. We used an inspiring combination of Bee, Swimming, Oleander, and Quite Coral by Sherwin-Williams, alongside Coral Crush from this brand to create our vibrant, multi-colored slat wall. The strategy of painting only three sides is efficient; the fourth, unpainted side will be pressed against the wall, unseen, optimizing paint usage and significantly reducing drying time. For an even and streak-free finish, apply thin coats of paint and allow adequate drying time between each coat. If you’re curious about the broader color scheme, the entire mudroom built-in was painted with this paint in Seaside, providing a harmonious and calming backdrop for the energetic, colorful dowels. Ensuring complete dryness before installation is key to preventing smudges and ensuring a durable and vibrant finish.
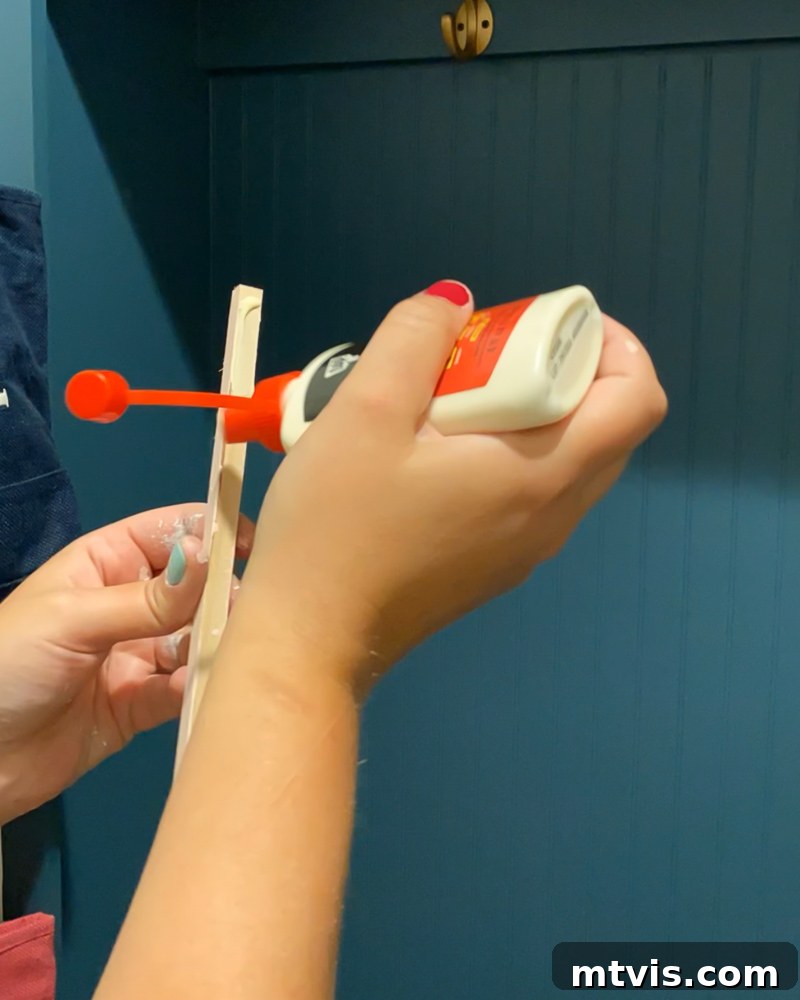
3) Securely Attach Dowels to Your Wall: Once your painted dowels are completely dry and cured, it’s time for the exciting installation phase. Apply a thin, consistent bead of DAP Weldwood Original Wood Glue along the entire length of the unpainted side of each dowel. This glue provides a powerful, long-lasting bond that will keep your slats firmly in place. Immediately after applying glue, carefully position the dowel on your wall, aligning it precisely. To hold it firmly in place while the glue sets and fully cures, use a finishing nailer to insert a small finishing nail at the top, middle, and bottom of each dowel. For dowels that may not be perfectly straight (a common occurrence with wood), adding a few extra nails can help ensure they conform to a perfectly straight line on the wall. In our mudroom, we installed the dowels over existing beadboard, which conveniently provided natural spacing guides thanks to its inherent grooves. If you are installing this treatment on a flat wall, precise and consistent spacing is absolutely crucial for a polished look. Decide on your desired spacing width, then cut a small piece of scrap wood to that exact dimension. Use this scrap piece as a spacer between each dowel as you install them, ensuring perfectly even gaps and a professional, uniform appearance across your entire accent wall.
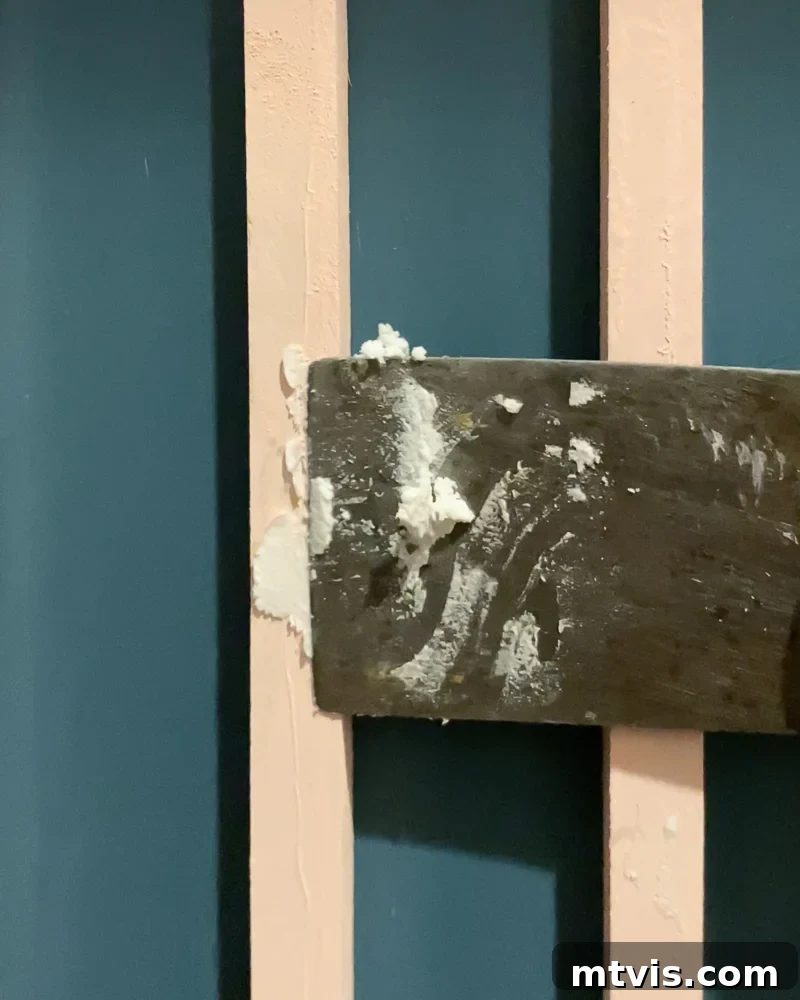
4) Finish and Refine for a Seamless Look: Continue the process of gluing and nailing each dowel until your entire wood slat wall is complete. Take your time, ensuring each piece is level and spaced correctly. Once all dowels are securely in place and the glue has had ample time to set, it’s time for the final touches that elevate your DIY project to a truly professional finish. Use DAP Fast N’ Final Lightweight Spackling to fill all visible nail holes. This particular spackling compound is a favorite for its ease of use; it dries quickly and conveniently allows for patching and priming in a single step, saving you valuable time and effort. Its lightweight formula makes it easy to apply and sand. If you’re looking for more detailed tips on achieving perfectly smooth walls and concealing imperfections, you might find my comprehensive spackling guide particularly helpful. After applying the spackling, allow it to dry completely as per product instructions. Then, lightly sand the patched areas until they are perfectly smooth and flush with the dowel surface, ensuring no bumps or ridges remain. Finally, touch up any painted areas that may have been affected during the spackling and sanding process. This meticulous attention to detail will ensure a flawless and polished finish for your beautiful new accent wall, making it look custom-built.
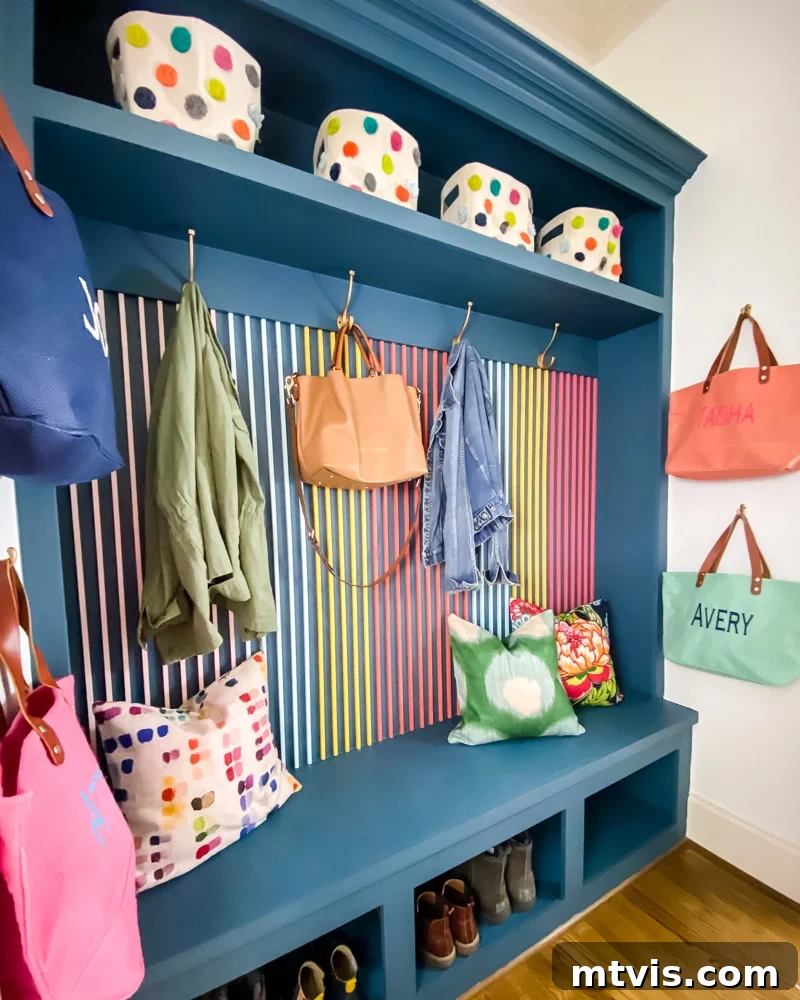
And just like that, your stunning DIY wood slat wall is complete! It’s truly amazing how such an accessible and affordable DIY project can create such an immense visual impact in any space. The transformation is often jaw-dropping, making a mundane wall into a dynamic focal point. Take a moment to appreciate the dramatic before and after of our mudroom. The subtle yet powerful change in wall treatment has redefined the entire room, injecting vibrancy, character, and a modern aesthetic where there was once only a blank and uninspired canvas. This project proves that you don’t need a massive budget or complex skills to achieve high-end design results in your home.
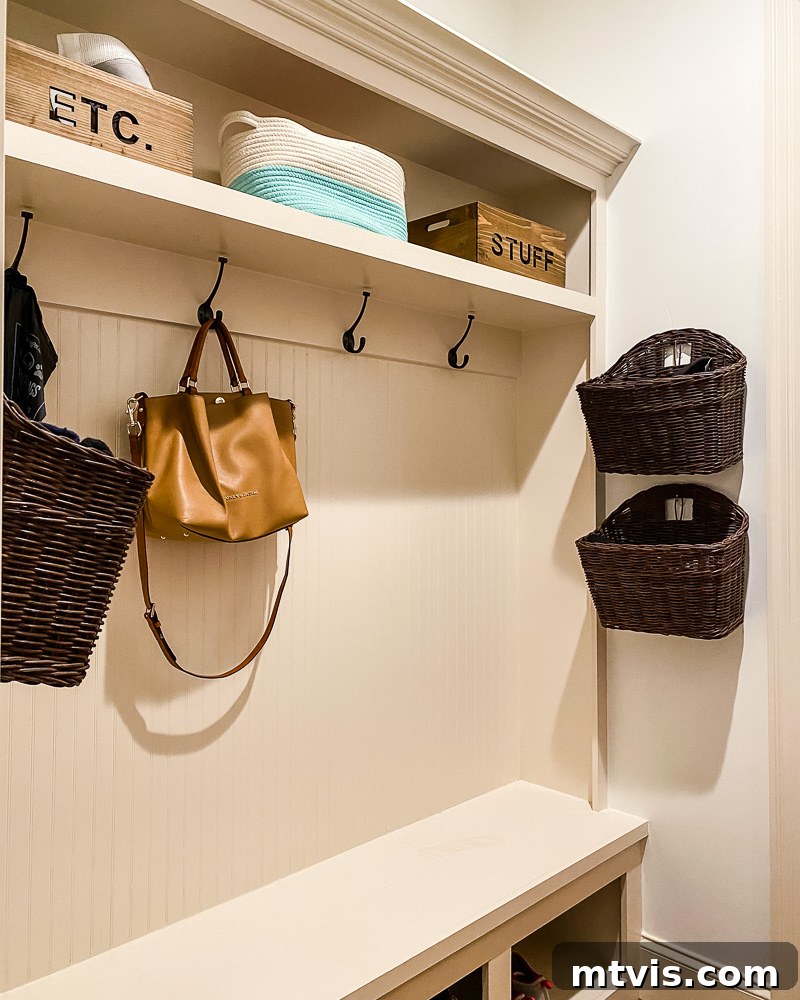
The Ultimate Mudroom Makeover: Functionality Meets Flair
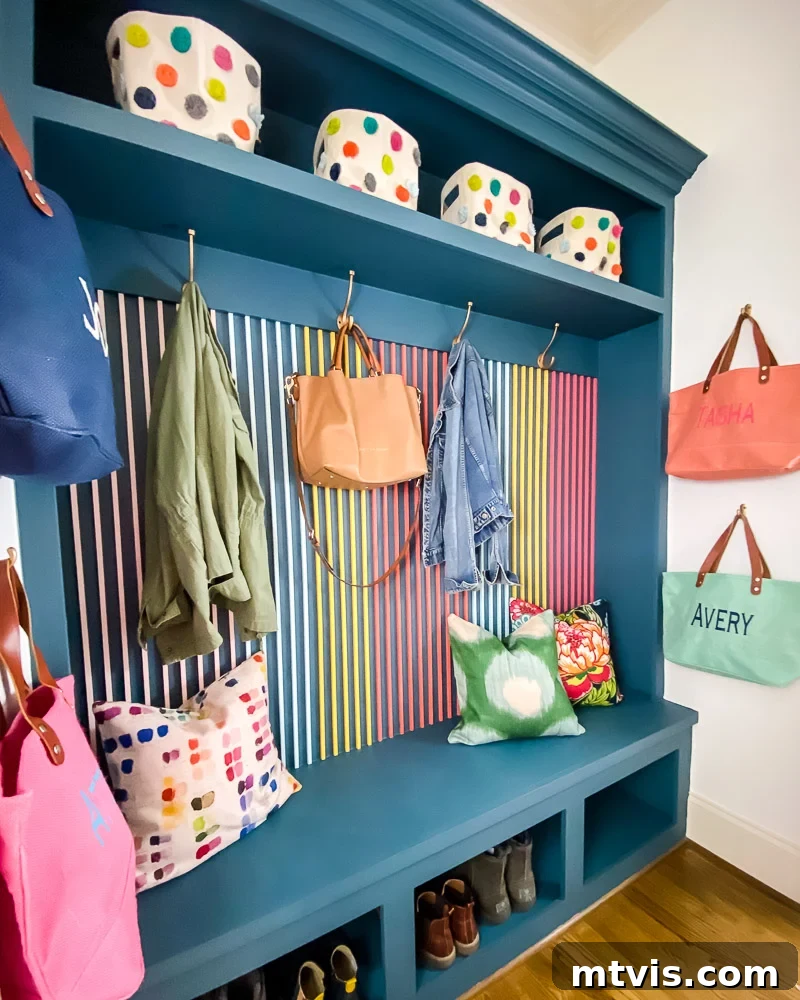
Our newly revitalized mudroom is now far more than just a pass-through space; it has transformed into a perfectly organized and visually engaging hub for our busy family’s daily comings and goings. The colorful wood slat wall provides an absolutely stunning backdrop, instantly elevating a utilitarian area into a genuine design statement that reflects our personality. But beyond its undeniable aesthetic appeal, this mudroom makeover was strategically designed around maximizing functional storage in an incredibly stylish way. We’ve thoughtfully incorporated a variety of storage solutions to keep everything tidy, easily accessible, and free from clutter.
The top shelf is home to a curated collection of vibrant storage bins, each carefully selected to complement our lively color scheme. These bins are not just decorative; they are perfect for discreetly stashing items we don’t access daily, such as refills for dog waste bags or seasonal essentials like hand and toe warmers. Below, the sturdy hooks on our custom mudroom bench are primarily utilized by my husband and me for hanging our coats, jackets, and my purse, keeping them off the floor and within effortless reach. To further personalize and streamline organization for everyone, each family member now has their own monogrammed canvas bag. These individual bags are brilliant for storing smaller, frequently needed items like hats, gloves, and face masks, ensuring everyone’s personal essentials are neatly contained and grab-and-go ready for any outing.
Recognizing that the hooks on the main mudroom bench were a tad too high for our young daughters to comfortably use, we thoughtfully extended our storage solutions to the opposite wall. Here, we designed and installed additional, lower-level hooks specifically tailored for their coats and backpacks. This thoughtful placement not only encourages tidiness but also empowers them to manage their own belongings independently, fostering a sense of responsibility and keeping the main entryway clear. This section of the wall also became a vibrant canvas for personal expression, adorned with a joyful display of their artwork from when they were younger. We embraced color with total abandon in this area, creating a playful and deeply personal gallery that celebrates their creativity and adds another layer of warmth and charm to the entire space.
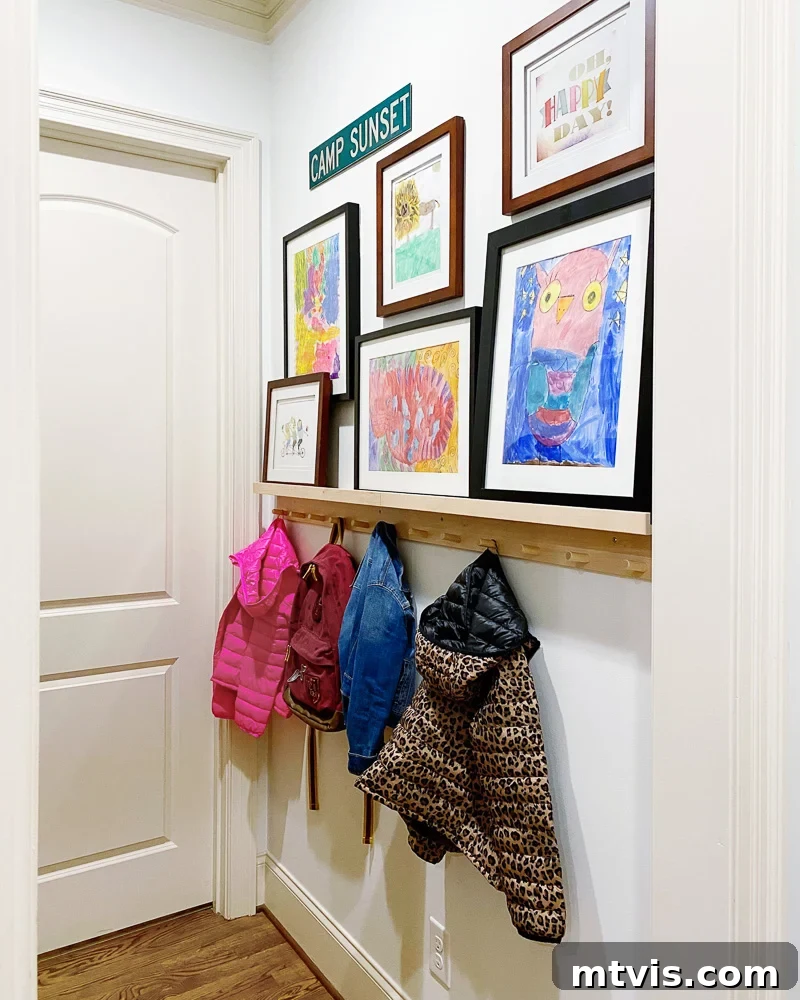
With these comprehensive updates, our mudroom now perfectly balances aesthetics with unparalleled functionality. We truly have all the storage solutions and vibrant color we could possibly need in this bustling area of our home, making daily routines smoother, more organized, and significantly more enjoyable for everyone. It’s a testament to how thoughtful design and a touch of DIY magic can transform a practical space into a true highlight of the home.
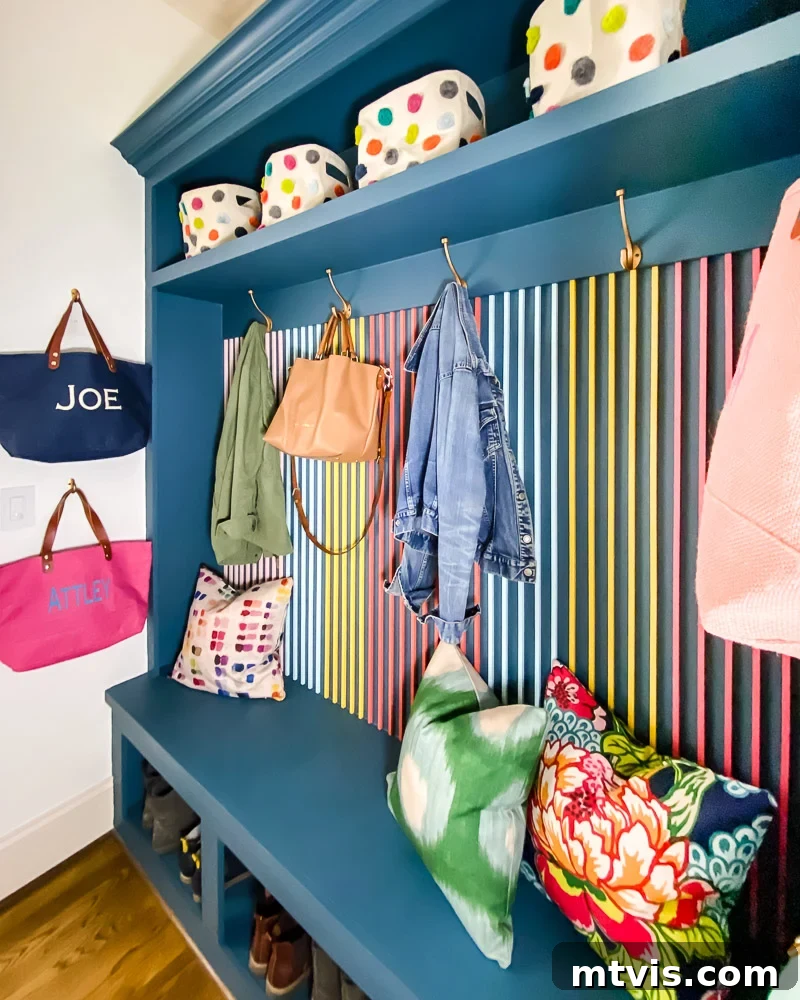
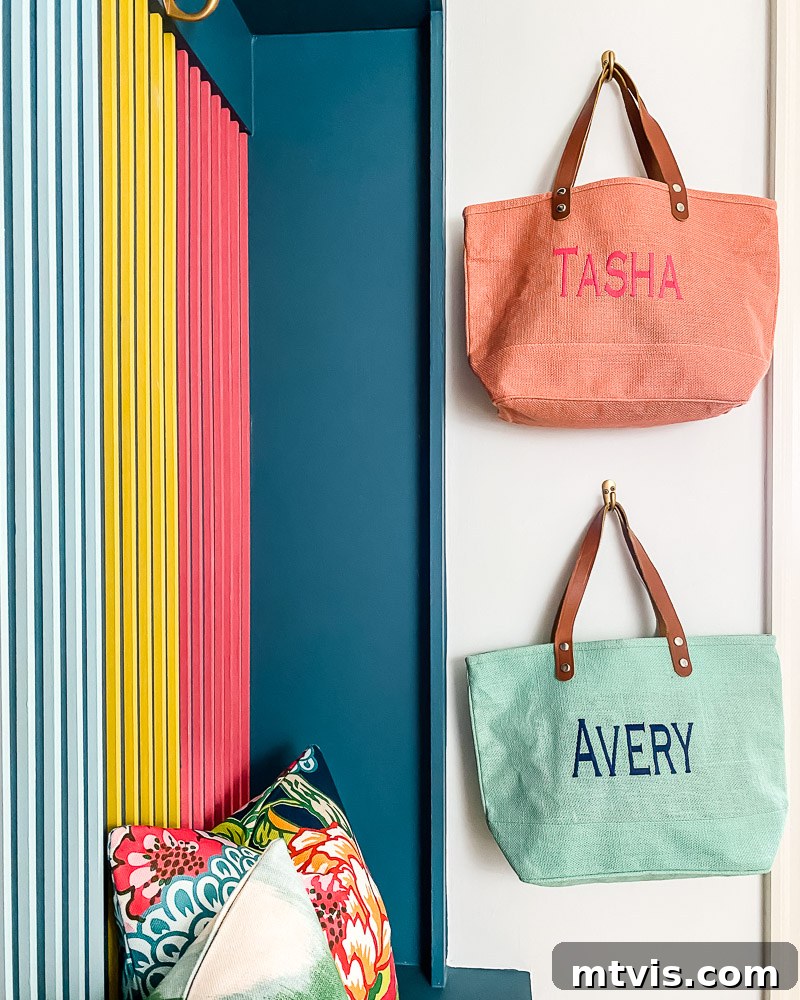
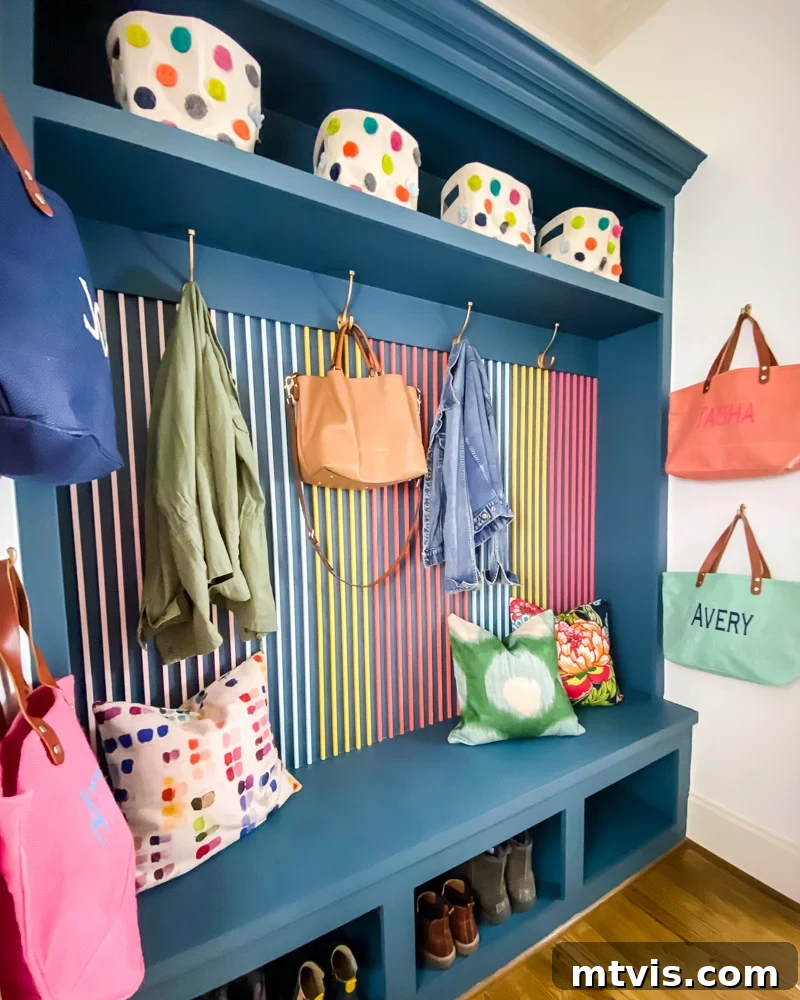
We sincerely hope that this detailed tutorial has ignited your creative spark and inspired you to consider how a DIY wood slat wall can truly transform a space in your own home. The beauty of this project lies in its incredible adaptability: you can completely customize the colors to match your aesthetic, experiment with different dowel sizes for varied textures, and even adjust the spacing to achieve an entirely unique look and feel. Imagine a minimalist monochrome design for understated elegance, a rustic natural wood look for warmth, or a bold geometric pattern for a contemporary statement – the possibilities are truly endless!
Whether you’re looking to create an eye-catching accent in a living room, add architectural detail to a bedroom, or enhance the functionality and style of an entryway, a wood slat wall is a fantastic and immensely rewarding DIY endeavor. It’s a testament to how simple materials and a little creativity can result in a high-end, custom look that beautifully reflects your personal style. Don’t be afraid to experiment, unleash your inner designer, and make this project uniquely your own!
Mudroom Source List
For those eager to replicate specific elements of our mudroom’s design, you’ll find a curated list of sources below. Simply click on any of the images to explore full product details and bring these stylish and functional pieces into your own home, making your dream mudroom a reality.
Turn on your JavaScript to view content
Explore more helpful home design and organization ideas from our collection of posts:
- 16 Creative Ideas for the Perfect Entryway Storage Bench
- Gorgeous + Functional Mudroom Ideas for Busy Families: Maximize Your Space with Style
- DIY Board and Batten Accent Wall: The Easiest Method for Stunning Results and Added Charm
- How to Style Open Storage The Easy Way: Practical Tips for a Clutter-Free & Chic Look
- Coat Closet Organization for Under $100: Smart Storage Solutions for Any Budget
- 25+ Inspiring Entryway Benches with Storage: Combining Style & Function for a Welcoming Home
Curious about my unique and effective approach to transforming rooms and spaces throughout our home, step by step? Discover the secrets and strategies within Designer in a Binder® – your ultimate guide to affordable and simple home decorating, empowering you to create spaces you love with confidence.
And for exclusive content, behind-the-scenes sneak peeks, and fresh DIY inspiration delivered straight to your inbox, be sure to subscribe to our newsletter before you head out! Join our community for more creative home transformations and expert tips.