
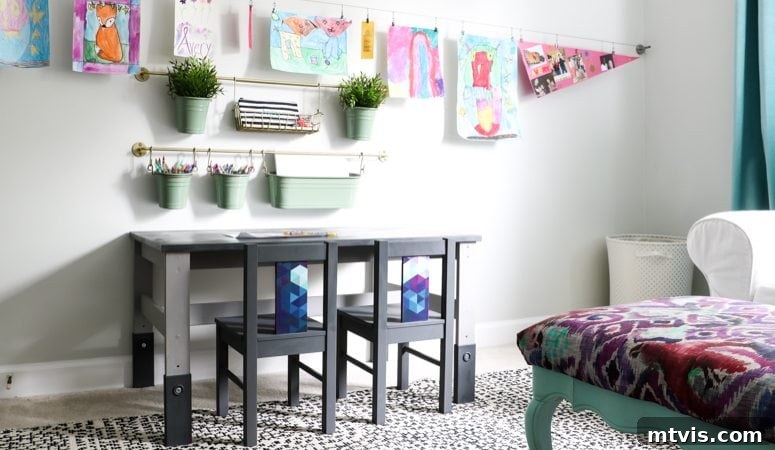
Hey there, DIY enthusiasts and budget-savvy decorators! Have you ever looked at a functional but plain piece of furniture and wondered if it could become something truly special? That’s exactly the journey we embarked on with an ordinary Ikea kids’ table and chairs. What started as a bright, utilitarian set for a playroom was destined for a much more sophisticated transformation, proving that even the most inexpensive pieces can achieve a high-end boutique look with just a little creativity and effort. Get ready to be inspired, because this Ikea Kritter table and chairs makeover is not only incredibly easy but also delivers stunning results!
Years ago, we brought home an affordable Ikea kids’ table and chairs set, a fantastic find that served our girls well in their playroom for approximately five years. Its adjustable legs were a lifesaver, adapting as they grew from toddlers to young children. For a bustling playroom, the vibrant red and blue hues were perfectly acceptable, adding a playful pop of color. However, as our daughter Avery grew, so did her design preferences. Her new bedroom embraced a beautiful palette of purple and teal, a far cry from the primary colors of the playroom. You can check out her amazing DIY bed nook here and her purple campaign dresser DIY makeover here – these projects truly set the tone for her evolving space.
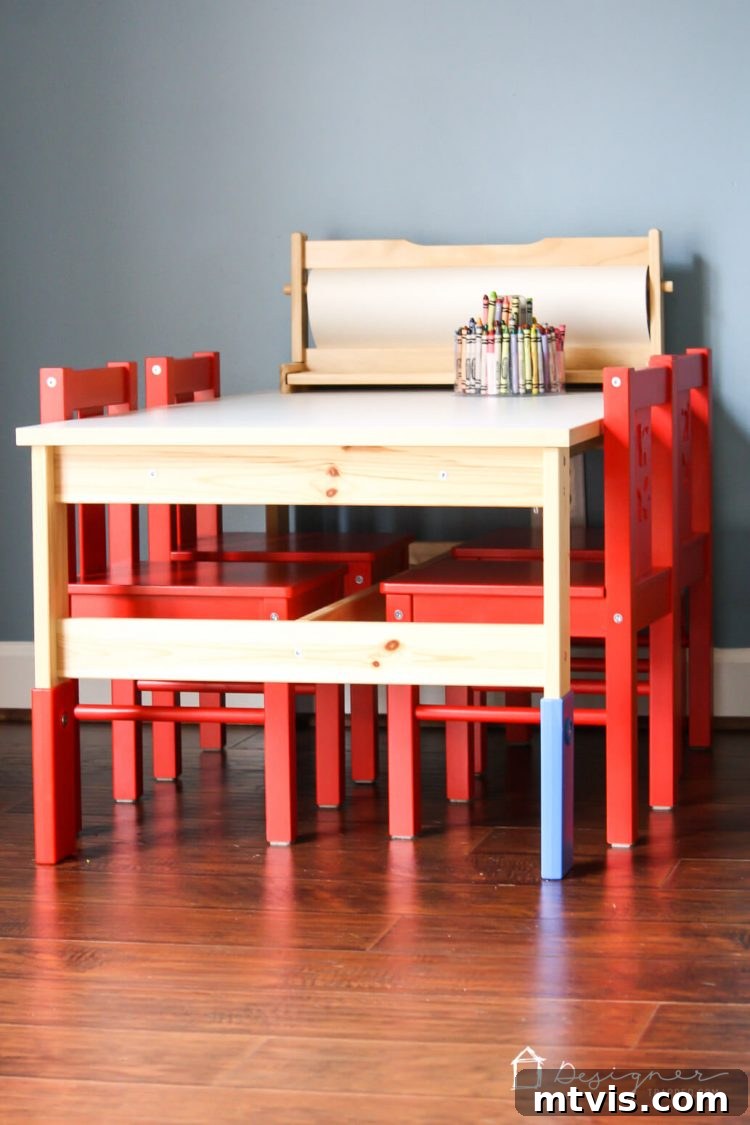
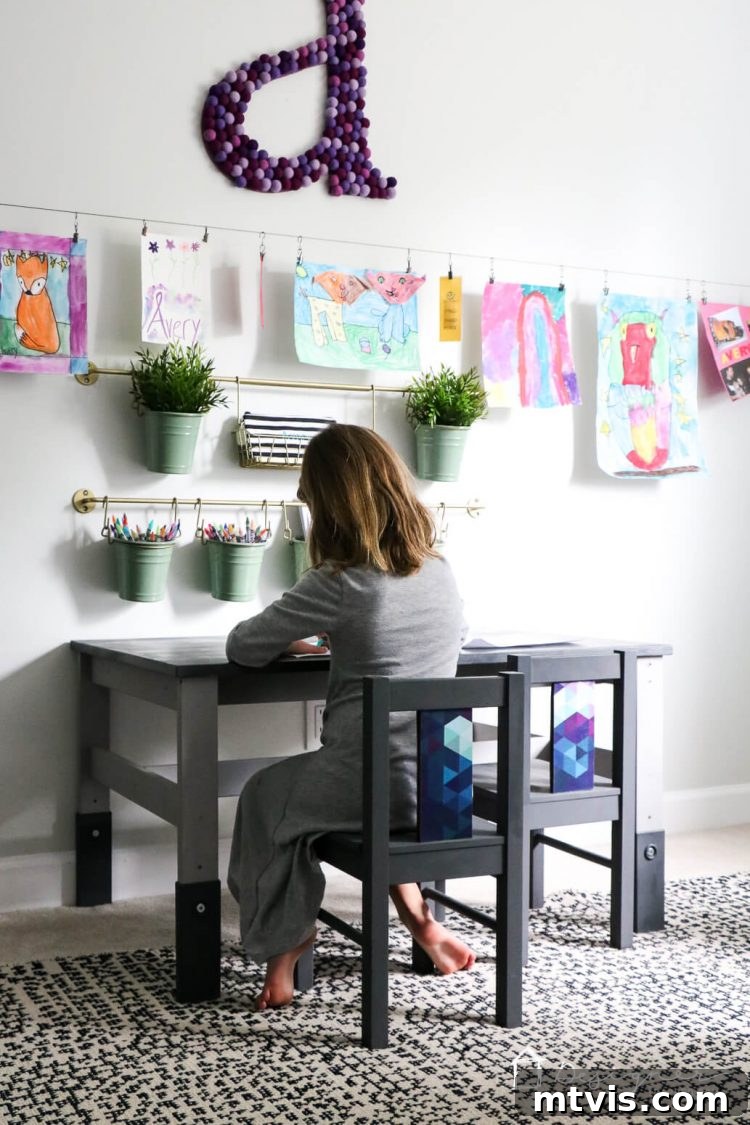
The challenge was clear: how could we integrate this beloved yet visually mismatched kids’ furniture into Avery’s newly designed sanctuary? The solution came with a simple yet powerful combination of paint, fabric, and Mod Podge. With these readily available materials, I completely transformed the red and blue set into a chic, customized ensemble that now looks like it came straight from a high-end boutique!
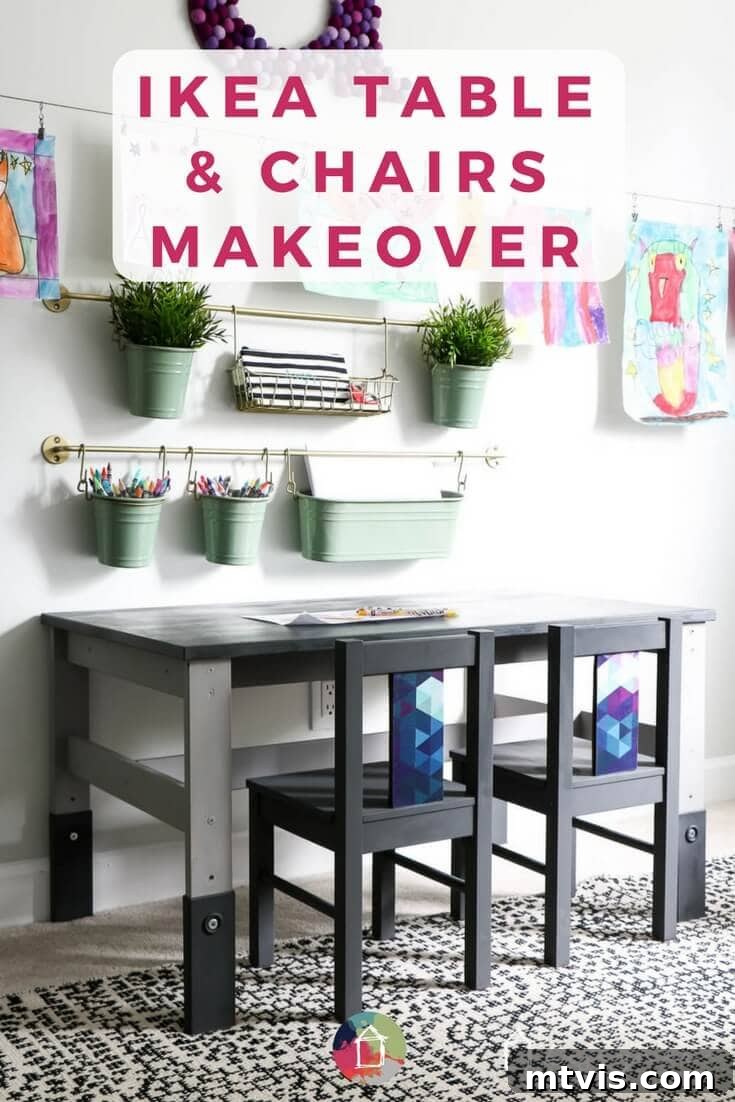
If you’re ready to give your own Ikea kids’ furniture a stunning upgrade, you’ve come to the right place. This step-by-step guide will walk you through the entire process of this delightful Ikea Kritter table and chair makeover. You’ll be amazed at how achievable it is to create a custom piece that perfectly suits your home’s aesthetic without breaking the bank. Let’s dive in!
This post contains some affiliate links for your convenience (which means if you make a purchase after clicking a link I will earn a small commission which helps keep my blog up and running but it won’t cost you a penny more)! Click here to read my full disclosure policy.
DIY Ikea Kids’ Table and Chairs Makeover: From Playroom to Chic Retreat
Embarking on a DIY furniture makeover project is more than just saving money; it’s about infusing personality and style into your living space. This particular Ikea kids’ furniture transformation is a fantastic example of upcycling at its best. Instead of discarding a perfectly functional table and chairs, we’re giving them a second life, tailored precisely to a new room’s aesthetic. This not only reduces waste but also allows for unparalleled customization that you simply can’t find in stores. Imagine creating a bespoke piece of furniture that perfectly complements your decor, reflecting your unique taste – all from a humble Ikea Kritter set.
The beauty of starting with Ikea furniture lies in its simple, clean lines, which serve as an excellent canvas for customization. Their pieces are designed to be functional and adaptable, making them ideal candidates for a creative refresh. This makeover showcases how a simple change in color and the addition of a unique fabric detail can elevate a child’s table and chairs from basic to brilliant, making them suitable for any room in the house, not just the kids’ zone. It’s a wonderful way to create a dedicated creative space for your child that seamlessly blends with the rest of your home’s sophisticated design.
Materials Needed for Your Ikea Kritter Makeover:
- Chipboard (For this project, I utilized a piece measuring approximately 11″ x 17″. The exact size will depend on the dimensions of your chair backs.)
- Fabric of your choosing. The specific amount required will vary based on the width of your chosen pieces and the number of chairs. I found that less than half a yard of scrap fabric from another project was ample for this makeover, making it incredibly cost-effective. Consider durable, easily cleanable fabrics for kids’ furniture.
- Matte Mod Podge (or glossy, depending on your desired finish). This versatile product acts as both an adhesive and a sealant, providing a protective layer.
- Foam paint brush (perfect for smooth application of Mod Podge and paint).
- DAP Rapid Fuse All Purpose Adhesive (My top choice for its quick curing time and strong bond).
- Cricut Explore cutting machine
- While a Cricut machine offers unparalleled precision and ease, it’s not strictly necessary. If you don’t own a cutting machine, you can achieve similar results using a straight edge and an exacto knife for careful manual cutting.
- If you’ve been contemplating investing in a cutting machine, I highly recommend it! They are truly a DIY enthusiast’s best friend, opening up a world of creative possibilities. To help you make an informed decision, you can read my detailed review comparing Silhouette vs. Cricut cutting machines in this post.
- Discover some of the diverse projects I’ve tackled with my cutting machine by clicking here.
- Deep cutting blade (essential for cleanly cutting chipboard with a Cricut).
- Cricut standard grip 12″ x 24″ cutting mat (ensures your material stays securely in place during cutting).
- Chalk-based paint in colors of your choosing (I opted for a sophisticated palette using Americana Decor Chalky Finish Paint in Relic for a dark gray and Amy Howard at Home One Step Paint in Atelier for a lighter gray, which beautifully complemented Avery’s room).
Detailed Steps for Your Stylish Ikea Kritter Makeover:
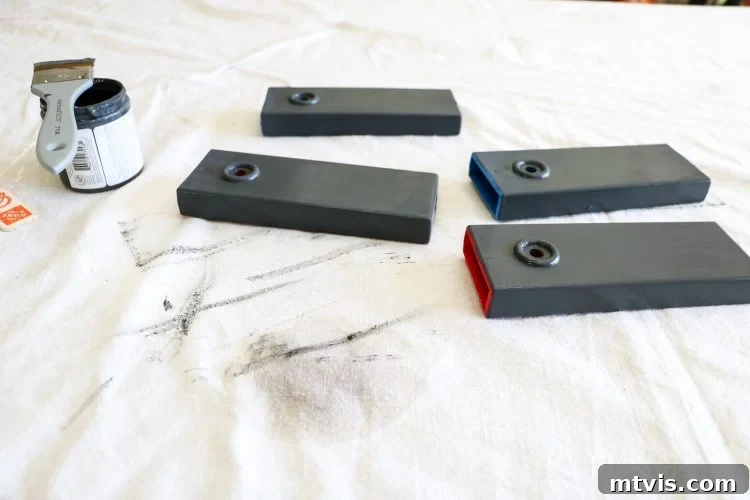
1) Prepare and Paint Your Table and Chairs with Precision: The first crucial step in transforming your Ikea set is to give it a fresh coat of paint. For the table, I chose a striking two-tone effect, using a dark gray (Americana Decor Chalky Finish Paint in Relic) for the tabletop and a lighter gray (Amy Howard at Home One Step Paint in Atelier) for the legs. This subtle contrast adds depth and visual interest. The chairs received a uniform application of the same elegant dark gray paint. I found that this particular Ikea set responded exceptionally well to chalk-based paint, eliminating the need for a separate primer. Chalk paints adhere beautifully to various surfaces and provide a lovely matte finish. However, if you notice your paint beading up or struggling to adhere, don’t fret! Check out this helpful post of mine that offers comprehensive tips on how to effectively paint Ikea laminate furniture. For a rich, opaque finish, I applied two even coats of paint for each color, allowing adequate drying time between applications to ensure a smooth, durable surface.
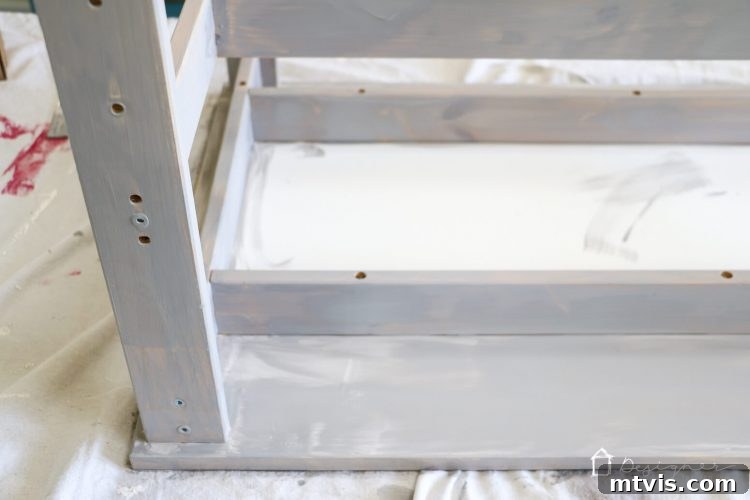
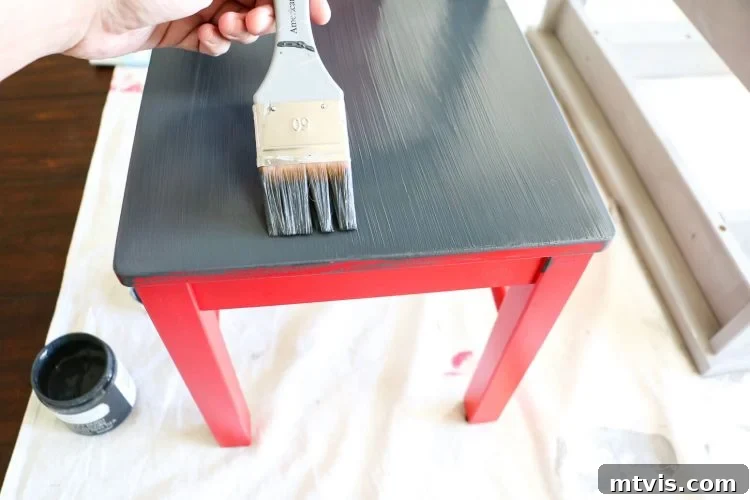
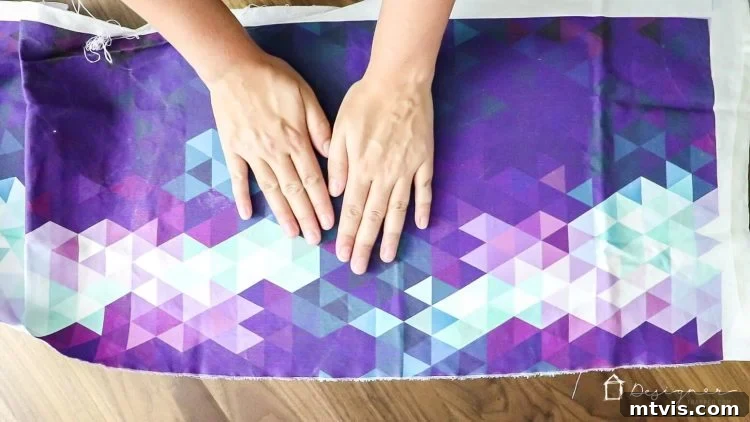
2) Iron Your Fabric to Perfection: This seemingly simple step is absolutely critical for a professional-looking finish. Take the time to thoroughly iron your chosen fabric to remove any and all wrinkles, creases, or folds. A smooth, unblemished fabric surface will ensure perfect adhesion and a flawless final appearance. Skipping this step can lead to bumps and imperfections in your finished panels, so a few minutes with an iron will save you headaches later.
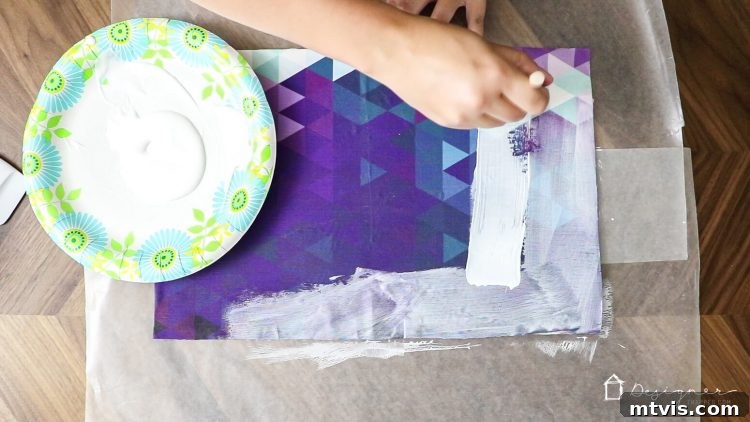
3) Apply Fabric to Chipboard with Mod Podge: Now for the creative part! Lay your chipboard flat on a protected surface. Using a foam brush, apply a generous, even coat of Mod Podge (I used Matte finish, but the choice is yours) to one entire side of the chipboard. Work quickly but meticulously to ensure full coverage. Immediately after applying the Mod Podge, carefully place your ironed fabric onto the wet chipboard, pressing down firmly with your hands. Flip the chipboard over and use your hands or a brayer to gently but firmly smooth out any wrinkles or air bubbles from the fabric side. This step is where prior ironing truly pays off! As I learned from experience, “hindsight is always 20/20” – a perfectly ironed fabric makes this process so much smoother. Allow the fabric-covered chipboard to dry completely. Patience here is key to prevent bubbling or shifting.
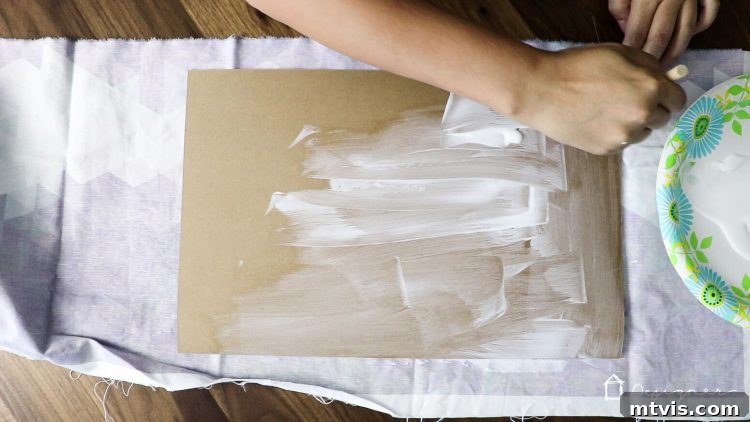
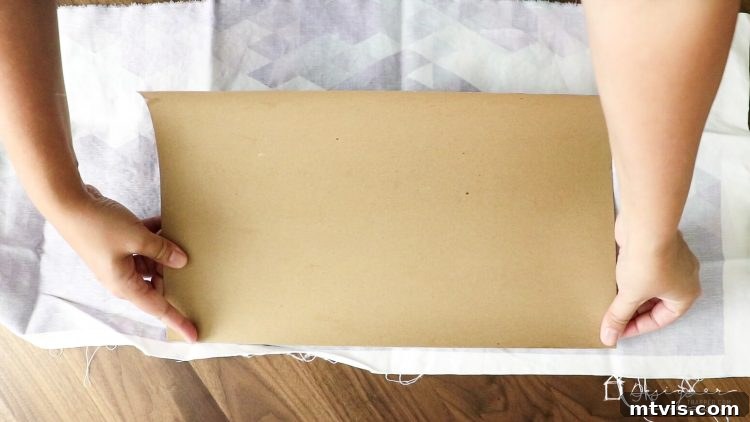
4) Seal Your Fabric for Durability: Once the initial Mod Podge layer and fabric are completely dry, apply a generous top coat of Mod Podge directly over the fabric surface. This layer acts as a protective sealant, guarding against spills, wear, and tear – an absolute must for kids’ furniture! Ensure the entire fabric surface is covered evenly. Allow this coat to dry fully. If you notice any slight curling of the chipboard as it dries, simply place some heavy books or flat objects on top of it to flatten it back out before proceeding to the next step. A perfectly flat surface is essential for precise cutting.
5) Accurately Measure the Ikea Kritter Chair Back Supports: Precision is paramount for custom-fit panels. Carefully measure the exact height and width of the back support panel on your Ikea Kritter chairs. Take your time and double-check these measurements, as they will dictate the size of your fabric-covered chipboard pieces. Remember, you’ll need two panels per chair – one for the front and one for the back of the support.
6) Design Your Rectangles in Cricut Design Space: Open Cricut Design Space on your computer. Using the “Shapes” tool, draw out rectangles that precisely match the measurements you took in the previous step. Ensure they are the exact dimensions to fit snugly onto the chair back supports. For this project, you will need to create two identical rectangles for each chair you plan to makeover. The beauty of the Cricut is its ability to cut these shapes with absolute accuracy, ensuring a clean and professional finish.
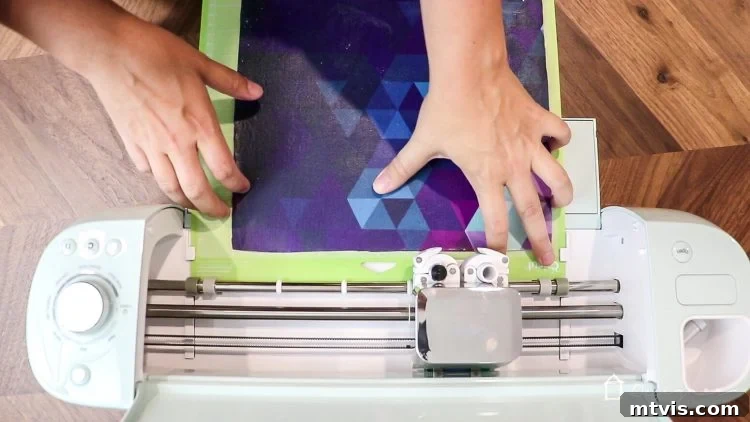
7) Cut Your Fabric-Covered Chipboard with the Cricut: Carefully place your Mod Podge-sealed, fabric-covered chipboard onto a 12″ x 24″ standard grip cutting mat, making sure it adheres firmly. Load the mat into your Cricut Explore Air 2 or similar cutting machine. Before you initiate the cut, rotate the dial on your machine to “custom” and then select the “chipboard” option from the material settings in Design Space. This setting, combined with a deep cutting blade, ensures that your Cricut makes a clean, precise cut through the chipboard and fabric without tearing or fraying. Follow the on-screen prompts for loading and cutting.
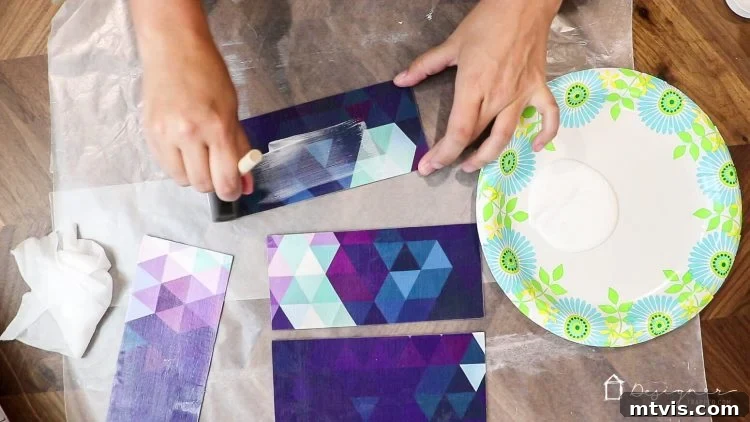
8) Remove and Seal Your Perfectly Cut Rectangles: Once your Cricut has worked its magic, carefully remove the perfectly cut fabric-covered chipboard rectangles from the cutting mat. You’ll be impressed by the clean edges and precise shapes. For added durability and to fully seal the edges of your newly cut pieces, apply another thin, even layer of Mod Podge over the fabric surface of each rectangle. This final coat helps protect the edges from fraying and ensures a long-lasting finish, especially for furniture that will see regular use. Allow them to dry completely before proceeding.
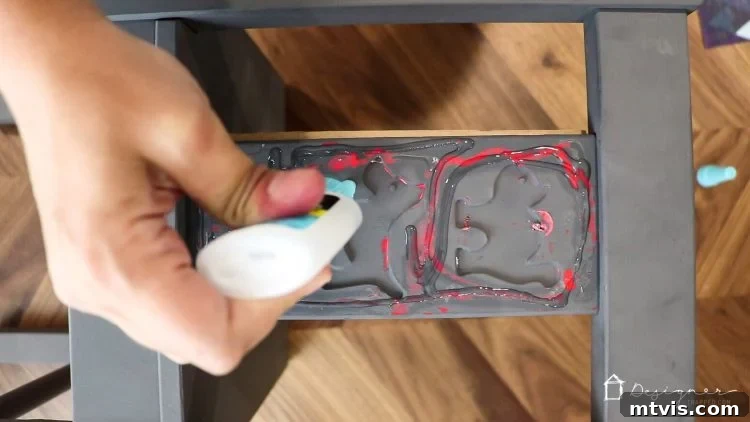
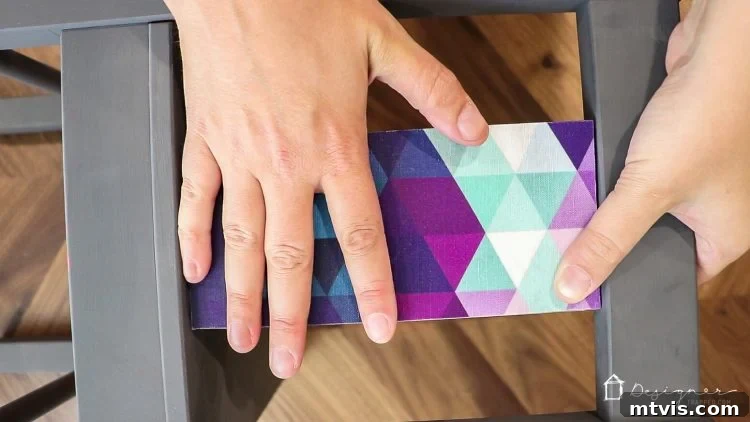
9) Securely Attach Panels to the Ikea Kritter Chairs: With your fabric-covered rectangles perfectly prepared and fully dry, it’s time to affix them to the Ikea Kritter chair back support panels. Apply a strong, all-purpose adhesive to the back of each fabric panel. I highly recommend DAP Rapid Fuse All Purpose Adhesive for this step; it’s my glue of choice due to its incredibly fast curing time and superior bonding strength, which minimizes waiting. Carefully align each fabric panel with the chair back support and press firmly to ensure good adhesion. Repeat this process for both the front and back of each chair’s support panel. Hold in place for a few moments as the adhesive sets. Once all panels are securely attached, allow the glue to fully cure according to the manufacturer’s instructions.
Tips for a Flawless Ikea Furniture Transformation:
- Patience is a Virtue: Allow ample drying time between each coat of paint and Mod Podge. Rushing these steps can lead to sticky surfaces, smudges, or incomplete adhesion, compromising the overall finish.
- Cleanliness is Key: Ensure your Ikea furniture is thoroughly cleaned and free of any dust, dirt, or grease before painting. This will ensure proper paint adhesion.
- Experiment with Colors and Fabrics: Don’t be afraid to personalize! Choose paint colors that complement your room’s existing decor, and select a fabric that adds a unique texture or pattern. Consider wipeable fabrics for younger children.
- Consider a Top Coat: For extra durability on the painted surfaces, especially for a kids’ table, you might consider applying a clear, water-based polyurethane topcoat after the paint has fully cured. This will offer additional protection against dings and scratches.
That’s it! Your Ikea kids’ table and chairs makeover is now complete, ready to grace your home with its newfound style. I know this tutorial might seem like a lot of steps, but I assure you, this Ikea Kritter hack is genuinely quick and straightforward. My intention is simply to provide SUPER detailed instructions to ensure your success, so please don’t let the length deter you! Each step builds upon the last, making the entire process manageable and highly rewarding.
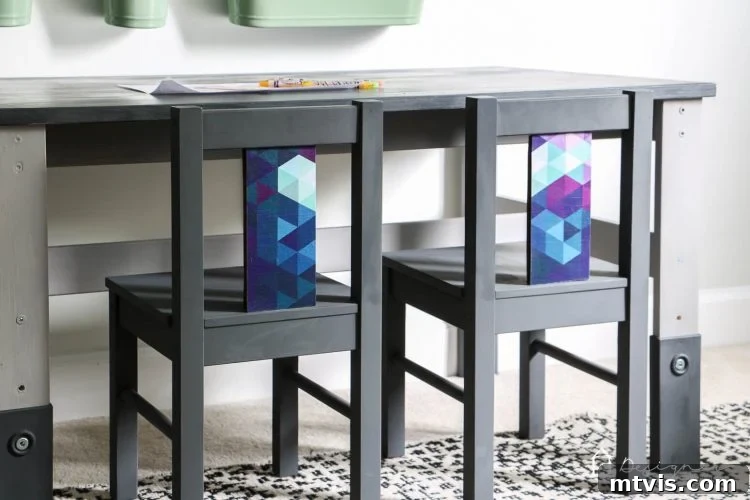
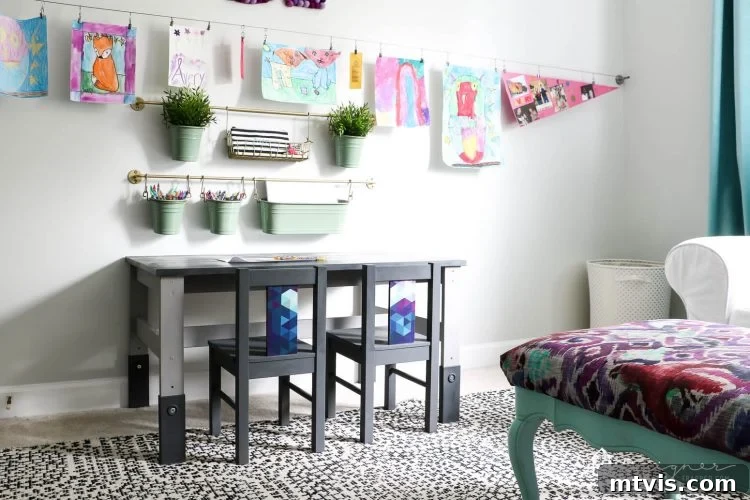
Just look at the stunning finished makeover! This transformed set now fits in perfectly with the sophisticated and charming decor in Avery’s room, a testament to how a little DIY magic can completely change the look and feel of a space. It’s no longer just a functional piece of furniture; it’s an integrated part of her stylish sanctuary.
We hope this guide inspires you to tackle your own Ikea kids’ furniture makeover! It’s incredible what a bit of paint and fabric can achieve. Remember, with a little creativity, you can transform everyday items into extraordinary pieces that reflect your personal style and enhance your home’s decor. If you adore this transformation and want to save it for future reference or share the inspiration, be sure to pin it to Pinterest or share it on Facebook so your friends can discover this fantastic DIY project too!
