Almost every homeowner eventually faces the common challenge of damaged drywall. From minor nail holes left after redecorating to more substantial accidental punctures during enthusiastic DIY projects (yes, we’ve all been there!), drywall repair might seem daunting, but it’s surprisingly straightforward. There’s no need to call in a professional for everyday wear and tear or minor mishaps. With the right techniques and a few simple tools, you can easily restore your walls to a pristine condition yourself. This comprehensive guide will walk you through repairing the most common types of drywall damage, ensuring smooth, seamless results every time.
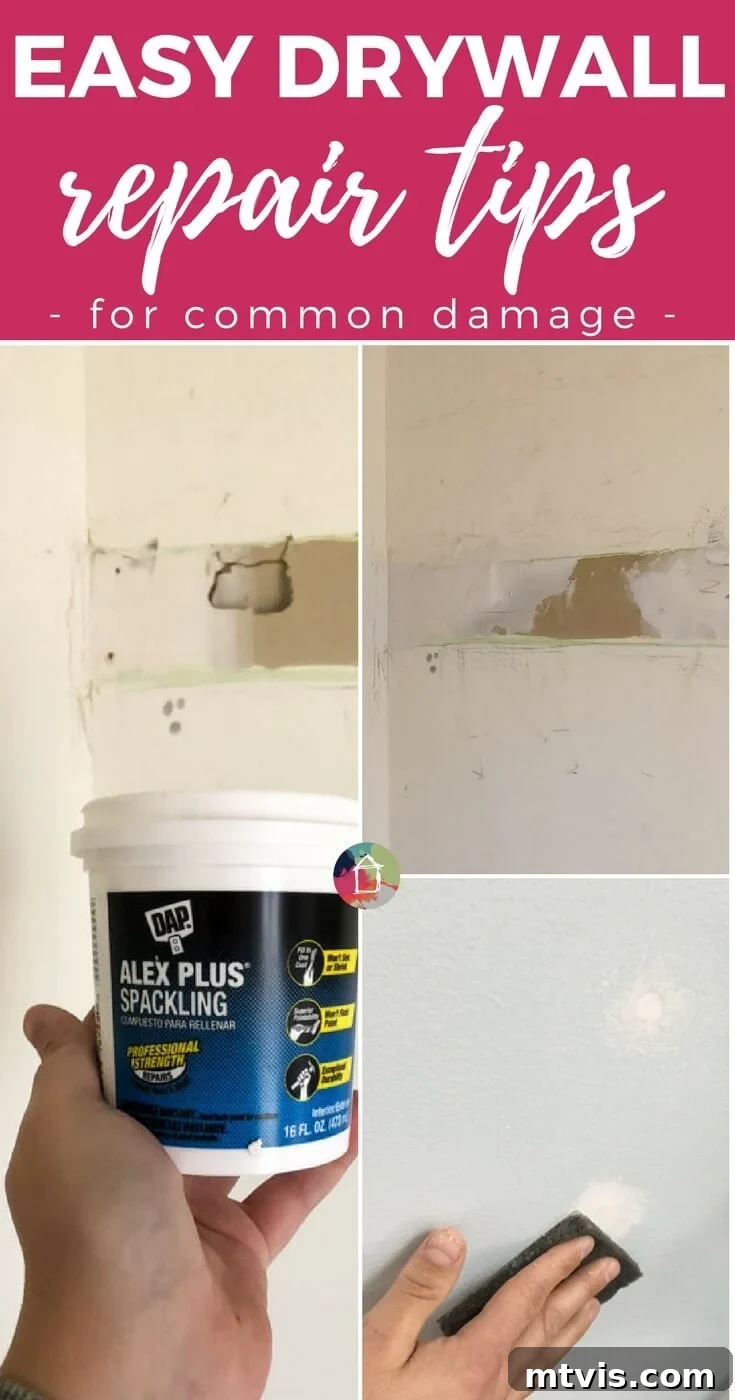
Table of Contents
Toggle
Thank you to DAP for sponsoring this post. This post contains affiliate links for your convenience. Click here for my full disclosure policy.
How to Repair Drywall
Drywall, also known as plasterboard or gypsum board, is a fundamental component of most modern homes. While durable, it’s not immune to damage from everyday life, home projects, or accidental impacts. Fortunately, learning how to repair drywall is a valuable skill that can save you money and keep your living spaces looking their best. From the smallest pinprick to more significant gashes, each type of repair requires a slightly different approach, but all share the common goal of an invisible fix. Let’s delve into the techniques that will make you a confident drywall repair expert.
Essential Tools and Materials for Drywall Repair
Before you begin any drywall repair, gathering the right tools and materials is crucial for a smooth process and successful outcome. While specific items might vary depending on the size of the damage, here’s a general list of what you’ll likely need:
- Spackling Paste or Joint Compound: Choose a lightweight spackle for small holes and a more robust, caulk-like compound for larger repairs. Quick-dry formulas can save time.
- Putty Knives: A set of flexible putty knives (1.5-inch, 3-inch, and 6-inch) will be indispensable for applying and smoothing filler.
- Sanding Sponges or Sandpaper: Fine-grit (120-150) sandpaper or sanding sponges are ideal for smoothing dried spackle. A sanding block can help create an even surface.
- Primer: A good quality primer is essential, especially for larger repairs, to ensure paint adheres evenly and prevents flashing (where the repaired area shows through the topcoat).
- Matching Paint: Always have the wall’s exact paint color ready for touch-ups. If you don’t have it, consider methods to match the existing paint.
- Utility Knife: Useful for trimming ragged edges around larger holes.
- Drop Cloths or Plastic Sheeting: To protect floors and furniture from dust and paint.
- Safety Glasses and Dust Mask: Essential for protecting yourself, especially during sanding, which can generate fine dust.
- Clean Rags or Sponges: For cleaning surfaces and wiping tools.
- Stirring Stick: If your spackle or paint needs mixing.
Having these items on hand will ensure you’re prepared for any drywall repair task.
Filling Nail Holes: Quick Fixes for Minor Marks
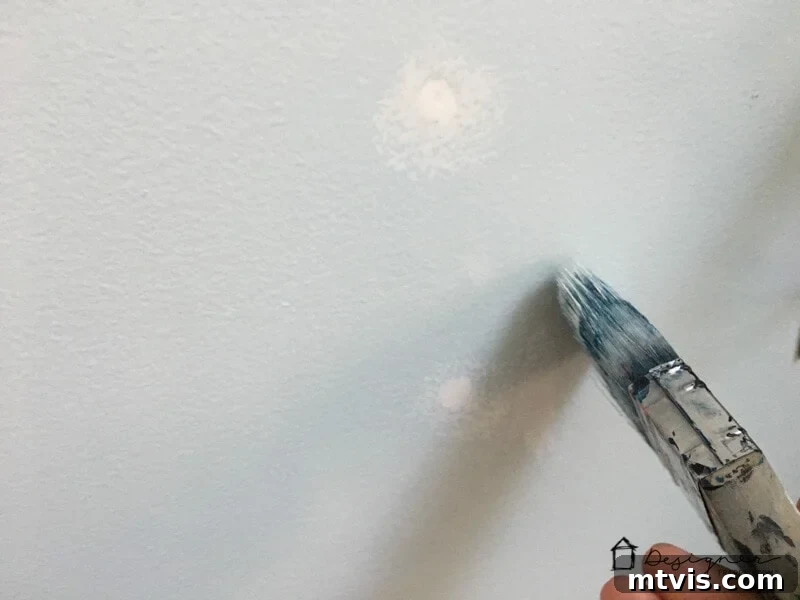
Small nail holes are perhaps the most frequent type of drywall damage, a natural consequence of hanging pictures, decor, or shelving. For these minor imperfections, you often don’t even need traditional spackle. My go-to method for these tiny blemishes is incredibly simple and efficient: touch-up paint. If you have leftover paint from when your walls were last painted, you can apply a small dab directly into the hole with your finger or a cotton swab. Gently smooth it flush with the wall surface. This technique works wonders because it fills the hole and paints it simultaneously, eliminating the need for sanding or an additional painting step.
However, if the hole is slightly larger than a pinprick or if you don’t have matching paint, a small amount of lightweight spackling paste can be used. Apply a tiny amount with your finger or the tip of a small putty knife, ensuring it’s level with the wall. Once dry (which usually takes less than an hour for such small amounts), a very light touch-up with fine-grit sandpaper might be necessary before painting. For perfectly matched paint, if you don’t have any, learn how to match a paint color that is already on your walls.
Repairing Small Holes and Damage in Drywall: Beyond the Nail Hole
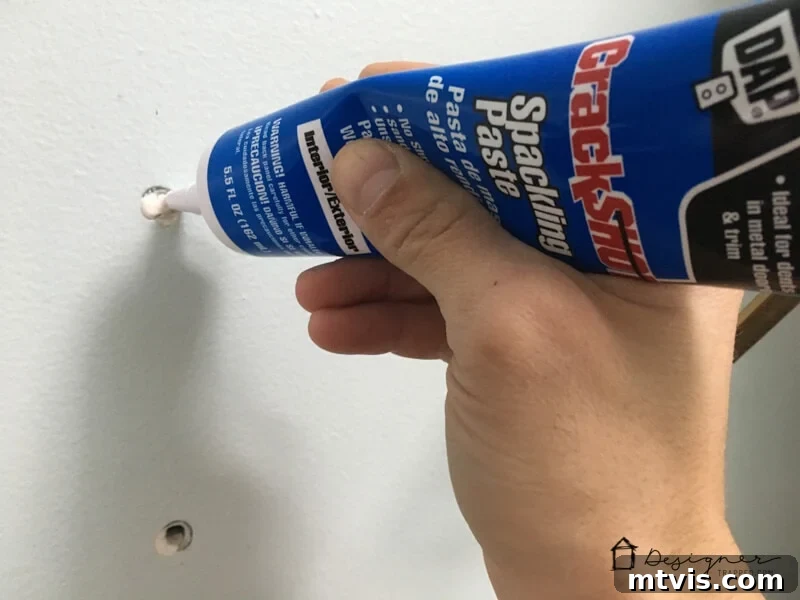
Sometimes, DIY projects lead to slightly larger holes, perhaps from incorrectly placed wall anchors or a slipped drill bit. These are typically holes up to about 1 to 2 inches in diameter. For these repairs, a dedicated spackling paste becomes necessary. I highly recommend using a product like DAP CrackShot Spackling Paste, especially those packaged in handy tubes. The tube design prevents the paste from drying out, a common issue with traditional tubs, and makes application much cleaner and more precise.
To repair small holes:
- Clean the Area: Ensure the hole is free of any loose debris or dust.
- Apply Spackle: Squeeze a sufficient amount of the CrackShot Spackling Paste directly into the hole.
- Smooth the Surface: Use a flexible putty knife (a 1.5-inch or 3-inch size works well here) to smooth the spackle, pressing it firmly into the hole and scraping away any excess until it’s perfectly flush with the surrounding drywall. Aim for a thin, even coat.
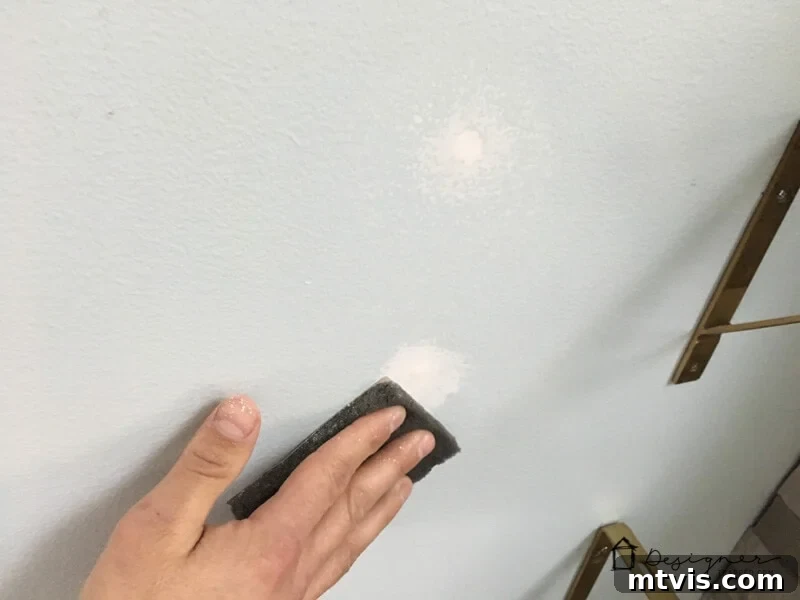
Allow the CrackShot to dry completely. Drying times can vary depending on humidity and thickness, but typically an hour or two is sufficient for small repairs. Once fully dry, gently sand the area with fine-grit sandpaper (120-150 grit) or a sanding sponge. Use light pressure and feather the edges to blend the repair seamlessly with the wall. For these smaller repairs, a single application and sanding are usually enough to achieve a flawless finish. Finally, apply a coat of primer to the repaired area, let it dry, and then finish with your matching wall paint for an undetectable fix.
Repairing Larger Holes and Significant Damage in Drywall
Life happens, and sometimes you end up with more significant drywall damage—holes that are several inches in diameter, perhaps from an aggressive tool during a renovation or a misplaced elbow. While some might suggest mesh patches for these, I find them more cumbersome than effective for truly large holes. My preferred product for such repairs is DAP Alex Plus Spackling. This product stands out because its consistency is more akin to caulk than traditional spackle, making it much easier to work with when wet and significantly less dusty to sand once dry, which is a huge bonus.
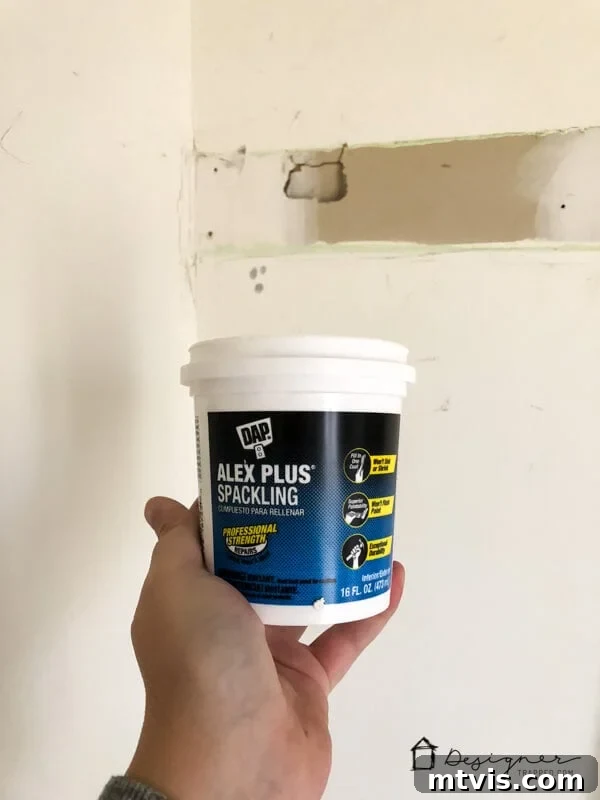
Here’s how to tackle larger holes:
- Prepare the Area: Begin by carefully scraping away any loose drywall debris or ragged edges around the hole using a utility knife. The goal is to create a clean, stable edge.
- First Application of Spackle: Using a metal putty knife (a 3-inch or 6-inch knife is best for broader coverage), apply a generous amount of DAP Alex Plus Spackling directly into the hole. Press it firmly to ensure it fills the cavity completely. Smooth it out until it’s as level as possible with the drywall surface, feathering the edges thinly onto the surrounding wall.
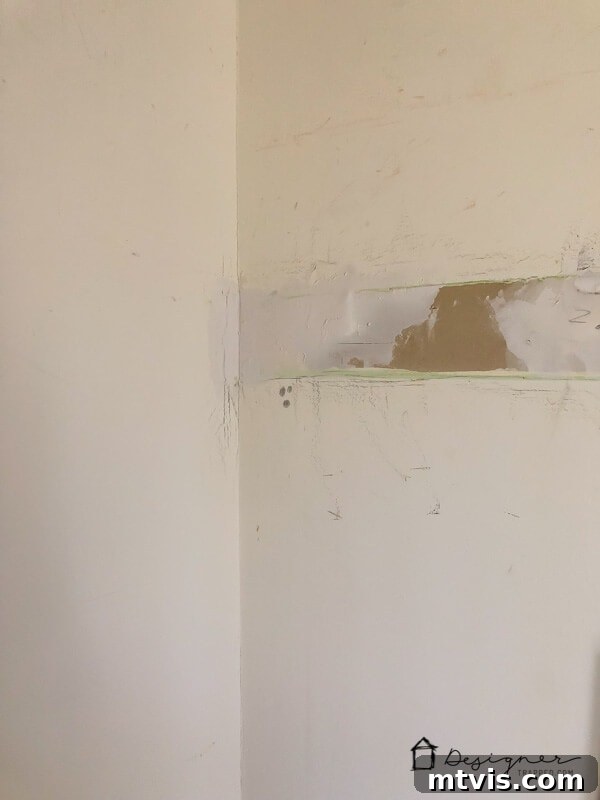
- Drying and Sanding (First Round): Allow the spackle to dry for at least 24 hours. This is critical for larger repairs, as incomplete drying can lead to cracking or shrinking. Once dry, sand the area thoroughly with fine-grit sandpaper or a sanding sponge. The key here is patience and persistence – sand, sand, and then sand some more until the area is perfectly smooth and blended. Feathering the edges out to about 6-12 inches beyond the repair will help avoid a noticeable ridge.
- Second Coat (If Needed): For deeper or wider holes, the spackle may shrink slightly or not be perfectly flush after the first round of drying and sanding. Don’t hesitate to apply a second (or even third) thin coat of spackle, repeating the 24-hour drying and thorough sanding process. The objective is to achieve a surface that is absolutely smooth and undetectable to the touch.
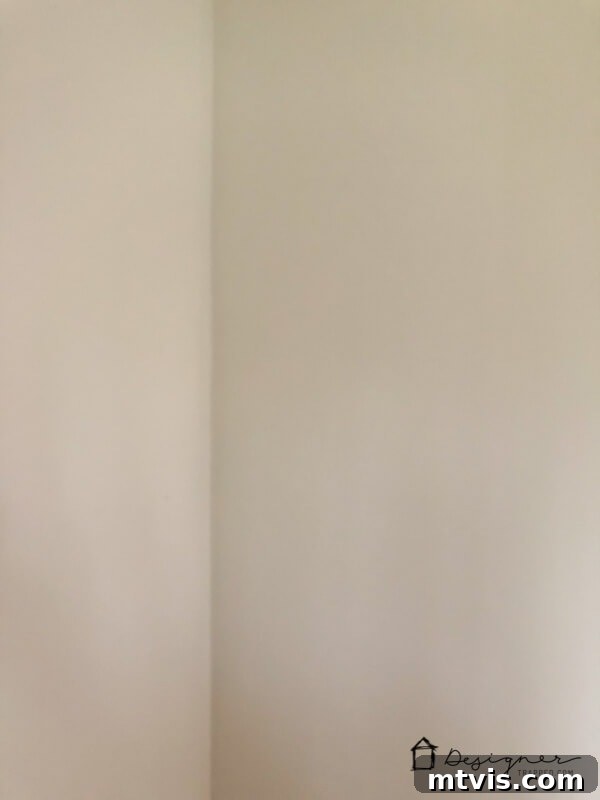
After the final sanding, wipe away any dust, apply a high-quality primer to seal the repair, and then paint over it with your matching wall paint. When done correctly, the result should be a wall that looks as good as new, with no evidence of the previous damage.
Achieving a Flawless Finish: Tips for Undetectable Repairs
The true mark of a successful drywall repair is its invisibility. Here are some extra tips to ensure your repairs are seamless and blend perfectly with your existing walls:
- Cleanliness is Key: Always start with a clean surface. Dust, loose debris, or grease can prevent spackle and paint from adhering properly, leading to noticeable imperfections.
- Less is More with Spackle: Apply spackling paste in thin, even layers rather than one thick coat. Thick coats take longer to dry, are more prone to cracking, and are harder to sand smoothly.
- Feathering Edges: When applying spackle, use your putty knife to “feather” the edges. This means gradually thinning the spackle as you move away from the center of the repair, allowing it to blend imperceptibly into the existing wall. This technique is vital during both application and sanding.
- Use a Bright Light: After sanding, shine a bright flashlight or work light across the repaired area at an angle. This will highlight any remaining bumps, depressions, or uneven textures that might be missed under normal lighting, allowing you to refine the surface further.
- Prime the Repair: Always prime the repaired area before painting, especially for larger patches. Spackle can absorb paint differently than drywall, leading to “flashing” or dull spots where the repair is visible. A coat of primer creates a uniform surface for the topcoat.
- Matching Paint Application: Apply your matching paint in thin coats, allowing each to dry completely. For the final coat, try to use a roller with the same nap as the original wall paint to match the texture as closely as possible.
By following these detailed steps and essential tips, you’ll be able to tackle various drywall repairs with confidence, achieving professional-looking results that make your walls look brand new. From the smallest “oops” to more significant damage, becoming proficient in drywall repair is a rewarding skill for any homeowner.
If you’re dealing with truly massive holes or prefer a patching method that minimizes spackling and sanding, don’t miss my in-depth tutorial on how to fix a hole in the wall the easy way using specialized patch kits!
More HOME REPAIR Posts
SEE ALL home improvement POSTS
-
How to Fix a Hole in the Wall Yourself the Easy Way!
-
How to Fix a Door That Won’t Close
-
How to Match A Paint Color That’s Already On A Wall
-
How to Repair Holes in Your Doors
-
How to Repair Drywall: Tips for “Smallish” Repairs
-
How to Repair Chipped Baseboards
Wondering how I approach transforming rooms and spaces in our home? Check out Designer in a Binder®.
And if you want exclusive content and behind-the-scenes sneak peeks, be sure to subscribe before you head out!