
Designing a Dream: Our Twin Girls’ Tasteful Princess Room Makeover
After a refreshing hiatus dedicated to meticulously migrating my blog from Blogger to WordPress (you can read more about that journey and its challenges here!), I am absolutely thrilled to be back and sharing new content with all of you. Welcome to the redesigned blog – I sincerely hope you find the new layout intuitive, easy to navigate, and visually appealing. I’m incredibly pleased with how the transition turned out, and I’m eager to hear your thoughts on the updated experience. A heartfelt thank you to all my returning readers for your continued support and patience; it truly means the world to me. And if you’re just discovering my little corner of the internet, a warm welcome to you! I hope you’ll settle in, explore, and find inspiration for your own home decor adventures.
The Enchanting Challenge: Crafting a Tasteful Princess Paradise
As many of you already know, my beloved twin daughters celebrated their third birthday just a few days past Christmas. This significant milestone was marked by a truly special gift: their very own “big girl room.” Now, for those who know me personally, you’ll understand the delightful irony in what I’m about to reveal. Growing up, I was far from a “girly girl.” Perhaps it was the strong influence of my older brother, who was only 16 months my senior, and with whom I shared every adventure, preferring mud puddles to princess gowns. Yet, fate, it seems, has a wonderfully whimsical sense of humor, as I was blessed with two incredibly girly girls who adore everything princess-related.
Historically, I’ve tended to shy away from heavily themed rooms, preferring a more understated, timeless, and versatile aesthetic. If you had suggested a year ago that I would design a princess-themed room, I probably would have met your idea with a hearty laugh! However, as any parent knows, the unparalleled joy of seeing your children’s eyes light up, knowing you’ve created a space they truly cherish, is a powerful motivator. It became abundantly clear that their room should be a reflection of their burgeoning personalities and dreams. This realization meant embracing some princess elements, but with a crucial caveat: it had to be done tastefully. My goal was to infuse magic and wonder without overwhelming the space with saccharine decor or sacrificing style. I believe I’ve succeeded in creating a whimsical yet sophisticated haven, and I’m beyond excited to finally share the grand reveal with you!
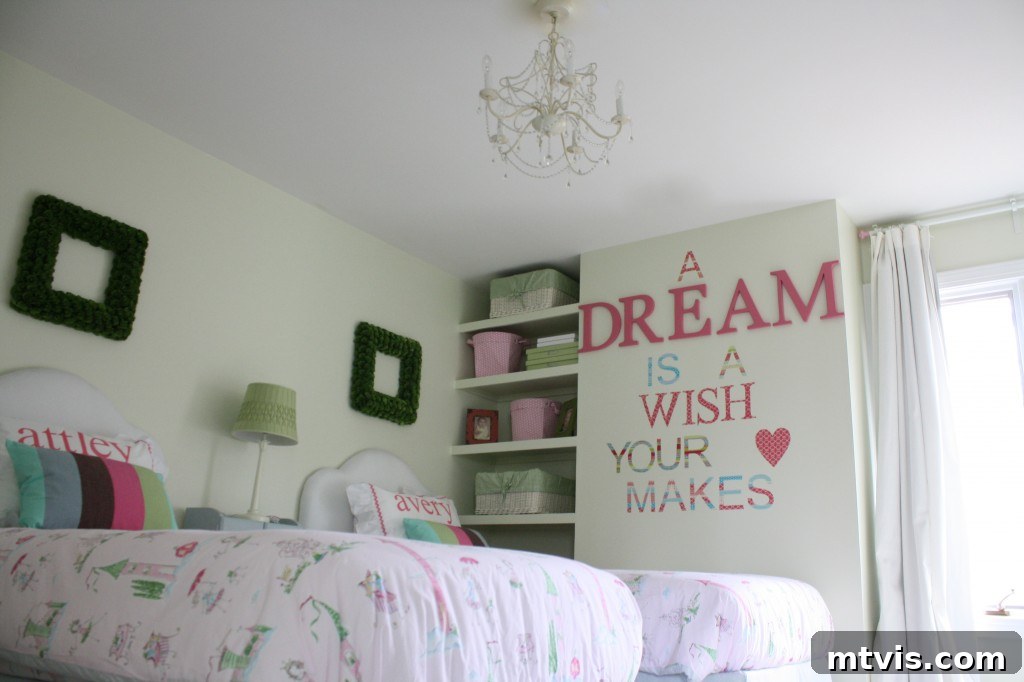
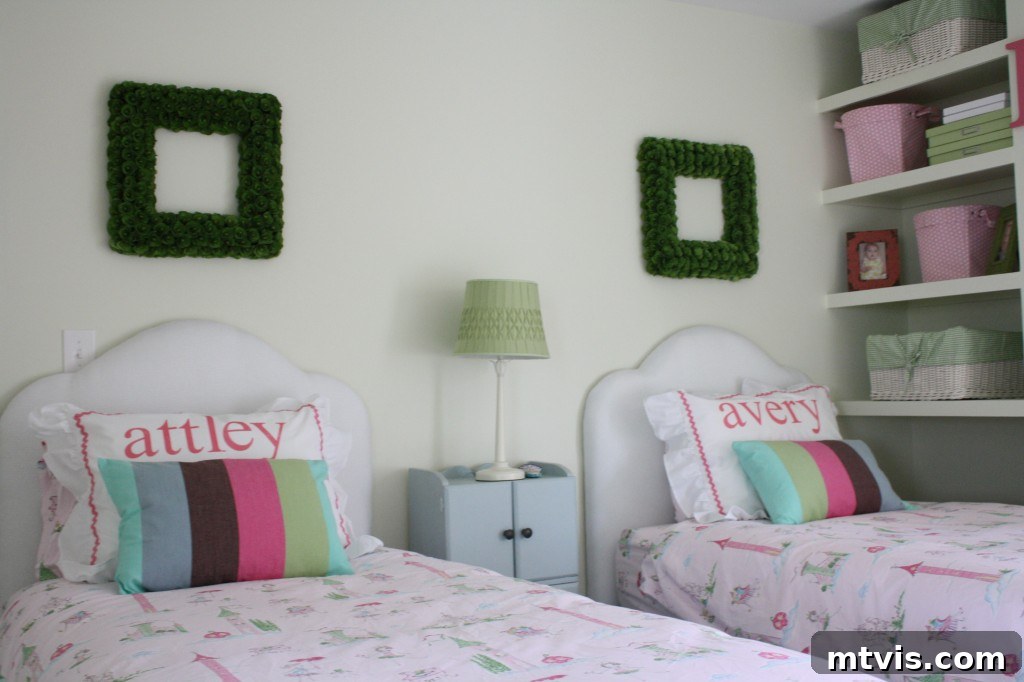
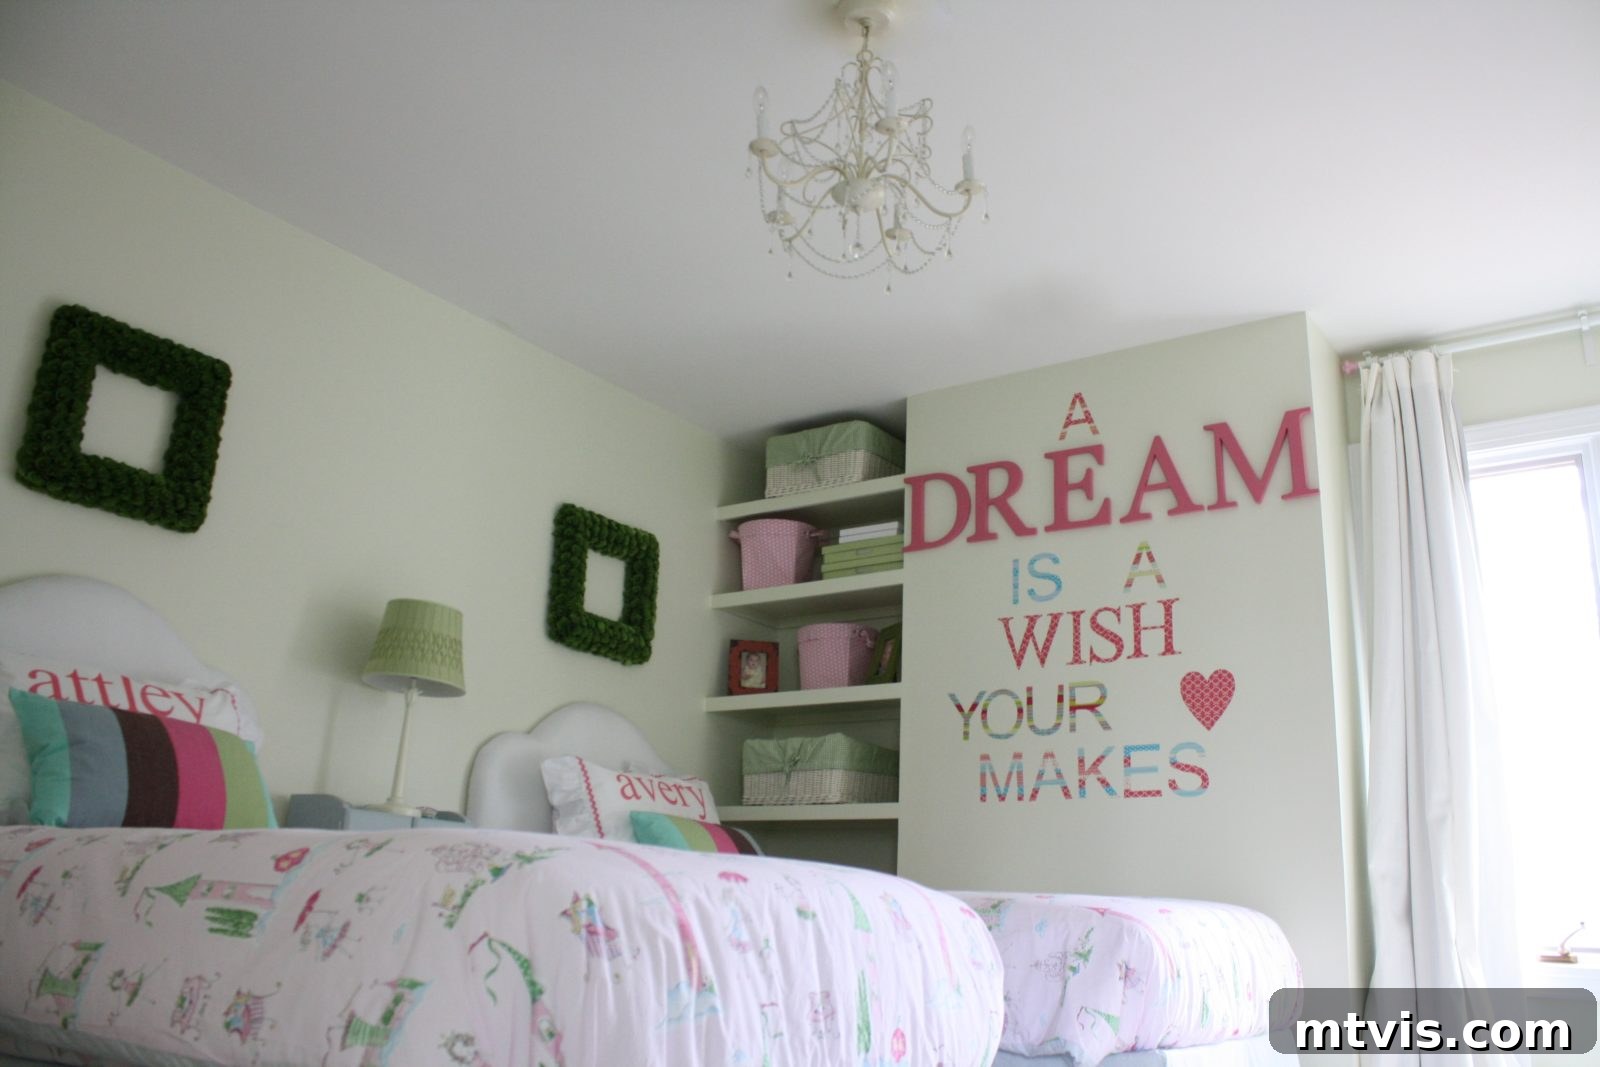
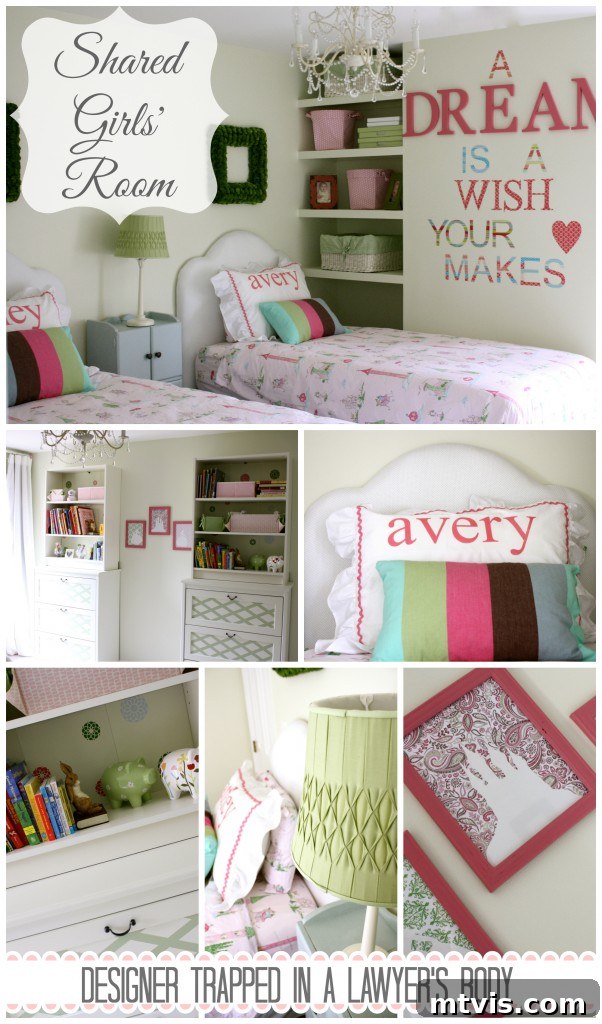
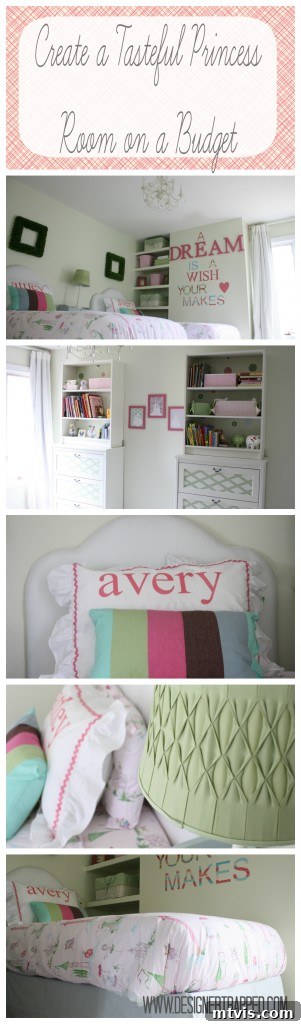
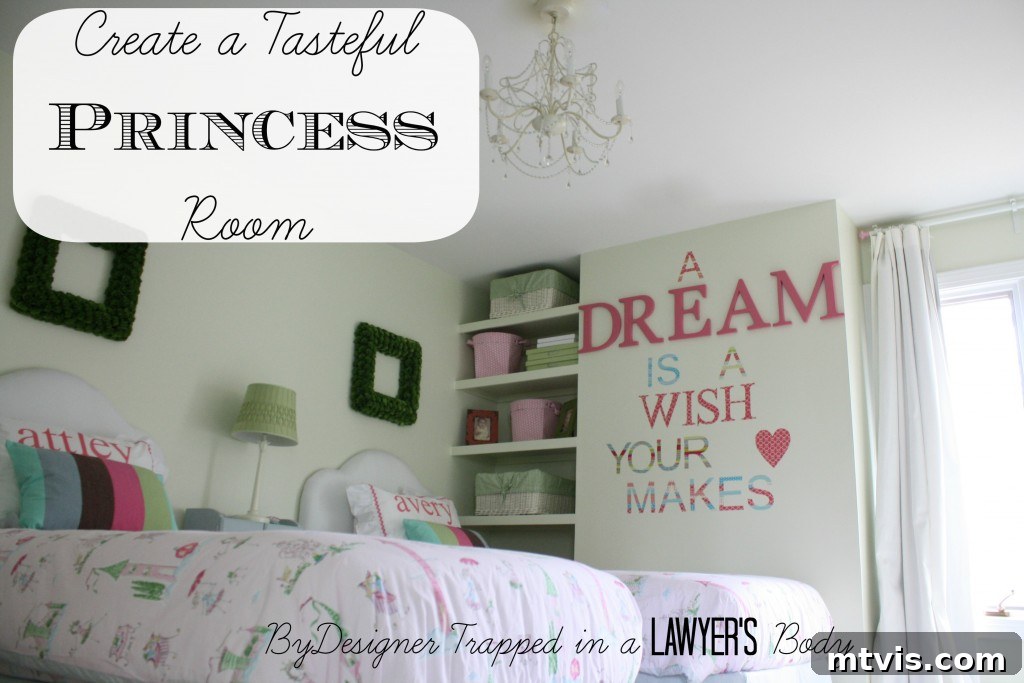
Seeing these images, I can truly say I absolutely love it! The transformation is incredible, and I’m eager to walk you through every step of how I brought this vision from my imagination to life. But first, let’s take a moment to appreciate where we started – this humble, uninspiring box of a room before the magic began.
Transforming the Space: From Beige Box to Enchanted Haven
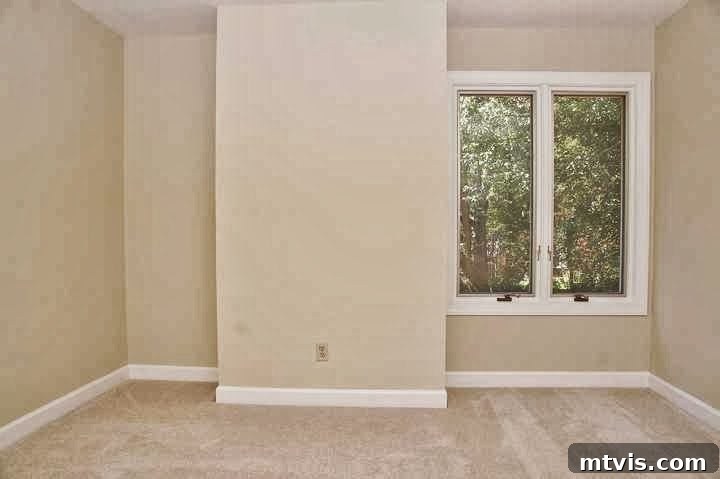
Doesn’t that just scream “boring” and “beige”? This spare bedroom was, to put it mildly, lacking personality and any semblance of warmth or charm. Not only was the color scheme utterly bland and uninspiring, but the room also presented a unique design challenge: an awkward bump-out on one wall, which cleverly conceals our chimney. This created an even more perplexing and somewhat unusable niche in the left corner, a space that initially felt like a significant design obstacle. Overcoming these initial hurdles and turning them into charming, functional features became a central and rewarding part of our design journey. We envisioned a vibrant, engaging space that felt both whimsical and sophisticated, a true haven where our little princesses could dream, play, and grow.
The Foundation: Savvy Bedding Choices on a Budget
Our design process began, as it always should, with selecting the bedding. This is a critical first step, and I cannot emphasize enough: never pick your paint color first! Trust me, I have a multitude of regrettable tales from past projects where I learned this lesson the hard way. Choosing your bedding or main fabric first provides a concrete color palette to work from, making paint selection infinitely easier and less prone to costly mistakes. Paint offers millions of shades, but fabric options are much more limited, so it’s best to anchor your design there and then find a coordinating paint color.
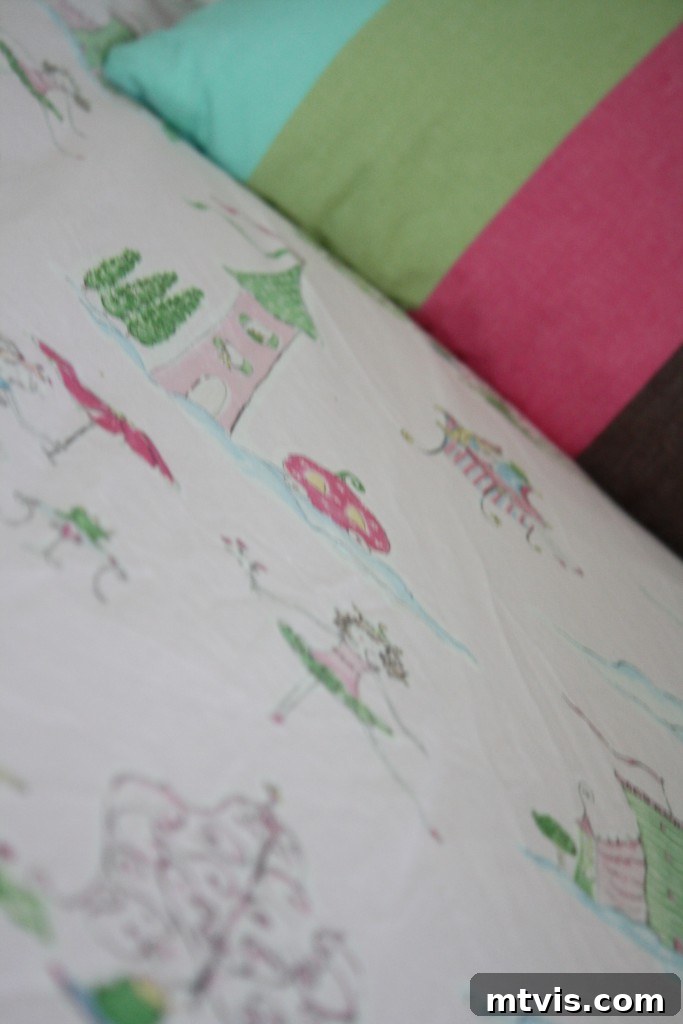
For our princess theme, I scoured countless options for bedding that struck the right balance of whimsy and elegance. I finally fell in love with the “Grace” sheeting collection from Pottery Barn Kids. It was perfect – refined, soft, and utterly princess-like without being overtly cartoonish or saccharine. However, the price tags were another story. The duvet covers alone were a staggering $129 each. While I adored the design, that was simply beyond our budget for twin girls’ bedding. Resourcefulness, as they say, is the mother of invention!
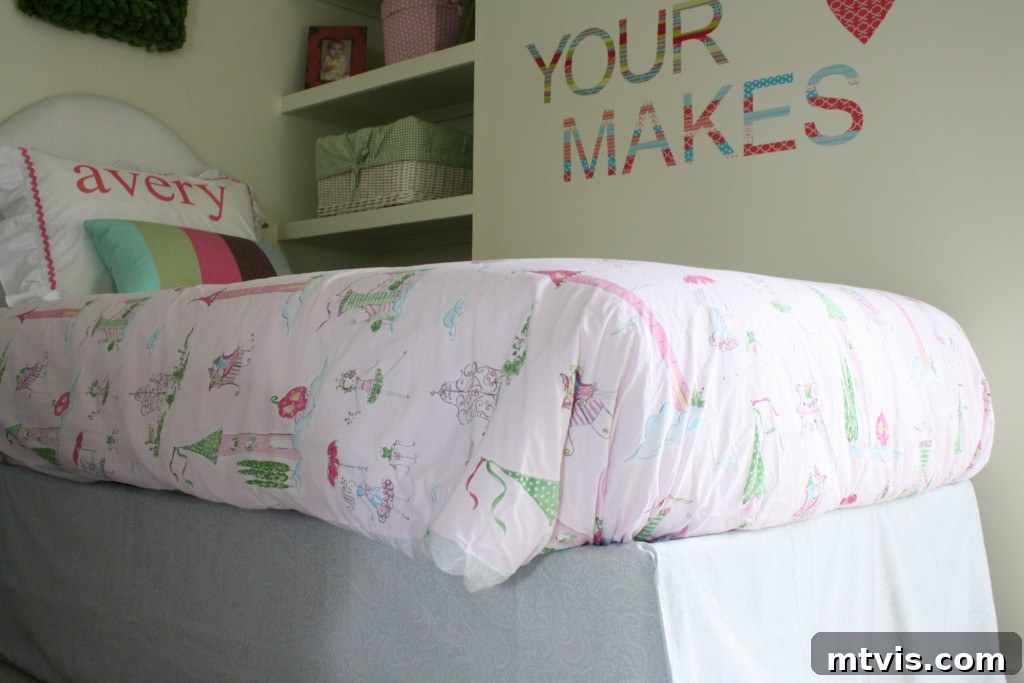
The ironic twist was that I actually preferred the sheets themselves to the ready-made duvet covers. So, I seized an opportunity during a sale and purchased two sheet sets for $50 each. To complete my DIY duvet covers, I also bought two inexpensive flat twin sheets from Macy’s for just $9.00 each. By cleverly using one flat sheet from the Pottery Barn set for the top and one of the affordable Macy’s sheets for the bottom, I successfully crafted my own custom duvet covers that perfectly matched my vision – for a fraction of the cost! This clever hack (which I’ll detail in an upcoming post) meant that for a total of $120.00, I had two complete bedding sets, including a pillowcase and a fitted sheet for each daughter. I intentionally avoided using flat sheets under their duvets, as my experience shows kids often get tangled in them. Not bad for a sophisticated, custom look that saved us hundreds of dollars!
Extending our budget-friendly bedding approach, I utilized two additional flat sheets from Macy’s to create the girls’ tailored, no-sew bed skirts. This incredibly simple yet effective project truly elevates the look of the beds, adding a polished finish without any sewing required. You can find the step-by-step instructions in my popular no-sew bed skirt tutorial here. For pillow shams, I initially purchased two plain white ruffled shams from Bed Bath and Beyond for $15.00 each, making use of a gift card I had on hand. However, for those seeking an even better deal, you can find a fantastic 2-pack of ruffled poplin shams on Amazon: Fresh Ideas Ruffled Poplin Sham 2 Pack King, White (*affiliate link*). I then personalized these shams beautifully with my girls’ names and a delicate touch of ric-rac trim, an easy project that adds so much charm and a custom feel (the tutorial for this customization will be shared soon!).
To further enhance the bedding ensemble, I created the wide-striped accent pillows using an ingenious trick: $2.00 kitchen towels from Ikea! This simple DIY provides a bold pop of pattern and color, breaking up the softness of the princess theme with a touch of modern flair. You can discover how to recreate this brilliant hack in the full tutorial here. Finally, to truly anchor the beds and add a touch of custom sophistication, we undertook the project of building our own DIY upholstered headboards. This was a surprisingly achievable afternoon project that made a significant impact on the room’s overall aesthetic, adding a bespoke, luxurious feel. The comprehensive instructions for creating your own can be found in my DIY upholstered headboard tutorial here. Every element, from the cost-effective bedding to the personalized headboards, was chosen and crafted to create a cohesive, inviting, and utterly magical sleeping area for our little princesses.
Color Palette & Ambiance: A Refreshing Green Base
With the bedding foundation thoughtfully established, we moved on to selecting the perfect paint color – a decision that should always follow your fabric choices for harmonious results. We opted for a very, very light shade of green – imagine the delicate, natural hue of real key lime pie, not the vibrant, artificial mint green often seen. This choice might seem unconventional for a princess room, typically associated with pinks and purples, but it was a deliberate and strategic decision to create a sophisticated and versatile backdrop. Green, in its softer tones, acts as a wonderful neutral. It’s calming, fresh, and provides a refreshing departure from the expected color schemes, allowing us to introduce vibrant pops of color and whimsical princess elements without overwhelming the space. This subtle green hue gave the room a serene, earthy quality that felt both elegant and playfully sophisticated.
To complete the fresh and crisp aesthetic, we also meticulously repainted all the trim in a brilliant, bright white. This simple yet impactful step instantly brightens the room, defining its architectural features and providing a clean, striking contrast against the soft green walls. The result is a vibrant, inviting space where the gentle green base truly sets the stage for delightful bursts of color and charming decor details. It creates an ambiance that is both magical and serene, fostering a peaceful yet inspiring environment for our twin girls to grow and play in.
Creative Wall Solutions: Cinderella Quotes, Floating Shelves & Decals
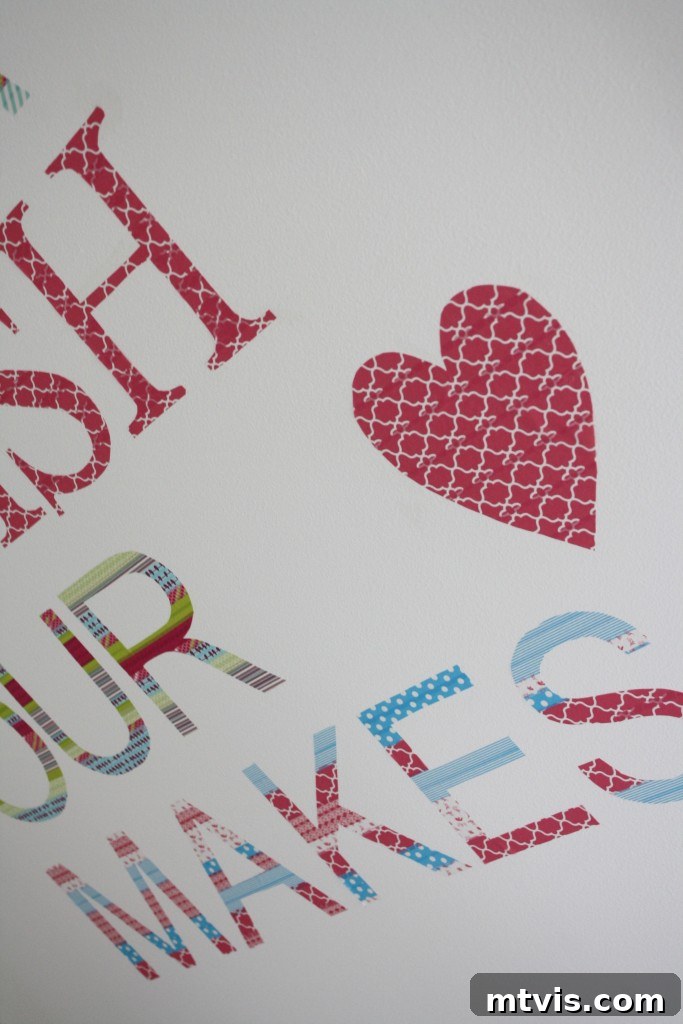
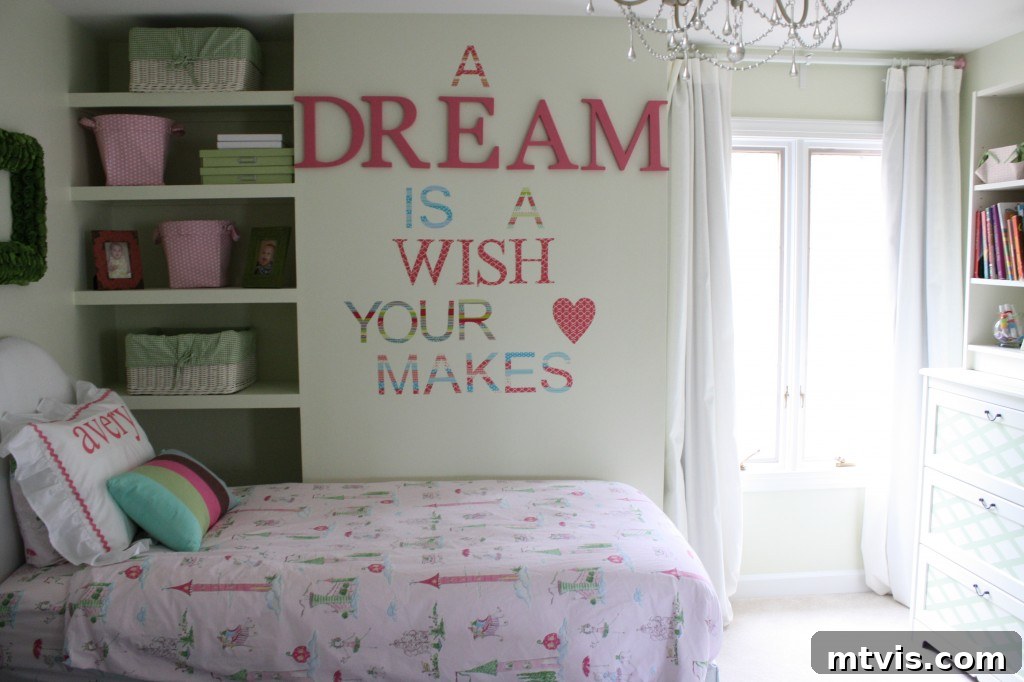
No princess room would be complete without a touch of classic fairy tale wisdom to inspire sweet dreams! I had some old “DREAM” wall letters that, while once cherished, had become a bit outdated in their gold finish. Instead of discarding them, I decided to give them a new lease on life with a fresh coat of paint, transforming them into a key 3D element of our Cinderella wall quote: “A dream is a wish your heart makes.” If you’ve seen the movie recently, I apologize in advance if that beloved song is now stuck in your head for the rest of the day! To complete the quote and add delicate flourishes, I made the remaining wall decals myself. This was a fantastic, budget-friendly DIY project using washi tape, which offers incredible versatility, is easy to apply, and surprisingly simple to remove if tastes change. You can find a detailed tutorial on how to create your own personalized washi tape wall decals by clicking HERE. I absolutely adore how this wall art turned out – it’s a beautiful, personalized touch that truly encapsulates the princess theme with a subtle elegance.
Beyond the enchanting wall quote, we tackled that initially “awkward bump-out” in the room, which housed our chimney. What once seemed like a significant design flaw has been brilliantly transformed into a functional and aesthetically pleasing feature thanks to the incredible floating shelves that Joe meticulously built. These custom shelves elegantly fill the niche, turning a previously wasted and overlooked space into a charming display area for books, favorite toys, and future treasures. The transformation from hating that niche to absolutely loving its new purpose and beauty is truly remarkable! For those inspired to create their own custom storage and display solutions, the comprehensive DIY floating shelves tutorial can be found here. This project not only added functionality but also a unique architectural interest to the room.
Personalized Furniture Upgrades: The Ikea Hack for Custom Style
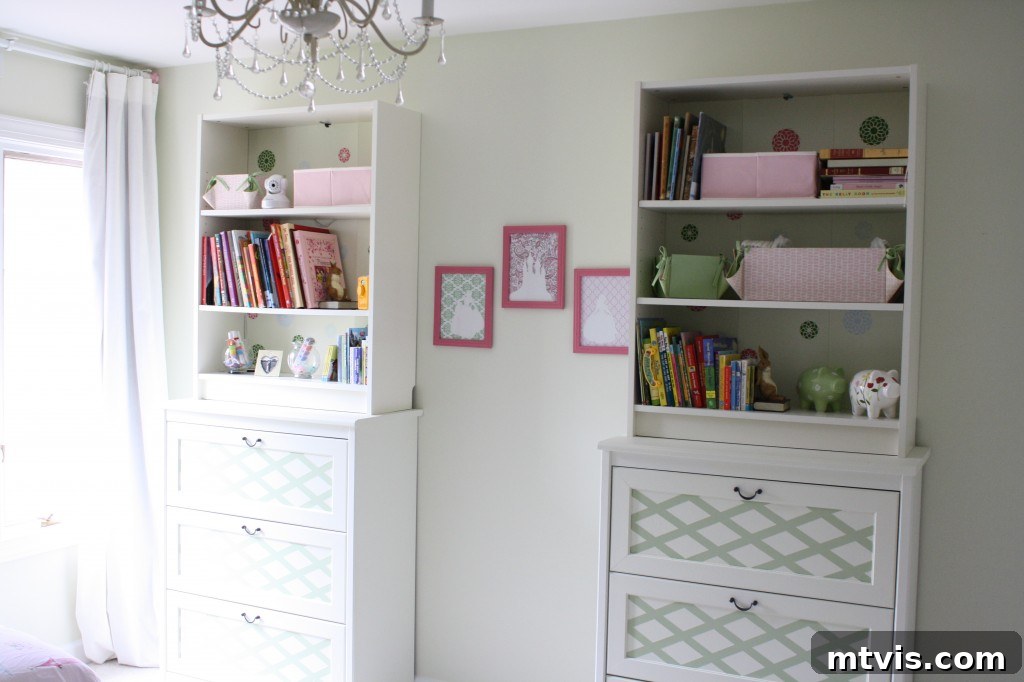
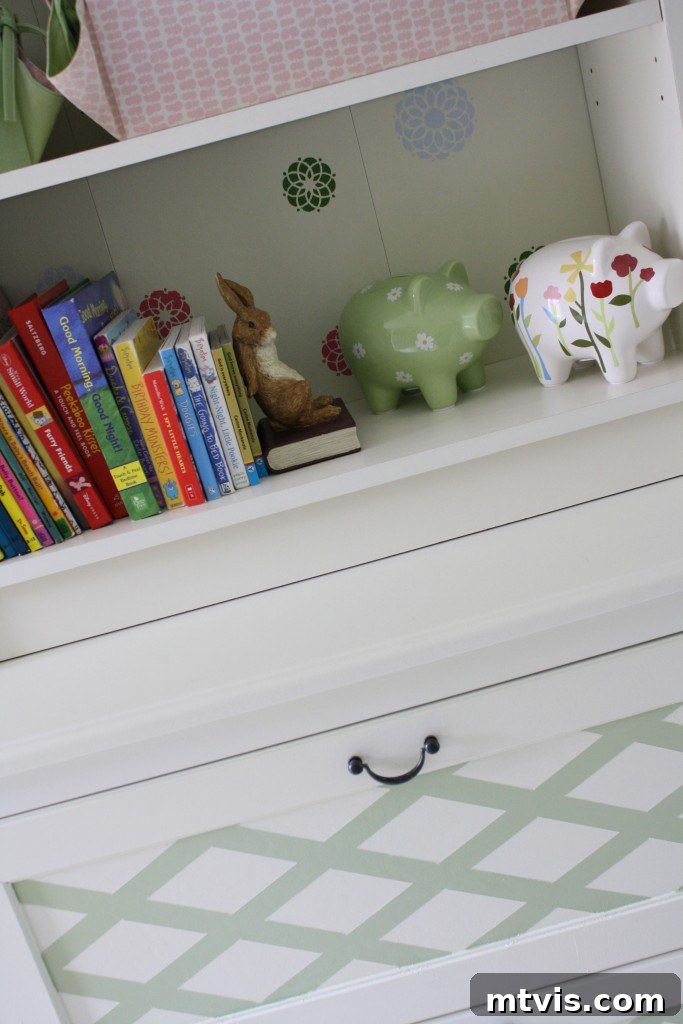
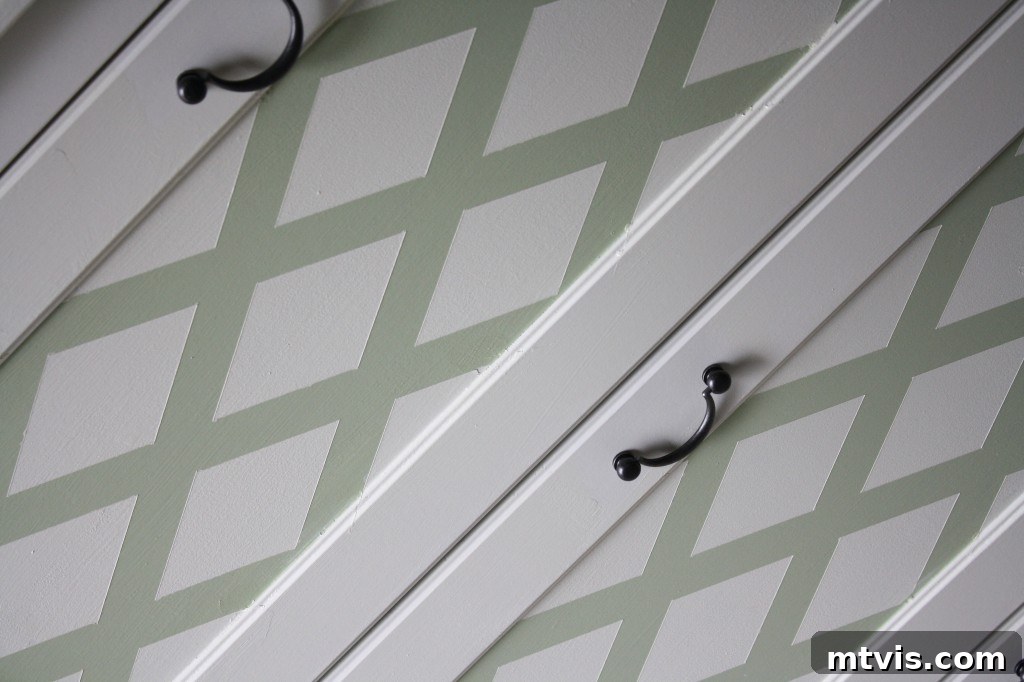
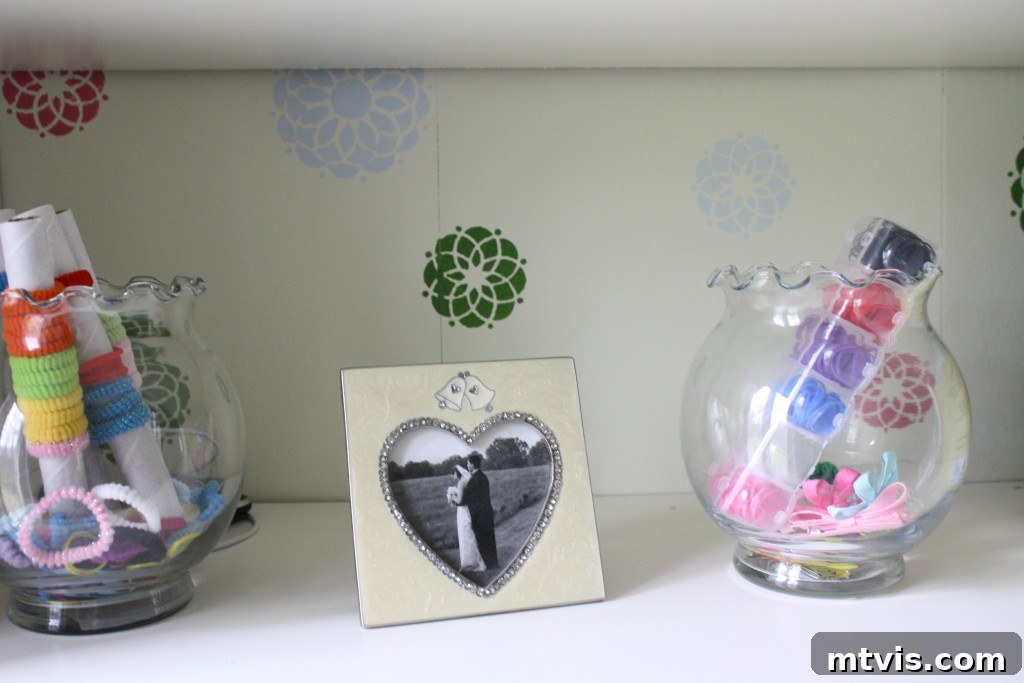
One of the most satisfying aspects of this room makeover was giving new life to existing furniture. We made the conscious decision to reuse their current chests of drawers and the bookshelves that sit atop them, which not only saved a significant amount of money but also aligned with our desire for sustainable design and reducing waste. To seamlessly integrate these beloved pieces into their new princess haven, I added some unique, hand-painted details. It’s truly amazing what a little paint and imagination can do to transform basic, off-the-shelf Ikea furniture into custom-looking pieces that truly make a statement and feel uniquely theirs. The subtle yet impactful details elevate the furniture, giving it a bespoke feel that perfectly complements the room’s elegant whimsy and personalized charm. If you’re looking to create your own custom-looking furniture pieces with simple Ikea items, paint, and a dash of creativity, be sure to click HERE for the full tutorial. This DIY approach allows for endless customization and ensures your furniture pieces are perfectly tailored to your design vision.
Lighting, Accessories & Finishing Touches for a Royal Ambiance
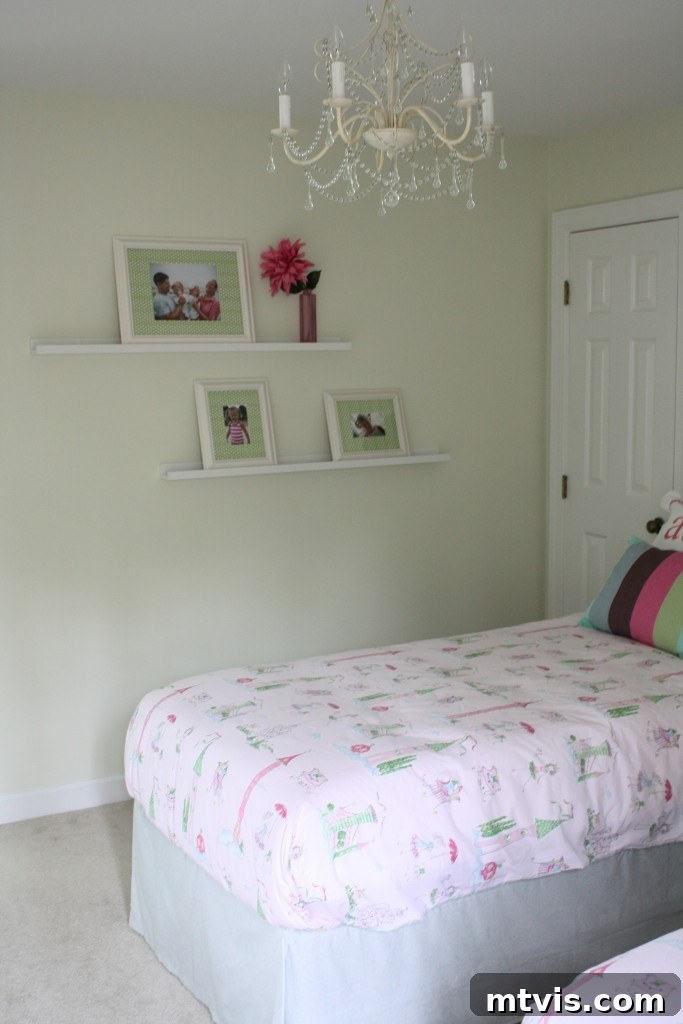
Every true princess room deserves a touch of sparkle and regal illumination, doesn’t it?! To achieve this, we hung a beautiful chandelier that previously graced their nursery. Reusing this elegant piece was not only a budget-friendly decision but also added a lovely touch of continuity and sentimentality, carrying a precious piece of their babyhood into their new “big girl” space. The soft, diffused glow of the chandelier instantly elevates the room, casting a magical light that perfectly suits the enchanting princess theme and creates a warm, inviting atmosphere.
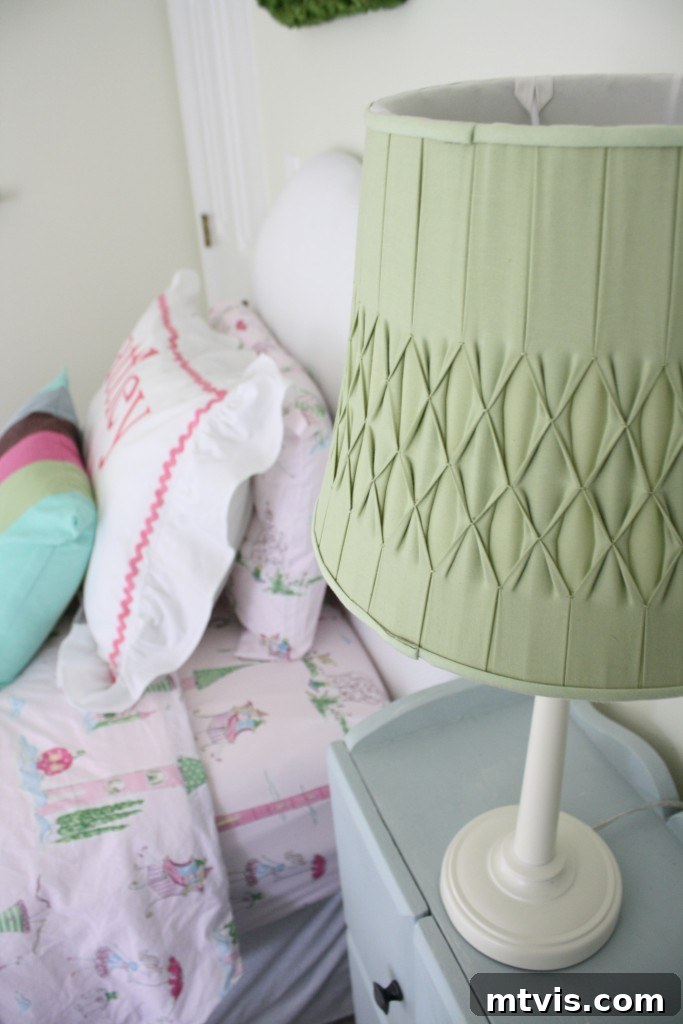
Between their beds, we placed a small, charming table that holds significant family history – it was lovingly crafted by my maternal grandfather decades ago. A simple coat of blue paint gave this heirloom piece a fresh, modern look, perfectly complementing the room’s chosen color scheme and adding a subtle pop of color. Perched on this table is a sweet lamp adorned with a delicate smocked lampshade, providing a soft, ambient light ideal for bedtime stories and quiet play before sleep. This layered lighting approach ensures the room feels cozy and well-lit at all times.
To add further visual interest, display opportunities, and a touch of modern design, we installed a series of sleek Ikea picture ledges on the wall opposite the Cinderella quote. These ledges are incredibly versatile, allowing for an evolving display of art, cherished photos, and small decorative items that can be easily changed as the girls grow. I’m currently in the delightful process of accessorizing these ledges, carefully curating items that reflect the girls’ personalities and the room’s enchanting theme. These thoughtful finishing touches, from the elegant lighting to the sentimental display areas, truly bring the princess room to life, making it a functional, beautiful, and deeply personal space that our daughters will adore for years to come.
A Regal Touch: DIY Princess Silhouette Art
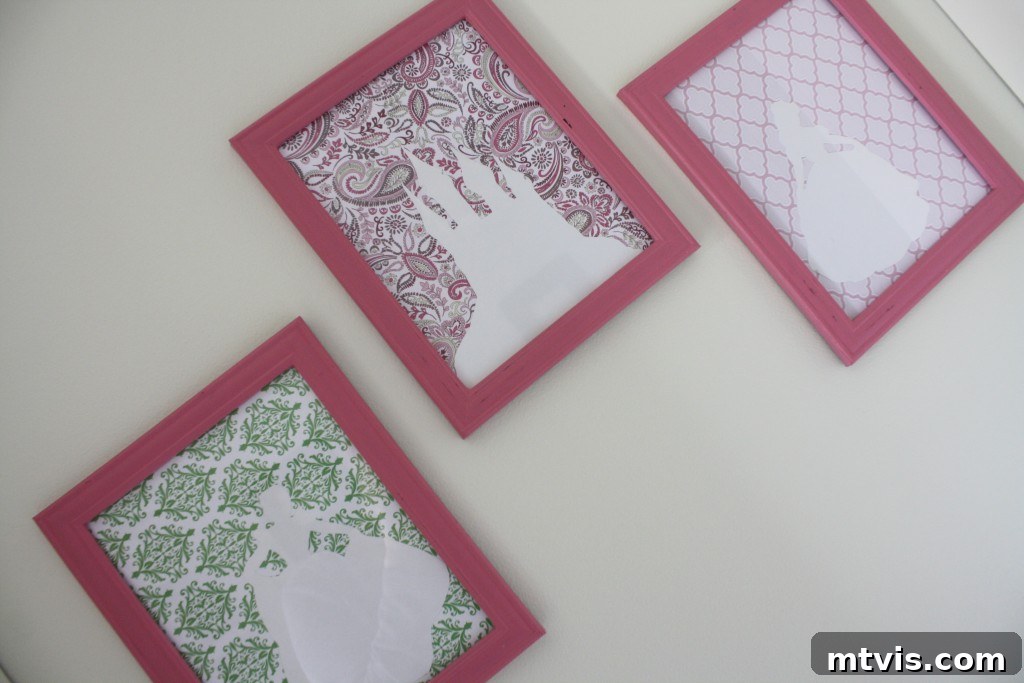
No princess room, no matter how tastefully designed, would be truly complete without some regal artwork! For my little princesses, I created a series of beautiful princess silhouette art pieces. These were incredibly easy to make and remarkably inexpensive, proving that you don’t need to spend a fortune to add personalized, thematic art to a room. They add a sophisticated, yet playful, nod to their favorite fairy tale characters without being overtly childish or distracting. The minimalist design allows them to blend seamlessly with the room’s elegant aesthetic while still celebrating the beloved princess theme. Details and a full tutorial on how to create your own will be coming very soon, so be sure to check back for that exciting DIY project!
Your Thoughts? The Royal Verdict is In!
So, there you have it – the complete tour of our twin girls’ magical new bedroom! From a drab, beige spare room to a vibrant, tasteful princess paradise, this makeover was a true labor of love and a testament to creative, budget-friendly design. Every decision, every DIY project, was made with the intention of creating a space that our girls would not only love passionately today but also grow with gracefully for years to come. The blend of whimsy, elegance, and practicality makes it a truly special haven. What do you think of the transformation? Do you love it as much as my little princesses and I do? I’d love to hear your favorite elements or any questions you might have in the comments below!
* This post contains affiliate links, which means I may receive a (very) small commission if you click a link and purchase something. It does NOT result in additional charges to you or cost you anything extra. The small amount of affiliate money I earn per month is how I pay the fees to keep this site up and running. Thanks so much for your support!
Follow my blog with Bloglovin