
Transform Your Furniture: Refinish Wood Without Sanding or Stripping!
This post is sponsored by Mohawk. All opinions are 100% my own, based on my personal experience using these truly exceptional products.
Effortless Wood Chair Refinishing: A Guide to Restoring Antiques
Hello, fellow DIY enthusiasts and furniture lovers! Get ready to be absolutely thrilled, because I’m about to unveil a project that will change the way you think about furniture refinishing. Imagine bringing old, worn wood chairs back to life, giving them a fresh, vibrant look without the dreaded tasks of sanding or stripping. Yes, you read that right – no messy sanding dust, no harsh chemical strippers, just a straightforward, easy process. You’re welcome!
Several years ago, my mom generously gifted us a pair of magnificent antique banker’s chairs. These chairs aren’t just furniture; they’re cherished family heirlooms, having been passed down through generations. While their quality, solid wood construction, and unique style are undeniable, they had spent the better part of the last 15 years tucked away in attics. {Insert a slight head-hang of shame here.} Their once proud finishes had succumbed to time, showing extensive wear, discoloration, and various imperfections that masked their true beauty.
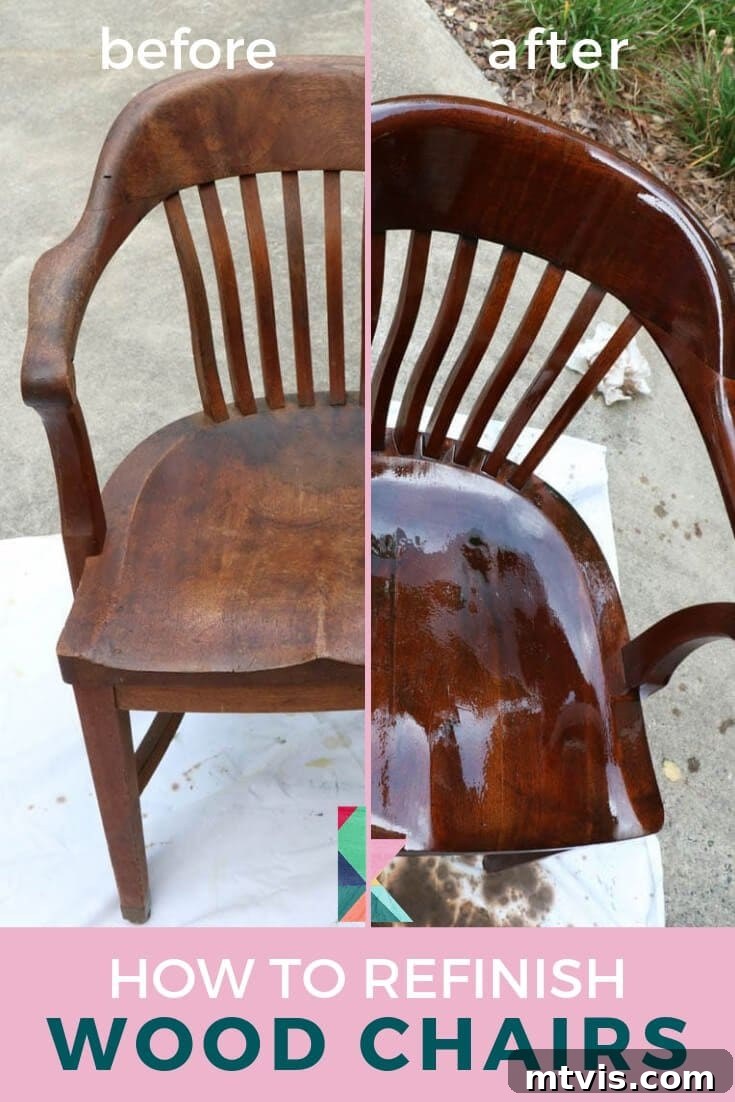
I am incredibly excited to announce that we’ve finally had the chance to revitalize these historical pieces. Our secret? Discovering a line of incredible Mohawk products that allowed us to bypass the conventional, labor-intensive steps of sanding and stripping. This revolutionary approach saved us countless hours and a significant amount of effort. Incredibly, transforming both of these chairs took me approximately three hours, from start to finish. It was truly easy peasy, a dream come true for anyone looking to refresh their wooden furniture.
A Glimpse at Their Former Glory (and Flaws)
Before we dive into the step-by-step transformation, let me show you the condition of these chairs. Understanding their starting point will make the “after” results even more impressive.
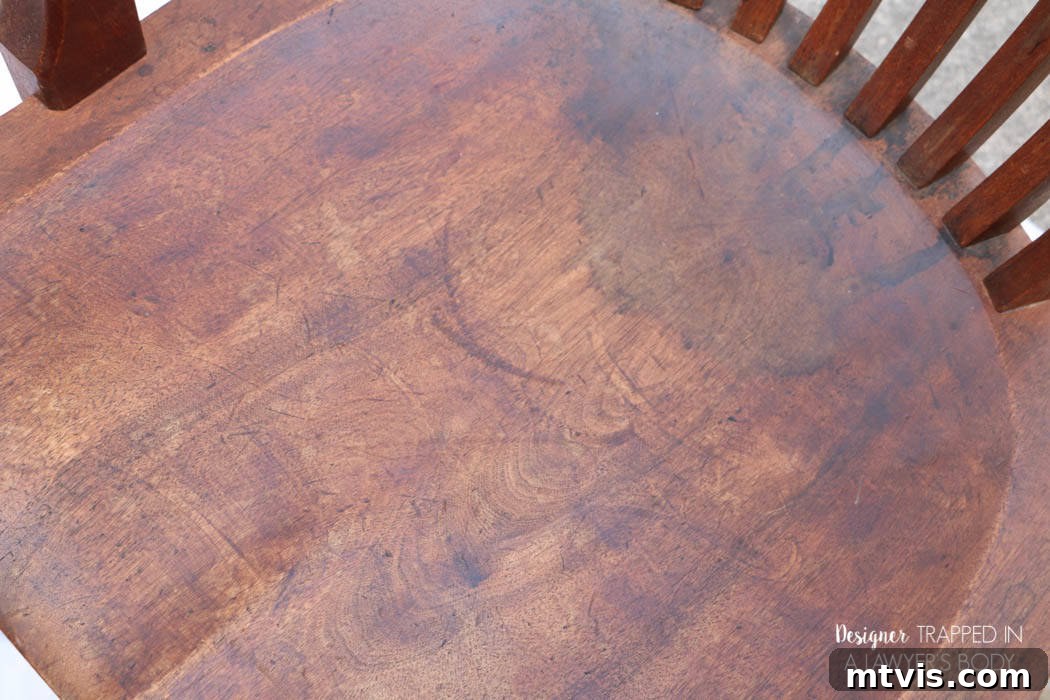
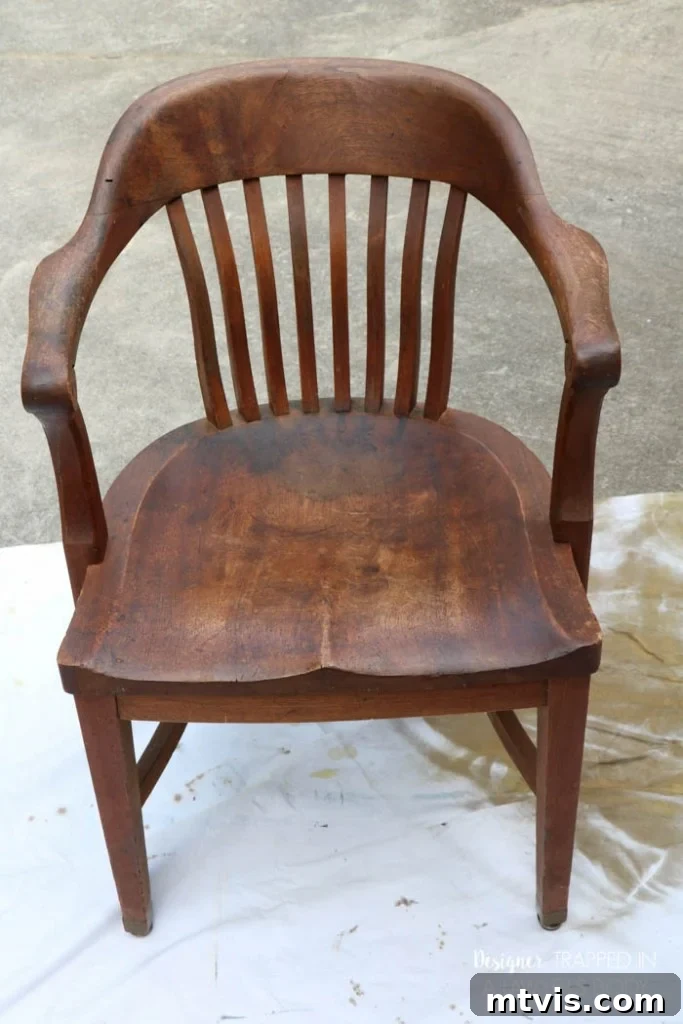
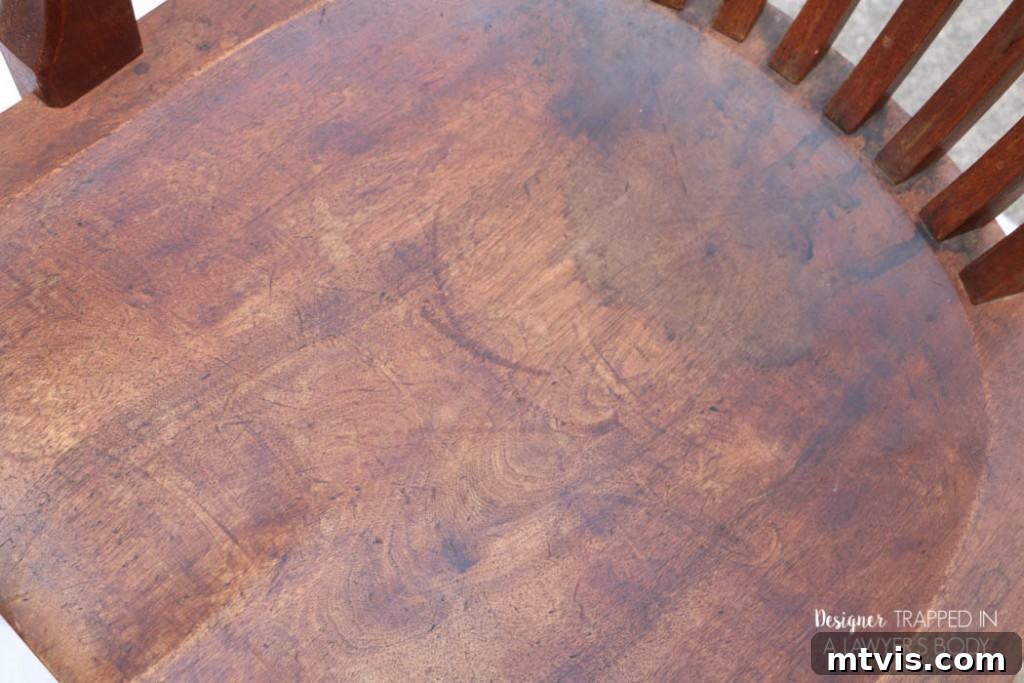
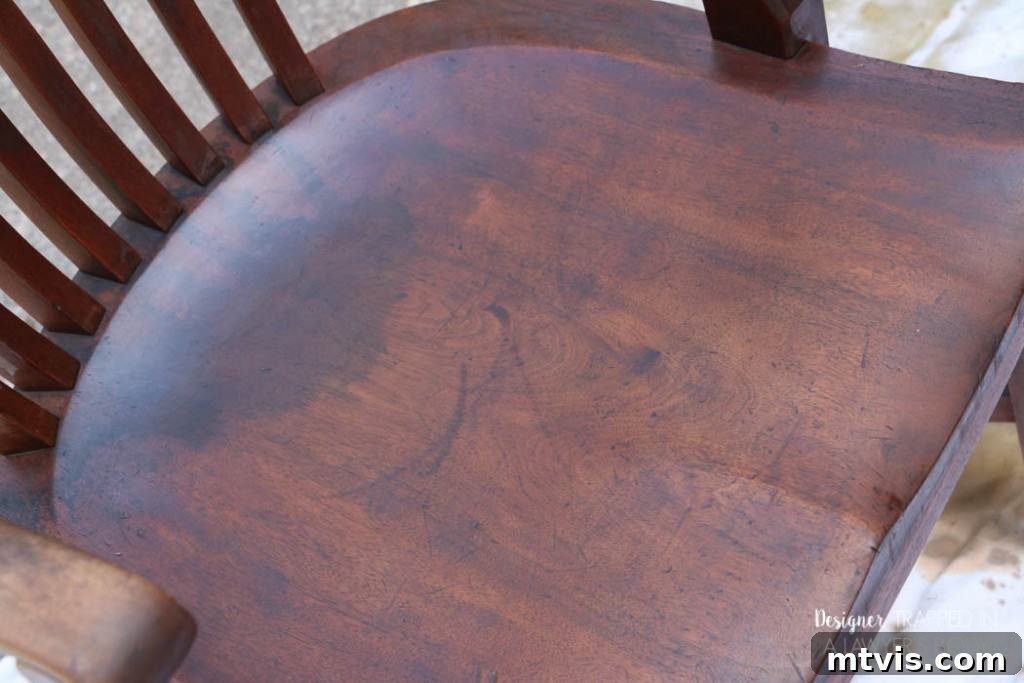
The first chair, a handsome piece, suffered from significant staining and uneven color on its seat. The wood, though solid, appeared dull and tired, clearly yearning for some much-needed tender loving care (TLC).
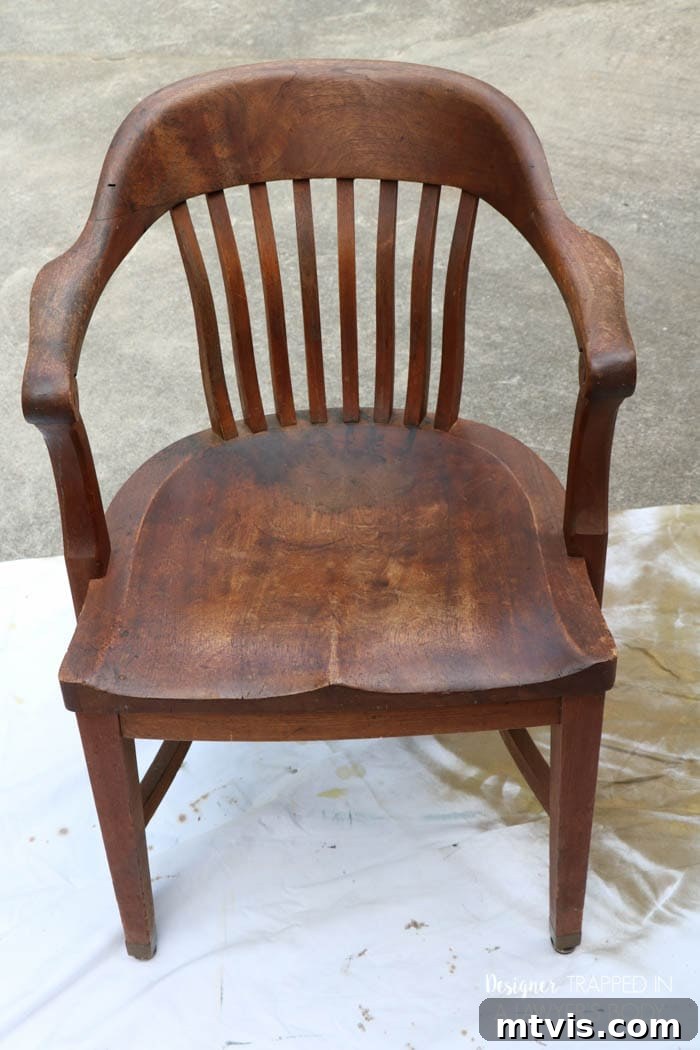
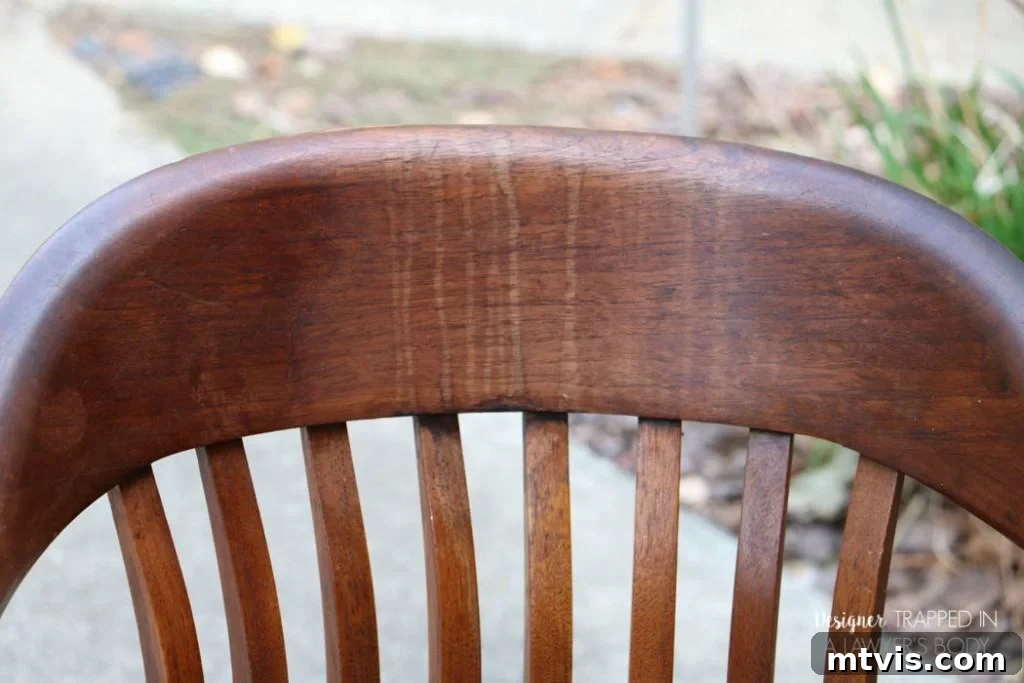
The second chair presented a different challenge. While its overall color was in better shape, it bore unsightly drip marks on the back support piece, marring its otherwise robust appearance. These marks stood out, demanding attention and a clever solution.
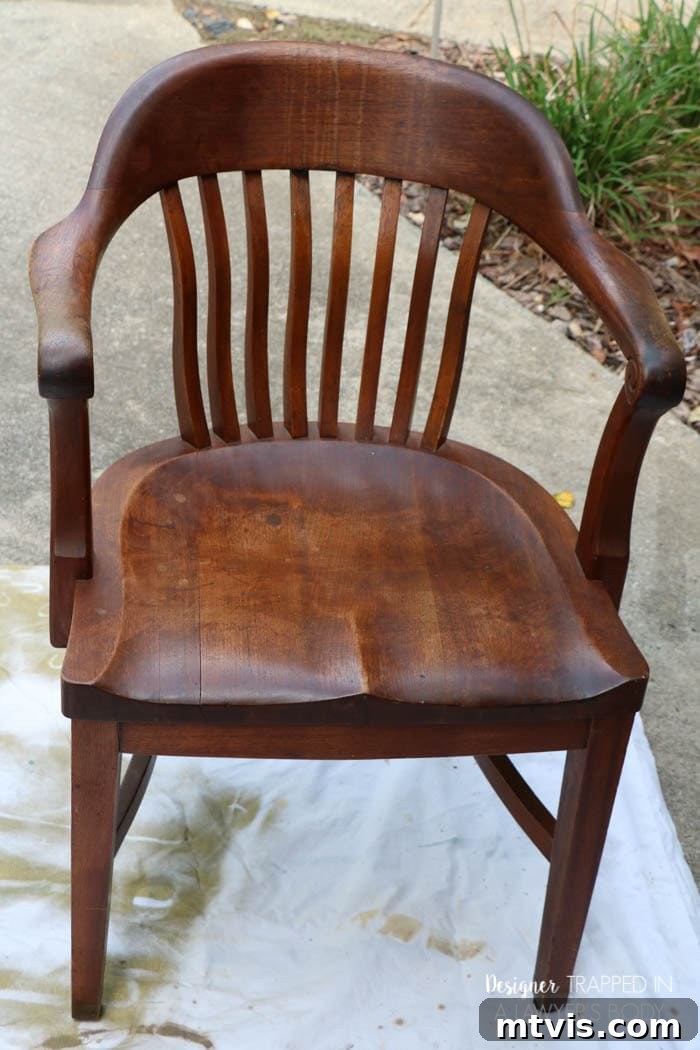
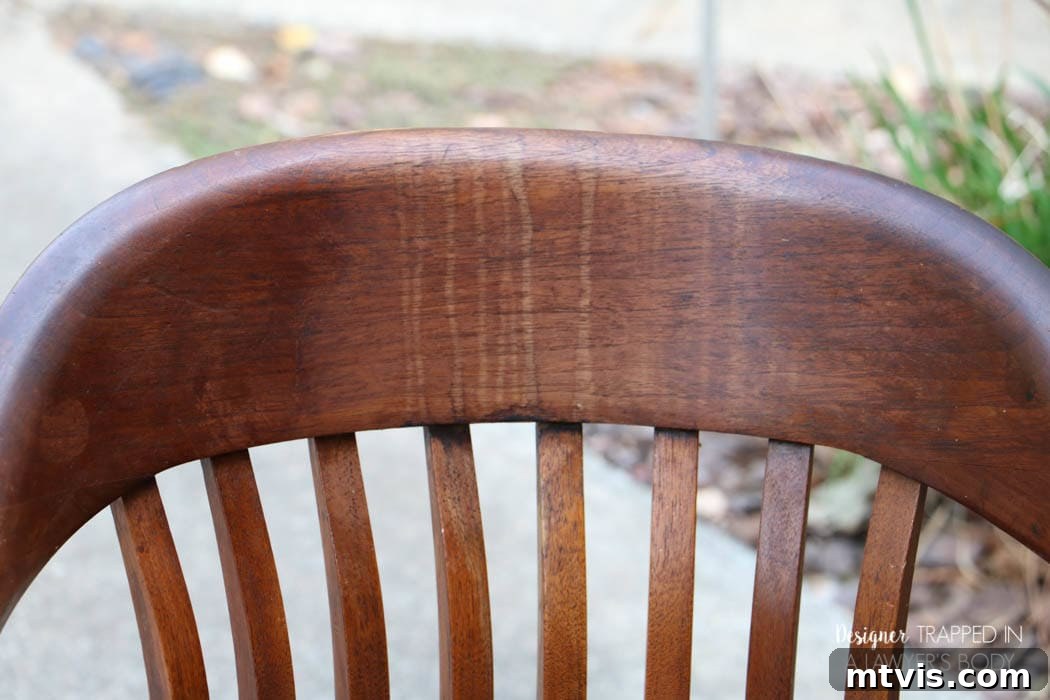
Now that you’ve seen the “before,” prepare to be amazed by the swift and stunning transformation! This project proves that you don’t need extensive experience or professional tools to achieve fantastic results in wood restoration. This post contains some affiliate links for your convenience. Click here to read my full disclosure policy.
Essential Materials for Your No-Sand Refinishing Project
I was incredibly fortunate to test out these professional-grade Mohawk products, a definite perk of being a blogger! But here’s the best part for you: Mohawk is making a consumer line of all the products I used widely available. Many of these fantastic refinishing essentials are already on Amazon, and the rest will be launching very soon. This means you can achieve the same professional results from the comfort of your home!
Here’s what you’ll need to revitalize your own wood chairs, or any wood furniture for that matter:
- Mohawk Ultra Touch-Up Marker: Perfect for addressing minor scratches, nicks, and worn edges.
- Mohawk Wax Wash Remover: Crucial for thoroughly cleaning the surface and ensuring proper adhesion of new finishes.
- Mohawk Wiping Wood Stain: A thin, easy-to-apply stain that provides rich color without heavy coats.
- Mohawk Brush Tip Graining Markers: Excellent for camouflaging stubborn imperfections and blending disparate wood tones.
- Satin oil-based polyurethane: For a durable, protective topcoat that enhances the wood’s natural beauty.
- Water and vinegar cleaning solution: A simple homemade solution for initial cleaning.
- Paper towels or clean lint-free rags: For wiping and applying products.
- Foam brushes: Ideal for smooth, even application of stain.
- Latex gloves: To protect your hands during the process.
Your Step-by-Step Guide to Refinishing Wood Chairs the Easy Way
This method truly simplifies wood refinishing, making it accessible even for beginners. Follow these steps to give your wooden chairs a new lease on life:
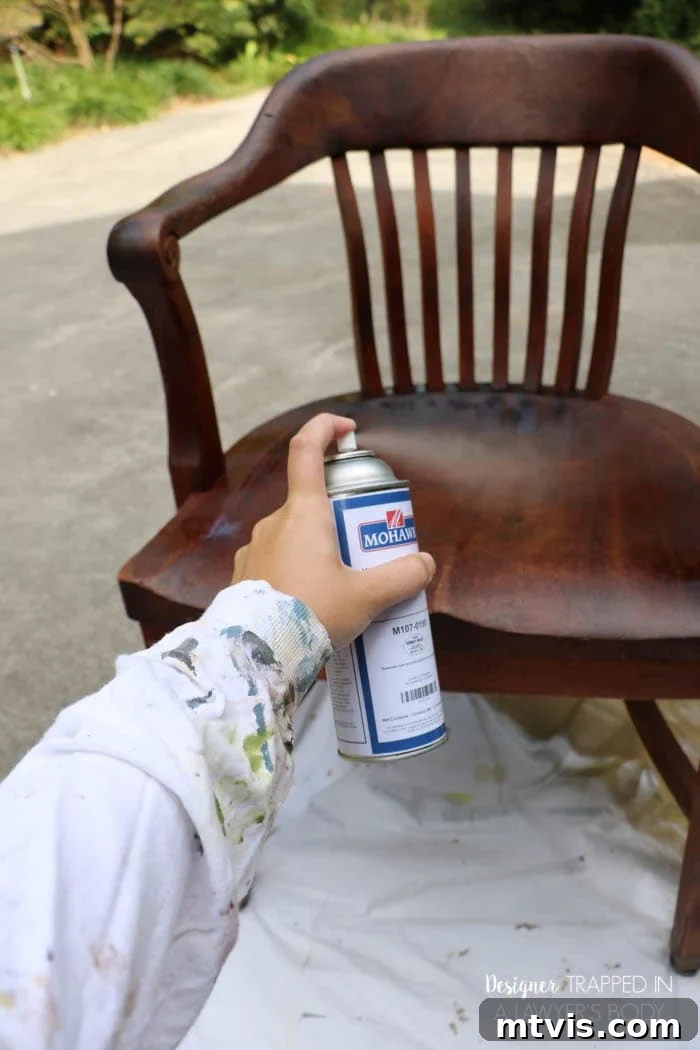
1) Thorough Cleaning is Key: Begin by giving your chairs a meticulous cleaning. I started with a simple homemade water and vinegar solution to remove surface dirt and grime. This is a crucial first step, as any residual dirt can hinder the adhesion of subsequent products. After the initial clean, I followed up with Mohawk’s Wax Wash Remover. This product is indispensable for dissolving any old wax finishes, grease, or silicones that might be present. Simply spray it on and wipe it off with a clean paper towel. The goal is a pristine, ready-to-refinish surface. Please be aware that this spray does emit fumes, so it’s highly recommended to work in a well-ventilated area, preferably outdoors if possible.
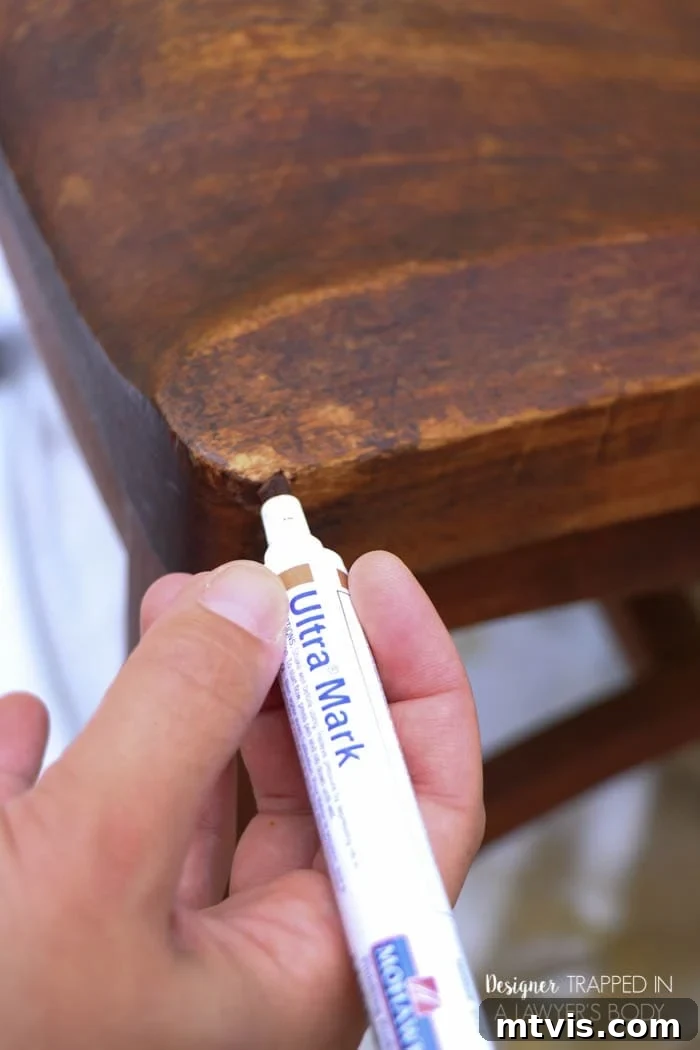
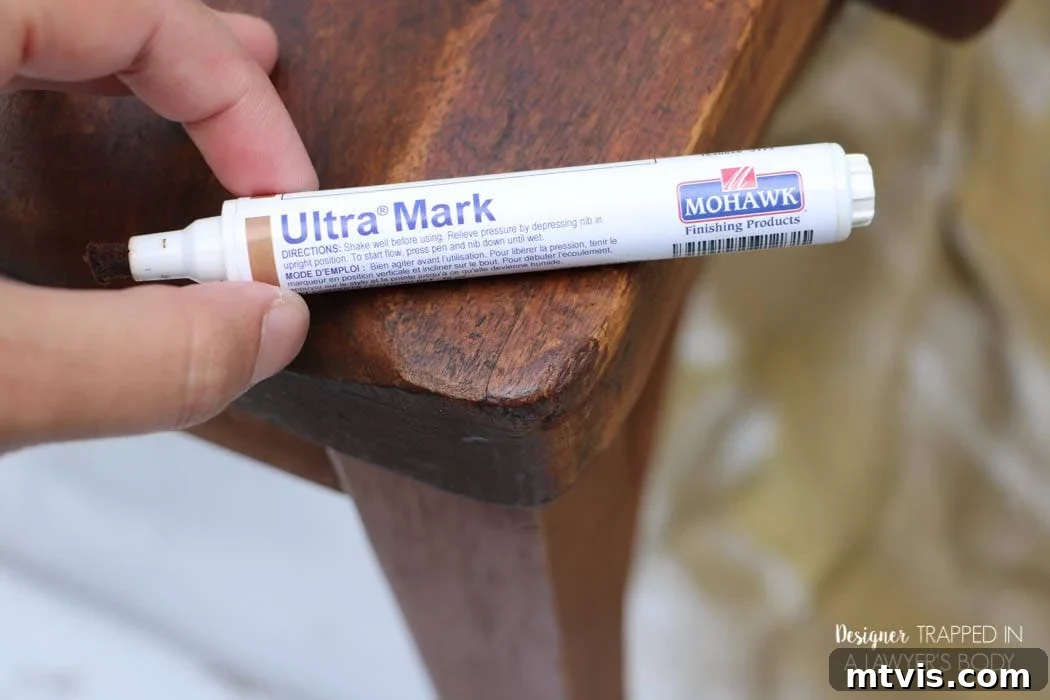
2) Repairing Minor Imperfections with Touch-Up Markers: Next, I addressed the noticeable worn edges and minor scratches using the Mohawk Ultra Touch-Up Marker. This part is surprisingly simple and incredibly satisfying. If you can color with a marker, you can master this technique! Choose a marker shade that closely matches your existing wood tone or the desired final color. Apply it lightly to worn areas, feathering the edges to blend seamlessly with the surrounding wood. This instantly minimizes the appearance of age and wear, creating a more uniform look.
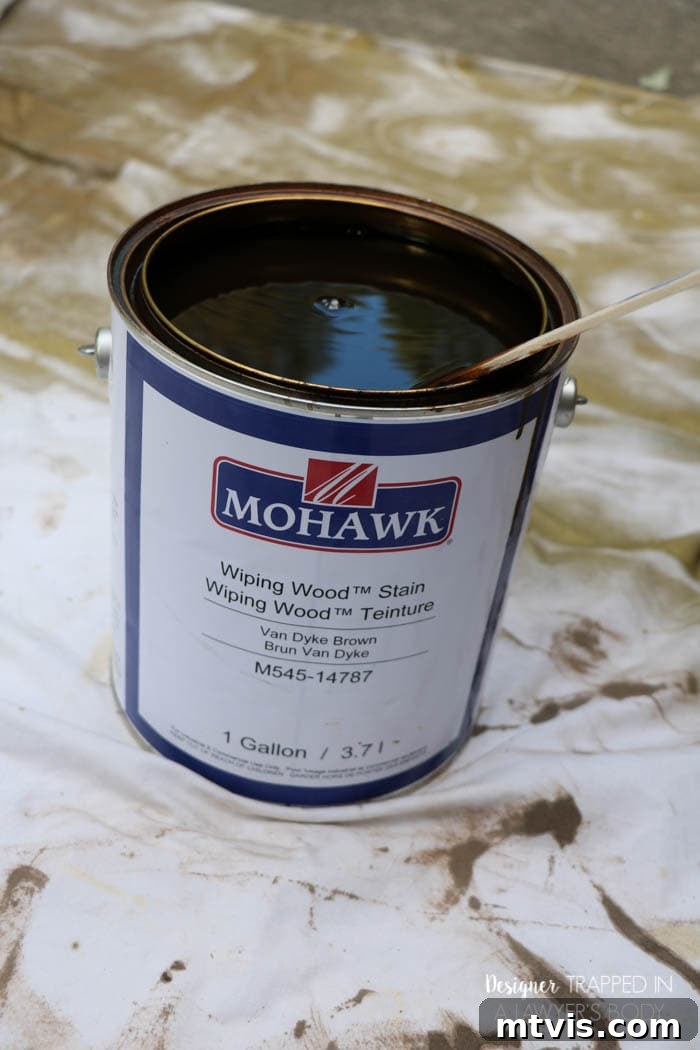
3) Applying the Mohawk Wiping Wood Stain: Now for the transformation! This Mohawk Wiping Wood Stain is truly amazing. Its very thin consistency means it penetrates beautifully and allows for buildable color. Exercise caution when working with it, as it can splatter easily. I found that applying it with a foam brush and then wiping off the excess almost immediately with paper towels yielded the best results. This technique allows you to control the depth of color. I applied two coats to each chair, allowing adequate drying time between applications. Again, this stain emits significant fumes, so always ensure you are working in a very well-ventilated area to protect your respiratory health.
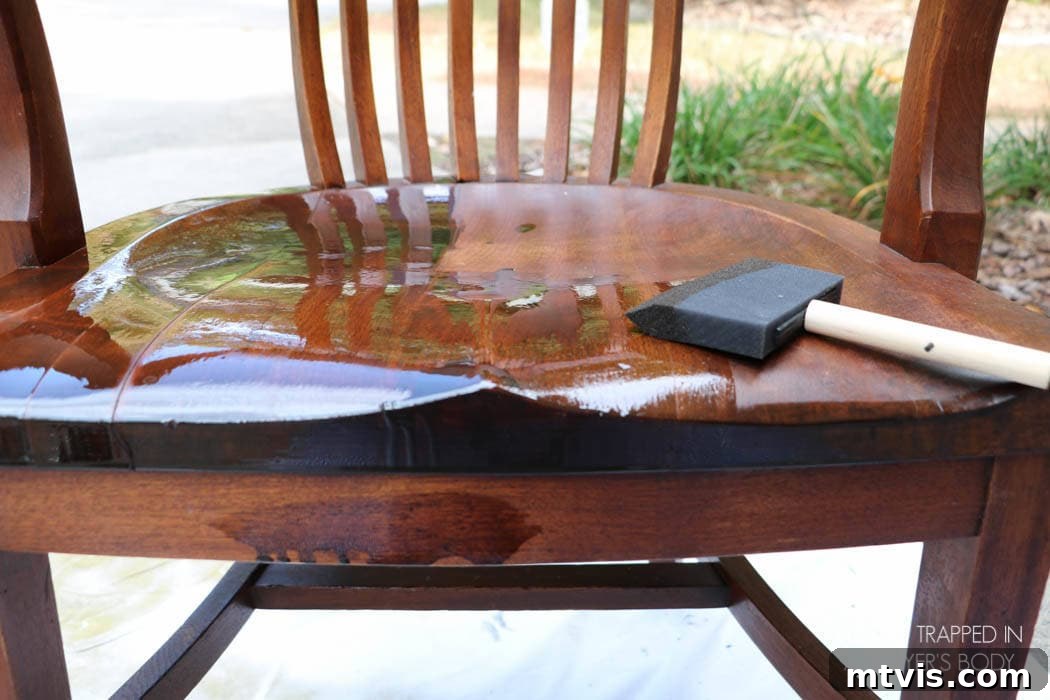
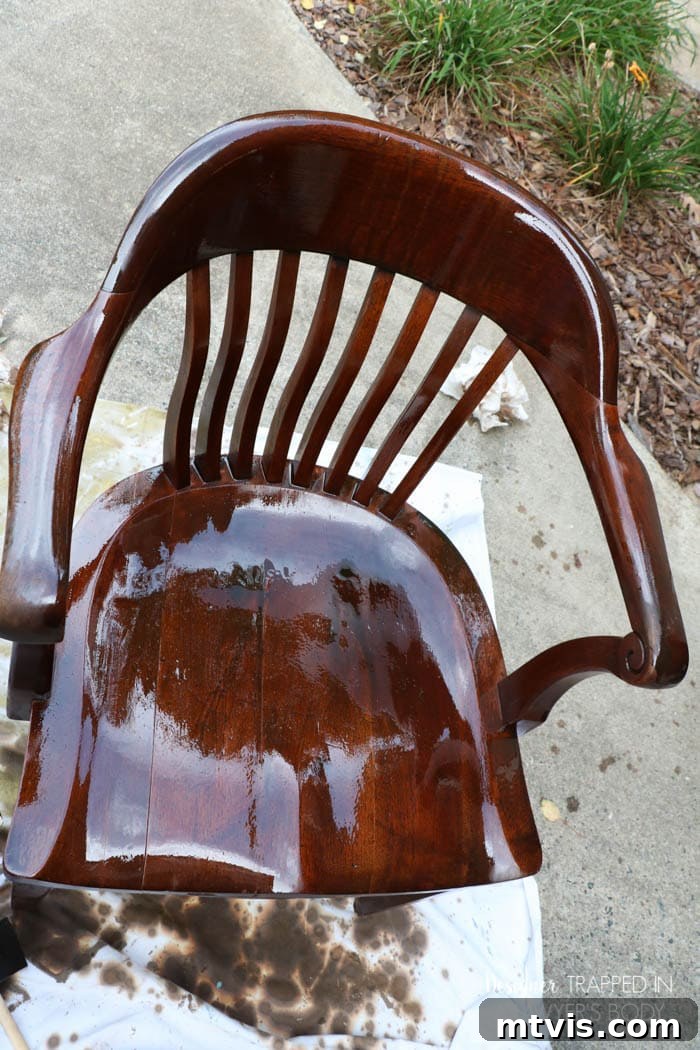
4) Camouflaging Stubborn Marks with Graining Markers: Although the drip marks on the second chair’s back support improved significantly after two coats of stain, they were still somewhat visible. This is where the Mohawk brush tip graining markers became my secret weapon. These markers are designed to mimic wood grain, allowing you to feather in subtle lines and blend imperfections more effectively. I carefully applied the wood grain marker stain over the drip marks, quickly wiping away any excess with a paper towel to ensure a natural look. This layering technique, followed by an additional application of the wiping stain to the entire back support piece, beautifully camouflaged the remaining flaws.
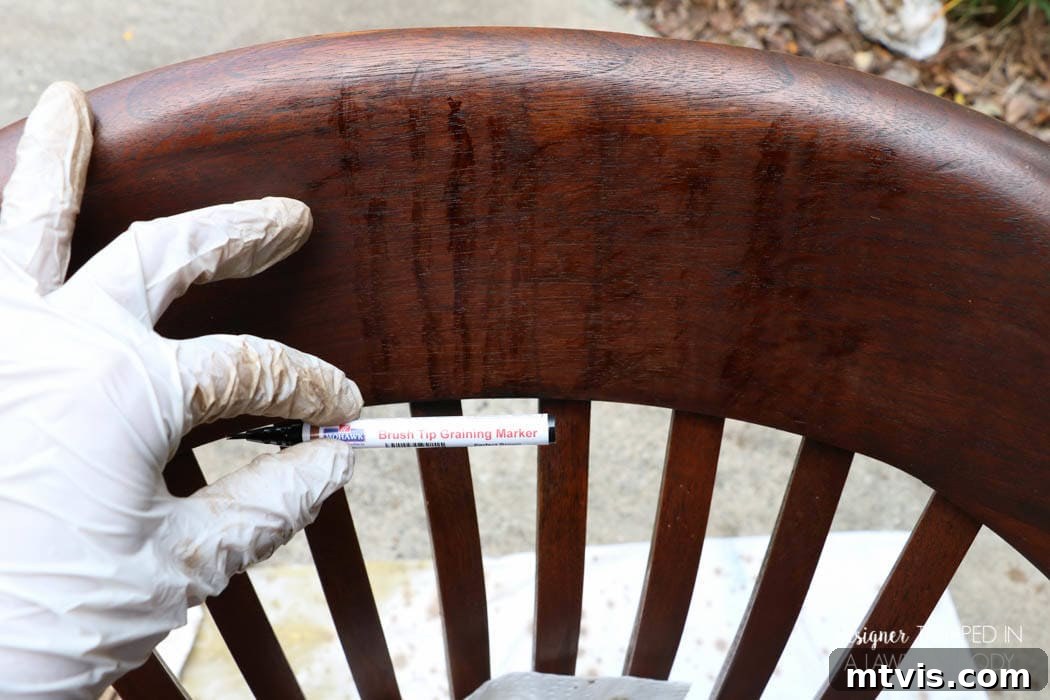
5) Applying a Protective Topcoat: To seal and protect the newly refinished wood, I applied a coat of oil-based satin polyurethane to each chair. This step is vital for durability, safeguarding the wood from daily wear and tear, and creating a smooth, long-lasting finish. A satin finish offers a beautiful, subtle sheen that enhances the wood’s natural warmth without being overly glossy, preserving the antique character of the chairs.
The Magnificent Results: Embracing Imperfection and Enhancing Beauty
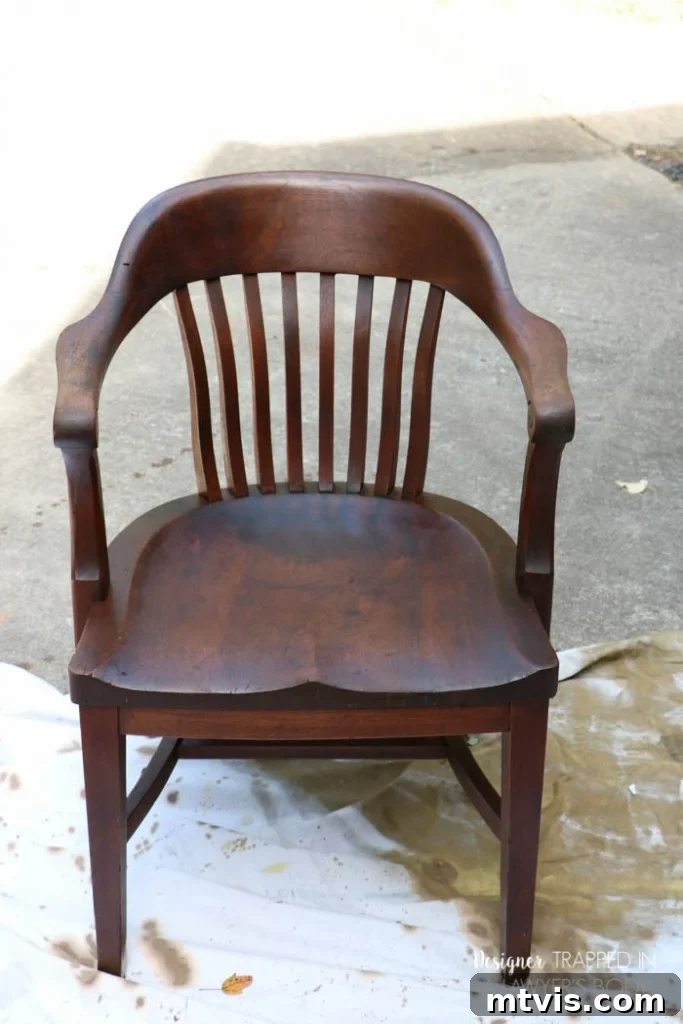
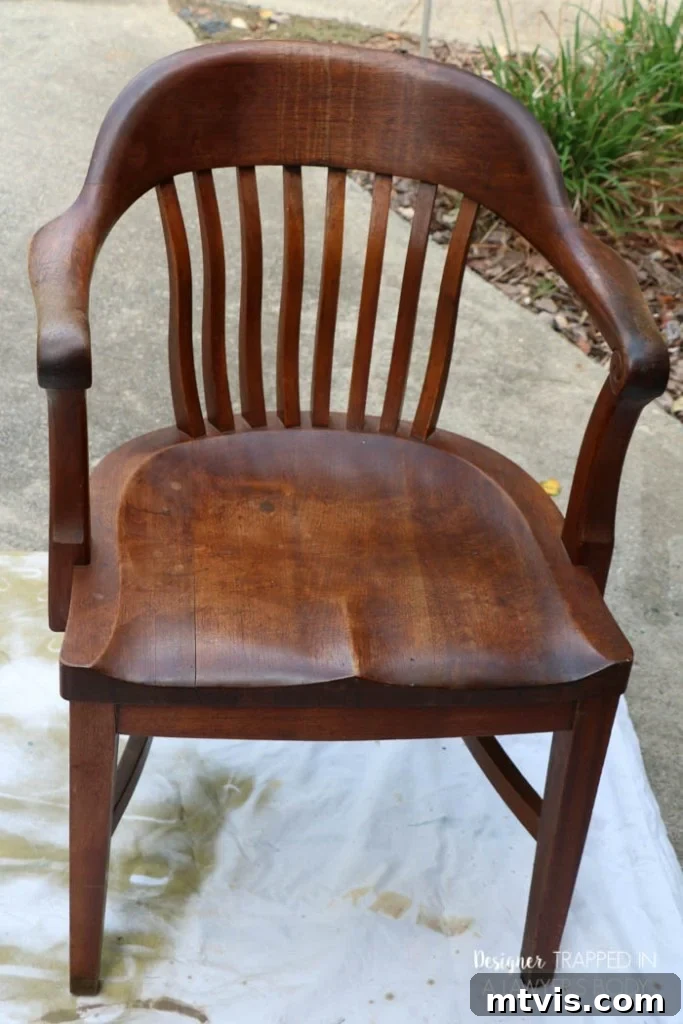
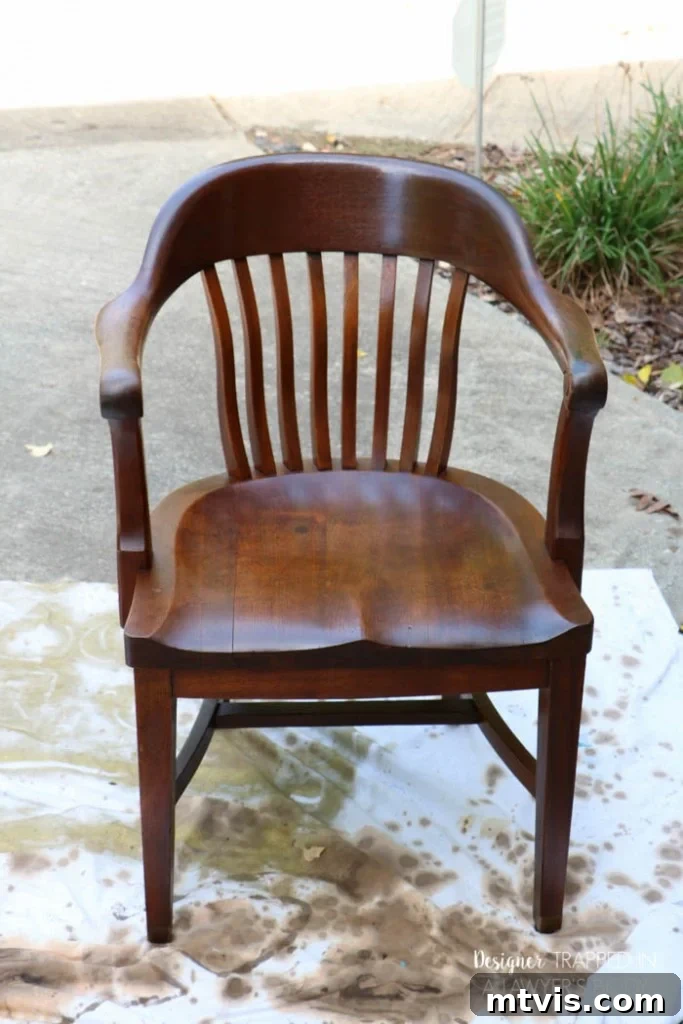
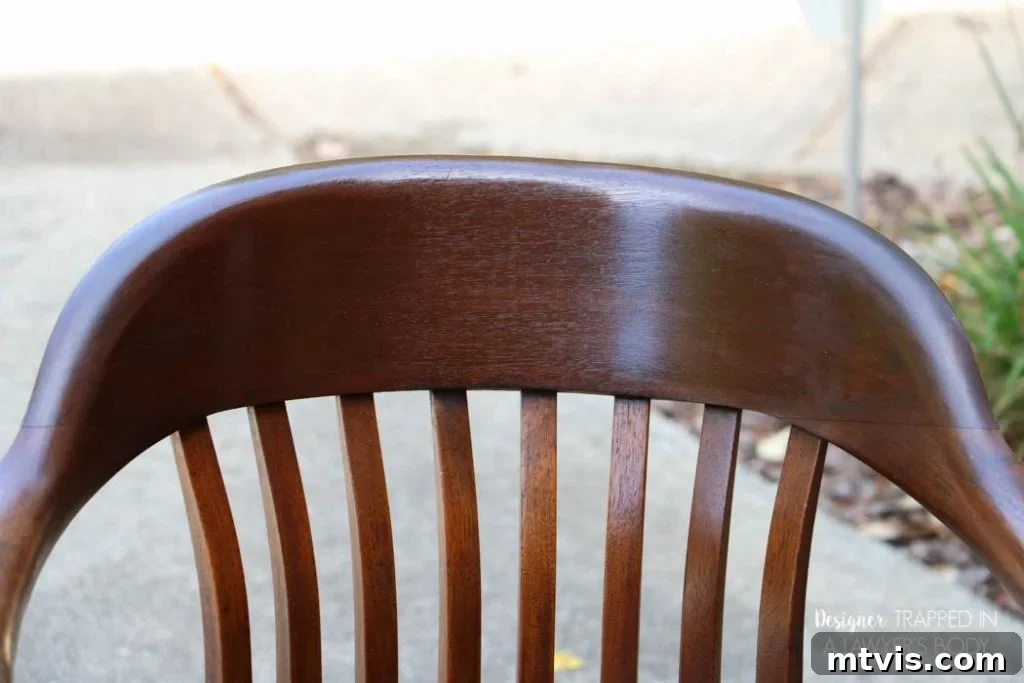
Voila! The transformation was complete. While these chairs aren’t “perfect” in the sense of being brand-new, factory-fresh pieces, perfection isn’t really my thing, y’all. These are antique chairs, and my goal was never to erase every imperfection or sign of their storied past. If I desired flawless, contemporary chairs, I would have simply purchased new ones. Instead, my intention was to enhance their inherent antique beauty, allowing their history to shine through while revitalizing their appearance and functionality. And that’s exactly what these incredible products allowed me to do. Witness the stunning final results:
Chair #1 Transformed
|
|
|
|
|
|
Chair #2 Revival
|
|
|
|
|
|
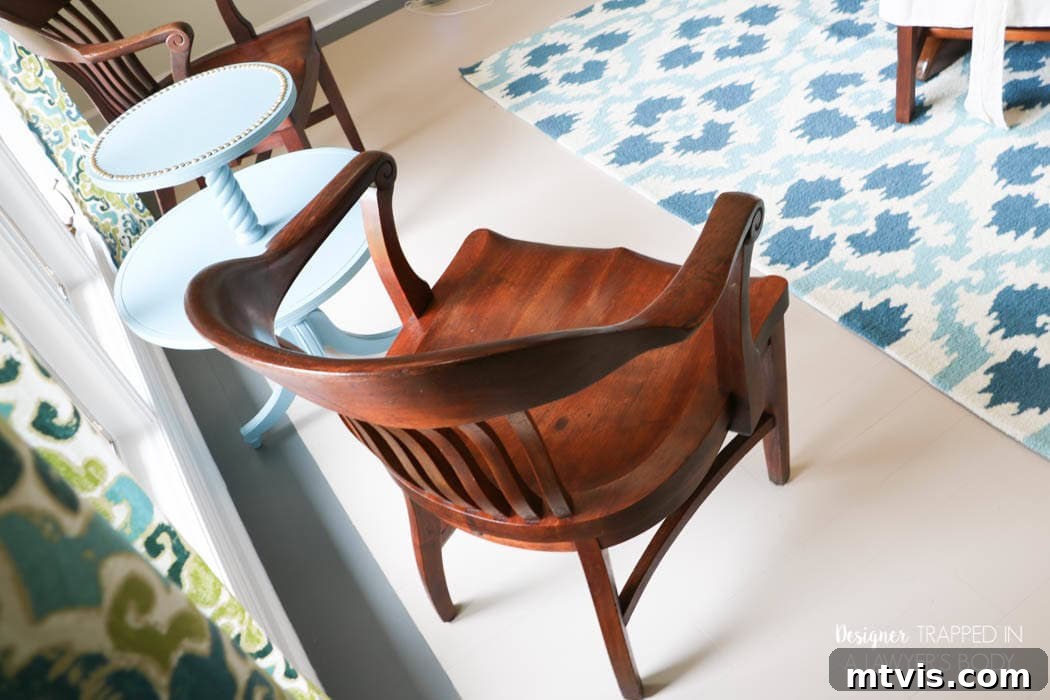
These gorgeous chairs now hold a place of honor in our home. Initially, they found their perfect spot in our dining room, which we had recently made over {you can check out the full dining room makeover here – note that the photos in that post were taken BEFORE I refinished these chairs}. With just about three hours of focused work, these antique chairs have been granted a brand new lease on life, seamlessly integrating into our decor. Don’t they look absolutely beautiful positioned in front of our large dining room window, catching the natural light and showcasing their refreshed elegance?
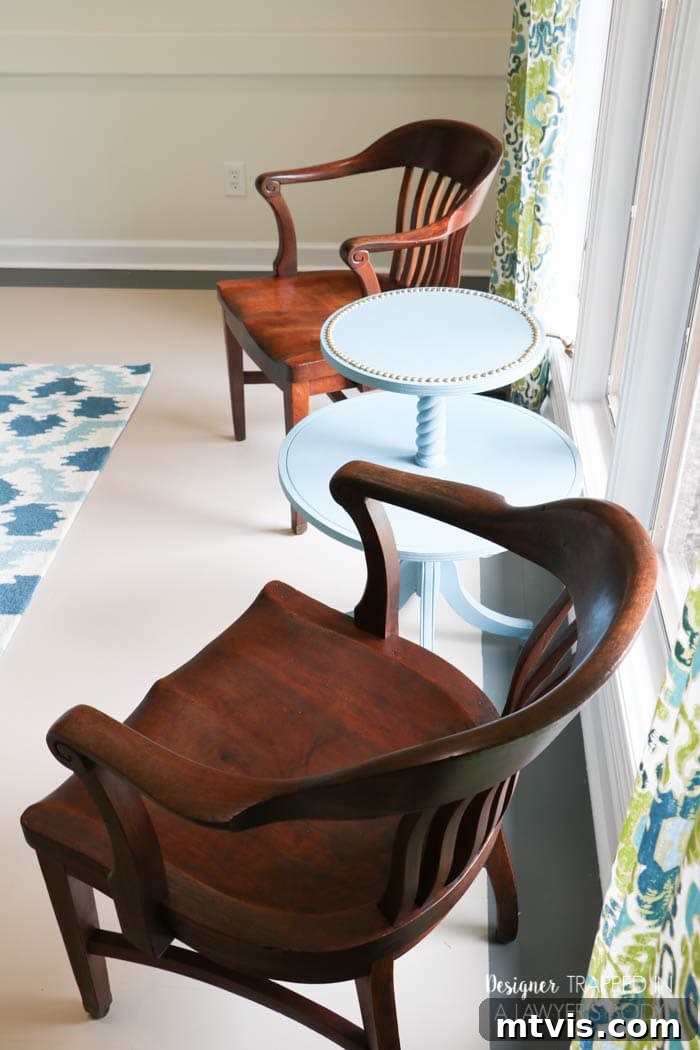
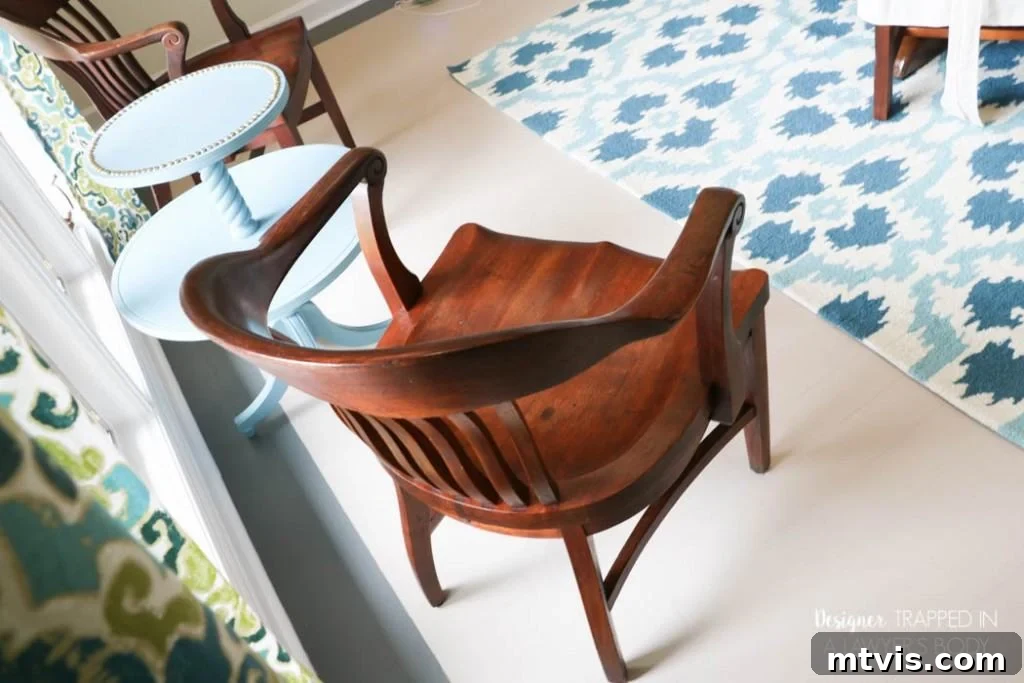
As our home evolved, so did the placement of these versatile pieces. After our dining room makeover, we discovered new roles for our beautiful chairs in other areas of the house. One now graces our foyer, pairing perfectly with an antique desk to create a welcoming and stylish vignette. Their adaptable design and refreshed finish allow them to complement various decor styles throughout our home.

If you enjoyed this post and are inspired to tackle more furniture projects, you’re in luck! This method of refinishing wood without sanding or stripping is incredibly versatile. We even used similar techniques to transform our dining room table, achieving equally impressive results. You can explore the full tutorial on how we refinished our dining room table here.
Explore More Easy DIY Transformations!
Don’t stop here! This no-sanding, no-stripping technique can unlock a world of possibilities for revitalizing your cherished wooden furniture. Dive into our other projects to discover how simple it can be to breathe new life into old pieces, preserving their character while enhancing your home’s aesthetic. Happy DIYing!
