Drywall damage is an inevitable part of homeownership. Whether it’s a small ding from a doorknob, an accidental puncture from moving furniture, or even the playful exuberance of kids and pets, discovering a hole in your wall can be frustrating. Many homeowners might immediately think of calling a professional handyman, anticipating a messy, time-consuming, and potentially expensive repair. However, what if you could effortlessly tackle this common household issue yourself, without needing any specialized DIY skills or an array of complicated tools? In this comprehensive guide, we’re sharing the absolute easiest and cleanest method to repair a hole in your wall, empowering you to achieve professional-looking results in minutes. Get ready to banish unsightly wall damage with surprising simplicity!
Thank you to DAP for sponsoring this post. This post contains affiliate links for your convenience. Click here for my full disclosure policy.
Drywall damage, ranging from tiny pinholes to larger, more noticeable punctures, is arguably the most common repair homeowners encounter. Despite its frequency, many people tend to postpone fixing these imperfections, often perceiving it as a messy, complex, and time-consuming chore. I confess, I’ve been guilty of putting off these repairs myself in the past! However, I’ve discovered a truly effortless method that makes fixing a hole in the wall a quick and satisfying DIY project. There’s no need to outsource these everyday home repairs. By following the straightforward tips and techniques outlined below, you’ll be able to expertly repair and patch drywall holes with confidence, saving both time and money.
Understanding Drywall Hole Sizes and Repair Options
Before you begin any drywall repair, the critical first step is to accurately assess the size and nature of the damage. Not all holes are created equal, and understanding their dimensions will help you select the most appropriate and effective repair method for a flawless finish.
For very small holes, such as those left by nails, screws, or picture hangers, a simple application of spackle or joint compound is usually sufficient. These minor imperfections can be quickly filled, smoothed, and painted over for an almost invisible repair. If you’re dealing with these smaller types of damage, you can find detailed tips for small drywall repairs here.
However, when faced with larger holes—those bigger than a quarter, or anything resulting from a significant impact like a doorknob through the wall, furniture collisions, or even a child’s toy—you’ll need a more robust solution: a drywall patch. For these more substantial repairs, my absolute go-to product is the DAP Eclipse Rapid Wall Repair Patches. These innovative patches stand out because they offer an incredibly fast, clean, and durable fix, eliminating much of the traditional hassle associated with patching larger areas of drywall.
The Revolutionary No-Spackle, No-Sanding Drywall Patch
For decades, patching drywall has been synonymous with messy spackle, multiple drying times, and the inevitable cloud of dust from sanding. It’s a process that has deterred many homeowners from tackling repairs themselves. But what if I told you there’s a game-changing solution that allows you to repair drywall damage without a single drop of drywall mud or any sanding whatsoever? Yes, it’s absolutely true!
My personal discovery of DAP Eclipse Rapid Wall Repair Patches a couple of years ago completely transformed my approach to drywall repair. Since then, I haven’t used any other method for patching holes, and for good reason. These patches mean no more frustrating waits for spackle to dry, and crucially, no more tedious, dusty sanding. You can literally paint over the patch immediately after application (in fact, it’s a required step!). This innovative feature dramatically speeds up the repair process, allowing you to complete your project in mere minutes, not hours or days.
The benefits of DAP Eclipse patches are truly impressive, offering superior performance and convenience:
- Unmatched Strength: These patches are engineered to be 4x stronger than drywall itself, providing exceptional impact resistance. This makes them ideal for high-traffic areas or spots prone to recurring damage, like behind doors.
- Mess-Free Application: Forget about the sticky residue and dusty aftermath of traditional repairs. With DAP Eclipse, there’s absolutely no need for spackling or sanding, keeping your workspace clean and tidy.
- Rapid Project Completion: The ability to paint immediately after applying the patch means you can finish your entire repair project in minutes. This cuts down significantly on project time compared to multi-step traditional methods.
- Permanent and Durable: Unlike some temporary fixes, DAP Eclipse patches create a long-lasting, permanent repair that won’t peel, crack, or lose adhesion over time, ensuring your walls look pristine for years to come.
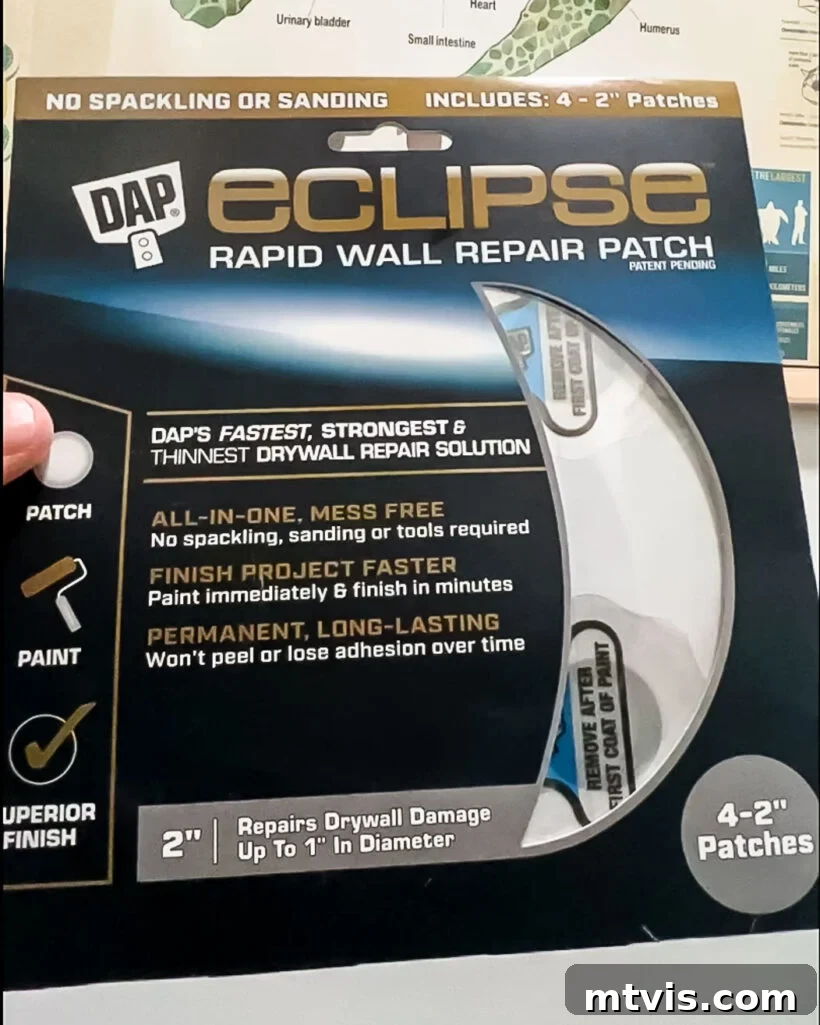
Before I experienced these patches firsthand, I had seen commercials for DAP Eclipse Wall Repair Patches and, frankly, was skeptical. Could anything truly be this easy and deliver such perfect results? But after using these patches countless times for various repairs around my home, I can confidently tell you that it absolutely IS that easy and delivers consistently perfect, undetectable results. The skepticism quickly turned into firm belief.
Step-by-Step Guide to Fixing Wall Holes with DAP Eclipse Patches
Ready to tackle that drywall hole with unprecedented ease? This section will walk you through everything you need, from gathering your supplies to the final coat of paint, ensuring a seamless and durable repair using DAP Eclipse Rapid Wall Repair Patches.
Essential Materials for Your Drywall Repair
Gathering the right tools and materials before you start is crucial for a smooth and efficient repair process. Here’s what you’ll need:
- DAP Eclipse Rapid Wall Repair Patches: These are the stars of the show! Make sure to select the correct size.
- Available in 2″, 4″, and 6″ sizes, it’s vital to choose a patch large enough that the entire damaged area fits comfortably within the gray center circle of the patch. This ensures proper coverage and adhesion for a strong repair.
- Paint Roller: Always use a paint roller for applying touch-up paint. Using a paintbrush is not recommended as it can leave noticeable brush strokes and may not provide the even, consistent coverage needed to blend the patch seamlessly with the wall.
- Touch-up Paint: Ideally, you should use the exact same paint color that is already on your wall. If you don’t have leftover wall paint, don’t worry! You can use these helpful tips to match a paint color that is already on your walls.
- Sandpaper or Sanding Sponge: A fine-grit sandpaper or sanding sponge will be used for a light initial smoothing of the area *around* the hole, not the patch itself.
- Damp Cloth: Essential for cleaning dust and debris from the repair area before applying the patch, ensuring optimal adhesion.
- Putty Knife: Used to scrape away any loose paint or debris around the hole, creating a flat surface for the patch.
Quick Video Overview of the Process
To give you a clear visual understanding of the process before diving into the detailed written instructions, I recommend watching this short video overview. It will demonstrate each step, providing valuable context for the tutorial below. The video will play after a brief advertisement.
(Video demonstrating the DAP Eclipse patch application process.)
Detailed Step-by-Step Instructions for a Perfect Repair
Time needed: 30 minutes (excluding paint drying time)
Repairing a hole in your wall using DAP Eclipse patches is remarkably quick and straightforward. With less than 30 minutes of active work (plus paint drying intervals), you can achieve a seamless finish. Follow these steps for an easy, professional-looking drywall repair.
-
Prepare and Clean the Damaged Area.
Start by ensuring the area around the hole is perfectly smooth and free of any loose debris. Use your putty knife to gently scrape away any peeling paint, protruding edges of drywall, or other fragments that might prevent the patch from adhering properly. The goal is to create a flat, even surface. Next, take your sandpaper or sanding sponge and lightly sand the immediate vicinity of the hole to further smooth any rough spots. Finally, and crucially, wipe down the entire area with a damp cloth to remove all dust and residue. A clean surface is essential for the patch to bond securely and invisibly.
-
Precisely Apply Your Wall Patch.
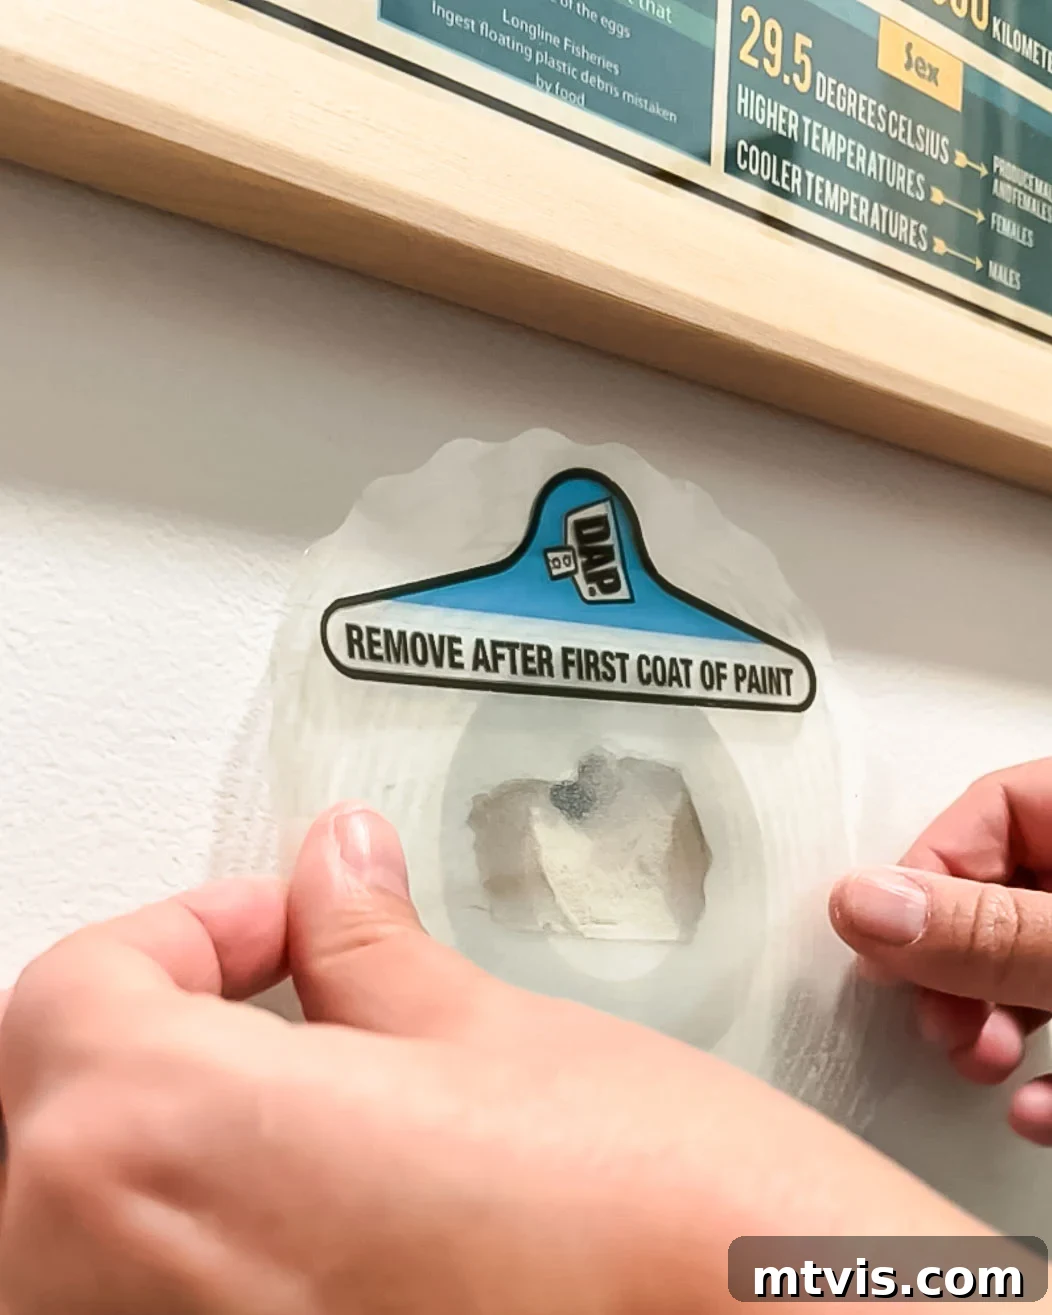
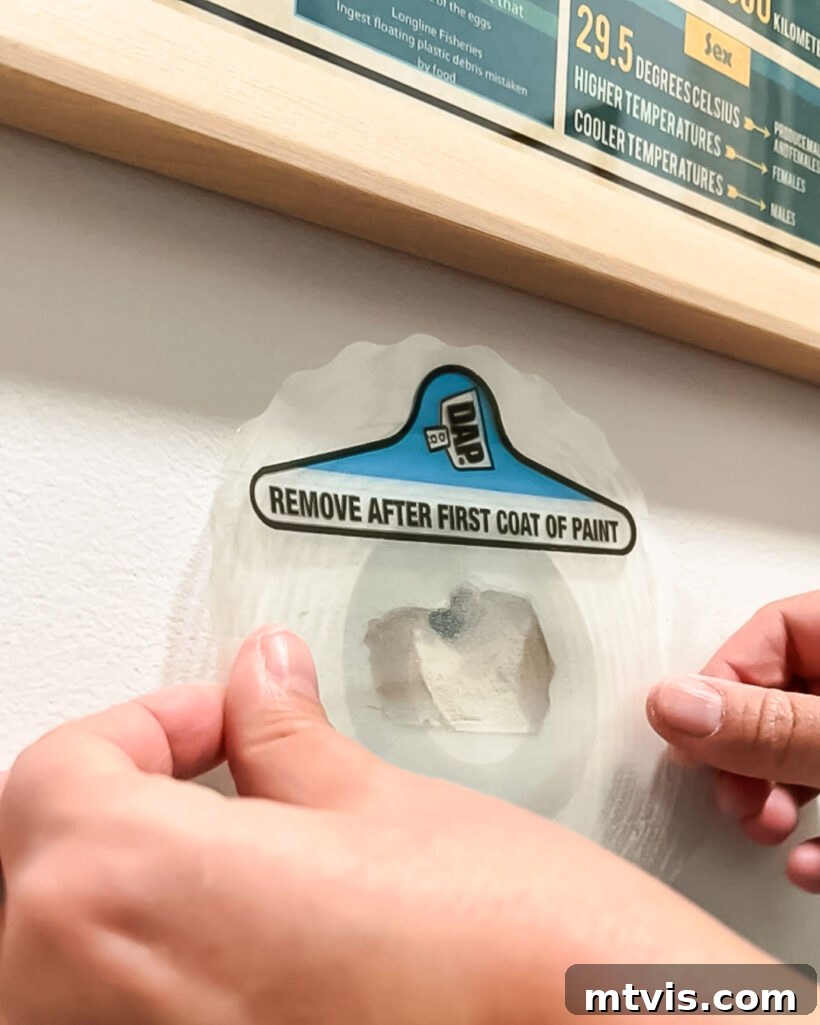
Once again, verify that the patch you’ve selected is sufficiently large, ensuring the entire damaged area is smaller than the gray center circle of the DAP Eclipse patch. Carefully peel the backing off the patch, exposing the adhesive side. Position the patch so that its gray center circle is perfectly aligned over the middle of the hole or damaged area. Once in place, press firmly around all the outer edges of the patch. Smooth it out thoroughly to eliminate any air bubbles and ensure robust adhesion to the surrounding drywall. This firm application is key to a long-lasting and seamless repair.

-
Apply the First Coat of Paint Over the Patch.
Immediately after applying the patch, use your paint roller to apply a generous first coat of paint over the entire surface of the patch. It’s important to be liberal with the paint to ensure good coverage and to begin the blending process. As reiterated earlier, always use a paint roller for this step. A paintbrush will likely leave visible strokes, compromising the smooth, undetectable finish you’re aiming for. This initial coat adheres directly to the patch and is crucial for preparing it for the next steps.
-
Carefully Remove the Protective Tab.
Allow the paint on the drywall *surrounding* the patch to dry completely, which typically takes about 15-30 minutes, depending on humidity and paint type. Once dry, locate the small pop-up tab on the patch. Gently pull this tab up and away from the drywall, towards yourself. This action will release and remove the clear protective layer from the surface of the patch. If the protective layer doesn’t come off in a single piece, use your fingernail or the edge of your putty knife to carefully lift and remove any remaining film before proceeding to the next painting stage. This step reveals the true surface for the subsequent paint coats.
-
Apply Subsequent Coats for a Seamless Finish.
With the protective layer removed, apply two additional coats of paint over the entire area of your wall patch. Ensure you allow the paint to dry thoroughly in between each coat, typically 15-30 minutes for quick-drying paints. It’s perfectly normal for the patch to be somewhat noticeable or visible immediately after painting. As the paint dries and cures, it will progressively blend in with the surrounding drywall, eventually becoming virtually undetectable. Patience during the drying process will reward you with a perfectly smooth and integrated repair.
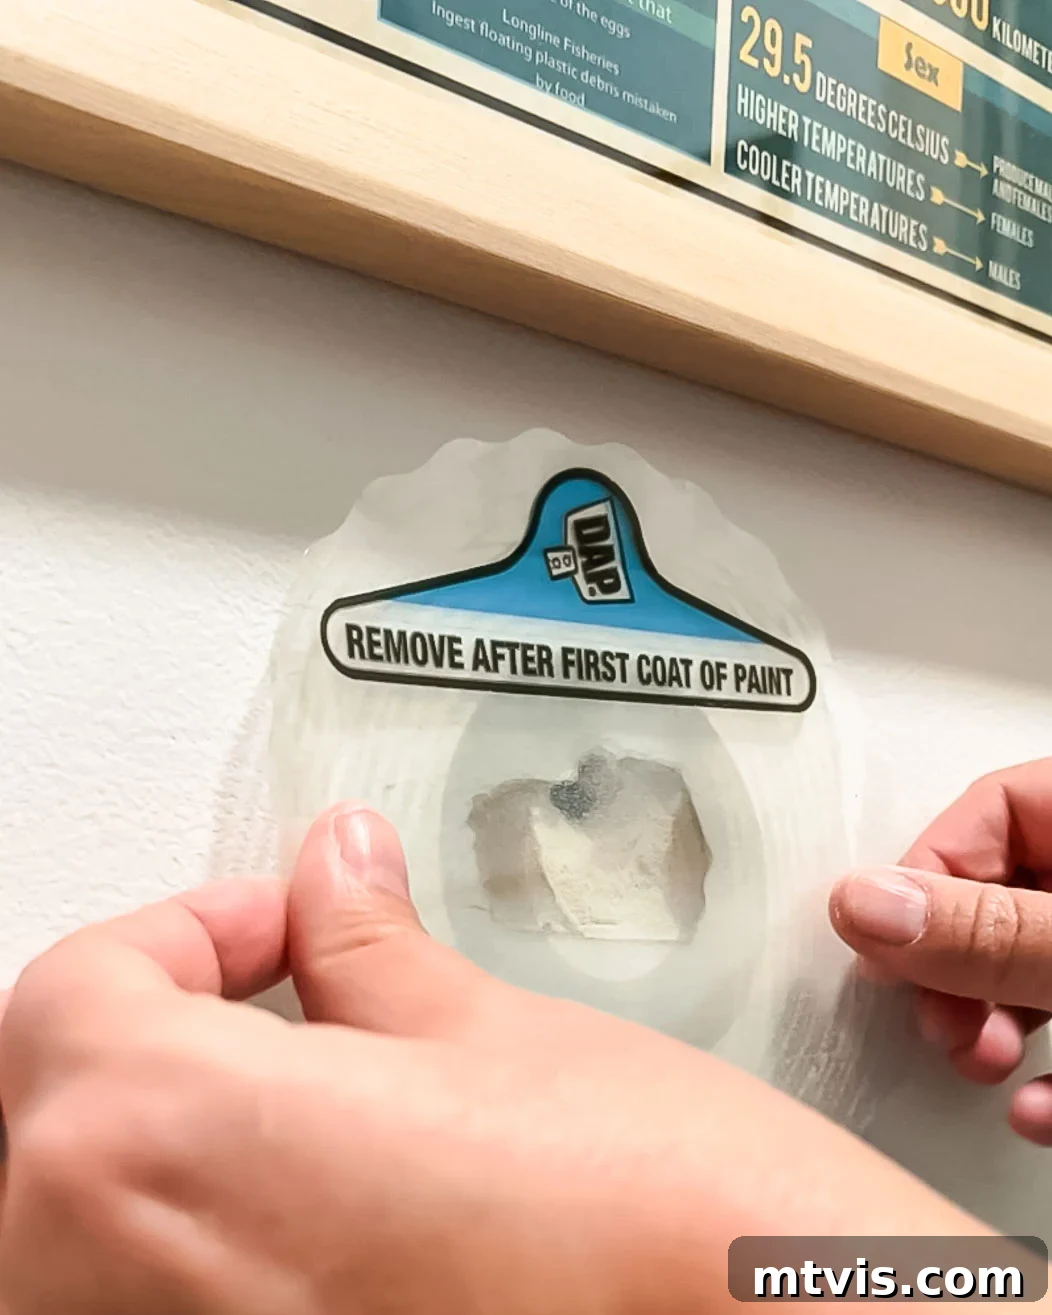
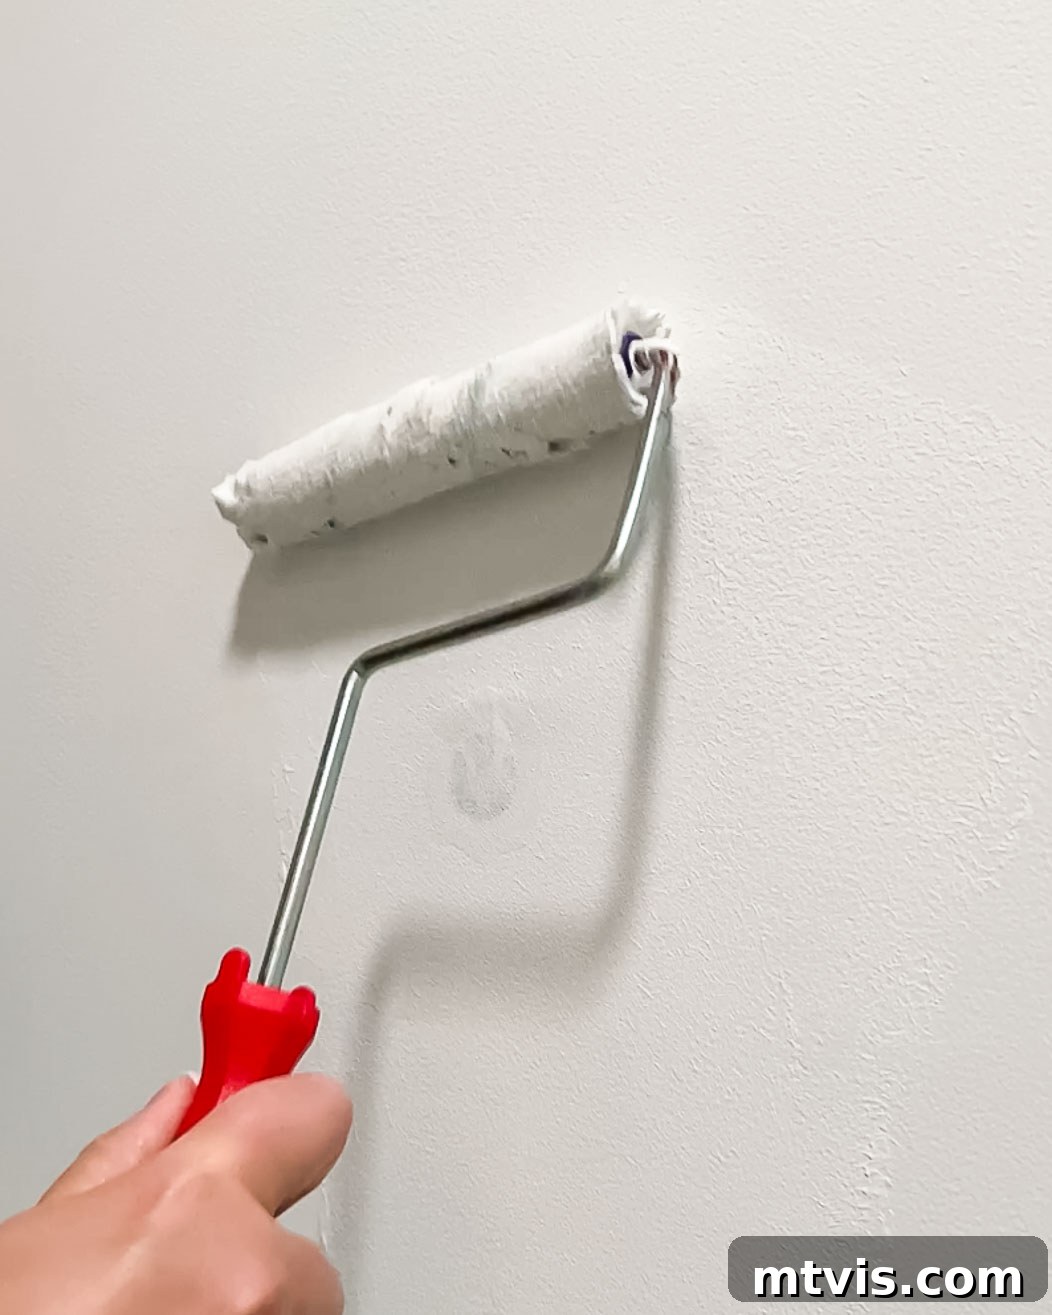
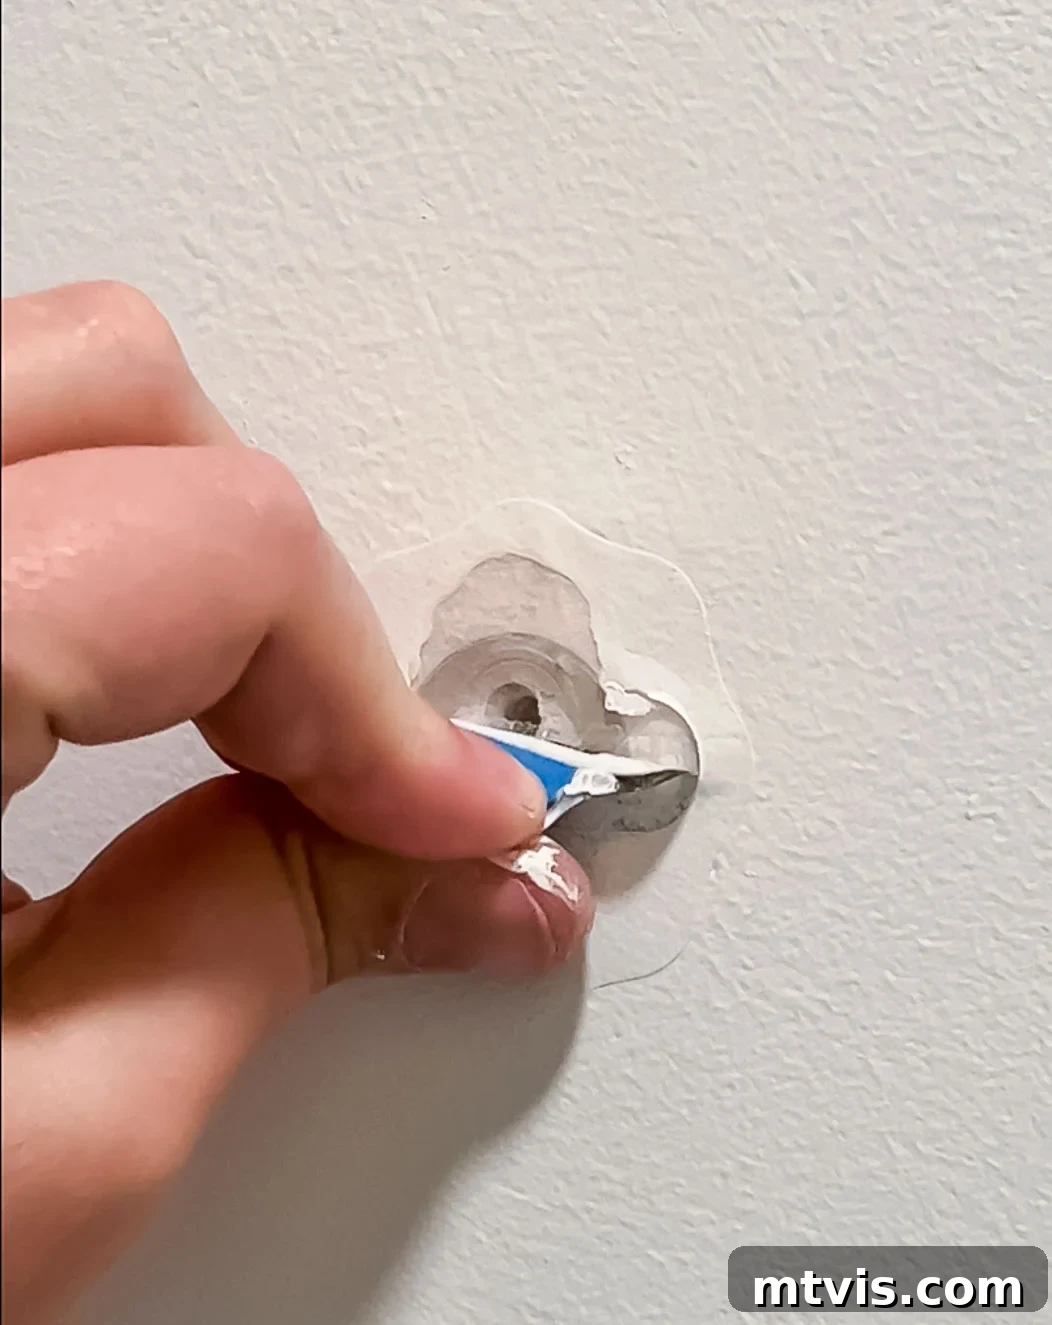
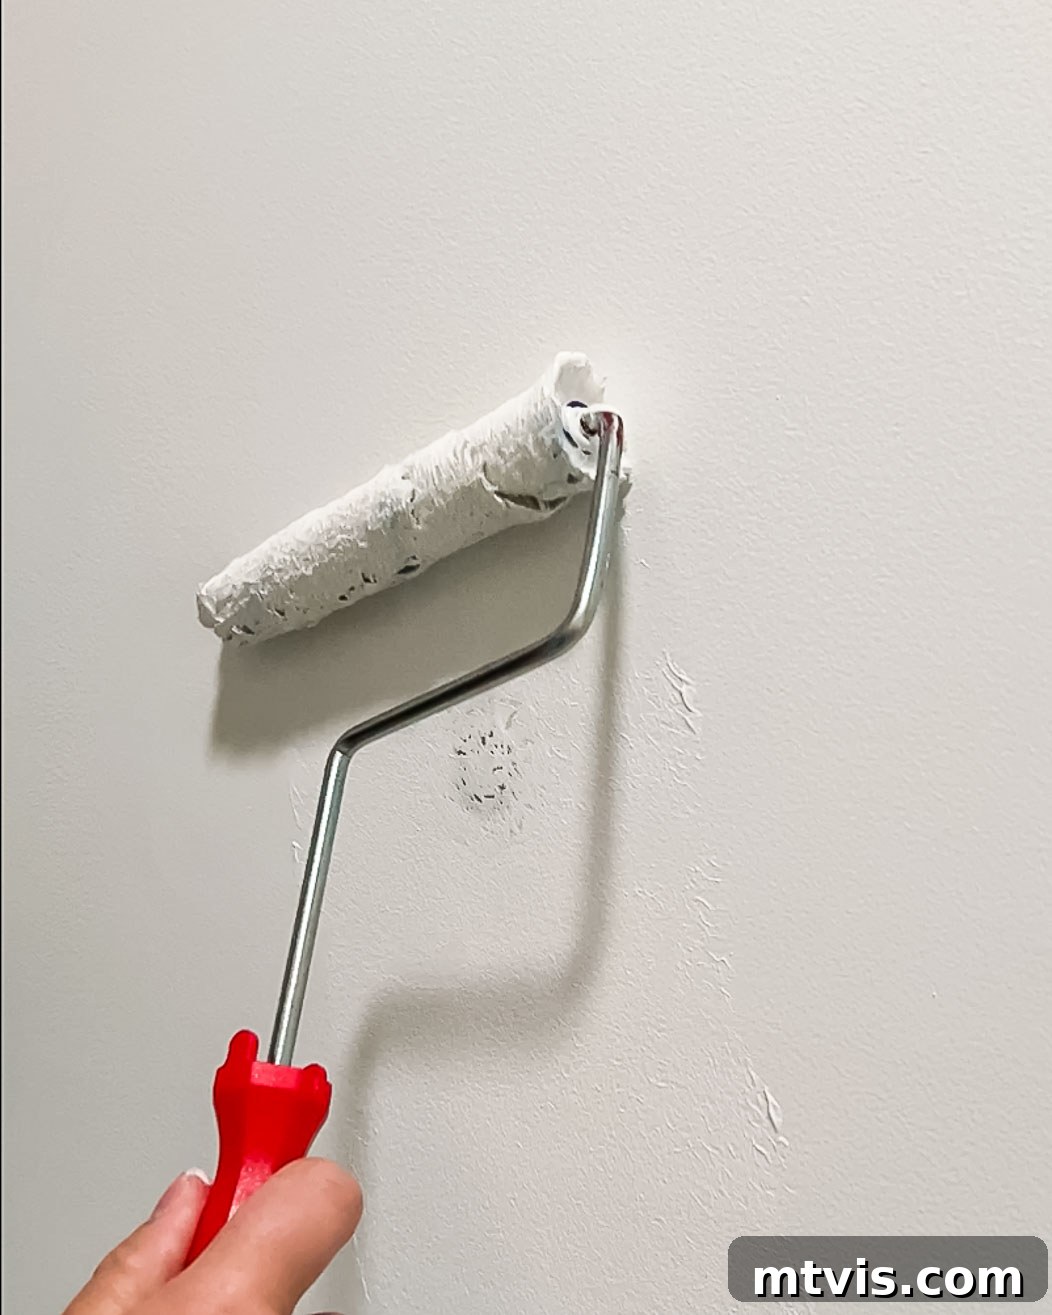
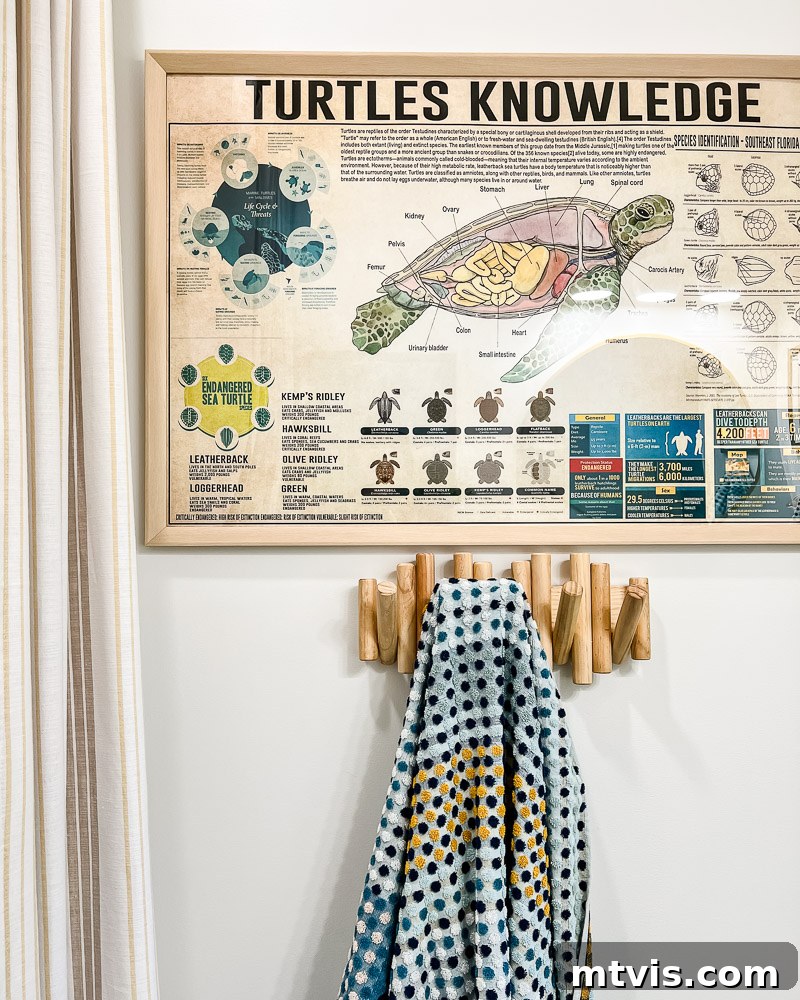
And just like that, you’re done! I recently used this method to patch four holes (two small, two larger) in my daughter Avery’s bathroom. The entire process took less than two hours, and that timeframe primarily included waiting for the paint coats to dry. The final results were truly undetectable—a testament to the ease and effectiveness of DAP Eclipse patches. You too can achieve professional-quality repairs without the fuss!
Frequently Asked Questions About Drywall Repair
Absolutely! This is a very common question, and I’ve confirmed that DAP Eclipse Rapid Wall Repair Patches are indeed compatible with textured walls and ceilings. Whether you use aerosol spray textures or a textured roller, the process is slightly modified for optimal results. For textured surfaces, apply the patch to your drywall, then immediately pull the pop-up tab to remove the protective layer (skip the first coat of paint in this initial step). Once the protective layer is off, apply your desired wall texture and allow it to dry completely. After the texture is dry, you can then proceed with painting, applying the necessary coats for a seamless blend.
The difference is night and day! In the past, a typical drywall repair involved several laborious steps: first, cleaning the area; then, carefully filling the hole with spackle or joint compound; waiting for it to dry (which could take hours); then sanding to smooth the surface; often repeating this fill-wait-sand process multiple times for a truly flat finish. After that, I would usually spot prime the area to prevent paint flashing, and then wait for the primer to dry. Only after all these stages would I finally be able to apply the final wall paint. And frankly, my traditional patch jobs rarely looked perfectly seamless. These innovative patches simplify the entire process dramatically. They make fixing holes faster, significantly easier, completely mess-free, and consistently yield a more flawless and professional appearance than my old spackle repairs ever did.
Yes, they are remarkably strong! You might wonder about their durability since they don’t involve traditional spackle to fill the hole directly. However, according to DAP’s research and product specifications, these patches are actually engineered to be stronger than the surrounding drywall itself. DAP states, “This all-in-one, mess-free solution not only provides a permanent, long-lasting repair but is also stronger than drywall itself, making it perfect for areas that may see recurring impact, such as behind a door.” This superior structural integrity means you can trust these patches even in high-traffic or impact-prone areas.
While I’ve personally never felt the need for additional reinforcement due to their inherent strength, if you’re concerned about exceptionally high-impact areas or simply desire maximum durability, there’s a technique you can use. You can apply a small amount of spackling paste or joint compound to the damaged area *first*, and then immediately apply the DAP Eclipse patch over the wet compound. The key is to apply the patch while the spackling is still wet; there’s no need to wait for it to dry. However, ensure that the spackle is applied only within the area that will be covered by the gray center circle of the patch. Applying spackle beyond this area could interfere with the patch’s adhesion to the surrounding drywall, potentially compromising the repair.
DAP officially recommends waiting until the paint on the drywall *surrounding* the patch is fully dry before removing the top protective layer. This typically takes about 15-30 minutes, depending on the type of paint, ambient temperature, and humidity. However, you have quite a bit of flexibility with this step. You can comfortably wait several hours, or even a few days, to remove the pop-up tab. The critical point is to remove the tab right before you intend to apply your final two coats of paint. This ensures the best surface for subsequent paint adhesion and a perfectly smooth finish.
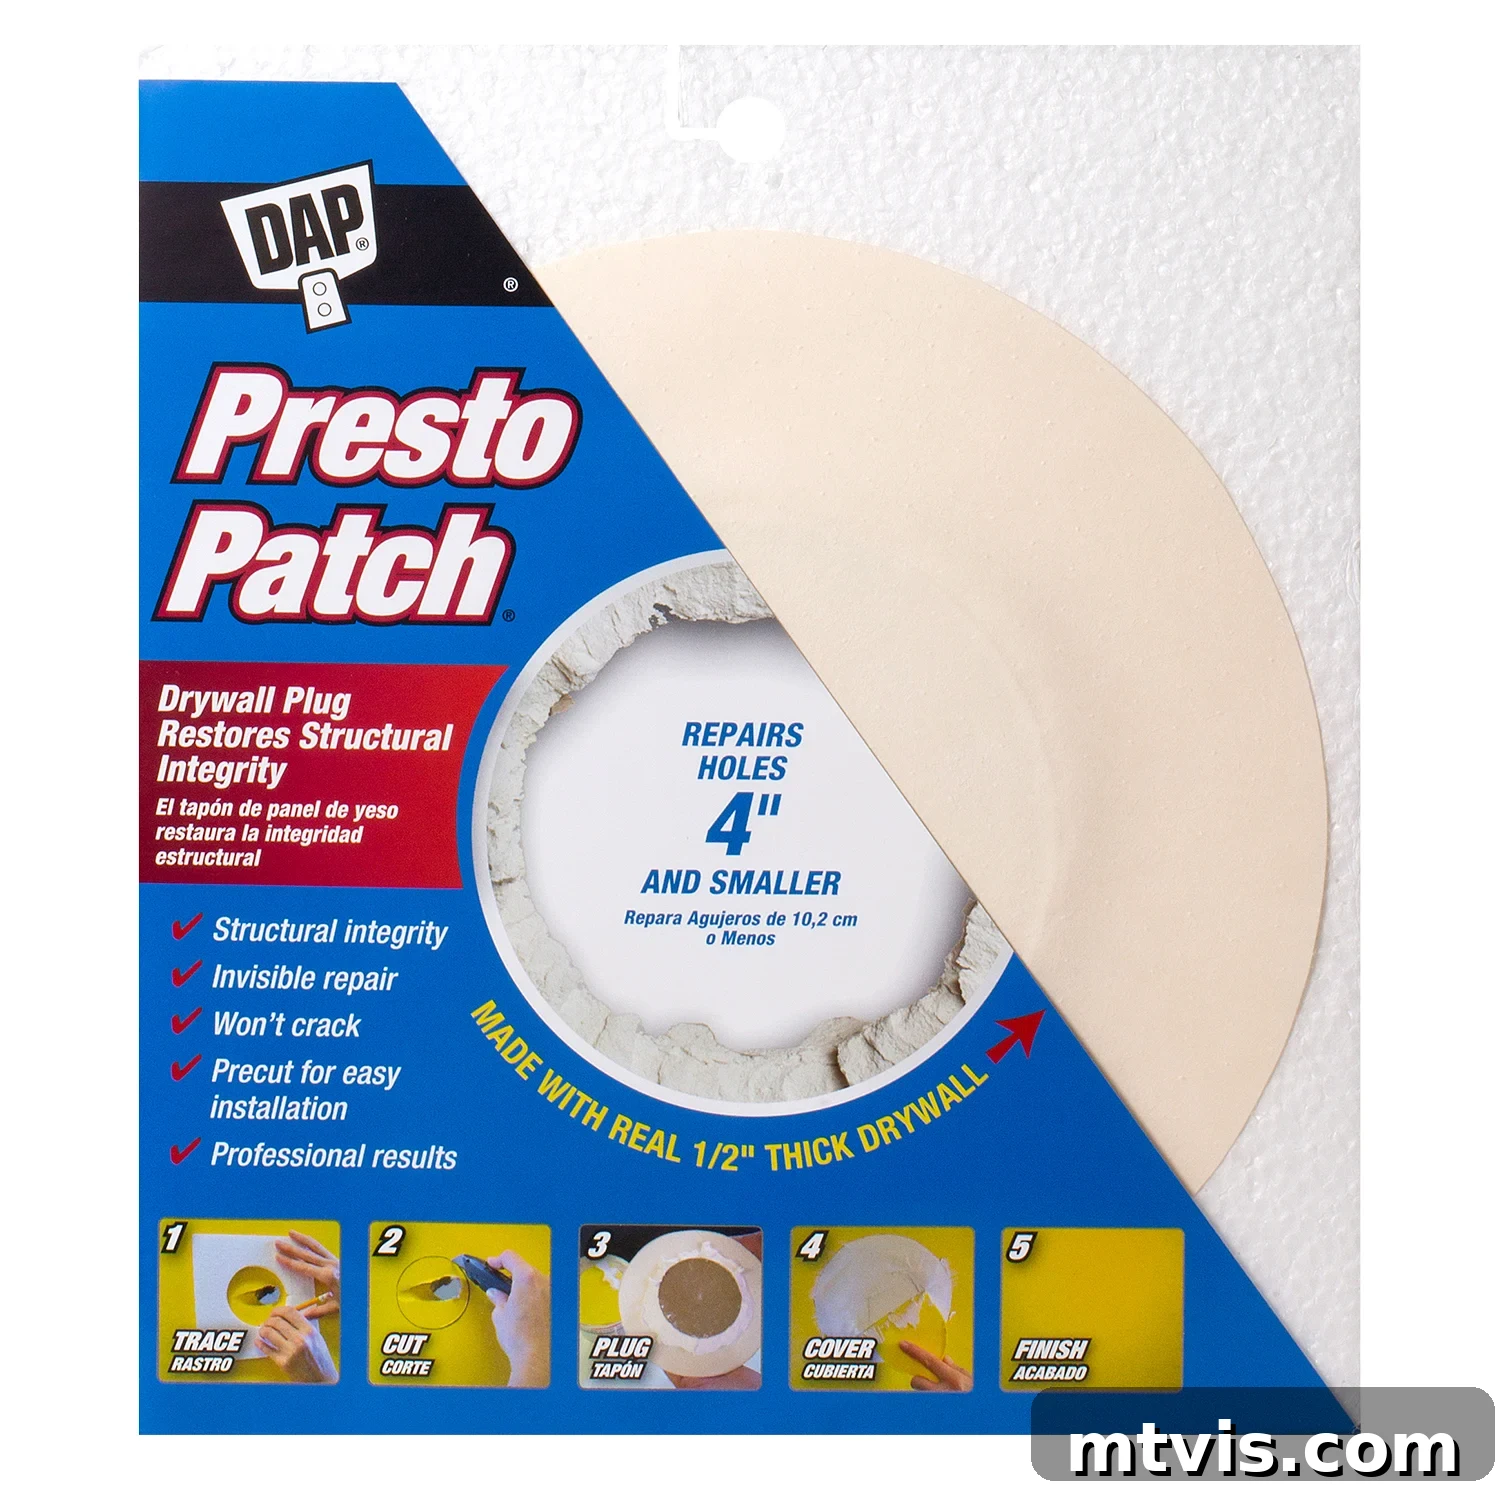
While DAP Eclipse patches are my top recommendation for their ease and cleanliness, there are indeed other excellent options available, depending on the size and type of your drywall hole. For larger holes (up to 4 inches in standard ½-inch drywall), you might consider the PRESTO PATCH™ Drywall Plug Wall Repair Patch. I appreciate these because they come as a comprehensive kit, including a pre-cut drywall circle (or plug) with oversized taping paper attached, a foam template, and clear step-by-step instructions. With Presto Patches, you’ll trace the template onto your wall, carefully cut out the damaged section with a drywall or utility knife to precisely fit the plug. This method does involve using DryDex Lightweight Joint Compound, so it’s not as mess-free as the Eclipse patches, but it creates a very strong and solid repair.
Another good alternative is the DAP Wall Repair Patch Kit, which is suitable for holes up to 3 inches in diameter and provides all the necessary components. For very small drywall repairs, as mentioned earlier, a dedicated wall patch isn’t necessary. You can refer to my tips for small drywall repairs here, which typically involve just spackle or joint compound.
I hope this guide has clearly demonstrated that patching a hole in your drywall is far from intimidating. With the right tools and a little confidence, it’s a simple, mess-free task you can easily accomplish yourself. So go ahead, confidently cross “call handyman” off your to-do list. You’ve got this, and your walls will look flawless!
More HOME REPAIR Posts
SEE ALL home improvement POSTS
-
How to Fix a Hole in the Wall Yourself the Easy Way!
-
How to Fix a Door That Won’t Close
-
How to Match A Paint Color That’s Already On A Wall
-
How to Repair Holes in Your Doors
-
How to Repair Drywall: Tips for “Smallish” Repairs
-
How to Repair Chipped Baseboards
Other posts you may enjoy:
- How to Match A Paint Color That’s Already On A Wall
- How to Install a Toilet: A Step-by-Step Guide for Beginners
- Easy DIY Door Kick Plate
- How to Inspect and Caulk Flashing
- How to Repair Chipped Baseboards
Wondering how I approach transforming rooms and spaces in our home? Check out Designer in a Binder®.
And if you want exclusive content and behind-the-scenes sneak peeks, be sure to subscribe before you head out!