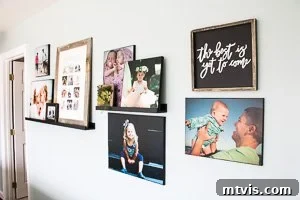
Do you cherish a favorite photograph that deserves a special place in your home, but custom framing feels out of reach? Or perhaps you’ve considered turning your cherished images into stunning canvas art but are hesitant about the high costs? You’re in luck! This comprehensive guide will show you how to effortlessly transform any photo into a beautiful DIY photo canvas, complete with an authentic canvas texture, all while staying well within your budget. Not only is this a fantastic way to showcase your most treasured memories and personalize your living space, but it also adds a unique, handcrafted touch to your home decor. Get ready to embark on a fun and rewarding creative journey as we unveil the simple steps to creating your very own custom photo canvas masterpiece!
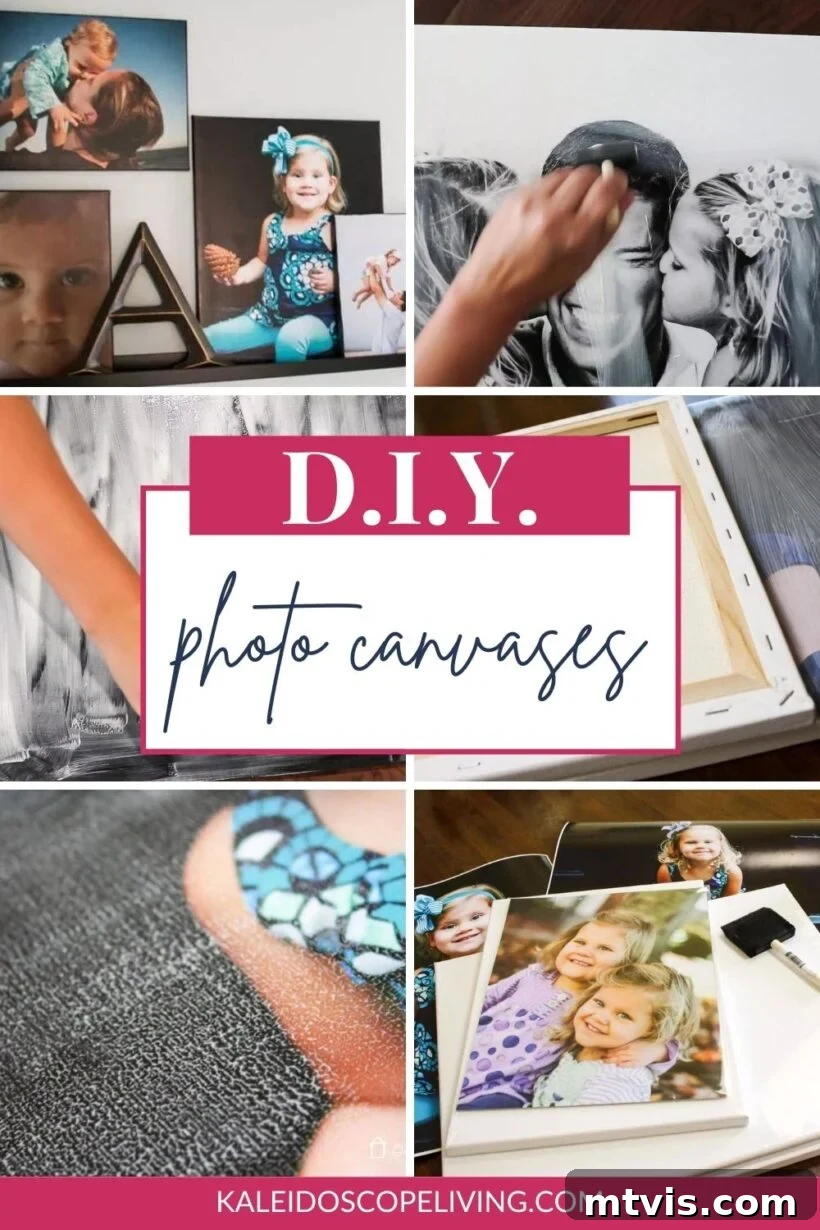
Table of Contents
Have you ever pondered, “Can I really turn a printed photo into a canvas?” or “How do I transform a cherished print into a stunning canvas display?” If so, you’ve landed on the perfect resource! While numerous online services offer custom photo canvas printing, their prices can often be surprisingly steep, putting a damper on your decorating dreams.
For years, I’ve been creating my own canvas prints by adhering photos to canvases, and it’s become one of my absolute favorite methods to display family photos and other special moments. These DIY photo canvases are not only enjoyable and straightforward to create, but they also represent an incredibly affordable alternative to store-bought options. It’s time to liberate those amazing photos from your phone or computer and bring them to life on your walls! Once you discover the ease and satisfaction of making your own DIY photo canvases, you’ll undoubtedly be captivated by the process and the beautiful results.
This post contains affiliate links for your convenience. Click here for my full disclosure policy.
You can subscribe to get FREE printable instructions for this project!
Materials Needed for Your DIY Photo Canvas
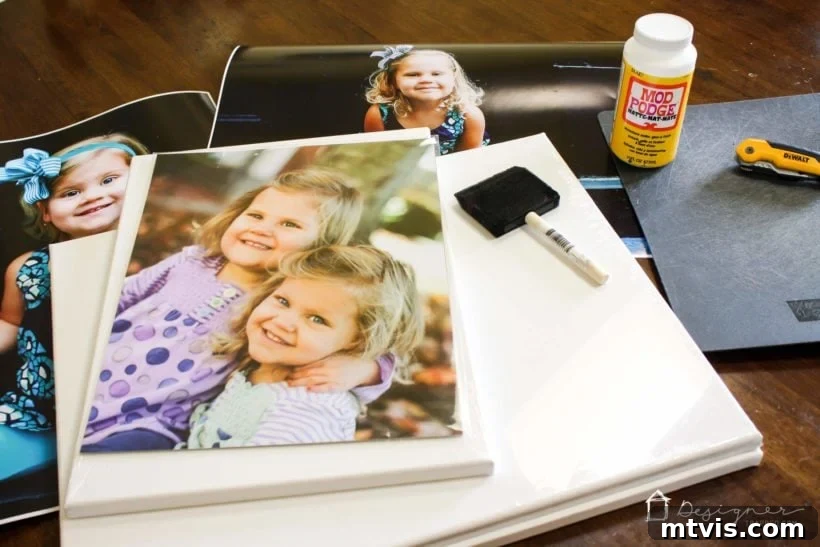
- Blank Canvases: Select canvases that match the desired size of your finished art. You can find these at most craft stores, often in multi-packs for better value. A great budget-friendly tip is to upcycle old canvases you already have or look for inexpensive options at thrift stores like Goodwill.
- Enlarged Photo Prints on Photo Paper: For the best results, have your photos professionally enlarged by a photo lab (like Costco, Walgreens, or a local print shop). It’s crucial that these are printed on actual photo paper. We highly advise against using photos printed at home, as inkjet or laser printer inks can react negatively with Mod Podge, potentially smearing your image. Similarly, avoid “poster prints” from office supply stores, as they are often on banner paper, which is prone to peeling and not suitable for this technique.
- Mod Podge Matte Finish: This is the magic ingredient! Mod Podge acts as an adhesive, sealant, and finish, allowing you to glue your photo and create a protective, textured layer. The matte finish helps to reduce glare and gives a more natural, authentic canvas look.
- Foam Brushes: These are ideal for applying Mod Podge smoothly and evenly without leaving brush strokes. Have a few on hand for different stages of the project.
- Black Acrylic Paint: (latex, chalkboard, etc. are all fine to use). This is optional, but painting the sides of your canvas black (or any color that complements your photo) can give your finished piece a more polished and professional appearance.
- Exacto Knife / Craft Knife: Essential for precise trimming of any excess photo paper. A sharp blade ensures clean edges.
- Cutting Board: A self-healing cutting mat or a sturdy cutting board is necessary to protect your work surface when using the craft knife.
How to Create a DIY Photo Canvas: A Step-by-Step Guide to Adding Texture
This tutorial outlines a straightforward process where you’ll essentially adhere your enlarged photo to a blank canvas and then meticulously add a realistic canvas texture on top. This method stands out as the most economical way I’ve discovered to achieve high-quality photo canvases at home. If you’re a visual learner, a brief video overview (which will play after a short advertisement) provides an excellent demonstration of this project.
Time needed: 20 minutes
Making your own DIY photo canvas takes approximately 20 minutes of active work, not including the necessary drying time between steps. This project is quick, easy, and yields impressive results!
- Have Your Photos Professionally Printed.
The foundation of a stunning DIY photo canvas begins with a high-quality print. Start by selecting the perfect photo you wish to transform into canvas art. Next, have it enlarged and printed to your desired dimensions by a reputable photo lab, ensuring it’s on glossy or matte photo paper. It’s critical to emphasize that home printers, whether inkjet or laser, are generally not recommended for this technique. Many crafters have reported that Mod Podge can cause inks from home printers to smear, even on seemingly good photo paper, ruining the image. Additionally, steer clear of “poster prints” commonly offered at office supply stores (like Office Depot or Staples), as these are often printed on a less durable “banner paper” that is prone to peeling when exposed to Mod Podge. For this specific tutorial, I chose to work with beautiful professional photos of my daughters on lighthouse steps, taken last autumn. Their vibrant colors and sharp details made them perfect for a large display, so I opted for a substantial 16 x 20-inch size. I had mine professionally enlarged at Costco for a mere $5.99 each, showcasing the incredible value of this DIY approach.
- Prepare and Paint Your Canvas (Optional).
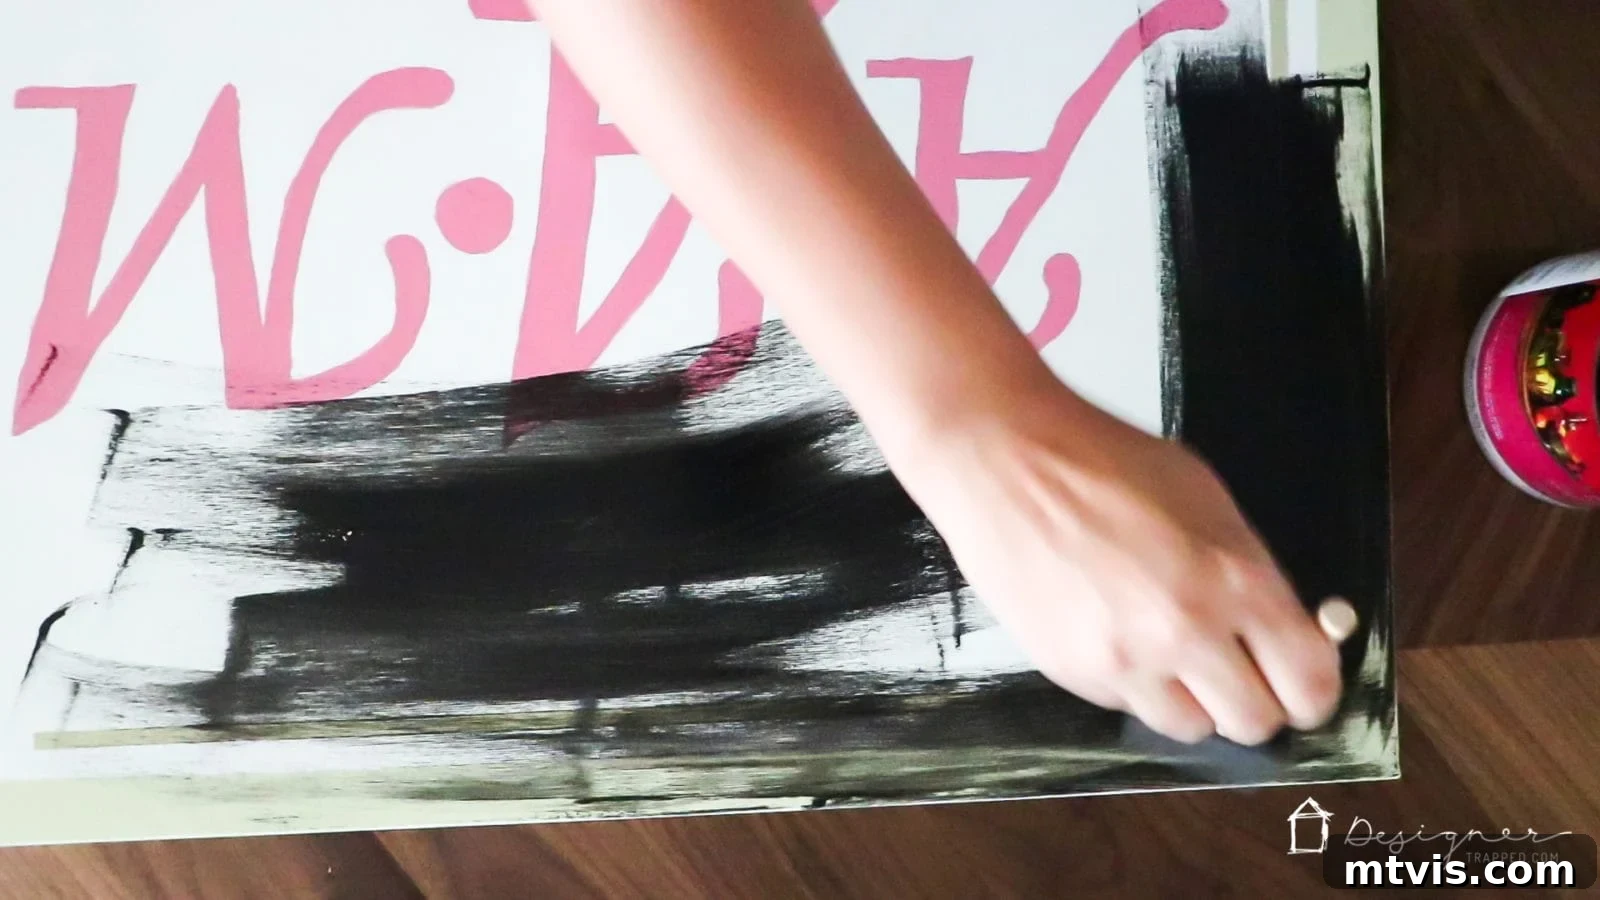
Acquire a blank canvas that precisely matches the size of your enlarged photo print. For my 16 x 20-inch prints, I purchased a cost-effective 5-pack of 16 x 20 canvases during a sale at Michael’s Crafts, priced at just $15.00. Now comes the optional, but highly recommended, step of painting the sides of your canvas. Using black acrylic paint (latex, chalkboard, or any acrylic paint will work), carefully paint the edges. This step adds a finished, polished look to your canvas, framing your photo beautifully. If you’re undertaking an eco-friendly project by upcycling an old canvas, I suggest painting the entire canvas black (or a dark, opaque color) first to cover any existing artwork or blemishes, creating a clean slate for your new creation. That’s precisely what I did for my project!

- Coat Your Canvas with Mod Podge.
Once any paint on your canvas has completely dried, it’s time to apply the adhesive. Using a clean foam brush, spread a generous, even layer of Mod Podge Matte Finish across the entire front surface of the canvas. Think of Mod Podge as a specialized glue designed for decoupage projects, offering excellent adhesion and a smooth finish. Ensure the layer is sufficient to cover the canvas thoroughly but not so thick that it creates excessive puddles. This initial coat will serve as the strong bonding agent for your photo.
- Carefully Apply Your Photo on Top of the Wet Mod Podge.
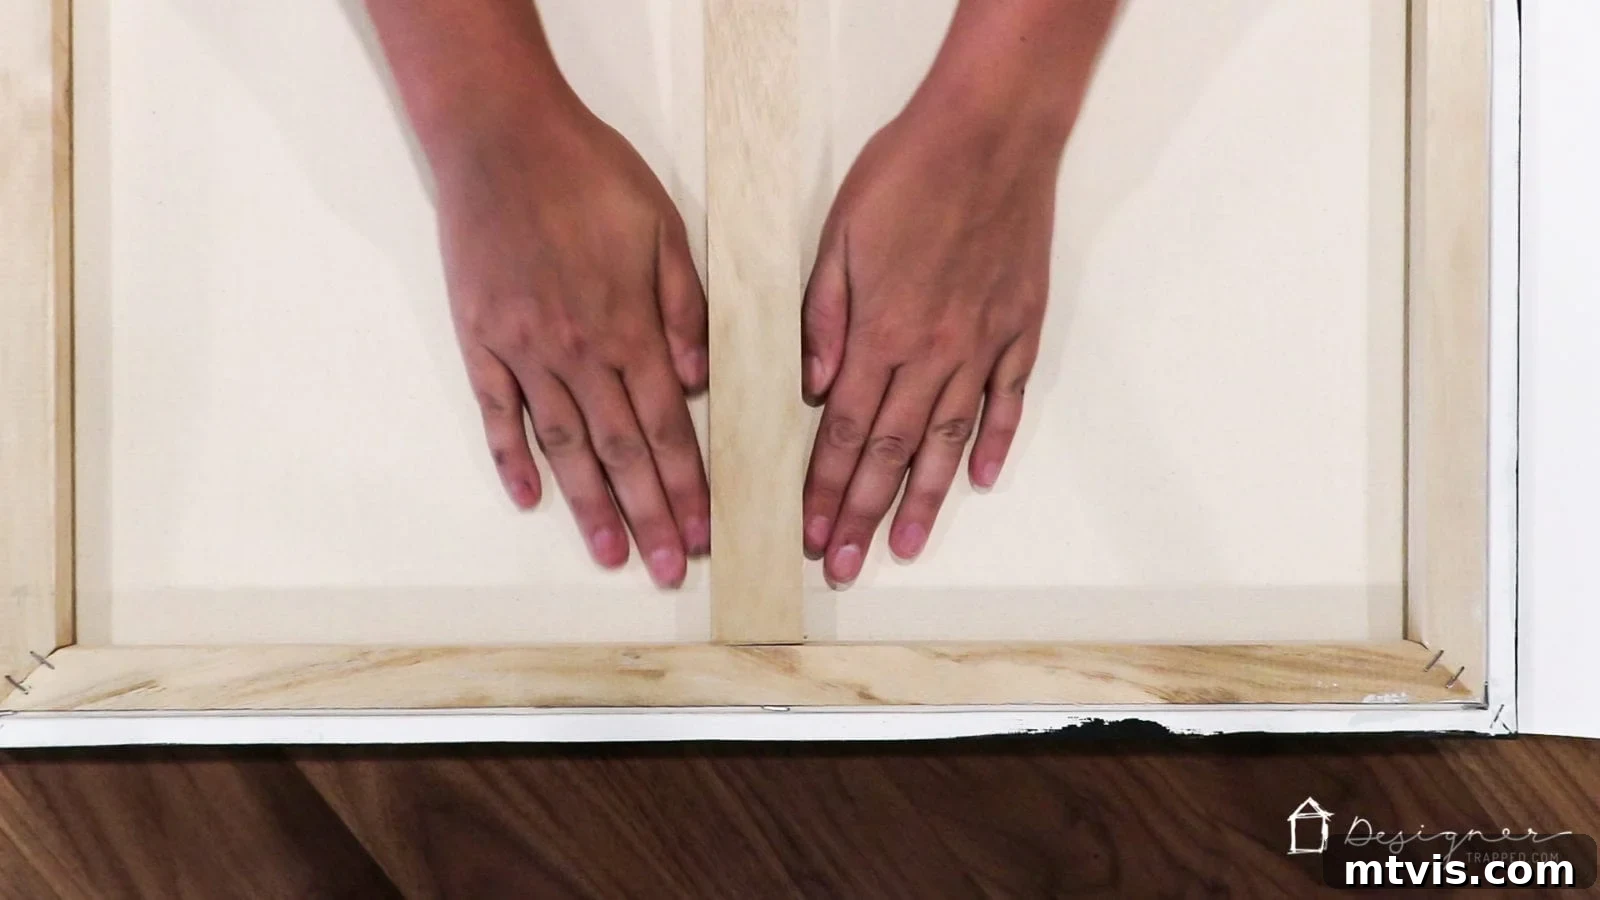
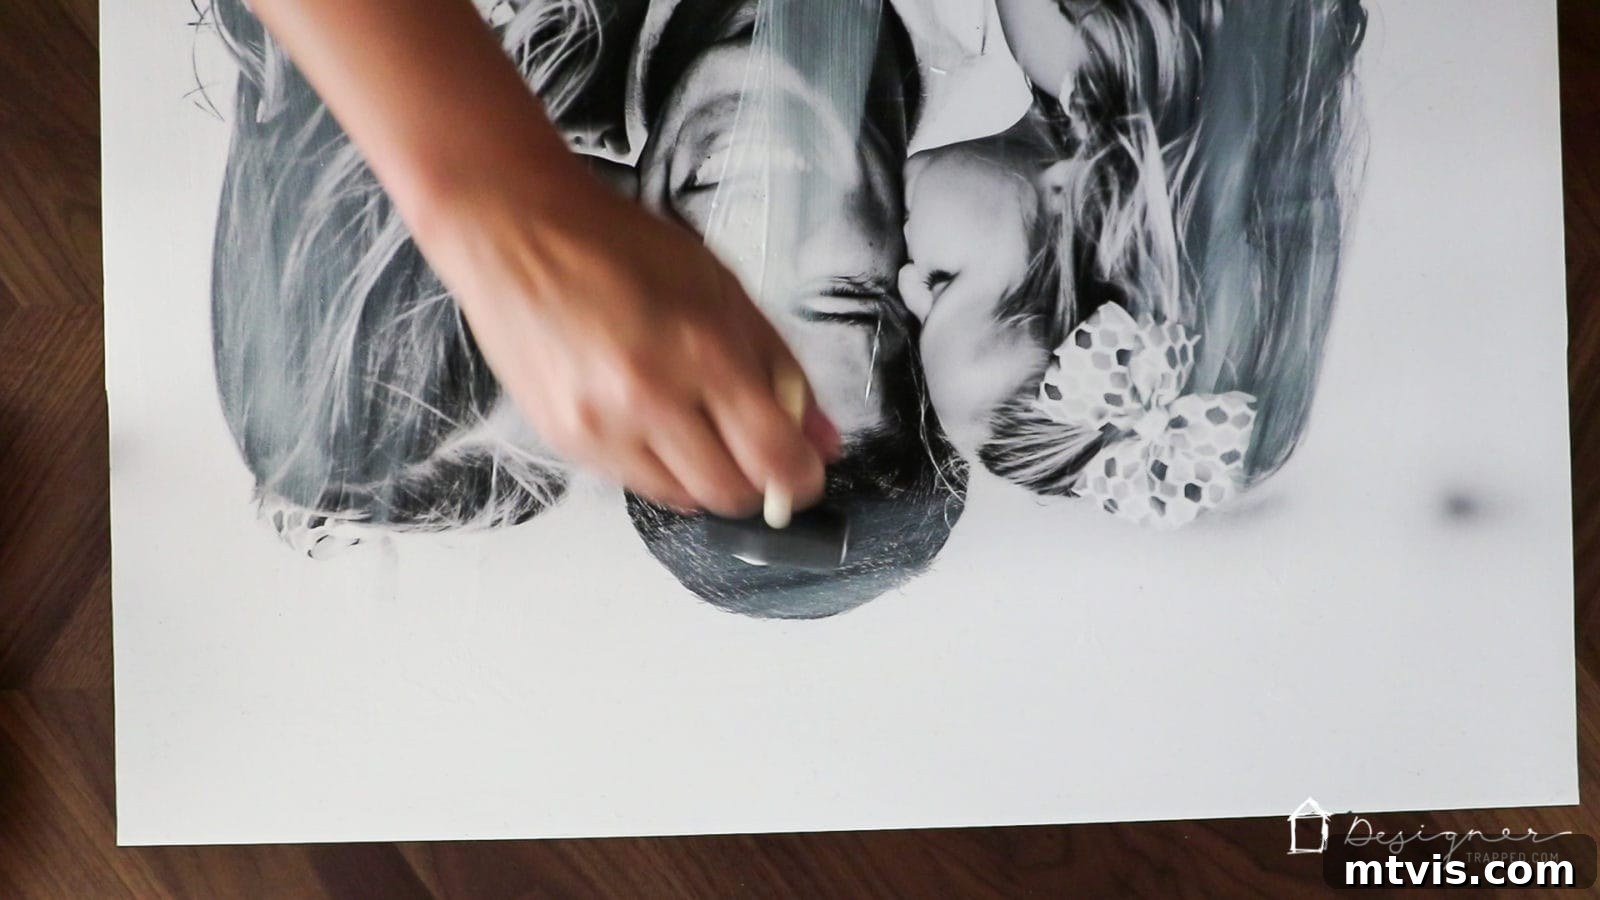
Working quickly while the Mod Podge is still wet, meticulously position your enlarged photo onto the canvas. Ensure the photo side is facing up. Begin by aligning one edge of the photo with the canvas, then gently lay it down. Use your hands to press the photo onto the canvas, starting from the center and working your way outwards to eliminate any trapped air bubbles and ensure a perfectly smooth adherence. Take your time to make sure the photo is straight and perfectly positioned. For even better adhesion and to smooth out any stubborn air bubbles, flip the canvas over carefully and continue pressing and flattening the back with your hands. If you own a brayer (a small hand-roller used for crafts), it can be an invaluable tool for this step, providing uniform pressure and a flawless finish.
- Allow Your Canvas to Dry Overnight.
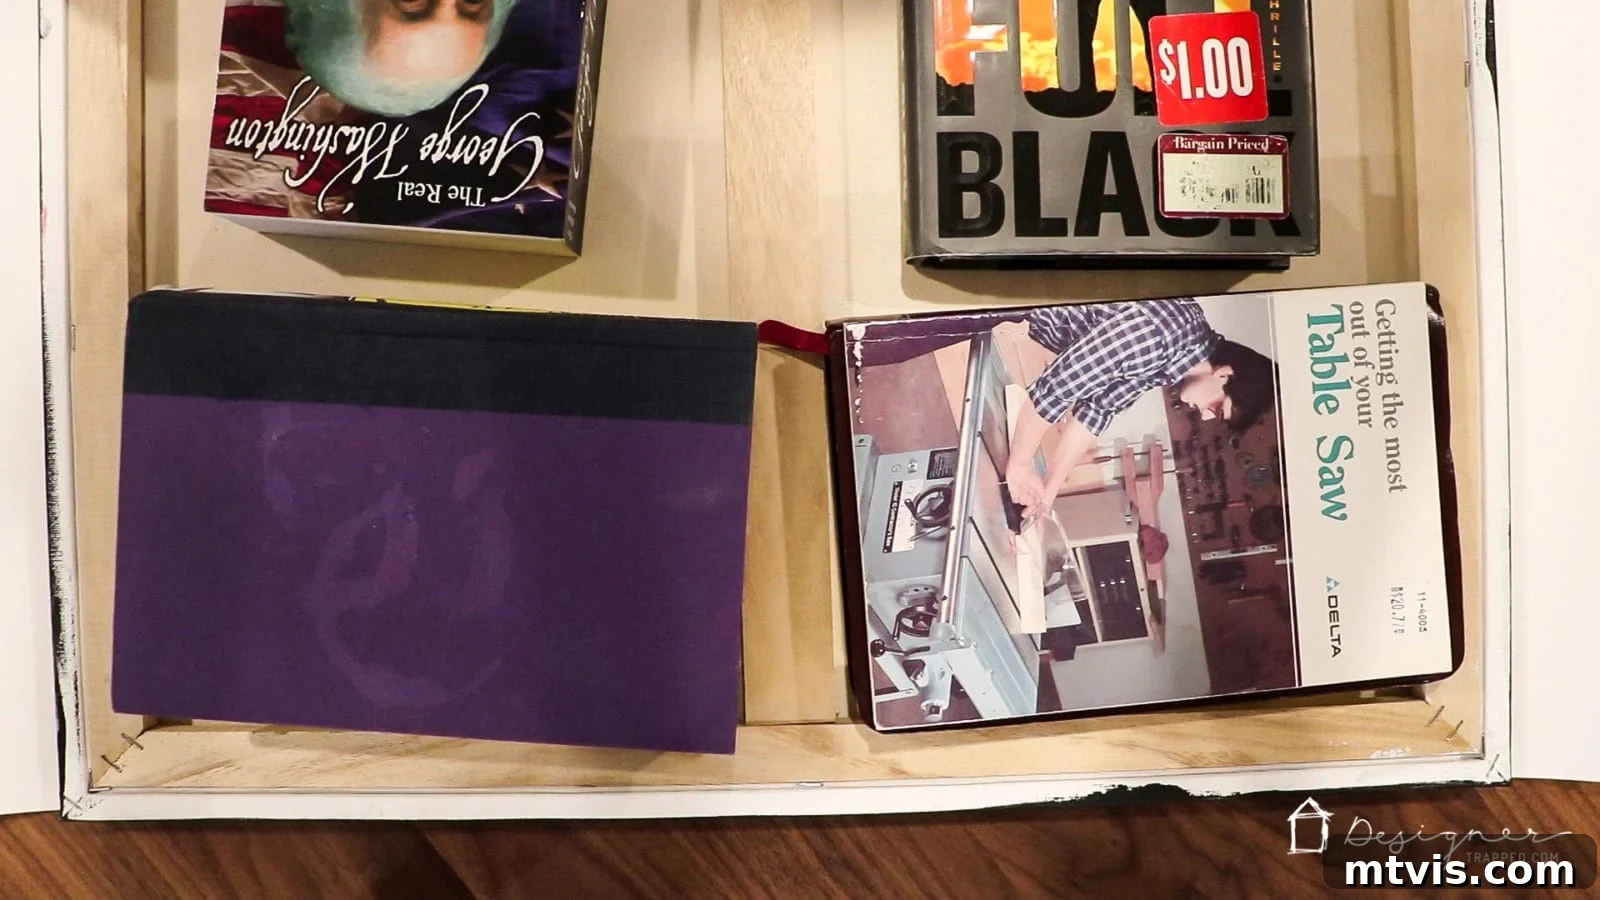
Once your photo is firmly attached and smoothed onto the canvas, it’s crucial to let it dry properly. To prevent any wrinkling or warping as the Mod Podge cures, place your canvas upside down on a flat surface. Then, gently place a few heavy books on top of the inverted canvas. The weight will apply even pressure, ensuring the photo remains flat and securely adhered while the Mod Podge fully dries. Allow at least 8-12 hours, or ideally, let it dry overnight. This patient drying process is key to achieving a professional, long-lasting finish.
- Trim Off Any Excess Photo Paper.
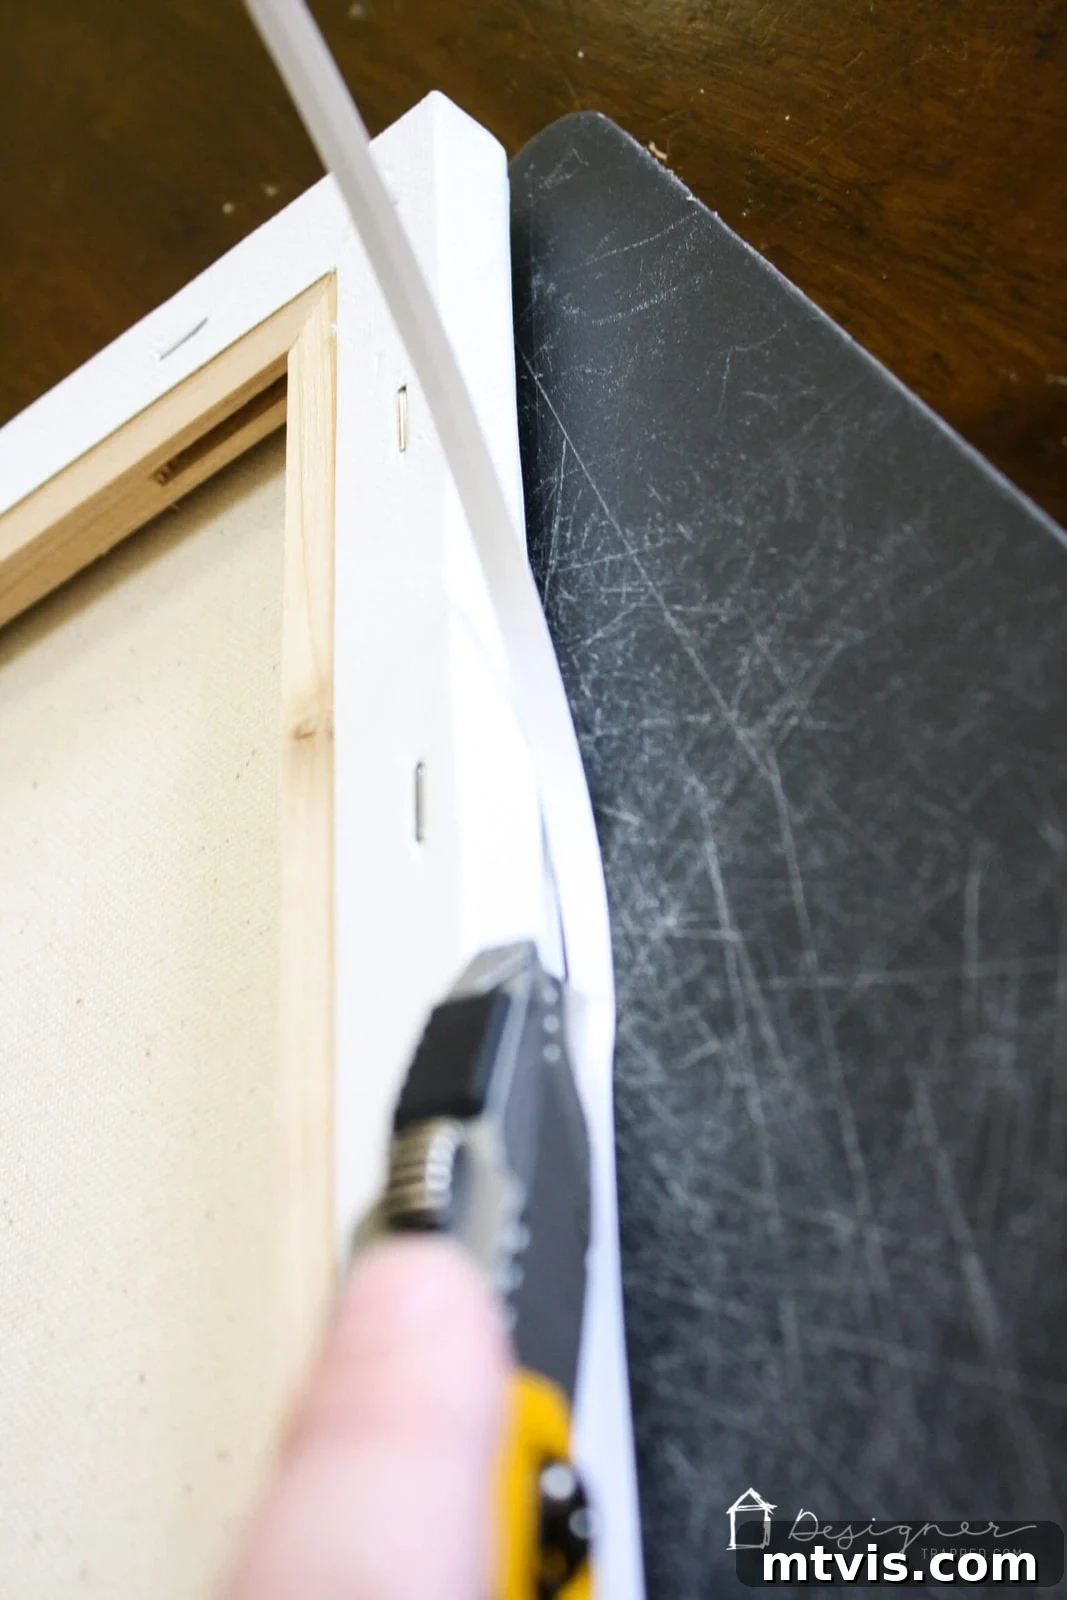
After the canvas has completely dried, you may find that your enlarged photo print extends slightly beyond the edges of the canvas. This is a common occurrence, especially with prints from certain labs like Costco, which can be a tiny bit larger than standard canvas sizes. Not to worry – this is easily remedied! Flip the canvas over so the back is facing up. Grab your trusty Exacto knife (or a sharp utility knife) and place your canvas on a protective cutting board. Using the firm edge of the canvas as your guide, carefully and steadily cut off any overhanging portions of the photo paper. Maintain a consistent, gentle pressure to achieve a clean, professional-looking edge.
- Add Your Authentic Canvas Texture!
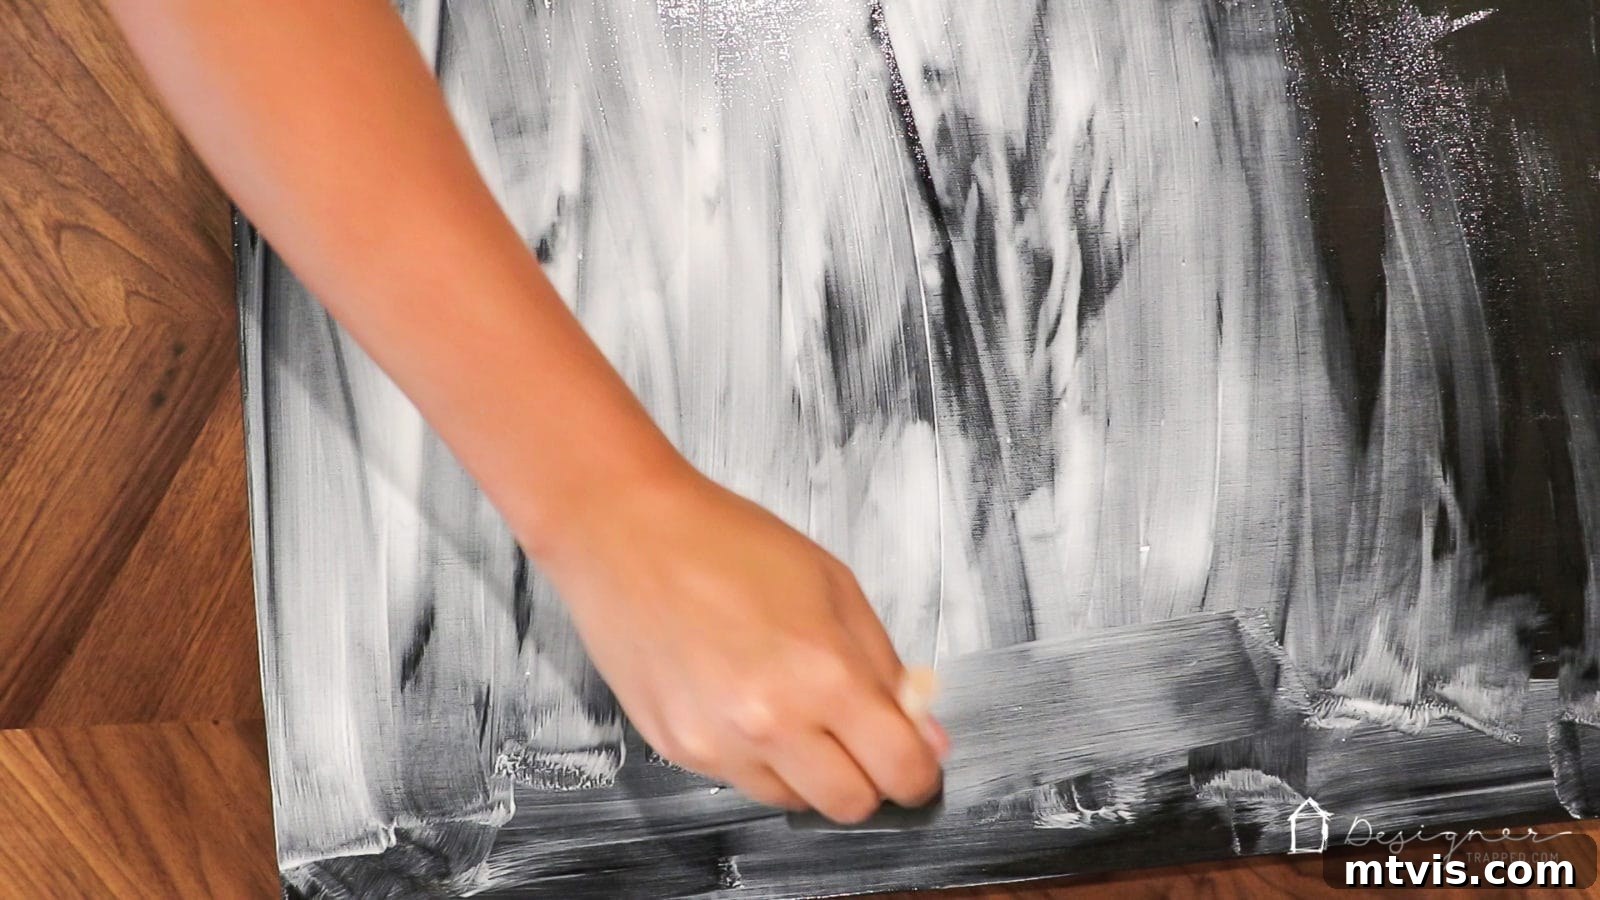
This is undoubtedly the most exciting and transformative step of the entire project, but it requires a leap of faith! You are about to impress an authentic canvas texture directly onto your photo, elevating it from a simple print to a gallery-worthy piece. This unique technique truly “MAKES” this project, so don’t stop now! First, apply a thin, even layer of Mod Podge (matte finish) across the entire front surface of your photo. Do NOT panic at this stage; I promise, promise, promise that the Mod Podge will dry completely clear and reveal a gorgeous, textured finish. Use long, smooth, and consistent strokes with your foam brush. Seriously, calm your nerves; the best part is just around the corner!
There are two distinct, effective methods I’ve successfully used to impart that desirable authentic canvas texture onto my photo prints. Choose the one that best suits your available materials and preference:Texture Method #1: Using a Blank Canvas for Stamping
Immediately after applying the Mod Podge, grab a spare blank canvas (it can be smaller than your project canvas) and gently sandwich it directly ON TOP of your photo, which is now coated with wet Mod Podge. Apply gentle, even pressure across the surface. This action transfers the weave pattern of the blank canvas onto your wet Mod Podge layer. Then, swiftly peel the blank canvas off. You’ll be left with a beautiful, authentic canvas texture impressed into the Mod Podge. If your spare canvas is smaller than your project, simply repeat this stamping process, overlapping slightly, until the entire surface of your photo canvas is textured. Speed is key here: you want to “stamp” and remove the blank canvas while the Mod Podge is still wet enough to receive the impression.Texture Method #2: Using an Old T-Shirt or Dish Towel
Alternatively, immediately after applying the Mod Podge, quickly grab a clean, old cotton t-shirt or a textured dish towel. Spread the fabric smoothly over the entire surface of the Mod Podge-coated photo, taking care to avoid any wrinkles in the fabric itself. Gently but firmly press the fabric onto your photo, allowing its weave to impress into the wet Mod Podge. Then, lift the fabric straight off. This method also effectively transfers a subtle yet authentic textile texture, mimicking the feel of a traditional canvas.
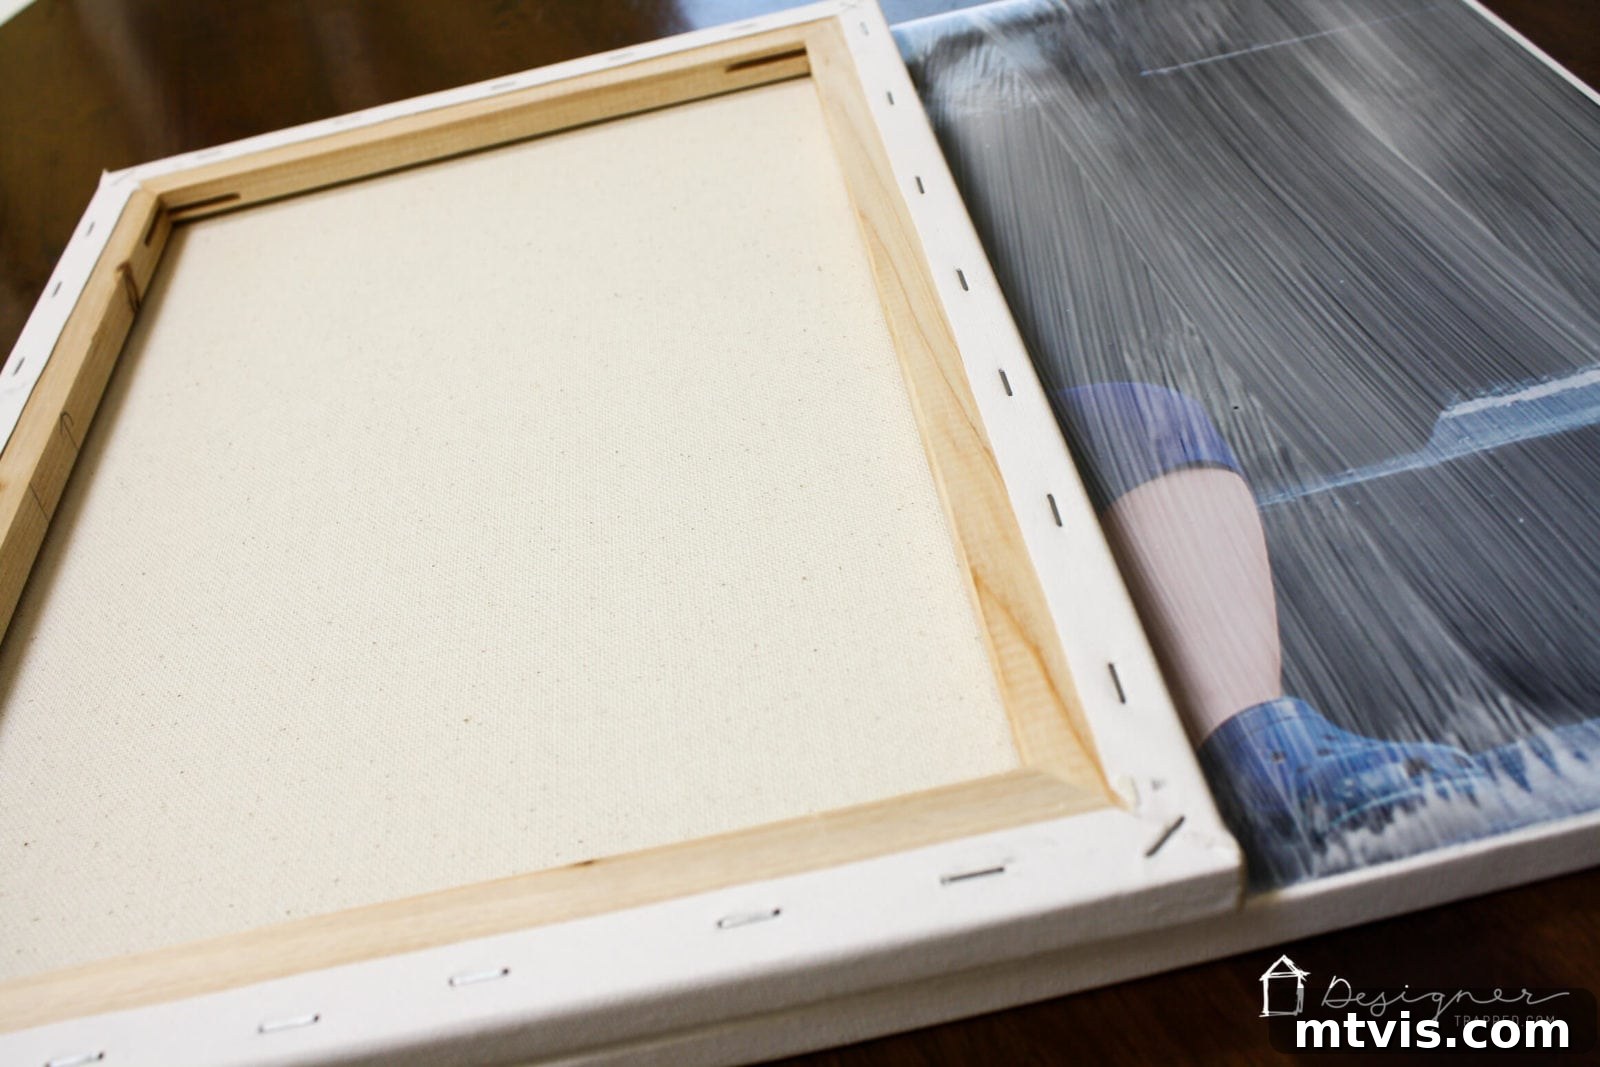
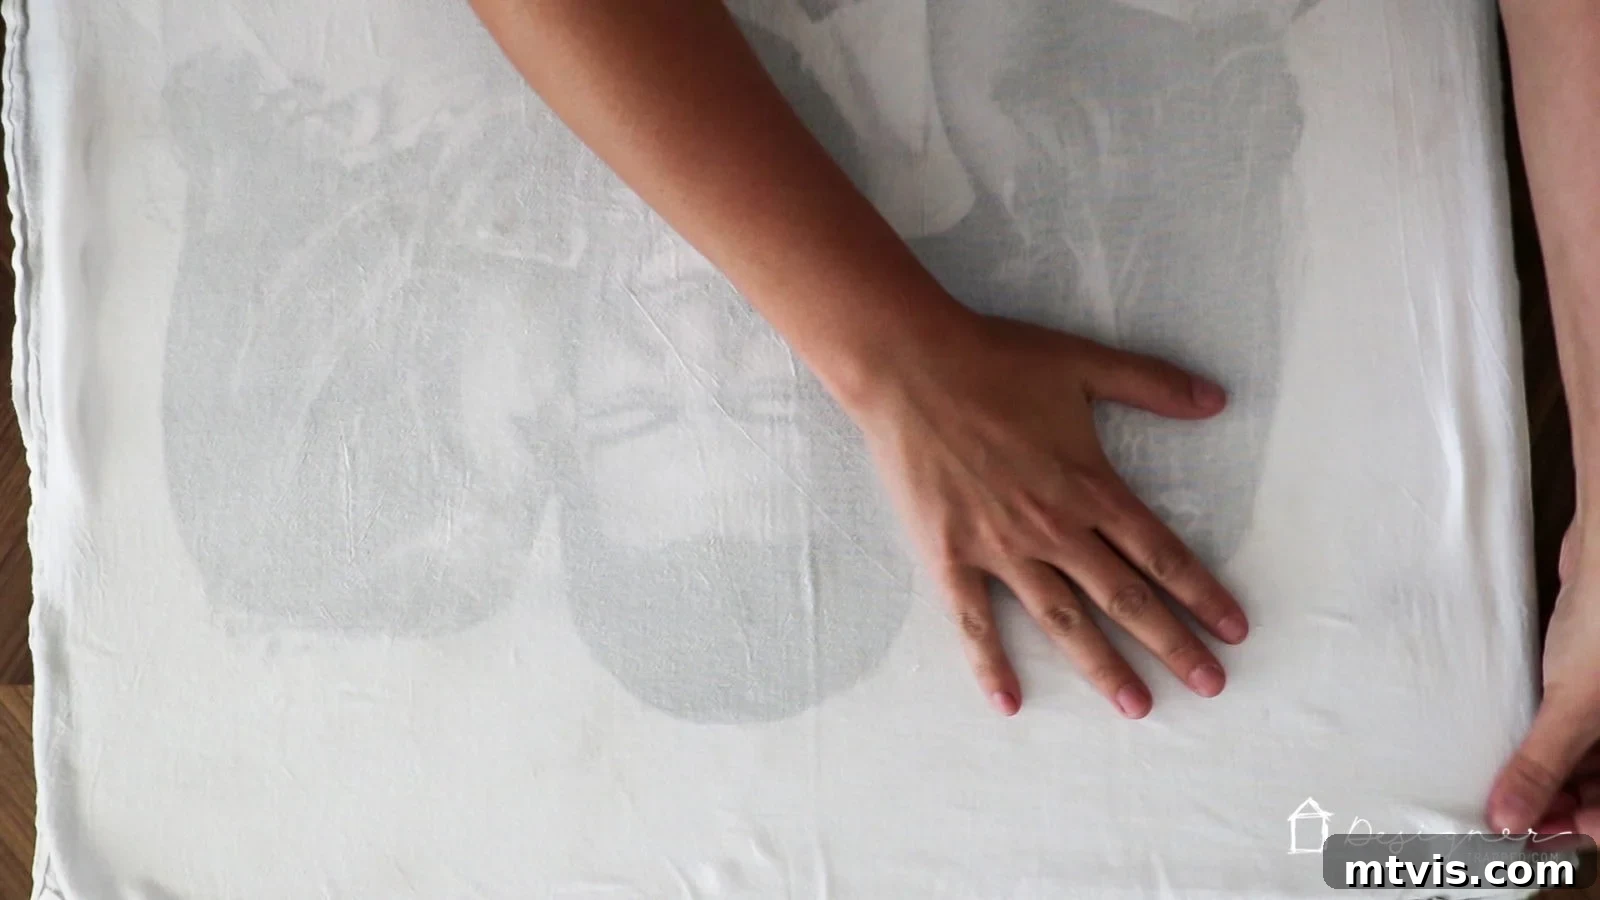
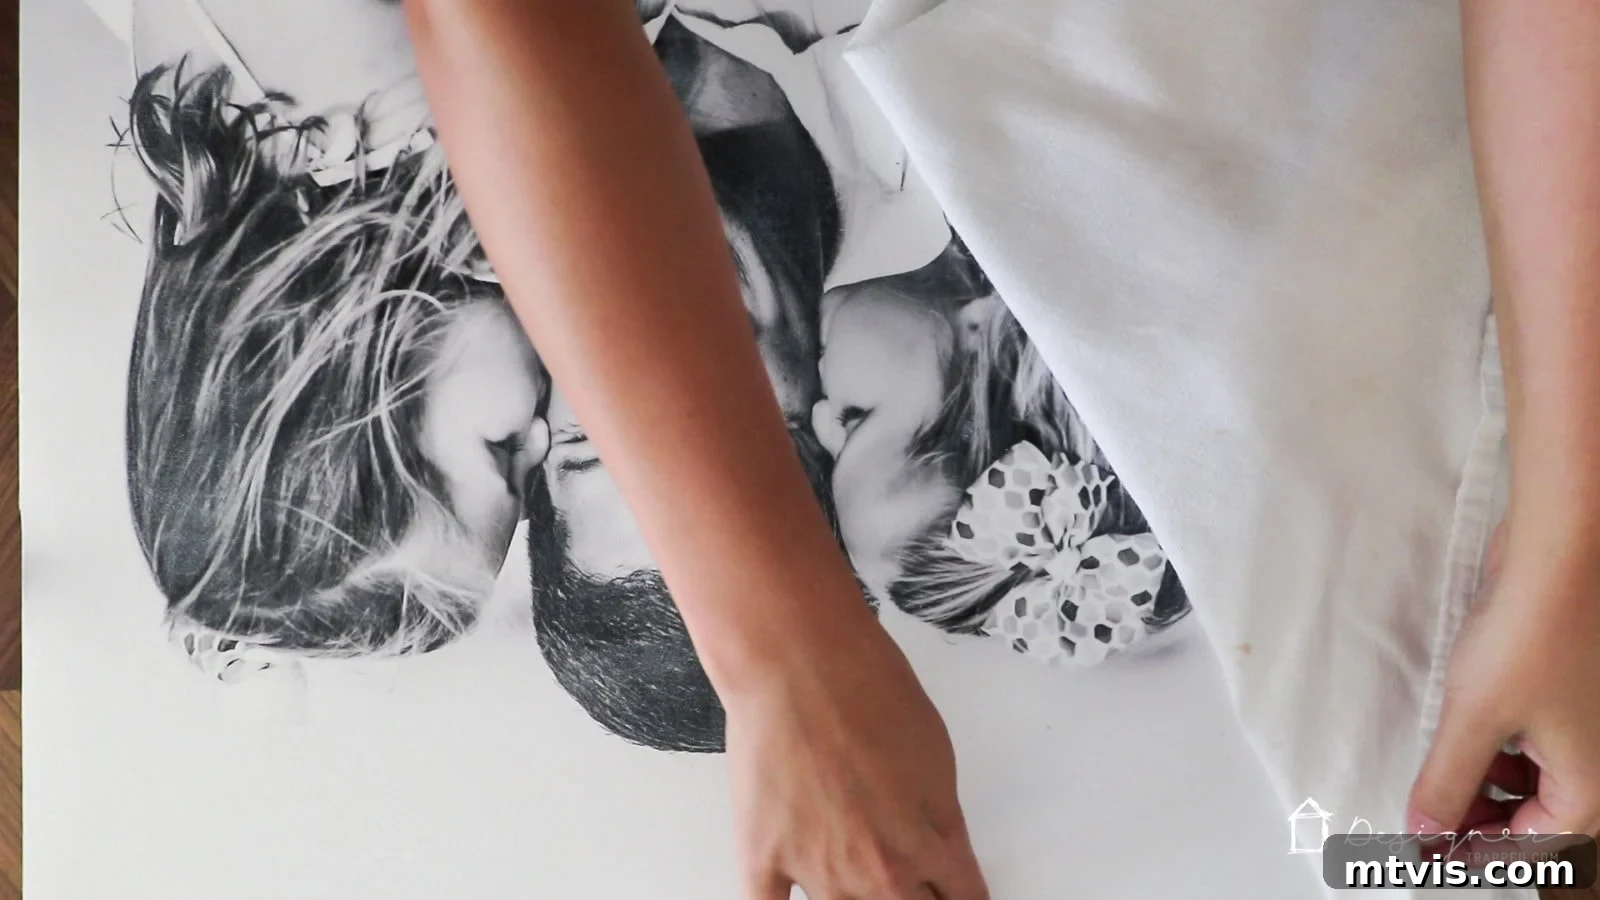
This image illustrates how the texture will appear while the Mod Podge is still wet, showcasing the subtle patterns beginning to emerge.
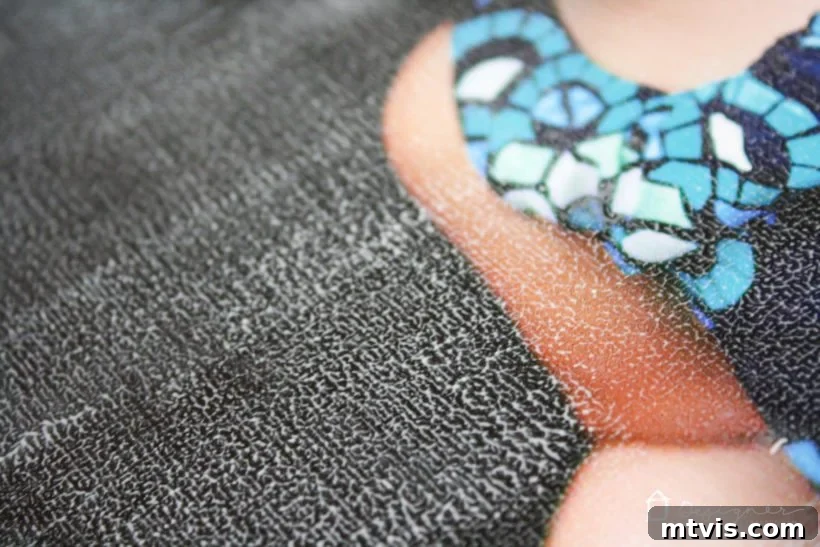
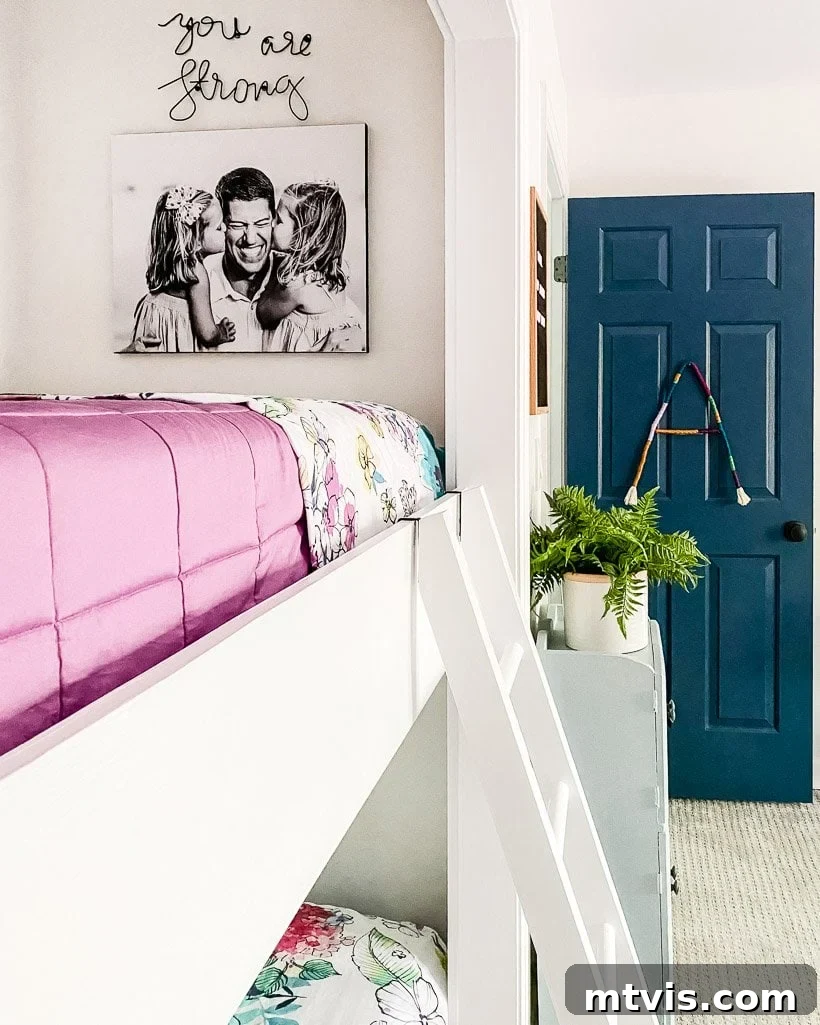
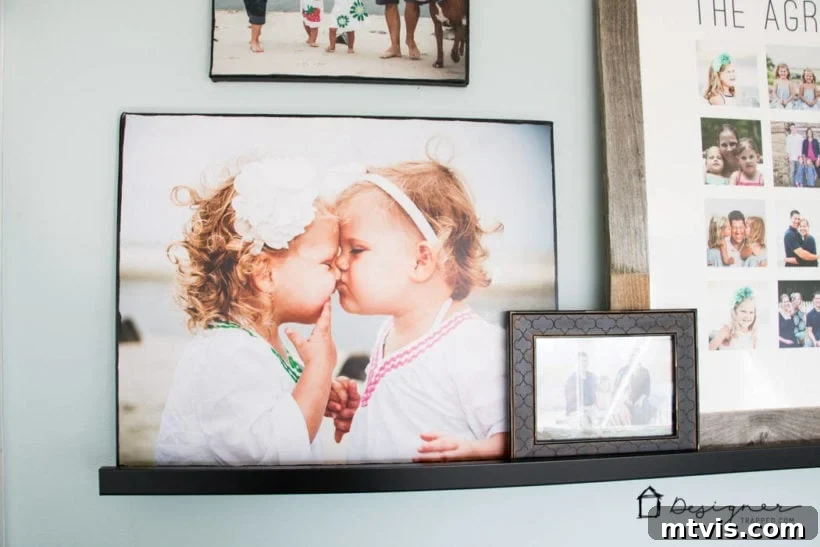
And behold! This is the GORGEOUS, professional-looking texture you will achieve once the Mod Podge has completely dried. The first photograph beautifully displays the texture created using the canvas stamping technique, which provides a distinct, woven effect. The second photograph highlights the texture resulting from the dishtowel technique, offering a slightly softer, fabric-like impression. Both methods produce stunning results, so feel free to choose whichever technique you prefer or have the materials for!
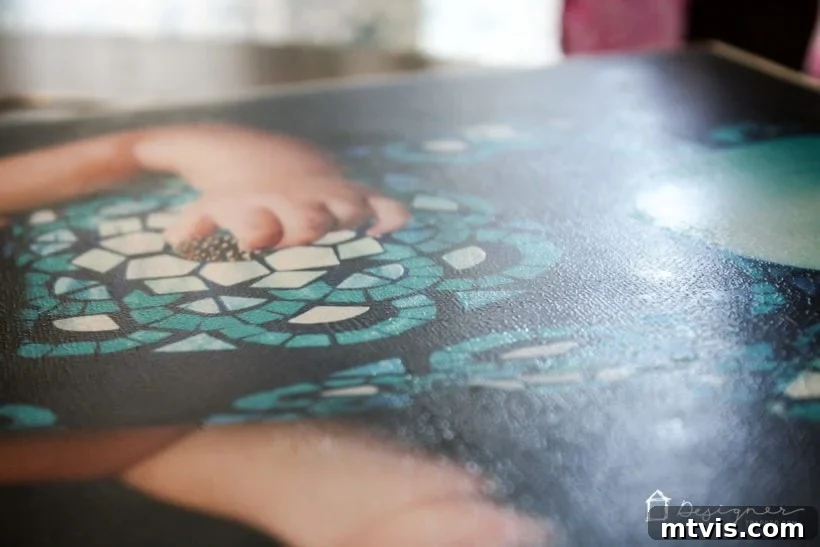
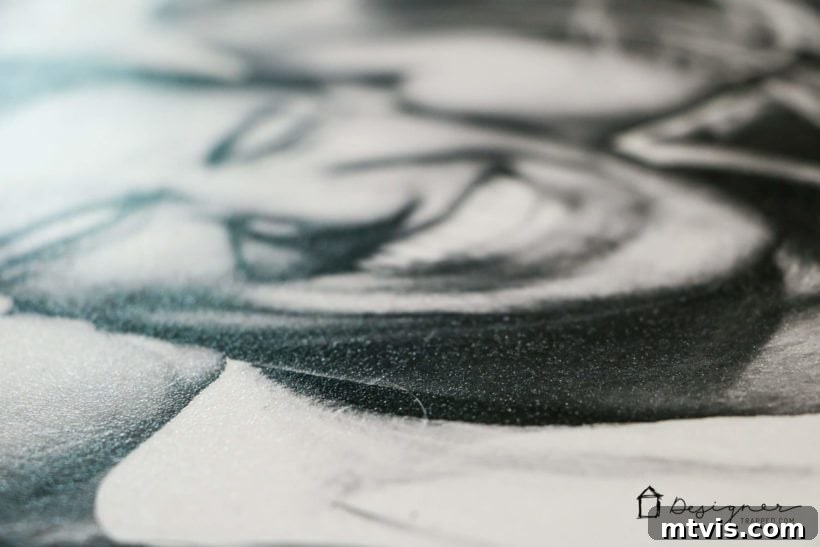
Once the Mod Podge is thoroughly dry and the texture is set, your beautiful DIY photo canvas is ready for display! Hang it proudly and take a moment to admire your exceptional craftsmanship and the personalized touch it brings to your home.
Frequently Asked Questions About DIY Photo Canvases
Creating a single 16 x 20-inch DIY photo canvas using this method typically costs me around $10. This is an incredible saving when you consider that ordering a custom 16 x 20 canvas from popular services like Shutterfly can cost upwards of $71.99, even when on sale! The ability to save approximately $62.00 per canvas is truly astounding. Moreover, each canvas takes me only about 20 minutes of active work to complete (excluding drying time), making it a fast, easy, and incredibly rewarding project for anyone looking to add personalized art to their home on a budget.
I strongly advise against using this technique with photos printed at home, regardless of whether you’re using an inkjet or laser printer, even if printed on high-quality photo paper. Over the years, countless individuals have reported that Mod Podge causes the inks from home printers to smear significantly, often ruining the clarity and vibrancy of their cherished photos. For best results and to avoid disappointment, always opt for professionally printed photos from a photo lab.
Absolutely not. This method is not recommended for photos printed on regular printer paper, or even heavier cover-weight paper. Regular paper is simply too thin and lacks the structural integrity required for this project. When Mod Podge is applied, the paper will almost certainly wrinkle, bubble, and distort, leading to a very unsatisfactory and unprofessional final appearance. Sticking to professionally printed photo paper is essential for smooth, crisp results.
Unfortunately, I also do not recommend using “poster prints” from office supply stores for this DIY canvas project. These prints are frequently produced on a material often referred to as “banner paper,” which has different properties than photographic paper. Banner paper tends to peel and react poorly when Mod Podge is applied, undermining the durability and aesthetic of your finished canvas. For successful and lasting results, always ensure your prints are on genuine photo paper.
What do you think? Doesn’t that authentic texture truly elevate the entire project? It’s a game-changer that completely transforms a simple photo print into a high-end canvas display. I was quite proud when I first discovered this unique texturing technique! Be sure to pin this post to Pinterest now so you can easily find it again when you’re ready to create your own stunning canvas art.
Making your own photo canvases is a wonderfully creative and engaging way to display your most treasured memories. They are, without a doubt, one of my favorite DIY wall decor ideas ever! With just a few basic materials and a small investment of your time, you can craft a truly personalized piece of home decor that beautifully reflects your unique style and personality. So, why wait? I sincerely hope this detailed, step-by-step guide has empowered and inspired you to dive in and create your very own DIY photo canvas masterpiece!
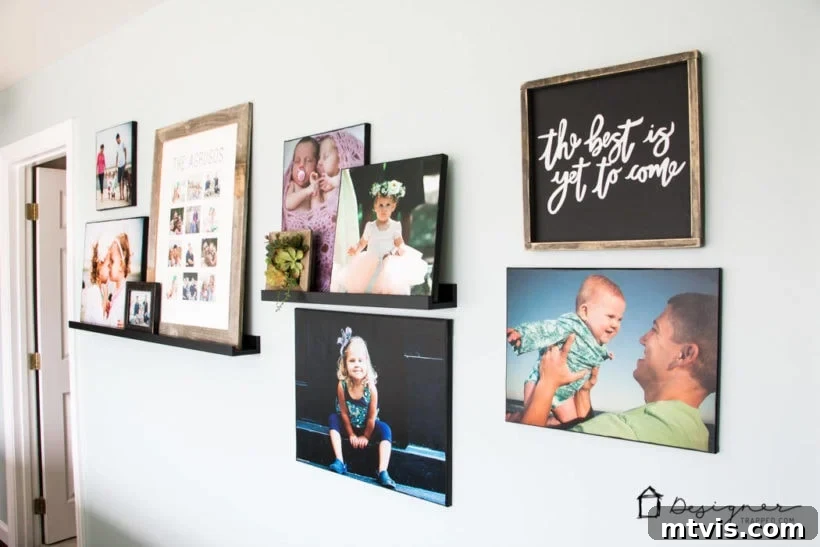
Craving more brilliant ideas for displaying your favorite pictures and art? Explore my vibrant colorful gallery wall and discover this unique family photo gallery wall for even more inspiration.
More Inspiring Art & Wall Decor Ideas
SEE ALL ART POSTS
-
How to Display Art On Almost Any Smart TV
-
How to Make Faux Oversized Poster Hangers
-
DIY Light Up Wall Art
-
Make Large DIY Picture Frames For Less than $20 Each
-
DIY Magnetic Poster Hangers
-
27 Gallery Wall Ideas + Practical Tips to Inspire You
Other posts you may enjoy:
- 16 Genius Hallway Decor Ideas
- Stylish Family Photo Wall Display Ideas
Curious about how I approach transforming rooms and spaces in our home from concept to stunning reality? Check out Designer in a Binder®, my comprehensive system designed to simplify and empower your decorating journey.
And for exclusive content, behind-the-scenes sneak peeks, and direct updates on all things home decor and DIY, be sure to subscribe to my newsletter before you go!