
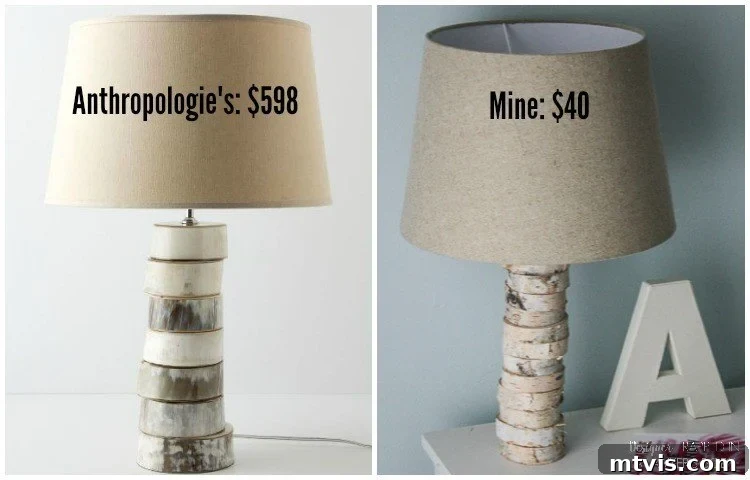
Hello, fellow design enthusiasts and budget-conscious decorators! If you’re anything like me, you adore the unique, curated aesthetic of Anthropologie but often find their price tags a little out of reach. Today, I’m thrilled to share a project that brings high-end style into your home without breaking the bank. This time last year, I had the pleasure of participating in the Knock Out Knock Off series, showcasing how to replicate designer looks for less. And guess what? The series is back!
For the next four months, I’ll be joining a fantastic group of talented bloggers in the Knock Out Knock Off challenge. Each month, we’ll dive into crafting projects inspired by beloved retailers like Anthropologie, Land of Nod, CB2, and Crate and Barrel. This month, our focus is squarely on the whimsical and artistic charm of Anthropologie. Prepare to be inspired, because we’re about to show you how to achieve that coveted style with your own two hands and a clever DIY approach. You won’t want to miss the incredible projects my friends have created, so be sure to check out their links at the end of this post!

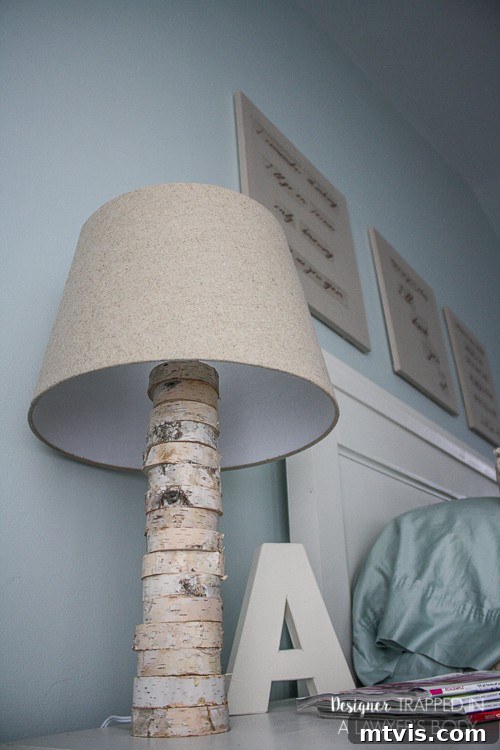
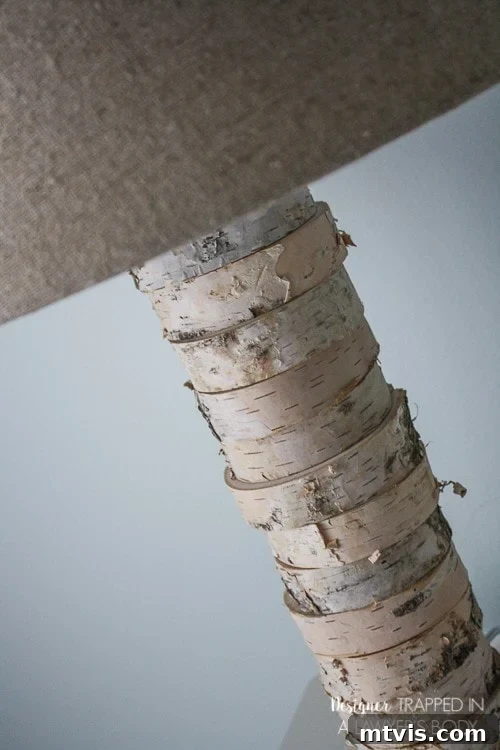
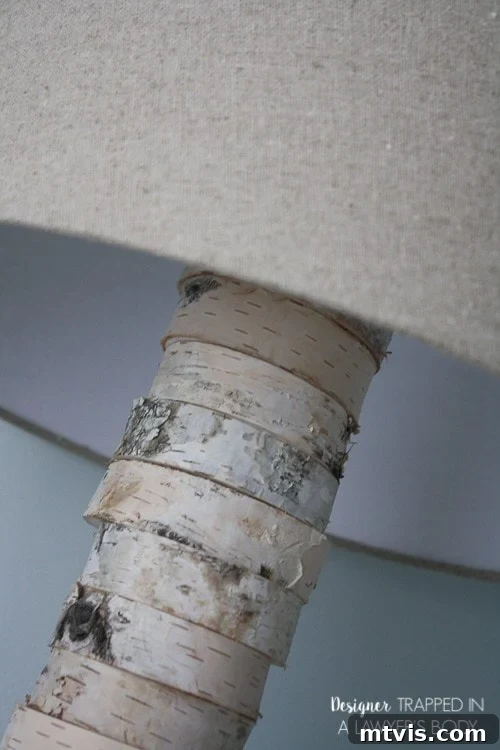
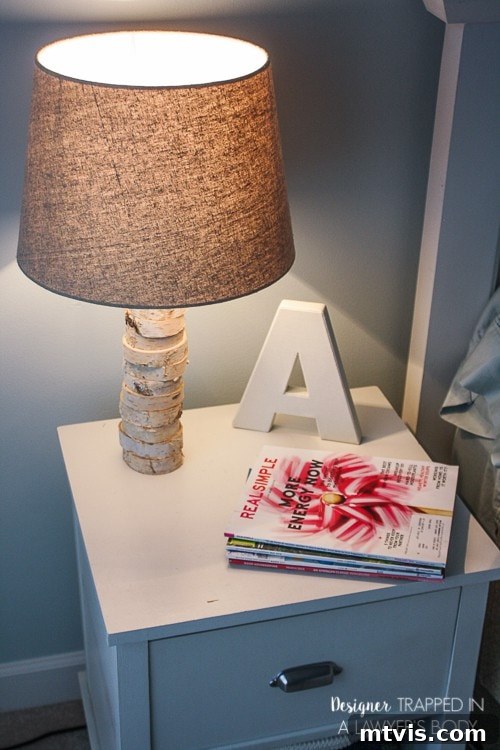
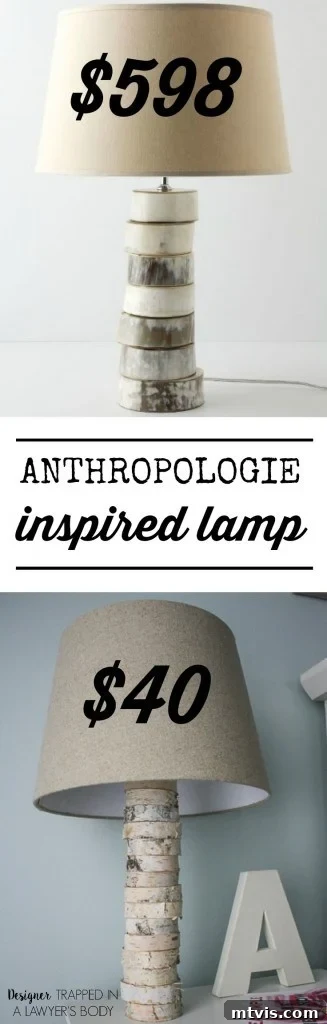
My passion for Anthropologie runs deep—it’s the kind of love that resonates in your soul. However, the reality of purchasing from them is a once-in-a-blue-moon event due to the premium pricing. When I stumbled upon their stunning stacked wood lamp, I knew instantly that it had to be mine, but the $598 price tag (and that’s without the lampshade!) was simply not an option. That moment sparked an idea: why not create my own version? The result is a gorgeous, custom-made lamp that cost me a mere $40!
This tutorial will guide you through every step of creating your very own Anthropologie-inspired stacked wood lamp. Get ready to transform simple materials into a unique statement piece that will garner compliments and leave your guests wondering where you found such a treasure. Before we dive into the details, please note that this post contains some affiliate links. You can read my full disclosure policy here for more information.
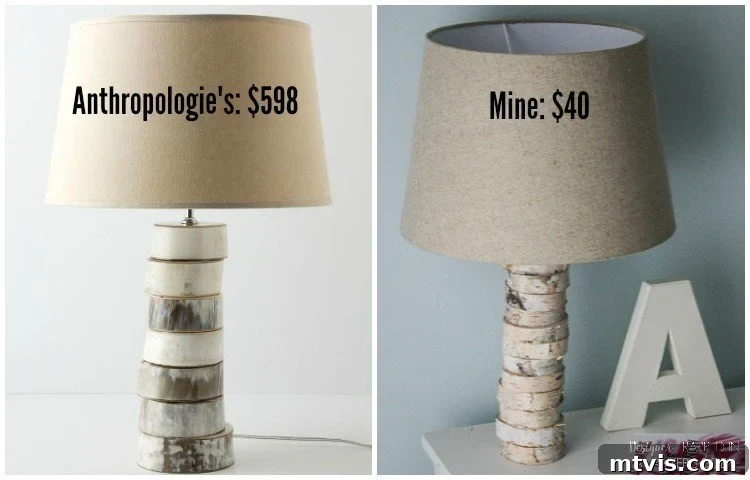
Imagine the satisfaction of telling friends and family that your beautiful, rustic-chic lamp is a creation of your own hands, made for a fraction of the retail cost. This project isn’t just about saving money; it’s about infusing your living space with personality and a sense of accomplishment. The natural warmth of birch wood slices brings an organic, earthy element that complements a variety of decor styles, from modern farmhouse to bohemian and even minimalist interiors seeking a touch of nature. Let’s gather our supplies and begin this exciting journey.
Essential Materials for Your DIY Stacked Wood Lamp
Crafting this elegant lamp requires a few key components. Sourcing these items is straightforward, and I’ll even share where I found mine to help you get started. Remember, prices for some items, especially natural materials, can fluctuate, so it’s always a good idea to check around for the best deals.
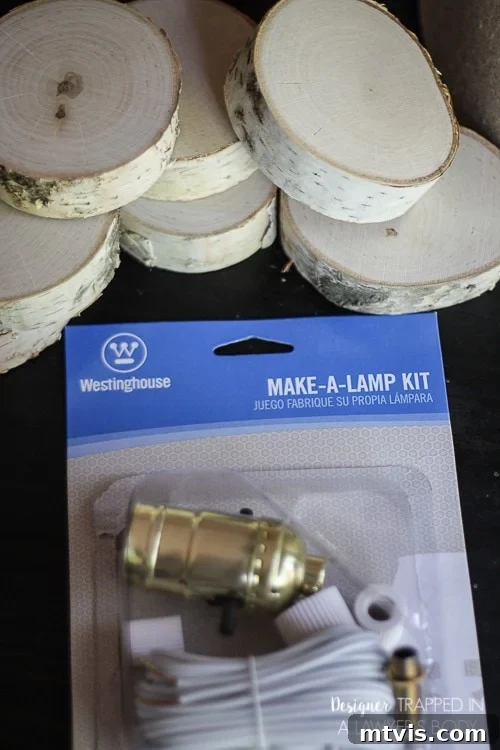
- Birch Wood Slices (3-4 inch diameter): You’ll need a good quantity of these to achieve the stacked look. I recommend acquiring about 20-30 slices, depending on your desired lamp height. The ones I used {are readily available on Amazon}. When I purchased mine, I paid $24.99 for 20 slices, but prices can vary. Look for slices with a relatively consistent diameter for a cohesive look, but embrace minor imperfections as they add to the lamp’s natural charm.
- Lamp Kit: This essential kit provides all the electrical components you need, including the cord, socket, and plug. It simplifies the wiring process, making it accessible even for beginners. Ensure your chosen kit is compatible with standard light bulbs and is rated for indoor use. {A reliable lamp kit can be found here}.
- Lamp Harp or Uno Lamp Shade Adapter: The choice between these depends on your lampshade. A lamp harp is a metal frame that cradles the lampshade, attaching to the lamp socket, while a Uno adapter allows a lampshade with a specific ring fitting to screw directly onto the socket. Make sure you select the correct one for your chosen shade. {Standard lamp harps are available, or if your shade is a Uno type, {you might need this adapter}.
- Wood Glue: A strong, quick-drying wood glue is essential for securely joining the wood slices.
- Drill and Drill Bits: You’ll need a drill bit that’s slightly wider than your lamp cord for threading, and another for the central hole for the threaded pipe (usually around 3/8 inch or 1/2 inch, check your lamp kit’s threaded pipe diameter).
- Safety Goggles: Always wear eye protection when drilling.
Step-by-Step DIY Stacked Wood Lamp Tutorial
This project is surprisingly straightforward, even for those new to lamp making. The key is careful drilling and secure assembly. Let’s get started on creating your personalized lighting masterpiece.
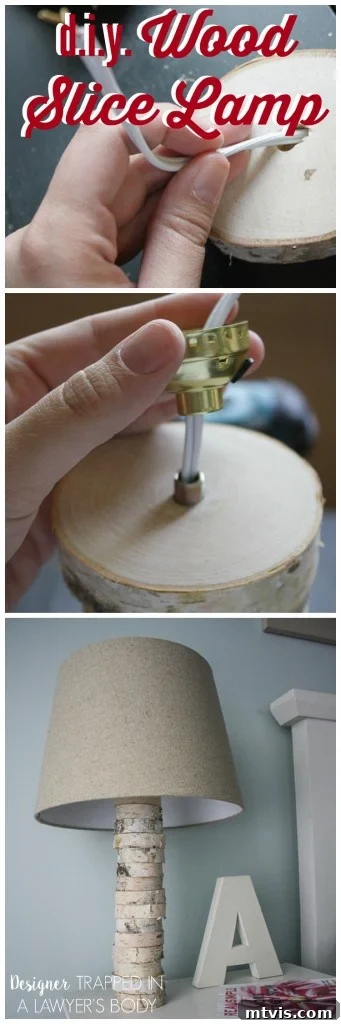
1) Prepare the Base Wood Slice: Begin with the very bottom wood slice, which will serve as your lamp’s stable base. This piece requires two interconnected holes: one for the cord to exit horizontally and another for it to pass vertically through the stack. Start by drilling a hole through the side of this wood slice, aiming towards the center. Stop drilling once your bit reaches approximately the middle of the slice. This creates the horizontal channel for the power cord.
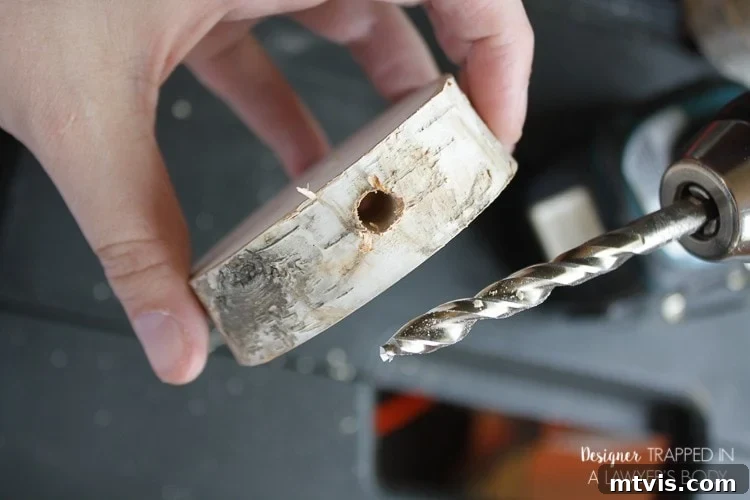
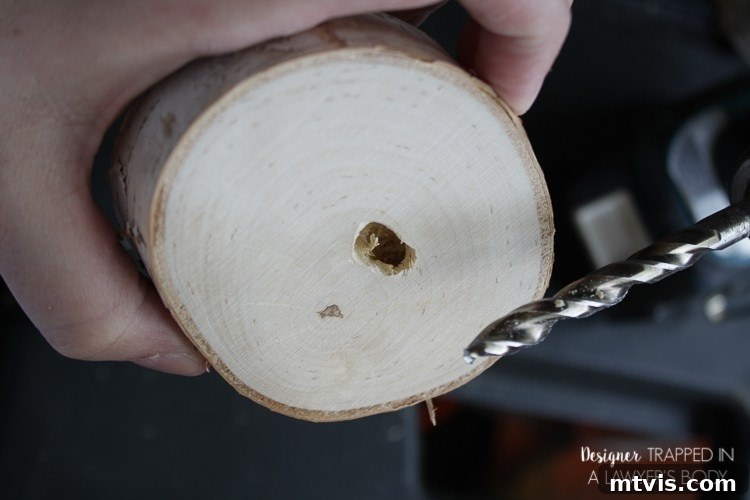
2) Create the Vertical Channel: Next, align your drill bit with the center of the top surface of the same base wood slice. Drill downwards, ensuring this new hole meets up precisely with the horizontal hole you just created. The goal is to form a continuous L-shaped tunnel for the lamp cord to pass through, allowing it to enter the lamp vertically and exit discreetly from the side.
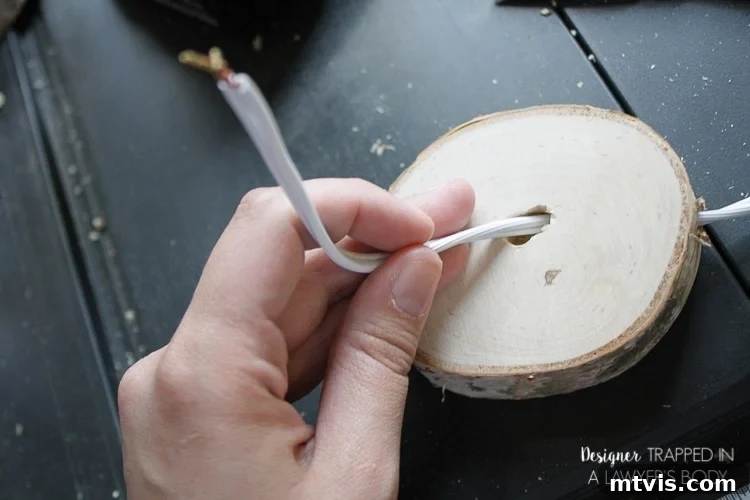
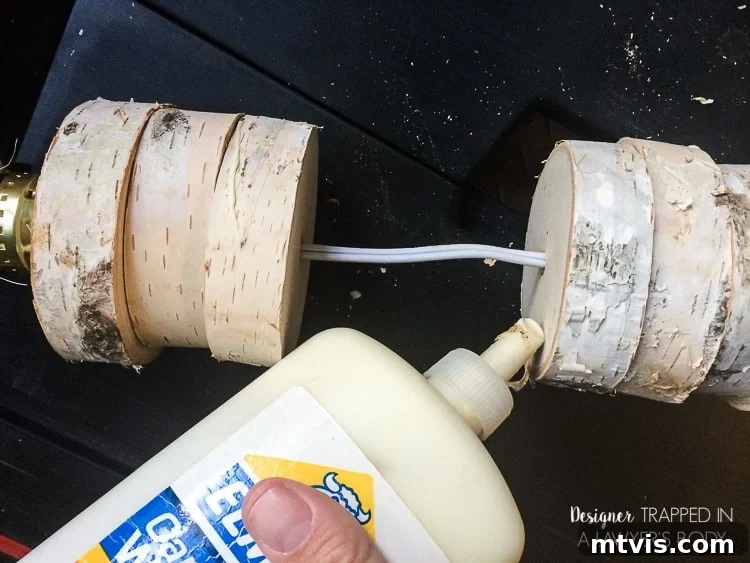
3) Thread the Cord Through the Base: Carefully thread the lamp cord through the L-shaped tunnel you’ve just drilled in the base wood slice. Pull enough cord through so that the end with the lamp socket assembly will emerge from the top, and a sufficient length for the plug remains accessible from the side exit hole.
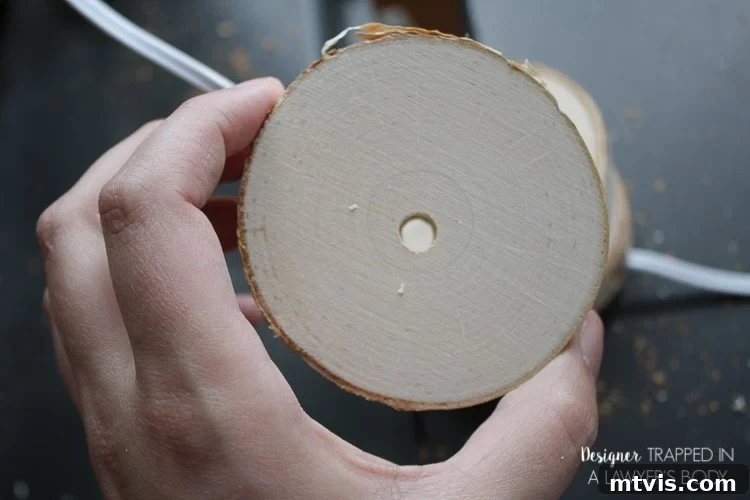
4) Prepare and Stack Remaining Slices: For all subsequent wood slices, you only need to drill a single hole through the exact center. Use a drill bit that is slightly larger than your lamp cord, but not so large that it leaves a wide gap around the cord. Once each slice is drilled, thread it onto the lamp cord one by one, carefully stacking them on top of the base slice. Continue adding slices until your lamp reaches your desired height and visual balance. This is where you can get creative with the arrangement, choosing to keep the stack uniform or slightly varied for a more organic look.
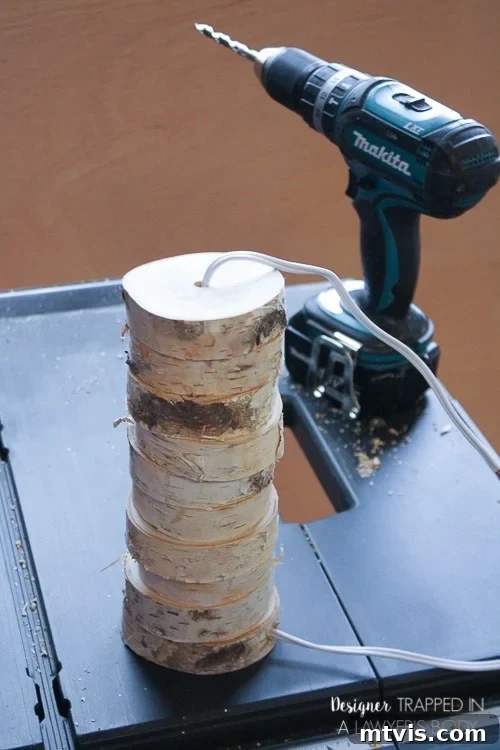
5) Install the Threaded Pipe: Once all your wood slices are threaded onto the cord, it’s time to secure the core of your lamp. Take the threaded pipe (often referred to as a “nipple” in lamp kits) and screw it down into the top-most wood slice. You want it firmly in place, but with about 1/4 to 1/2 inch of the threading exposed above the wood. This exposed thread is crucial for attaching the lamp socket components. (Note: I initially had a washer here but decided to remove it for a cleaner look. You can choose to use one if you prefer.)
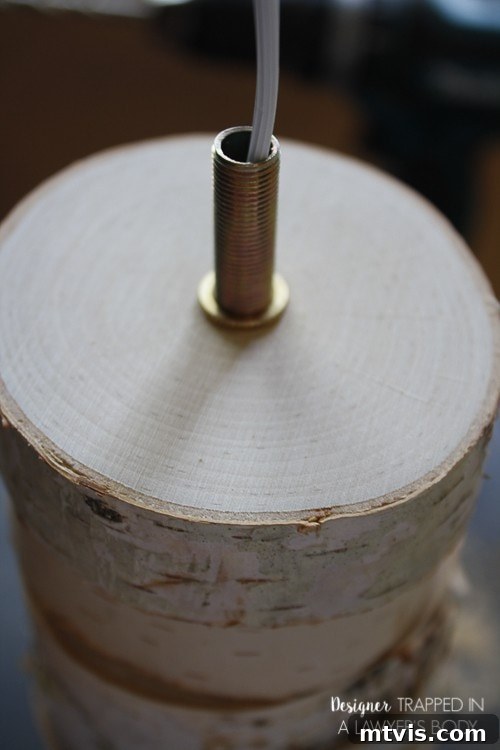
6) Attach Lamp Socket Collar: With the threaded pipe in place, gather the first piece of your lamp socket assembly – often a small, decorative collar or cap that screws onto the threaded pipe. Securely screw this part onto the exposed threading. This piece helps to anchor the socket and provides a finished look.
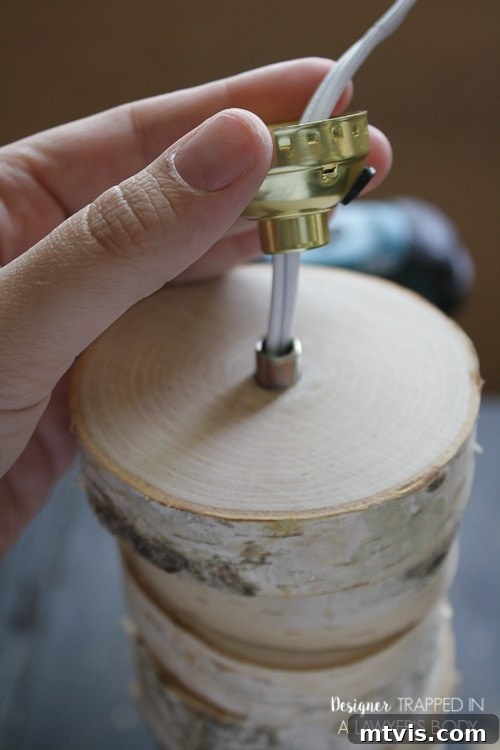
7) Wire the Lamp Socket: Now comes the electrical connection. Gently push up the metal and cardboard casing of your lamp socket to expose the two terminal screws inside. Carefully connect the two wires from your lamp cord to these screws. Typically, one wire is ribbed or marked, and this connects to the neutral terminal (often silver), while the smooth wire connects to the hot terminal (often brass). If your lamp kit has instructions, follow them precisely. After wiring, slide the metal and cardboard coverings back into place, ensuring no bare wires are exposed. This step is critical for both functionality and safety.
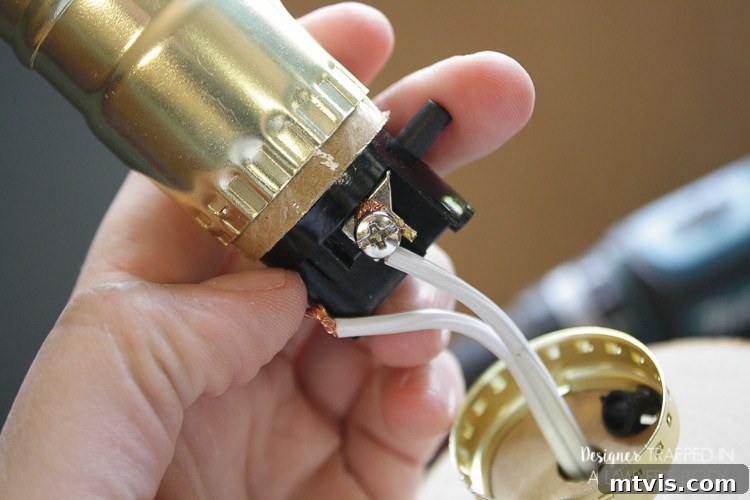
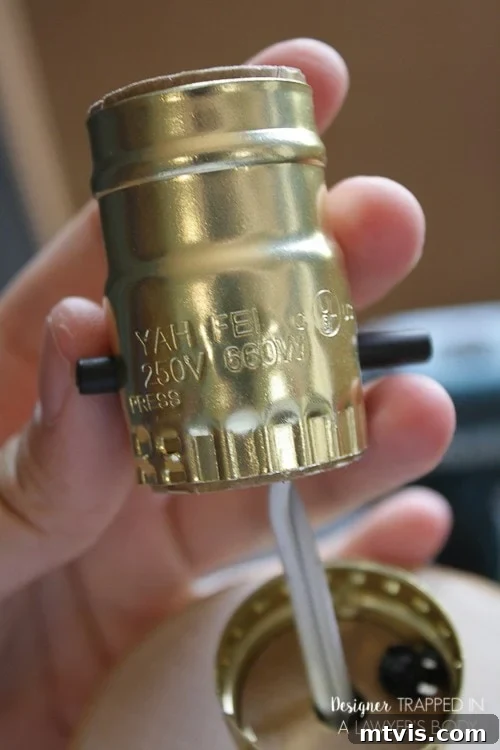
8) Secure the Socket and Excess Wire: Push the assembled lamp socket firmly into the collar attached to the threaded pipe until it clicks securely into place. Simultaneously, gently pull any excess lamp cord through the exit hole at the bottom of your lamp base. This ensures a taut, clean appearance and prevents any slack from interfering with the stability of your lamp.
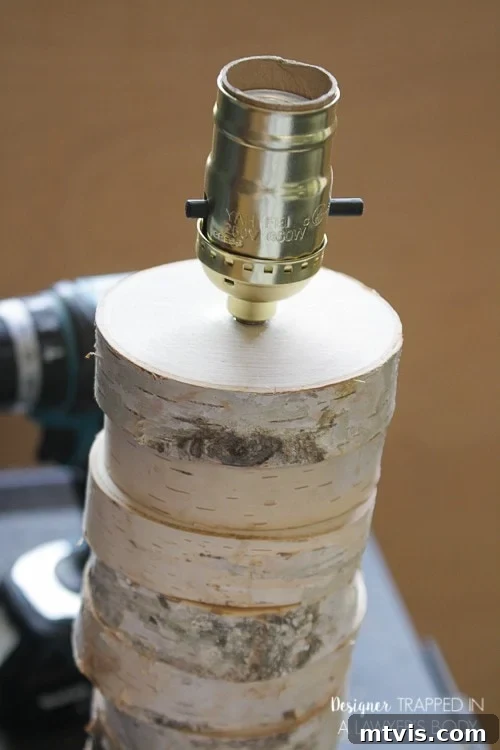
9) Glue the Wood Slices: Before gluing, slide your entire stack of wood slices down the cord, away from the socket assembly, by about 8 inches. This creates space to work. Starting from the top of the lamp’s wooden base, apply a generous bead of wood glue to the bottom surface of each wood slice, then firmly press it onto the slice below. Work your way down the stack, ensuring each slice is centered and flush with the one beneath it. Allow the glue to dry completely according to the manufacturer’s instructions, often several hours or overnight. This creates a solid, stable lamp body.
10) Final Assembly: Bulb and Shade: The final steps bring your lamp to life! Screw in a light bulb into the socket. Then, attach your lampshade. As mentioned in the materials, this will either involve screwing on a lamp harp (which will then hold the shade) or directly attaching a Uno lamp shade adapter if your shade is designed to screw onto the socket itself. Plug in your lamp, flip the switch, and marvel at your beautiful creation!
That’s it! Isn’t the finished lamp simply stunning? It effortlessly blends rustic charm with modern elegance, proving that high-end style can indeed be achieved on a budget. This DIY stacked wood lamp is more than just a light source; it’s a testament to your creativity and resourcefulness. It adds a warm, inviting glow and a unique focal point to any room, reflecting your personal style.
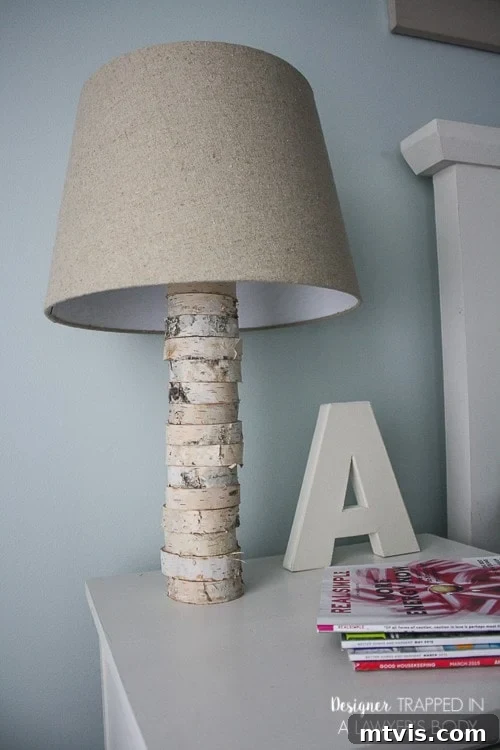
I hope this tutorial empowers you to create your own unique lighting fixture. If you found this project inspiring and want to remember it for future reference, please take a moment to pin it to your favorite DIY or home decor boards on Pinterest, or share it with your friends on Facebook! Your shares help us reach more DIY enthusiasts.
Before you dash off to start your next project, make sure to explore the other incredibly creative knock-off projects from my talented friends! This month’s Anthropologie inspiration has brought forth a truly diverse and stunning collection of DIYs. Below the graphic, you’ll find direct links to their blogs. Click on any link to discover the full details and tutorials for their amazing creations!
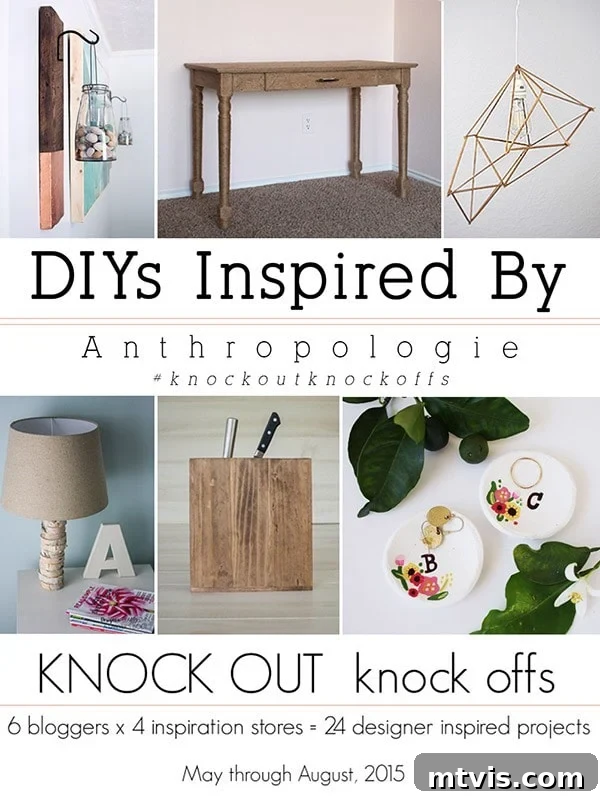
Rustic Modern Wall Hanging by Upcycled Treasures
DIY Jute Wrapped Vanity by The Gathered Home
Geometric Pendant Lamp by Delineate Your Dwelling
Bamboo Knife Block by Bigger Than the Three of Us
Hand Painted Floral Ring Dish by Brave New Home
