
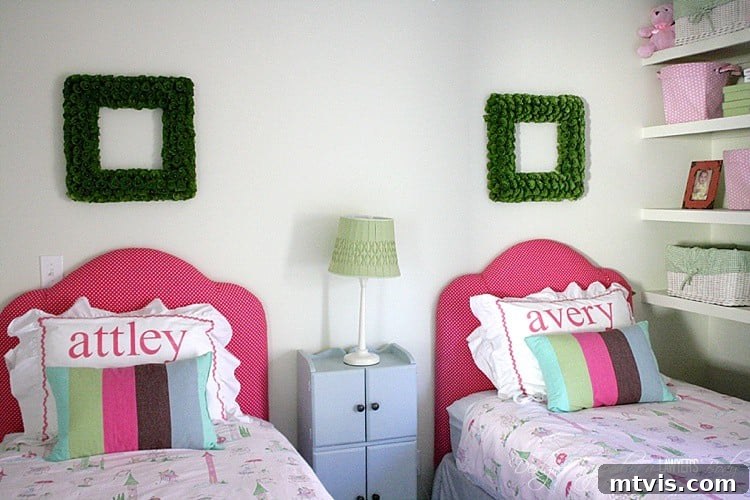
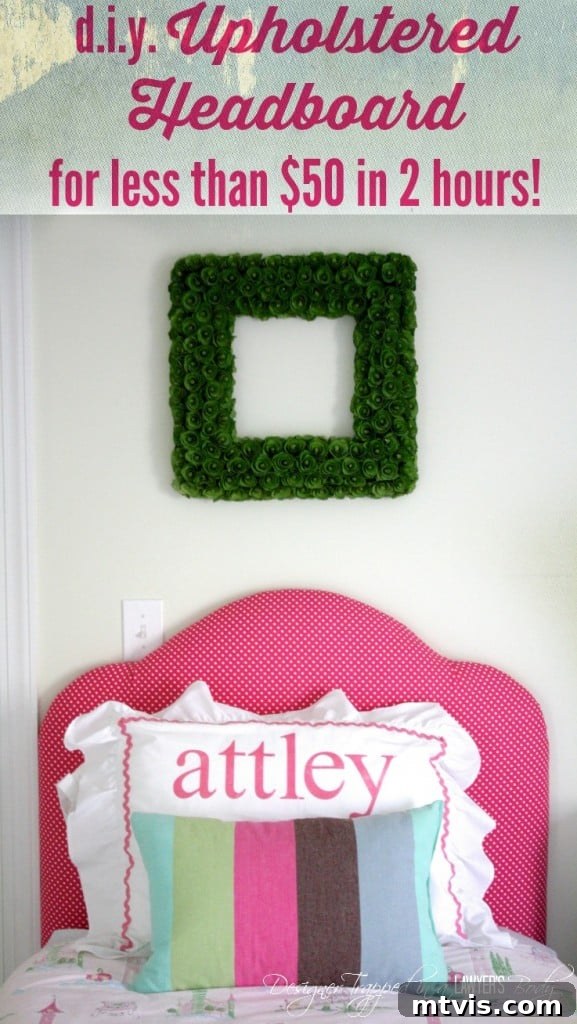
Are you dreaming of a luxurious, custom upholstered headboard but dreading the hefty price tag? You’re in luck! Today, we’re diving into a detailed, step-by-step tutorial that will show you exactly how to make a beautiful upholstered headboard for less than $50, all in a single afternoon. Yes, you read that right! This project is not only incredibly affordable but also surprisingly simple, yielding a professional and gorgeous result that will elevate any bedroom.
Upholstered headboards instantly add a touch of elegance, comfort, and sophistication to a bedroom. They serve as a focal point, drawing the eye and defining the sleeping area. However, the cost of purchasing a high-quality upholstered headboard from a furniture store can be astronomical, often ranging from hundreds to even thousands of dollars. This guide empowers you to bypass those steep prices and create a bespoke piece that perfectly matches your style and budget. Imagine the satisfaction of telling your friends and family that you crafted this stunning piece yourself!
We successfully tackled this project a little over a year ago, creating two beautiful upholstered headboards for our twin girls’ room. The beds quickly became the charming centerpiece of their “big girl” room. If you’re curious to see how everything came together, you can check out their room reveal here. Our goal then, as it is now, was to achieve a high-end look without the high-end cost, proving that stylish home decor doesn’t have to break the bank. Now, let’s gather our tools and materials and get ready to transform your bedroom! This post contains some affiliate links. Click here to read my full disclosure policy.
Craft Your Dream Upholstered Headboard: A Step-by-Step Guide
Creating your own upholstered headboard is an immensely rewarding DIY project. It allows for complete customization in terms of shape, size, fabric, and overall aesthetic, ensuring a perfect fit for your space and personal taste. Follow these instructions carefully, and you’ll soon have a stunning, designer-quality headboard that you made with your own hands.
Essential Materials for Your DIY Upholstered Headboard:
Before you begin, ensure you have all the necessary items. Being prepared will make the process smooth and enjoyable.
- Wood Board (1/2 inch thick, 4×8 foot sheet): We opted for OSB (Oriented Strand Board) due to its cost-effectiveness, but MDF (Medium-Density Fiberboard) or plywood are excellent alternatives if you have them on hand or prefer their smoother finish. A single 4×8 foot sheet is typically enough to make two twin-sized headboards. If you’re only making one, consider having the store cut the board in half to save on material and transport.
- Fabric of Your Choice: The amount needed will depend on your headboard’s dimensions and the fabric width. For a twin headboard, with 54-inch wide fabric, approximately 1 1/4 to 1 1/2 yards per headboard should suffice. We used Premier Prints Dottie Candy Pink/White fabric from an online fabric store for a vibrant, playful look. Choose a durable fabric that complements your room’s decor.
- Twin Egg Crate Foam Topper (1 per headboard): This is our secret weapon for an affordable yet plush headboard. We found ours for around $14.99 at Target, which is an unbeatable price compared to upholstery foam.
- Batting: Essential for smoothing out any imperfections and providing an extra layer of softness before the fabric goes on. About 2 yards per headboard should be plenty, especially if it’s 48 inches wide or more.
- Sharp Scissors: For precise cutting of fabric, foam, and batting.
- Sharpie or Other Marker: For marking cutting lines on wood and foam.
- Staple Gun and Staples: A heavy-duty staple gun is crucial for securing the foam, batting, and fabric firmly to the wooden base.
- Circular Saw: For cutting the large wood board to your desired dimensions.
- Jig Saw: Indispensable for cutting intricate curves and shapes into your headboard base.
- Safety Goggles and Gloves: Always prioritize safety when working with power tools.
- Measuring Tape: For accurate measurements.
Step-by-Step Instructions:
Follow these detailed steps to construct your custom upholstered headboard. Patience and attention to detail will ensure a flawless finish.
1. Determine the Size and Shape of Your Headboard
This is where your creativity comes into play! The shape of your headboard dramatically impacts the final look of your bedroom. There are countless designs to choose from, from classic rectangles to elaborate curves and intricate patterns. For inspiration, you can explore various headboard styles online. A helpful visual aide, like those found on blogs such as Thrifty Decor Chick, can spark ideas. After much deliberation, we selected the “York” shape for our girls’ headboards due to its elegant simplicity and soft, sweet aesthetic, which suited their room perfectly.
2. Decide on the Dimensions of Your Headboard
Once you’ve settled on a shape, it’s time to determine the precise dimensions. For our twin headboards, we opted for a width of 39 inches (matching the width of a standard twin mattress) and a height of 44 inches at its tallest point. When deciding on height, consider several factors: do you want it to be visible above the pillows, or will a significant portion be hidden behind the mattress? We planned to mount ours on the wall, with the lower section concealed behind the bed, which influenced our height choice. For larger beds, such as a full, queen, or king, ensure your headboard width corresponds to the mattress size (e.g., typically 54 inches for full, 60 inches for queen, 76 inches for king). The height is a matter of personal preference and bedroom aesthetics.
3. Cut Your Wood to Size
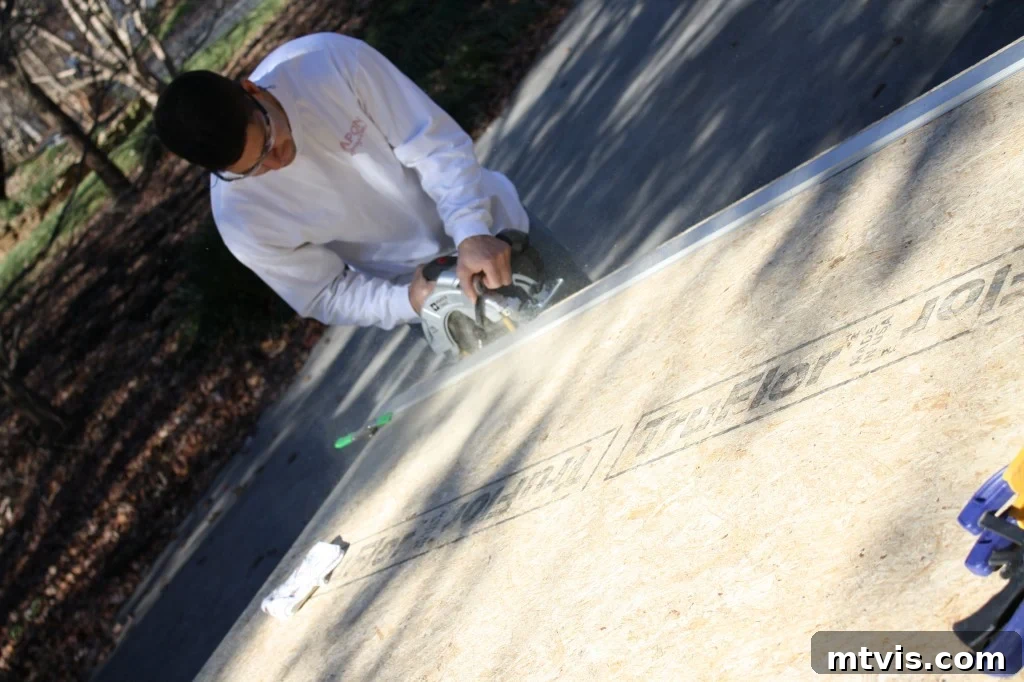
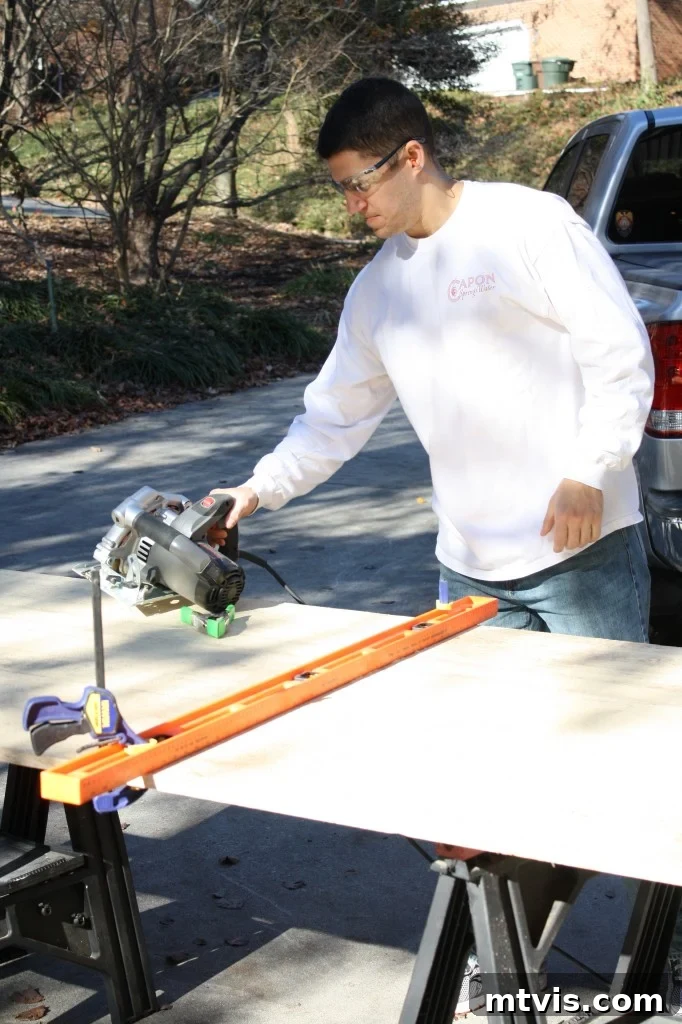
With your dimensions finalized, the next step is to cut the OSB board. Using a circular saw and a straight edge (a long level or another piece of wood works well as a guide), cut the board to your chosen width and height – for us, 39 x 44 inches. If you don’t own a circular saw or are uncomfortable using one, most major hardware stores like Lowe’s or Home Depot offer wood-cutting services, often for a minimal fee. Don’t hesitate to take advantage of this convenient option to get precise, straight cuts.
4. Sketch Out Your Chosen Shape
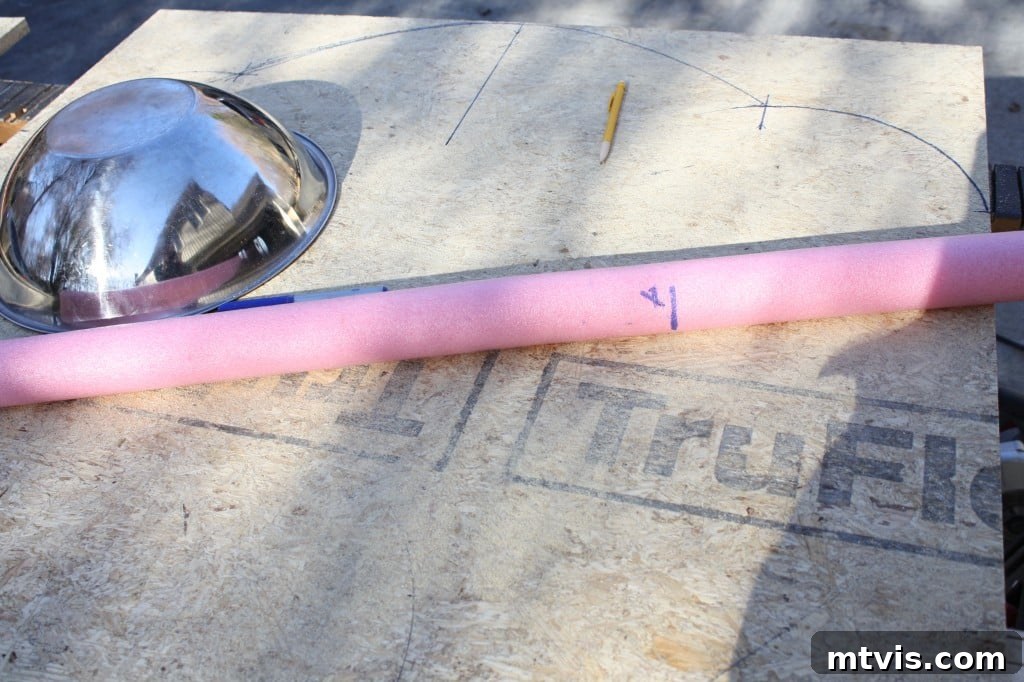
This step can be surprisingly challenging but is crucial for the headboard’s visual appeal. Achieving smooth, symmetrical curves requires a bit of ingenuity. After some trial and error, we discovered that household items like a large mixing bowl and even pool noodles were perfect for tracing soft, consistent curves. Mark the top center of your wood panel and two equidistant points on each side where your curves will begin and end. Carefully trace your desired shape with a sharpie or marker, ensuring symmetry. For more complex curves, you can also try the string-and-pencil compass method or create a paper template first.
5. Cut Out Your Shape with a Jigsaw
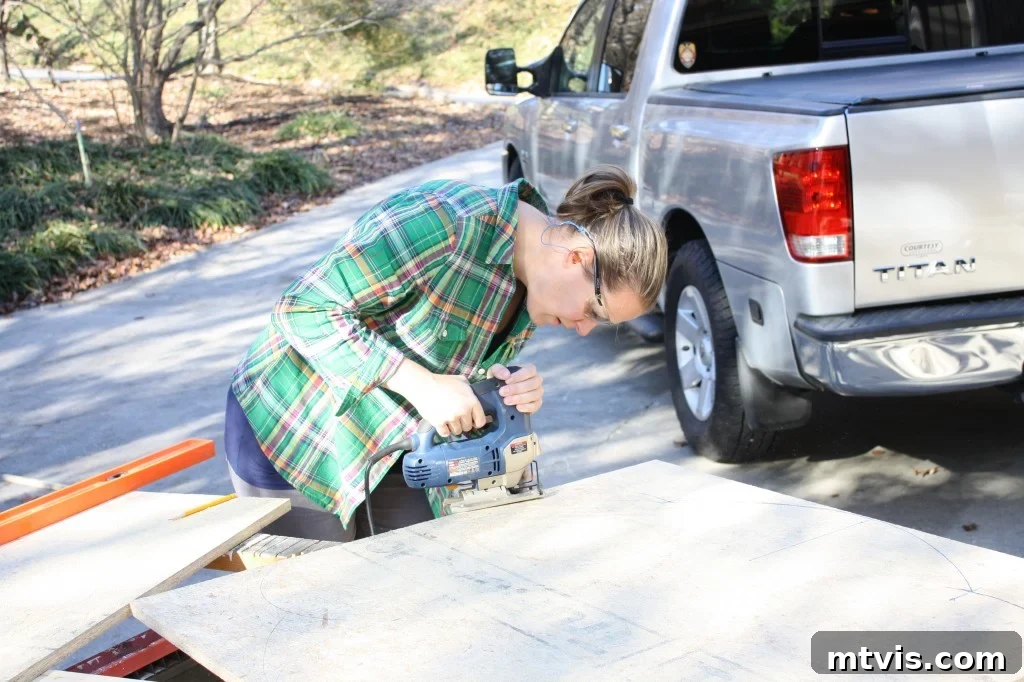
Now for the fun part – using power tools! With your shape clearly marked, carefully cut along the lines using a jigsaw. Take your time, maintain a steady hand, and follow the traced lines precisely to ensure a clean, smooth edge. Once complete, you’ll have the foundational base of your headboard ready. If you’re making multiple headboards, as we did, use the first finished piece as a template. Lay it directly on top of your second piece of wood, trace the shape, and cut. This saves significant time and guarantees identical headboards.
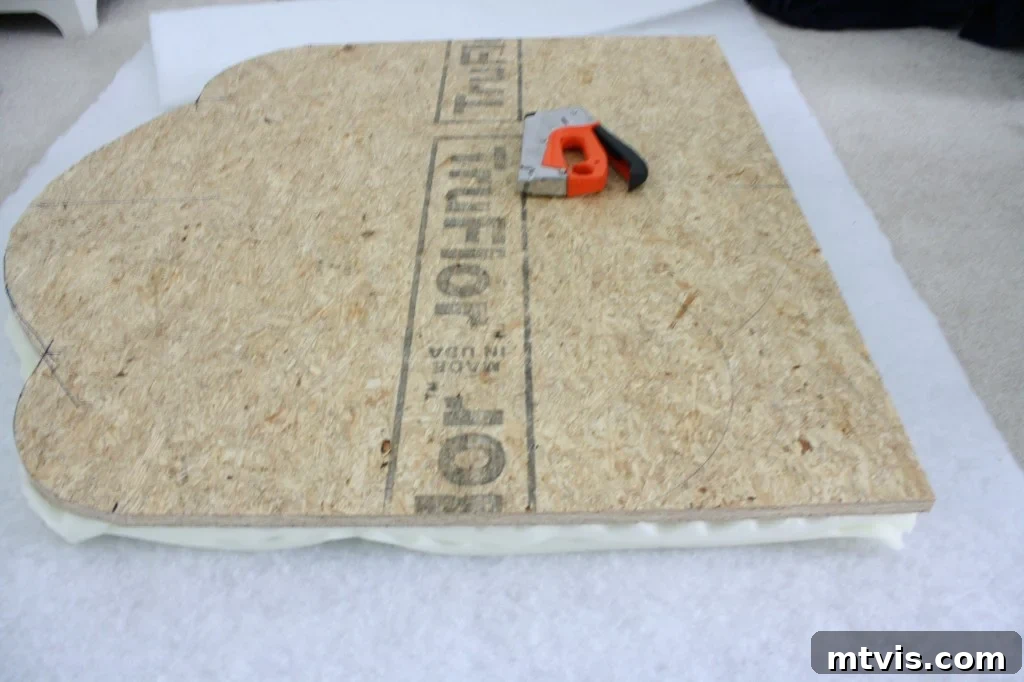
6. Cover Your Headboard with Egg Crate Foam
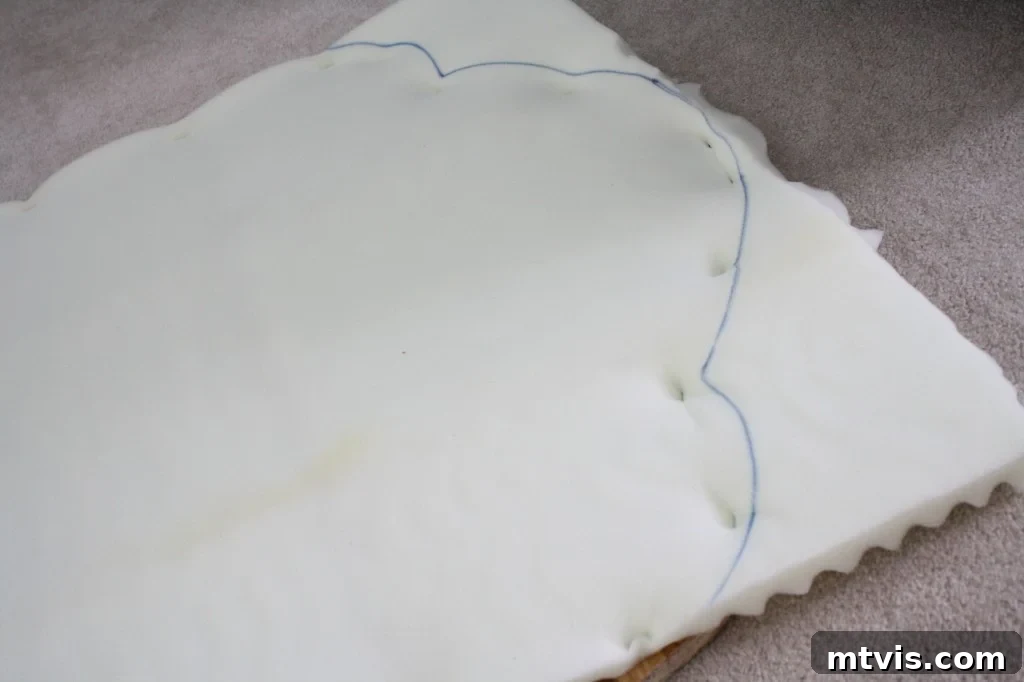
This step is key to creating that plush, inviting look without breaking the bank. Start by cutting your twin egg crate foam topper in half lengthwise. This allows you to double up the thickness, providing a luxurious, cushioned feel to your headboard. Lay both pieces of egg crate foam on top of each other, ensuring the “egg” sides face inward. Then, place this doubled foam on top of your cut-out headboard and secure it firmly in place using your staple gun. Staple along the edges, leaving enough room for trimming. While traditional upholstery foam is an option, using egg crates is a brilliant, budget-friendly hack (thanks to Sarah from Thrifty Decor Chick for this tip!) that delivers comparable comfort and softness.
7. Trim Off the Excess Foam
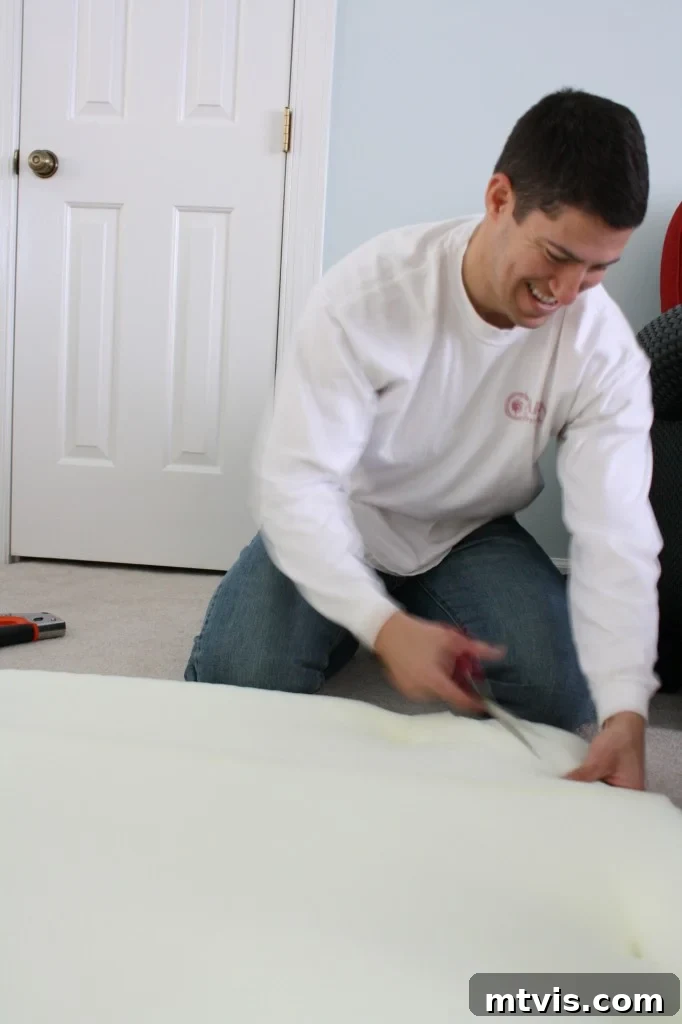
Once the egg crate foam is stapled, you’ll have some overhang. Using your scissors, carefully trim away the excess foam. It helps to trace a line onto the foam with a marker, slightly outside the edge of your wooden base, to serve as a guide. Cut slowly and precisely to ensure a clean, smooth edge that aligns well with your headboard’s shape.
8. Cover the Headboard with Batting
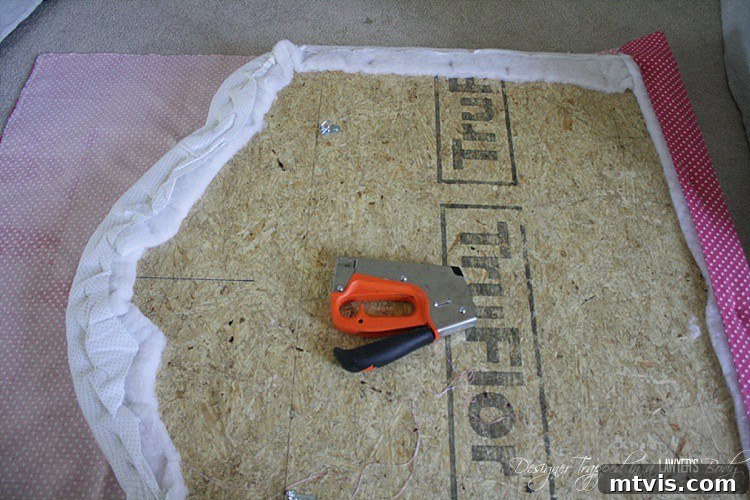
Batting is an essential layer that provides a smooth surface over the foam, prevents the fabric from sinking into the egg crate contours, and adds an extra touch of softness. Lay your headboard on top of the batting. Wrap the batting around the entire headboard, pulling it taut, and staple it securely to the back of the wood. Ensure the batting is evenly distributed and smooth on the front face. We used approximately 2 yards of 48-inch wide batting per headboard, which offered ample material to wrap around and staple down.
9. Upholster the Headboard with Fabric
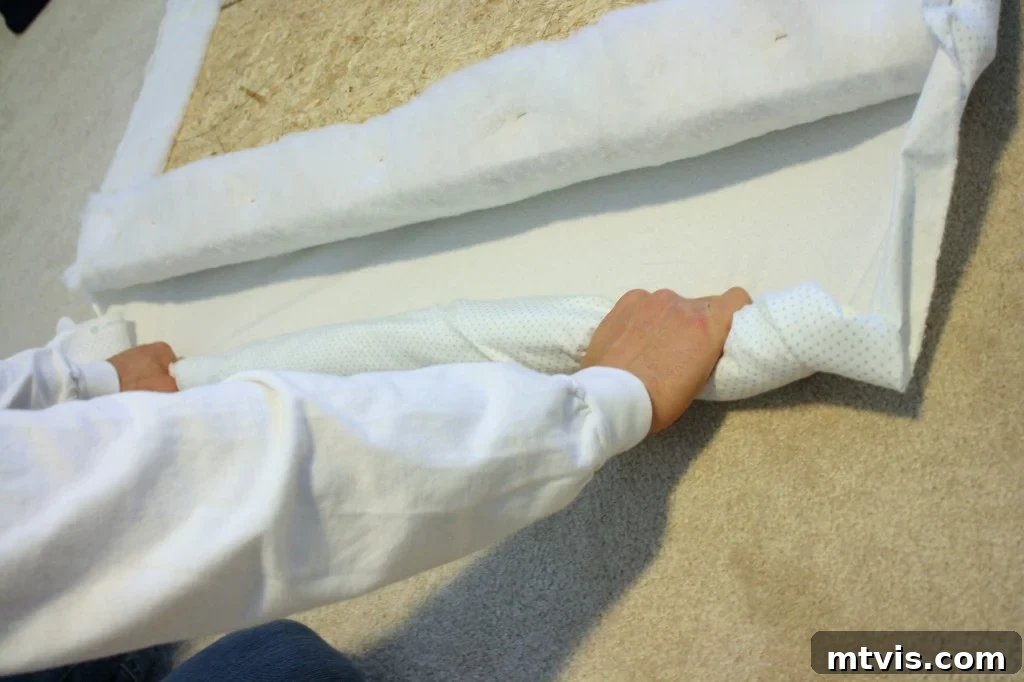
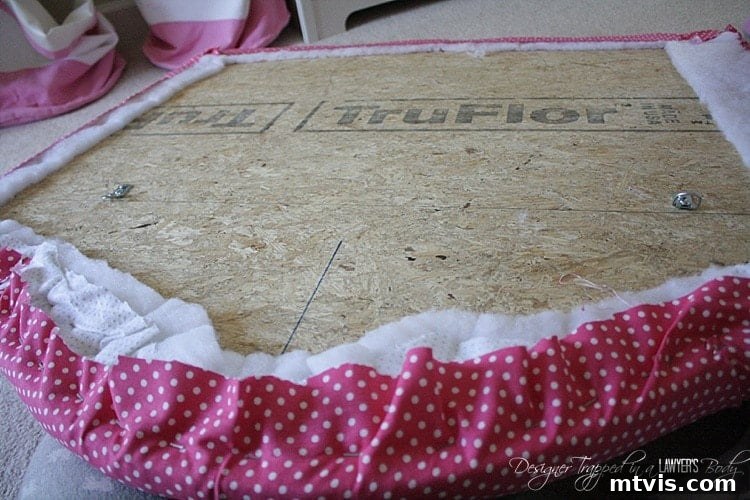
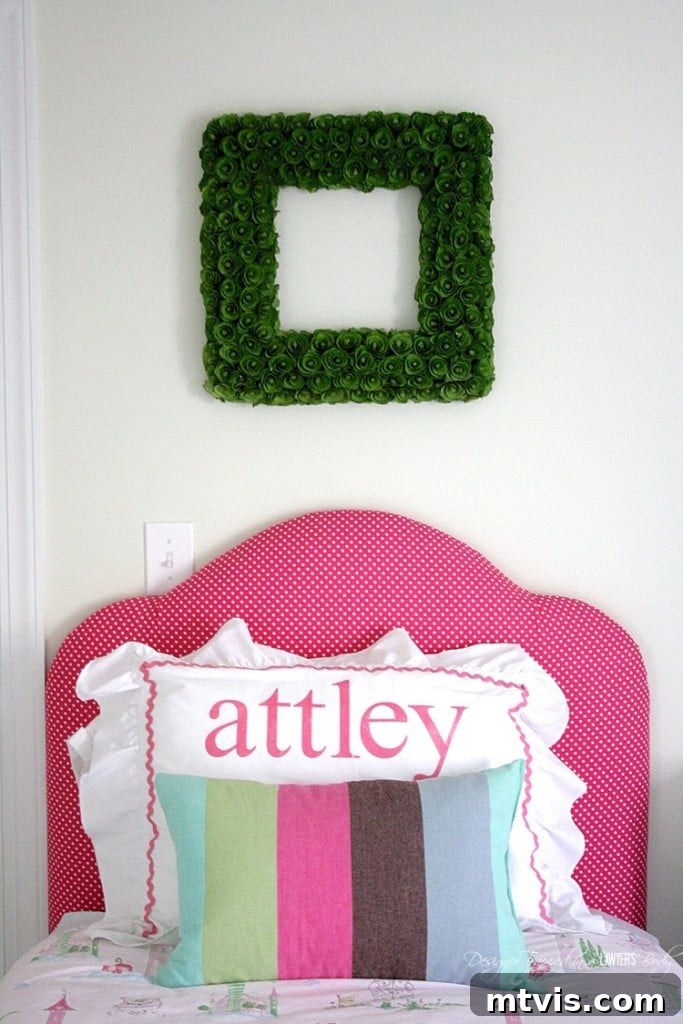
This is the transformative moment when your headboard truly comes to life! Lay your chosen fabric face down on a clean, flat surface. Center your batting-covered headboard on top of the fabric. Begin by stapling the fabric to the back of the headboard, starting from the middle of one side and working your way out, alternating sides to maintain even tension. Pull the fabric TIGHT as you staple. This is crucial for a professional, wrinkle-free finish. Around the curves, you may need to make small cuts or pleats in the fabric to help it lay flat. If possible, enlist a helper to hold the fabric taut with both hands while you staple. The more hands, the smoother the process. For our first version, we used a white flannel with tiny blue polka dots. While it looked lovely, an unfortunate incident involving hair dye necessitated a change. Thankfully, re-upholstering is incredibly easy – you can simply wrap new fabric over the existing layers! We switched to a delightful pink fabric, which our girls adored, completing the transformation in about 5 minutes per headboard.
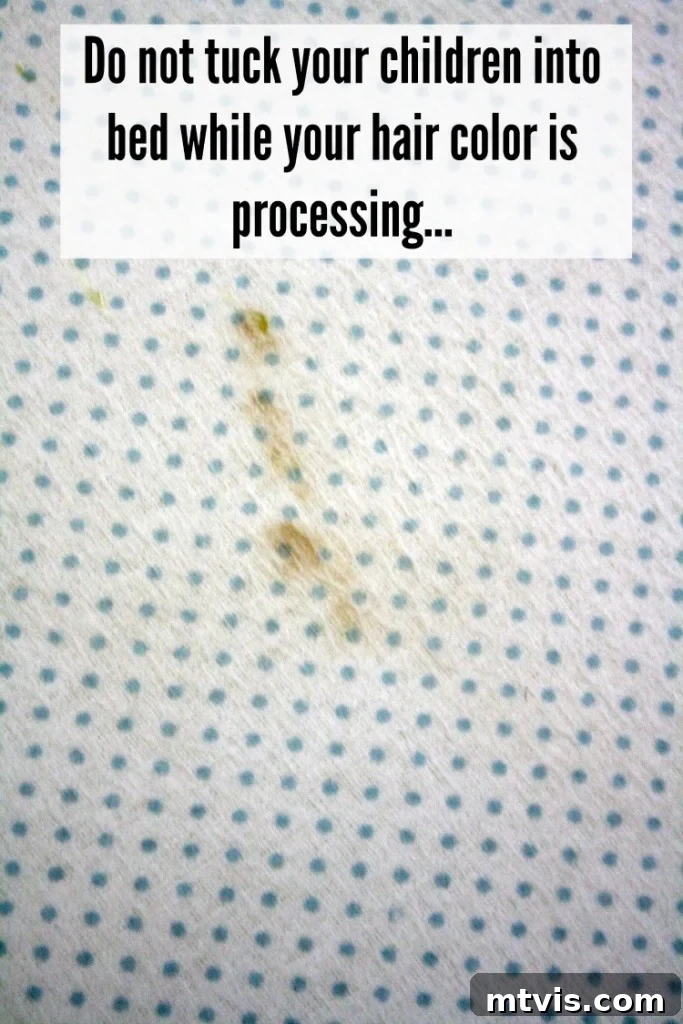
A little anecdote: about six months after completing the first headboards, I accidentally got hair dye on Attley’s headboard. In my attempt to multi-task, tucking the girls into bed while my hair color was processing, a mishap occurred. It left a noticeable stain, much to Attley’s dismay, as she prefers things pristine. This incident, however, highlighted a fantastic benefit of DIY upholstered headboards: the ease of re-upholstering! It was incredibly simple to cover the existing fabric with a fresh, new pink fabric, a color both my girls adore.
The re-upholstering process was surprisingly quick – I simply wrapped the new fabric over the existing one, stapling it down. It took mere minutes per headboard, refreshing the entire look effortlessly.
10. Hang Your Headboard
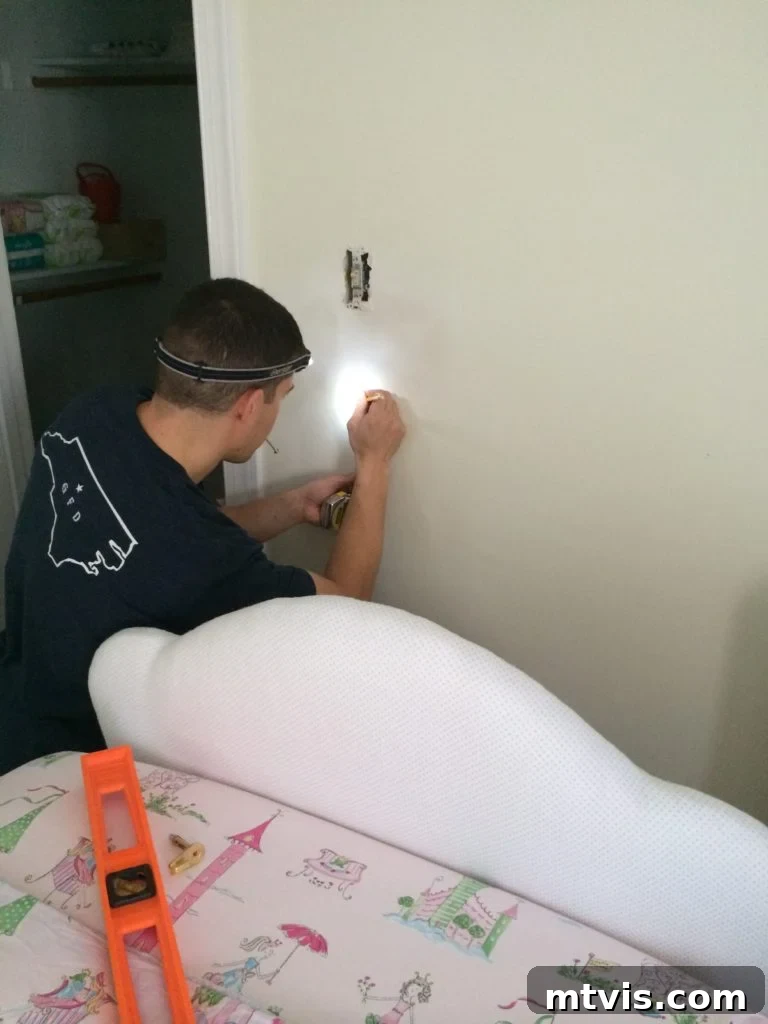
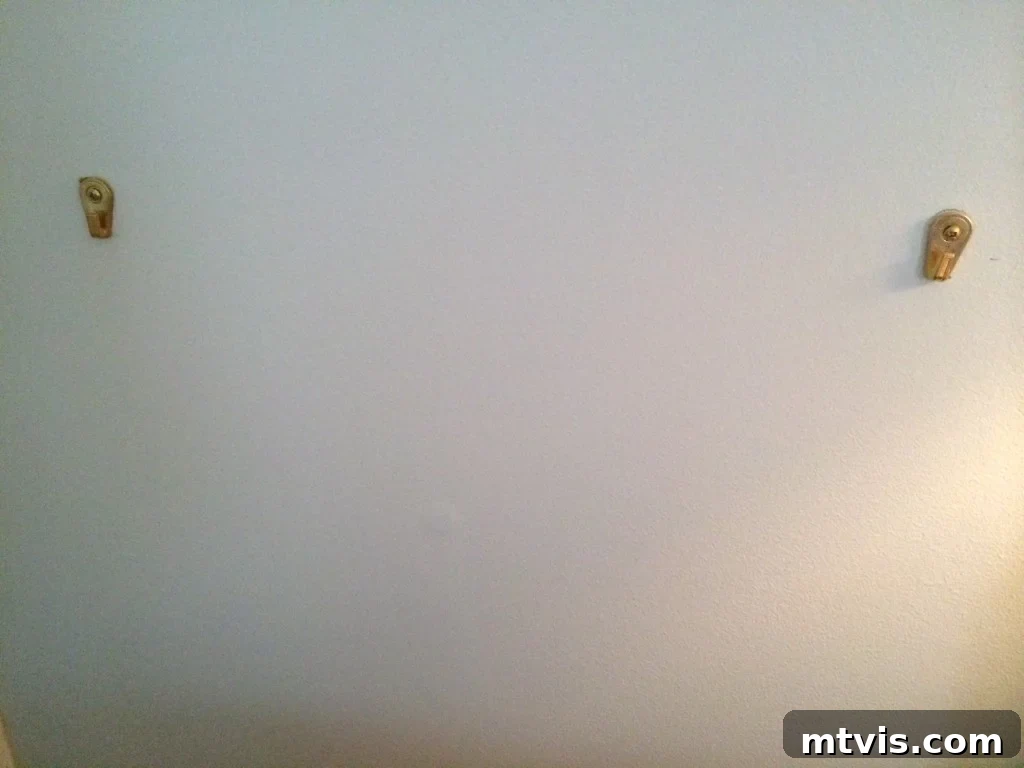
Once your upholstering is complete, it’s time to hang your beautiful new headboard. We used D-rings attached to the back of the headboards, which then hooked onto heavy-duty drywall anchors installed in the wall. It’s crucial to use appropriate anchors for your wall type, especially if you can’t hit a stud directly. Always ensure your chosen hanging method is secure enough to support the weight of your headboard. Other options include a French cleat system for a flush mount, or even bolting the headboard directly to a bed frame if your frame allows.
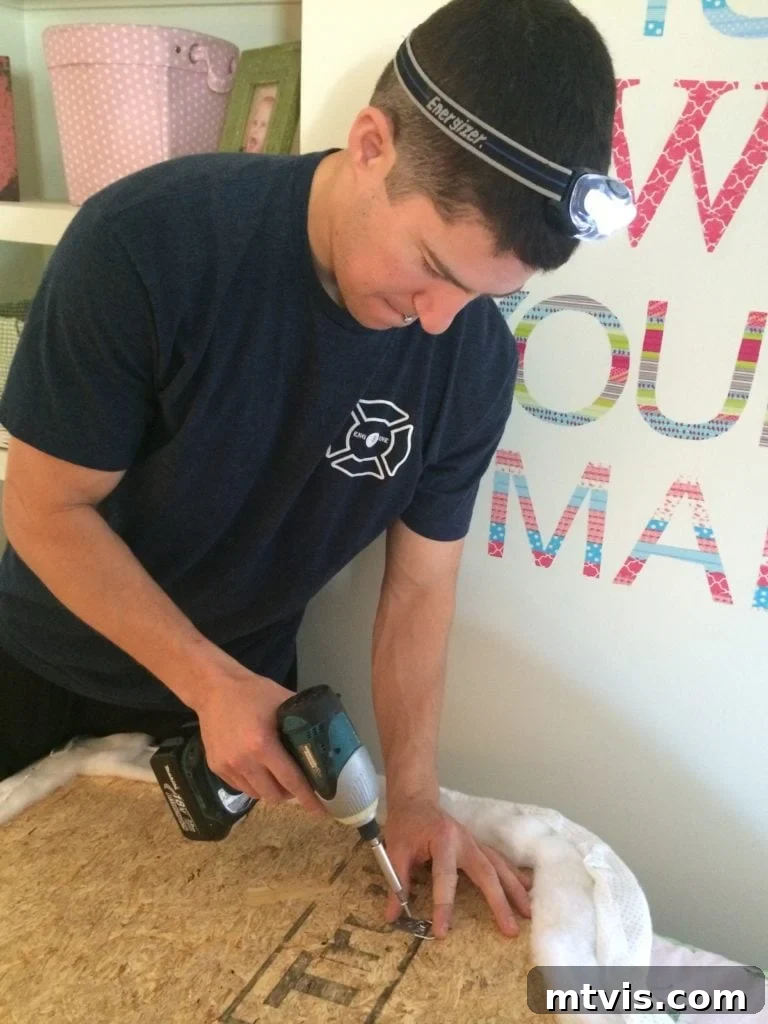
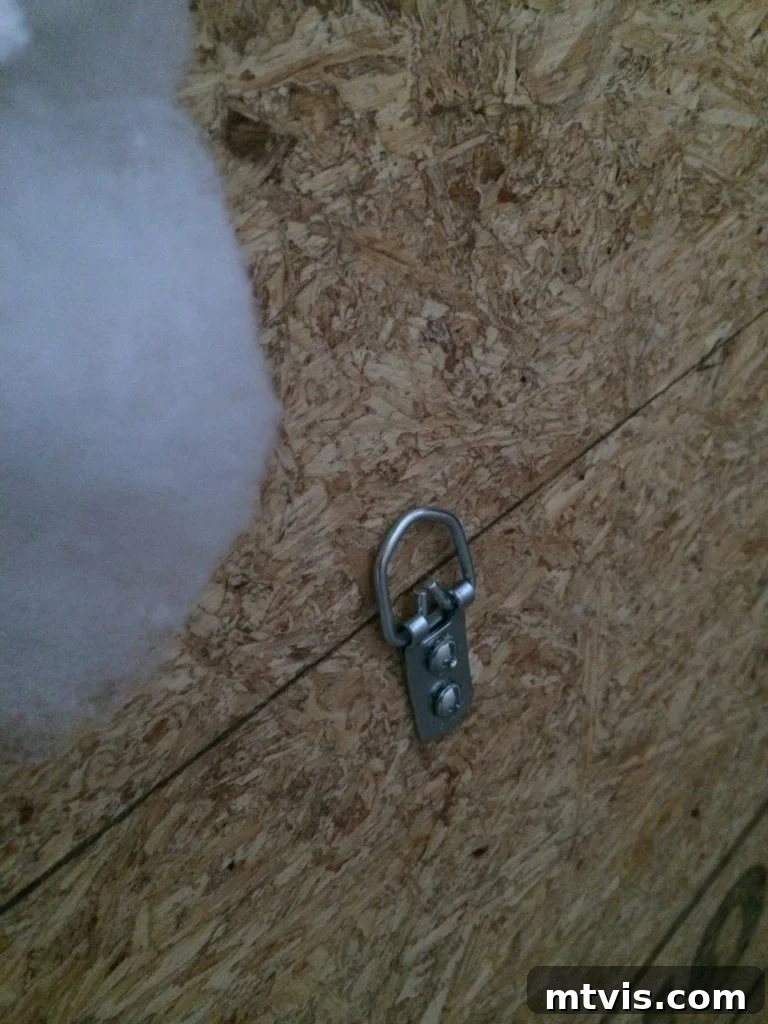
11. Stand Back and Admire Your Beautiful DIY Upholstered Headboard!
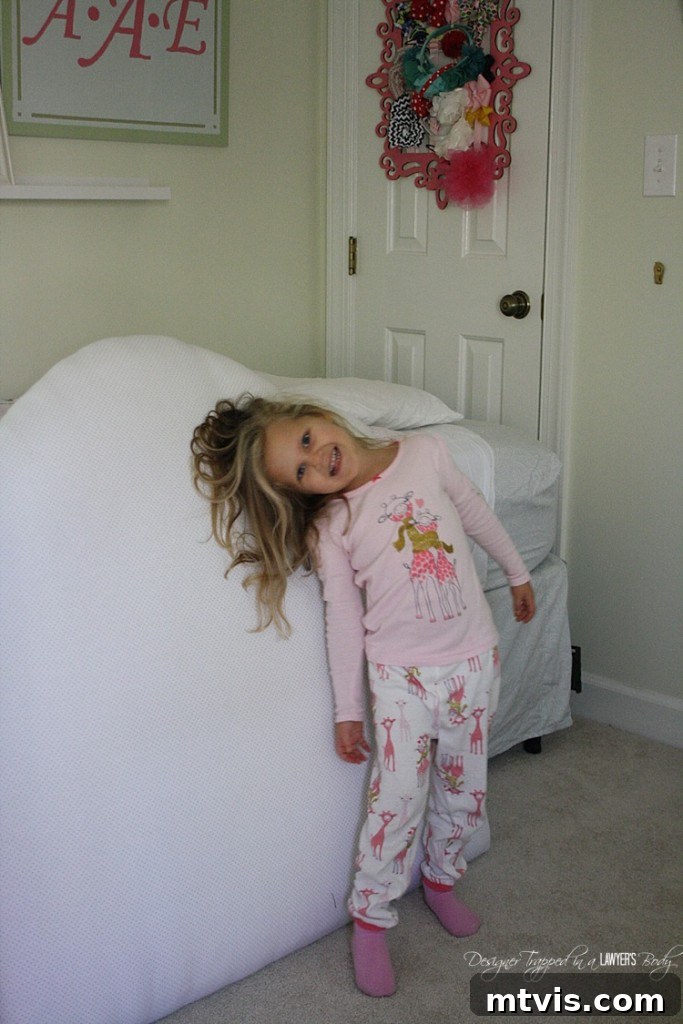
And just like that, you’ve created a custom upholstered headboard! Take a moment to appreciate your handiwork. Our girls’ headboards are still a cherished part of their room, and I especially love how easy it was to refresh them with new fabric after the hair dye incident. This flexibility means that as our girls grow older and their tastes evolve, we can easily change the fabric again to match their changing preferences, keeping the headboards stylish and relevant for years to come. This project truly embodies the spirit of affordable and sustainable home decor.
Check out the stunning finished result, a testament to what you can achieve with a little effort and creativity!
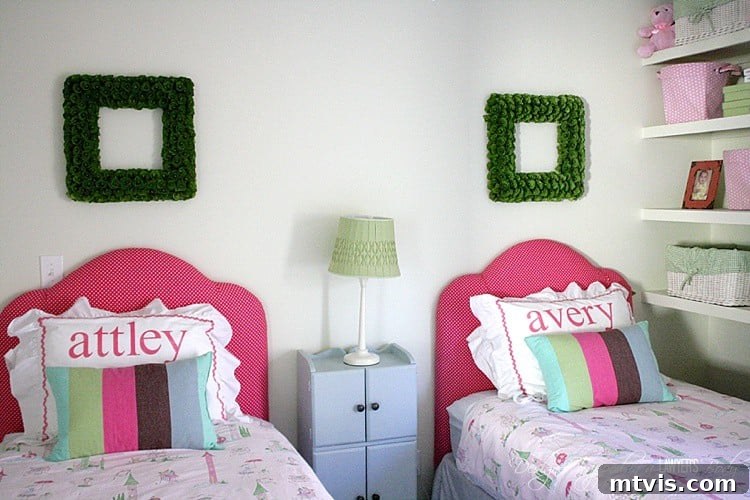
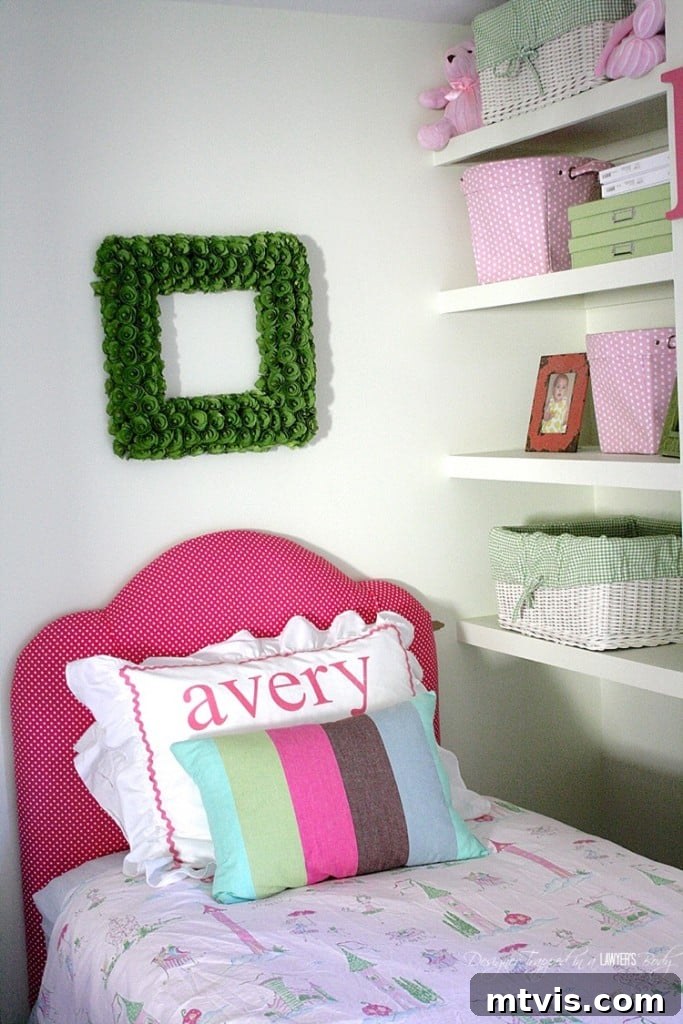
Cost Breakdown for Your Custom Headboard:
One of the most appealing aspects of this DIY project is the incredible cost savings. Here’s a detailed breakdown of the expenses for a single headboard:
- OSB (Wood Board): Approximately $10 (a 4×8 foot board costs around $20, but yields two headboards).
- Egg Crate Foam: $15 (for one twin-sized topper).
- Fabric: $6.98 (based on 2 yards at a sale price of $3.49/yard). Prices may vary depending on your fabric choice and sales.
- Batting: $4.98 (based on 2 yards at a sale price of $2.49/yard).
- Hardware for Hanging: $6.00 (for D-rings and appropriate drywall anchors).
TOTAL ESTIMATED COST: $42.96
This is an astounding value for a completely custom, upholstered headboard! Compare this to retail prices; a similar upholstered headboard from high-end stores can easily cost upwards of $400 or more. For example, some children’s upholstered headboards can retail for over $400, just for the headboard itself. By taking the DIY route, you’re saving hundreds of dollars while gaining a unique, personalized piece that perfectly fits your home. This project is a smart financial decision and a fantastic way to stretch your decorating budget.
Project Timing:
You’ll be amazed at how quickly this project comes together! With all materials purchased and your shape and size decided beforehand, the actual construction is very efficient. We managed to complete steps 3 through 9 for *two* headboards during one afternoon nap (roughly 3 hours). This means a single headboard can be completed in less than 2 hours! It’s truly a perfect weekend project, even for those with limited time.
Beyond the Basics: Customization & Embellishments
While this tutorial focuses on a simple, elegant upholstered headboard, the possibilities for customization are endless. Once you master the basic technique, consider adding:
- Tufting: Create a classic, button-tufted look by adding buttons and pulling them through the foam and fabric.
- Nailhead Trim: Apply a decorative strip of nailhead trim along the edges for a sophisticated, tailored finish.
- Piping: Add piping or cording along the seams for a more defined silhouette.
These embellishments can take your DIY headboard to the next level, making it even more unique and reflective of your personal style.
Enhance Your Bedroom Decor with More DIY Projects!
If you enjoyed crafting this headboard, you’ll love these complementary DIY projects that can further elevate your bedroom:
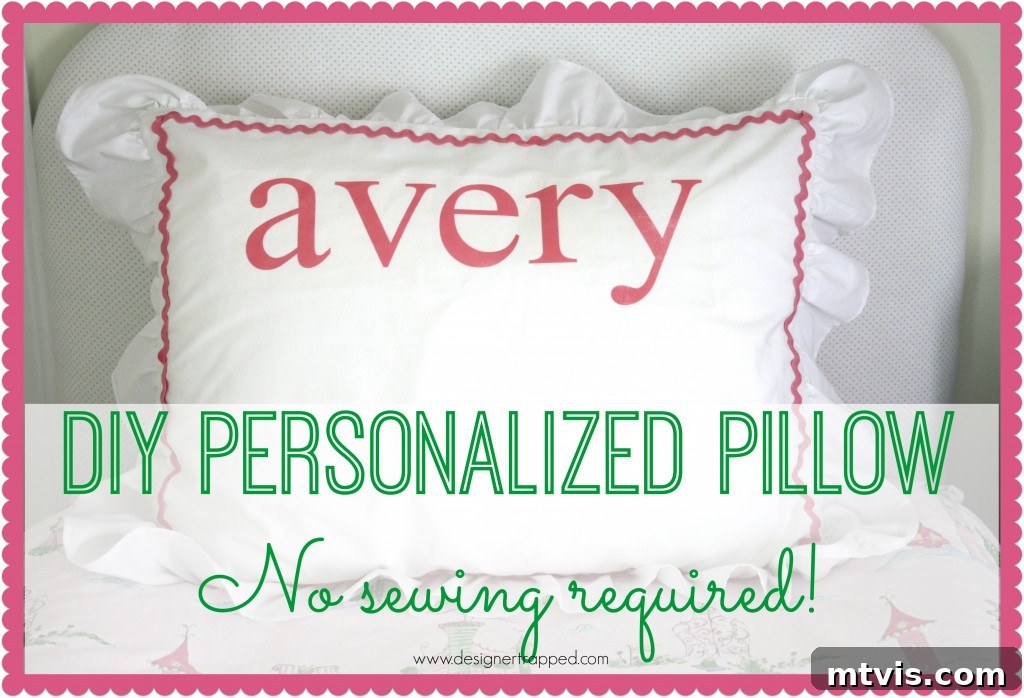
Discover how to make charming NO-SEW name pillows for a personalized touch:
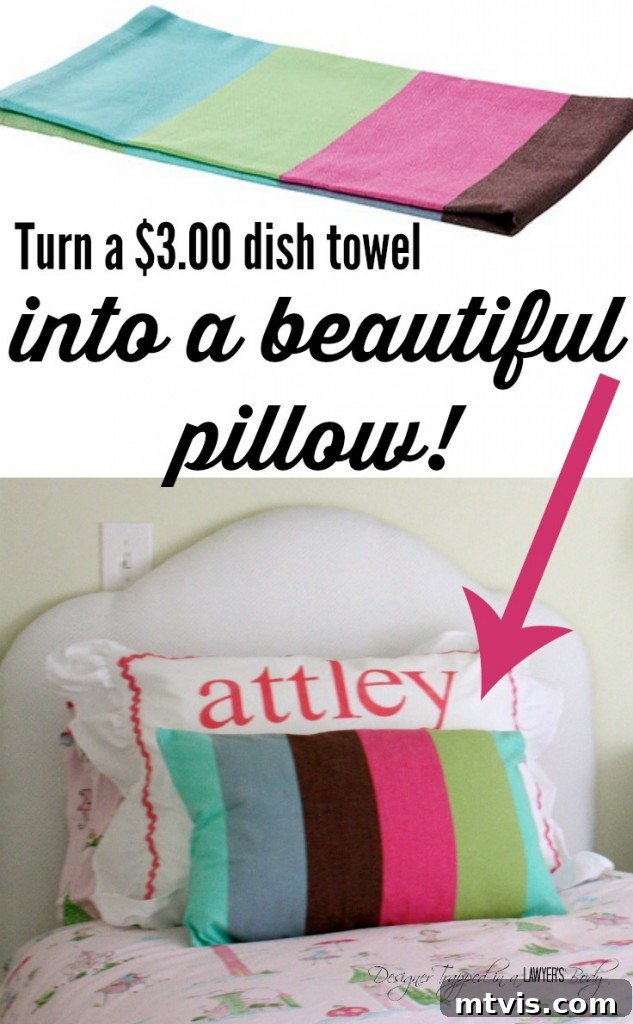
Learn how to create stylish striped pillows from inexpensive Ikea dish towels:
And you absolutely won’t want to miss our amazing tutorial on how to make a no-sew bed skirt from sheets – it’s a game-changer!
What are your thoughts? Is this a project you’re eager to tackle yourself? Have you already ventured into the world of DIY upholstered headboards? Share your experiences and favorite headboard shapes in the comments below! We love hearing about your creative home improvement journeys.