
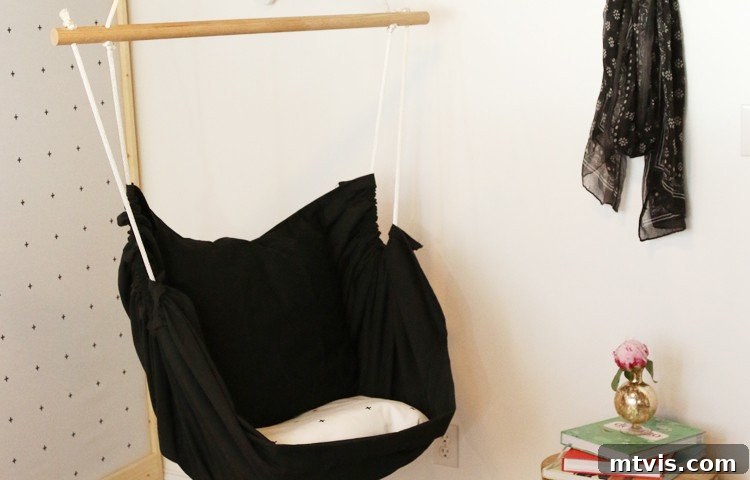
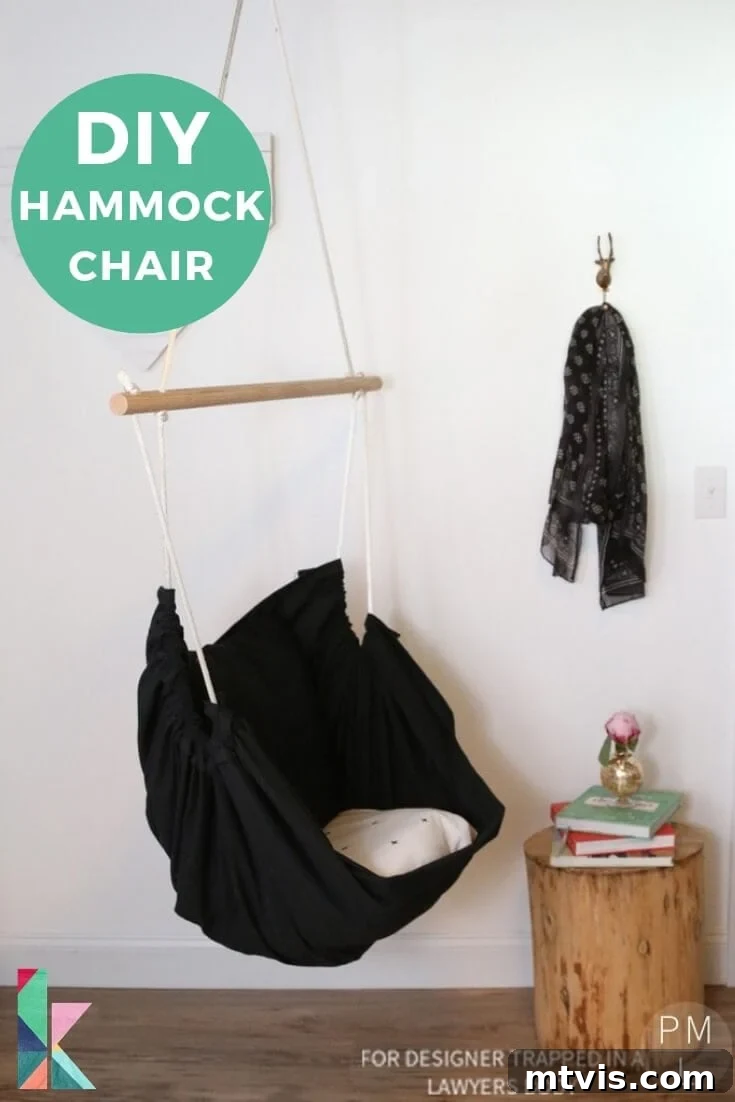
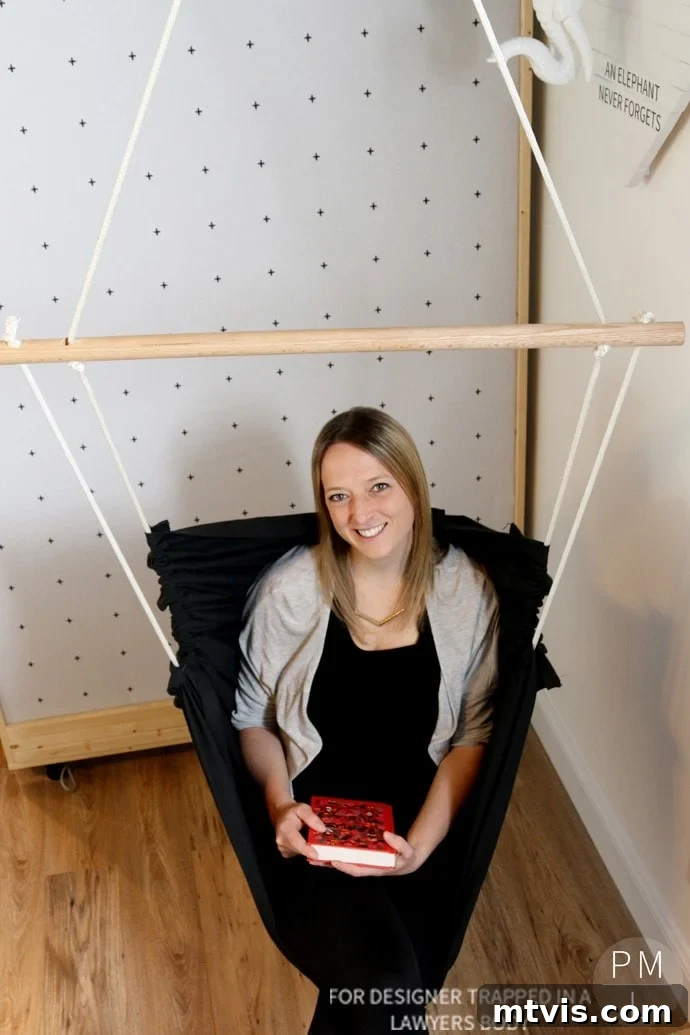
Hello there! I’m Karisa, the creator behind Petite Modern Life, and I’m absolutely thrilled to be back here on DTLB to share another exciting DIY project with you.

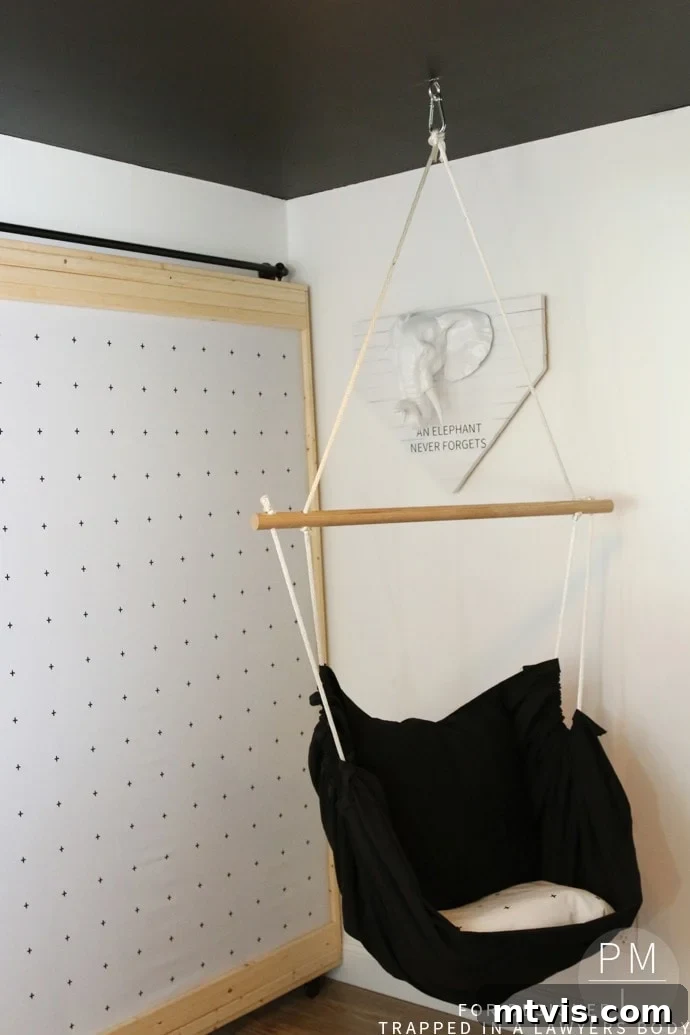
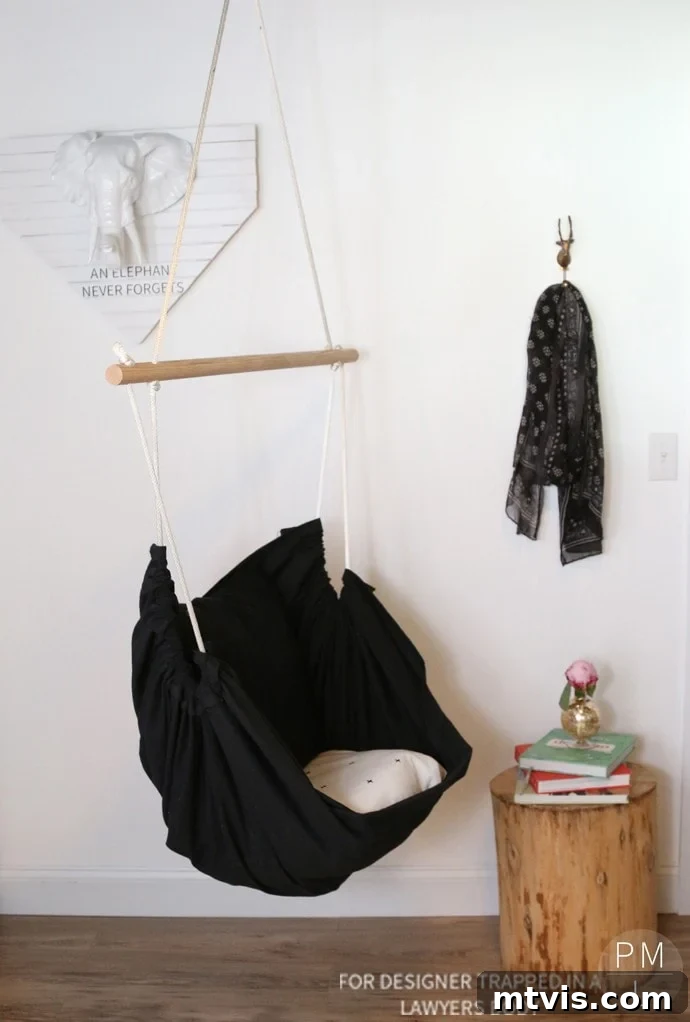
Last October, I walked you through my tutorial on How to Paint Shower Tiles White – feel free to check that out if you’re looking for another transformative home project. Today, however, we’re diving into what has quickly become a favorite addition to our recently revamped office space: a magnificent DIY Hammock Chair! Imagine a cozy, stylish corner where you can unwind after a long day, or simply enjoy a quiet moment with a book. This project isn’t just about crafting a piece of furniture; it’s about creating a personal sanctuary right in your home. The best part? You can achieve this incredible relaxation spot for a fraction of the cost of store-bought versions. This post contains some affiliate links to help you gather your materials easily. Please click here to read my full disclosure policy.
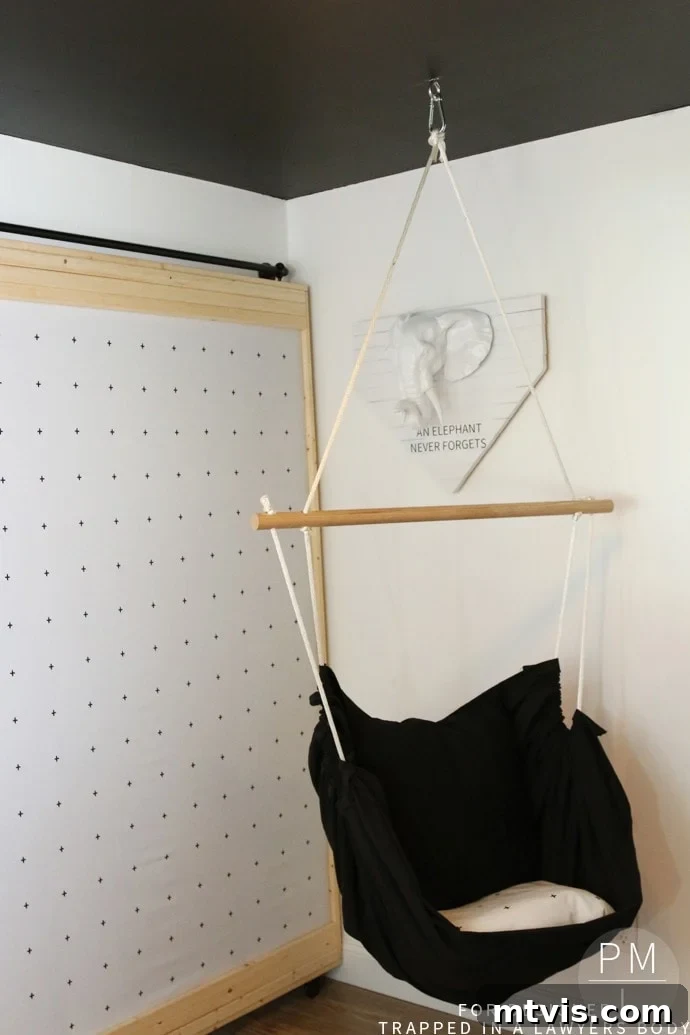
Doesn’t it look incredibly inviting? This project is not only fun and rewarding but also surprisingly straightforward. Let’s get started on creating your very own slice of heaven!
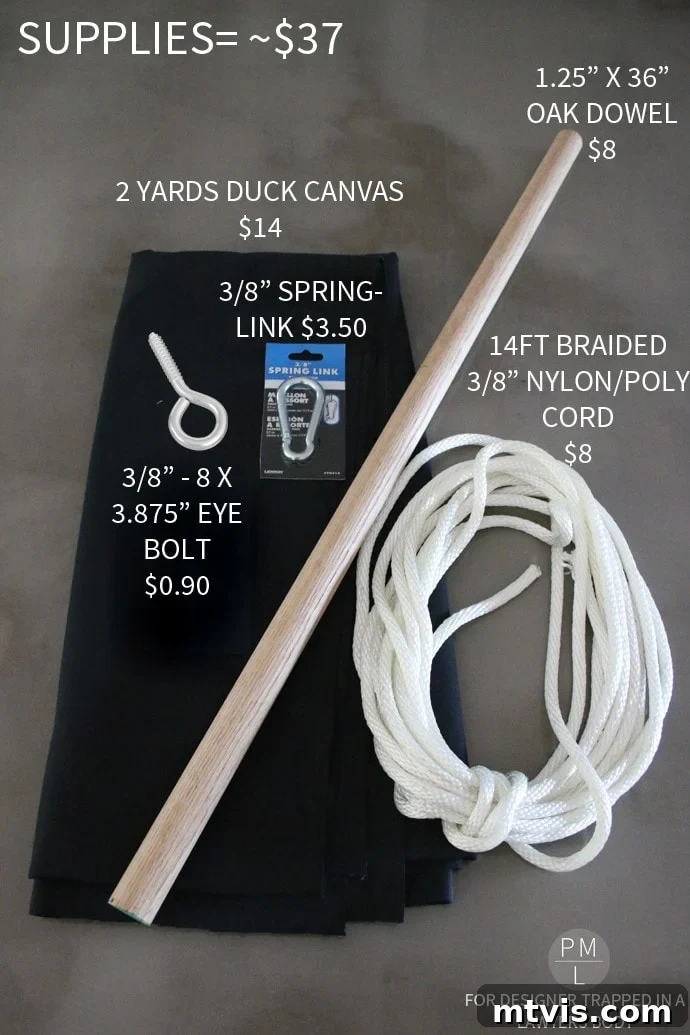
Crafting Your Own Oasis: Essential Supplies for Your DIY Hammock Chair
Before we embark on this exciting journey, let’s gather all the necessary components. Choosing the right materials is key to ensuring both the longevity and safety of your homemade hammock chair. Here’s a comprehensive list of what you’ll need, along with some considerations:
- 2 yards of Duck Canvas Fabric: This robust, tightly woven cotton fabric is an excellent choice for a hammock chair due to its durability and resistance to stretching. It’s strong enough to support weight and holds up well to regular use. While duck canvas is ideal, you could explore other heavy-duty upholstery fabrics or outdoor canvas if you plan to use your chair outside.
- 1.25″ x 36″ Oak Dowel: An oak dowel is preferred for its strength and stability. This wooden bar will serve as the structural support at the top of your hammock, providing the spread that defines the chair’s shape. Ensure it’s smooth to prevent snagging the rope or fabric.
- 14 feet of 1/2 inch Braided Nylon/Poly Rope: The rope is a critical safety component, so do not skimp on quality. Braided nylon or polyester rope offers excellent strength, weather resistance, and low stretch, making it perfect for supporting weight. Choose a color that complements your fabric and overall decor.
- 3/8″ Spring Link (Carabiner): This metal link allows for easy attachment and detachment of your hammock chair to the ceiling mount. Opt for a heavy-duty, locking spring link for added security.
- 3/8 x 3.875″ Eye Bolt: This bolt will be screwed directly into your ceiling beam and is the ultimate anchor for your hammock chair.
Safety Note: Understanding Weight Capacity is Paramount!
It is absolutely crucial to understand that while your beautifully crafted hammock chair fabric and rope can likely hold considerable weight, the true weight-bearing capacity is determined by the weakest link – specifically, your eyebolt and how securely it is installed into your ceiling structure. The specified 3/8 x 3.875″ eye bolt typically has a maximum weight capacity of around 190 lbs. While this might be suitable for children and many adults, if you anticipate heavier use or simply desire a greater margin of safety, you should purchase a stronger, higher-rated eyebolt. Always check the manufacturer’s specifications for your chosen hardware. We opted for this particular eyebolt as it was the one we felt most comfortable securely fastening into our ceiling beam, ensuring its stability and safety for our intended use. Prioritize safety above all when selecting and installing your hanging hardware.
Step 1: Precision Fabric Cutting for Optimal Comfort and Shape
With your supplies ready, it’s time to transform that raw fabric into the foundational shape of your hammock chair. As someone who appreciates clear guidance in sewing, I’ve created detailed diagrams to help both visual and non-spatial learners follow along effortlessly. Our goal is to cut the fabric in a specific way that ensures your hammock chair maintains its elegant shape and cradles you comfortably.
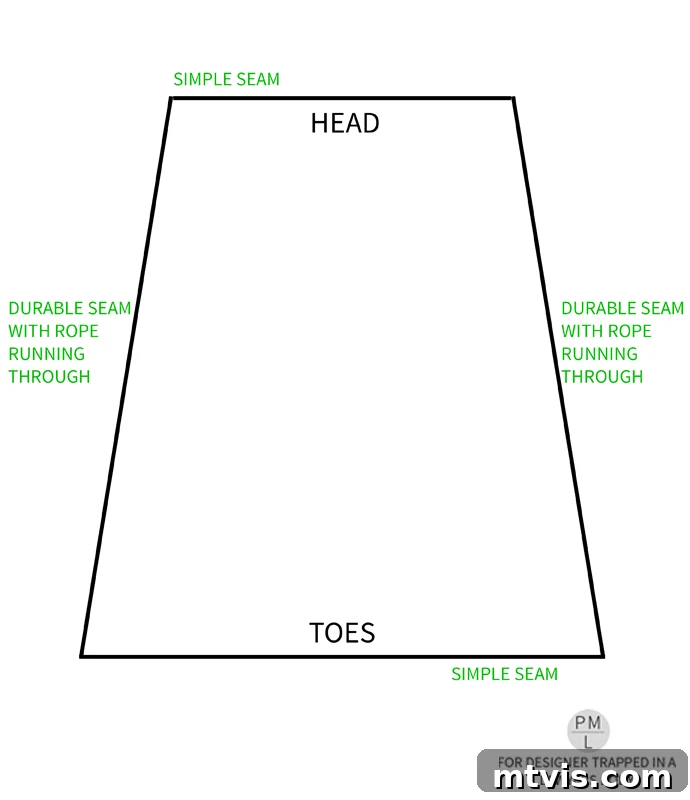
The key to a well-structured hammock chair lies in cutting the fabric at an angle. This design choice ensures that the head portion of the chair is narrower than the bottom (toe) portion. This subtle taper is vital; it prevents the top of your hammock from flopping around and helps it maintain a firm, supportive shape when in use. I learned this the hard way during my first attempt, where a too-wide top required extra shaping with pillows and pins. Save yourself the trouble by getting this step right from the start!
To begin, fold your 2 yards of duck canvas fabric in half lengthwise, often referred to as “hot dog style.” Once folded, measure in approximately 40 inches from the folded edge at the top and mark this point with tailor’s chalk or a fabric marker. This measurement provides a good starting point for the top width of your chair.
Important Note on Fabric Measurements: Fabric stores often provide a little extra material beyond what you request. So, if you asked for 2 yards, you might find you have a few extra inches to work with. Don’t worry if you can’t hit a perfect 40 inches precisely; this project allows for some flexibility. The difference between, say, 37 inches and 40 inches at the top will likely not significantly affect the final outcome or comfort. What’s more important is maintaining the general angled shape.
From that 40-inch mark, continue to draw a straight line downwards, at an angle, towards the bottom corner of the fabric, stopping just shy of the very edge. Before making your final cut, it can be helpful to unfold the fabric briefly and visualize the shape. You can then adjust your chalk line if you desire a slightly wider or narrower base. Remember, the bottom portion of the hammock chair will eventually be cinched up by the rope, so having a bit more fabric here is generally fine and won’t negatively impact the design.
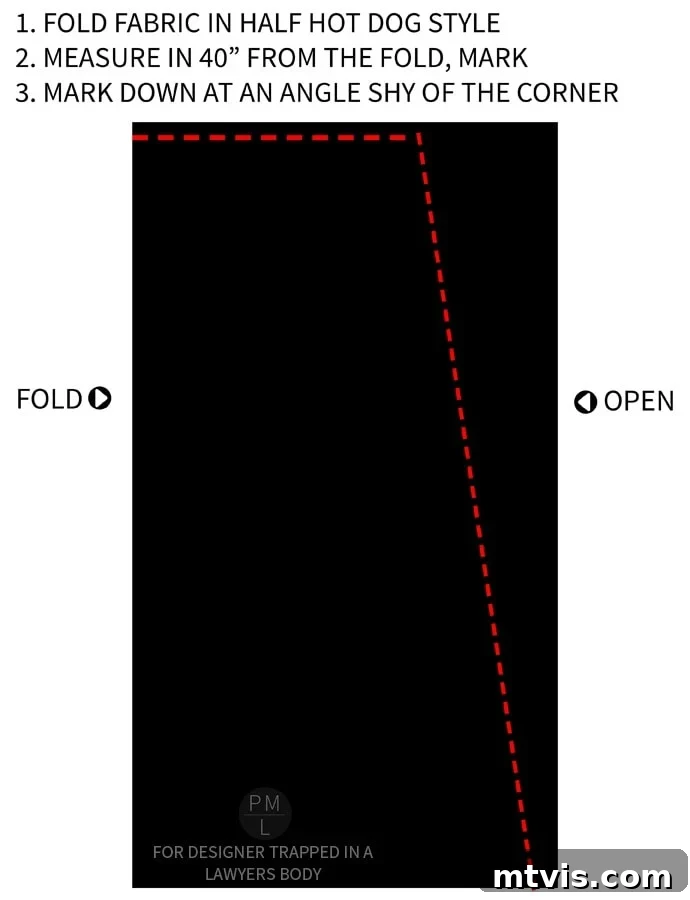
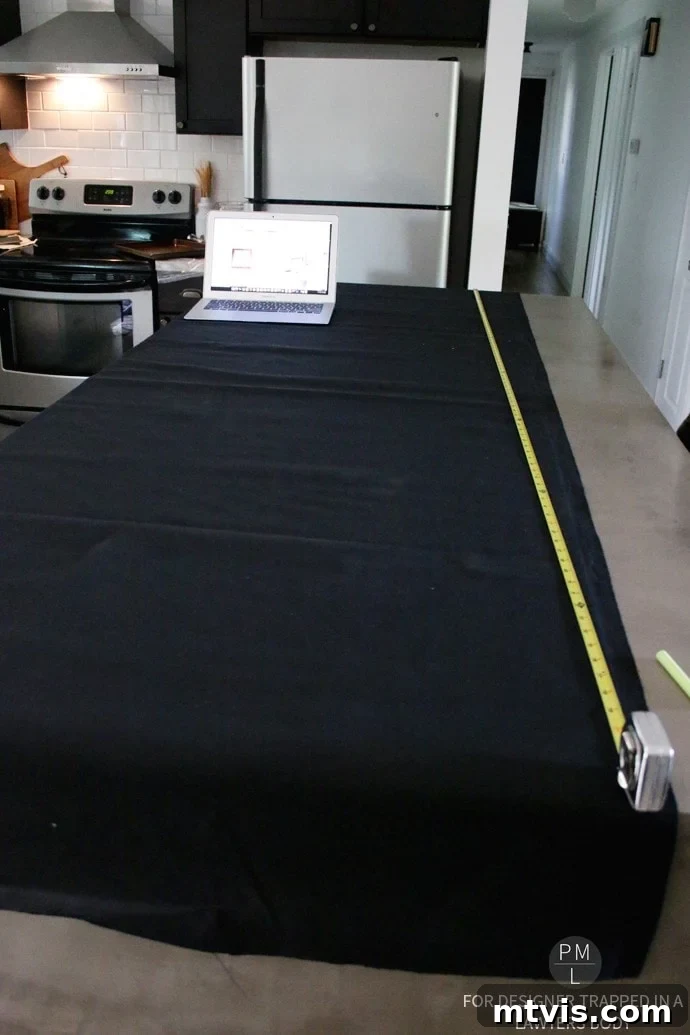
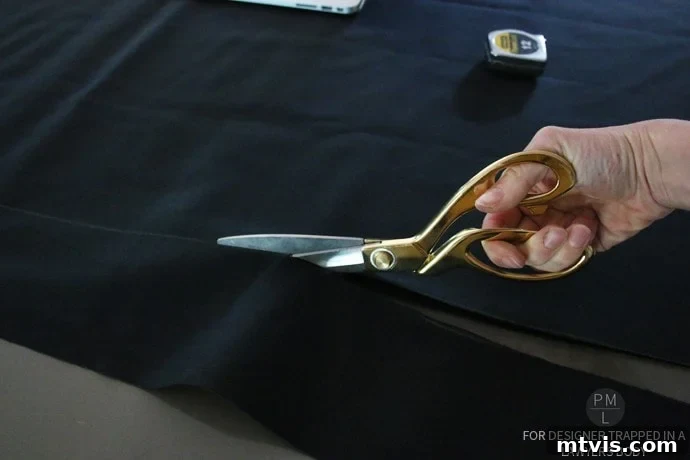
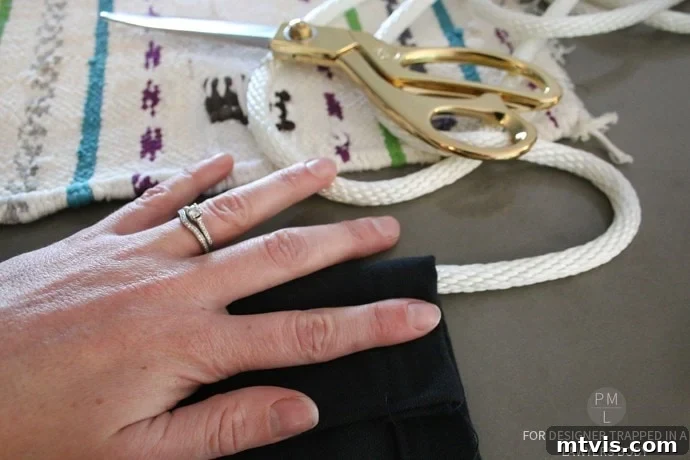
Having a spacious workspace, like my extra-large concrete island, makes handling large pieces of fabric much easier. If you don’t have such a luxury, a clean floor or a large table will work just fine. Once you’re satisfied with your markings, carefully cut along the chalk line, creating the unique tapered shape of your hammock chair fabric.
Step 2: Sewing Your Hammock Chair – Creating Clean Edges and Strong Channels
After your fabric is perfectly shaped, the next crucial step is to prepare it for assembly by sewing the edges. This involves creating neat top and bottom seams, and robust side channels that will securely hold the rope. Even if you’re a novice seamstress like myself, taking it one step at a time will lead to a professional-looking finish.
Creating the Top and Bottom Seams
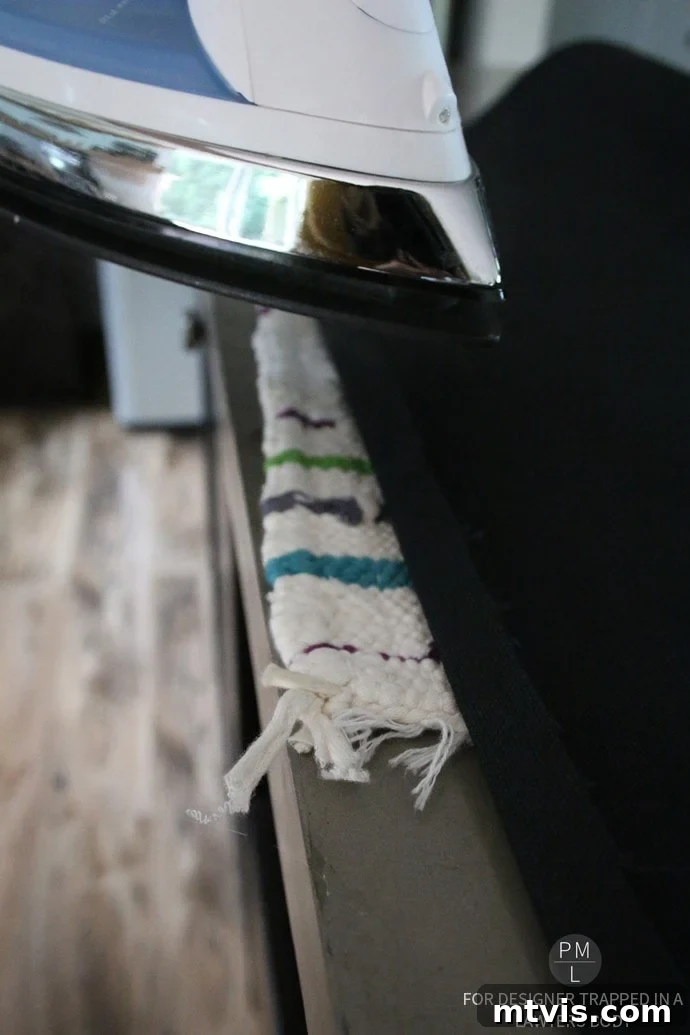
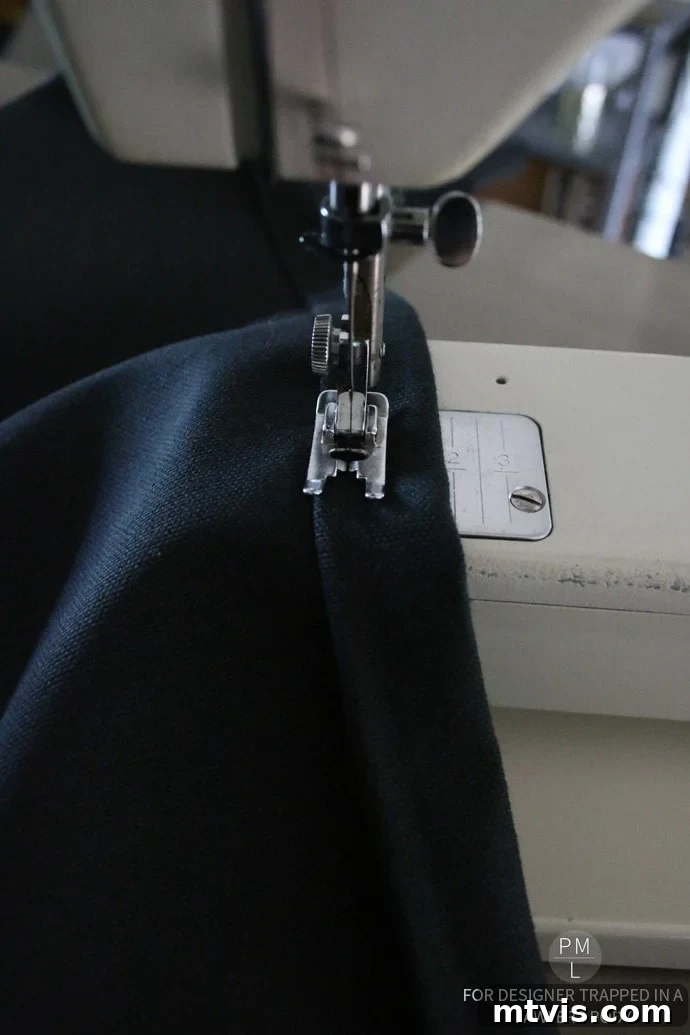
First, heat up your iron. Pressing the fabric is an often-underestimated step that significantly improves the neatness and ease of sewing. For the top and bottom edges of your hammock chair fabric, fold the raw edge over by about 0.5 inches and press firmly with your iron. Then, fold and press again, enclosing the raw edge completely. This creates a clean, durable hem. Once pressed, sew across this folded seam with your sewing machine. These top and bottom seams are primarily for aesthetics and to prevent fraying; they are not load-bearing, so the goal is simply to make them look tidy and finished.
Sewing the Side Channels for the Rope
The side seams are where the real strength of your hammock chair will come from, as they need to accommodate and secure the support rope. For these, you’ll need to create a robust pocket or channel that is wide enough for your 1/2-inch rope to pass through easily. This channel will also need to be strong enough to bear the full weight of the person sitting in the chair.
Fold the side raw edge of the fabric over by a generous amount – typically 1 to 1.5 inches – and press. Then, fold it over again, ensuring the channel is wide enough to comfortably fit your rope. Pin it securely in place before sewing. You will then sew a sturdy seam down the entire length of both sides, creating these rope channels. Use a strong thread and consider a double stitch for extra reinforcement, as these channels will be under significant tension.
I initially considered trying to sew directly around the rope, but encountered difficulties with the machine (perhaps user error, or simply the thickness of the fabric and rope). You might have better luck, but creating a dedicated channel first is a reliable method. The key here is to make sure your stitching is strong and the channel is consistent, allowing the rope to slide through while providing maximum support.
Step 3: Preparing the Oak Dowel – Drilling Rope Holes
The oak dowel acts as the spreader bar for your hammock chair, defining its width and allowing the rope to distribute weight evenly. Preparing it correctly is a crucial step for both functionality and safety.
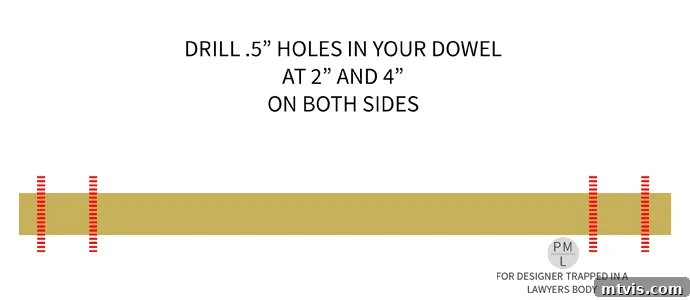
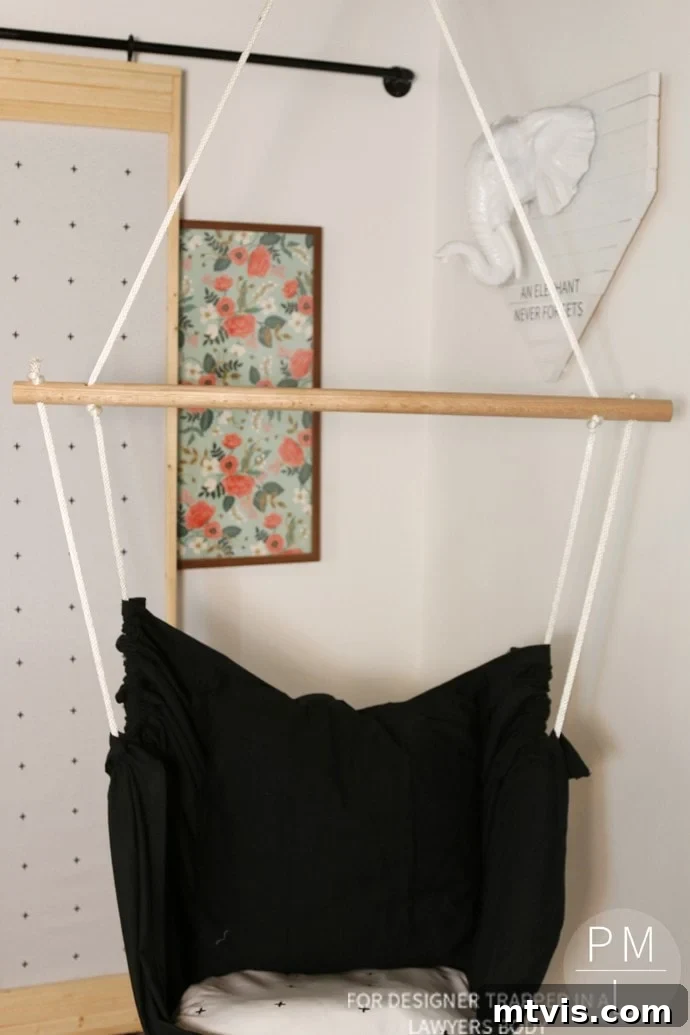
You’ll need a drill bit that is slightly larger than the diameter of your 1/2-inch rope. This ensures that the rope can pass through the holes without too much friction or fraying, but also without being excessively loose. Measure and mark four equidistant points on your oak dowel. A good spacing would be about 3-4 inches from each end, and then two more holes spaced evenly in the middle. The exact placement isn’t hyper-critical, but symmetrical spacing will ensure the chair hangs level and looks balanced.
Carefully drill all four holes. When drilling, ensure you are holding the dowel steady and drilling straight through to avoid crooked holes. If you have clamps, use them to secure the dowel to a workbench. Smooth any rough edges around the drilled holes with sandpaper to prevent the rope from catching or fraying over time.
Step 4: Assembling with Rope – The Heart of Your Hammock Chair
This stage brings all the components together, transforming your prepared fabric and dowel into a functional hammock chair. The method of threading the rope is key to both the chair’s stability and its final appearance.
When it comes to the rope, here’s a crucial piece of advice: do not cut your rope initially! I made this mistake, and it added an extra step. Instead, work with the full length of your 14-foot rope as one continuous piece. This makes it significantly easier to create a single, secure loop knot at the very top, which will then hook to your ceiling mount. If you do accidentally cut the rope (it happens!), you’ll simply need to ensure you create two separate, equally strong, and absolutely non-slip knots at the top, which then connect to the spring link.
The rope will thread through your fabric channels and the dowel in a specific pattern. Imagine the rope coming up from the bottom of one side of the fabric, through one of the dowel holes, across to another dowel hole, and then down the other side of the fabric channel. The two ends will then meet at the top to form the hanging loop.
Here’s a simplified visual guide to the rope direction:
Don’t laugh too hard at these fabulous computer sketches; they’re designed to give you a clear conceptual understanding of the rope’s journey!
To guide the rope through the narrow fabric channels, you’ll find a rope guide incredibly helpful. While I used a closet piece taped to the rope, a specialized bodkin or even a sturdy coat hanger straightened out with a hook at the end can make this task much easier. Simply attach the rope securely to one end of your guide and carefully push it through the fabric channel until it emerges at the other end. Repeat this for all rope segments.
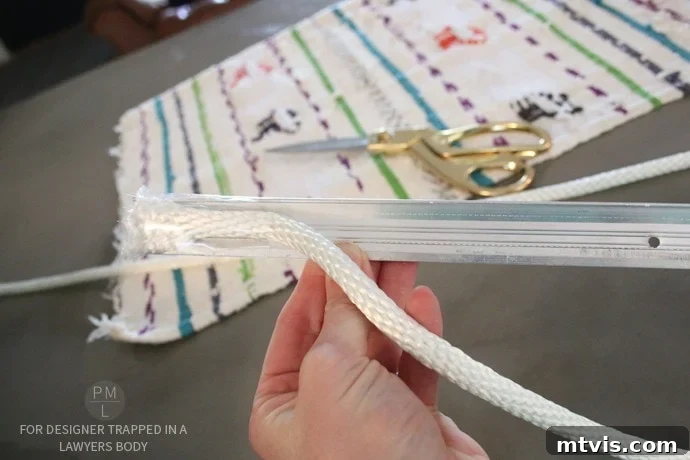
Step 5: Secure Ceiling Installation – Ensuring Safety and Stability
Before you start tying any permanent knots in your rope, it’s absolutely vital to prepare your ceiling for the hammock chair. This step is non-negotiable for safety, as the entire weight of the chair and its occupant will depend on a secure ceiling mount.
Locating the Ceiling Beam: Your first priority is to locate a robust ceiling joist or beam. Never screw directly into drywall or plaster, as it will not hold any significant weight and poses a serious safety risk. Use a reliable stud finder to meticulously scan the area where you intend to hang your chair. Once you’ve identified a solid beam, mark the exact center of it.
Drilling and Installing the Eye Bolt: Using a drill bit that is the same diameter as your eyebolt (in this case, 3/8-inch), drill a pilot hole into the center of the beam. The depth of this hole should match the length of the threaded portion of your eyebolt. This pilot hole makes screwing in the eyebolt much easier and helps prevent the wood from splitting.
Next, carefully screw the eyebolt into the pilot hole. It should go in smoothly but firmly. You may need a wrench, screwdriver, or even a sturdy piece of pipe inserted through the eye of the bolt to get enough leverage to screw it all the way in until it’s snug against the ceiling. Ensure it’s fully seated and feels absolutely secure – there should be no wobble or give.
Attaching the Spring Link: Once the eyebolt is firmly in place, attach your 3/8″ spring link (carabiner) to it. This provides a convenient and secure attachment point for your hammock chair’s rope loop.
Now, with your ceiling mount ready, bring your partially assembled hammock chair. Determine how long you want your hammock chair to hang from the ceiling. Sit in it (carefully!) or have someone hold it at various heights to find your preferred sitting position. Remember to account for a slight stretch in the rope once weight is applied. Once you’ve found the ideal hanging height, mark the spots on your rope where you’ll tie your securing knots. Precision here ensures your chair hangs level and at the perfect height for relaxation.
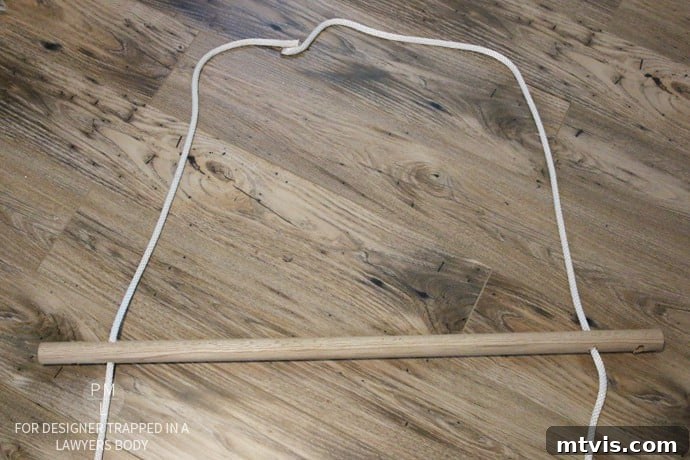
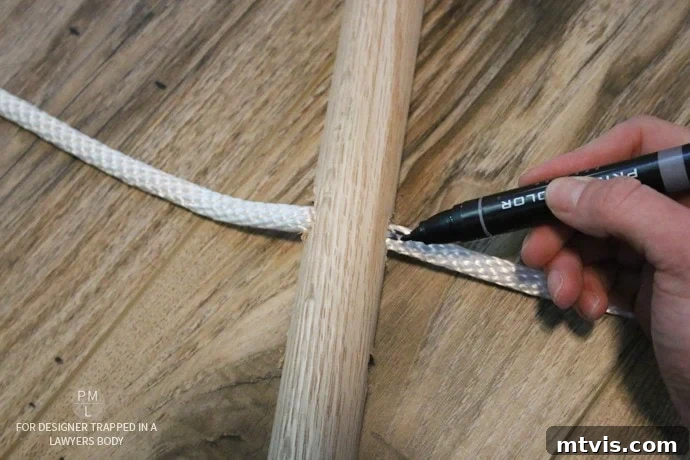
Step 6: Finalizing and Enjoying Your Hammock Chair
You’re in the home stretch! With the ceiling mount secure and the rope threaded, it’s time to bring your DIY hammock chair to life.
Carefully tie strong, reliable knots at the marked spots on your rope. If you used a continuous loop, create a secure loop knot at the top that can be easily hooked onto the spring link. If you had to cut your rope, ensure both ends are tied with robust, non-slip knots that will hold their position under load. Test the knots thoroughly by gently pulling on them. For maximum security, you might want to consider knots like a Bowline for the loop or a Fisherman’s Bend for joining two rope ends if you had to cut it.
Before hooking it up completely, briefly hang the chair (without sitting in it fully yet) and check that it appears level. Make any necessary adjustments to your knots to ensure even suspension. Once you’re satisfied, hook the main rope loop onto your spring link. Give it a gentle test with gradually increasing weight before fully settling in.
Congratulations! You’ve successfully built your very own DIY hammock chair. Now, all that’s left is to sink in, relax, and enjoy the fruits of your labor. Add a soft pillow, a cozy throw, and perhaps a good book or your favorite playlist, and you’ve created the perfect personal retreat.
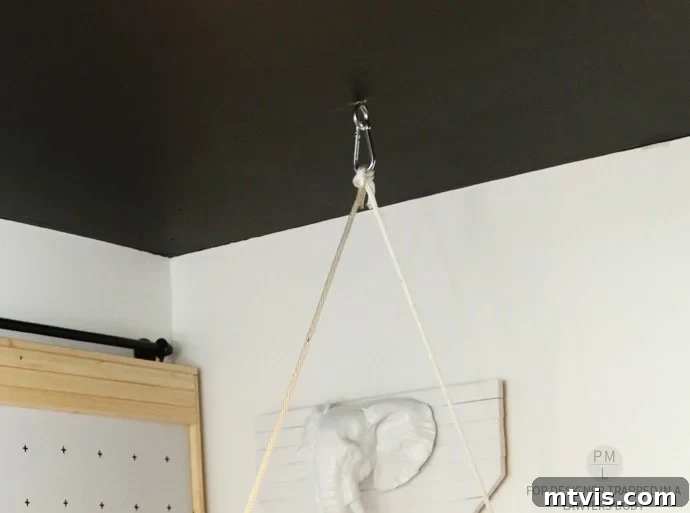
Beyond the Build: Customization and Care for Your Hammock Chair
Now that your DIY hammock chair is complete, you might be thinking about how to truly make it your own or keep it looking great for years to come. One of the greatest advantages of a DIY project is the freedom to customize!
Personalizing Your Relaxation Station:
- Pillows and Throws: The easiest way to add comfort and style is with decorative pillows and soft throws. Choose colors and textures that complement your room’s aesthetic.
- Fabric Dyeing: If you used natural duck canvas, consider dyeing the fabric a vibrant color or a subtle ombre pattern to match your decor perfectly.
- Painted Dowel: For a different look, you could paint or stain your oak dowel to either blend in or stand out against the fabric and your room’s palette.
- Fringe or Tassels: Add a bohemian touch by sewing fringe or tassels along the bottom edge of your fabric.
Maintenance for Lasting Enjoyment:
- Cleaning the Fabric: Most duck canvas fabrics are machine washable. Before washing, you’ll need to carefully unthread the rope and remove the fabric. Follow the fabric manufacturer’s care instructions for best results, typically cold water wash and air dry to prevent shrinking.
- Rope Inspection: Periodically inspect the rope for any signs of wear, fraying, or damage, especially near the knots and where it passes through the dowel and fabric channels. Replace the rope immediately if you notice any degradation.
- Hardware Check: Every few months, check the eyebolt and spring link for tightness and any signs of stress or corrosion. Ensure the eyebolt remains securely screwed into the ceiling beam.
- Dowel Condition: Make sure the dowel isn’t cracking or showing signs of stress.
By taking a little extra time for customization and routine maintenance, your DIY hammock chair will remain a beloved and comfortable spot in your home for a long time.
Your New Favorite Spot Awaits!
I truly hope you enjoyed this comprehensive DIY hammock chair tutorial! Creating this unique piece of furniture not only adds a touch of modern bohemian charm to any room but also provides a personal haven for relaxation. If you have any questions at all about the steps, materials, or safety considerations, please don’t hesitate to ask in the comments section below – I’m happy to help!
If you’re as enamored with this office space as I am, you absolutely must check out the full office reveal here, where you can see how this hammock chair seamlessly integrates into a beautifully designed functional area. Happy crafting, and enjoy your new favorite spot!
