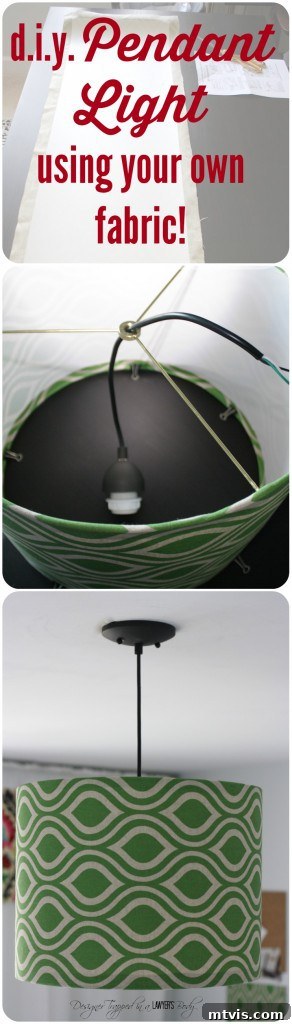
Illuminate Your Space: Create a Stunning Custom Fabric DIY Pendant Light
Hello, fellow creators and home decor enthusiasts! I am absolutely thrilled to share a project that has truly transformed my creative sanctuary. Today, I’m going to guide you through the process of crafting your very own DIY pendant light for a craft room or office space, all made possible with a fantastic lighting kit and a few basic supplies. But before we dive into the details, let’s set the scene.
You might recall the big reveal of my craft room and office from last summer. It was a project born out of a desire for a dedicated space where creativity could flourish, and functionality was key. The room was designed to be inspiring, organized, and, most importantly, a place where I could comfortably work on countless DIY adventures. This post contains some affiliate links. Click here to read my full disclosure policy.
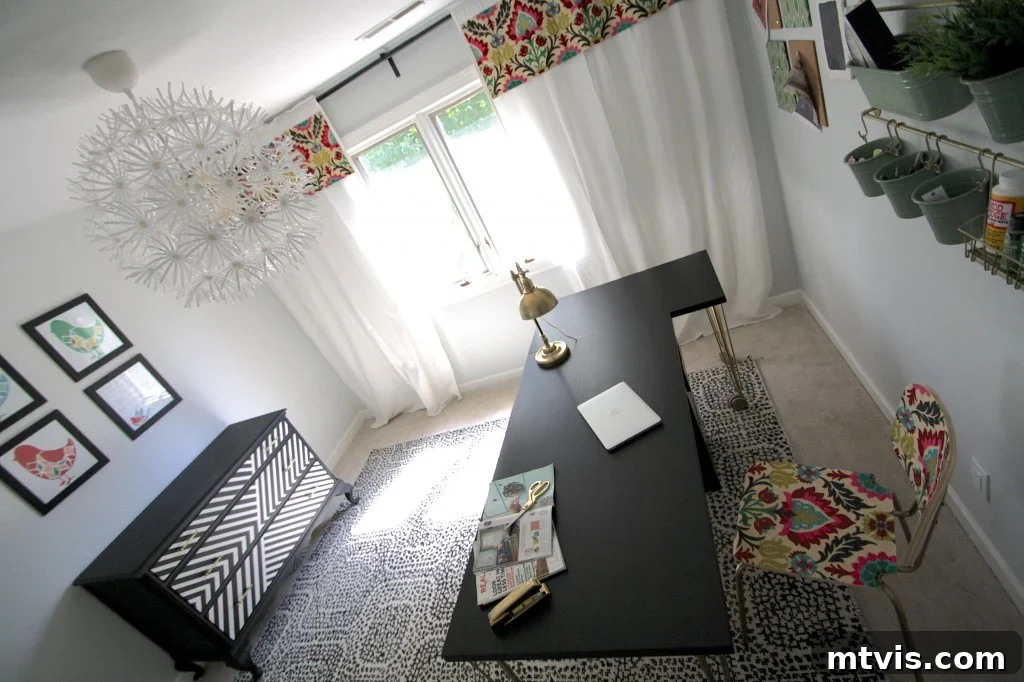
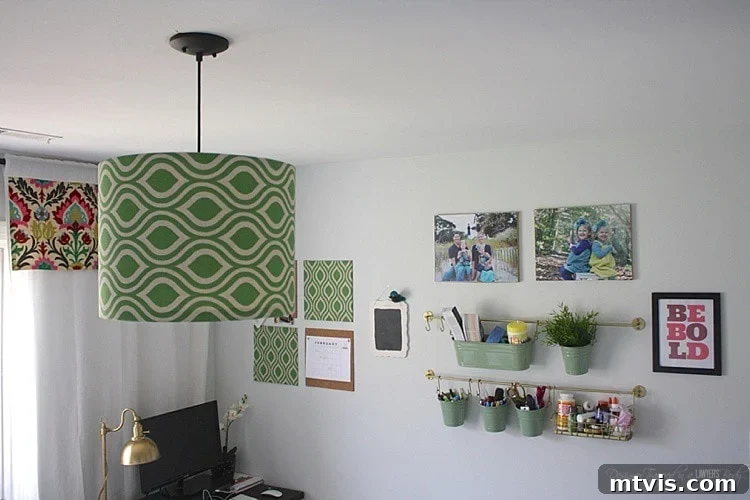
As you can see from the photos, the room initially featured a super fun and funky light fixture, a delightful find from Ikea. While it added a playful touch to the decor, its charm unfortunately didn’t extend to its functionality. I spend a considerable amount of time in my craft room, especially late at night after my girls are tucked into bed. It’s during these quiet hours that I tackle many of my projects, and I quickly realized that the existing light simply didn’t provide adequate illumination. The soft, ambient glow, while lovely for a living room, was wholly insufficient for detailed craft work or focused office tasks. Our brief love affair with that quirky fixture ended, but fear not, it’s destined for a new home in another part of the house!
Discovering the Secret to a Custom Fabric Pendant Lamp
Fast forward several months, and my quest for the perfect lighting solution led me to an exciting discovery: a truly brilliant product called I Like That Lamp. This innovative kit promised to be the answer to my lighting dilemma, offering a unique way to create a personalized light fixture.
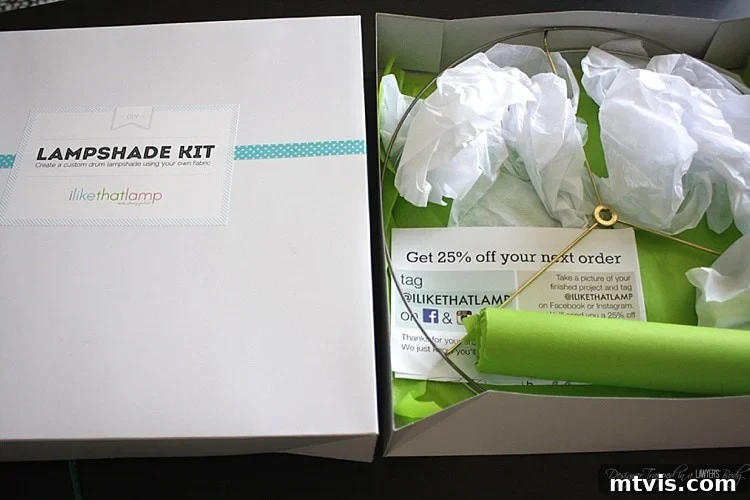
The I Like That Lamp kit contains everything you need to construct a custom drum lampshade using your own fabric. This was the game-changer! Imagine the possibilities: coordinating your light fixture with existing curtains, upholstery, or even a piece of art. You can purchase these versatile kits in a variety of sizes directly from I Like That Lamp’s website, and a limited selection is also available on Amazon, offering convenient options for aspiring DIYers.
While these kits are primarily designed for creating shades for table and floor lamps, I immediately saw the potential to adapt it for a DIY pendant light. The vision of a custom fabric pendant lamp, perfectly tailored to my craft room’s aesthetic and functional needs, began to take shape. And guess what? My intuition was spot on! It worked absolutely perfectly, delivering both the style and the much-needed brightness. Read on to discover exactly how I transformed this fantastic kit into a stunning focal point for my workspace!
DIY Custom Fabric Pendant Light Tutorial
Embarking on this project is incredibly rewarding. With a little patience and attention to detail, you’ll have a beautiful, custom light fixture that reflects your unique style. Here’s everything you’ll need and the steps to follow.
Materials Needed for Your Custom Pendant Light:
- 1 I Like That Lamp kit: For my light, I specifically used the 18-inch diameter by 12-inch tall kit. This size was perfect for creating a substantial pendant that provides ample light without overwhelming the space. While this particular size may not always be available on Amazon, you can conveniently order it directly from I Like That Lamp’s official website by clicking HERE. Choose a size that suits your room’s dimensions and desired light output.
- 1 Pendant Light Kit with Oil-Rubbed Bronze Finish: The finish of your pendant light kit will greatly influence the overall aesthetic. I opted for an oil-rubbed bronze finish, which added a touch of classic elegance and warmth to my craft room. Consider a finish that complements your existing hardware or desired decor style, such as brushed nickel, polished chrome, or matte black.
- 1 Twin Light-Socket Adapter (optional but highly recommended): If, like me, you need more than just a single bulb’s worth of light, a twin light-socket adapter is a fantastic addition. This ingenious device screws into your standard light socket, allowing you to use two bulbs instead of one, effectively doubling your light output. This was crucial for achieving the bright, functional lighting my craft room required.
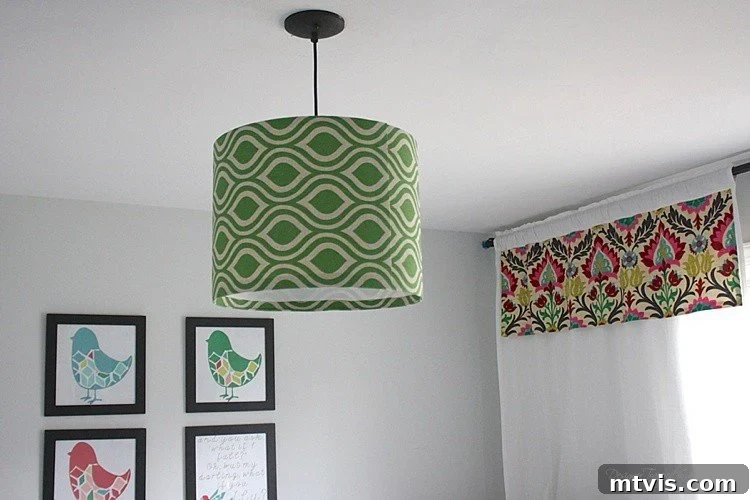
- 1 2/3 yards of lightweight, natural fiber fabric: This measurement ensures you have at least 60 inches of fabric length, which is usually sufficient for an 18-inch drum shade kit, allowing for necessary overhangs. The key here is “lightweight” and “natural fiber.” Lightweight fabrics drape nicely and are easier to work with, while natural fibers like cotton or linen allow light to diffuse beautifully, creating a warm and inviting glow. I personally used Premier Prints Nicole Organic Green Laken Fabric from Online Fabric Store, which offered a lovely pattern and texture. Choose a fabric that inspires you and enhances your room’s color scheme.
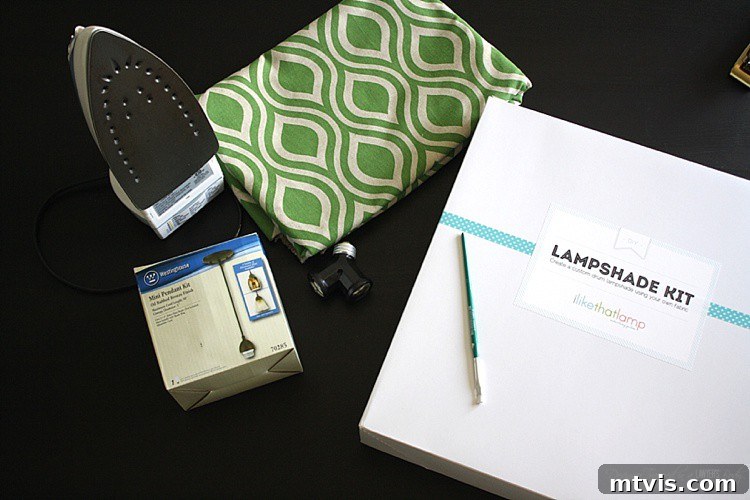
Step-by-Step Guide to Crafting Your DIY Pendant Light
The assembly process is surprisingly straightforward, especially for the drum shade. I highly recommend watching this YouTube video provided by “I Like That Lamp” before you begin; it offers an excellent visual guide that will complement my step-by-step photos and instructions.
-
Assemble the Drum Shade with Your Chosen Fabric:
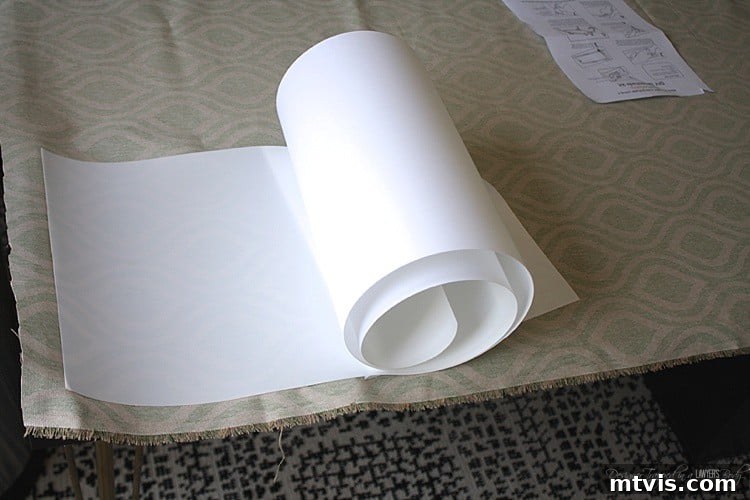
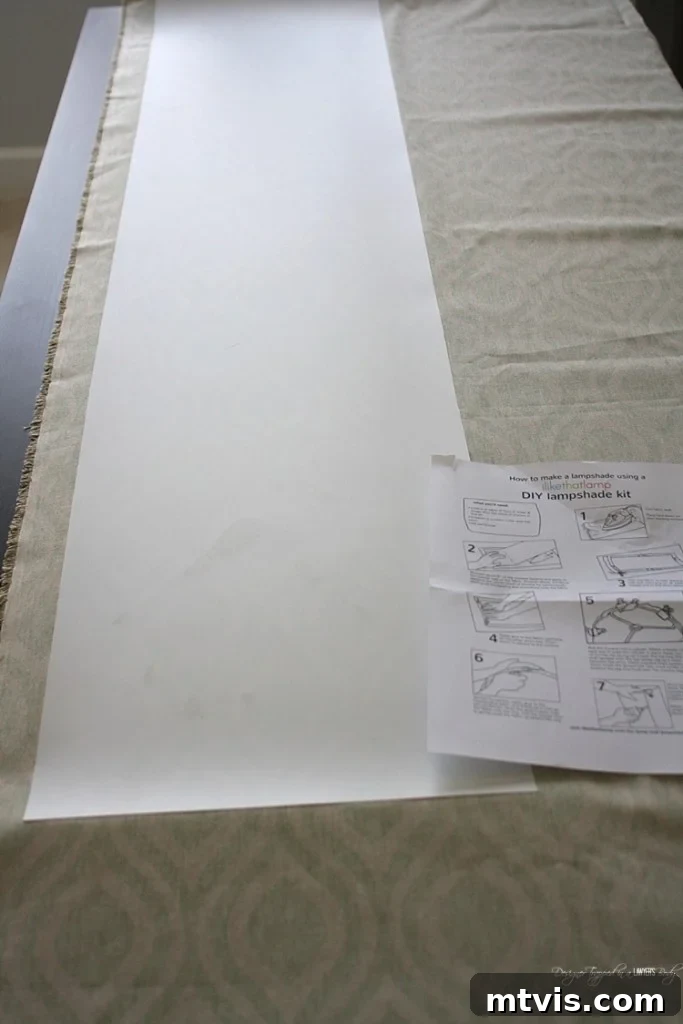
- Prepare Your Fabric: Begin by thoroughly ironing your fabric. This is a critical first step! Any wrinkles, creases, or seams will be visible on your finished lampshade, so take your time to ensure it’s perfectly smooth and flat. Lay the fabric out, pattern-side down, on a large, clean, flat surface.
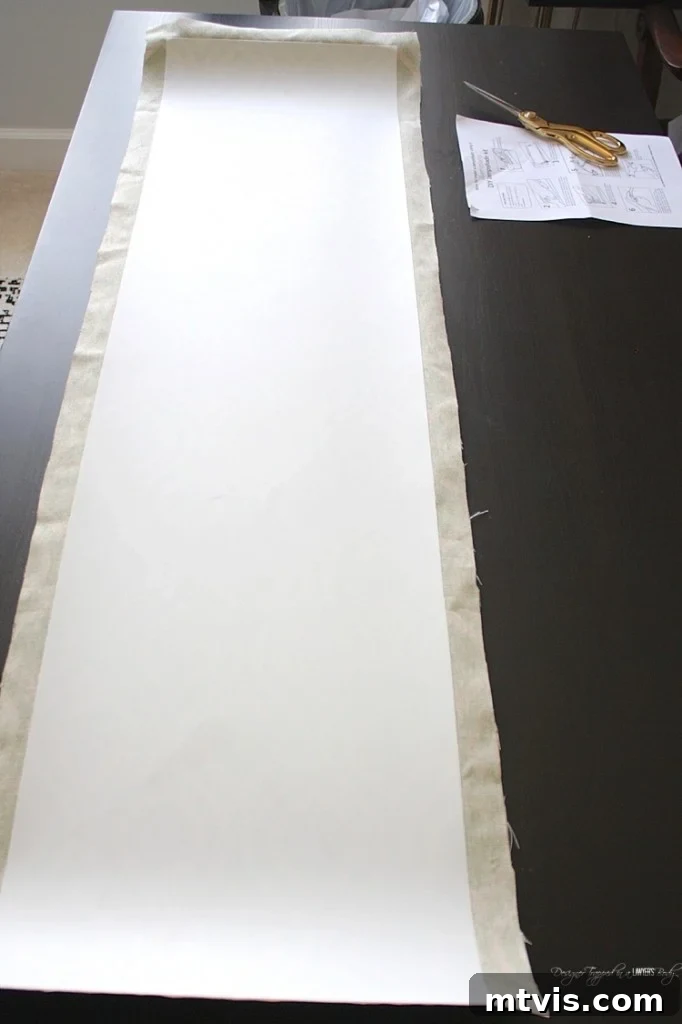
- Apply the Styrene Backing: The “I Like That Lamp” kit includes a styrene sheet with an adhesive backing. Carefully peel back about six inches of the protective paper from the styrene. Align the sticky edge of the styrene with your fabric, ensuring you leave a 1/2-inch fabric overhang along both long sides and one short end of the styrene. Slowly and steadily, continue to remove the rest of the backing paper while pressing the sticky side of the styrene onto the fabric. Work carefully to avoid bubbles and wrinkles, using a soft cloth or a brayer to ensure a smooth, even adhesion.

- Trim Excess Fabric: Once the styrene is fully adhered, it’s time to trim the excess fabric. Using a sharp pair of scissors or a rotary cutter and a straight edge, carefully cut away any fabric that extends beyond the styrene, leaving a consistent 1/2-inch overhang on both long sides and one short side. Make sure *one* short side has no fabric overhang – this will be your joining edge. Precision here ensures a neat finish.
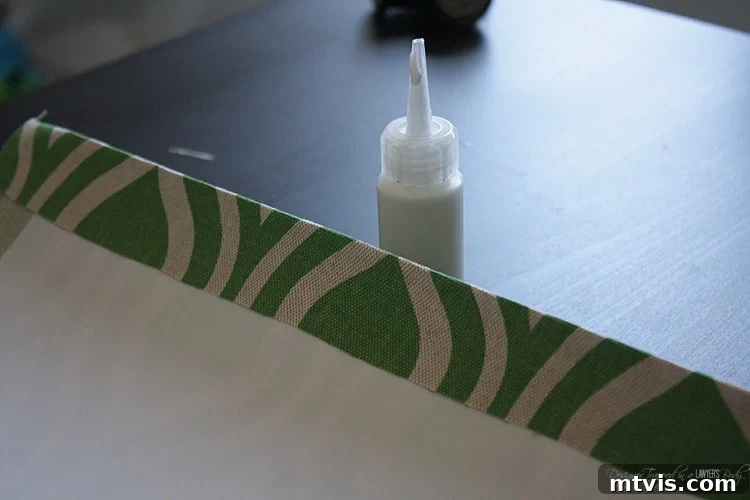
- Glue the Initial Fabric Edge: On the short end where you intentionally left a 1/2-inch fabric overhang, fold this overhang neatly over the edge of the styrene. Apply a thin, even bead of the specialized glue (included in your kit) along the inside edge of the styrene, just beneath the folded fabric. Press the fabric firmly down onto the glue, ensuring it creates a clean, finished edge. Allow a few moments for the glue to set.
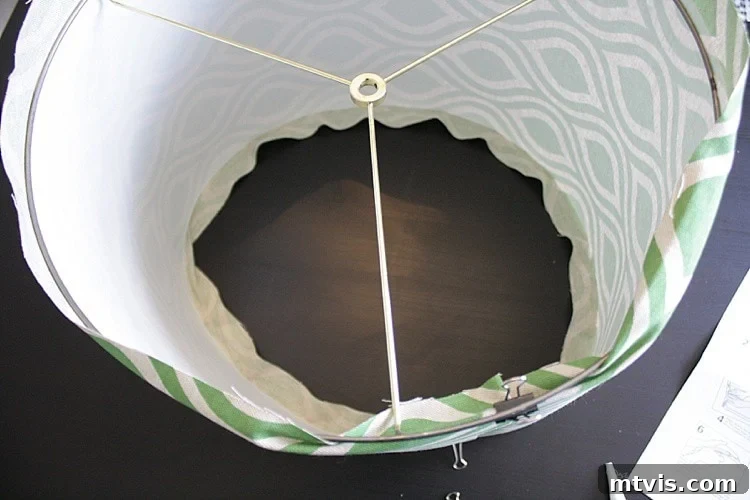
- Form the Shade and Attach Rings: Stand the styrene upright and gently curve it into the cylindrical shape of a lampshade. Take one of the lampshade rings (the one with the small finial attachment hole for your pendant kit) and fit it into place at the top edge of the curved styrene. Use the binder clips provided in the kit to securely hold the ring in position, ensuring it’s evenly spaced and tight against the styrene.
- Glue Fabric Over the Rings: Now for the neatest part! Squeeze a generous but controlled amount of the included glue around the entire circumference of the 1/2-inch fabric overhang, just above the attached ring. Use the small paintbrush (or your finger, if you don’t mind getting a little sticky!) to spread the glue evenly. Then, carefully fold the fabric over the ring and press it down firmly. The goal is to achieve a taut, wrinkle-free finish. For that perfectly crisp edge, use the wooden stick provided in the kit to push and tuck the fabric securely under the ring. This step creates a professional, clean edge. Repeat this entire gluing process for the bottom ring, flipping the shade over as needed.
- Secure the Vertical Seam: The final step in assembling your drum shade is to secure the vertical seam where the two short ends meet. Apply a line of glue along the edge of the styrene that *doesn’t* have a fabric overhang. Bring the fabric-covered edge over to meet it, pressing firmly along the entire length to create a strong, seamless bond. Hold it in place with clips or tape if necessary while the glue dries completely. This ensures the shade maintains its shape and integrity.
-
Integrate Your Pendant Light Kit:
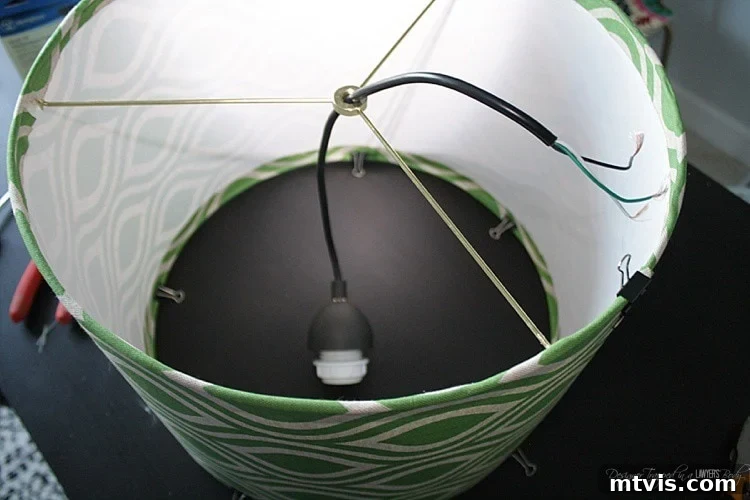
Once your beautifully assembled lampshade is completely dry and sturdy, it’s time to incorporate the electrical components. Carefully thread the wire of your chosen pendant light kit through the finial ring located at the top center of your new drum shade. Ensure the wire pulls through smoothly and that the pendant fitting sits snugly within the ring.
-
Safe and Secure Installation of Your DIY Pendant Light:
Hanging your new light fixture is the exciting penultimate step! While I don’t provide exhaustive electrical tutorials on my site for safety reasons, I can tell you that replacing an existing light fixture is generally a manageable DIY task for those comfortable with basic electrical work. However, safety is paramount. Let me share a crucial lesson learned from personal experience:
CRITICAL SAFETY REMINDER: Always, always, ALWAYS turn off the power at your main breaker box before beginning any electrical work.
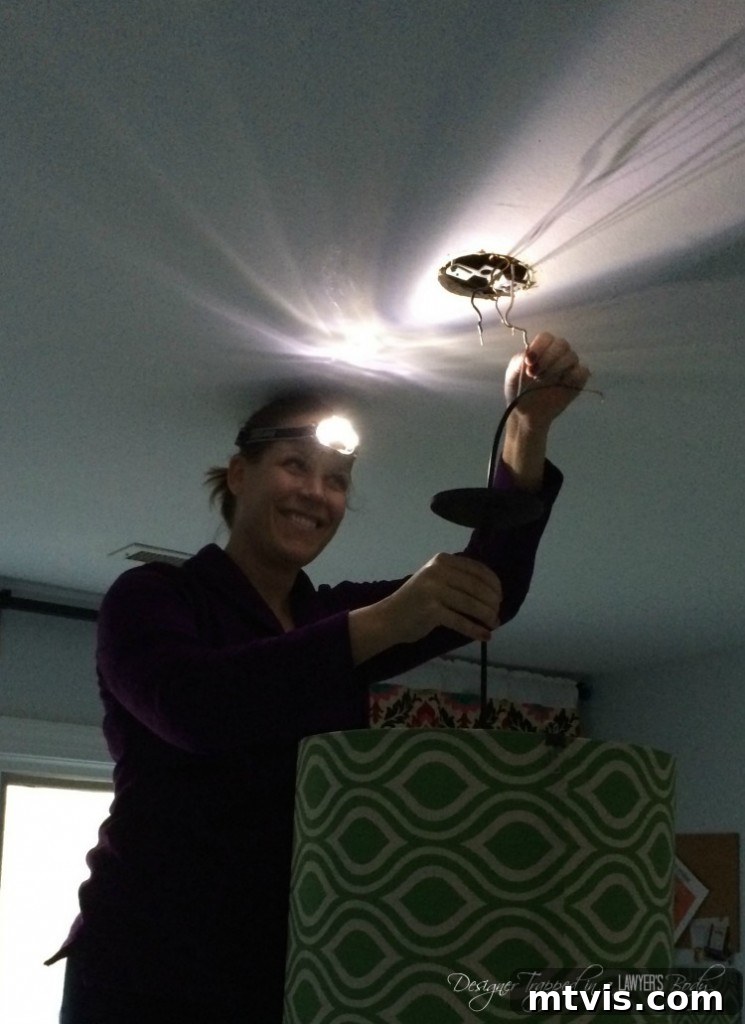
During my first attempt to hang this very fixture myself (my husband, Joe, usually handles electrical tasks), I made the grave mistake of only flipping the wall switch off. This does NOT cut all power to the fixture! I received a rather unpleasant electrical shock about 10 seconds after Joe snapped the photo below – suffice to say, I wasn’t smiling after that! But, after a momentary scare and a stern reminder from Joe, I regrouped and successfully completed the job, but only *after* we had properly turned off the power at the breaker box. Please learn from my mistake and prioritize your safety above all else. If you are ever unsure about electrical wiring, please consult a qualified electrician.
-
Final Touches: Adapters and Bulbs:
Finally, if you opted for the twin light-socket adapter to maximize your light output, carefully screw it into the pendant light’s socket. Then, screw your chosen light bulbs into place. Consider using LED bulbs for energy efficiency and a brighter, long-lasting glow, especially in a workspace like a craft room.
The Beautiful Result: Your Custom DIY Pendant Light
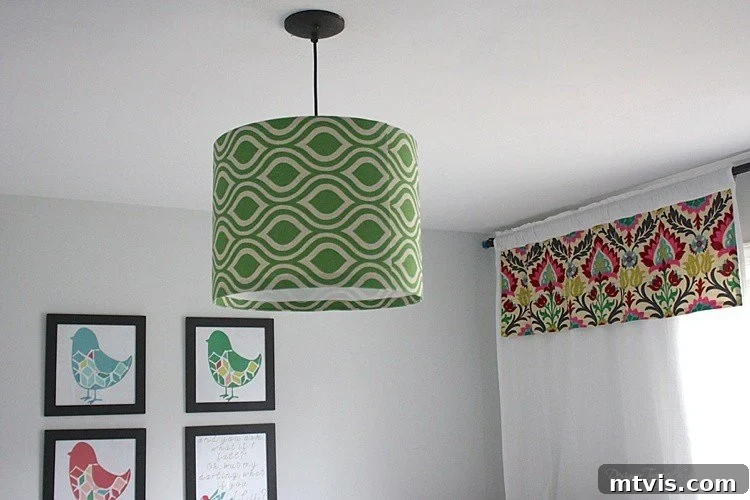
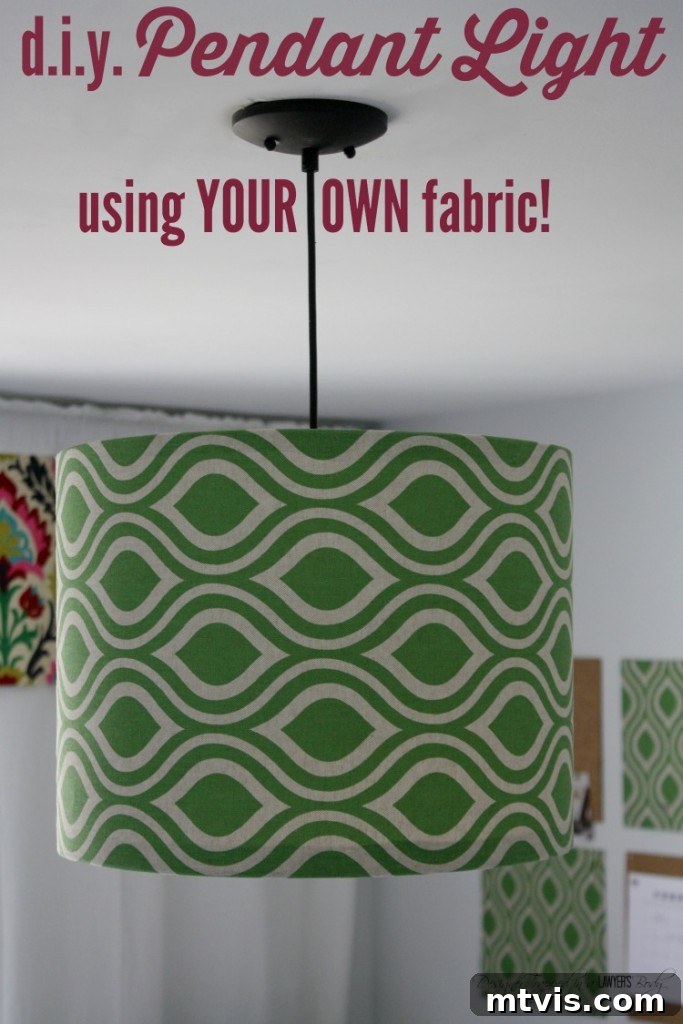
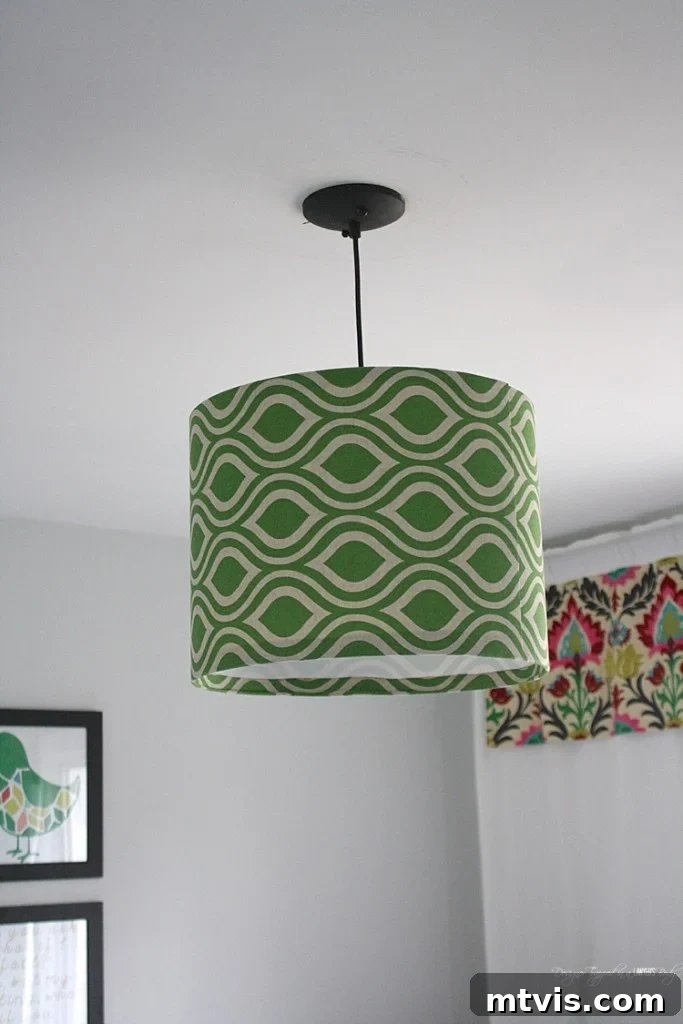
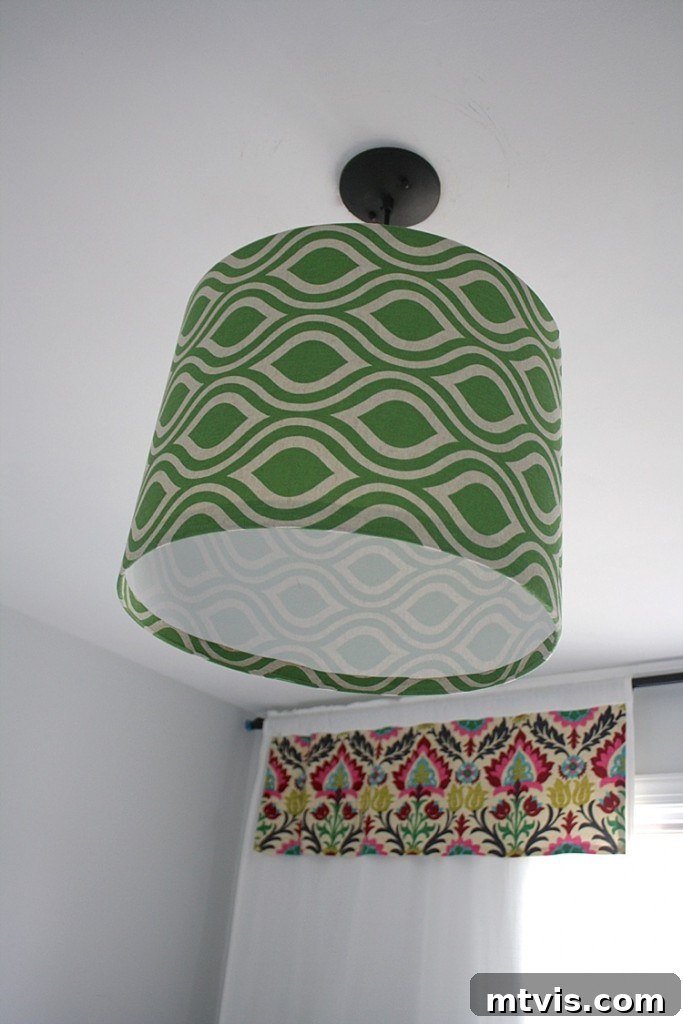
That’s it! Your stunning, custom-made DIY pendant light is now complete and ready to illuminate your space. Isn’t it absolutely gorgeous? The satisfaction of creating something so functional and beautiful with your own hands is truly unparalleled. The personalized fabric adds a unique touch that you simply can’t buy in a store, perfectly complementing your decor and reflecting your personal style.
More DIY Lighting Inspiration to Brighten Your Home
If you’ve enjoyed creating this custom fabric pendant light, you’re in for a treat! There are so many ways to add personalized lighting to your home without breaking the bank. Be sure to explore my other popular DIY lighting projects, each designed to bring unique style and functionality to your space.
For instance, you might love this elegant DIY bentwood pendant light that I ingeniously crafted from simple quilting hoops. It’s an incredible West Elm knock-off that proves high-end design can be achieved on a DIY budget:
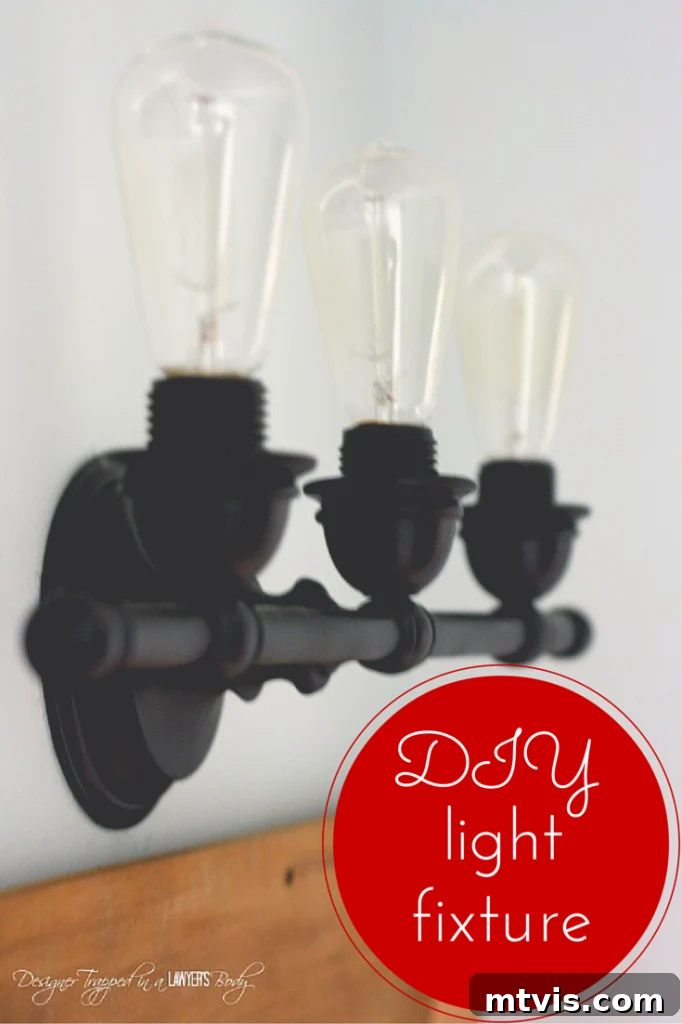
Or perhaps you’re looking for a more edgy, industrial look? Check out this brilliant DIY industrial lighting update I created for our powder room. It’s an easy, budget-friendly project that dramatically transformed the space for less than $30, proving that impactful design doesn’t require a hefty investment:
Share Your Creations!
Do you love the look of my latest custom fabric DIY pendant light as much as I do? I hope this detailed tutorial empowers you to create a beautiful, personalized light fixture for your own home. If this project has sparked your imagination, be sure to pin it so you can easily reference it later when you’re ready to start your own!