
Unlock Lasting Beauty: Your Ultimate Guide to Painting Furniture for a Flawless Finish
This comprehensive guide is proudly sponsored by BEHR Paint Company. Please note that this post may contain affiliate links for your convenience. Click here to read my full disclosure policy.
There’s a common frustration many DIY enthusiasts and homeowners experience: the joy of transforming a piece of furniture with a fresh coat of paint, only to see it begin to chip, peel, or scratch within days or weeks. This disheartening outcome can make you question whether painting furniture is truly worth the effort, leading to wasted time, money, and materials.
But what if I told you that achieving a durable, long-lasting painted finish on your furniture is not only possible but also straightforward? The secret lies in understanding the fundamentals: meticulous preparation and selecting the right products. In this guide, we’ll walk you through a proven method to paint wood furniture that stands the test of time, looking beautiful for as long as you cherish the piece. Say goodbye to chipping and peeling, and get ready to create stunning, resilient furniture transformations!
Mastering the Art: A Step-by-Step Guide to Painting Wood Furniture
Before we dive into the details, it’s important to clarify that this guide focuses specifically on painting wood furniture. Different materials require different approaches. If you’re planning to tackle laminate or IKEA-style furniture, which often have a slick, non-porous surface, you’ll need a specialized technique to ensure proper adhesion and durability. For excellent results on these tricky surfaces, I highly recommend consulting this comprehensive guide on how to paint laminate furniture correctly. Trying to paint laminate with the same method as wood will likely lead to bead-up paint or easy chipping.
Now, let’s address a common pitfall: using the wrong type of paint. Many people, myself included, have learned this lesson the hard way. Resist the temptation to reach for that leftover latex wall paint in your garage. While it might seem convenient and cost-effective, latex paint is simply not formulated to withstand the wear and tear furniture experiences. It lacks the flexibility and adhesion needed for high-traffic surfaces, making it prone to peeling, scratching, and general deterioration. For furniture, your motto should be: “Just don’t do it” when it comes to latex. Instead, you’ll want to choose a specialty paint designed for furniture. More on my preferred choice – chalk paint – and its numerous benefits throughout this guide!
Essential Supplies for Your Furniture Painting Project:
- Cleaning Agent: A multi-surface cleaner or degreaser of your choice (e.g., Simple Green)
- Water: For rinsing and diluting cleaners
- Paper Towels or Clean Rags: For cleaning and drying
- Sandpaper: Various grits, typically 80-120 grit for initial sanding, and finer grits (220+) for smoothing between coats if desired.
- Optional: Electric Sander: A cordless orbital sander, like this inexpensive and highly effective model, can significantly speed up the sanding process and make it less physically demanding.
- BEHR® Chalk Decorative Paint: My top recommendation for its superior adhesion, durability, and beautiful matte finish. (For the project showcased, I used Timeless Blue on the exterior and custom-tinted colors for drawer sides.)
- BEHR® Wax Decorative Finish (Clear): An essential topcoat to protect your chalk paint finish and add depth.
- High-Quality Brushes: Investing in good brushes is crucial for a smooth finish. For chalk paint and wax, natural bristle brushes are ideal. I recommend:
- Behr® Chalk Decorative Wax Brush
- Behr® Chalk Decorative Paint Brush
- Scrap Cardboard or Plastic Sheet: For offloading excess paint/wax and protecting your work surface.
- Painter’s Tape (Optional): For creating clean lines or protecting areas you don’t want to paint.
- Wood Filler/Putty (If needed): For repairing deep gouges or imperfections.
Your Step-by-Step Furniture Painting Process:
Step 1: Thorough Preparation – Sanding for Success
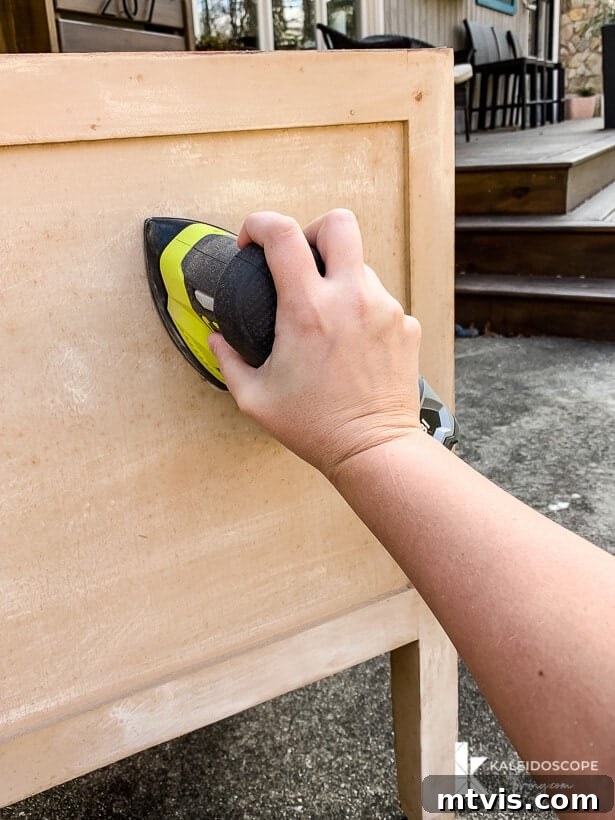
Preparation is arguably the most critical step in achieving a long-lasting, professional-looking furniture finish. Begin by carefully removing all hardware from your furniture piece – handles, knobs, hinges, and anything else that can be detached. This ensures an even paint application and avoids painting over hardware. Next, assess the surface of your furniture.
Target any significantly rough, damaged, or uneven areas for sanding first. Use 80-grit sandpaper for these spots to effectively smooth out imperfections, old drips, or deep scratches. For the rest of the piece, extensive sanding is often unnecessary unless the existing finish is glossy. If your furniture has a shiny, slick, or factory-finished surface, a light scuff sand over the entire piece with 80-120 grit sandpaper is highly recommended. This “opens up” the surface, creating microscopic scratches that allow the new paint to adhere much better, preventing future chipping. The goal here is not to remove the entire old finish, but to de-gloss it and provide a better anchor for your new paint.
Note: For substantial wood damage like gouges, rot, or large chips, consider addressing these issues before painting. This post offers excellent guidance on how to repair wood effectively with epoxy wood filler.
Step 2: Deep Cleaning – A Prerequisite for Adhesion
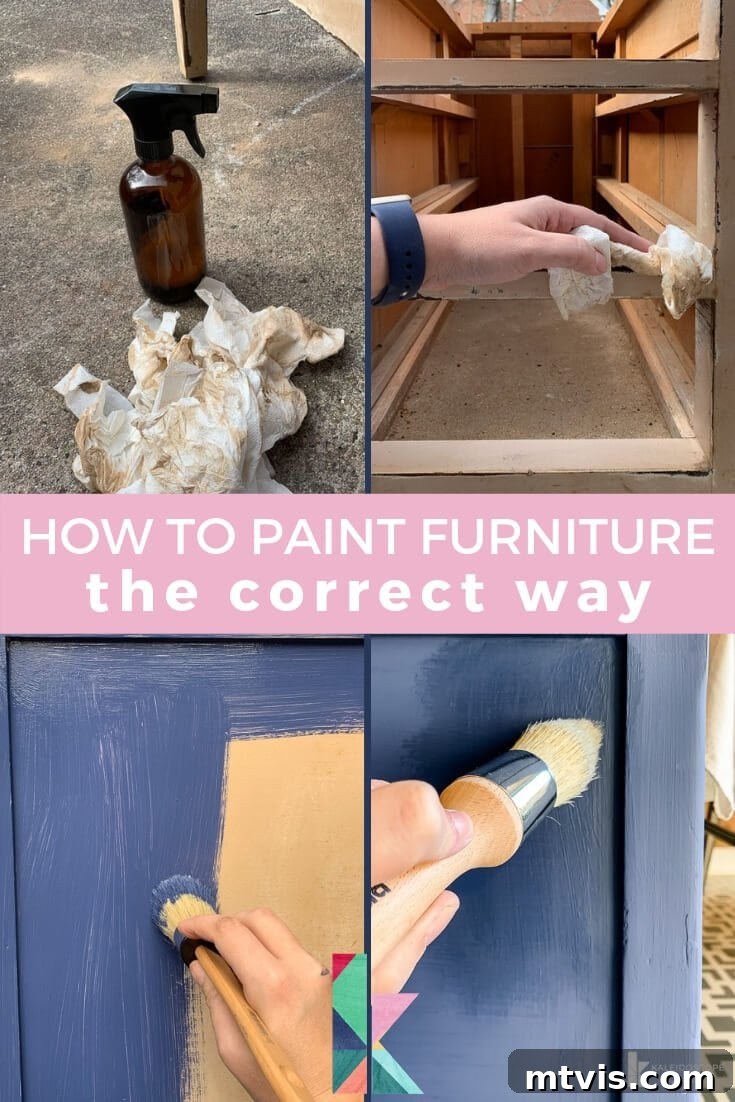
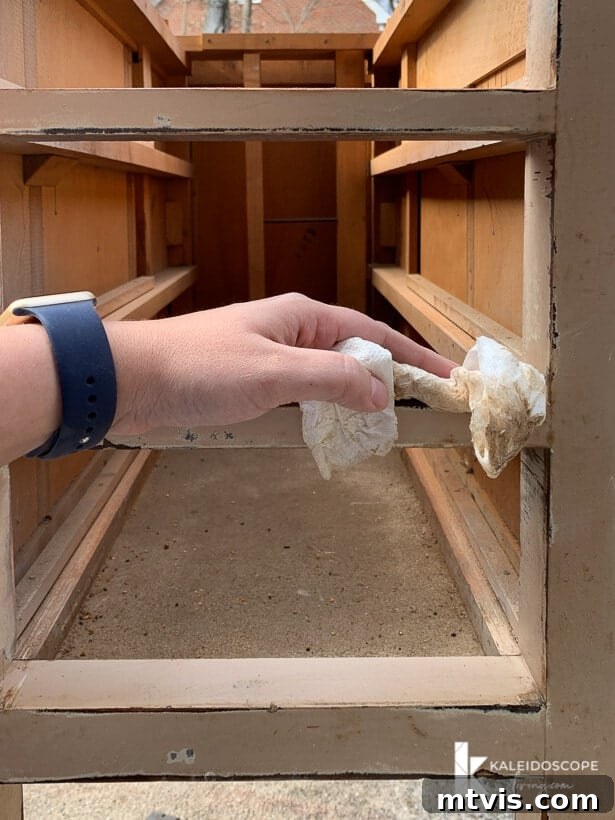
After sanding, your next crucial step is thoroughly cleaning your furniture. Dust, grime, grease, and old polish residues can prevent paint from adhering properly, leading to peeling. I typically use Simple Green, a powerful degreaser, but any good all-purpose cleaner or TSP (trisodium phosphate) substitute will work effectively. Spray your cleaner onto the surface, allow it to sit for a minute to penetrate grime, then wipe it down meticulously with clean paper towels or rags. You’ll likely be surprised by how much dirt comes off, even from seemingly clean pieces! Repeat this process until your cloth comes away clean. Finish by wiping the entire piece with a damp cloth to remove any cleaner residue, then let it dry completely before moving on.
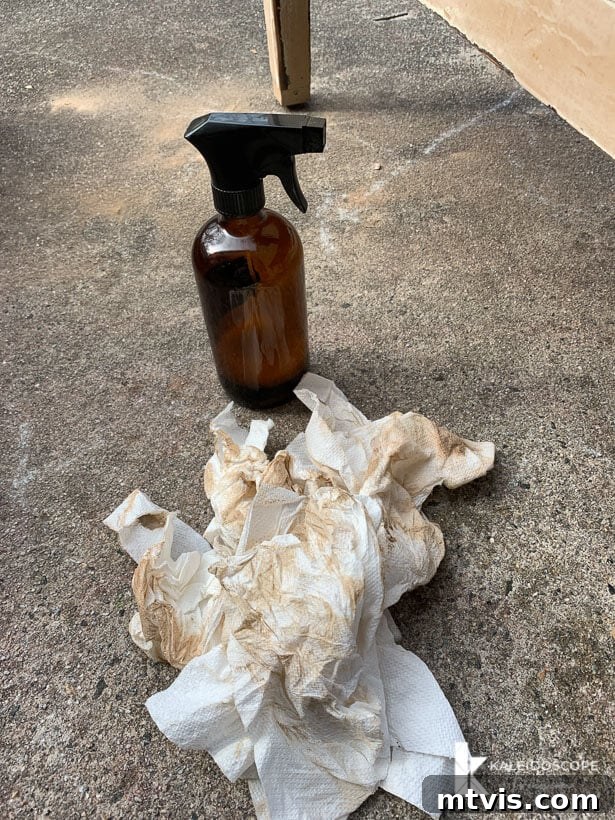
Step 3: Priming (If Absolutely Necessary)
In most cases, chalk paint adheres exceptionally well to prepared surfaces without a primer. However, there are specific situations where a primer is invaluable. If you are painting raw, previously unpainted wood, especially those rich in tannins (like redwood, cedar, or knotty pine), a quick coat of stain-blocking primer is highly recommended. Tannins are natural wood chemicals that can “bleed” through lighter paint colors, causing yellow or brown stains to appear on your beautiful new finish. A good quality primer will seal these tannins, preventing bleed-through and ensuring your chosen paint color remains true and vibrant. For previously painted or stained pieces, primer is generally not required with high-quality chalk paint, but if you’re making a drastic color change (e.g., dark to very light) and want to save on paint coats, a light primer can help with coverage.
Step 4: The Magic of Chalk Paint Application
Now, for the fun part – painting! This is where BEHR® Chalk Decorative Paint truly shines. Why do I consistently choose chalk paint for furniture projects? Its advantages are numerous:
- Superior Adhesion: Chalk paint has a remarkable ability to adhere to most surfaces with minimal prep, making it a forgiving and efficient choice.
- Durability: Despite its matte appearance, chalk paint, especially when properly sealed, creates a very durable finish resistant to everyday wear.
- Smooth, Matte Finish: It delivers a distinctive velvety, matte look that other paints struggle to replicate, providing a high-end, factory-finish aesthetic.
- Versatility: It can be used to create various looks, from smooth modern to beautifully distressed antique.
- Quick Drying: Chalk paint dries incredibly fast to the touch, which means less waiting time between coats and faster project completion.
- Easy to Work With: It’s user-friendly, allowing for easy blending and layering.
Applying chalk paint is straightforward. Using your natural bristle paint brush, load it with a moderate amount of paint and apply it in thin, even coats. Avoid applying thick coats, as this can lead to drips and an uneven finish. Two thin coats are always better than one thick one. For a smooth finish, brush in one direction, overlapping your strokes slightly. If you prefer a more textured or distressed look, you can use less paint on your brush and apply it in varied directions. While the paint dries to the touch in under an hour, it’s essential to wait approximately 2 hours between coats to ensure proper curing and adhesion before applying the next layer. This allows each coat to fully develop its properties.
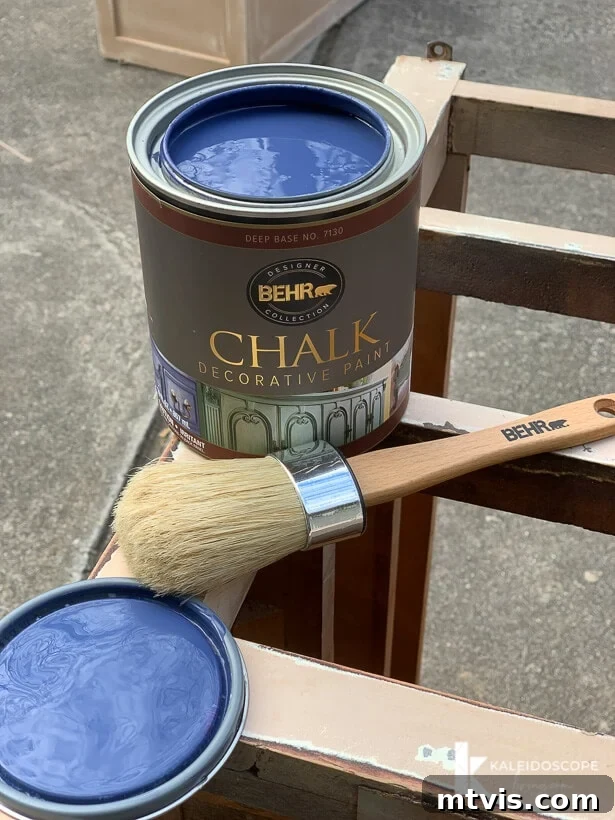
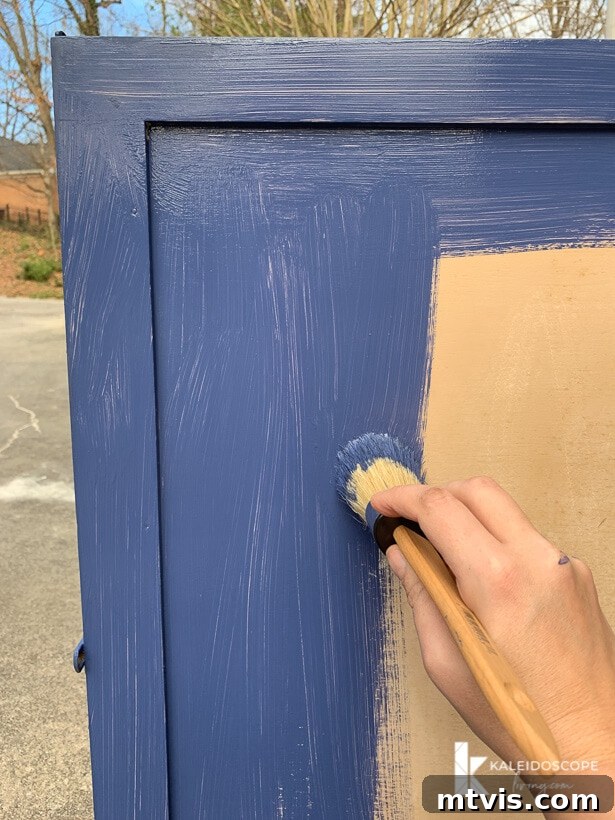
Step 5: Sealing with Wax for Protection and Depth
Once your final coat of chalk paint is completely dry and has cured for the recommended time (typically 24 hours, or as per manufacturer instructions), it’s time to apply the protective finish. For chalk paint, a wax topcoat like BEHR® Wax Decorative Finish in Clear is the perfect complement. The wax not only protects the paint from moisture, scratches, and daily wear but also enhances the color, adding a beautiful depth and subtle sheen that elevates the overall look.
The key to waxing is restraint: less is definitely more. Over-applying wax can make the finish sticky or uneven. Load your natural bristle wax brush with a small amount of wax, then offload any excess onto a piece of scrap cardboard. This ensures you’re working with a minimal, even amount. Apply the wax to your furniture using light, circular, or “x” motion strokes, covering the entire surface with a thin, even layer. You’re not trying to build up a thick layer; you simply want to coat the painted surface.
Allow the wax to dry until it becomes slightly tacky to the touch, which typically takes only a few minutes. This is the ideal time to buff. Using a clean, soft, lint-free cloth (like an old t-shirt or microfiber towel), gently buff the waxed surface in circular motions. Continue buffing until you achieve a smooth, subtle sheen. The finish should feel silky to the touch, not sticky. This buffing process works the wax into the paint, creating a durable barrier and enhancing the visual depth of your piece. Remember that wax takes time to fully cure (up to 30 days), so treat your newly waxed furniture with care during this period.
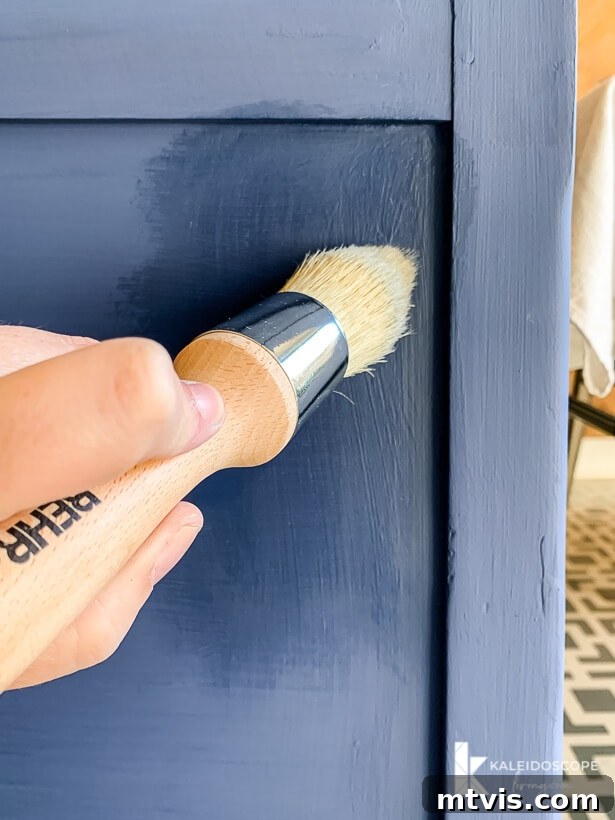
Transforming Old into New: A Personal Project Showcase
And there you have it! A simple, yet incredibly effective process for painting wood furniture that ensures a beautiful, long-lasting finish. I hope this guide demystifies furniture painting and empowers you to tackle your next project with confidence.
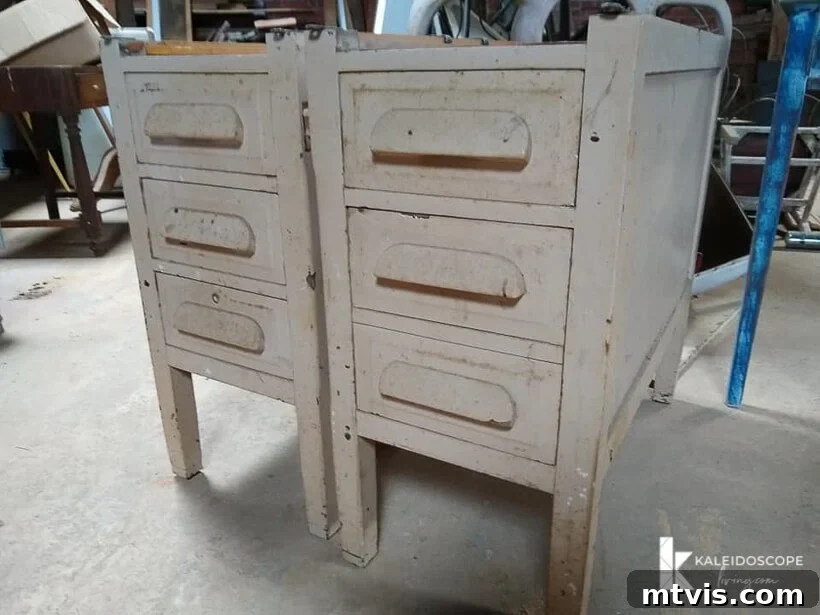
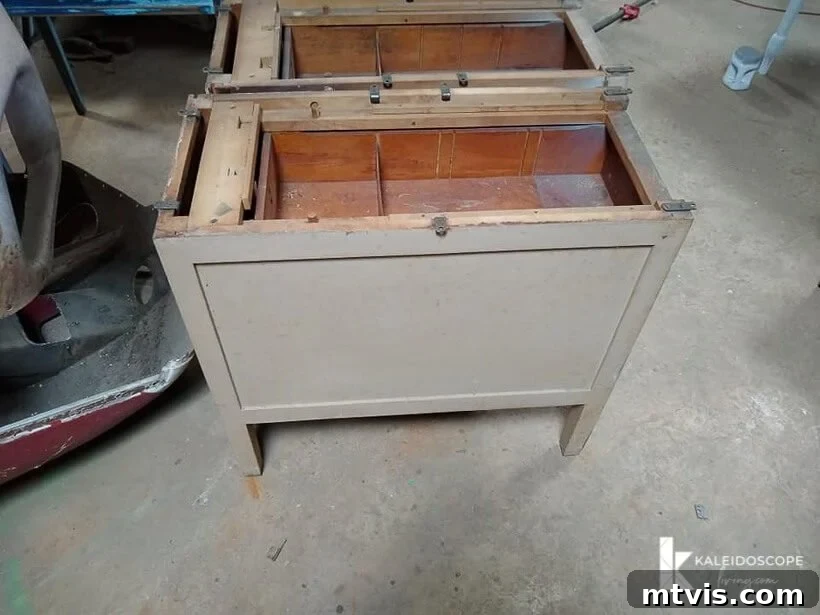
If you’ve been following me on Instagram, you might remember my excitement about scoring these wonderfully beat-up drawer bases from the Facebook Marketplace. I even polled my amazing community to help me decide on their transformation for this very project – thank you to everyone who voted! Some of you might have also caught my Instagram Live session where I gave a live demonstration, including the proper application of BEHR® Wax Decorative Finish.
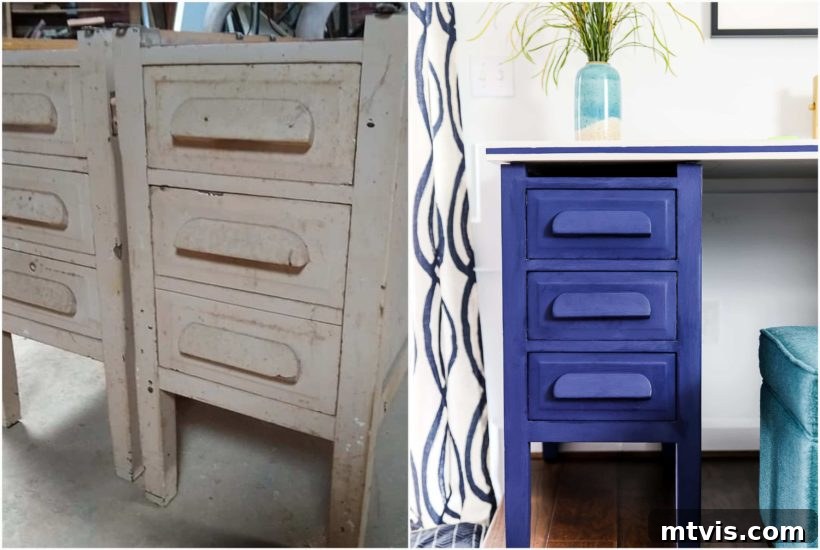
Following this straightforward, fail-proof method, I was able to take these neglected drawer bases from their original, worn-out state…
 |
 |
…to this stunning and functional transformation!
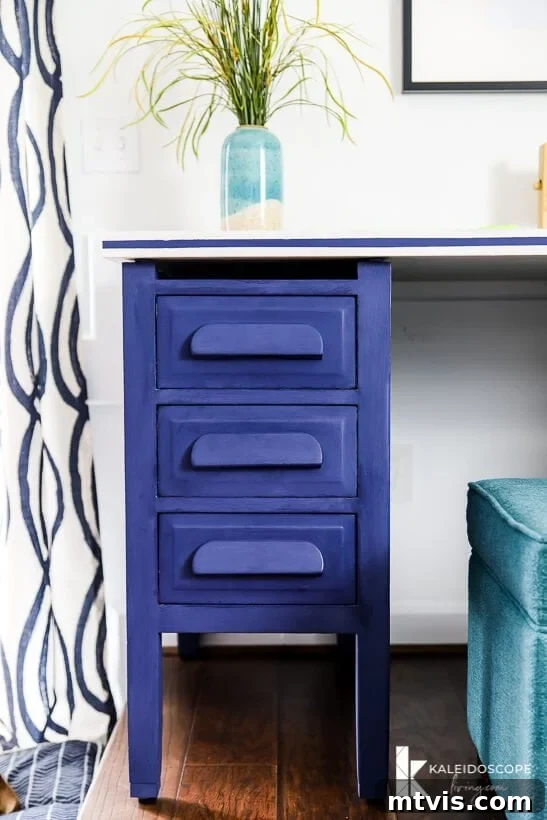
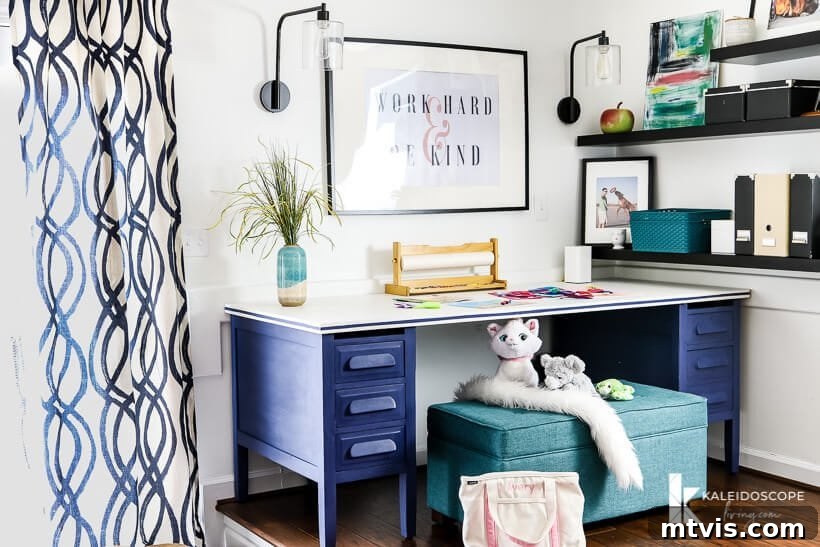
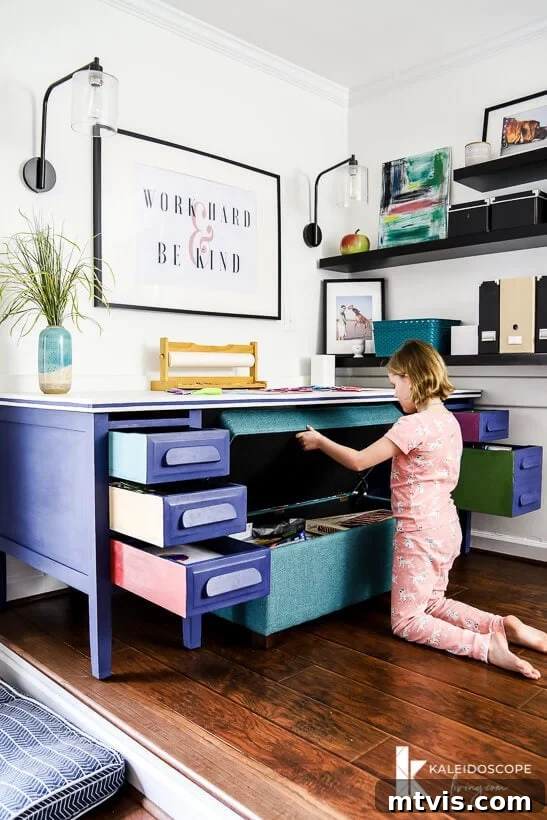
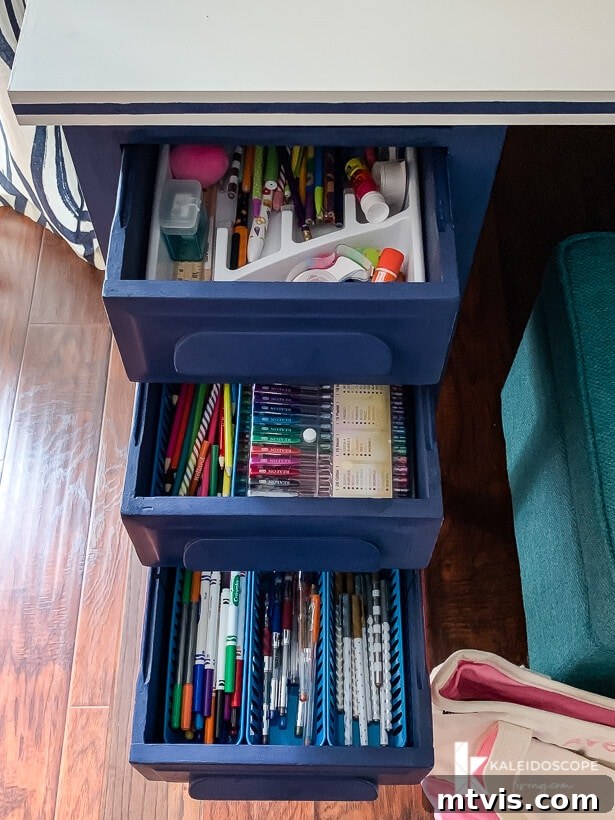
These revitalized drawer bases have become the perfect addition to our girls’ art table. Previously, we had a simple tabletop with pipe legs and open storage, which inevitably led to markers, colored pencils, and crayons being strewn about. These new drawers are absolutely fantastic for organization! I even found some incredibly cheap interior organizers at The Dollar Store that fit perfectly, keeping all the art supplies neat and easily accessible.
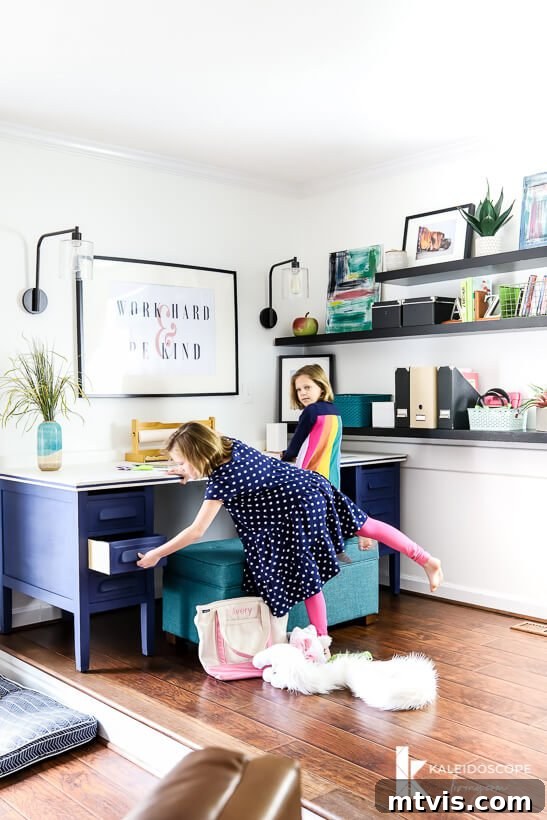
We just finished installing everything this past weekend, and our girls are already putting their new, organized art station to excellent use, inspiring hours of creative play!
I genuinely hope this step-by-step guide has provided you with all the knowledge and confidence you need to successfully paint furniture from start to finish. By committing to proper preparation and utilizing high-quality products like BEHR® Chalk Decorative Paint and Wax Decorative Finish, you can achieve a nearly fail-proof, incredibly durable painted finish that will bring joy for years to come.
Now, don’t forget to head over to my Instagram profile! Find the photo of this very project and seize your chance to win a $100 The Home Depot® eGift card! That’s more than enough to purchase your own cordless sander and plenty of BEHR® Chalk Decorative Paint for your next inspiring furniture transformation!