
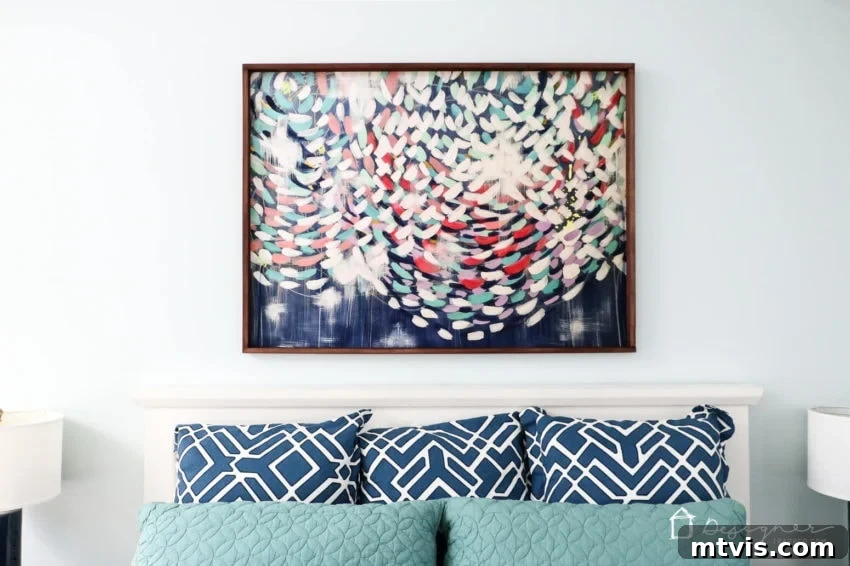
Unlock the secret to beautifully displaying your cherished large prints without breaking the bank! This comprehensive DIY tutorial will guide you through creating stunning, custom picture frames that look professionally made but are incredibly easy and affordable to construct right at home. Say goodbye to expensive custom framing costs and hello to personalized wall art that perfectly complements your space.
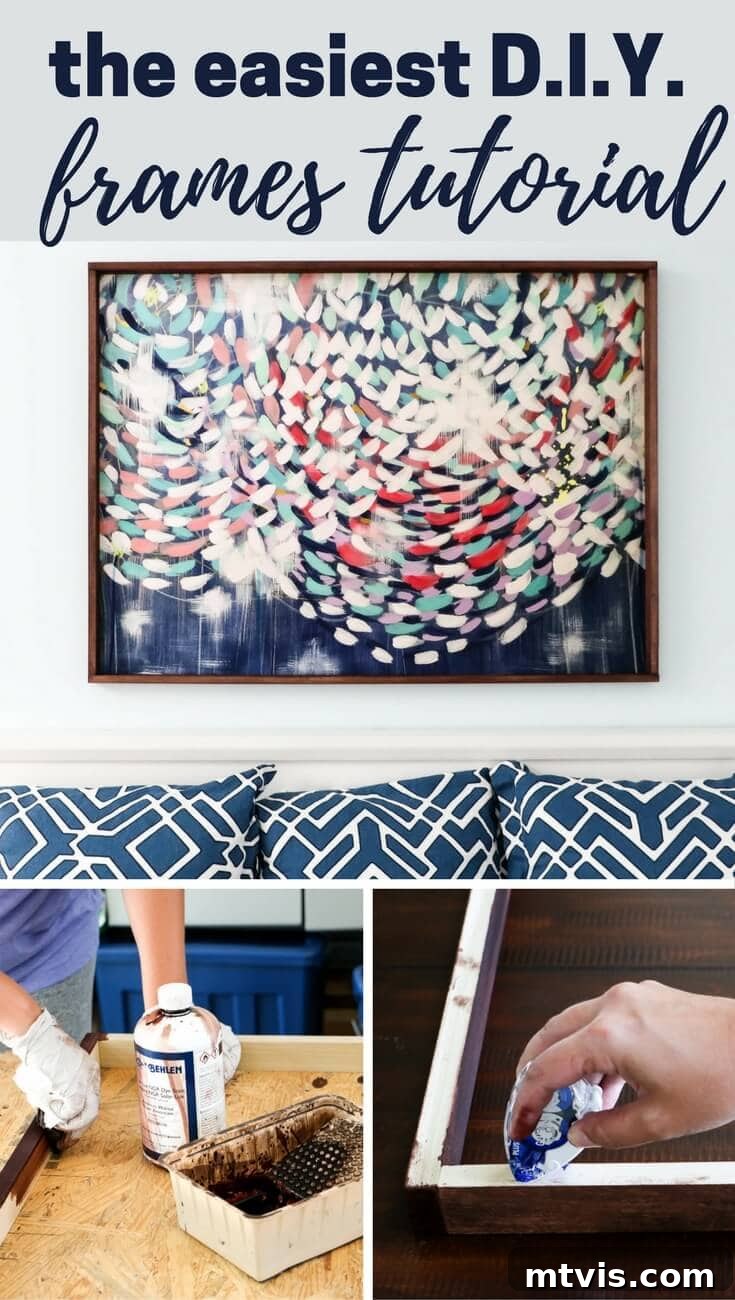
This post is sponsored by Mohawk Consumer Products.
Hello, fellow home decorators! You might recall my excitement over adding vibrant, personality-rich artwork to our master bedroom, transforming what had been blank walls for nearly four years into a space filled with color and warmth. We absolutely adore the dramatic difference these large prints have made. However, here’s a common dilemma: the cost of the prints themselves often consumes the entire decor budget, leaving little to nothing for custom framing. And as we all know, bespoke frames can be extraordinarily expensive.
That’s exactly why we decided to craft our own DIY picture frames using readily available and inexpensive materials. We’ve tackled several easy DIY framing projects in the past, but I can confidently say that these frames are not only the simplest we’ve ever made but also my absolute favorite! The process is straightforward, yielding professional-looking results that beautifully showcase your artwork. If you’re searching for an incredibly easy and budget-friendly way to frame large prints, you’ve come to the right place. Read on to discover how to create your own DIY frames with this effortless tutorial.
This post contains some affiliate links for your convenience (which means if you make a purchase after clicking a link I will earn a small commission which helps keep my blog up and running but it won’t cost you a penny more)! Click here to read my full disclosure policy.
Before we dive into the step-by-step guide, for those wondering about the beautiful artwork featured in this post, you can find direct links to all the framed prints below. Choosing the right art is the first step, and framing it perfectly is the next!
DIY Frames for Large Prints Tutorial: Crafting Your Custom Art Display
Creating your own custom frames for large art prints doesn’t require advanced carpentry skills or expensive tools. This tutorial is designed to be accessible for beginners while delivering impressive, high-quality results. We’ll walk you through each step, ensuring you have all the information needed to successfully frame your favorite pieces. Let’s gather our materials and get started on this rewarding DIY project!
Materials Needed for Your DIY Picture Frames:
- 1×2 Pine Boards: The total quantity and length will vary based on the dimensions of your prints. We used a total of 11 boards, ranging from 7 to 9 feet in length, for multiple frames. Pine is an excellent choice for its affordability and ease of workability.
- Behlen Solar Lux Dye Stain (Color: American Walnut): This rich dye stain provides deep, vibrant color with just one coat, perfect for a quick and impactful finish.
- Compound Miter Saw: Essential for precise, angled cuts. If you don’t own one, many hardware stores offer cutting services, or you can use a hand saw with a miter box for smaller projects.
- Sawtooth Hangers: Simple and effective hardware for securely hanging your finished frames.
- Paper Towels or Lint-Free Cloths: For applying stain evenly and wiping off excess.
- Latex Gloves: To protect your hands during the staining process.
- Glue Tape: (This specific model is highly recommended for strong adhesion): An ideal method for attaching large prints securely to the frame without damaging the art.
- Sandpaper (fine-grit): For smoothing rough edges and preparing the wood for staining.
- Staple Gun or Brad Nailer: (We absolutely love this brad nailer for its performance): For firmly joining the frame pieces. A hammer and nails can also work.
- 90-Degree Clamps: Crucial for holding frame corners perfectly square during assembly, ensuring a professional look.
Step 1: Precision Cutting Your Wood Boards for Perfect Frame Dimensions
The initial and most critical step in crafting your DIY picture frames is accurately cutting your wood to size. Precision here ensures a perfectly square and professional-looking frame. For efficiency, especially when framing multiple prints of the same size, we recommend stacking several boards together, clamping them securely, and cutting them simultaneously. This technique guarantees identical lengths for corresponding frame pieces and significantly speeds up the process.
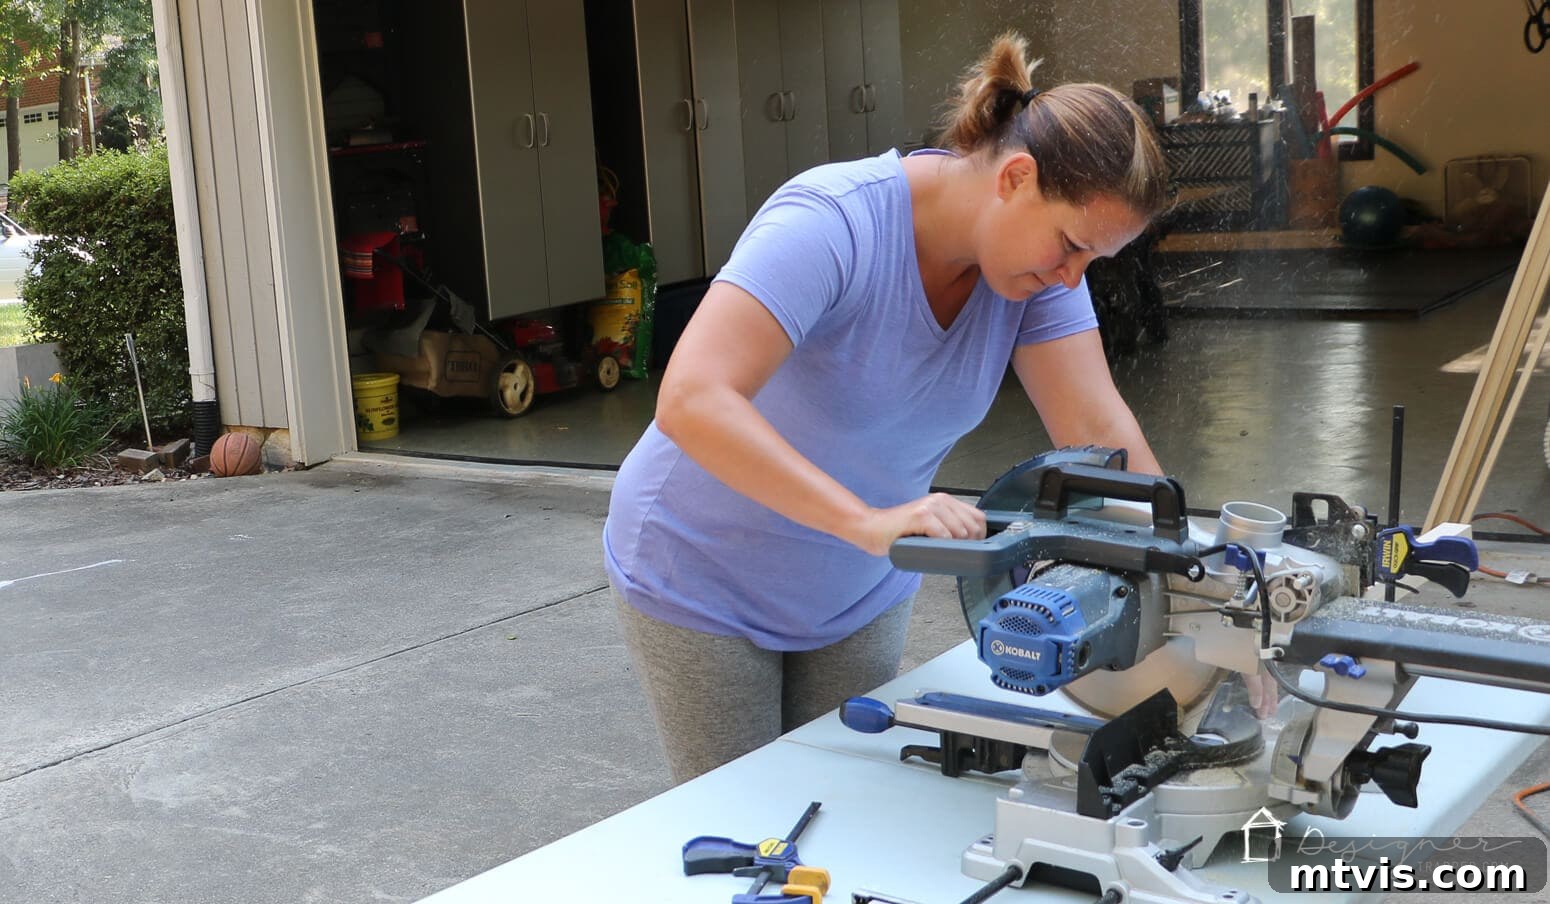
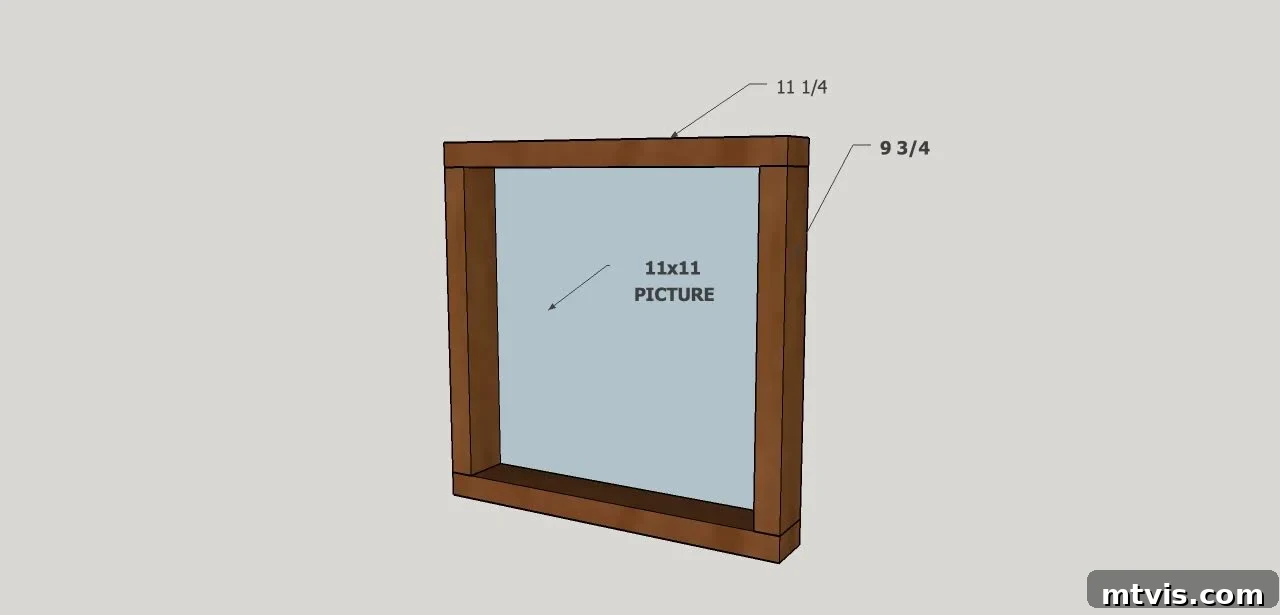
Each frame requires four individual boards: two horizontal pieces and two vertical pieces. It’s important to understand the design: the horizontal pieces will subtly overhang the vertical pieces, creating a clean, professional edge. To achieve the perfect fit and provide sufficient surface area for attaching your prints, follow this simple formula:
- Horizontal Pieces: Cut each horizontal board to be exactly 1/4 inch longer than the width of your print. This slight extension provides a finished edge and a minimal border effect.
- Vertical Pieces: These pieces need to be cut shorter to accommodate the overhang of the horizontal pieces. Cut each vertical board to be precisely 1 1/4 inches shorter than the height of your print.
While this might sound a little intricate initially, it’s quite straightforward once you apply the formula. For example, if you’re framing an 11 x 11-inch print, your horizontal pieces would be 11 1/4 inches long, and your vertical pieces would be 9 3/4 inches long. This precise measurement ensures that the total outer dimension of the frame allows your art to sit perfectly within the inner recess. This exact “formula” is universally applicable, regardless of your print’s size, making it a reliable guide for all your DIY framing projects.
Step 2: Smooth Things Over with Sanding
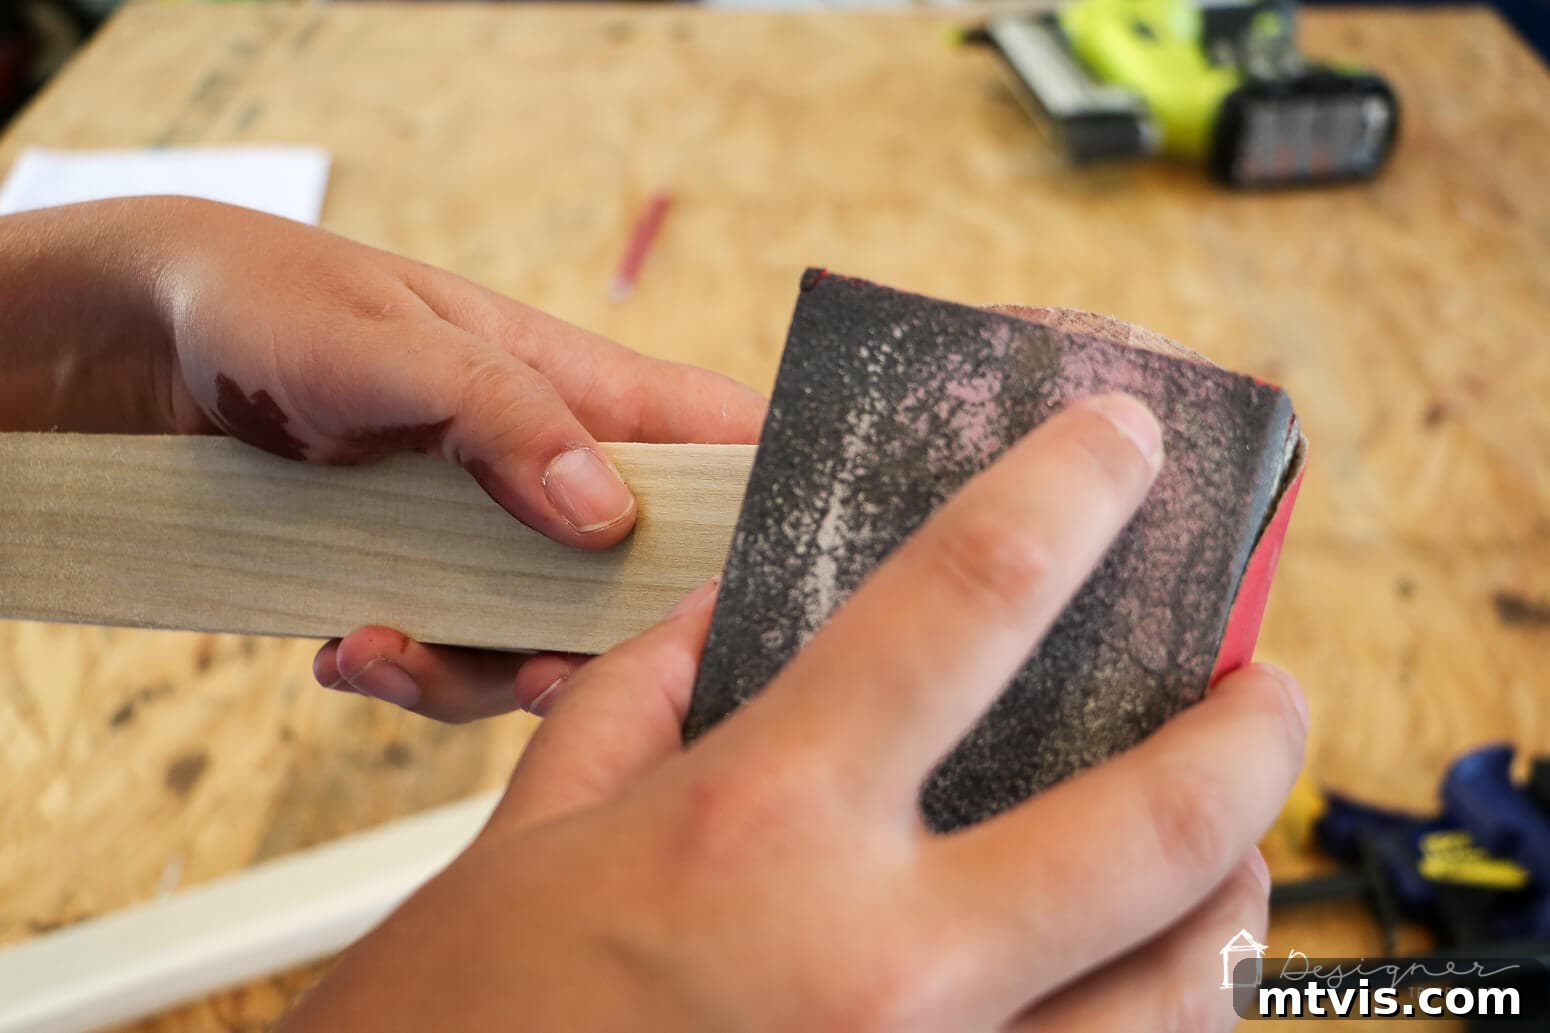
After your wood pieces are cut to the exact dimensions, the next step is to prepare them for a flawless finish. Lightly sand any rough edges or splintered areas that were created by the saw. This is a quick but essential step, as smooth edges not only make the frame safer to handle but also ensure that the stain or paint adheres evenly, preventing any blotchy or uneven spots. Use a fine-grit sandpaper for best results, running it along all cut edges and surfaces until they are smooth to the touch. A quick pass is usually all that’s needed to achieve a professional look and feel.
Step 3: Assembling Your Frame with Precision Joints
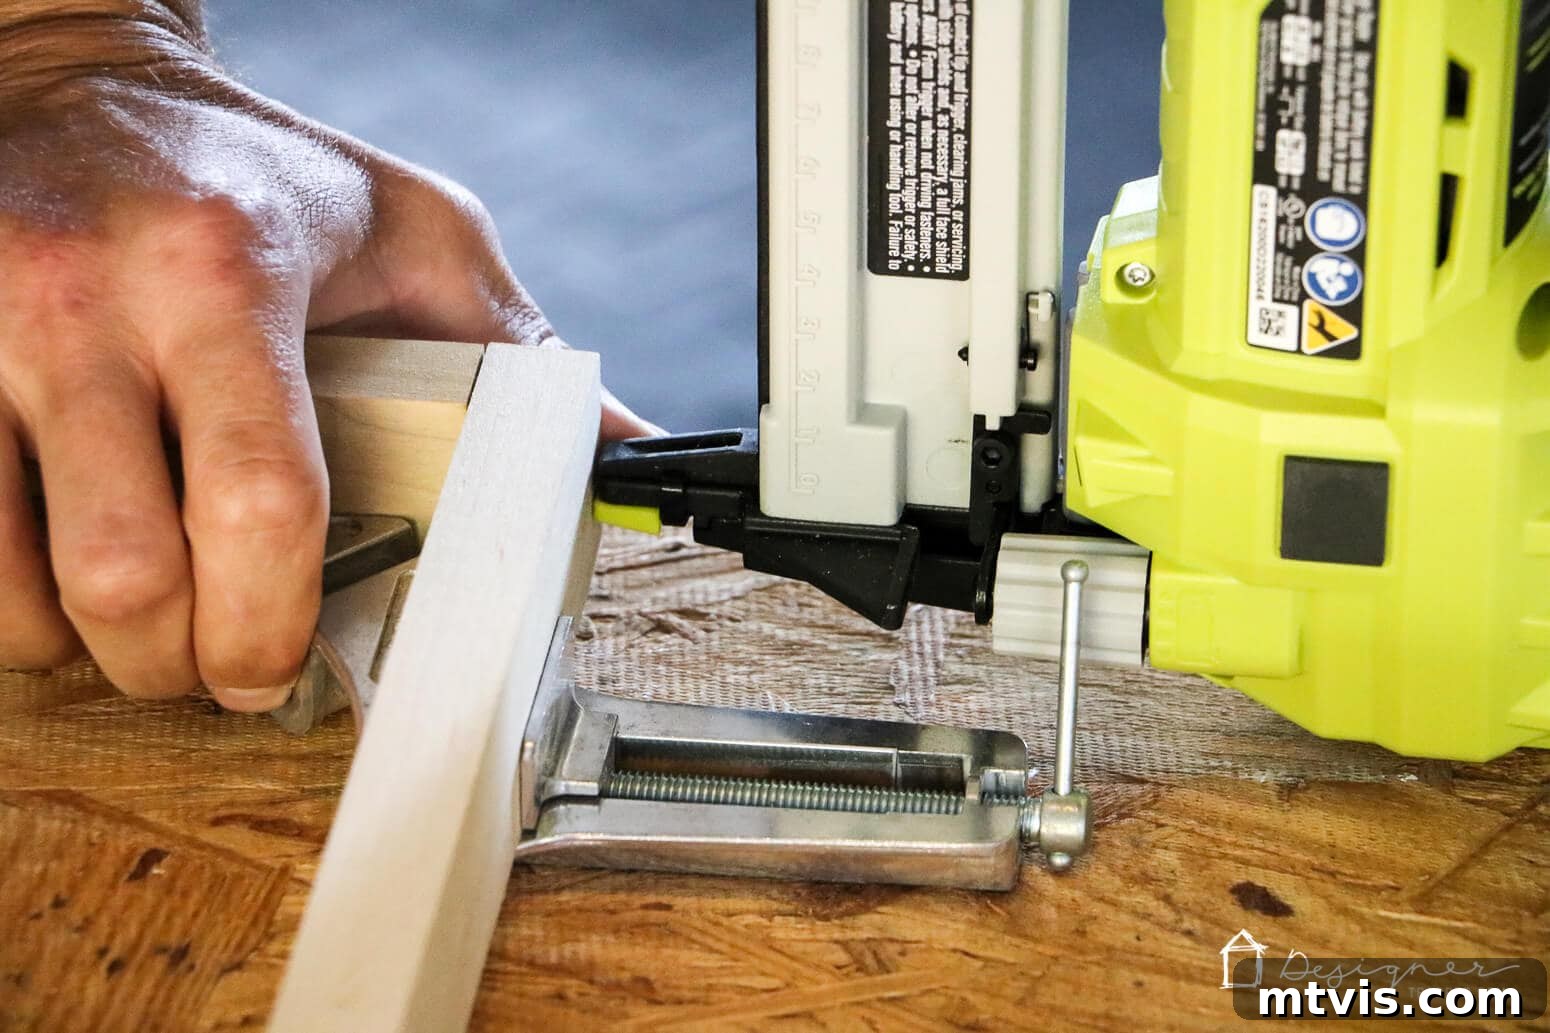
With your wood pieces cut and sanded, it’s time to bring your DIY frame to life by assembling the corners. This step is where those 90-degree clamps become indispensable. Position two adjoining pieces of wood to form a corner, ensuring they are perfectly flush and at a true right angle. Secure them tightly with your 90-degree clamps; these tools are fantastic for holding everything square and stable while you work. Once the clamps are in place and the joint is tight, use your staple gun or brad nailer to permanently attach the boards to each other. Fire a couple of staples or brads into each joint to create a strong, lasting connection. If you don’t have these power tools, a hammer and nails can also get the job done, just be sure to pre-drill pilot holes to prevent splitting, especially with thinner pine. Repeat this process for all four corners until your frame is a rigid, cohesive structure.
Step 4: Staining Your Frame for a Rich, Custom Finish
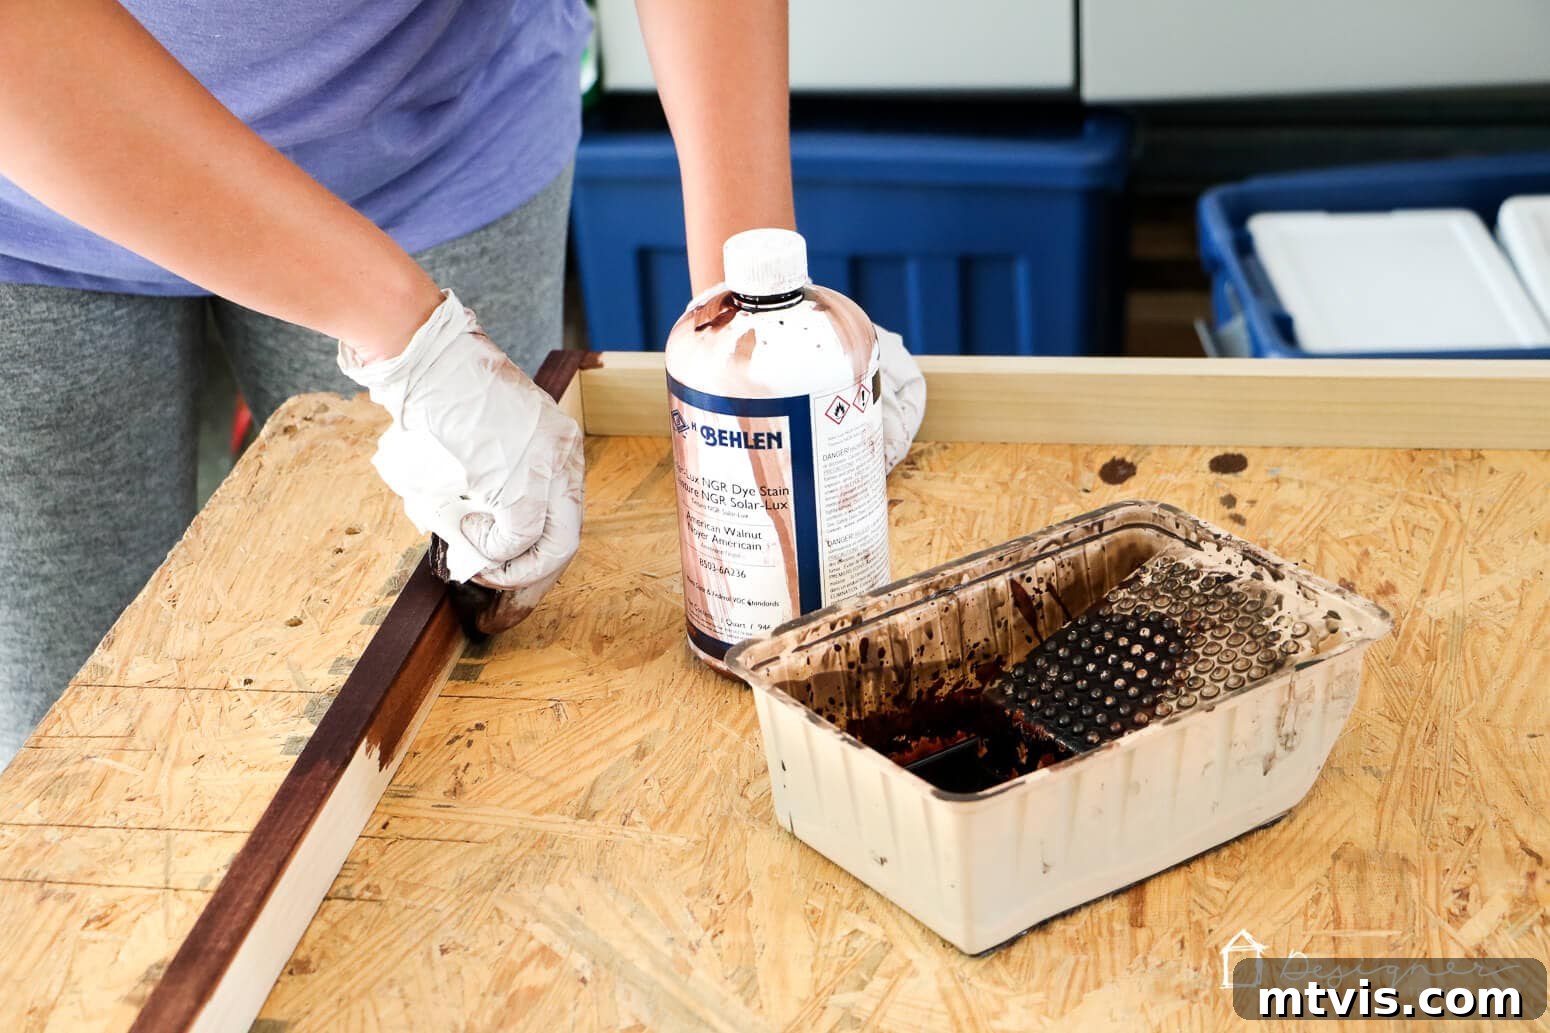
Once your DIY frames are fully assembled and the joints are secure, it’s time to add character and depth with a beautiful stain. We opted for the Behlen Solar Lux Dye Stain in the classic American Walnut color. This particular dye stain is fantastic because of its rich pigmentation, which often means you only need one coat to achieve a deep, even color. Before you begin, lay down a protective covering (like newspaper or a drop cloth) in a well-ventilated area, and don’t forget to put on your latex gloves to protect your hands. Apply the stain generously with a clean paper towel or a foam brush, working in the direction of the wood grain. Wipe off any excess stain immediately to prevent pooling and ensure an even finish. Allow the stain to dry completely according to the manufacturer’s instructions, which typically takes a few hours. The result will be a beautifully finished frame that looks incredibly sophisticated and complements your artwork perfectly.
Step 5: Preparing Your Frame for Artwork with Glue Tape
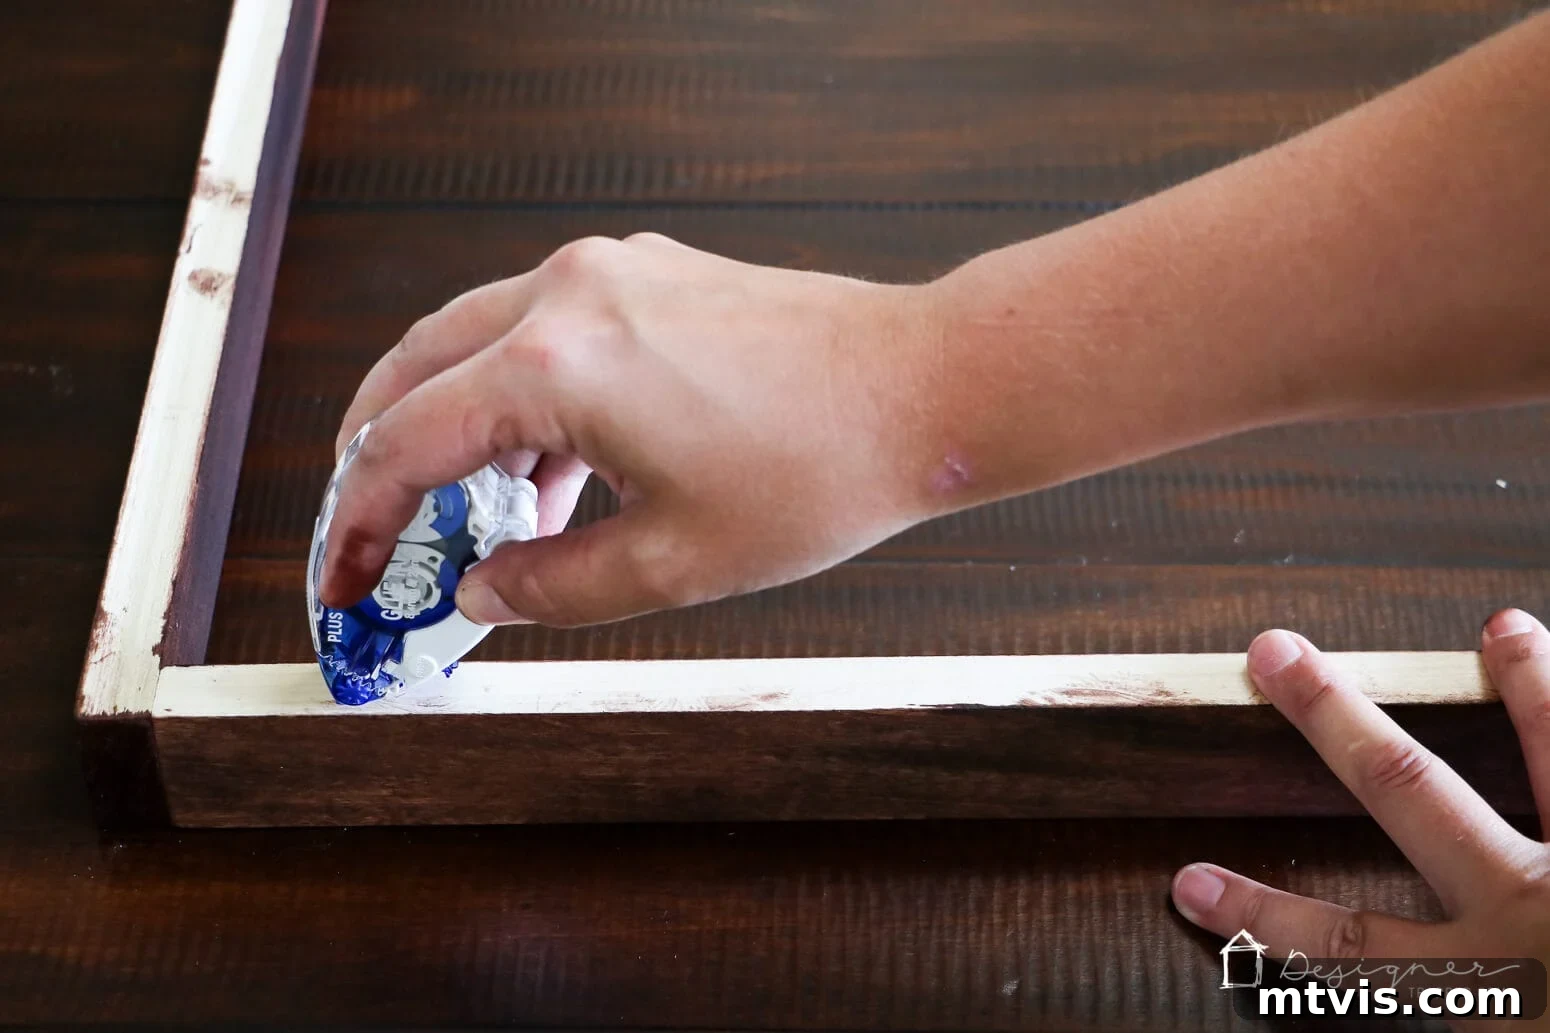
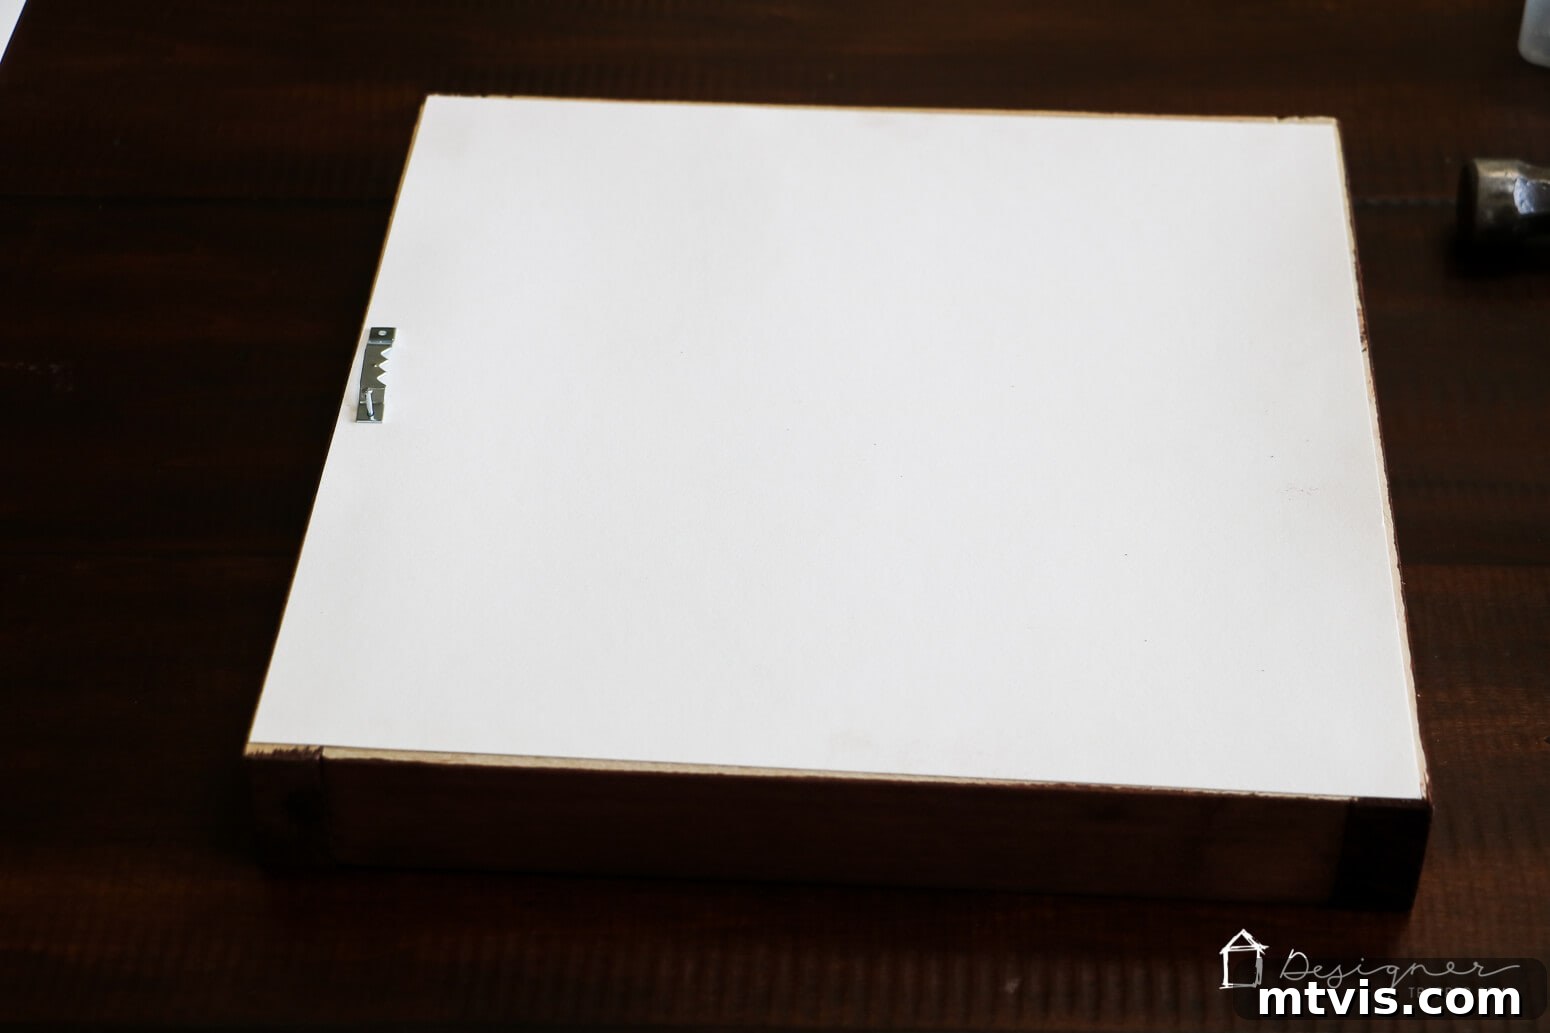
After your stain has completely dried, your DIY frame is ready for its artwork. It’s important to note that this specific method for attaching prints is ideal for posters, reproduction paper prints, or any non-irreplaceable and non-super-expensive pieces. For valuable originals, you might consider alternative archival framing techniques. However, for most large prints, this glue tape method is wonderfully effective, clean, and non-damaging to the print itself. To begin, flip your stained frame over so the back side is facing up. Take your glue tape runner and apply a continuous line of adhesive along each inner edge of the frame. Ensure the tape is applied smoothly and evenly, creating a solid perimeter of adhesion. This will provide a strong and secure bond for your large print.
Step 6: Carefully Attaching Your Large Print to the Frame
This step requires a bit of care, especially with large prints. Once the glue tape is applied to the back of your frame, it’s time to position your artwork. For very large prints, I cannot emphasize enough how beneficial it is to have a second set of hands. Joe and I had to teamwork this step for our biggest pieces, and it made all the difference. Carefully lay your print face down, aligning its edges with the glued perimeter on the back of the frame. Start by gently lowering one edge, ensuring it’s straight, then slowly ease the rest of the print onto the tape. Don’t panic if your alignment isn’t perfect on the first attempt! The beauty of this specific glue tape is that it allows for slight repositioning as long as you haven’t pressed down firmly yet. Once you’re satisfied with the placement, gently but firmly press along the edges of the print to secure it to the glue tape. This ensures a strong, lasting bond, giving your artwork a clean, borderless presentation within the frame.
Step 7: Adding Hanging Hardware and Displaying Your Masterpiece
With your print securely attached to your beautifully crafted DIY frame, the final step is to add the hanging hardware and display your new masterpiece! We recommend using sawtooth hangers for their ease of installation and reliability. Simply position a sawtooth hanger at the top center of the back of your frame. Mark the screw holes with a pencil, then use a small hammer or a screwdriver to gently attach the hanger, ensuring it is level and secure. Once the hanger is firmly in place, your custom-made frame is ready to adorn your walls. Step back and admire your handiwork – you’ve just created a stunning, affordable, and personalized piece of art display!
And there you have it – unbelievably easy, incredibly satisfying, and the results are simply stunning! Our DIY frames turned out absolutely beautifully, adding so much character and a high-end look to our home without the high-end price tag. Take a look at how these homemade frames transformed our spaces. You won’t believe how professional they appear!
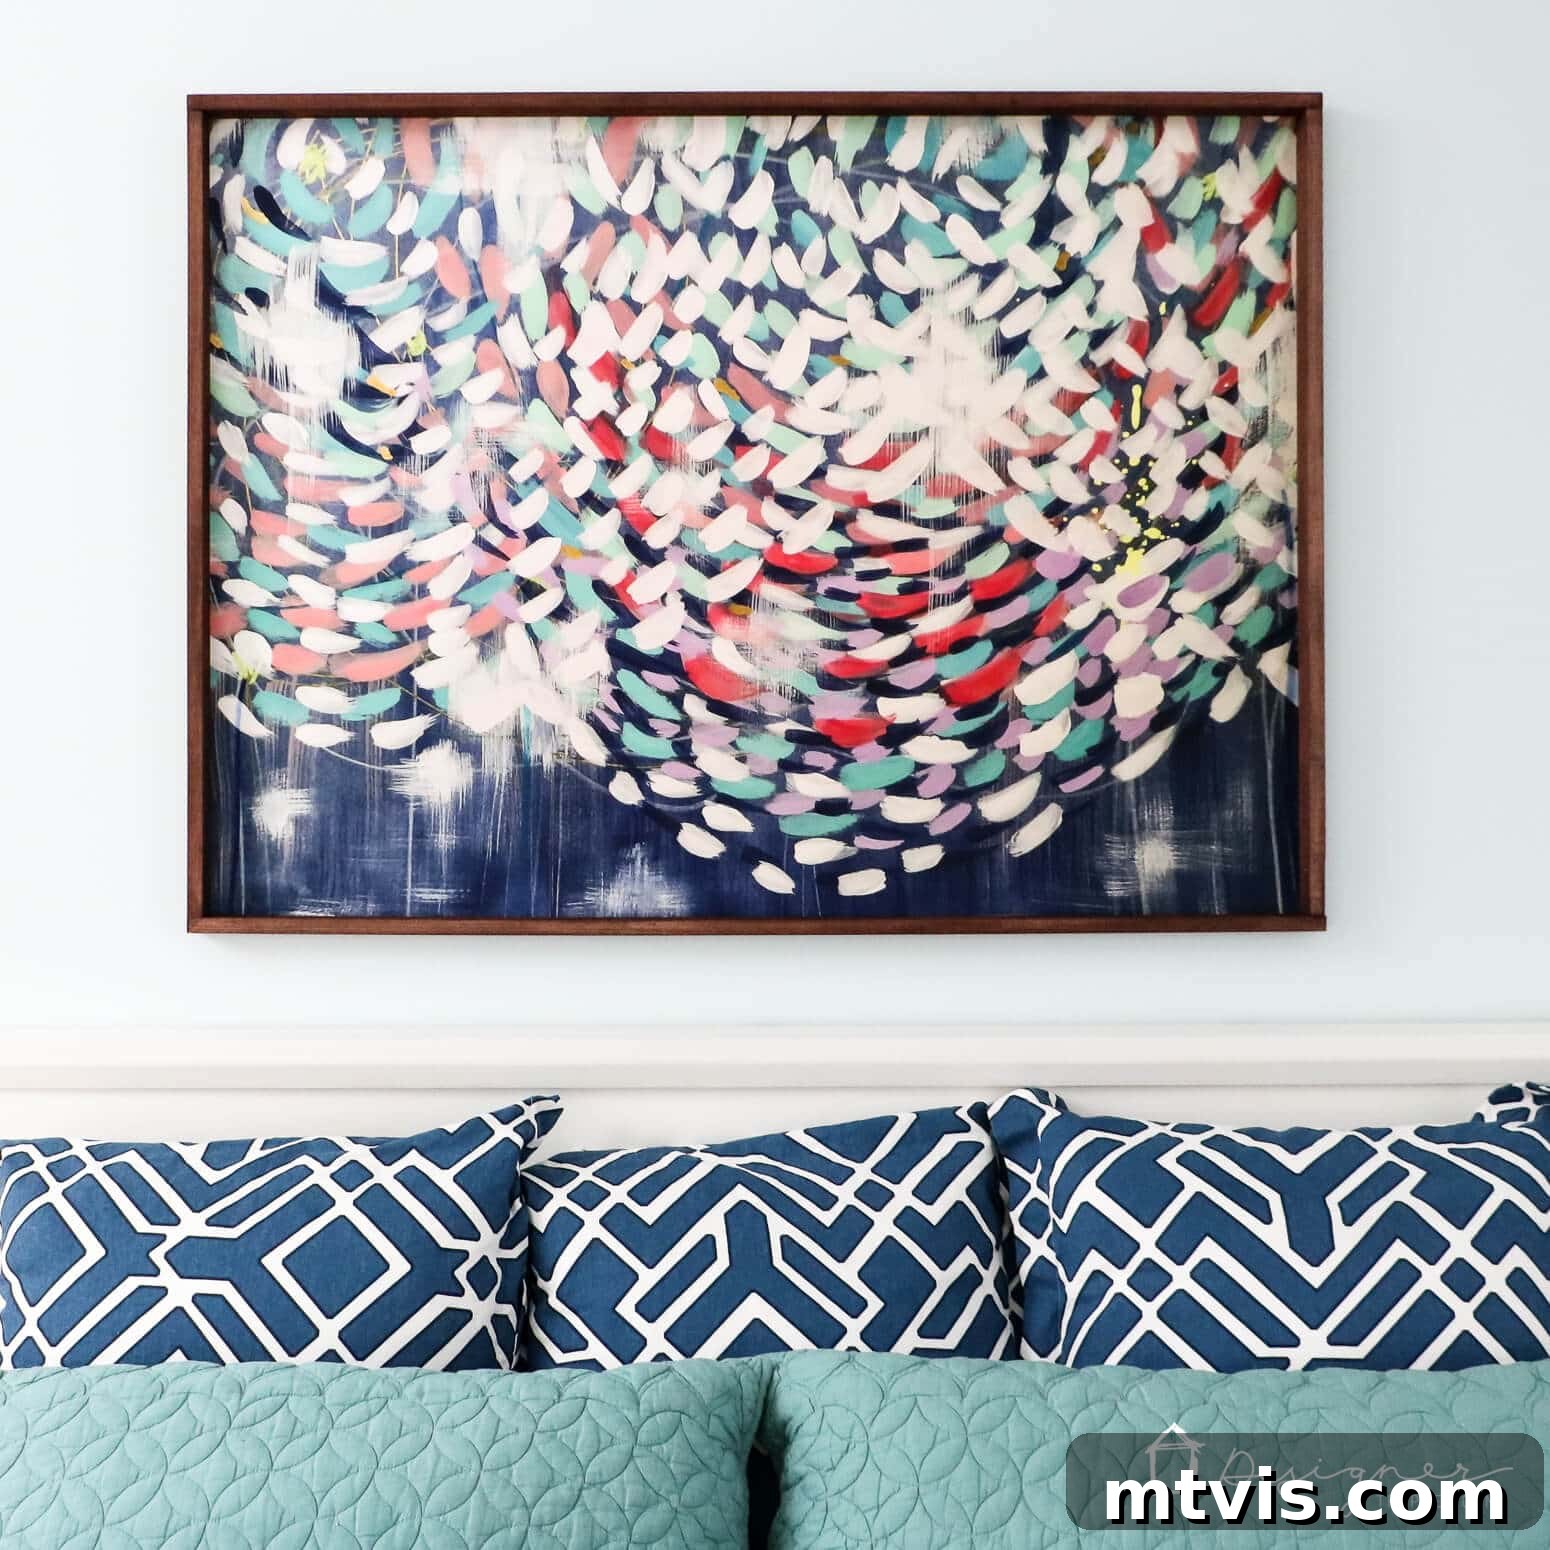
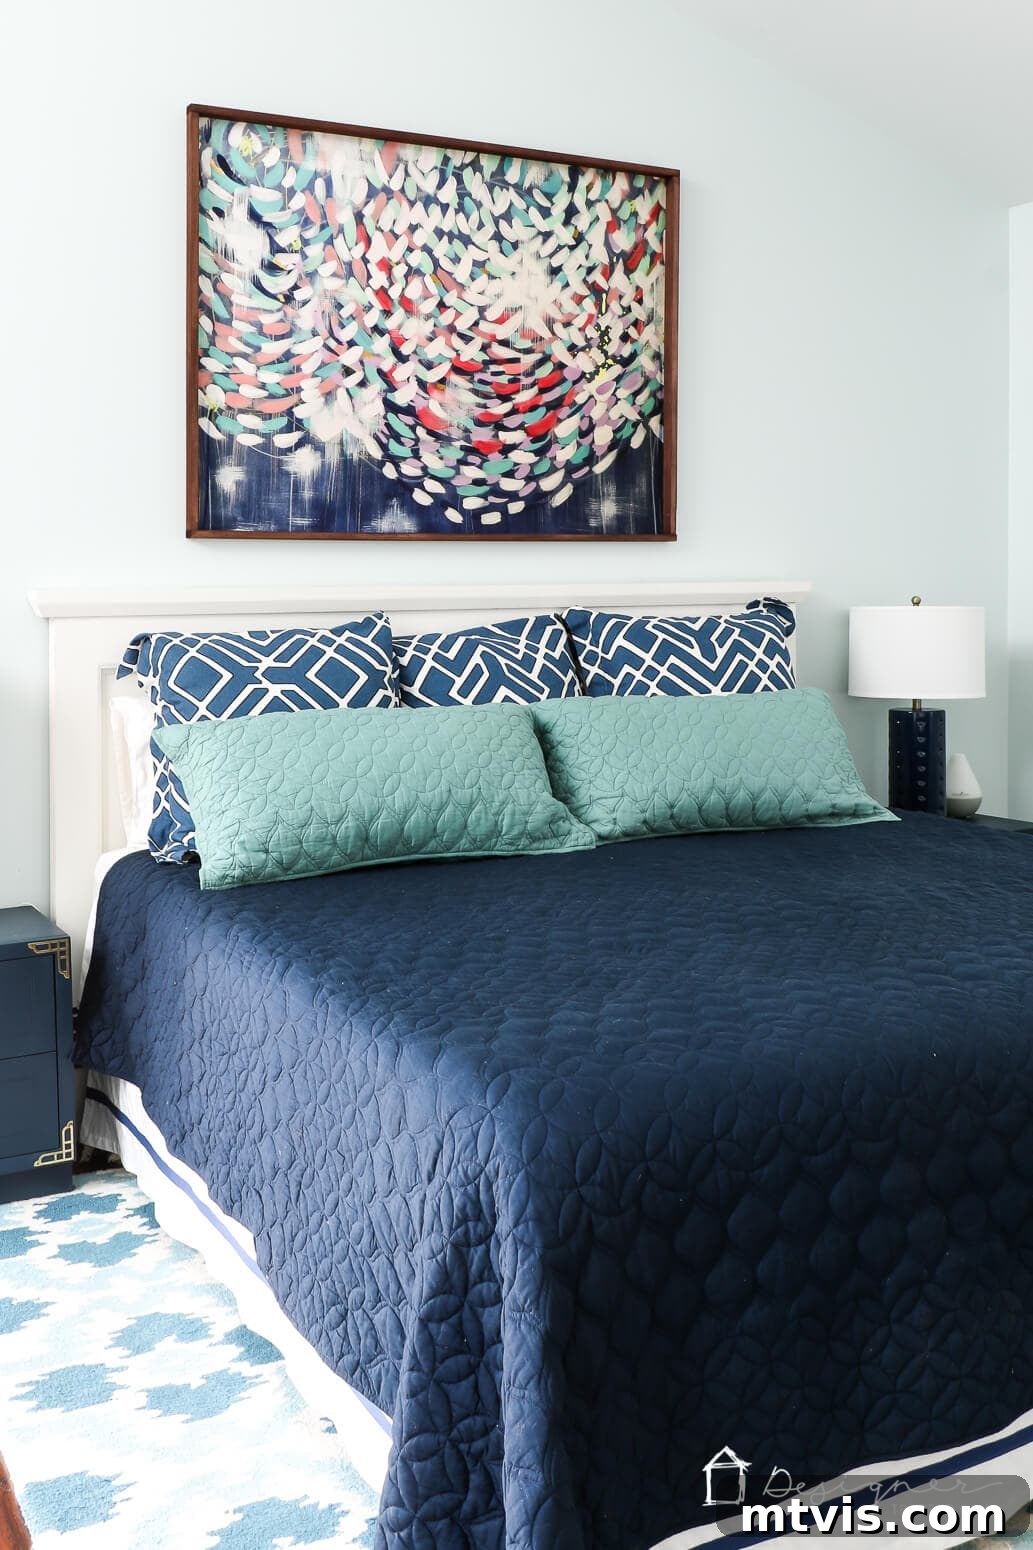
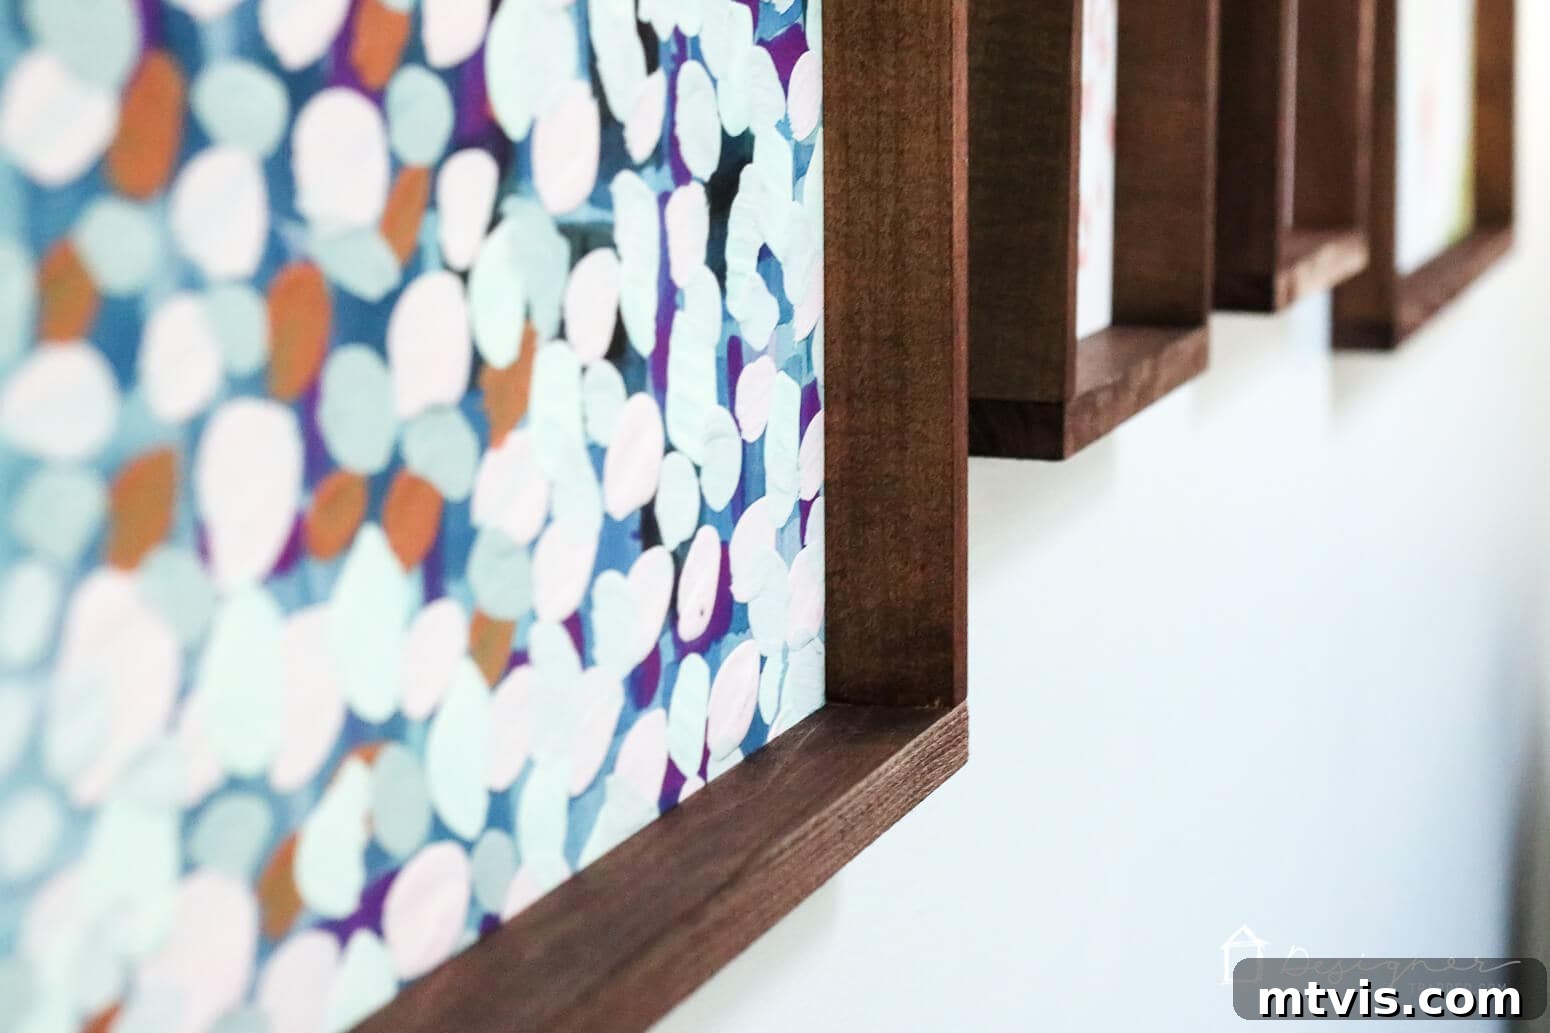
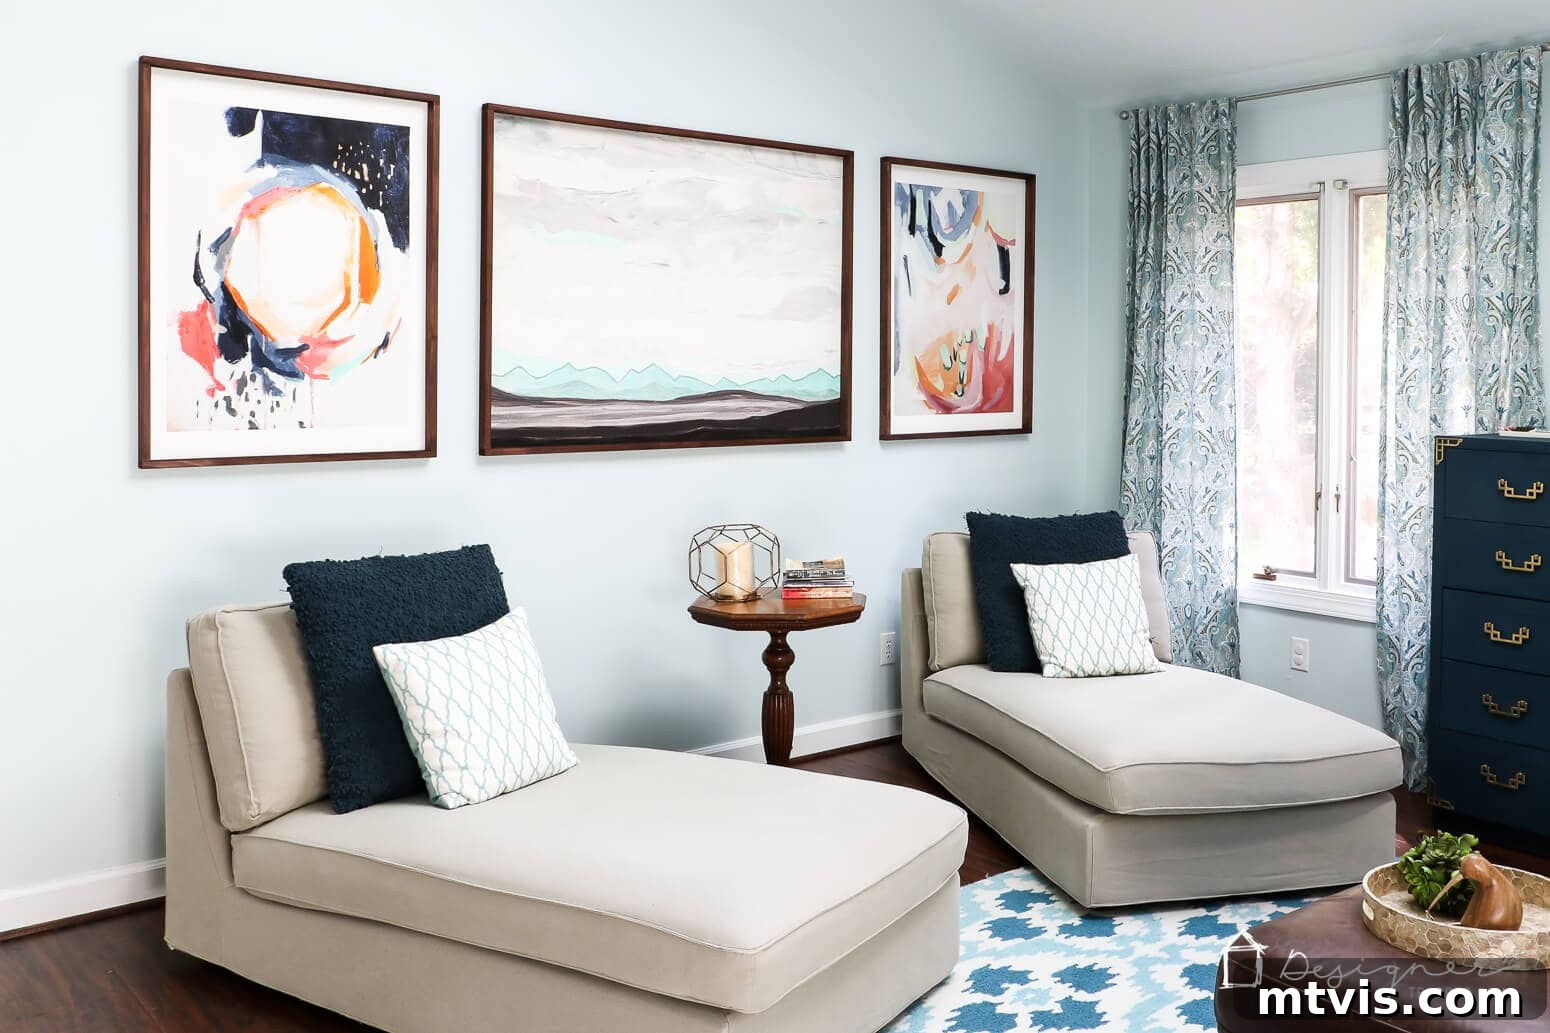
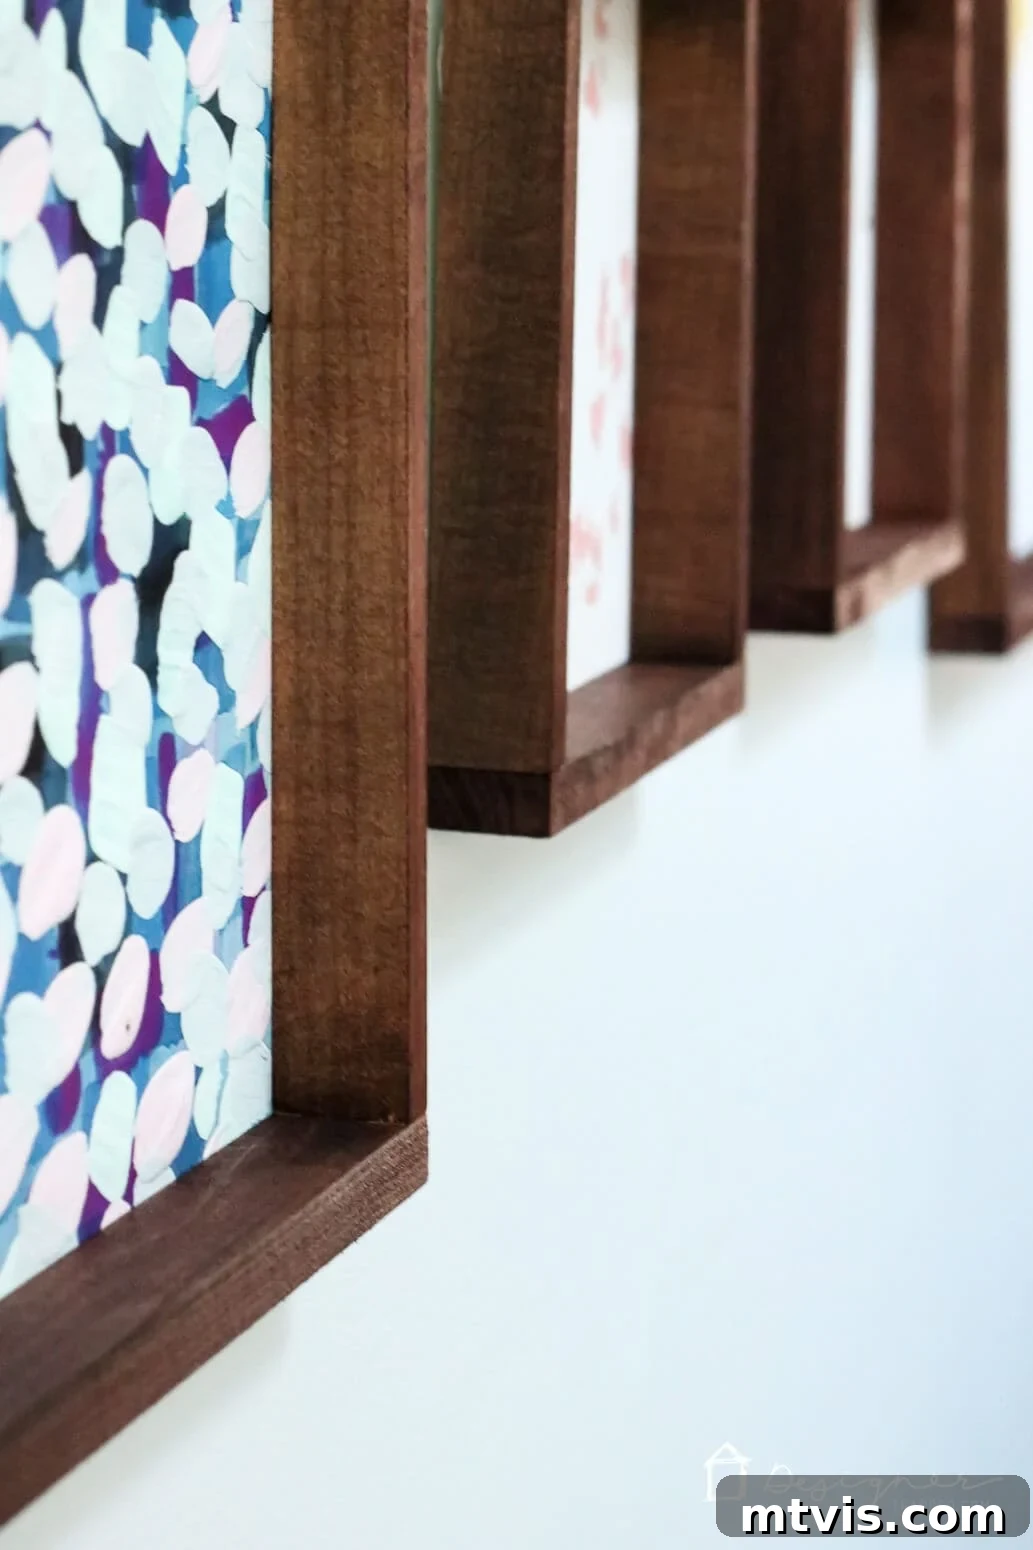
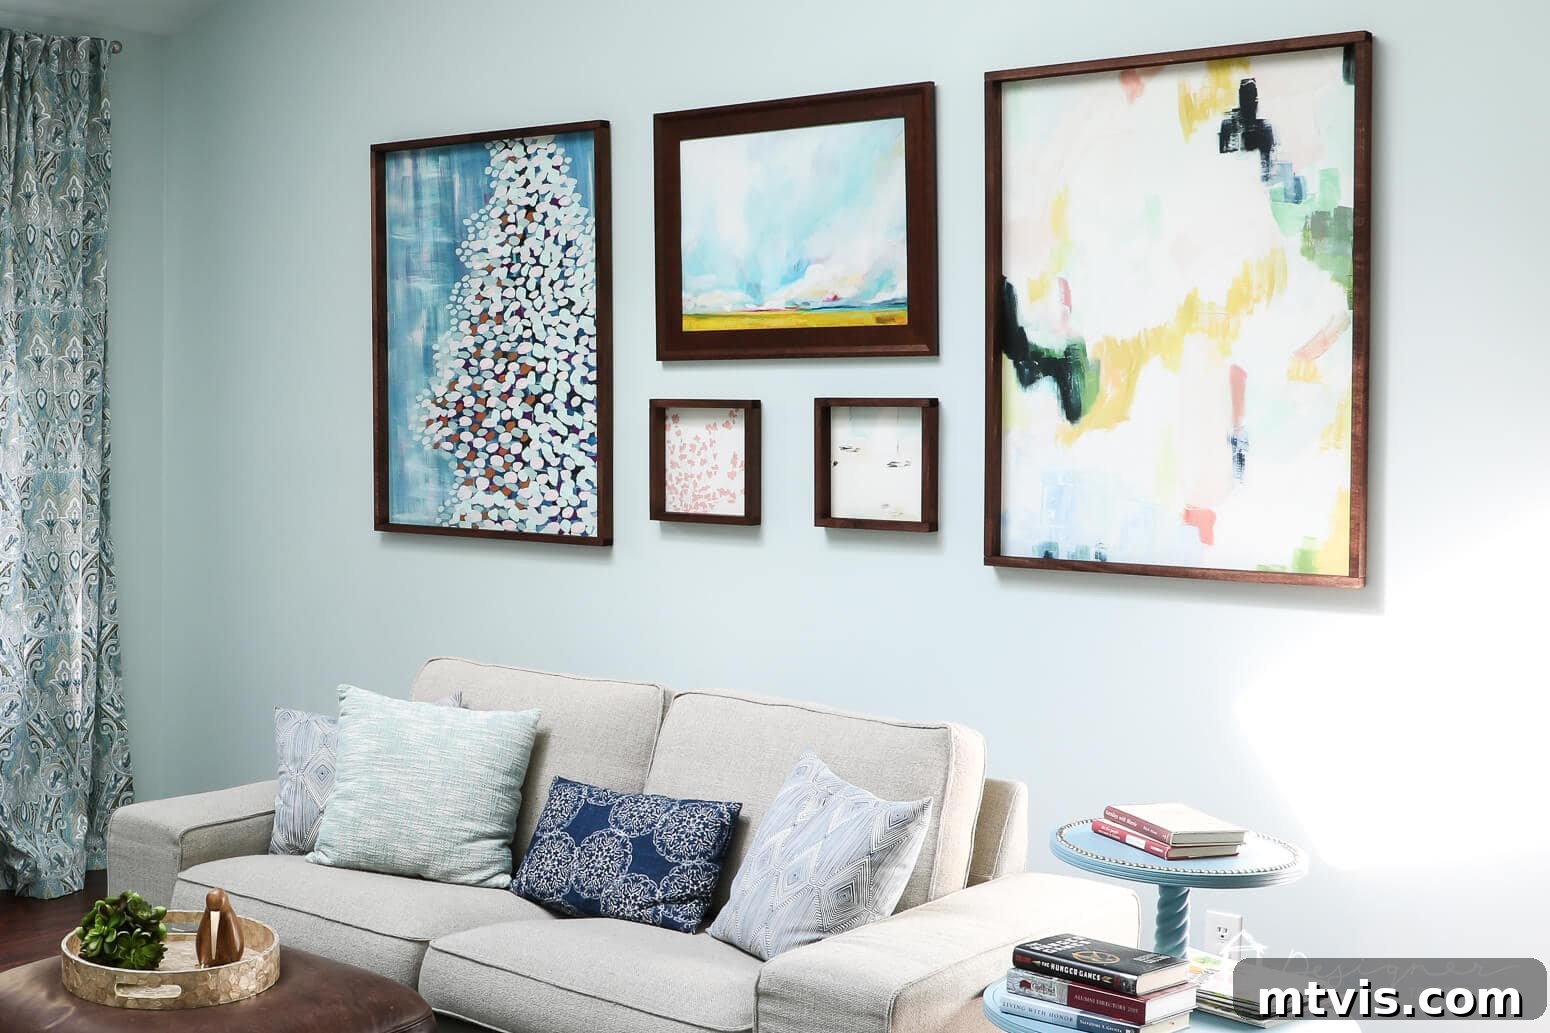
If you’re as thrilled as we are with the idea of creating your own custom, budget-friendly picture frames, be sure to save this tutorial to Pinterest or share it on Facebook. This way, you’ll easily find it when you’re ready to embark on your own DIY framing adventure! Crafting your own frames is not just about saving money; it’s about the satisfaction of personalizing your home decor and bringing your unique style to life.
And for those seeking amazing and genuinely super affordable large prints to fill your new frames, don’t forget to explore our printable art shop. We offer a wide selection of stunning designs that are perfect for this framing method. Here’s a peek at some of our most popular prints that have transformed countless homes, just like ours!

Transforming your home with beautiful, framed art has never been easier or more accessible. Enjoy the process, and we can’t wait to see your incredible DIY frames!