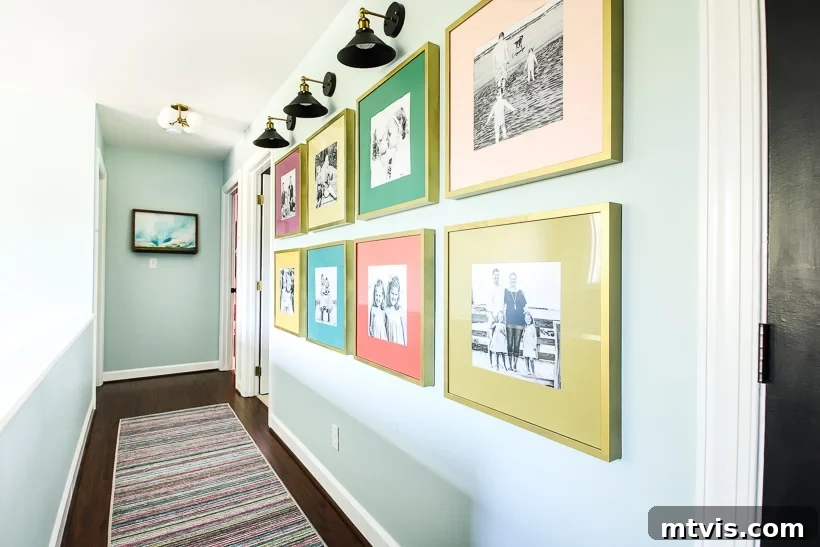
Transform Your Walls: How to Create a Vibrant and Personalized Photo Gallery Wall with Color
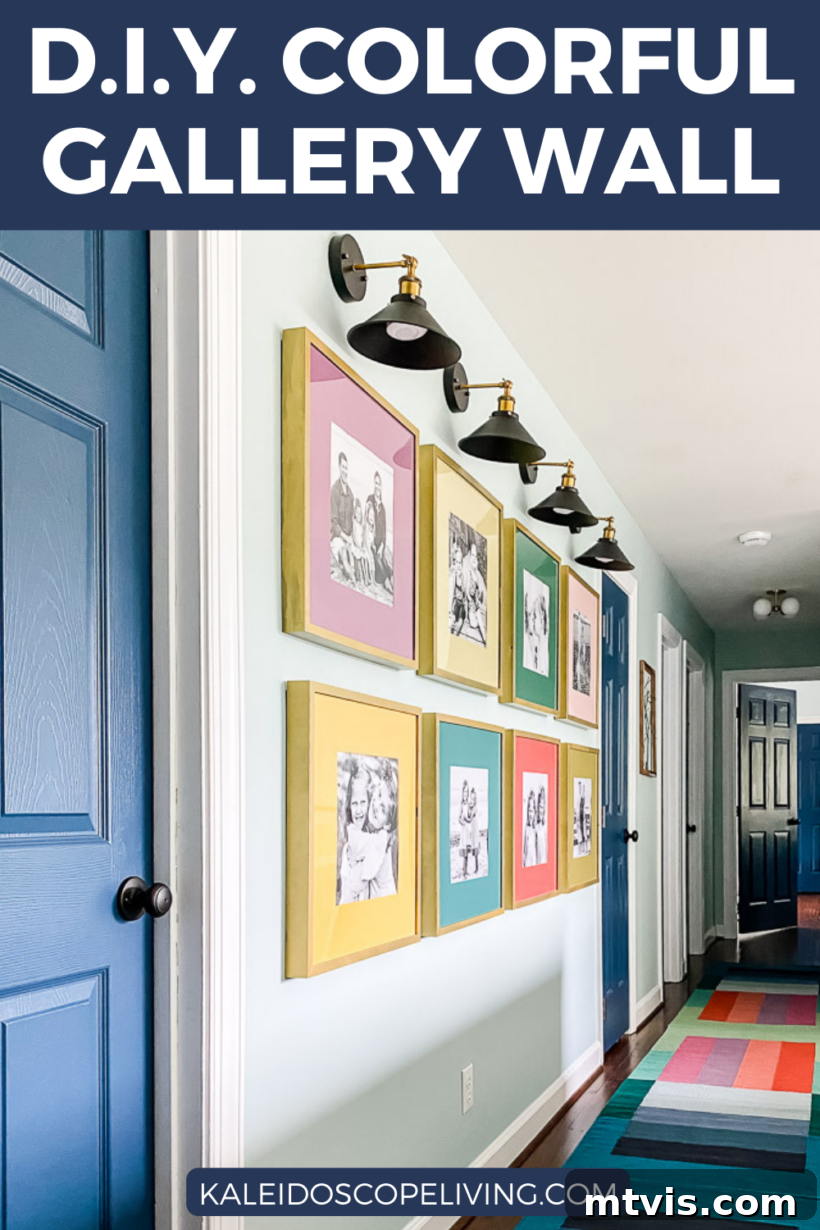
While a photo gallery wall is an undeniably classic and beautiful way to display cherished family memories, it’s also true that many can often look strikingly similar. If you’re yearning for a display that truly stands out, reflecting your unique style and infusing your home with dynamic energy, then you’ve come to the right place! We embarked on a journey to elevate our photo gallery wall, taking it from conventional to captivating by drenching it in personality and a spectrum of vibrant colors. The result is a hallway that not only tells our family story but also radiates warmth and artistic flair. In this detailed guide, I’ll share every step of our process, ensuring you have all the tools and inspiration to create your own show-stopping, colorful photo gallery wall!
For those who have been following my design adventures, my passion for gallery walls is no secret. They are a fantastic way to add character and visual interest to any space. Our latest creation, a colorful photo gallery wall installed in our upstairs hallway, has truly captured the imagination of so many of you. The overwhelming positive response on Instagram was truly unexpected and deeply appreciated – thank you! I know many of you have been patiently waiting for the step-by-step tutorial, eager to recreate this vibrant look in your own homes. Well, the wait is over, friends! Today, I am thrilled to finally share all the details.
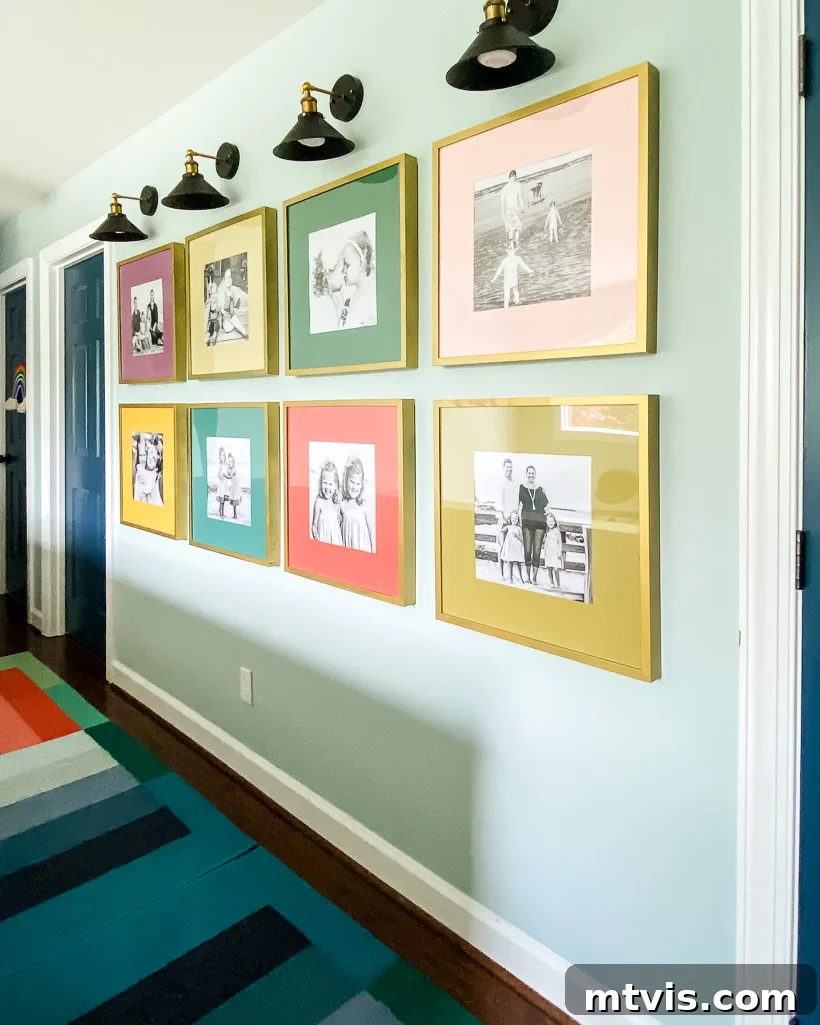
Our upstairs hallway had remained largely untouched for over six years, making it ripe for a refreshing update. The recent hallway makeover brought a dramatic transformation, with the most impactful element undoubtedly being the addition of this stunningly colorful gallery wall. What makes it even more special is the subtle, yet effective, illumination provided by strategically placed sconces. Since unveiling this project, my inbox has been flooded with questions: “What paint colors did you use?” “Which frames are those?” “How did you manage to hang them so perfectly?”
Rest assured, every single one of those questions is answered in a comprehensive video tutorial I’ve created just for you! This video dives deep into the entire process of building this colorful DIY photo gallery wall, offering visual guidance for every step. I’m excited to be focusing more on video content and growing my YouTube channel, so be sure to check it out!
However, if you, like many, prefer to learn through reading and still images, don’t worry! The complete, detailed tutorial is also written out for you below, complete with photos to guide you through each stage of this exciting DIY project.
This post contains some affiliate links for your convenience. Click here to read my full disclosure policy.
How to Create a Colorful Photo Gallery Wall That Pops
Creating a gallery wall that bursts with color and personal charm is simpler than you might think. It’s all about a thoughtful selection of materials and a few clever DIY techniques. Follow these steps to bring your vision to life.
Materials Needed for Your Vibrant Gallery Wall:
- Command picture hanging strips: Essential for damage-free hanging, allowing for easy adjustments and removal.
- IKEA 19-inch square frames: We opted for these frames due to their clean lines, versatility, and affordability.
- NOTE: You don’t need to live near an IKEA to get these! They offer convenient shipping for entire boxes of frames for a minimal fee, making them accessible to everyone.
- 12″ x 12″ photo enlargements: The perfect size for the IKEA frames, creating a balanced visual. I chose to have mine printed by Shutterfly for their quality and reliability.
- Latex or acrylic paint in colors of your choice: This is where your gallery wall truly comes alive!
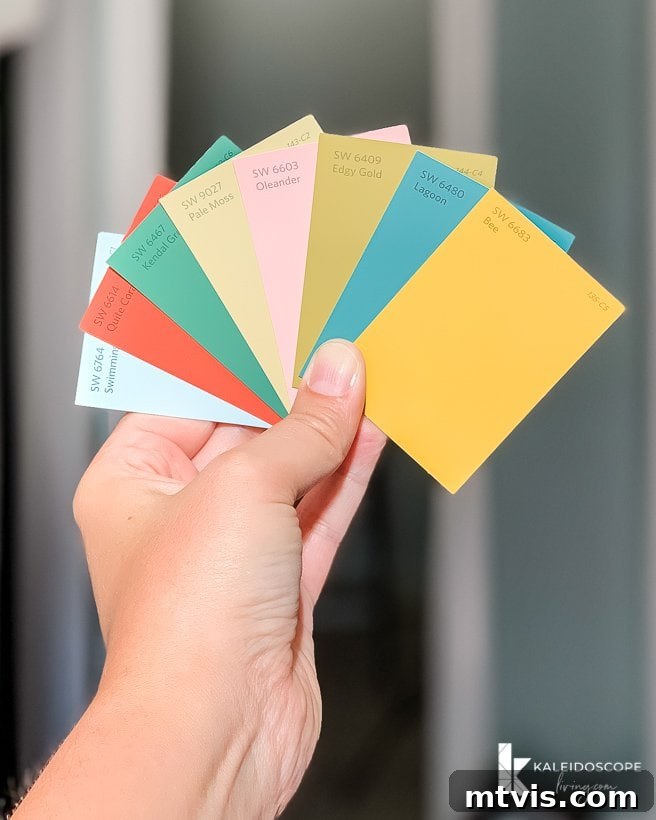
- I selected 8 distinct Sherwin-Williams colors, purchased in sample sizes for cost-effectiveness and variety. My chosen palette included: Quite Coral, Bee, Pale Moss, Lagoon, Oleander, Edgy Gold, and Kendal Green.
- The specific purple shade I used is Orchid by Amy Howard at Home, adding another layer of depth.
- Paintbrush: A good quality paintbrush, such as a 1.5-inch angled brush, will give you smooth, even coverage.
- Laser level: Invaluable for ensuring your frames are perfectly aligned and your gallery wall looks professionally installed.
- Dropcloth and/or apron: Protect your workspace and clothing from paint splatters.
- Gold spray paint (if desired): To customize your frames and add a touch of elegance or contrast.
- Black and gold sconces: For ambient lighting, creating a sophisticated and highlighted display.
- Puck lights: These battery-operated lights are the secret to illuminating your sconces without any hardwiring.
- Velcro: Used to secure the puck lights within the sconces for easy battery changes.
Step 1: Prepare Your Frames and Mats
Begin by carefully unwrapping all your IKEA frames. It’s always a good idea to inspect each frame for any imperfections or damage before you start painting. Once you’ve ensured they are in good condition, gently remove the white photo mats from each frame. These mats are the canvas for your chosen colors, and detaching them now will make the painting process much easier and cleaner.
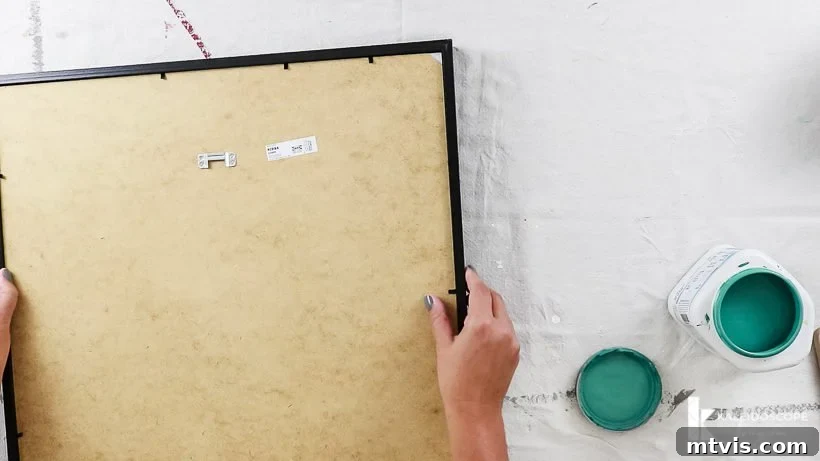
Step 2: Infuse Color by Painting Your Mats
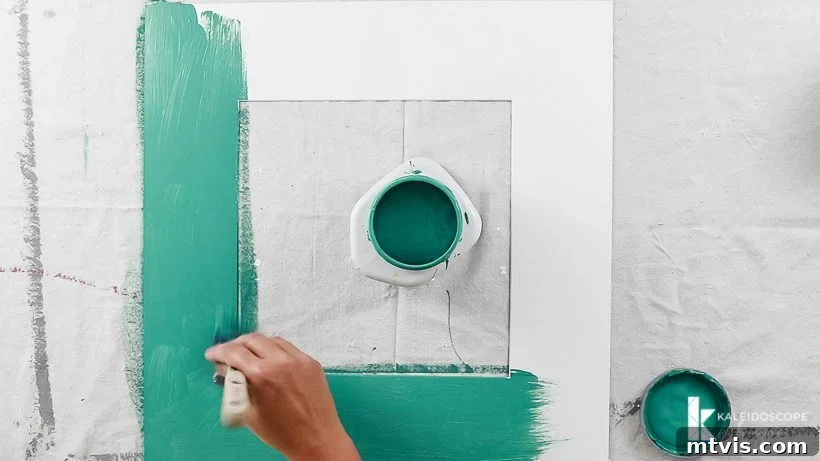
Now for the fun part – bringing color to your mats! Lay your white mats flat on a protected surface, such as a dropcloth. Using your paintbrush (a 1.5-inch angled brush is versatile for this task, but any good quality brush will do), apply your chosen latex or acrylic paint to each mat. There’s no secret technique here, but aiming for long, even strokes will help achieve a smooth, professional finish. The key is to avoid overloading your brush, which can lead to drips. Most mats will require at least two coats of paint to achieve full, rich color saturation. Fortunately, these smaller projects dry quickly, so you typically only need to wait about 30 minutes between coats. Allow them to dry completely in a well-ventilated area before proceeding.
For my palette, I drew inspiration from the vibrant hues used in our colorful powder room renovation, ensuring a cohesive and joyful aesthetic throughout our home. Choosing colors that resonate with your existing decor or create a new focal point is crucial. Consider the mood you want to evoke and select shades that complement each other for a harmonious, yet dynamic, display.
Step 3: Customize Your Frames with Spray Paint
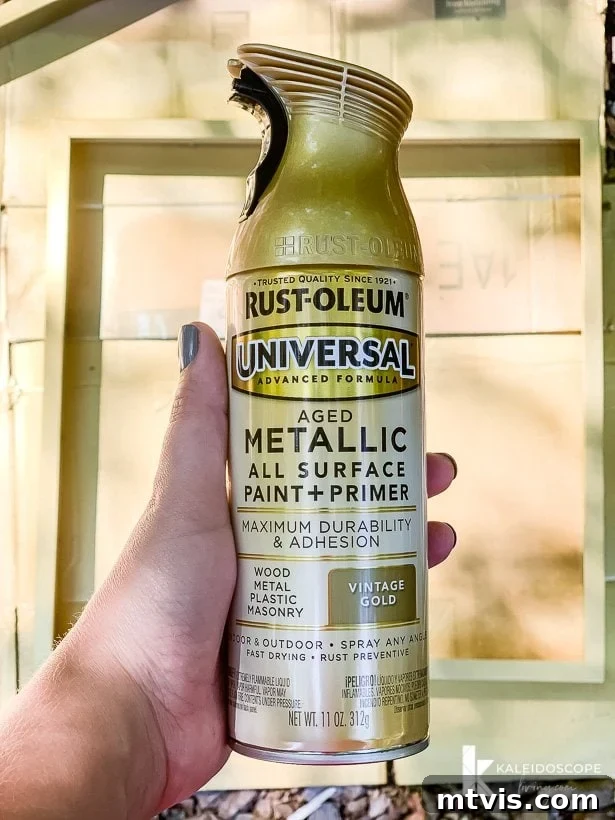
While your photo mats are drying, you can efficiently move on to customizing your frames. I initially started with black frames, which offered a classic look. However, after some consideration, I decided that a touch of gold would add an extra layer of elegance and warmth, creating a more cohesive and luxurious feel with the colorful mats. This decision highlights how even small changes can significantly impact the overall aesthetic of your gallery wall.
When spray painting, the golden rule is to apply **LIGHT coats**. This prevents drips and ensures a smooth, even finish. Work in a well-ventilated outdoor area and protect your surroundings with a dropcloth. Hold the spray can about 8-12 inches away from the frame and use sweeping motions. I applied four thin coats to my frames, allowing approximately 30 minutes of drying time between each coat. Patience during this step will yield professional-looking results; rushing it can lead to unsightly drips that are difficult to fix. If you prefer the clean look of black frames, you can skip this step or choose a different color spray paint that matches your vision.
Step 4: Complete and Assemble Your Custom Frames
Continue painting your mats and frames, alternating between steps 2 and 3, until all your pieces are complete. For this project, I prepared a total of eight frames and corresponding mats, creating a substantial and impactful display. Once all painted elements are thoroughly dry to the touch and cured (which may take a few hours depending on humidity), you can begin the exciting process of reassembling them. Carefully insert your chosen 12″ x 12″ photo enlargements into the newly painted mats, ensuring they are centered. Then, place the matted photos back into their frames, securing the backs. I opted for black and white photographs printed by Shutterfly; the monochromatic images offer a beautiful contrast against the vibrant, colorful mats, allowing the colors to truly pop while maintaining a timeless elegance for the family photos themselves. The uniformity of black and white photos also helps to create a cohesive look across different subjects, preventing the gallery wall from looking too chaotic despite the array of mat colors.
Step 5: Plan Your Gallery Wall Layout
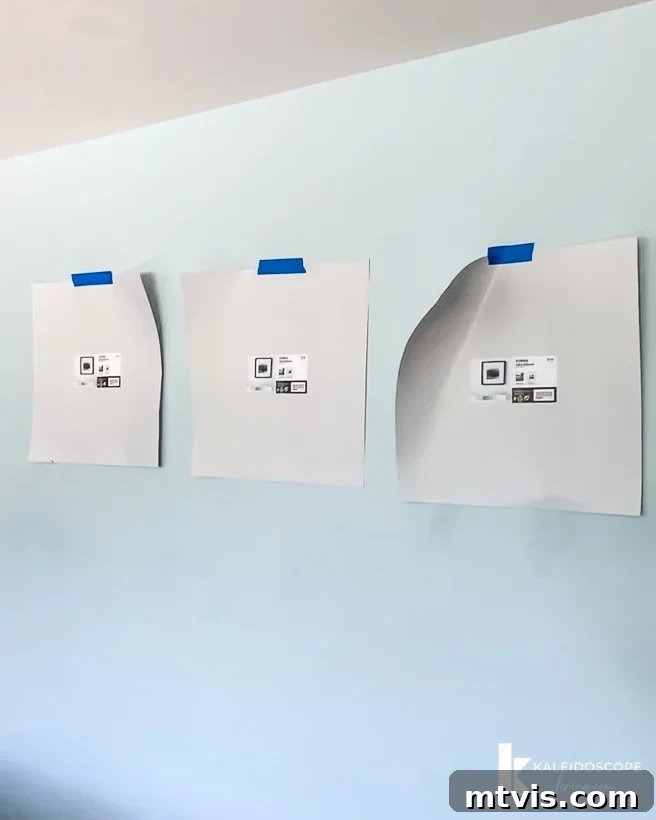
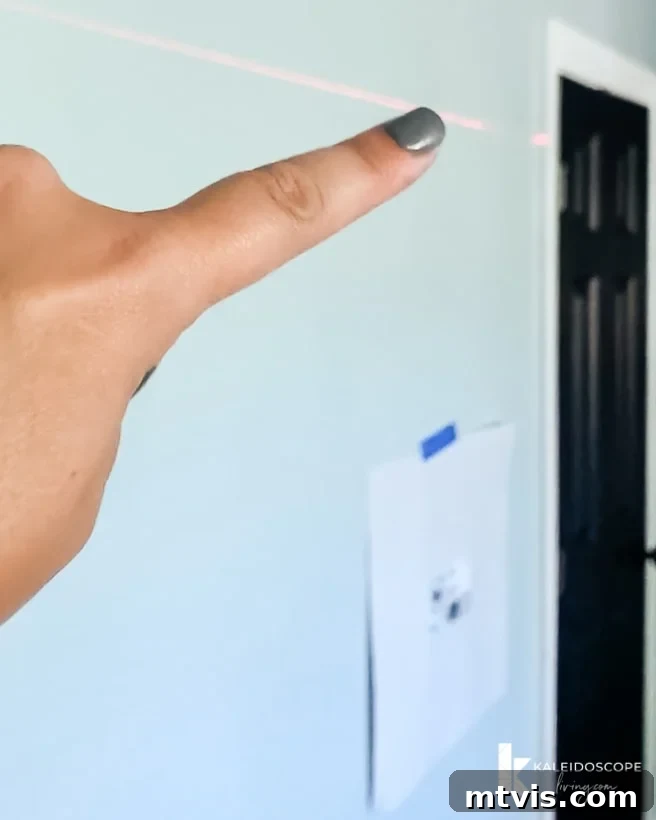
Before you commit to hanging anything on your wall, it’s crucial to plan your layout. This simple trick will save you time, effort, and potential damage to your walls. Use the paper inserts that came with your frames – they are the exact size of your framed artwork. Arrange these paper templates on your floor first, experimenting with different configurations until you find a layout that you absolutely love. Consider factors like symmetry, spacing, and how the colors and images flow together. Once you’re happy with the arrangement on the floor, use painter’s tape to secure the paper inserts onto your wall, mimicking the exact positions you’ve decided on. This visual guide allows you to step back, assess the composition, and make any final adjustments before you start hanging your actual frames. This planning step is one of my favorite tricks for a perfectly balanced and aesthetically pleasing gallery wall!
Step 6: Securely Hang Your Framed Photos
With your layout confidently mapped out on the wall, it’s time to hang your beautiful, customized frames. For this project, Command picture hanging strips are an absolute game-changer. They offer a damage-free hanging solution, which is ideal if you’re a renter or simply prefer not to put holes in your walls. I recommend using one strip in each corner of the back of your frames to ensure they remain perfectly level and securely in place, preventing any tilting. Both the small or medium-size strips will work effectively for frames of this size. Always follow the specific instructions on the Command strip packaging to guarantee proper application and adhesion. They are incredibly user-friendly!
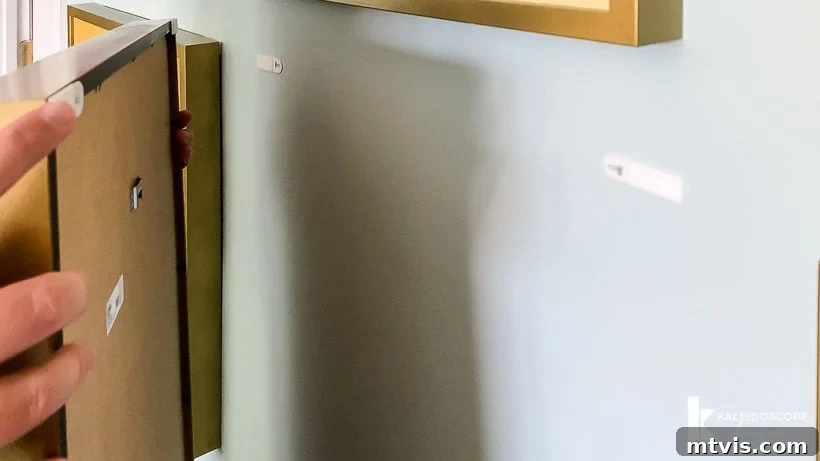
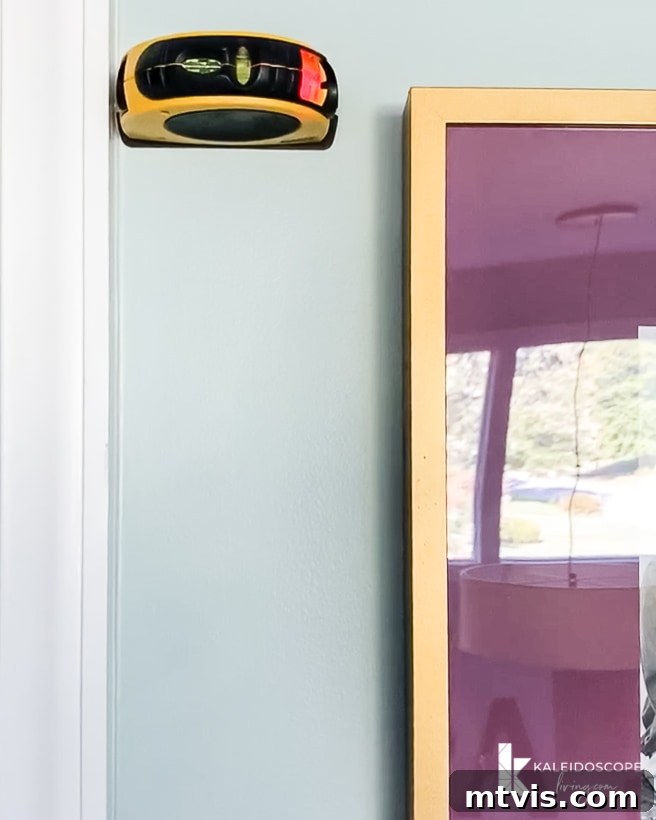
As you remove each paper template from the wall and replace it with a framed photo, use a laser level (or a traditional spirit level for smaller adjustments) to ensure every frame is perfectly even. This meticulous attention to detail is what gives your gallery wall a polished, professional look. A laser level is particularly useful for larger gallery walls, projecting a straight line across multiple frames, making alignment quick and effortless. Press each frame firmly against the wall for 30 seconds to ensure the Command strips adhere correctly. Step back after each frame to check the overall balance and make minor adjustments as needed.
Step 7: Elevate Your Display with Optional Lighting (No Hard-Wiring Necessary!)
To truly make your colorful gallery wall a showpiece, consider adding sconces above your frames, just as I did. The best part? You don’t need to hire an electrician or deal with complicated wiring! This ingenious trick allows you to enjoy the sophisticated look of sconce lighting with incredible ease. Here are the materials you’ll need for this brilliant, wire-free illumination:
- Black and gold sconces: Choose sconces that complement your frames and overall decor.
- Puck lights: These small, battery-operated LED lights are the “magic” behind the wire-free illumination.
- Velcro: Used to secure the puck lights inside the sconces, allowing for easy removal when batteries need changing.
The secret to illuminating sconces without any hard-wiring or plugs is a clever technique known as the “magic light trick,” brilliantly popularized by Nesting With Grace. This method involves simply attaching battery-operated puck lights inside your sconces using Velcro. The result is a stunning, ambient glow that highlights your artwork beautifully. For a complete visual guide on how to implement this incredibly smart and easy trick, you can watch her detailed video below. It’s a game-changer for anyone looking to add sophisticated lighting to their home without the hassle of electrical work!
We are absolutely thrilled with how this entire project turned out. The impact it has on the hallway is enormous, especially considering the relatively low cost of materials and the straightforward DIY process. It transformed a previously overlooked space into a dynamic and personal showcase. The hallway now feels brighter, more inviting, and truly reflects our family’s vibrant personality. The added sconce lighting creates a cozy ambiance in the evenings, drawing the eye to the colorful display even more. This project proves that with a little creativity and effort, you can achieve significant design upgrades without breaking the bank. It’s a testament to the power of color and personalized decor in creating a home that feels uniquely yours. Here are a few more photos to inspire your own colorful gallery wall creation!
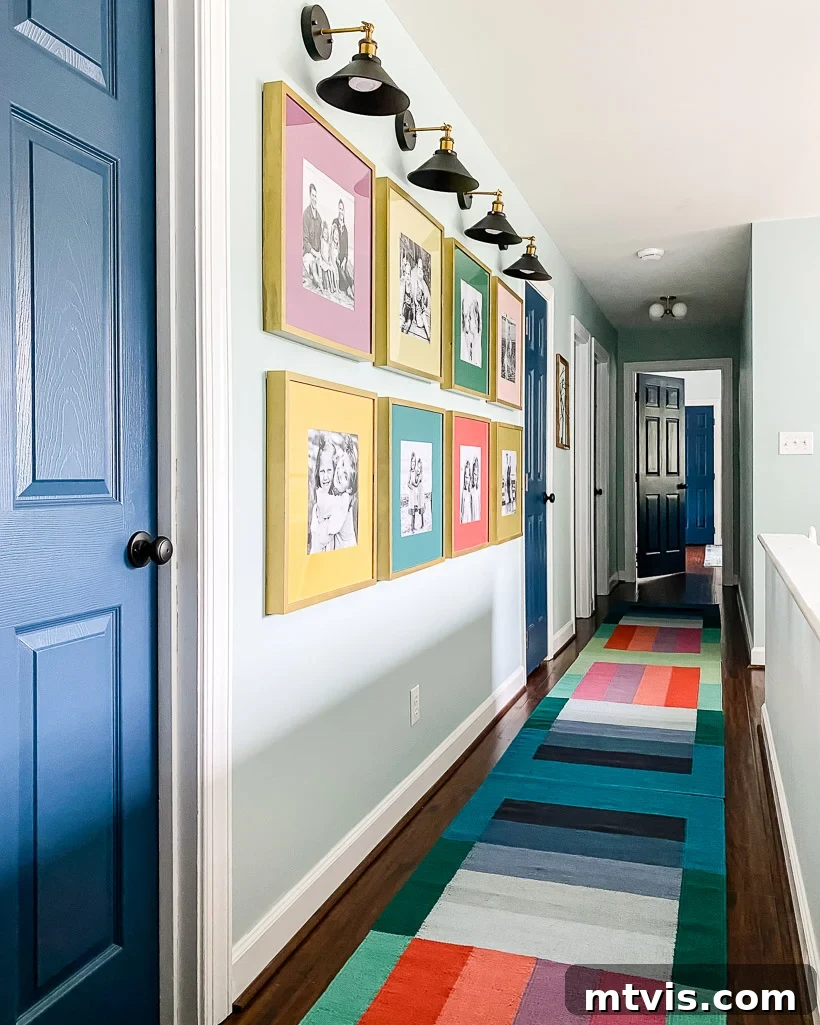
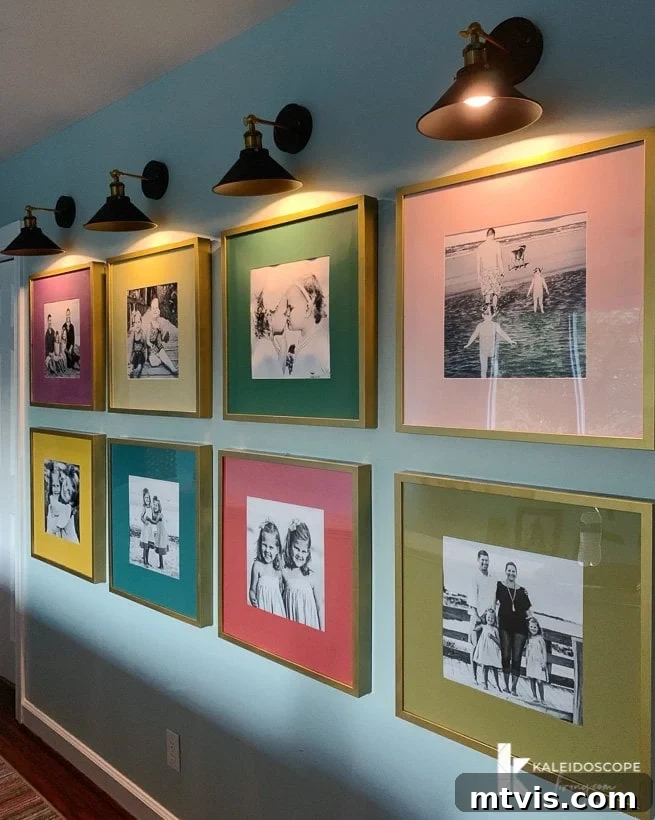
What do you think of our colorful gallery wall? We truly love the transformation it brought to our home and hope it inspires you to add more color and personality to your own spaces!
Other Posts You May Enjoy for More Inspiration:
- 16 Gallery Wall Ideas (and Expert Tips) To Inspire Your Next Project
- Stylish Family Photo Wall Display Ideas for Every Home
- 8 Interior Design Mistakes You Don’t Even Know You are Making (and How to Fix Them)
- 5 Essential Tips to Decorate With Color (Even When It Seems Daunting)
- 8 Common Interior Design Mistakes You’re Making (and Easy Solutions)
Curious about my personal approach to transforming rooms and spaces in our home from conception to completion? Discover the strategies and insights compiled in Designer in a Binder®.
And for exclusive content, behind-the-scenes sneak peeks, and direct updates on my latest projects and tips, be sure to subscribe to my newsletter before you go!