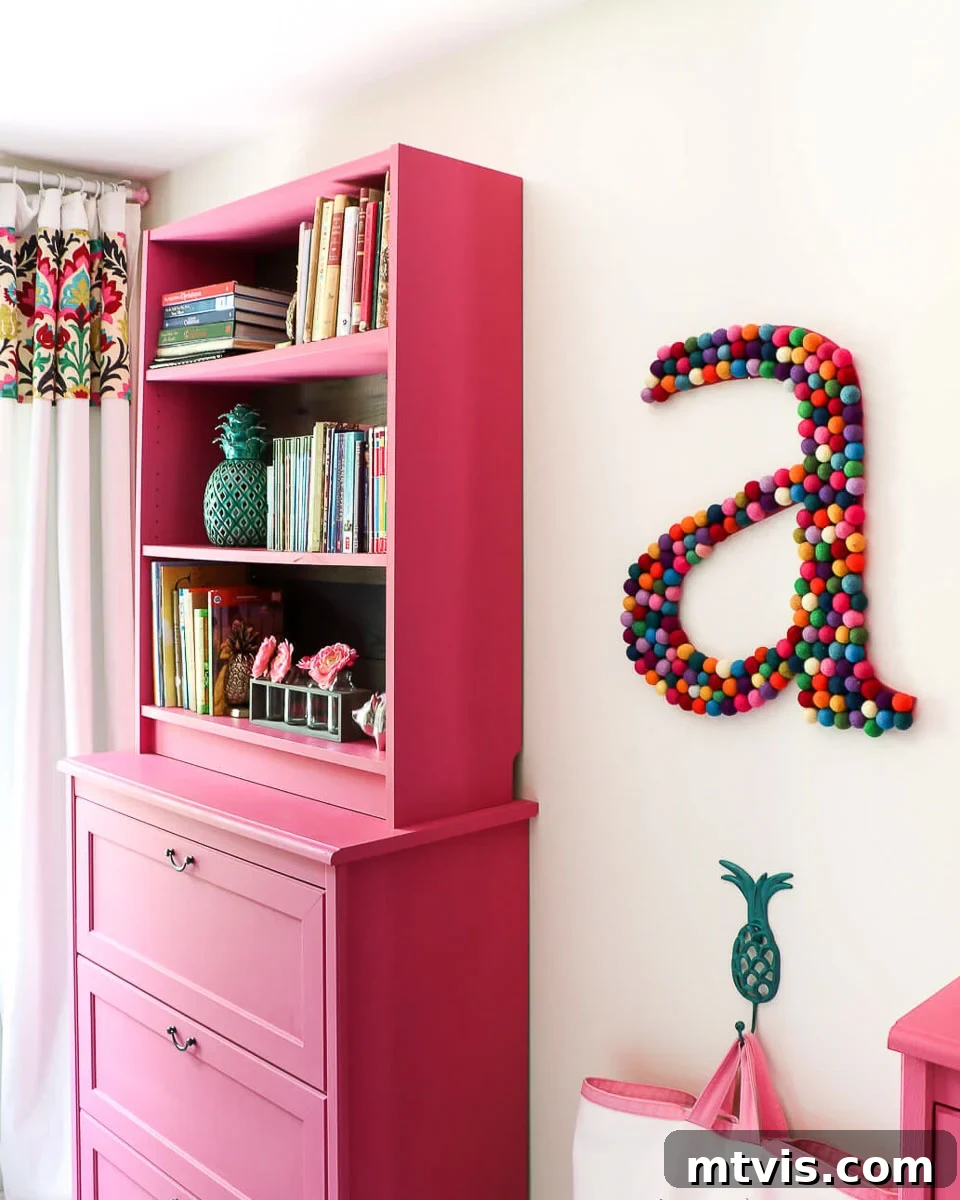
Unlock the potential of your living space with this ingenious IKEA Billy bookcase hack! Discover how to transform basic, affordable IKEA furniture into stunning, custom-looking built-ins that offer both generous storage and elegant style. This DIY project is not only simple to execute but also delivers a high-end aesthetic without the hefty price tag, making it perfect for anyone looking to maximize their home’s functionality and appeal.
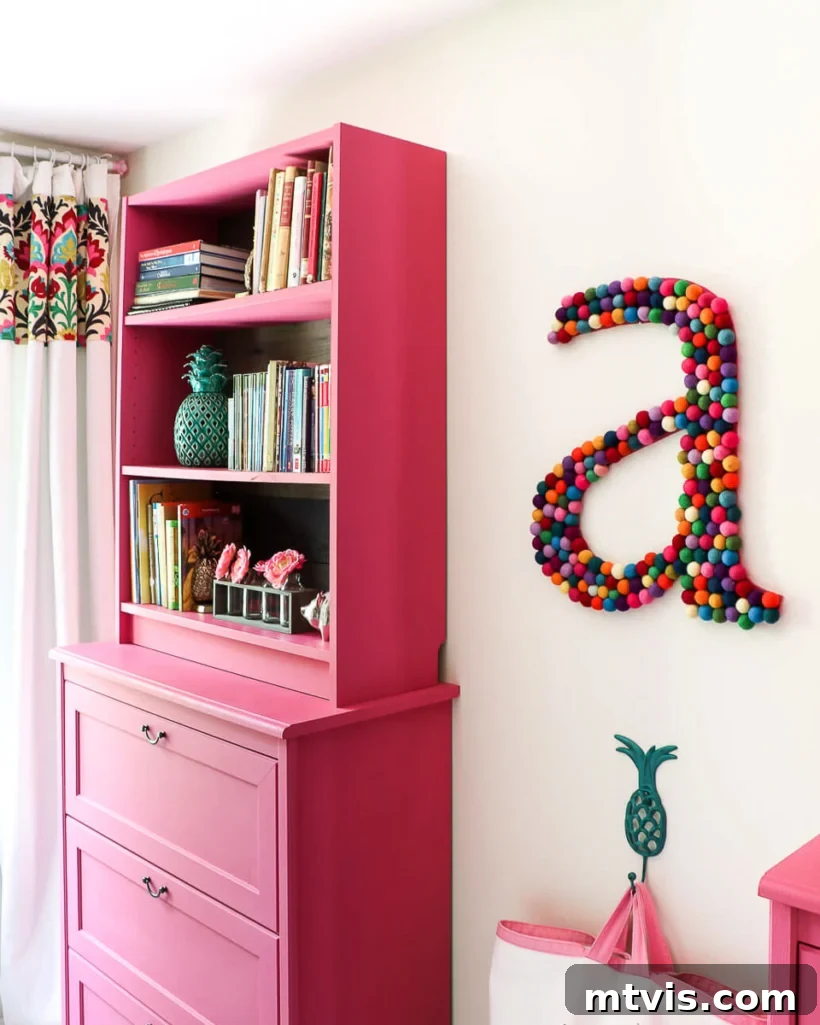
Are you someone who appreciates the sophisticated appeal of custom furniture but finds high-end prices out of reach? If so, you’re not alone! Many homeowners dream of beautifully organized spaces with integrated storage, but the cost of bespoke cabinetry can be prohibitive.
Our journey to affordable, stylish storage began nearly seven years ago when we were expecting twins. The prospect of purchasing double the nursery essentials was daunting, and we knew that efficient, aesthetically pleasing storage would be essential for keeping our girls’ rooms tidy and functional as they grew. This challenge led us straight to IKEA, where we began envisioning how their budget-friendly pieces could be transformed into the custom look we desired.
Why an IKEA Hack is the Perfect Solution for Custom Built-Ins
Our primary goal was to achieve the seamless, tailored appearance of custom built-in shelving without the expense and complexity of traditional carpentry. IKEA furniture, with its modular design, durable construction, and minimalist aesthetic, provides an ideal canvas for DIY projects. It offers a fantastic foundation for updating your home, allowing you to create stylish and unique pieces while keeping overall costs significantly lower.
One of the many advantages of IKEA items, like the versatile Billy bookcase, is their inherent adaptability. Features such as adjustable shelves and straightforward designs make them incredibly easy to modify. Whether you’re considering new hardware, adding elegant glass doors, or a fresh coat of paint (which we’ll delve into shortly), these pieces are robust enough to withstand alterations yet affordable enough that you won’t hesitate to personalize them. This combination of quality and accessibility makes IKEA a go-to for DIY enthusiasts looking to create furniture that truly reflects their personal style and meets their specific storage needs.
Explore the World of Creative IKEA Hacks for Your Home
The DIY community is brimming with innovative IKEA built-in hacks, but the specific IKEA Billy bookcase hack we developed stands out for its unique blend of aesthetics and practicality. We channeled our creativity to devise a solution that not only looks fantastic but also introduces a tremendous amount of storage to any room. This particular method transforms simple Billy bookcases and dressers into cohesive, high-impact storage units that appear custom-designed for your space. Continue reading to discover our step-by-step guide and unlock the secrets to achieving this impressive transformation.
This post contains some affiliate links for your convenience, meaning if you click through and make a purchase, I may earn a small commission at no extra cost to you. Click here to read my full disclosure policy.
Your Complete IKEA Billy Bookcase Hack Tutorial
Essential Materials & Tools
Gathering all your supplies before you begin will ensure a smooth and efficient DIY process. Here’s a comprehensive list of what you’ll need for this exciting IKEA hack:
- Amy Howard at Home One Step Paint (Our choice was the vibrant color “Drama Queen” for a bold statement)
- Two IKEA Billy Bookcases(ensure you select the 41 3/4 inch height for optimal proportions with your dresser)
- Two dressers or chest of drawers from IKEA. While our original choice, the Aspelund chest of drawers, is no longer available, the Songesand is an excellent, very similar alternative. We’ve also provided a list of other suitable IKEA dressers below.
- Staple gun (We highly recommend this cordless model for ease of use, as it requires no air compressor)
- Compound miter saw or a reliable hand saw and miter box for precise cuts
- Palm router (Optional, but highly recommended if you plan to replace the backer board with custom wood planks)
- Pallet wood or other decorative wood planks (Optional, for an elevated back panel aesthetic)
- Amy Howard at Home Vintage Wood wood treatment (Optional, for achieving a beautiful weathered look on your wood planks)
Recommended Dressers for Your Billy Bookcase Built-Ins
As mentioned, the specific chest of drawers we used for this project is no longer in production. However, finding a suitable alternative is straightforward! The key is to select a dresser that is at least as wide as the Billy bookcases you intend to use. Billy bookcases typically measure 31 1/2 inches wide. For optimal aesthetic balance and a cohesive built-in appearance, aim for a chest of drawers that is approximately 32 inches wide and ideally around 40 inches tall.
Here are some excellent IKEA dresser options that meet these criteria and would work wonderfully for this popular IKEA Billy bookcase hack:
- IKEA Songesand 4-drawer chest: This model is very similar in style and height to the discontinued dresser we originally used. While our previous dresser featured three deeper drawers, the Songesand offers four smaller drawers, which can actually provide more flexible storage options.
- IKEA Gullaberg 8-drawer chest: This dresser is taller than our original choice, making it an excellent option if your room boasts higher ceilings. It provides substantial storage and a grander scale.
- IKEA Gullaberg 6-drawer chest: Another great option for rooms with higher ceilings, this Gullaberg version offers a slightly less imposing height than the 8-drawer model while still providing ample storage and a solid base for your Billy bookcases.
Step-by-Step IKEA Billy Bookcase Built-In Transformation
Follow these detailed steps to bring your custom built-in vision to life:
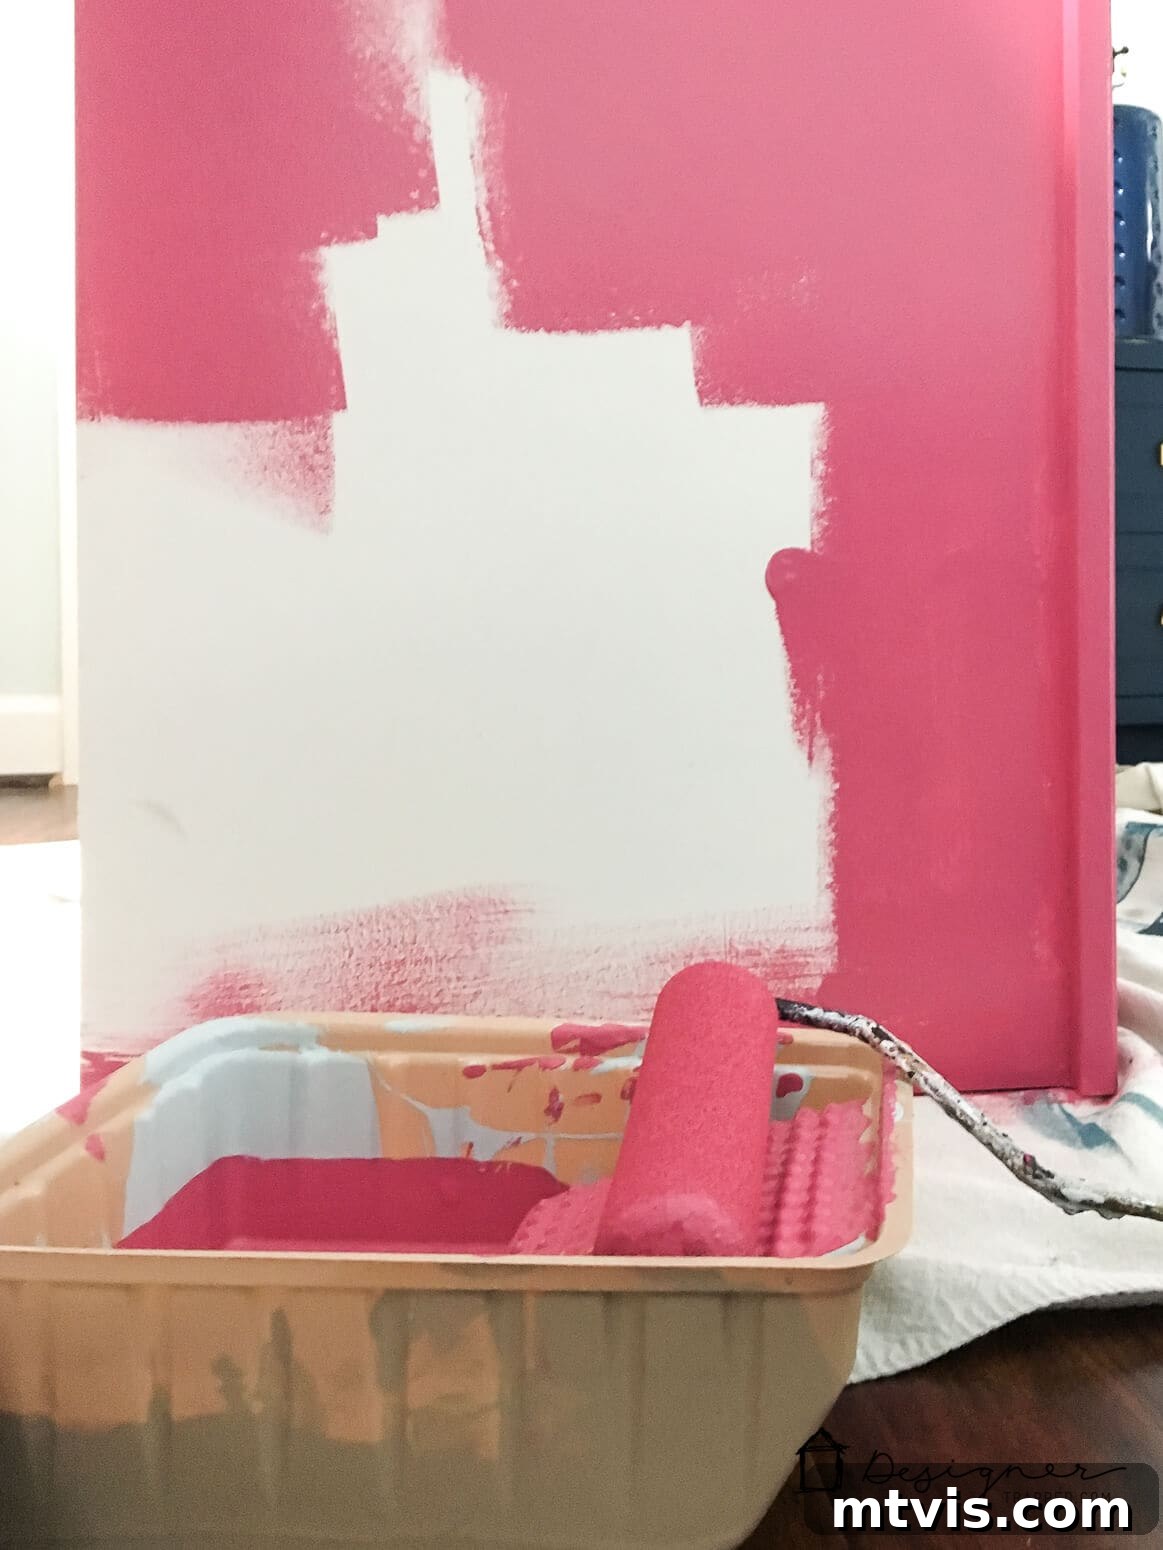
1) Prepare Your Furniture Pieces with Paint. The first crucial step is to meticulously paint your entire dresser and bookcase. This includes all visible surfaces and, importantly, the backer board if you plan to keep the original. However, if you opt to replace the standard backer board with pallet wood or another decorative material, you won’t need to paint that specific component.
CRUCIAL ADVICE FOR PAINTING IKEA LAMINATE FURNITURE
IT IS ESSENTIAL TO PAINT IKEA LAMINATE FURNITURE USING A SPECIFIC METHOD TO ENSURE PROPER ADHESION. WITHOUT THE CORRECT TECHNIQUE, THE PAINT WILL NOT ADHERE EFFECTIVELY AND IS LIKELY TO PEEL OR CHIP. We’ve created a comprehensive, step-by-step guide that details exactly how to paint IKEA furniture and highlights common mistakes to avoid. This easy-to-follow tutorial will help you achieve a beautiful, smooth finish that requires only two coats of paint and will last for years to come. Don’t skip this vital step for a professional-looking result!
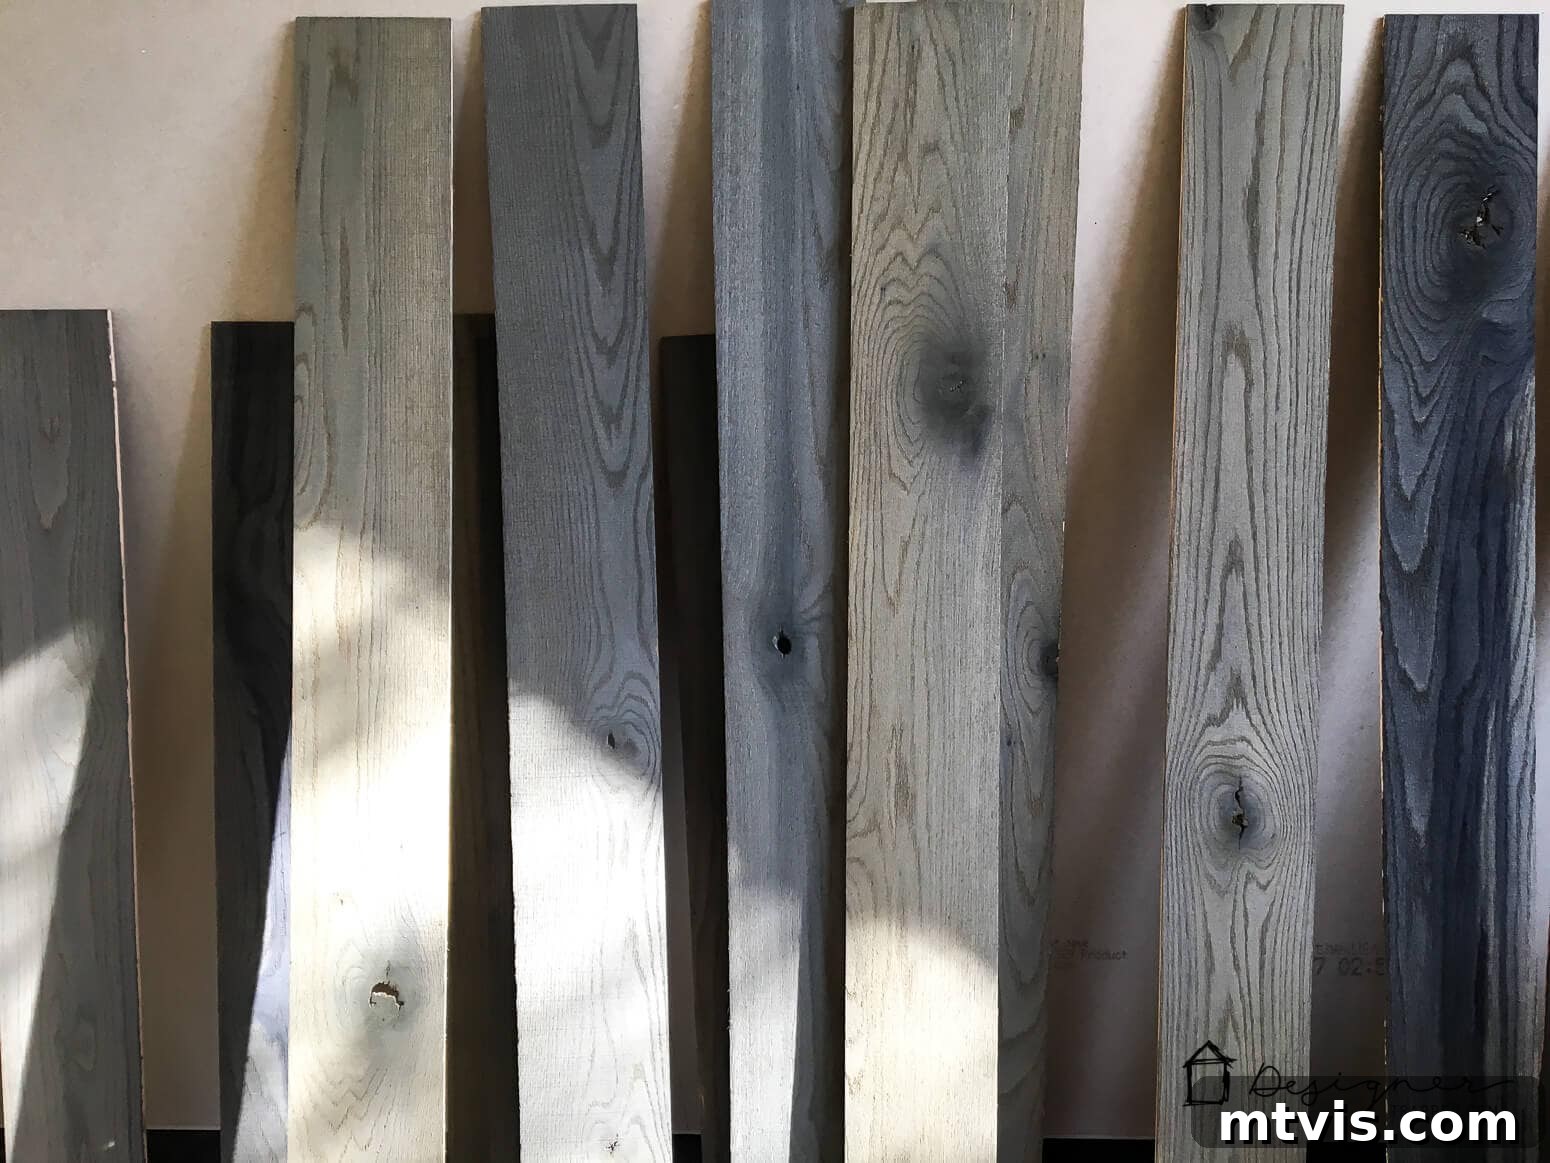
2) Prepare Optional Pallet Wood for the Backer Board. If you’ve decided to enhance your bookcases with decorative pallet wood or other wood planks for the backer, now is the time to treat them. We used seven pieces of wood per bookcase for this project. Apply Amy Howard at Home Vintage Wood wood treatment using an inexpensive boar’s hair brush, always moving with the grain of the wood. This product is truly remarkable! It allows you to give ordinary raw wood a beautifully weathered, aged appearance in a fraction of the time it would naturally take. Initially, the wood treatment will slightly darken the wood, but as it reacts and dries, it develops a stunning gray patina. Each piece of wood will uniquely transform, adding character and depth to your built-ins.
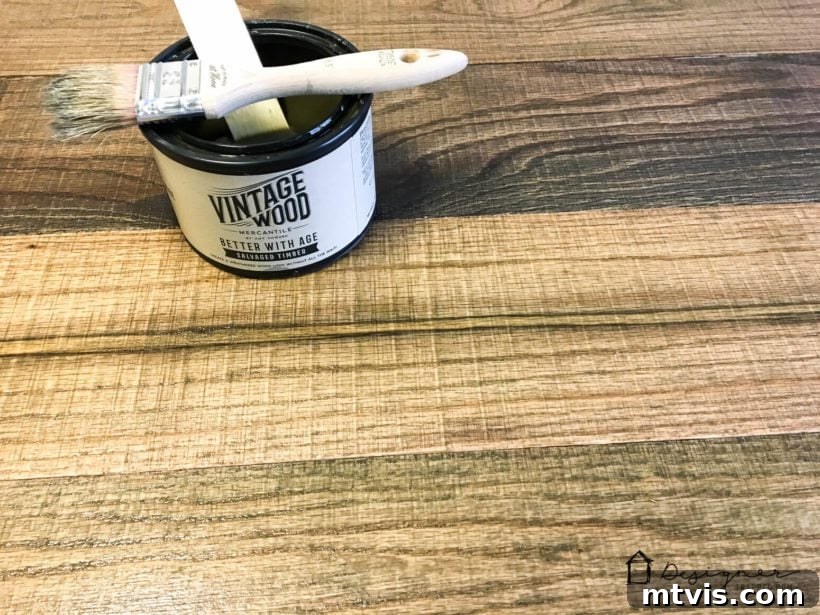
Observe the incredible transformation! Here’s a photo of our pallet wood pieces drying after treatment. You can clearly see how dramatically the color shifted and the beautiful gray tones began to emerge between the initial application and this stage.
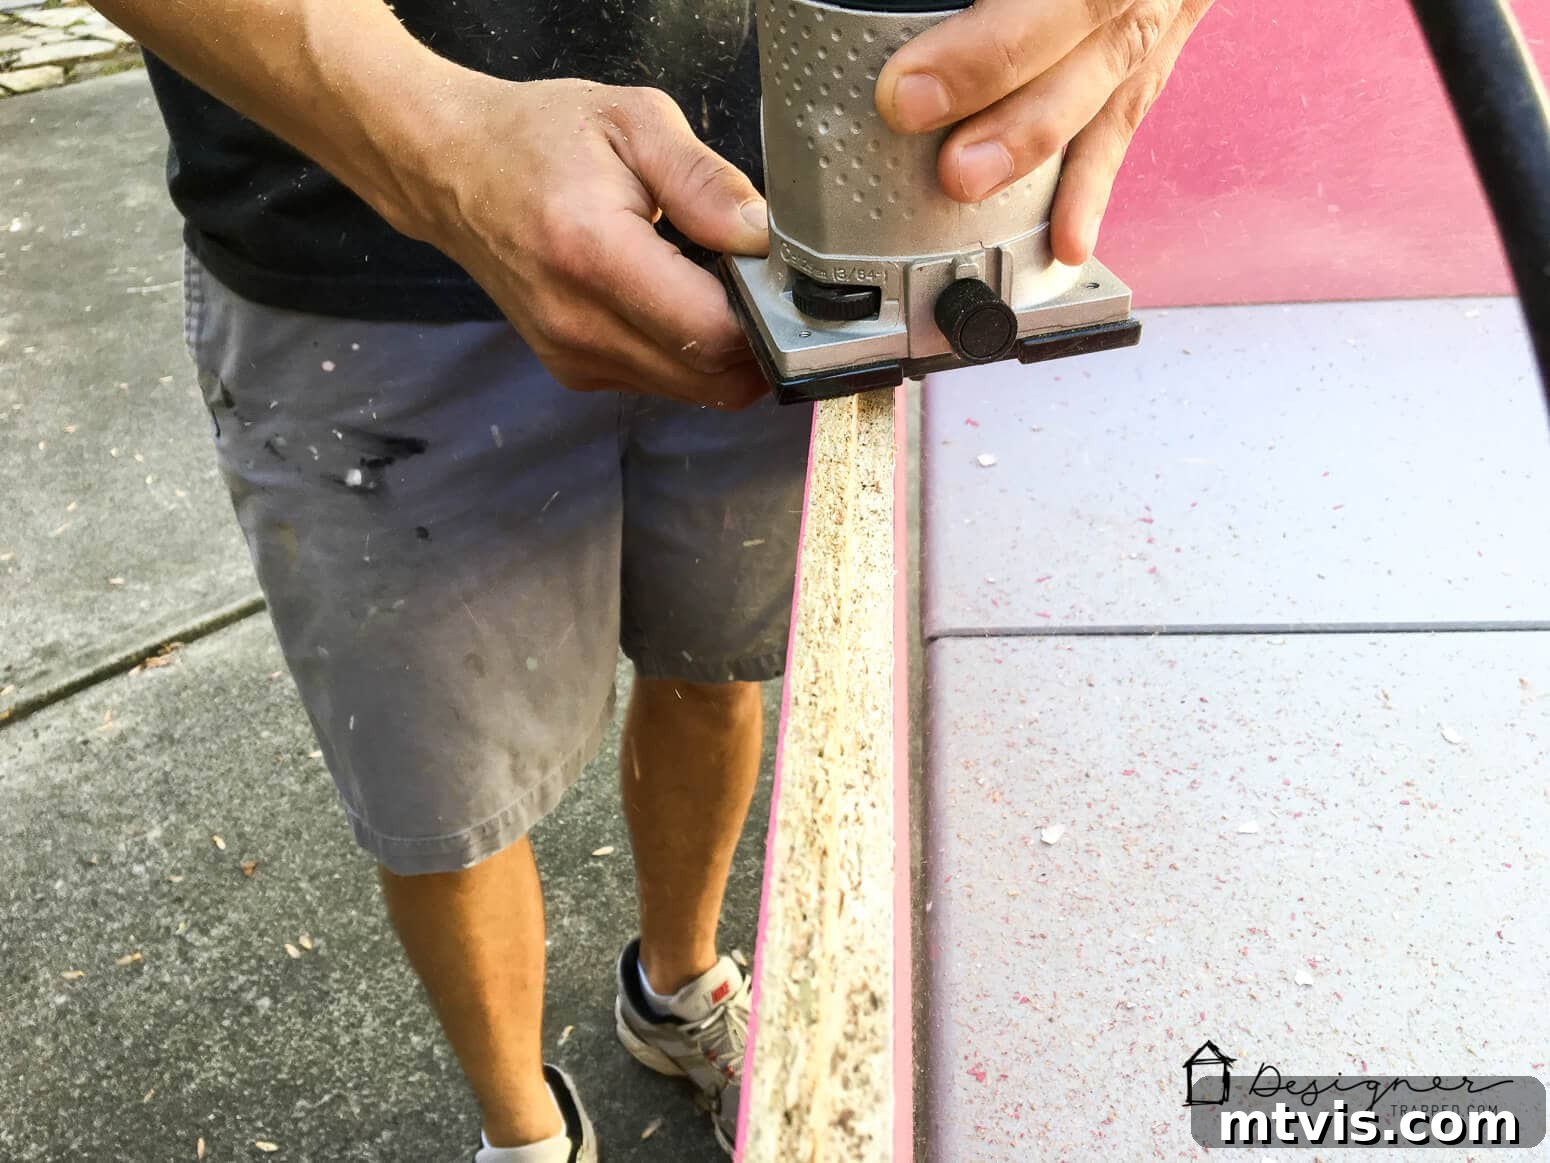
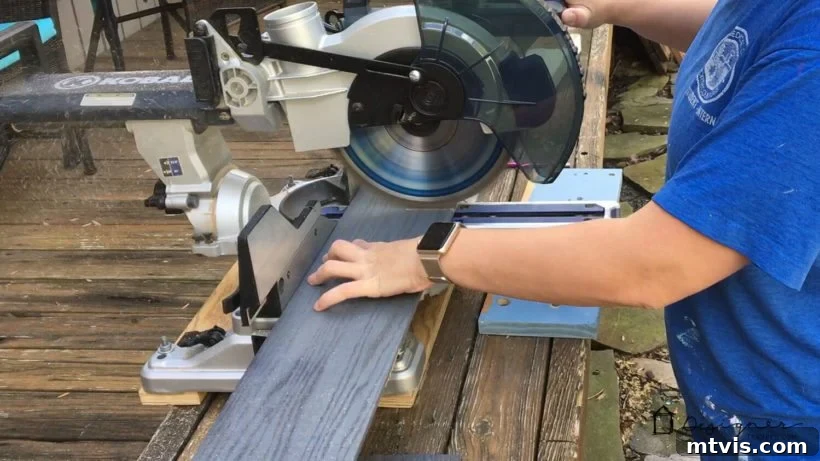
3) Prepare the Bookcase for Custom Backing (Optional). If you plan to replace the original flimsy backer board with your beautiful pallet wood, you’ll need to modify the back of your Billy bookcase. Use a palm router and an appropriate bit to carefully remove the shallow channel that is typically designed to hold the standard backer board. This step creates a flat surface, allowing your new wood planks to sit flush. Once the channel is removed, accurately measure the internal width of your bookcase opening to determine the precise length for cutting your pallet wood pieces. Cut these to size using either a compound miter saw for perfect angles or a hand saw with a miter box for straight, clean cuts.
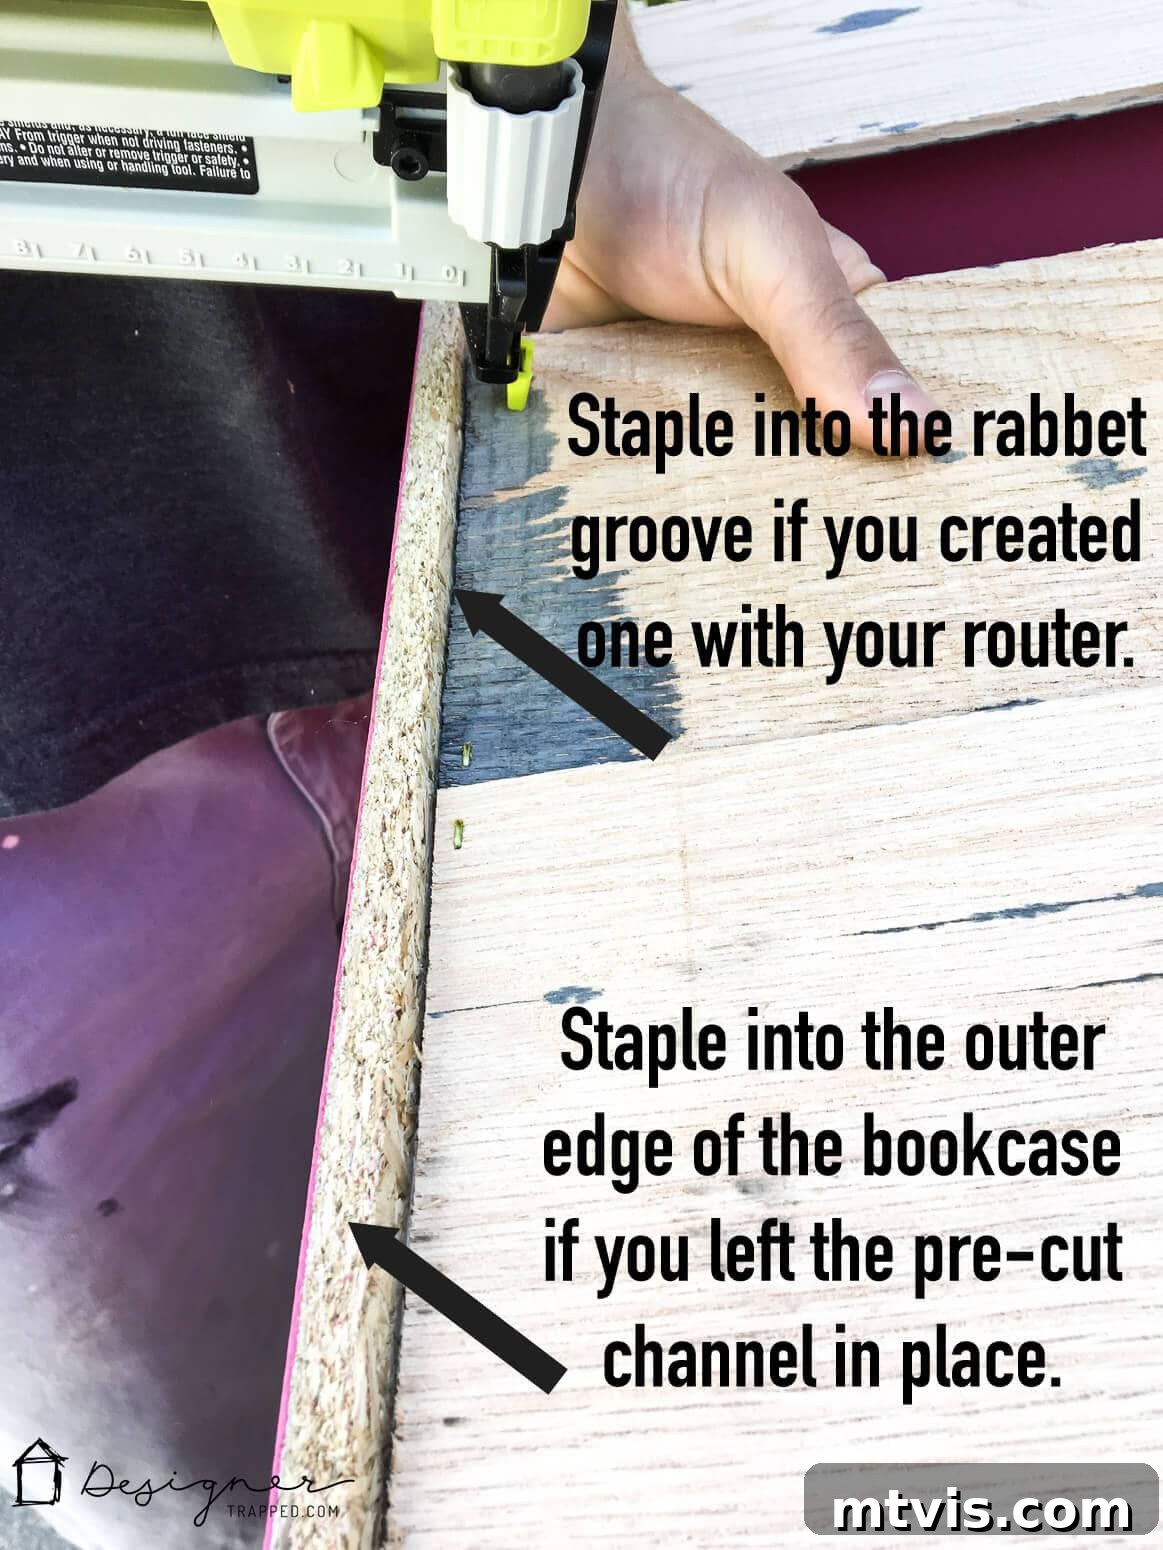
4) Secure Your Backer Board. Once your pallet wood pieces are cut and treated (if applicable), or if you’ve decided to keep the original backer board, it’s time to install them. Use your staple gun to firmly attach the backer material in place. If you routed out a new channel, staple directly into that deeper groove. If you kept the original pre-cut channel, staple into the outer edge of the bookcase frame to ensure a secure fit.
5) Assemble and Secure Your Built-Ins. Begin by installing your dressers in their desired positions along the wall. For safety and stability, it is absolutely essential to secure each dresser to the wall using the appropriate anti-tipping hardware provided (or purchased separately). Once the dressers are firmly in place, carefully lift and stack your Billy bookcases directly on top of them. Ensure that the base of each bookcase aligns perfectly with the top edge of its corresponding dresser to create a seamless, integrated look. Just like the dressers, secure the Billy bookcases to the wall using anti-tipping hardware. This prevents tipping hazards, especially critical in homes with children or pets, ensuring your new built-ins are safe and sturdy.
And there you have it! Take a step back and admire your handiwork. Doesn’t this IKEA Billy bookcase hack radiate a luxurious, custom-made feel? We are consistently amazed at how incredibly well this furniture has held up, enduring seven years of continuous use and still looking fantastic. This project truly showcases the potential for affordable pieces to deliver lasting quality and style.
Enhancing the Custom Look: Finishing Touches and Styling
To further elevate the “built-in” illusion and achieve an even more polished appearance, consider these optional finishing touches:
- Crown Molding: Add crown molding along the top of the entire built-in unit. This architectural detail will seamlessly connect the bookcases to your ceiling, giving them a truly custom, integrated look.
- Base Molding/Skirting Board: Install a decorative skirting board or base molding where the Billy bookcase meets the top of the dresser. This masks any subtle seams and creates a continuous, furniture-like base.
- Side Trim Pieces: For an extra touch of sophistication, apply decorative trim pieces along the vertical sides of the bookcases where they meet the wall or each other. While the unit looks great without them, these details can significantly enhance the custom feel.
- Caulk for Seamlessness: Use caulk to fill any visible gaps or seams between the furniture pieces and the wall, or between individual trim pieces. This small step creates a smooth, professional finish that makes the built-ins appear as if they were originally constructed as part of your home.
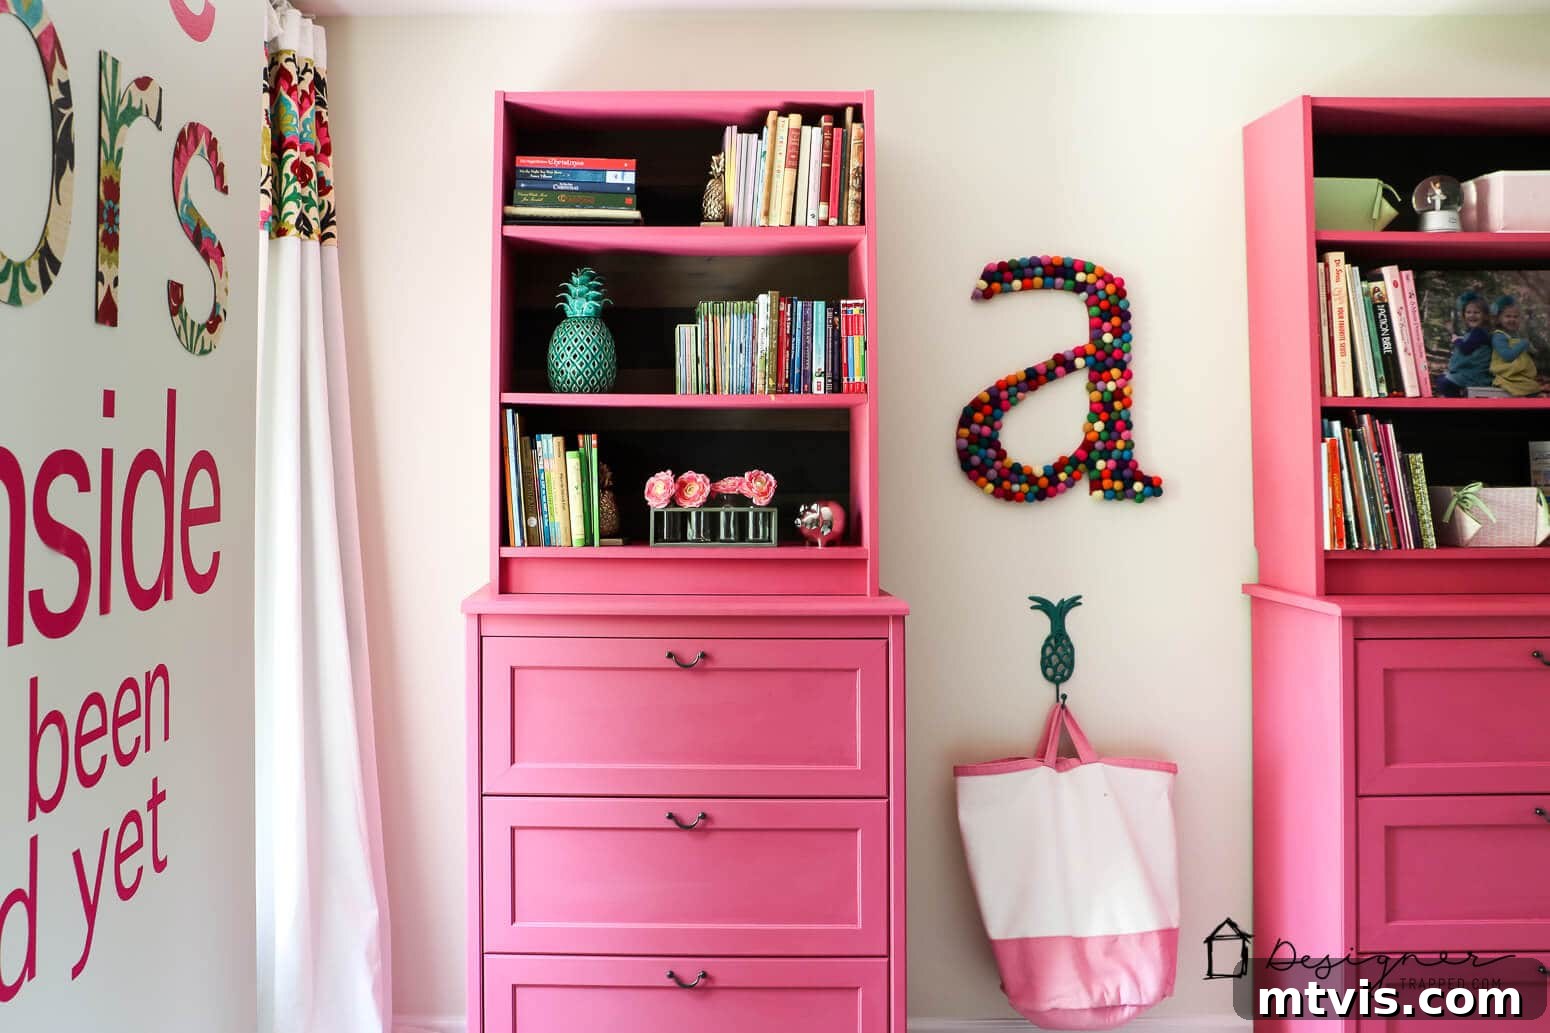
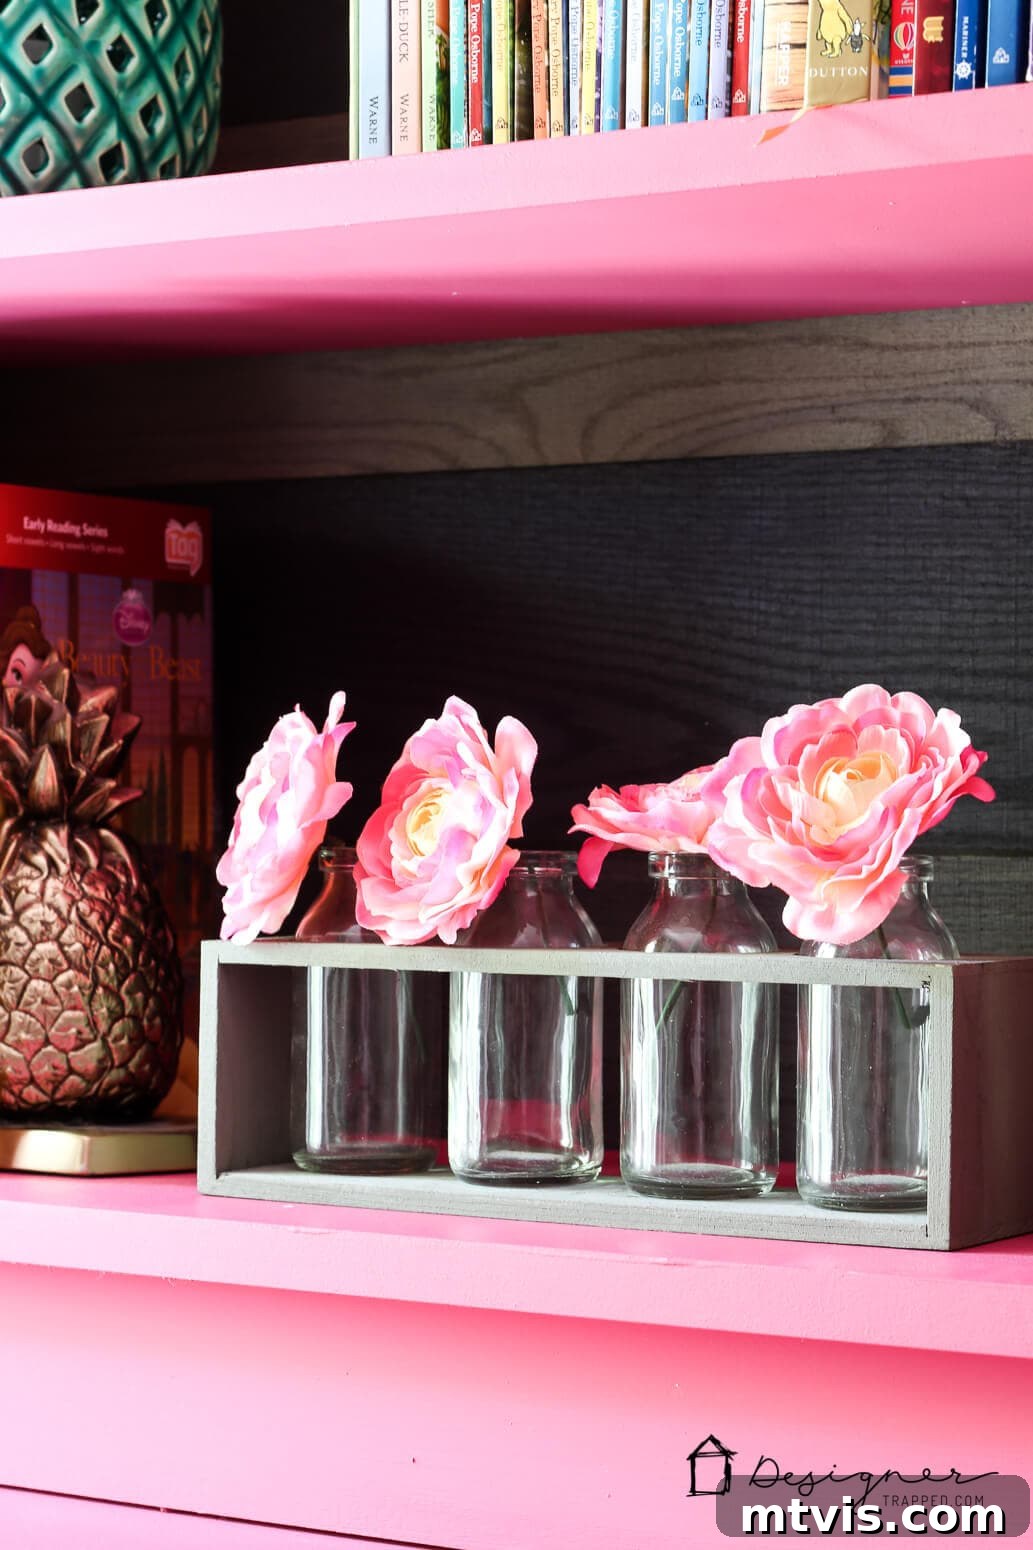
What truly sets this IKEA Billy bookcase hack apart and transforms it from a simple assembly to a statement piece is the thoughtful addition of the pine pallet wood boards on the back. The standard flimsy tri-fold backer board supplied by IKEA often detracts from the overall quality, making furniture appear less substantial and, frankly, cheap. By replacing it with real wood, you inject texture, character, and a touch of bespoke craftsmanship that instantly elevates the entire unit.
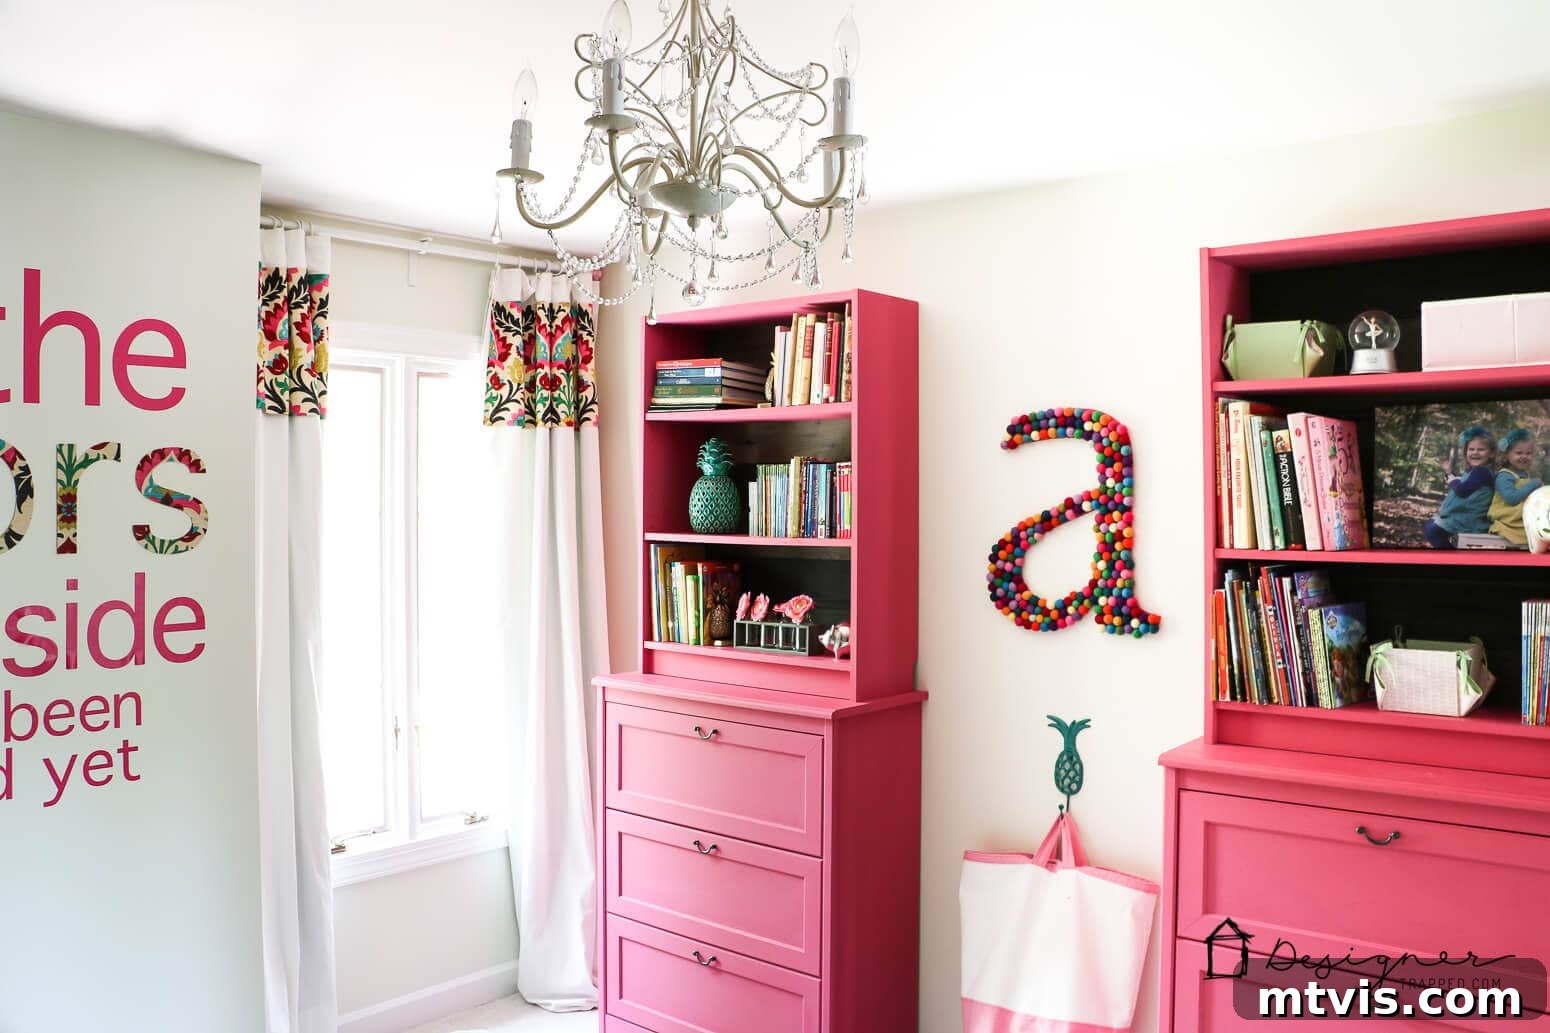
If you’re inspired by this transformation, make sure to pin this tutorial so you can easily reference it later! And for those who love the adorable felt ball letter gracing the wall between the IKEA pieces, you can find the complete DIY tutorial for it right here.
MORE INSPIRATIONAL IKEA HACKS
DISCOVER ALL OUR DIY PROJECTS
-
Creative Hacks for IKEA Bookshelves and Built-In Cabinets
-
Easy Furniture Repair to Match IKEA Paint Colors!
-
IKEA Billy Bookcase Hack for Loads of Storage
-
Affordable IKEA Desk Hacks You Will LOVE
-
How to Paint IKEA Furniture and Mistakes to Avoid
-
50 IKEA Hacks You Have to See to Believe
Other Inspiring Posts You Will Enjoy:
- 16 Cool DIY Bunk Beds
- Avery’s Built-in Bunk Beds and Room Reveal!
- 16 Teen Bedroom Ideas for Boys + Girls
- Stylish Dressers We Love (That Don’t Break the Budget!)
Curious about our methodology for transforming rooms and spaces within our own home? Dive into Designer in a Binder®, our comprehensive guide to decorating your home with confidence and ease.
For exclusive content, insider tips, and behind-the-scenes sneak peeks into our latest DIY projects and design adventures, be sure to subscribe to our newsletter before you leave! Join our community of DIY enthusiasts and never miss out on inspiration to create the home of your dreams.