
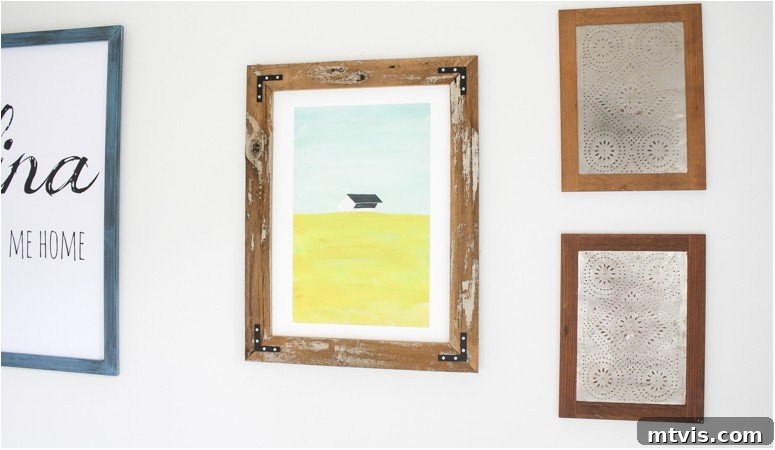
Crafting Beautiful & Affordable DIY Picture Frames from Reclaimed Wood
Transform your living space with personalized touches that don’t break the bank. This easy-to-follow tutorial reveals how to create a stunning, rustic picture frame using reclaimed wood, offering a budget-friendly solution to expensive store-bought options. We’ll guide you through each step, from selecting your repurposed materials to proudly displaying your finished masterpiece. Embrace the charm of upcycled decor and add a unique, story-filled frame to your favorite artwork.
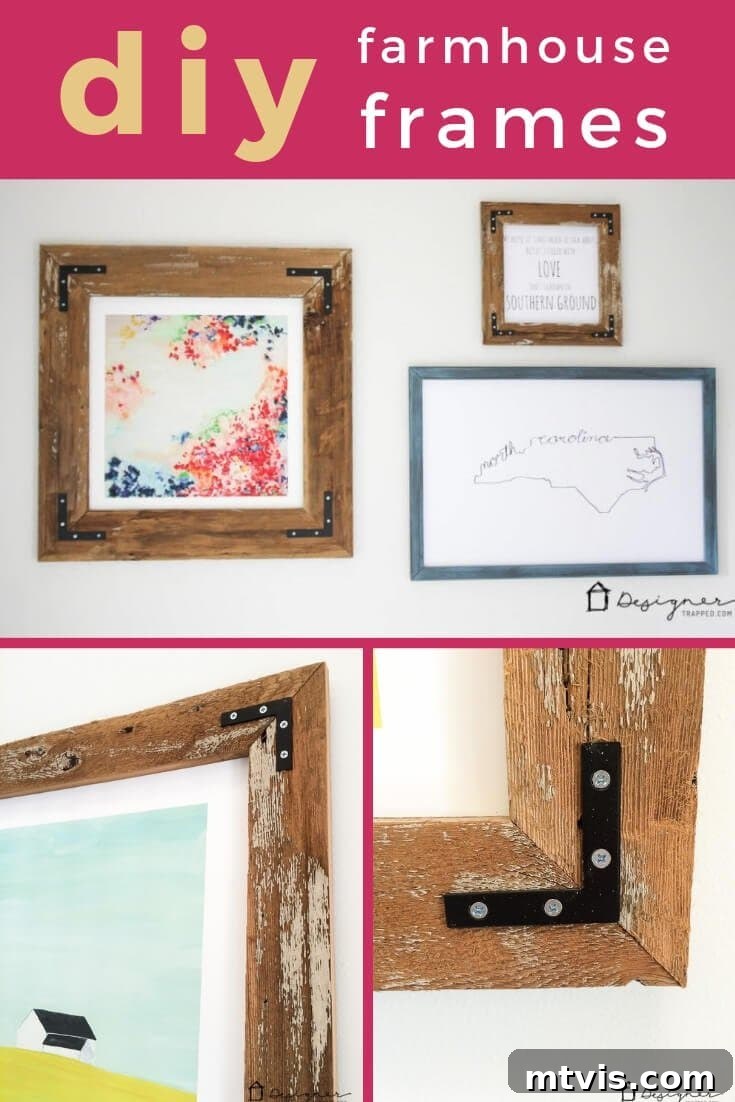
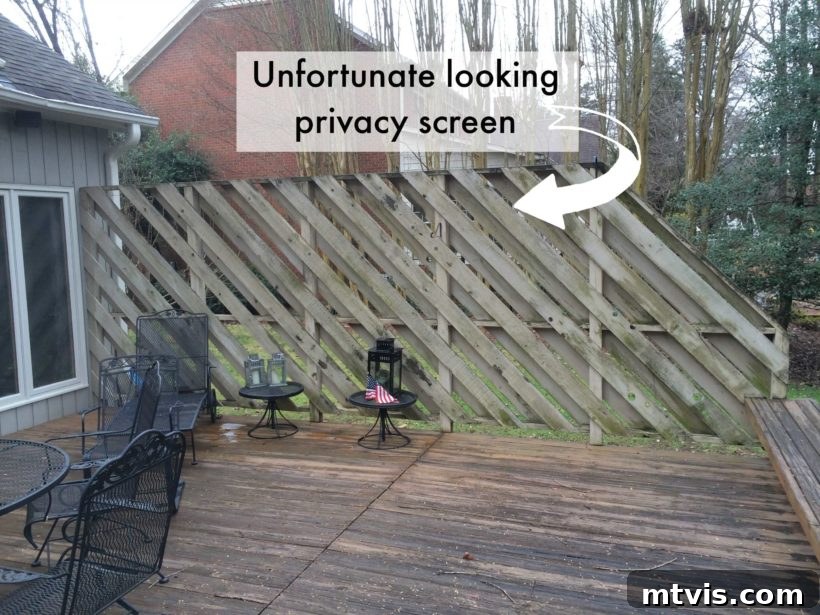
Framing artwork can indeed be a significant expense, often costing more than the art itself. This reality hit us when we embarked on our DIY dining room makeover, where custom framing for several art pieces was essential but unaffordable through conventional means. Our solution? Harnessing the power of reclaimed materials. We had a substantial supply of cedar wood salvaged from an old privacy screen on our back deck, which had already served us well in creating an impressive herringbone plank wall in our kitchen. With plenty of wood still remaining, it became the perfect, free resource for our upcycled art frames. This project not only saved us a considerable amount of money but also allowed us to infuse our home with character and a sense of accomplishment. If you’re looking to frame a piece of canvas art, be sure to check out our dedicated tutorial for making a DIY canvas frame!
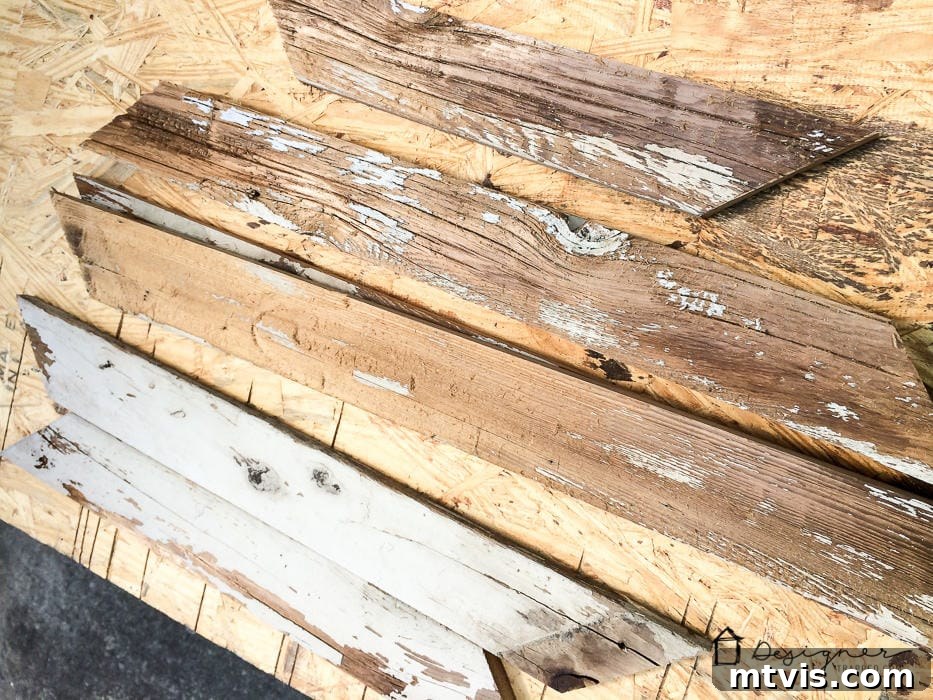
Choosing reclaimed wood for your DIY picture frame project offers numerous advantages. Beyond the significant cost savings, it’s an environmentally friendly choice that gives discarded materials a new life. Reclaimed wood, especially aged cedar like what we used, often possesses a unique patina, natural imperfections, and a story that new wood simply can’t replicate. These characteristics contribute to a rustic, distressed, and truly one-of-a-kind aesthetic that adds depth and warmth to any room. Each knot, grain pattern, and hint of old paint tells a part of its history, making your frame more than just a holder for art—it becomes a piece of art in itself.
This post contains affiliate links for your convenience. Click here to read my full disclosure policy.
How to Make a DIY Picture Frame from Reclaimed Wood
Creating your own picture frame is a rewarding experience that allows for complete customization. Here’s a detailed breakdown of the materials and tools you’ll need, along with step-by-step instructions to ensure a perfect, sturdy, and beautiful frame for your cherished artwork.
Materials and Tools Needed for Your DIY Picture Frame:
- Reclaimed wood: The star of our project! We utilized old fence pickets, but fantastic alternatives include pallet wood, barn wood, or any other salvaged timber you can acquire. The more character the wood has (knots, nail holes, weathered appearance), the better for achieving a rustic look. Before starting, consider how you want the wood to look. I lightly pressure washed our wood to remove most, but not all, of the existing paint, purposefully retaining some chipped paint for a distressed, charming finish. Ensure your chosen wood is dry and relatively free of excessive dirt or debris.
- Compound miter saw OR hand saw and miter box: A miter saw offers unparalleled precision for cutting accurate 45-degree angles, which are crucial for perfectly joined frame corners. If you don’t own one, a hand saw paired with a miter box can achieve similar results with a bit more manual effort and careful alignment. Safety first: always wear eye protection when cutting.
- Carpenter square: An indispensable tool for marking straight lines and ensuring your cuts are perfectly perpendicular or at precise angles. This will be vital for accurate measurements and cuts.
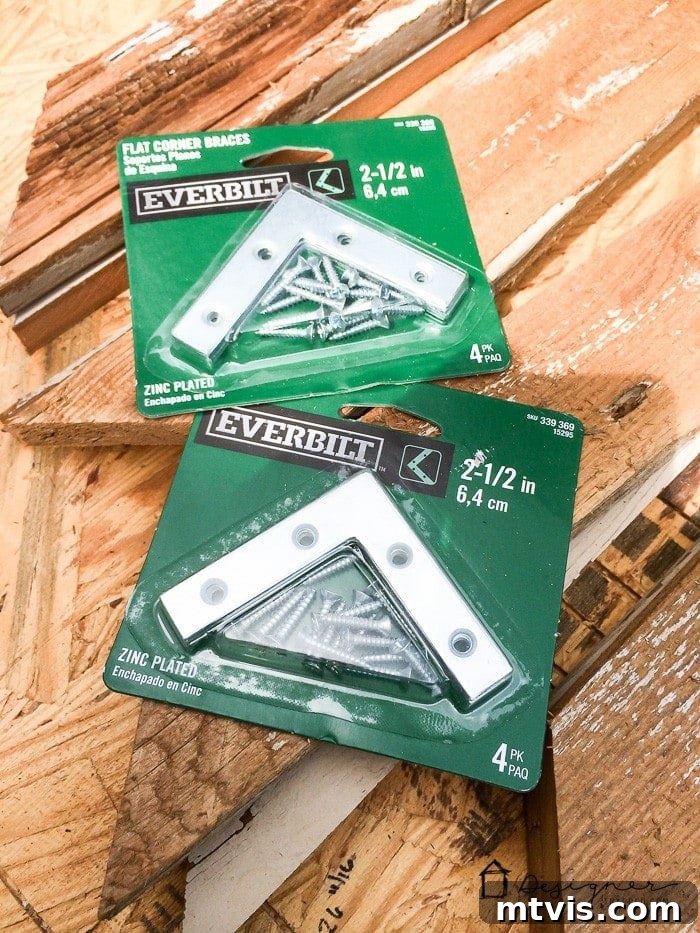
- Flat corner braces: These metal brackets provide structural integrity to your frame, securely joining the mitered corners. Choose a size appropriate for your wood’s width.
- Photo hanging hardware: Essential for displaying your finished frame. D-rings, picture wire, or saw-tooth hangers are common options. Select hardware suitable for the weight of your frame and artwork.
- Spray paint (optional): If you wish to customize the color of your corner braces to match or contrast with your frame, a can of spray paint works wonders. Matte black or oil-rubbed bronze can enhance an industrial or rustic aesthetic.
- Screwdriver or drill driver: For attaching the corner braces and hanging hardware. A drill driver with appropriate bits will make this task quicker and easier, but a standard screwdriver works just as well.
- Small nails or staple gun: To secure your mounted artwork within the frame. A staple gun offers speed and ease, while small finishing nails provide a classic hold.
Materials and Tools Needed to Mount Artwork:
- Craft knife: A sharp craft knife or utility knife is crucial for precise cutting of the foam core board without tearing.
- Foam core board: This lightweight, rigid board provides a stable backing for your artwork. It’s often available affordably at dollar stores or craft supply retailers.
- Spray adhesive: A strong, repositionable spray adhesive ensures your artwork is smoothly and securely attached to the foam core board without wrinkles or bubbles.
Step-by-Step Guide to Building Your Reclaimed Wood Frame:
1) Measure Your Art and Plan Your Cuts Precisely: The first and most critical step is accurately measuring the artwork you intend to frame. This measurement dictates the dimensions of your frame’s inner edge. To ensure the artwork sits neatly behind the frame, with enough wood to attach it securely, the inside edge of your frame pieces must be slightly smaller than your art. We recommend cutting your wood so that the inside edge of each mitered board is approximately 1 inch shorter than the corresponding dimension of your art. For example, if you’re framing a 16 x 20-inch piece of art, you’ll want to cut two pieces that are 15 inches long on their inside edge and two pieces that are 19 inches long on their inside edge. This overlap allows for a professional finish and a sturdy mounting surface. Carefully write down these target inner dimensions.
2) Mark and Cut Your Wood with Utmost Accuracy: Once you have your measurements, use your carpenter square to mark your cutting lines on the reclaimed wood. Accuracy here is paramount for seamless corners. Set the angle of your miter saw (or miter box) precisely to 45 degrees. When cutting, it is absolutely vital that the two longer pieces of your frame are exactly the same length, and similarly, the two shorter pieces are also identical. The best technique to achieve this consistency is to cut both long pieces simultaneously, aligning them carefully before making the cut. Repeat this process for the two shorter pieces. This method minimizes discrepancies and ensures your mitered corners will align perfectly when assembled. Always double-check your angles and lengths before making the final cut. Remember to wear appropriate safety gear, including eye protection, during all cutting operations.
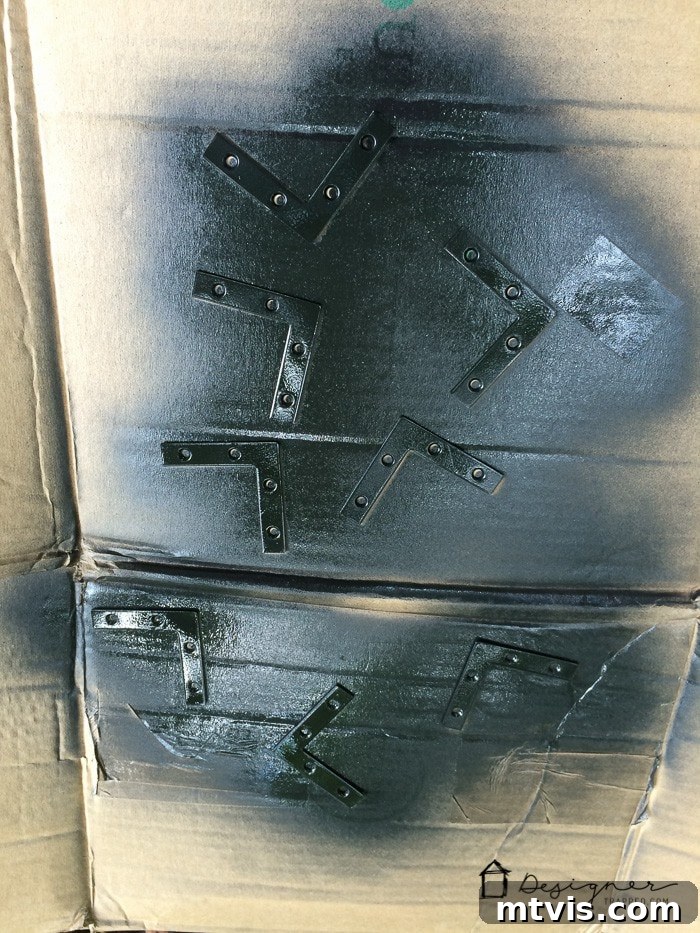
3) Personalize Your Flat Corner Braces (Optional): While functional, flat corner braces can also contribute to the overall aesthetic of your frame. If you desire a specific look, now is the time to spray paint them. For our frames, we chose a classic black finish for the braces to create a subtle industrial contrast against the rustic wood. However, we intentionally left the screws silver to add an extra layer of visual interest and detail. Allow the paint to dry completely according to the manufacturer’s instructions before proceeding.
 |
 |
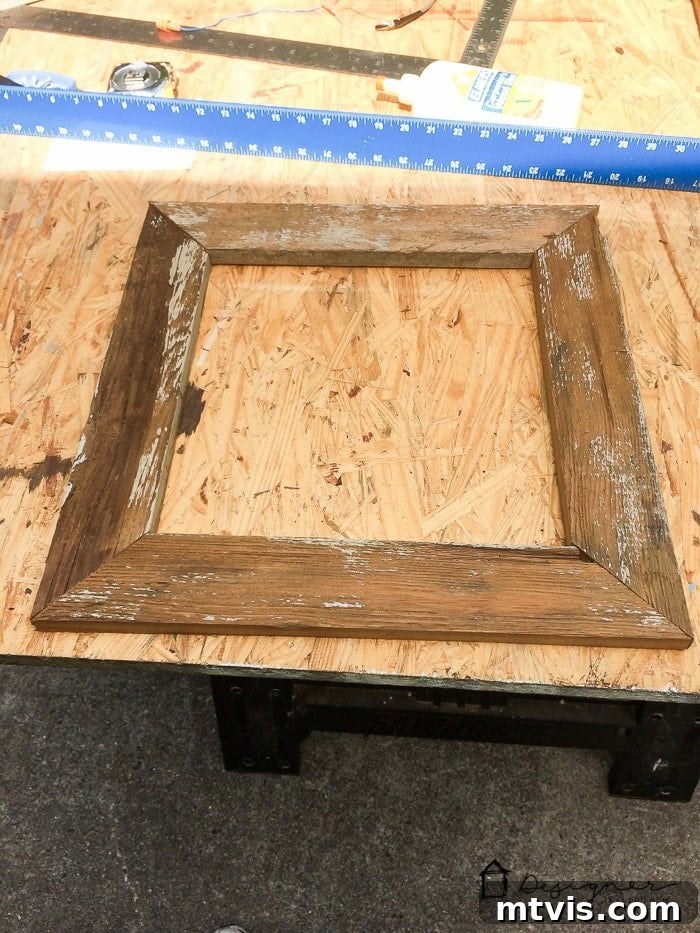
4) Assemble Your Frame with Corner Braces: Lay out your four cut wood pieces on a flat, stable surface, arranging them to form the rectangular or square shape of your frame. Carefully bring the mitered corners together, ensuring they align perfectly. Place a flat corner brace over each mitered joint on the back side of the frame. Using your screwdriver or drill driver, secure the braces in place with the provided screws. Take care not to overtighten the screws, especially with softer reclaimed wood, to avoid stripping the wood or cracking it. Ensure all joints are tight and the frame is square before moving on.
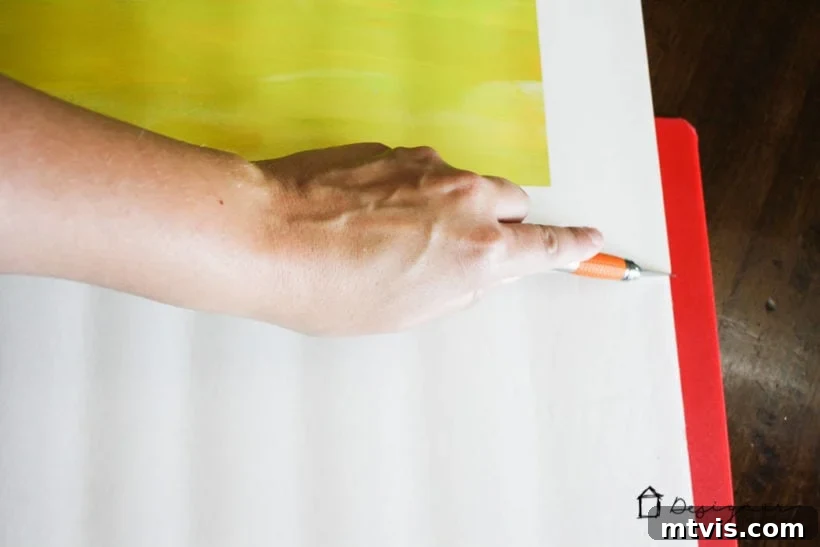
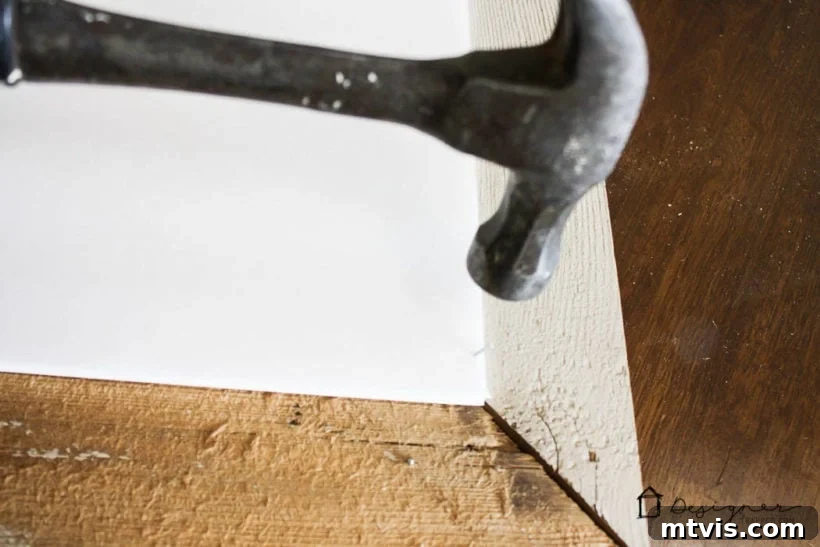
5) Mount Your Artwork to Foam Core Board: Prepare your artwork for mounting. We sourced our beautiful art prints from Minted. Lay your chosen art print flat on a clean surface. Place a piece of foam core board slightly larger than your artwork next to it. Apply spray adhesive evenly to one side of the foam core board, following the product instructions for best adhesion. Carefully position your artwork onto the adhesive-coated foam core, starting from one edge and smoothly pressing it down to avoid air bubbles or wrinkles. Take your time to ensure perfect alignment. Once your art is securely adhered, use your craft knife and a straight edge to trim the foam core board precisely to the exact size of your artwork. This creates a clean, rigid backing for your print.
Then trim the foam core board to size using your craft knife.
6) Secure the Mounted Artwork Within Your Frame: Gently place your foam core-mounted artwork into the back of your assembled frame. Ensure it is centered and sits flush against the inner lip of the frame. Use small finishing nails or a staple gun to attach the foam core board to the back edge of the frame. Space your nails or staples every few inches around the perimeter, making sure they penetrate the wood frame securely without coming through the front. This step firmly holds your artwork in place, preventing it from shifting within the frame.
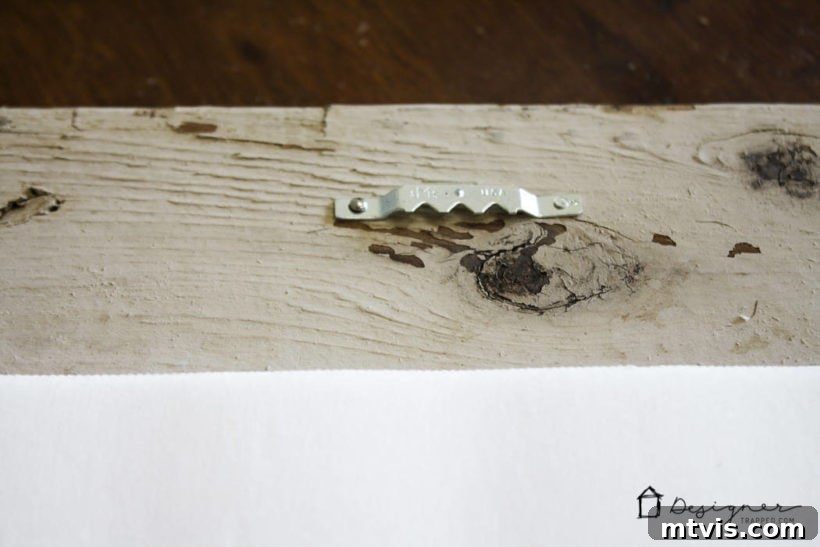
7) Attach Hanging Hardware and Prepare for Display: Turn your frame over to the back. Determine the best placement for your chosen photo hanging hardware. For larger frames, two D-rings with picture wire are often recommended for balanced hanging. For smaller frames, a single saw-tooth hanger might suffice. Measure carefully to ensure the hardware is centered horizontally and placed at a height that allows the frame to hang level. Secure the hardware using the provided screws. Double-check that all screws are tight and the hardware is firmly attached. Now your beautiful, custom-made frame is ready to be admired!
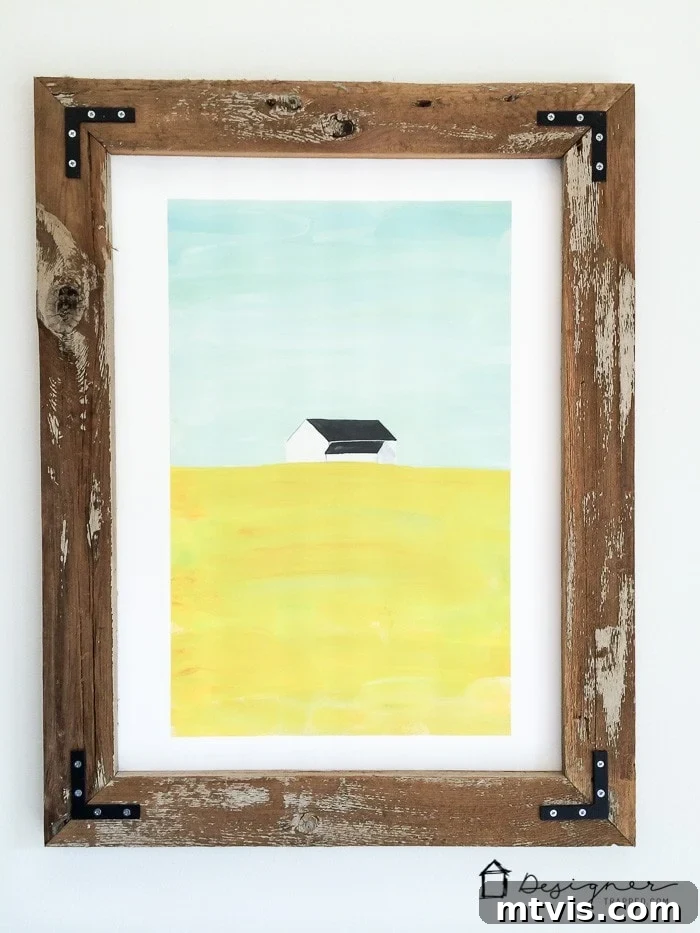
8) Hang it up and admire your new DIY art!
It’s truly that simple! We successfully crafted three of these unique frames for various art prints, all sourced from Minted. Thanks to our use of reclaimed wood that we already had on hand, the only cost incurred was for the necessary hardware. This meant each frame cost us approximately $5.00 – an incredible saving compared to retail prices, and the result is something we cherish far more than any store-bought alternative. The blend of rustic wood and industrial hardware creates a captivating aesthetic that complements our dining room beautifully. We absolutely love the distressed texture and the story each piece of reclaimed wood tells. What are your thoughts on this rustic, industrial look?
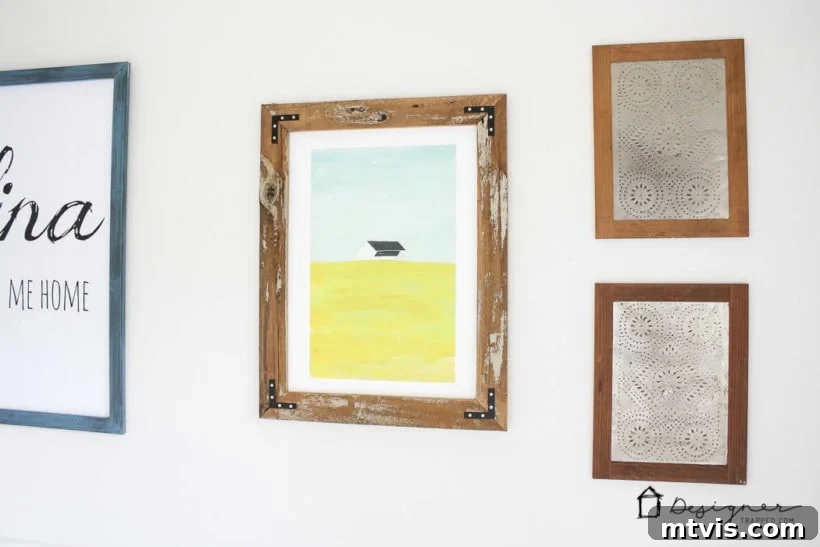
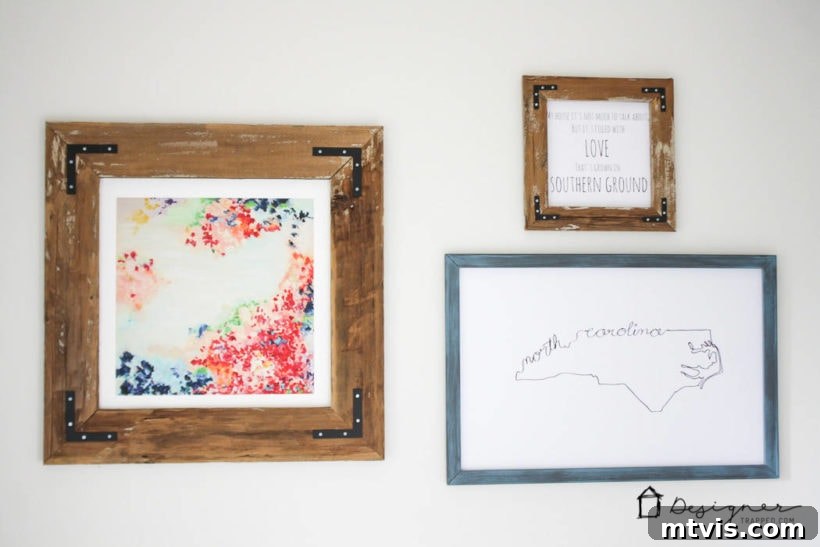
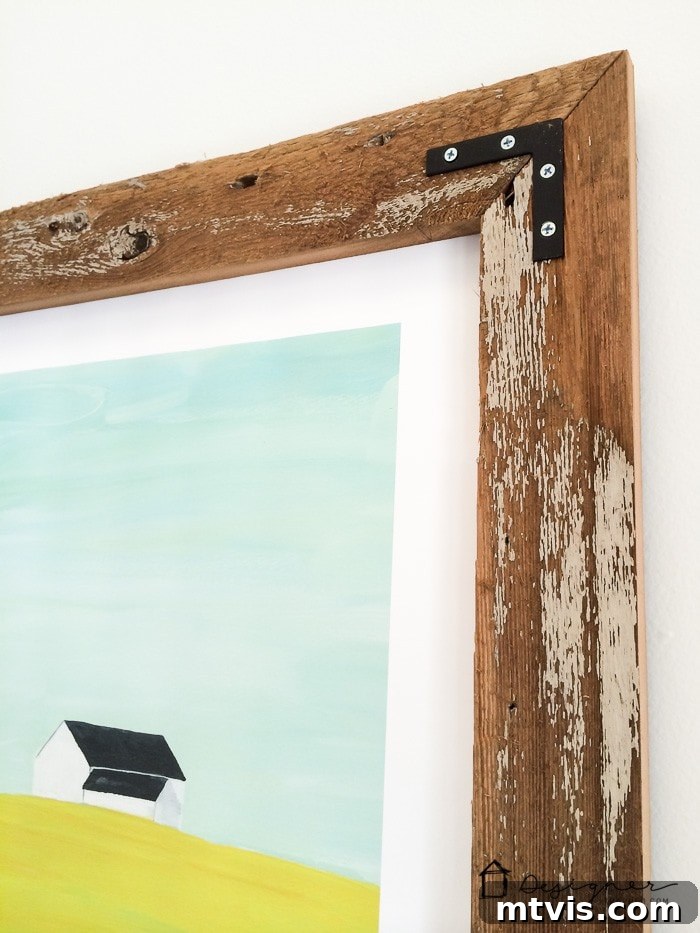

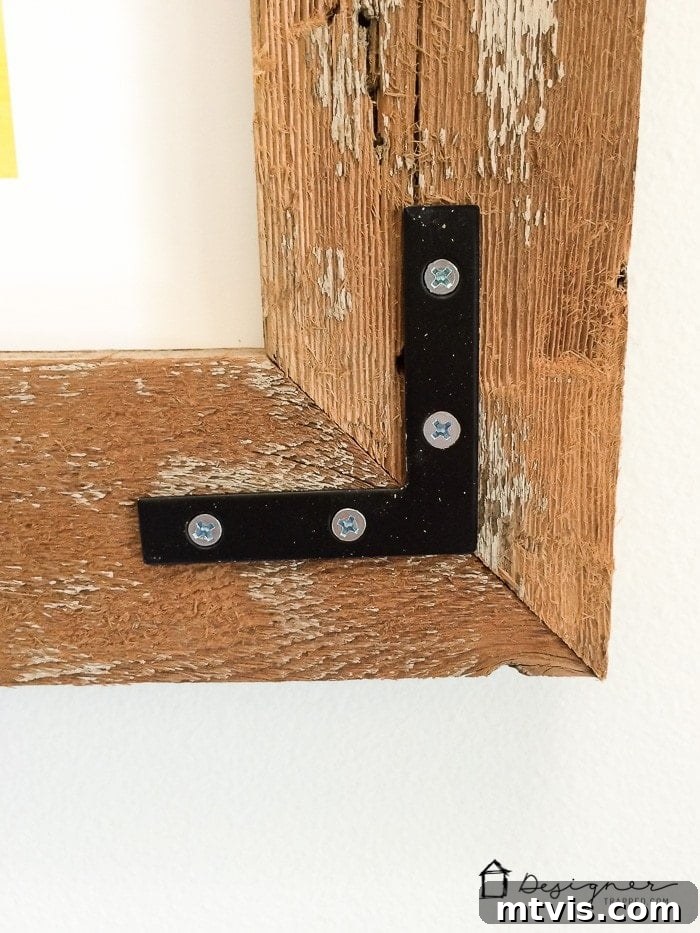
All three frames we meticulously crafted are now proudly displayed on a gallery wall in our dining room. We couldn’t be happier with how they turned out, bringing a unique character and a personal touch to the space that truly reflects our style and commitment to sustainable DIY projects.
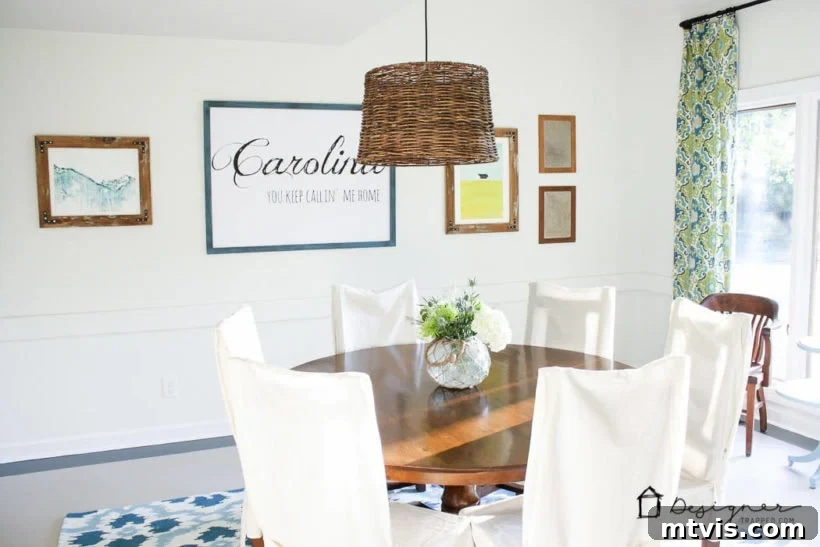
Source List for Your Project
Below is a list of where we sourced our art and inspiration for other DIY projects mentioned in this post. While we loved collaborating with various brands, the heart of this project remains the reclaimed wood and DIY spirit!
Art from Minted:
We were thrilled with the quality and selection of art prints we received from Minted for our dining room gallery wall. For specific print details, please refer to their website. (Note: The original dynamic widget for Minted art has been replaced with static text to adhere to the request of removing Javascript content).
Other DIY Art and Projects Pictured:
Discover how to create your own large-scale statement piece with our DIY Large Scale “Carolina” Art Print tutorial.
Now that you’re equipped with comprehensive ideas and detailed instructions on how to frame your favorite art, why stop there? Take this inspiration and apply the same creative, budget-friendly approach to other areas of your home. Building a beautiful home doesn’t have to be overwhelming or costly; it’s about thoughtful design and embracing the power of DIY.

I was not compensated for this post, but I was fortunate enough to be provided with free art prints for our dining room from Minted to sample. As always, I would never recommend something I do not truly love!