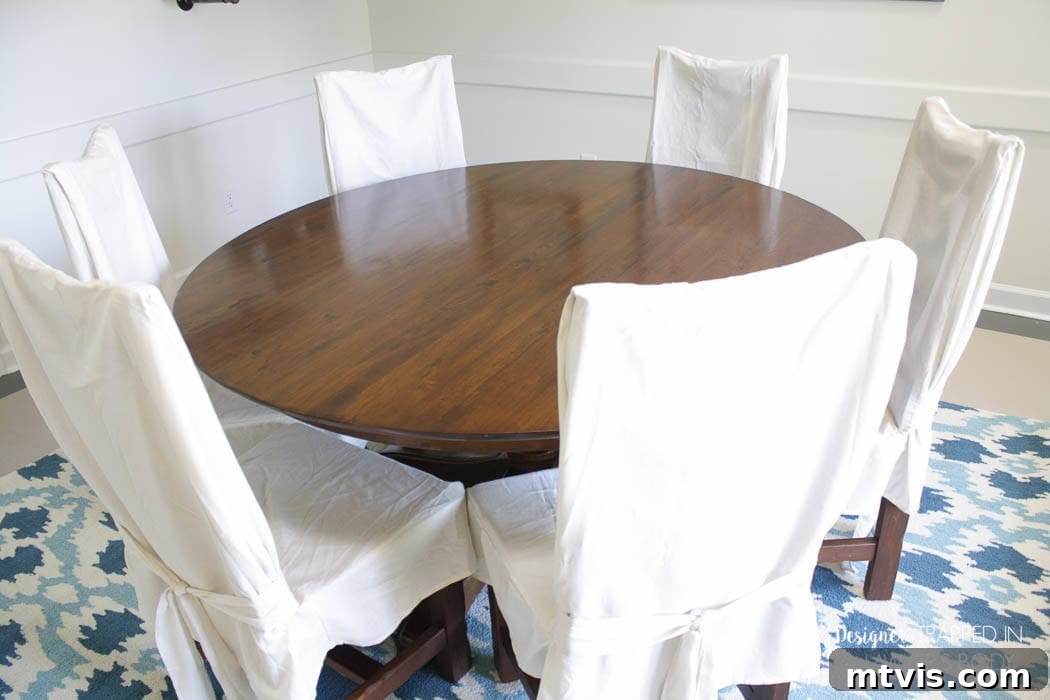
Revitalize Your Furniture: A Simple Guide to Refinishing a Table Without Sanding or Stripping
This comprehensive guide is proudly sponsored by Mohawk. All opinions expressed are 100% my own, born from my genuine experience with these exceptional products. This post also contains some affiliate links for your convenience. Click here to read my full disclosure policy.
Transform Your Dining Table: The Ultimate No-Sanding, No-Stripping Refinishing Method
Hello, fellow DIY enthusiasts! Get ready to be absolutely thrilled, because I’m about to share a game-changing secret with you: how to refinish a table without the grueling, messy, and time-consuming processes of traditional sanding or stripping. Seriously, you can thank me later!
Our journey with this particular dining room table began almost five years ago when we stumbled upon a fantastic deal on Craig’s List. It was a high-quality, solid piece from Pottery Barn – we managed to snag the table and six accompanying chairs for a mere $400. While it was a steal, the table was visibly worn when we brought it home. We always intended to refinish it, promising ourselves we’d get to it “eventually.” Well, as years passed and our family continued to add its own unique brand of wear and tear, “eventually” turned into “now,” thanks to a remarkable discovery: a line of incredible Mohawk products. These products completely revolutionized the process, allowing us to restore our table beautifully without any stripping and only minimal, targeted sanding (primarily to remove a few tiny spots of fingernail polish I had accidentally left behind – #oops). The best part? The entire project took me roughly three hours from start to finish. If I had known it could be this easy and efficient, I would have tackled it ages ago!
Before we dive into the step-by-step transformation, let me show you just how tired and worn our table looked prior to its much-needed makeover.
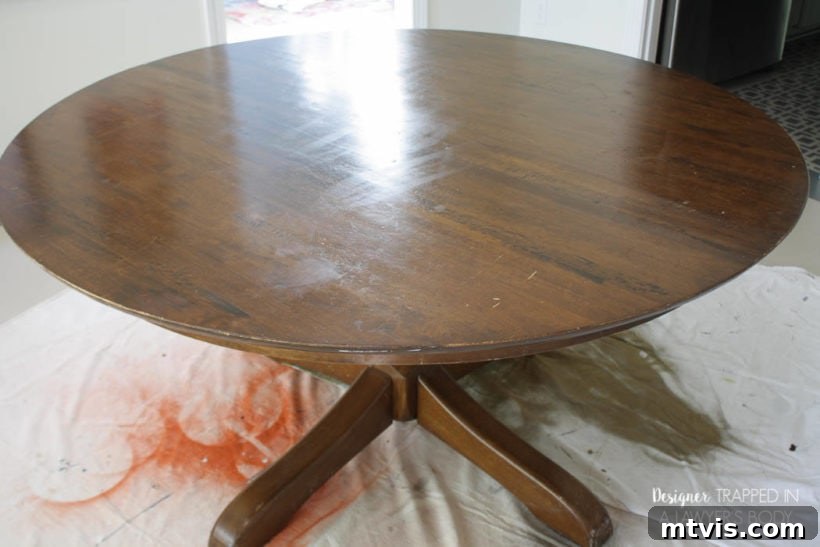
The edges of the tabletop were beyond “worn”; they were severely faded and chipped. The original wax finish had become splotchy and uneven, and the entire surface bore the marks of countless meals, craft projects, and everyday life. It was, quite frankly, plain beat up!
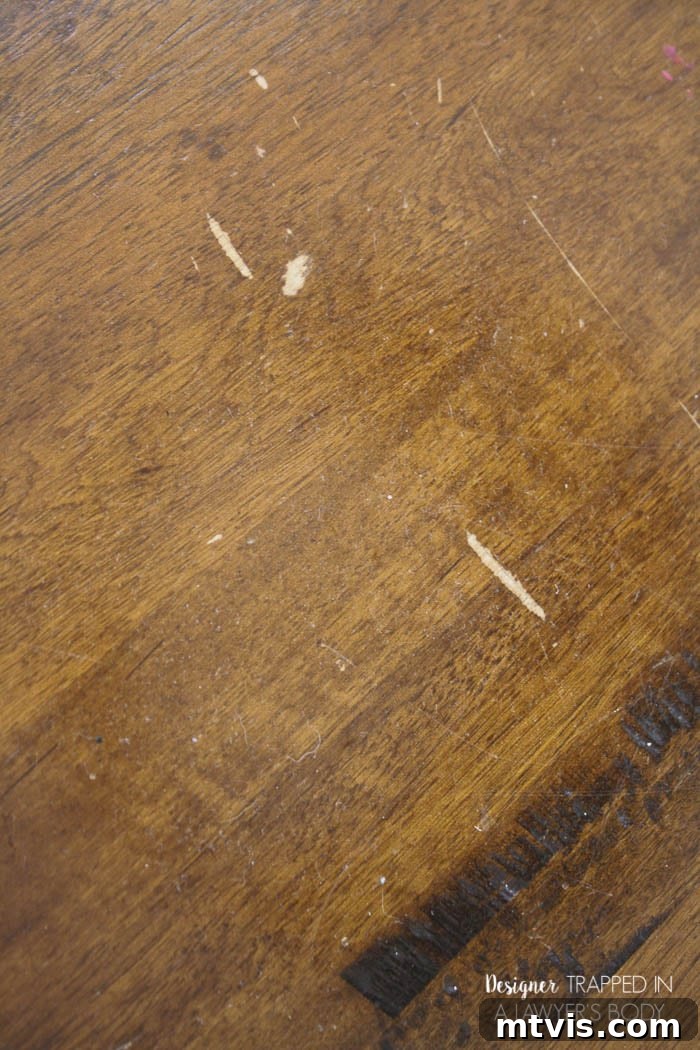
You can see the deep scratches and fading that had accumulated over the years, making the once elegant wood appear dull and uncared for. Each imperfection told a story, but it was time for a new chapter.
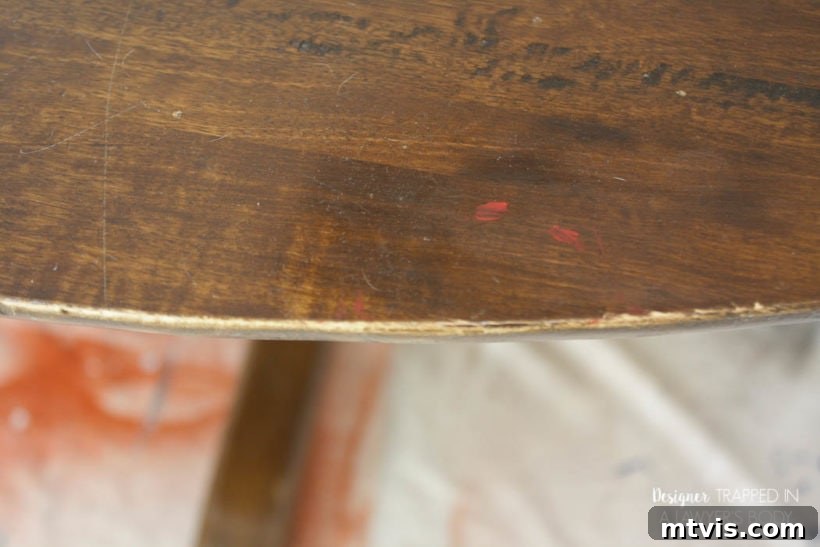
The integrity of the table’s edges was particularly compromised, with significant areas where the finish had worn completely away, leaving raw, exposed wood vulnerable to further damage.
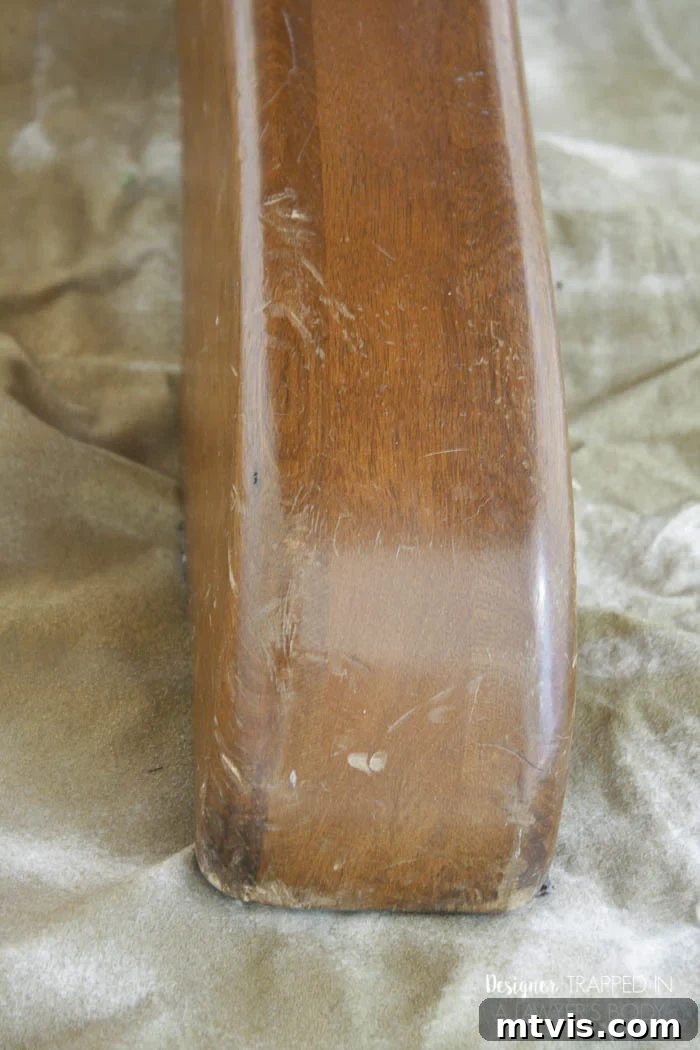
Even the sturdy pedestal base, often overlooked, showed signs of considerable wear, scuffs, and chips, suggesting that a full restoration was truly in order. It looked like a daunting task, but with the right approach, it was surprisingly achievable.
Essential Materials for Your No-Sanding Table Refinish
As a blogger, I was incredibly fortunate to test out these professional-grade Mohawk products. But here’s the exciting news for everyone: Mohawk has recently launched a consumer line featuring all the amazing products I used, making this incredibly effective method accessible to all DIY enthusiasts! You can easily shop all of the consumer products Mohawk offers here.
- Mohawk Ultra Touch-up Marker: Perfect for blending out minor scratches and faded areas, matching your existing wood tone seamlessly.
- Mohawk Wax Wash Remover: An absolute must-have for thoroughly cleaning and degreasing your surface, especially if it has an existing wax or oily buildup.
- Mohawk Wiping Wood Stain: A unique, thin stain formula that allows for easy application and controlled color adjustments without heavy penetration.
- Mohawk Quick Fill Burn-In Stick (or the improved Permafill Set): This ingenious tool allows you to melt and fill deep gouges and chips, effectively repairing significant damage. The Permafill set makes this process even more user-friendly.
- Satin Polyurethane: For a durable and protective topcoat with a beautiful, understated sheen.
- Paper towels or clean lint-free rags: Essential for wiping, cleaning, and applying stain.
- Latex or nitrile gloves: To protect your hands from chemicals and stains.
- Foam brush: Ideal for applying the wiping stain evenly.
- Drop cloth: To protect your work area from drips and spills.
Step-by-Step Guide to Refinishing Your Table (The Easy Way!)
Forget the dust, the mess, and the back-breaking labor. Here’s how you can achieve stunning results with minimal effort:
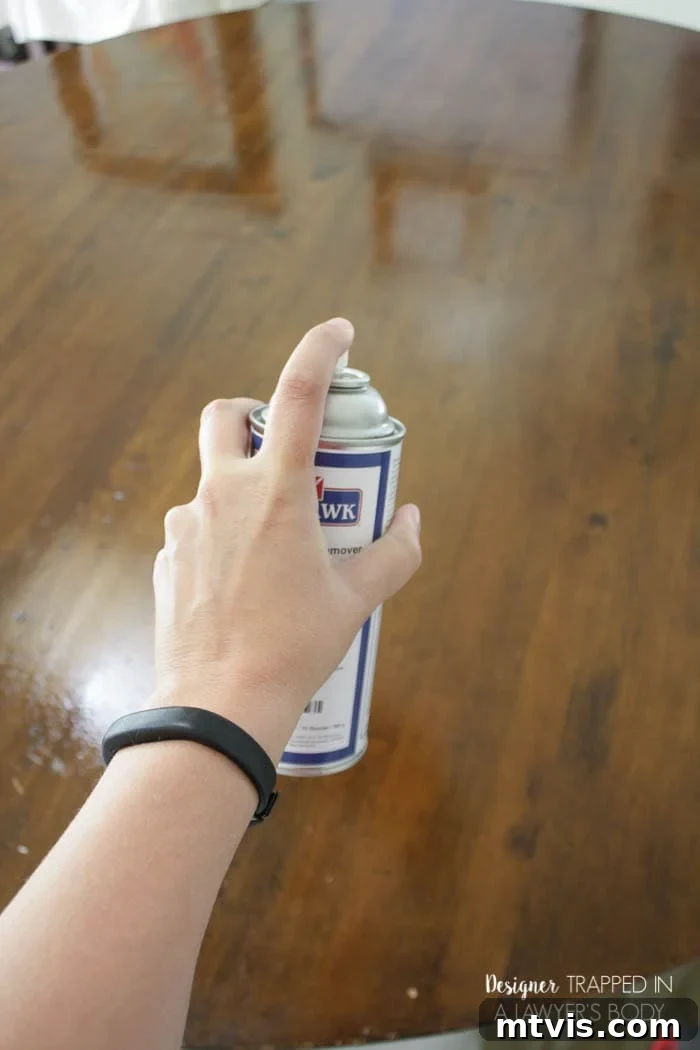
1) Thoroughly Clean with Wax Wash Remover: Our dining table had years of accumulated wax and grime, which needed to be removed before any new finish could adhere properly. This is where Mohawk’s Wax Wash Remover truly shines. I simply sprayed it directly onto the tabletop and immediately wiped it off with clean paper towels. It was incredibly fast – the entire table was clean in about four minutes! The process was astonishingly easy, revealing just how much dirt had been hiding beneath the surface. Be aware that the spray does emit some fumes, so it’s crucial to ensure good ventilation by opening windows if you’re working indoors, as I was.
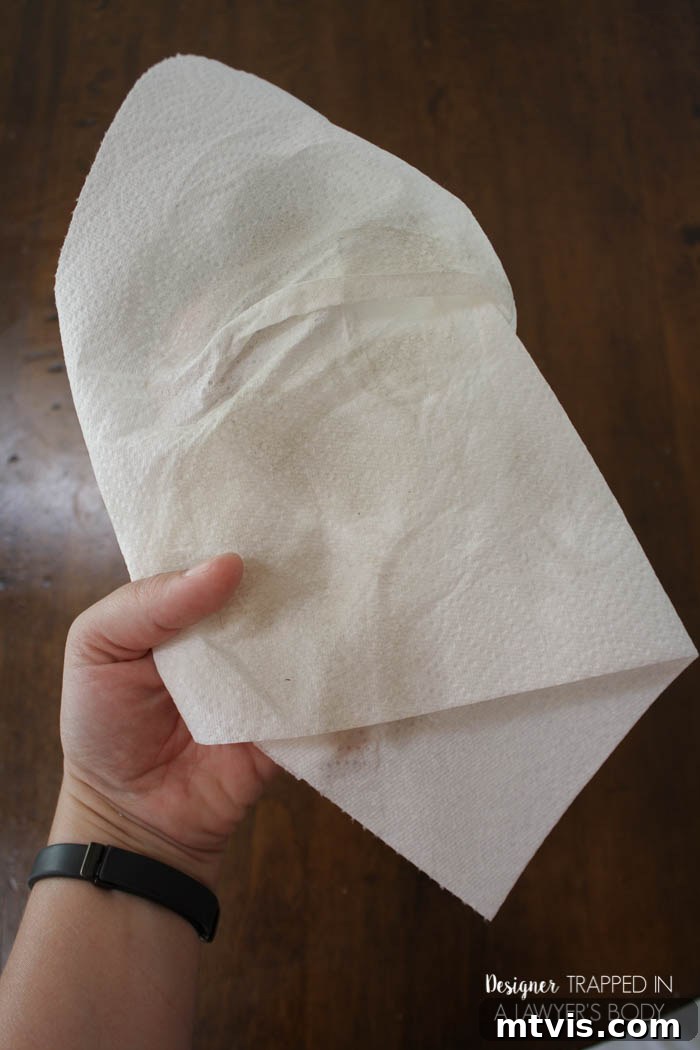
Prepare to be grossed out (and a little satisfied) by the amount of dirt this product pulls off! Apparently, we were living like filthy animals, because just look at what came off our table. #donotjudgemeplease
2) Minimal Spot Sanding (Only if Necessary): Let me emphasize this point: you ABSOLUTELY DO NOT NEED TO SAND your entire table unless you have specific, stubborn imperfections like I did. My only reason for sanding was to remove those tiny splotches of fingernail polish that had dried onto the surface. Most people are probably more diligent about protecting their tables than I am! If you find similar stubborn spots, use a very fine-grit sandpaper (220-grit or higher) and sand *only* those specific areas gently until the imperfection is gone. The goal is to avoid widespread sanding and preserve the existing finish as much as possible.
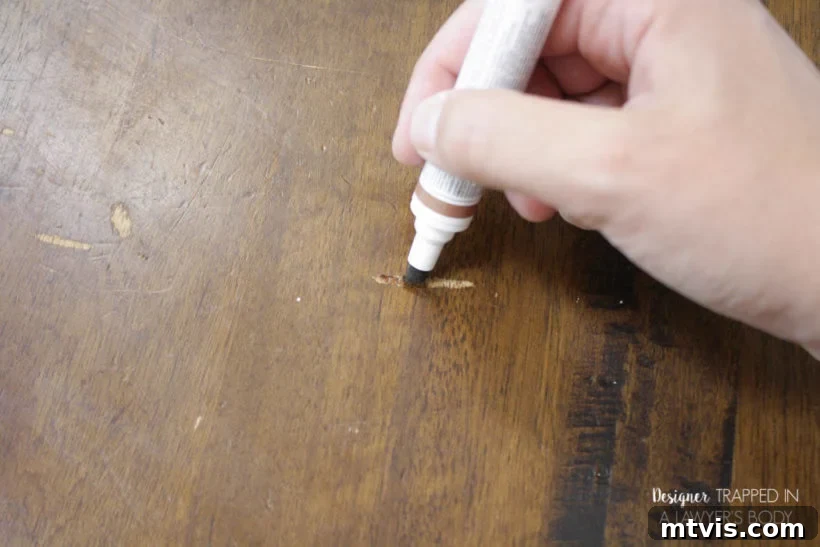
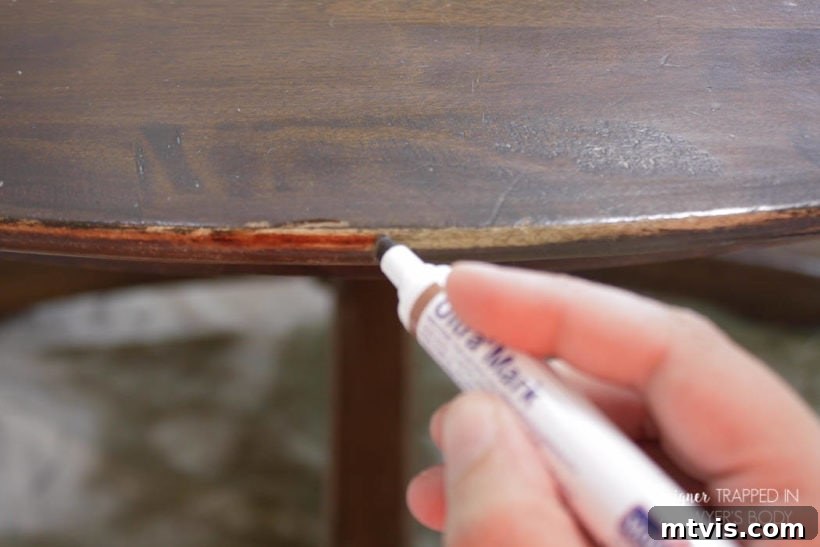
3) Touch Up Scratches and Worn Edges: This step is incredibly satisfying and surprisingly simple. I used the Mohawk Ultra Touch-Up Marker to seamlessly blend away surface scratches and restore the faded, worn edges of the table. Think of it like coloring with a marker – if you can do that, you can do this! Choose a marker shade that closely matches your table’s existing wood tone. Simply apply the marker to the damaged areas, gently feathering the edges to ensure a natural blend. It instantly revives the wood, making minor imperfections disappear.
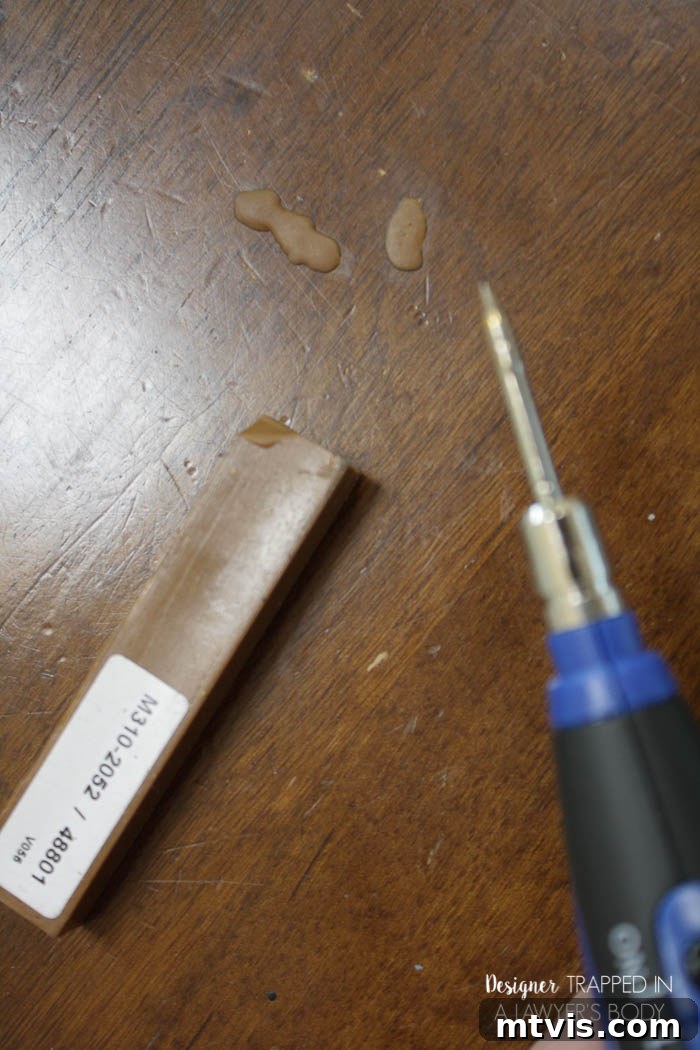
4) Repair Deep Gouges with a Burn-In Stick: This was hands down my FAVORITE step, offering the most dramatic transformation! I used the Mohawk Quick Fill Burn-In Stick to fill the unsightly deep gouges and chips that marred our tabletop. UPDATE: Mohawk has since released this improved Permafill set, which makes this process even more straightforward and efficient.
Before you begin filling, ensure you’ve completed step 3 (touching up with a marker). You want the base of your gouge to be as close to the color of your table as possible before applying the fill. This ensures the repair blends seamlessly. For visual learners, here is a link to an instruction video tutorial. Let me tell you, I found it even easier than the video suggests! You simply use your wood-burning tool (included in the Permafill set) to gently heat up the burn-in stick, allowing tiny melted drops to drip into the gouge. Once filled, use the hot tip of your tool to gently spread the melted liquid, tapping it lightly to release any air bubbles and ensure it settles evenly. Allow it to dry for at least 30 seconds. Don’t worry about any excess drips or overflow on your table surface – they will come right off without damaging the surrounding finish.
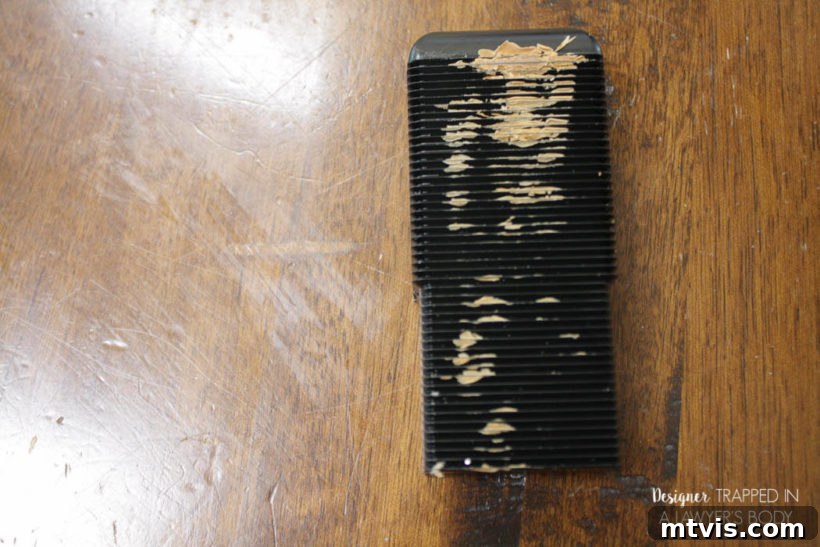
Once the fill is dry, use the plastic leveling tool that comes with the kit. Place the side with the horizontal ridges firmly on top of the filled area and *gently* rub it back and forth. This action precisely shaves off any excess fill, ensuring that the repaired gouge is perfectly level and flush with the surface of your table. The result is an incredibly smooth, virtually undetectable repair that restores the integrity of the wood.
5) Final Cleaning Before Staining: With all the repairs complete, it’s vital to ensure a perfectly clean surface for the stain. I used the Wax Wash Remover to clean the table *one more time*. This step removes any residue from the repair processes and guarantees optimal adhesion for the new stain, preventing any blotchiness or uneven finish.
6) Apply Wiping Wood Stain: Finally, it was time for the staining! Y’all, this Mohawk Wiping Wood Stain is truly AH-MAZING. It’s remarkably thin, which allows for excellent control, but also means you need to exercise care when working with it, as it can splatter easily. Wearing gloves is highly recommended here. I applied the stain with a foam brush, working in small sections, and then almost immediately wiped off the excess with clean paper towels. This method allows you to build up the color gradually until you achieve your desired depth and tone. I found that a single coat was sufficient for our table to achieve the rich, revitalized look we wanted. Like the remover, this stain also emits fumes, so, once again, ensure you are working in a very well-ventilated area!
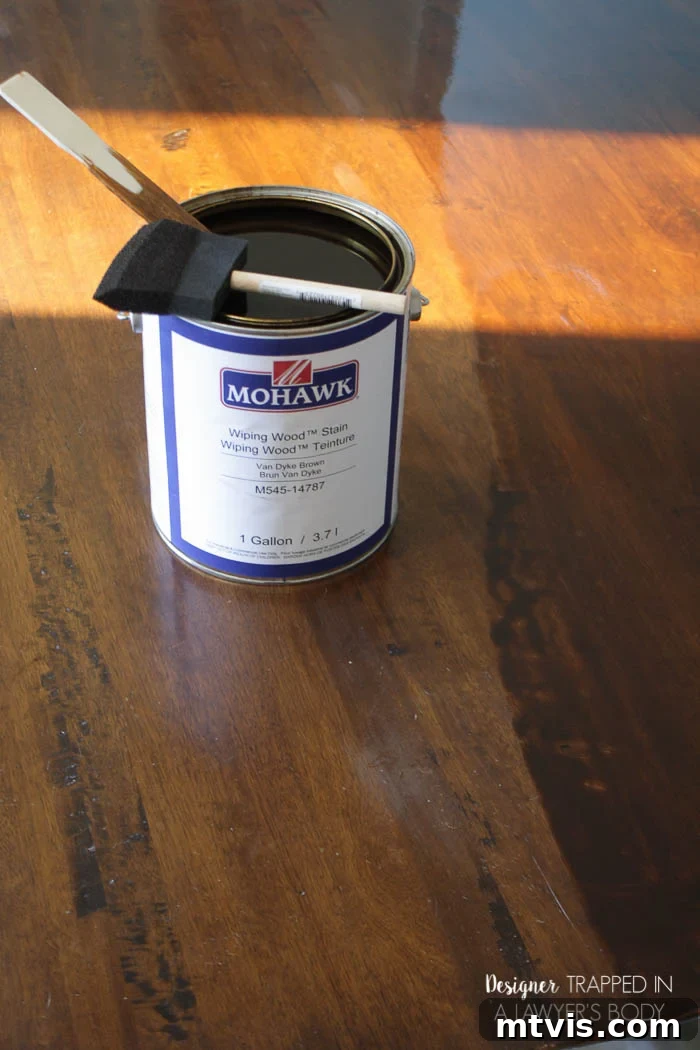
7) Apply a Protective Topcoat: To seal and protect our newly refinished table, I initially applied two coats of a tung oil finish. While it provided good protection, the gloss level was a bit too high for my taste, creating a shinier look than I desired for our dining room. To achieve a more understated and sophisticated aesthetic, I followed up with two coats of a satin, wipe-on polyurethane. Polyurethane offers excellent durability against daily wear and tear, and the satin finish provided the perfect subtle sheen I was looking for, enhancing the wood’s natural beauty without being overly reflective. Always follow the manufacturer’s instructions for drying times between coats.
Ready to witness the incredible transformation? I am absolutely THRILLED with how our table turned out!
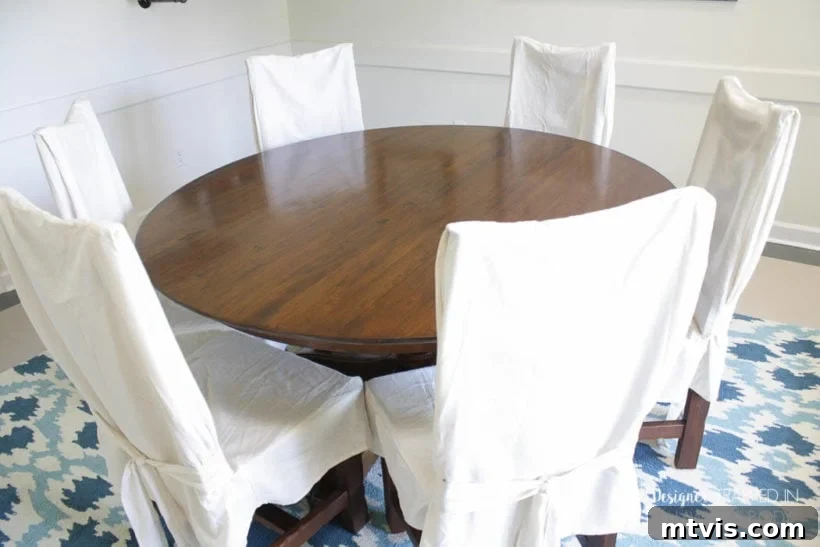
Take a closer look at those old gouges – they are virtually imperceptible now! The seamless repairs are a testament to the effectiveness of the Mohawk burn-in sticks.
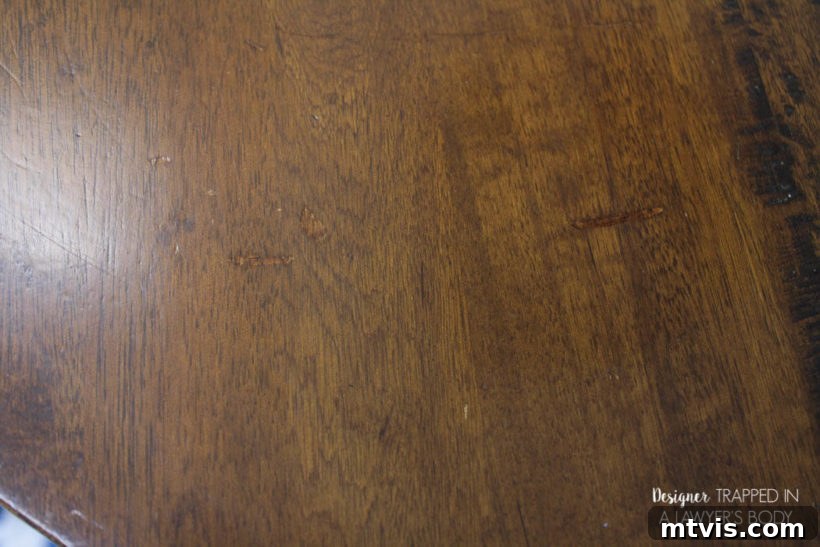
And those severely worn edges? Completely gone! They’ve been beautifully restored, bringing back the crisp, defined lines of the table.
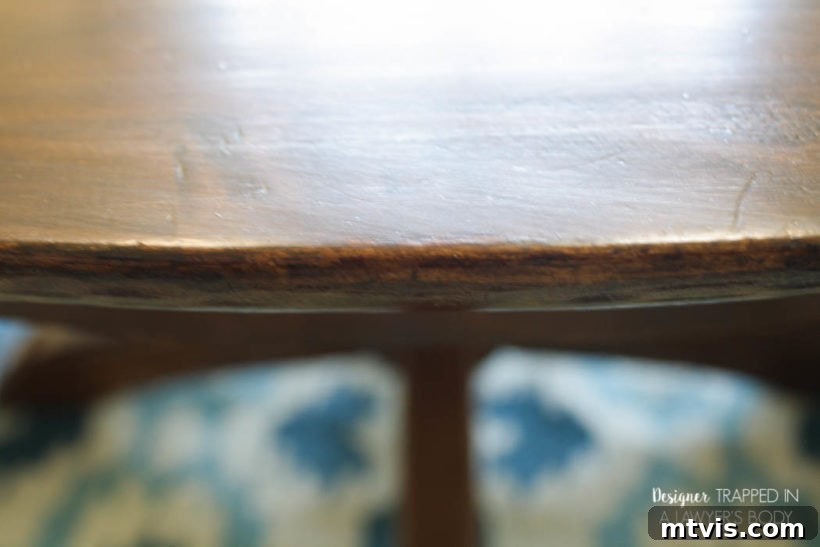
I truly cannot get over how absolutely amazing the pedestal base looks now. Before, I honestly thought it was beyond any reasonable repair, but now it’s a focal point of beauty and craftsmanship.
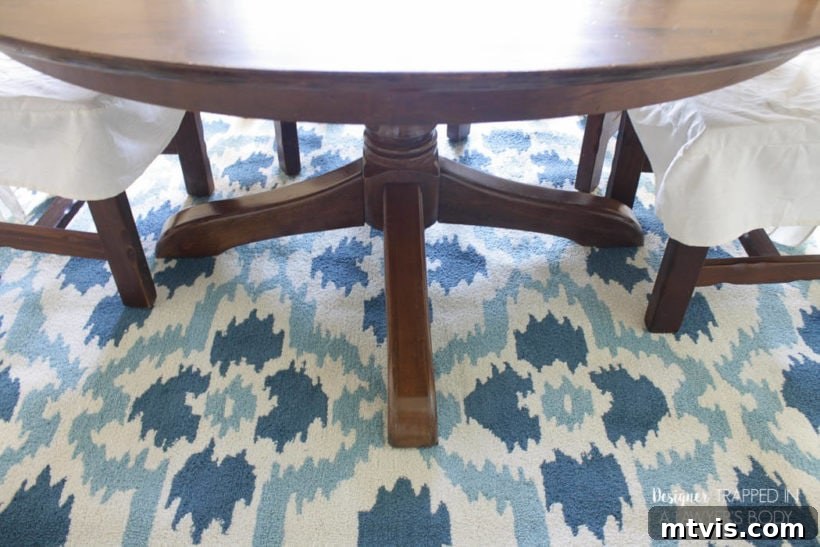
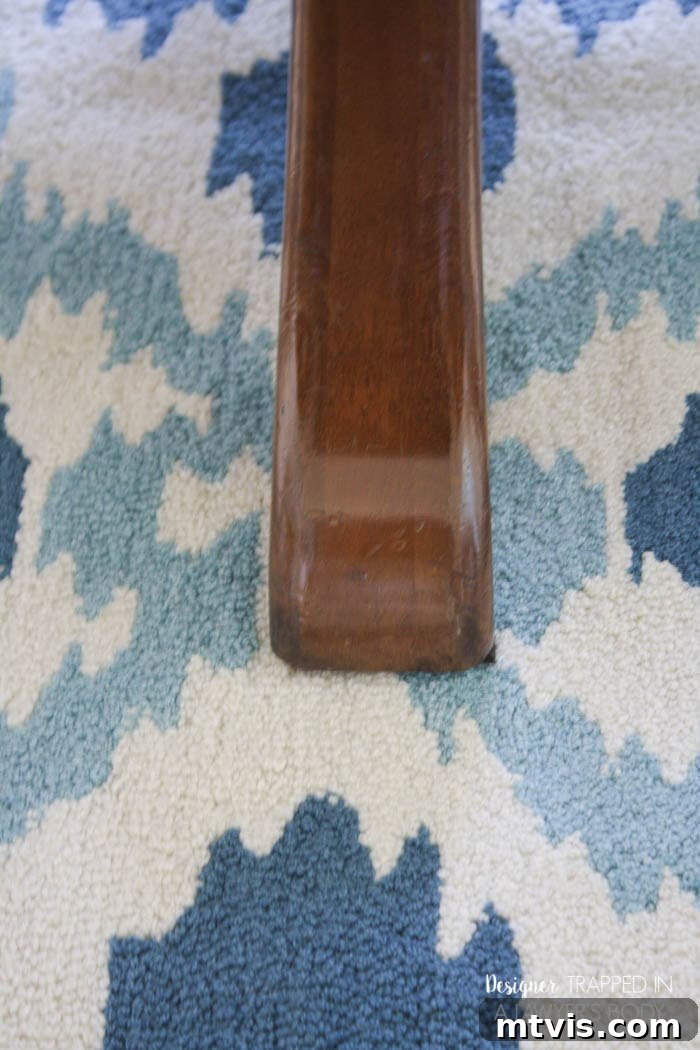
Eager to see the full dining room reveal and how this stunning table fits into the overall decor? Click here to explore all the details! But for now, here’s a sneak peek that hints at the complete picture of elegance and style: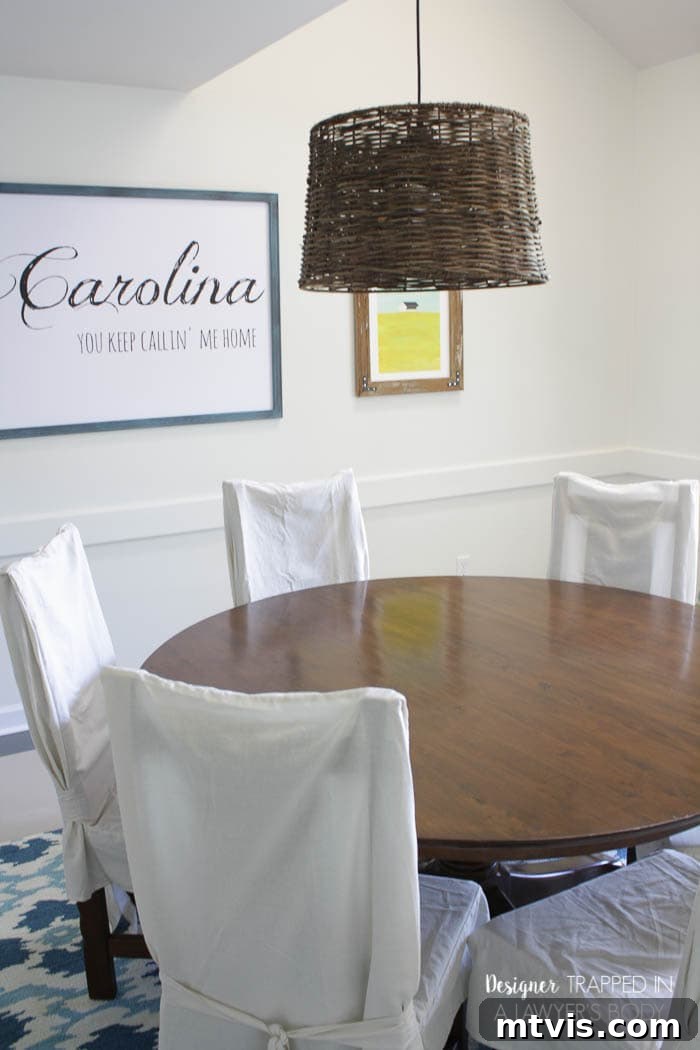
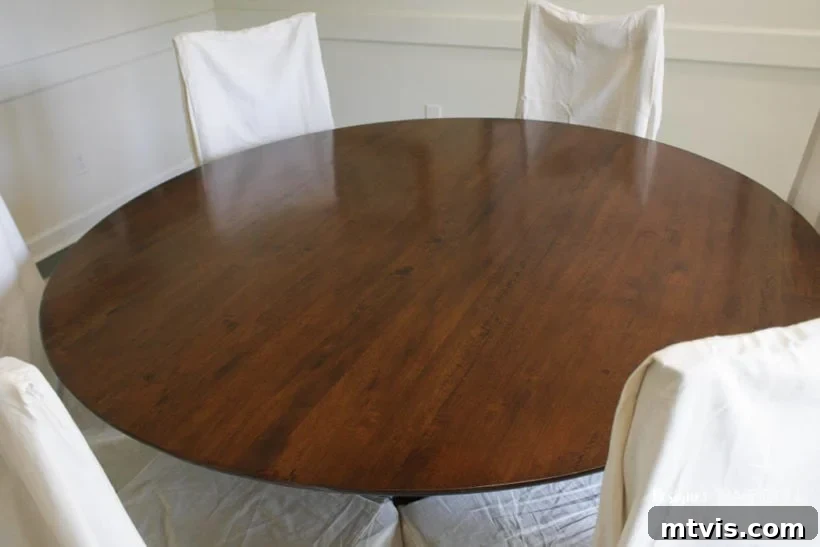
And one final, captivating look at the beautifully refreshed table, now a true centerpiece in our home!
Embrace DIY Furniture Restoration: Beyond Just Tables
What are your thoughts? Are you feeling a little less intimidated about tackling a furniture refinishing project now? I sincerely hope this guide empowers you to give your beloved pieces a new lease on life without the daunting task of heavy sanding or stripping! This method is not just for tables; it’s a versatile approach that can revitalize many types of wood furniture.
If you’re eager to delve deeper into the world of DIY furniture treatments, we have plenty more to inspire you! We successfully rejuvenated two beautiful chairs with a surprisingly simple technique—check out this tutorial for refinishing wood chairs. For those who love a complete change, I’ve also painted lots of furniture to give it a completely fresh and modern look! Don’t miss these awesome, detailed tutorials:
- How to Paint Furniture With Chalk Decorative Paint: A Step-by-Step Guide
- DIY Furniture Restoration Tutorial: Bringing Old Pieces Back to Life
Before you gather your supplies and embark on your next DIY adventure, be sure to explore all the free guides, exclusive information, printable resources, and much more that my VIPs receive! Subscribe today and gain instant access to a treasure trove of resources conveniently organized in one digital library. Happy DIYing!