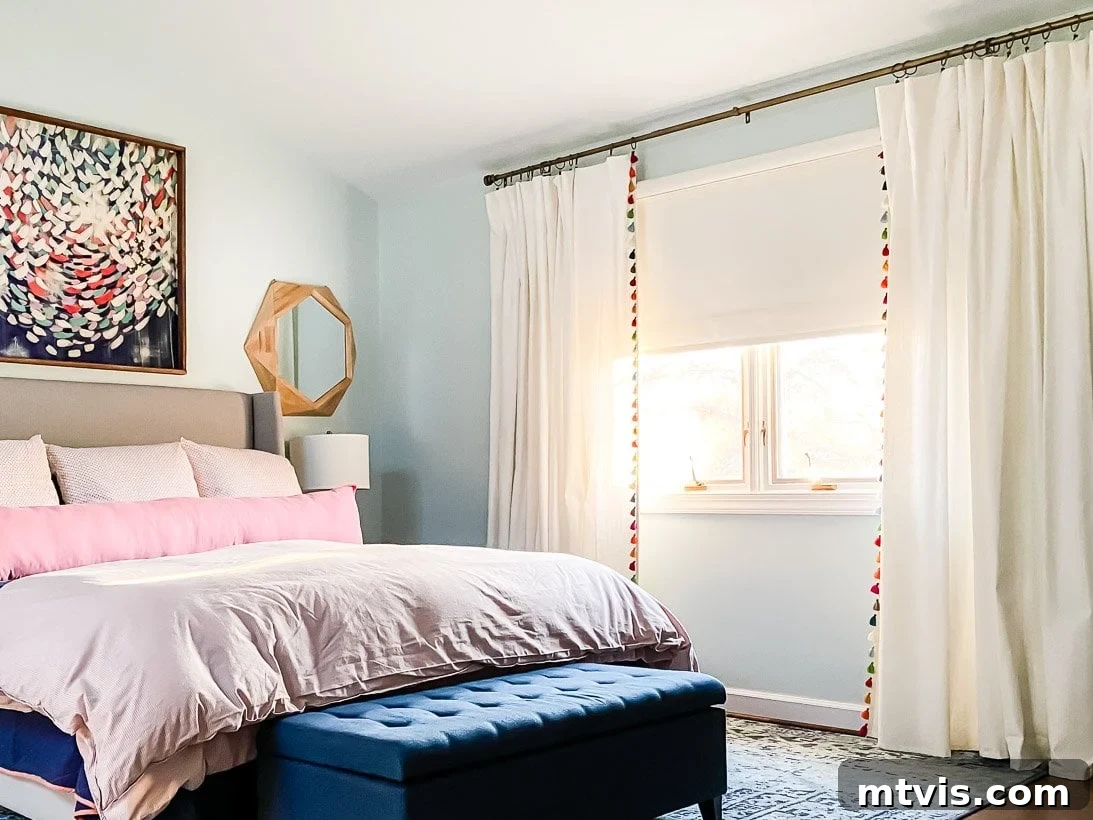
Transform Your Home: Easy DIY Tassel Curtains for a Custom Look on a Budget
Dreaming of elegant, custom curtains that perfectly complement your home decor, but dreading the exorbitant price tag? You’re not alone! Custom window treatments can indeed be incredibly expensive, often pushing beautiful design out of reach for budget-conscious homeowners. But what if I told you there’s an ingenious, surprisingly simple way to achieve that high-end, bespoke curtain aesthetic without breaking the bank? Get ready to discover a game-changing DIY project: colorful tassel curtains that look professionally made, yet are incredibly affordable and easy to create – even if you’ve never threaded a sewing machine!
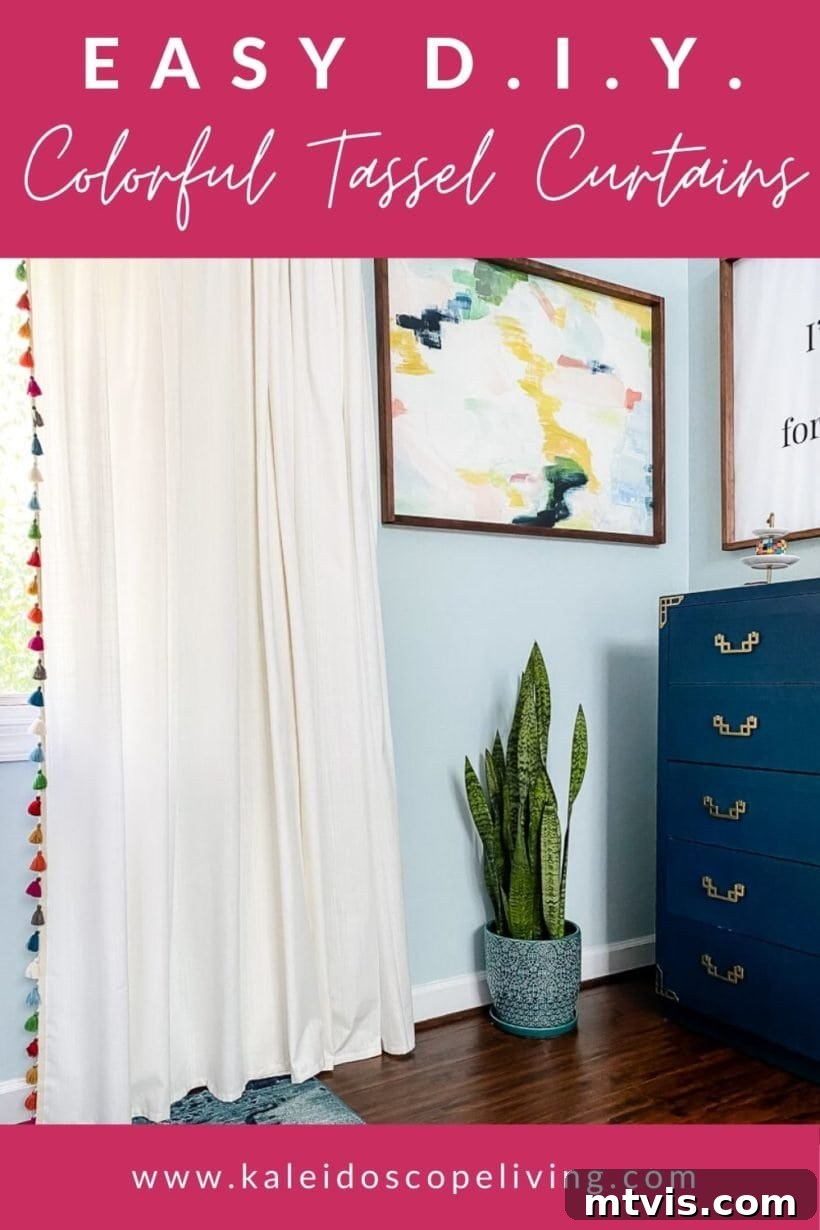
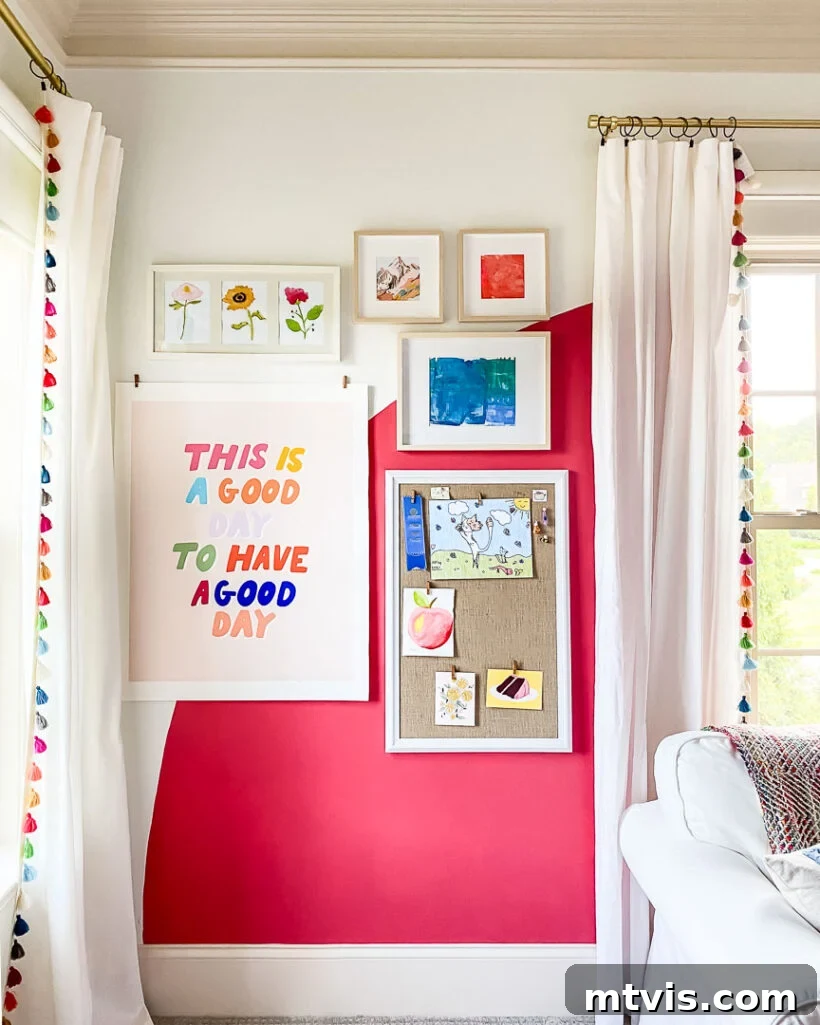
For years, these very curtains have been a topic of frequent inquiry from readers. They’ve graced the windows of our primary bedroom in our old home, bringing a touch of personalized charm, and more recently, added a whimsical flair to our daughter Attley’s room in our current home. While I wish I could simply provide a link to purchase them, the truth is, I “made” them myself! I use the term “made” rather loosely, as the secret lies in a brilliant hack: simply adding colorful tassel trim to readily available, pre-made curtain panels. The transformation is astonishingly easy, yielding the sophisticated appearance of custom curtains at a tiny fraction of the cost. I’m thrilled to share this quick, comprehensive tutorial so you can effortlessly replicate this stylish look in your own home!
This post contains affiliate links for your convenience. Click here for my full disclosure policy.
Why Choose DIY Tassel Curtains? The Benefits of a Budget-Friendly Custom Look
When it comes to decorating your home, curtains play a pivotal role in defining the ambiance and style of a room. They add softness, texture, color, and crucial privacy. However, the journey to finding the perfect curtains can often lead to two frustrating paths: either settling for mass-produced options that lack personality or facing the daunting expense of custom-made drapes. This DIY tassel curtain project elegantly sidesteps both dilemmas, offering a wealth of benefits that make it an irresistible choice for any homeowner:
- Significant Cost Savings: This is arguably the biggest draw. Custom curtains can easily run into hundreds, if not thousands, of dollars. By utilizing pre-made panels and adding decorative trim yourself, you dramatically cut down on material and labor costs, achieving a high-end look for an incredibly budget-friendly price.
- Unleash Your Creativity: With an endless array of pre-made curtain panels and tassel trims available, you have the freedom to mix and match colors, textures, and styles. Want vibrant, playful tassels for a child’s room? Or perhaps a more subdued, elegant trim for a sophisticated living space? The possibilities are limited only by your imagination.
- Beginner-Friendly Project: This project requires minimal skill. Whether you’re a seasoned crafter or a complete novice, the steps are straightforward and easy to follow. You don’t even need a sewing machine if you prefer to use fabric glue, making it accessible to everyone.
- Personalized Touch: Store-bought curtains can sometimes feel impersonal. By adding your chosen tassel trim, you infuse your personality and unique style into your window treatments, making your space truly feel like your own.
- Quick and Satisfying Results: Unlike complex sewing projects, adding tassel trim is a relatively quick process. You can transform an entire room in an afternoon, enjoying instant gratification and a stunning visual impact.
- Versatility: These curtains can enhance various rooms, from bedrooms and living rooms to nurseries and home offices. Their custom feel elevates any space, proving that stylish decor doesn’t have to come with a hefty price tag.
Ready to ditch the high prices and embrace the joy of DIY? Let’s dive into creating your own stunning tassel curtains!
Your Step-by-Step Guide to DIY Tassel Curtains
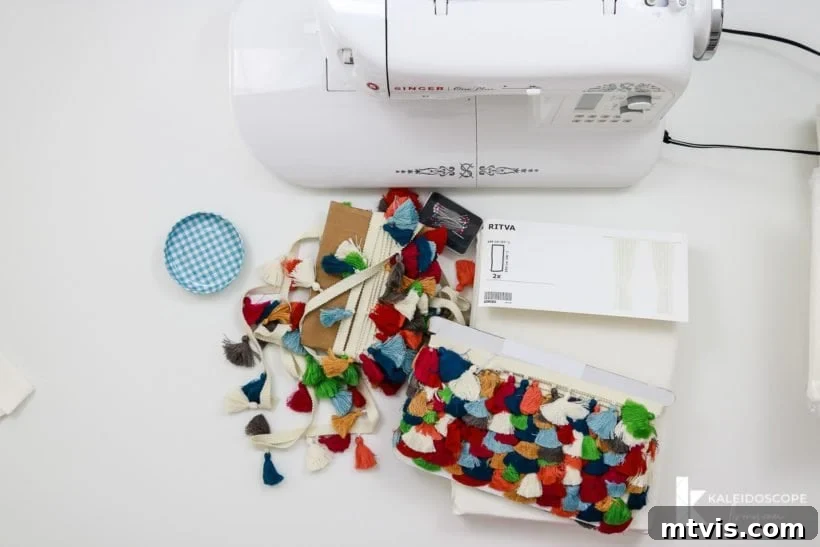
Gather Your Supplies: What You’ll Need for Your Tassel Curtains
Before you begin, ensure you have all your materials organized. Having everything at hand will make the process smooth and enjoyable.
- Pre-made Curtain Panels: Choose panels that complement your room’s existing decor in terms of color, fabric, and length. Consider the opacity as well – do you need blackout, light-filtering, or sheer? I personally used these inexpensive panels, which offered a great base for customization. Remember to measure your windows carefully to determine the correct panel length and width for adequate coverage and fullness.
- Tassel Trim: This is where the magic happens! Select a tassel trim that speaks to your aesthetic. You can find a vast array of colors, sizes, and styles, from single-color classic tassels to multi-colored bohemian designs. This is the bright, playful tassel trim I used, which added a wonderful pop of color. To calculate how much trim you’ll need, measure the length of each edge you plan to embellish. For my 96-inch long panels, I found that just over 2 1/2 yards of trim per edge was sufficient, allowing for a slight overhang for a finished look. Always buy a little extra to be safe!
- Straight Pins: Essential for temporarily securing the trim in place before permanent attachment. Look for pins with comfortable heads for easy handling.
- Sewing Machine OR Fabric Glue: You have options! If you’re comfortable with a sewing machine, this is a quick and sturdy method. This is the sewing machine I have and absolutely love. However, if sewing isn’t your strong suit or you simply prefer a no-sew approach, fear not! High-quality fabric glue works wonderfully for this project, offering a durable bond without any stitching.
Easy Steps to Create Your Custom Tassel Curtains
Follow these simple instructions to transform your plain curtain panels into custom masterpieces.
Step 1: Prepare Your Panels and Mark Edges
Begin by gathering all your supplies in a clean, spacious area. Lay your curtain panels out side-by-side on a flat surface, such as a large table or a clean floor. This allows you to visualize how they will hang and determine which edges will face inwards or outwards. Crucially, mark the specific edges where you intend to attach your tassel trim. For curtains that will meet in the middle, you’ll want to trim the two inner edges of the panels. This step ensures consistency and symmetry once hung. While optional, this is an excellent opportunity to iron your curtain panels. A crisp, wrinkle-free panel provides a much cleaner surface for attaching the trim and results in a more polished final product. (Full disclosure: I often skip ironing because I dislike it, but for the best finish, a quick press is recommended!)
Step 2: Pin the Tassel Trim Securely
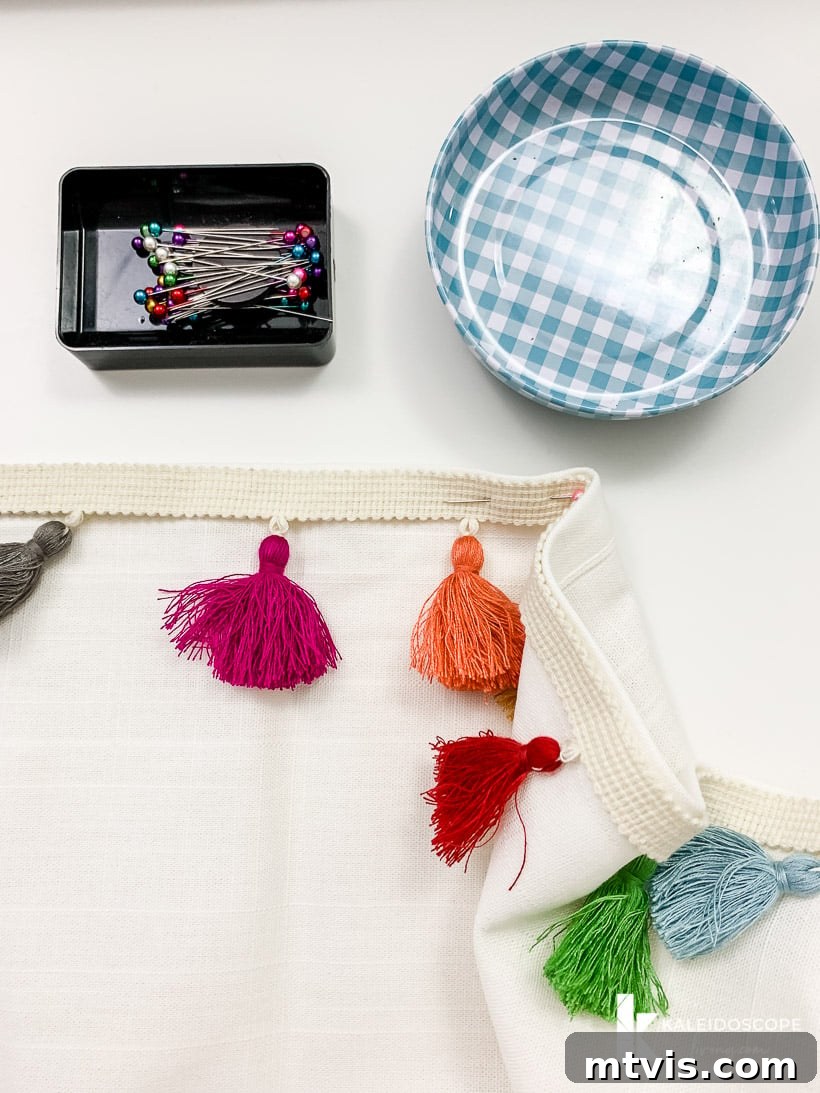
Carefully unroll your chosen tassel trim. Starting from one end, align the trim along the marked edge of your curtain panel. Use straight pins to securely attach the trim to the curtain. It’s important to leave a slight overhang of about 1/2 inch (or roughly 1.5 cm) of the trim at both the top and bottom of the curtain panel. This extra length allows you to neatly fold and secure the ends, creating a clean, professional, and finished look that prevents fraying. Pin the trim every few inches, ensuring it remains straight and taut along the edge of the curtain. Take your time with this step, as precise pinning will guarantee an even and aesthetically pleasing result.
Step 3: Permanently Attach the Trim (Sew or Glue)
Now it’s time to permanently attach your beautiful tassel trim. You have two excellent options:
- Sewing Machine Method: If you have a sewing machine, this method offers durability and speed. I opted to sew my trim, using a straight stitch along the edge of the webbing. You can choose to attach the webbing (the fabric strip holding the tassels) directly onto the front of your curtain panels, making it a visible design element, or you can attach the webbing to the back of the panel so that only the tassels peek out from the edge for a subtler effect. If sewing, select a thread color that matches your trim’s webbing or the curtain panel for a discreet finish. Carefully remove one pin at a time as you sew, ensuring the trim stays perfectly aligned.
- Fabric Glue Method (No-Sew): For those who don’t sew, fabric glue is your best friend! Modern fabric glues are incredibly strong and designed to hold textiles securely, even through washes. Simply remove one pin at a time, apply a thin, even bead of fabric glue to the back of the trim’s webbing, and press it firmly onto the curtain panel. Allow the glue to set for a few seconds before releasing it. Continue this process, pin by pin, until the entire edge is covered in trim. Be sure to follow the manufacturer’s instructions for drying times and curing, as this is crucial for a lasting bond.
Whichever method you choose, work slowly and methodically, ensuring the trim is straight and securely attached from one end to the other. Once done, admire your progress!
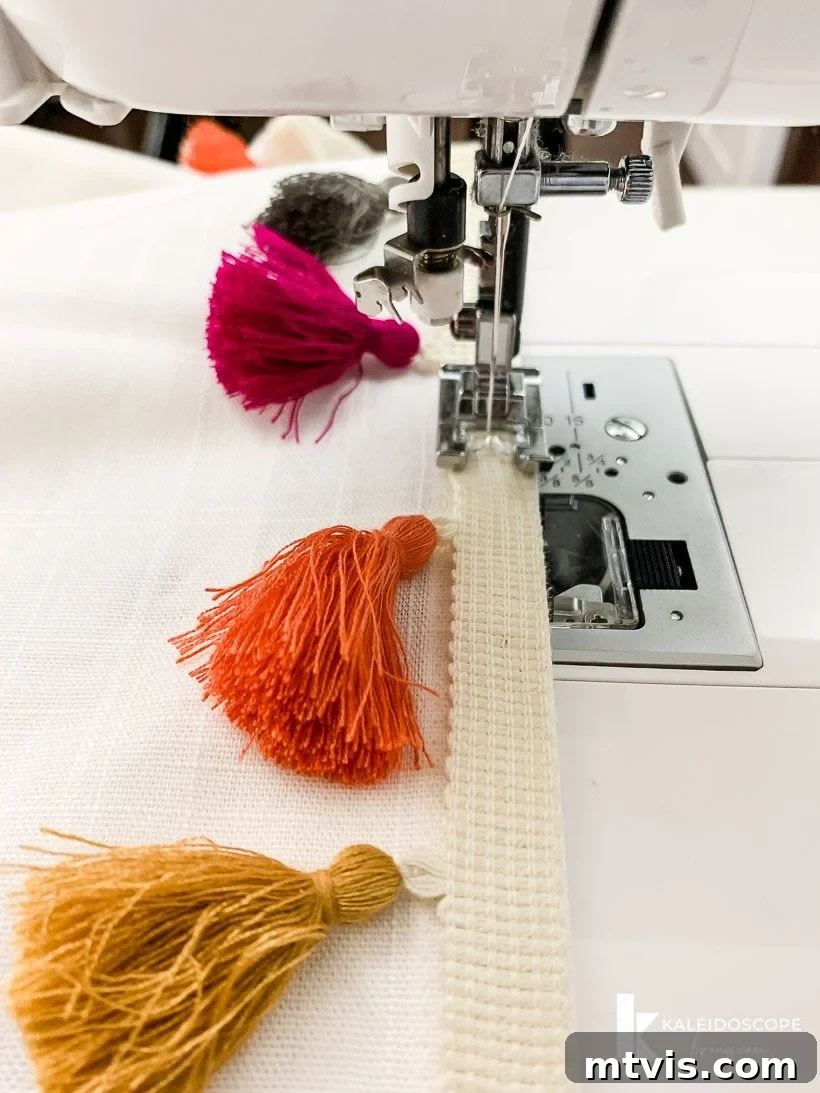
That’s truly all there is to it! Once your trim is fully attached and, if using glue, completely dry, your custom tassel curtains are ready to hang. Step back and admire your handiwork – isn’t it incredible how such a simple addition can elevate a standard curtain panel into a unique statement piece? These curtains not only enhance the aesthetic of any room but also reflect your personal style and creative flair. What do you think of your stunning new window treatments?!

Beyond Tassels: More DIY Curtain & Decor Ideas
Adding tassels to pre-made panels was certainly not my first adventure in customizing inexpensive, store-bought textiles! The world of DIY home decor offers endless possibilities for personalizing your space on a budget. For instance, I created these super easy no-sew curtains for my daughter’s room years ago, proving that impressive results don’t always require a needle and thread. There are so many creative and accessible curtain ideas out there, waiting for you to discover!
Before you even consider spending a fortune on custom window treatments, I highly recommend exploring these 22 amazing DIY curtain ideas. You’ll be amazed at how many different styles and techniques exist to create unique and expensive-looking curtains right from your home.
More DIY CURTAINS & PILLOW Posts
SEE ALL textile POSTS
-
How to Make DIY Curtains With Tassels
-
Cheap & Easy Oversized Lumbar Pillow (No Sewing Skills Needed)
-
How to Make a Pillow Cover With a Zipper
-
22 Amazing DIY Curtains That Look Expensive
-
How to Make Curtains The No-Sew, Lazy Way
-
DIY Bed Canopy from Flat Sheets
If you’re curious about my broader approach to transforming rooms and spaces within our home, be sure to explore Designer in a Binder®. It’s a comprehensive resource designed to help you plan and execute your decor projects with confidence and style.
Thank you for joining me on this creative journey! I hope this tutorial empowers you to add a unique and personalized touch to your living spaces without the custom price tag. Remember, a little DIY effort can go a long way in creating a home that truly reflects you.
And if you’d like to stay updated with exclusive content, fresh DIY ideas, and behind-the-scenes sneak peeks into future projects, don’t forget to subscribe before you go! Your next favorite home decor idea could be just an email away.