
This is a sponsored conversation written by me on behalf of Cricut and DAP Products. The opinions and text are all mine.
Transform Your Walls: A Step-by-Step Guide to DIY Custom Wall Decals and Quotes
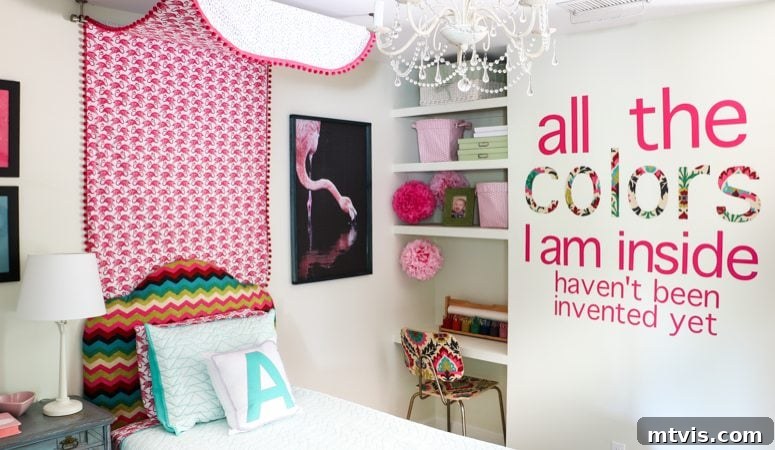
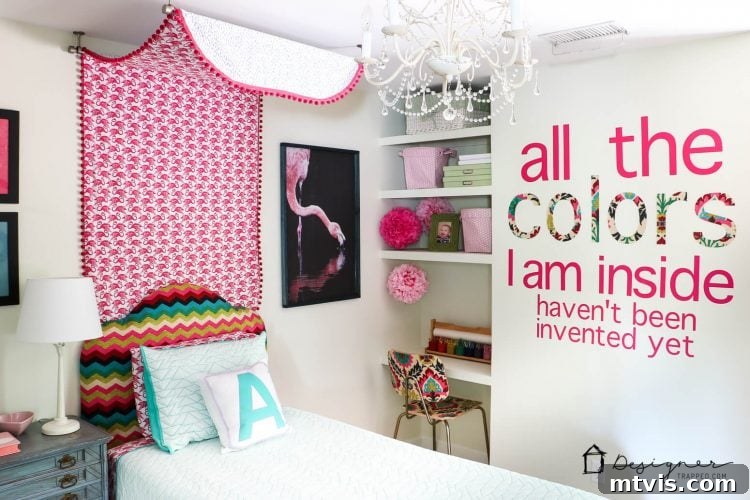
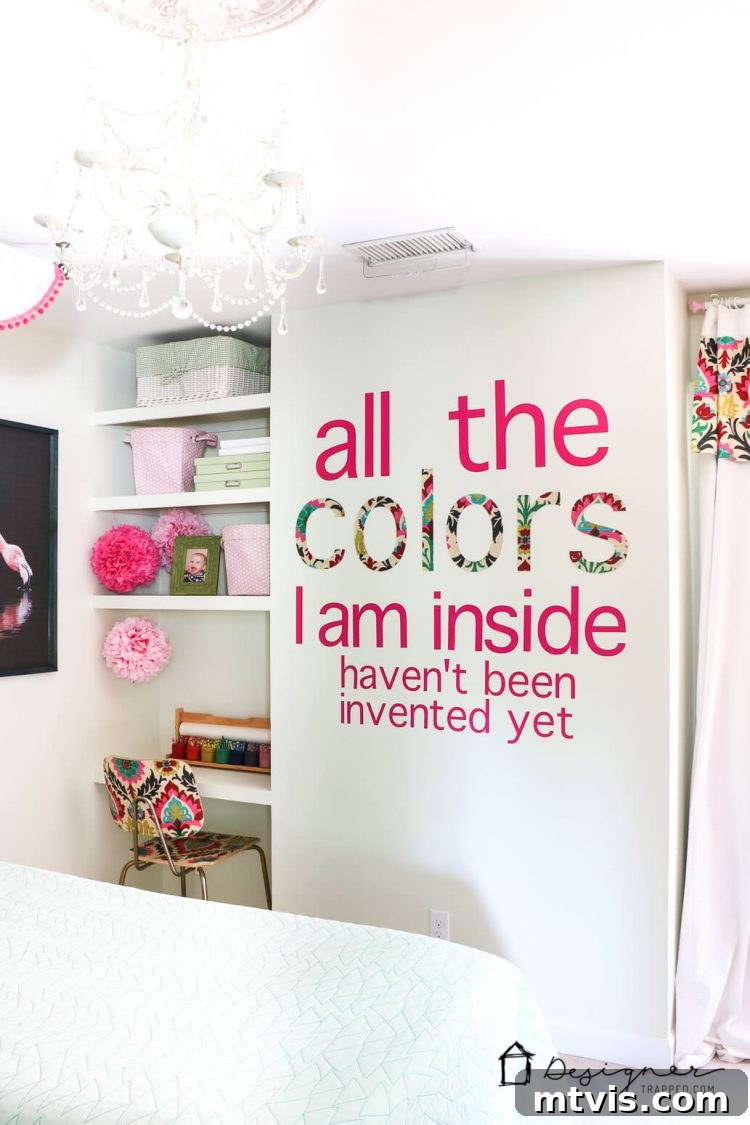
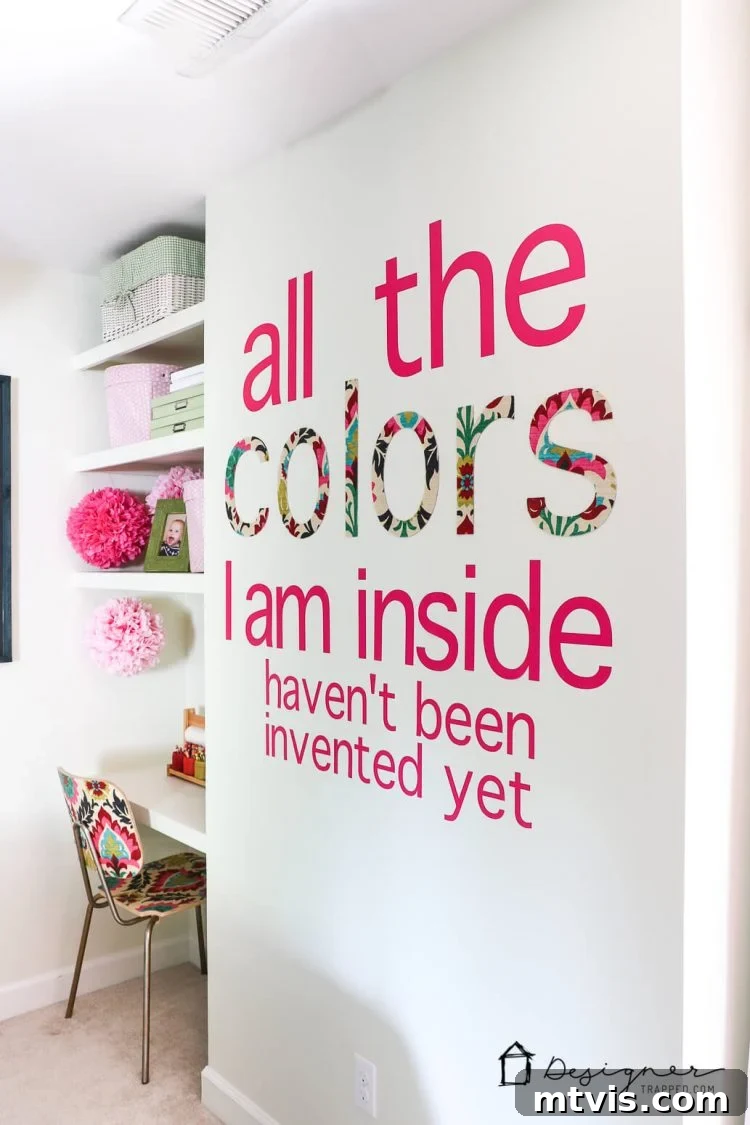
Hello, creative friends! I’ve been incredibly eager to share this project with you because it perfectly embodies the kind of high-impact, low-cost transformation that brings so much joy to any home. Crafting your own DIY wall decor is a fantastic way to personalize your living space without overspending, and this tutorial will show you exactly how! We recently created these stunning DIY custom wall decals for Attley’s room, and the result is nothing short of perfect. The design bursts with color, truly reflecting her vibrant personality – she has an impressive list of “favorite” colors! More importantly, the chosen quote, a beautiful verse from a Shel Silverstein poem, captures her upbeat and spirited soul with profound accuracy. I could talk endlessly about how much we adore this project, but I know you’re here to discover the secrets behind these personalized wall decals and how to replicate this charming wall quote yourself. So, let’s dive straight into the detailed tutorial! This post contains some affiliate links for your convenience (which means if you make a purchase after clicking a link I will earn a small commission which helps keep my blog up and running but it won’t cost you a penny more)! Click here to read my full disclosure policy.
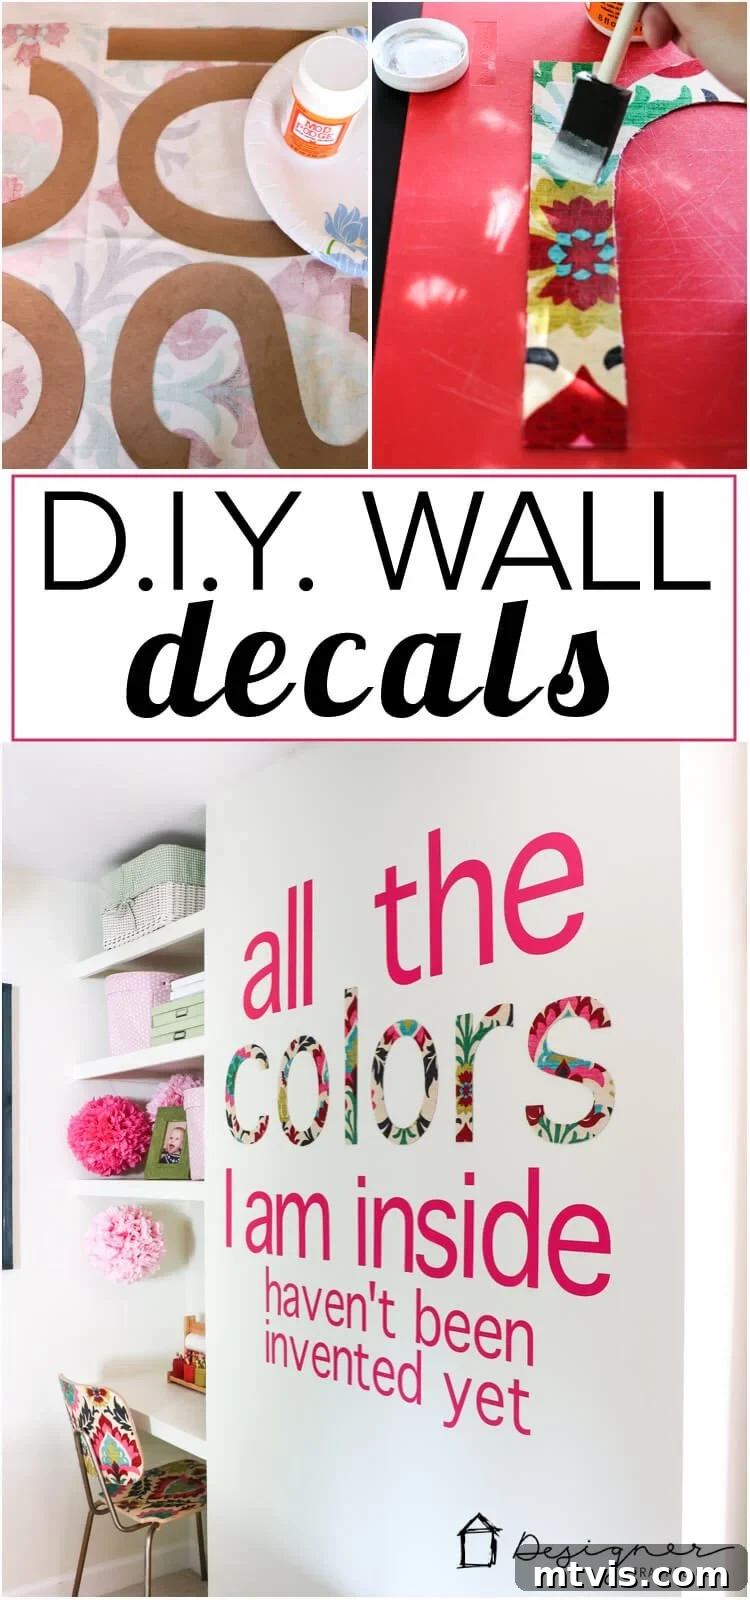
DIY Custom Wall Decals and Wall Quote Tutorial
Materials Needed for Your Custom Wall Decal Project:
- Vinyl: Choose high-quality permanent or removable vinyl depending on your preference. I used Cricut Vinyl in Flamingo for a beautiful pop of color.
- Transfer Tape: Essential for easily transferring your cut vinyl design to the wall.
- Chipboard: Opt for a sturdy chipboard (e.g., 1.5mm or 2mm thickness) for durable fabric-covered letters.
- Fabric of Your Choosing: Select a pattern or color that complements your room’s aesthetic. The quantity needed will depend on the size of your letters. You can purchase the fabric I used here.
- Matte Mod Podge: A versatile sealant and adhesive perfect for securing fabric to chipboard and preventing fraying.
- Exacto Knife: Crucial for precise cutting of fabric-covered chipboard letters.
- Foam Paint Brush: Ideal for smooth and even application of Mod Podge.
- Cricut Explore Cutting Machine: Any Cricut Explore model or comparable cutting machine will work for both vinyl and chipboard.
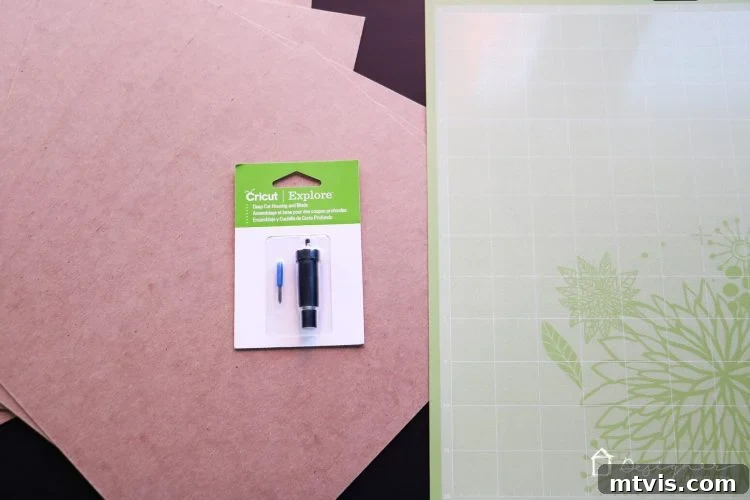
- Deep Cutting Blade & Regular Blade: You’ll need the deep-cut blade for chipboard and the regular blade for vinyl.
- Wall Repair Supplies (if needed): If your wall has imperfections, gather these items:
- DAP Alex Plus Spackling: Excellent for filling holes and smoothing out any imperfections on the wall surface before decal application.
- Putty Knife: For applying spackling evenly.
- Sandpaper: Fine-grit sandpaper for smoothing patched areas.
- Double-Sided Poster Tape: For securely attaching the fabric-covered letters to the wall.
Step-by-Step Guide to Creating Your Custom Wall Decal Quote:
1) Prepare Your Wall: Repairing Imperfections for a Flawless Finish
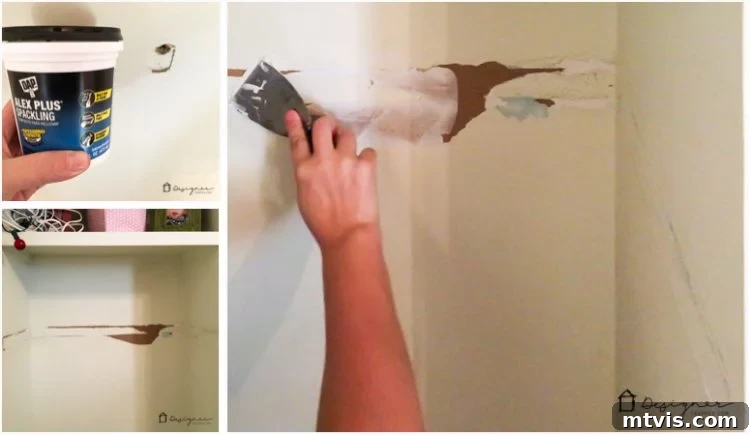
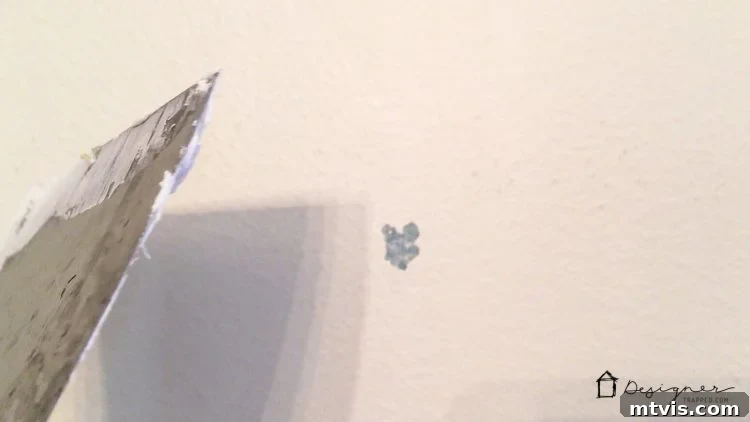
Before you embark on the exciting part of creating and applying your custom wall decals, it’s crucial to ensure your wall provides a smooth and pristine canvas. In our case, this meant addressing quite a bit of repair work. We had recently removed an older wall quote and repositioned one of the DIY floating shelves that had been in the room since our twin girls shared it. Moving the shelf down several feet to serve as a desk left a significant number of holes and surface imperfections that needed attention. For all of this repair work, I highly recommend using DAP Alex Plus Spackling. Let me tell you, this product is an absolute game-changer! Its unique consistency feels like a perfect blend of caulk and spackle – much smoother and easier to work with than any other spackling compound I’ve used on countless DIY home projects. As a relatively new product, it has quickly become my go-to choice. Not only is it incredibly easy to apply, but I also found that it sanded effortlessly and produced noticeably less dust, which is always a huge bonus when working indoors. A smooth, well-prepared wall surface is key to ensuring your decals adhere perfectly and look professional.
2) Secure and Seal Your Floating Shelf
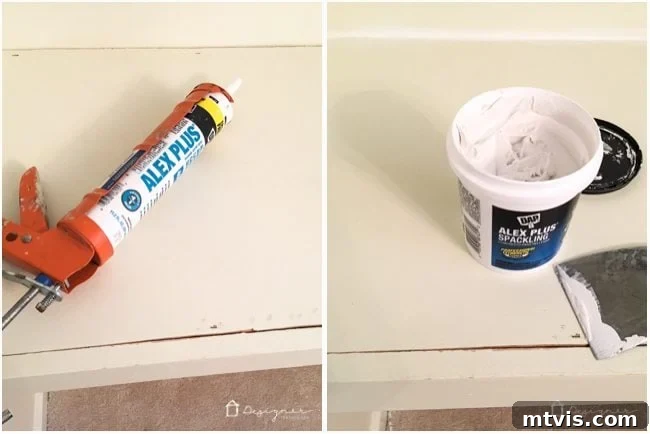
Once all the necessary wall repairs were completed and the spackling had dried, our next task was to reattach the floating shelf at its new, lower height, transforming it into a functional desk. After securely fastening it to the wall, we meticulously caulked all the seams where the shelf met the wall. This not only creates a clean, finished look but also helps to further stabilize the shelf. We also utilized the versatile DAP Alex Plus Spackling to smooth out the joint where we attached additional trim to the front of the newly positioned desk. This attention to detail ensures every element of the room is seamless and ready for its new decorative additions.
3) Removing Old Decals and Addressing Paint Damage
With the wall prepped and the shelf in place, it was time to carefully remove the previous wall quote. While we absolutely loved the old quote for the time when our girls shared the room, we felt that with Attley now having her own space, it was the perfect opportunity to create something unique and special just for her. Most of the old wall vinyl peeled off quite easily, which is often the case with well-applied decals. However, in a few instances, perhaps due to rushing or simply the age of the vinyl, some areas of paint were pulled up along with the decal. When this happens, it’s important not to panic. I quickly patched these small areas using the spackling, ensuring the wall remained perfectly smooth and ready for its new design. This meticulous approach to removing old decor and patching ensures a fresh start for your new custom wall decals.
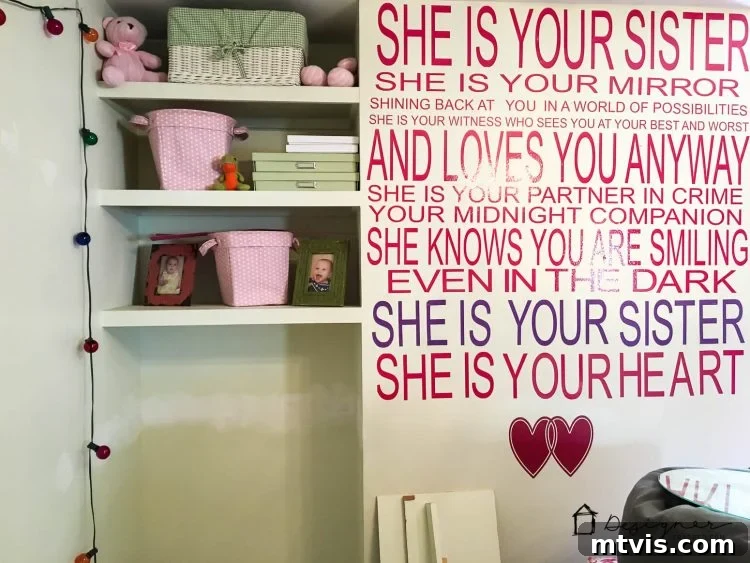
4) Designing and Cutting Fabric-Covered Chipboard Letters for “COLORS”
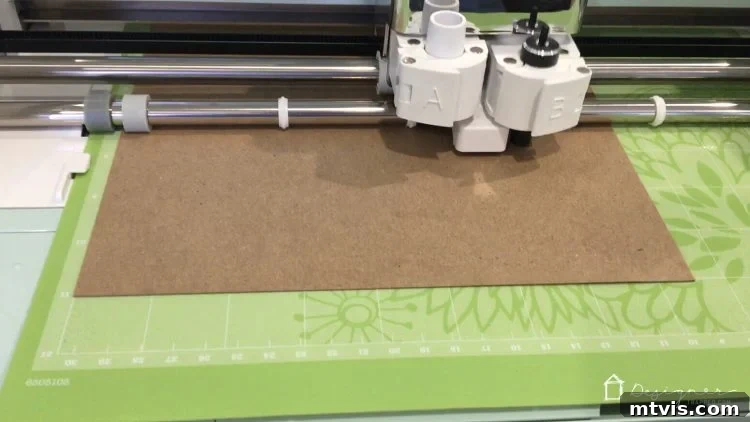
After all the patched areas were thoroughly sanded, cleaned, and repainted, we were finally ready to begin crafting and applying our vibrant new custom wall decals! Don’t let the process intimidate you; making your own DIY custom wall decals is far simpler than it appears. We started by creating the standout letters that spell out “COLORS,” which would be beautifully covered in fabric. To achieve this, I used one piece of 8.5″ x 11″ chipboard for each individual letter. The design for each letter was meticulously crafted within the Cricut Design Space, allowing for precise sizing and font selection. Once designed, I simply placed a piece of chipboard onto my 12 x 12 cutting mat. I then adjusted the dial on my Cricut machine to the “custom” setting and selected the specific “chipboard” option from the material list. Each chipboard letter was then cut out one at a time, ensuring a clean and perfect shape. A helpful tip: If you happen to have a larger piece of fabric available, it would be significantly easier to apply the fabric to the chipboard *before* cutting out your letters, then cut through both layers with your deep-cut blade. However, in my situation, I worked with smaller fabric remnants, necessitating the fabric application after the chipboard letters were cut.
5) Adhering Fabric to Chipboard with Mod Podge
Once all the chipboard letters were perfectly cut out, the next step involved transforming them with our chosen fabric. I started by coating the entire front side of each chipboard letter with a generous, even layer of Mod Podge. While I opted for a Matte finish, the specific finish isn’t crucial at this stage as it will be covered. Immediately after applying the Mod Podge, I carefully pressed the coated side of the letter onto the back side of my fabric, ensuring there were no wrinkles or air bubbles. I allowed this initial layer to dry thoroughly, giving the fabric time to bond with the chipboard. Once dry, I flipped the letter over and applied another thin, even coat of Mod Podge directly over the fabric surface on the front of the letter. This step helps to further seal the fabric. After this second coat dried to the touch, I placed heavy books on top of the fabric-covered letters. This crucial step prevents the chipboard from curling or warping as the Mod Podge continues to dry and stiffen completely, ensuring your finished letters remain flat and professional-looking.
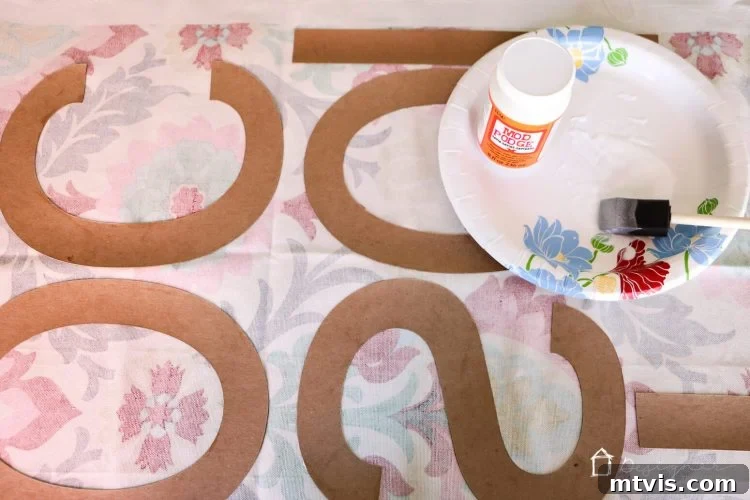
6) Precision Cutting Fabric-Covered Letters with an Exacto Knife
After allowing the Mod Podge to dry overnight, ensuring maximum stiffness and adhesion, the fabric-covered chipboard letters were ready for their final shaping. This step requires precision and a steady hand. Using a sharp exacto knife, I carefully trimmed around the edges of each letter, cutting away the excess fabric to perfectly match the chipboard shape. Taking your time here is key to achieving clean, crisp edges that define your custom fabric letters. A fresh blade will make this process much smoother and prevent any tearing of the fabric.
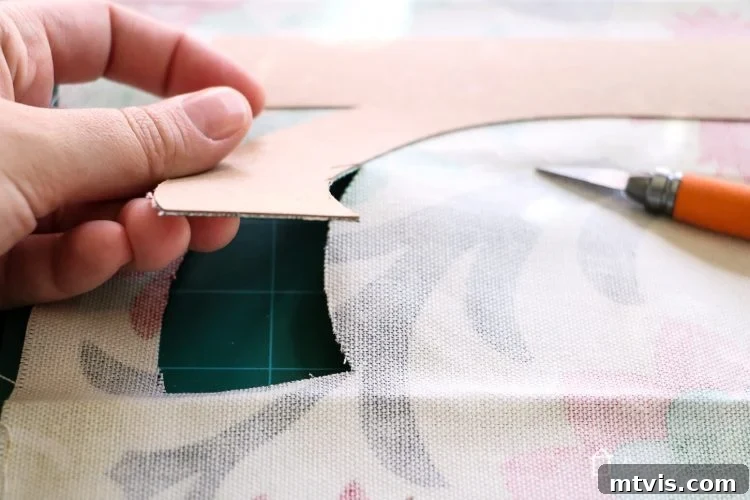
7) Sealing and Attaching Your Fabric Letters
Once all the fabric-covered letters were meticulously cut out, I applied one final, thin coat of Mod Podge over the fabric surface. This additional layer serves a dual purpose: it provides extra durability to the fabric and, most importantly, helps to prevent any potential fraying of the fabric edges over time, ensuring your custom wall decor remains beautiful for years to come. After this last coat of Mod Podge had fully dried, making the letters completely rigid and sealed, I used strong double-sided poster tape to securely attach these vibrant, fabric-covered letters to the wall. This tape offers a reliable hold while being gentle enough for most wall surfaces.
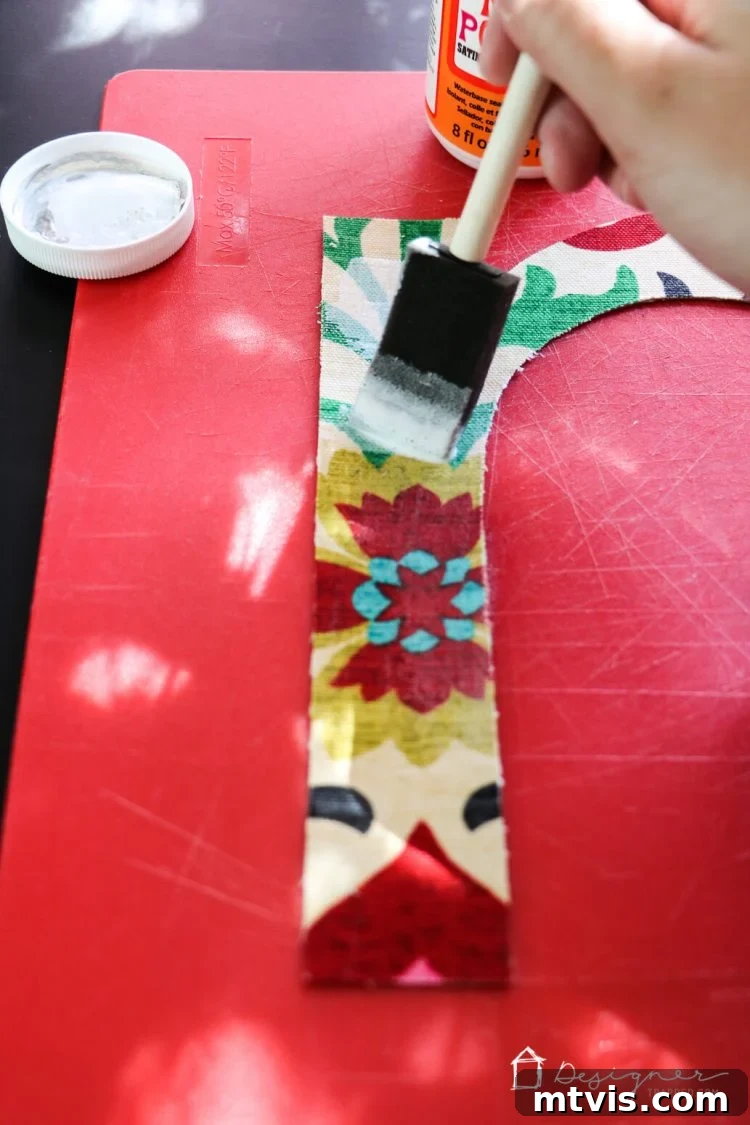
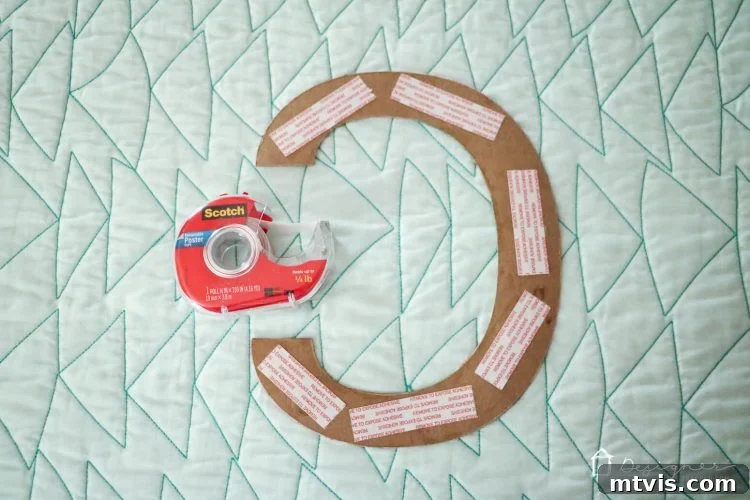
8) Designing and Cutting the Vinyl Decals for the Wall Quote
With our beautiful fabric letters in place, it was time to create the rest of the custom wall decals using our vibrant Cricut Vinyl in Flamingo. I meticulously typed out the remaining portion of our Shel Silverstein quote in Cricut Design Space. Given the large scale of our wall quote, which measured approximately 11.5″ tall and 40″ wide for this particular section, it exceeded the dimensions of even my larger 12 x 24-inch cutting mat. This meant I needed to “slice” my design into multiple, manageable pieces. Initially, I felt quite apprehensive about this process, fearing it would be overly complicated. However, after watching this incredibly helpful video on YouTube, I realized it was entirely doable and surprisingly straightforward! Following the video’s guidance, I successfully sliced my large design. Then, I simply set my Cricut machine’s dial to “vinyl” and proceeded to cut out each vinyl portion of my design with precision. This technique allows you to tackle ambitious, large-scale wall quotes with confidence.
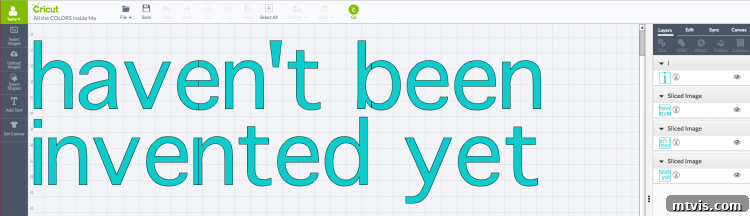
9) Weeding Your Vinyl Decal Design
Once the Cricut machine had finished cutting, the next crucial step was “weeding” the vinyl. For those new to vinyl crafting, weeding involves carefully removing all the excess vinyl that is not part of your final design. This means peeling away the negative space around and inside your letters or shapes, leaving only the desired elements on the backing paper. A small weeding tool or a craft knife can be incredibly helpful for this intricate process. Take your time to ensure all the small pieces, like the centers of letters such as ‘O’ or ‘A’, are removed. Patience here pays off, resulting in a crisp, professional-looking decal ready for transfer.
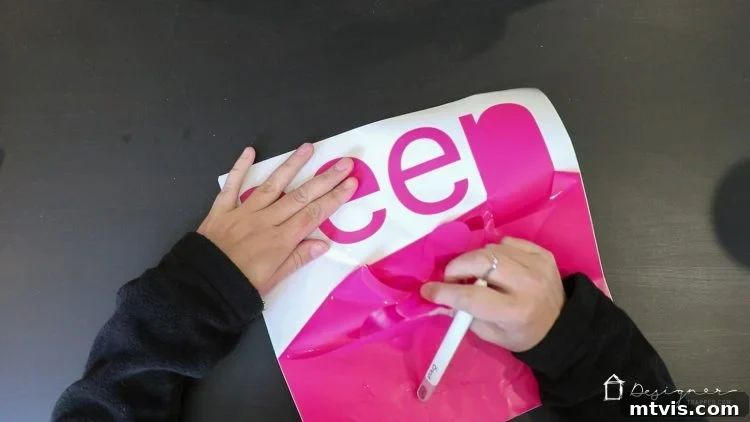
10) Transferring Vinyl to Transfer Tape
With the weeding complete, the individual vinyl letters and words are ready to be transferred onto the transfer tape. This specialized tape is designed to pick up your vinyl design from its backing paper and hold it in place, allowing you to move the entire design to your wall as one cohesive unit. Carefully lay the transfer tape over your weeded vinyl design, using a scraper tool to firmly rub across the surface. This ensures the vinyl adheres properly to the transfer tape. As you work, if your design was “sliced” into multiple pieces for larger cuts, this is the stage where you’ll start carefully piecing those slices together on the transfer tape, ensuring perfect alignment before applying to the wall. This meticulous step guarantees your large wall quote will appear seamless and professionally executed.
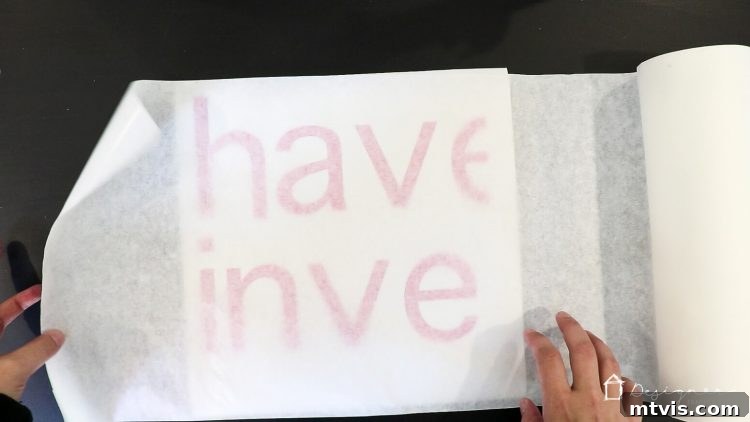
11) Applying Your Custom Vinyl Decals to the Wall
The final and most exciting step is applying your custom wall decals to the prepared wall. First, carefully peel the white backing paper away from the vinyl, leaving only the vinyl letters stuck to the transfer tape. Now, it’s time for precise placement. I highly recommend using a laser line level to ensure your entire design is perfectly level and straight on the wall. This tool is invaluable for achieving a professional, eye-catching result. Once you have the design positioned exactly where you want it, firmly press the transfer tape onto the wall. Using your scraper tool, rub across all the vinyl letters with firm, even pressure. This action adheres the vinyl firmly to the wall surface. Finally, and with great care, gently peel the transfer tape away from the design at a sharp angle. If any part of the vinyl resists, simply press the transfer tape back down and rub over that area again before continuing to peel. Step back and admire your beautiful, custom wall quote!
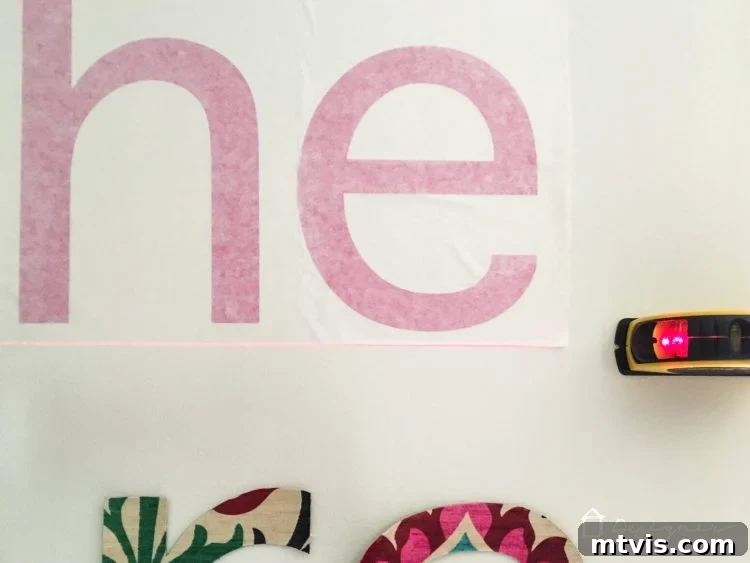
And there you have it! The transformation is complete. We are absolutely thrilled with how this enormous, personalized wall quote turned out. Not only does it add a deeply personal and vibrant touch to Attley’s room, but it was also significantly more cost-effective than purchasing pre-made custom wall decals of this size and complexity. Plus, the satisfaction of making these custom wall decals ourselves was truly immense. I know this tutorial might seem lengthy due to the detailed explanations, but I promise you the actual process is much quicker and easier to execute than it sounds. Give it a try, and prepare to be amazed by what you can create!
If you found inspiration in this project, be sure to save it to Pinterest so you can easily find it again when you’re ready to embark on your own custom wall decal adventure!
