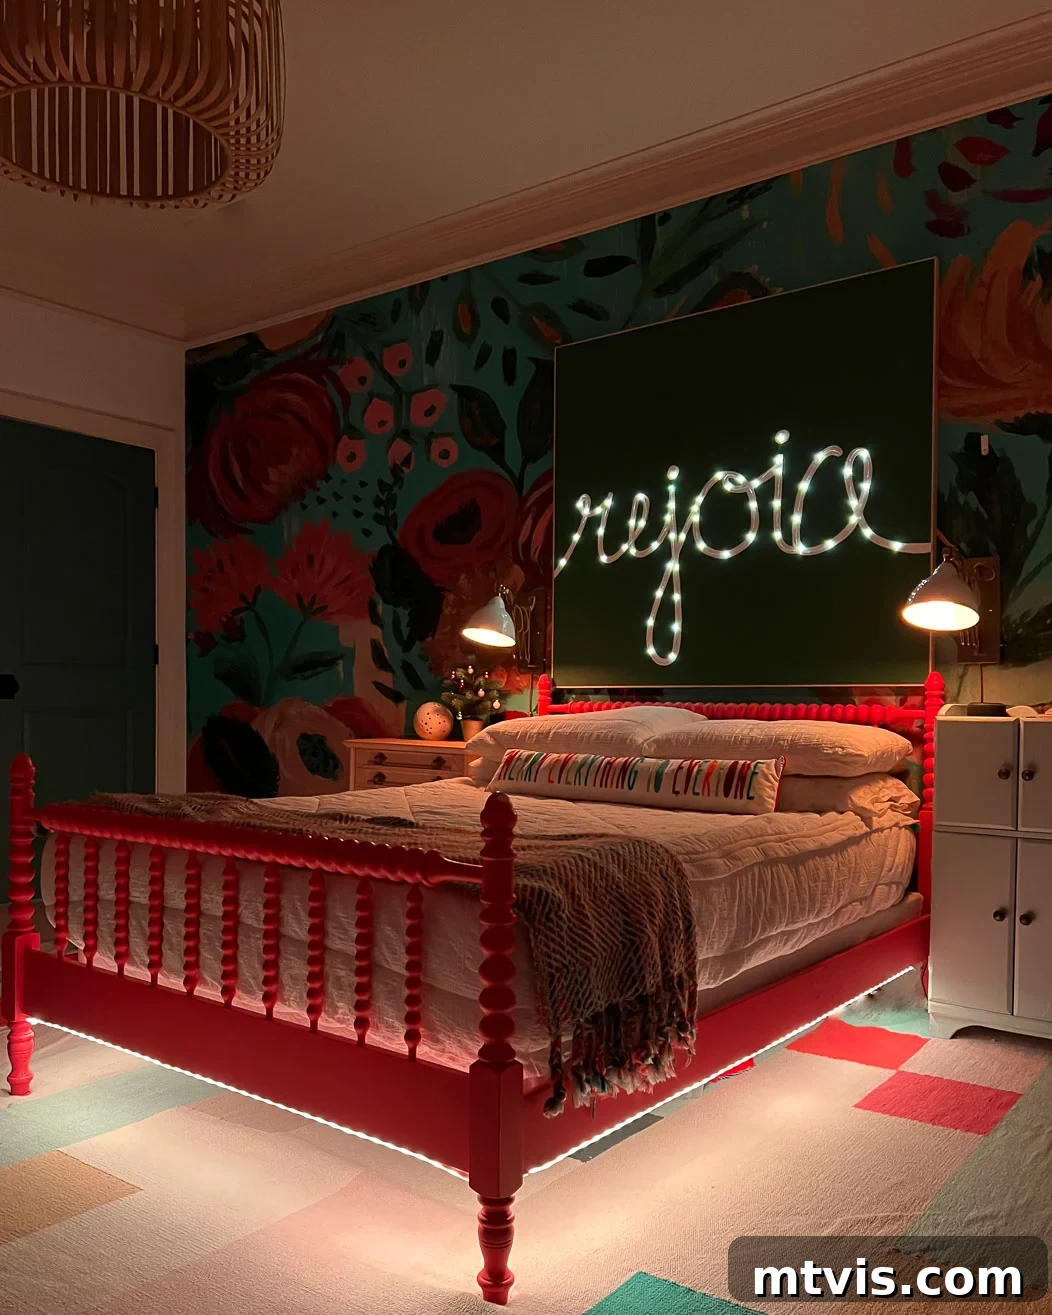
There’s an undeniable charm and warmth that only the soft, ethereal glow of fairy lights or delicate dewdrop lights can bring to a space. Imagine transforming this magical ambiance into a unique, custom piece of DIY light-up wall art that radiates a captivating glow every night. While we initially designed our illuminated art to convey a festive “Rejoice” message for Christmas, this comprehensive, step-by-step tutorial empowers you to create any kind of lighted wall art you envision, perfectly tailored to your style and occasion.
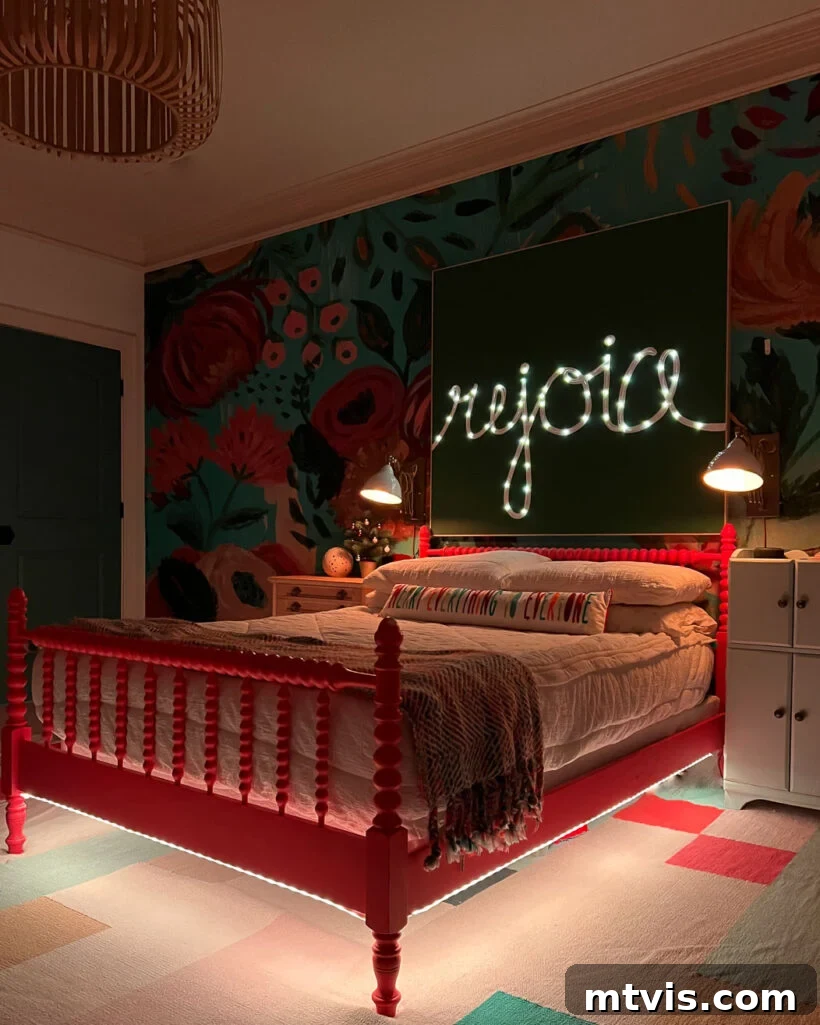
Table of Contents
Create Your Own Custom DIY Light-Up Wall Art
A few years ago, we found ourselves dreaming of a grand-scale piece of holiday art for our family room. The dilemma, as it often is with unique home decor, was the high cost of pre-made pieces. This sparked our creativity, leading us to develop this extraordinary “Rejoice” art piece that truly comes to life with a gentle glow. The effect it creates at night is nothing short of magical, turning our living space into a wonderland.
The beauty of this DIY lighted art project lies in its unparalleled versatility. You have complete freedom to customize its size, shape, color scheme, and even the message or design you wish to illuminate. This means you can create a piece that perfectly complements your existing decor, a specific holiday theme, or even a child’s bedroom. We opted for a considerably large scale for our piece, driven by our belief that artwork often needs to be more substantial than initially imagined to truly make an impact in a room. In its inaugural year, we proudly displayed it on a DIY art ledge we had crafted earlier, and the result exceeded all our expectations. Read on to discover how you can create your very own stunning light-up wall art, adding a personalized and enchanting touch to your home.
Thank you to DAP Products for sponsoring this post. This post contains affiliate links for your convenience. Click HERE for my full disclosure policy.
How to Make a Custom Light-Up Art Piece
To give you the best possible overview of this engaging project, we highly recommend watching the short video below before diving into the detailed step-by-step written instructions. The visual guidance will clarify many aspects and help you confidently approach each stage of the creation process.
Materials Needed
Gathering the right materials is the first essential step in any successful DIY project. For this stunning light-up wall art, you’ll need the following:
- 1/2 inch plywood: The foundation of your artwork. The size is entirely up to you. We were fortunate to use a scrap piece measuring 52″ x 48″, which meant no cutting for us! Opt for a smooth, sanded plywood for the best painting surface.
- Paint: Choose a color that will serve as your background. We used this beautiful green paint, but feel free to select any color that complements your space or desired theme. Acrylic or latex paints work well for plywood.
- Wood lattice strips: These will form the elegant frame around your art, giving it a finished and professional look. Consider pine or a similar lightweight wood.
- Battery-operated dewdrop lights: These tiny, flexible string lights are key to the magical glow. The number of strands depends on the size and intricacy of your design. We found 3 strands of these exact lights to be perfect for our large piece. Ensure they have a timer function for convenience.
- DAP RapidFuse Ultra Clear: A crucial adhesive for securing your lights. Its ultra-clear drying property ensures that no unsightly glue marks detract from your glowing masterpiece.
- Masking tape: Essential for temporarily holding the light strands in place while the glue sets, ensuring perfect alignment.
- Drill: With a small drill bit (matching the size of your light wires), for creating entry and exit points for your light strands.
- Brad nails: For securely attaching the wooden frame strips to your plywood.
- DAP Plastic Wood X: Or a similar wood filler, for seamlessly patching up any nail holes in your frame for a flawless finish.
- Artist’s brush: For painting your design with precision.
- Chalk: For sketching your design lightly before painting, as it easily wipes away mistakes.
- Brad nailer (optional but recommended): Makes attaching the frame quick and easy.
- Sandpaper (fine-grit): For smoothing wood filler.
Step-by-Step Tutorial
This project is designed to be beginner-friendly and offers a deeply rewarding experience. With approximately 4 hours of dedicated work, it’s an ideal weekend endeavor to infuse your home with a touch of personalized magic.
Time needed: 4 hours
This project took us about 4 hours total. It’s a perfect weekend project and is beginner-friendly, allowing you to create stunning light-up art without extensive experience.
-
1. Cut your plywood to size.
Begin by determining the desired dimensions for your light-up wall art. The size of your plywood will dictate the scale of your finished piece, so consider the wall space where it will be displayed. We were lucky to use a scrap piece that was already 52″ x 48″, saving us a step! If you don’t have a table saw or circular saw at home, don’t worry – most hardware stores offer a convenient service to cut plywood to your exact specifications. This is a fantastic option if you’re not comfortable with power tools or simply want a perfect, straight cut. Smooth any rough edges with sandpaper after cutting.
-
2. Paint your plywood.
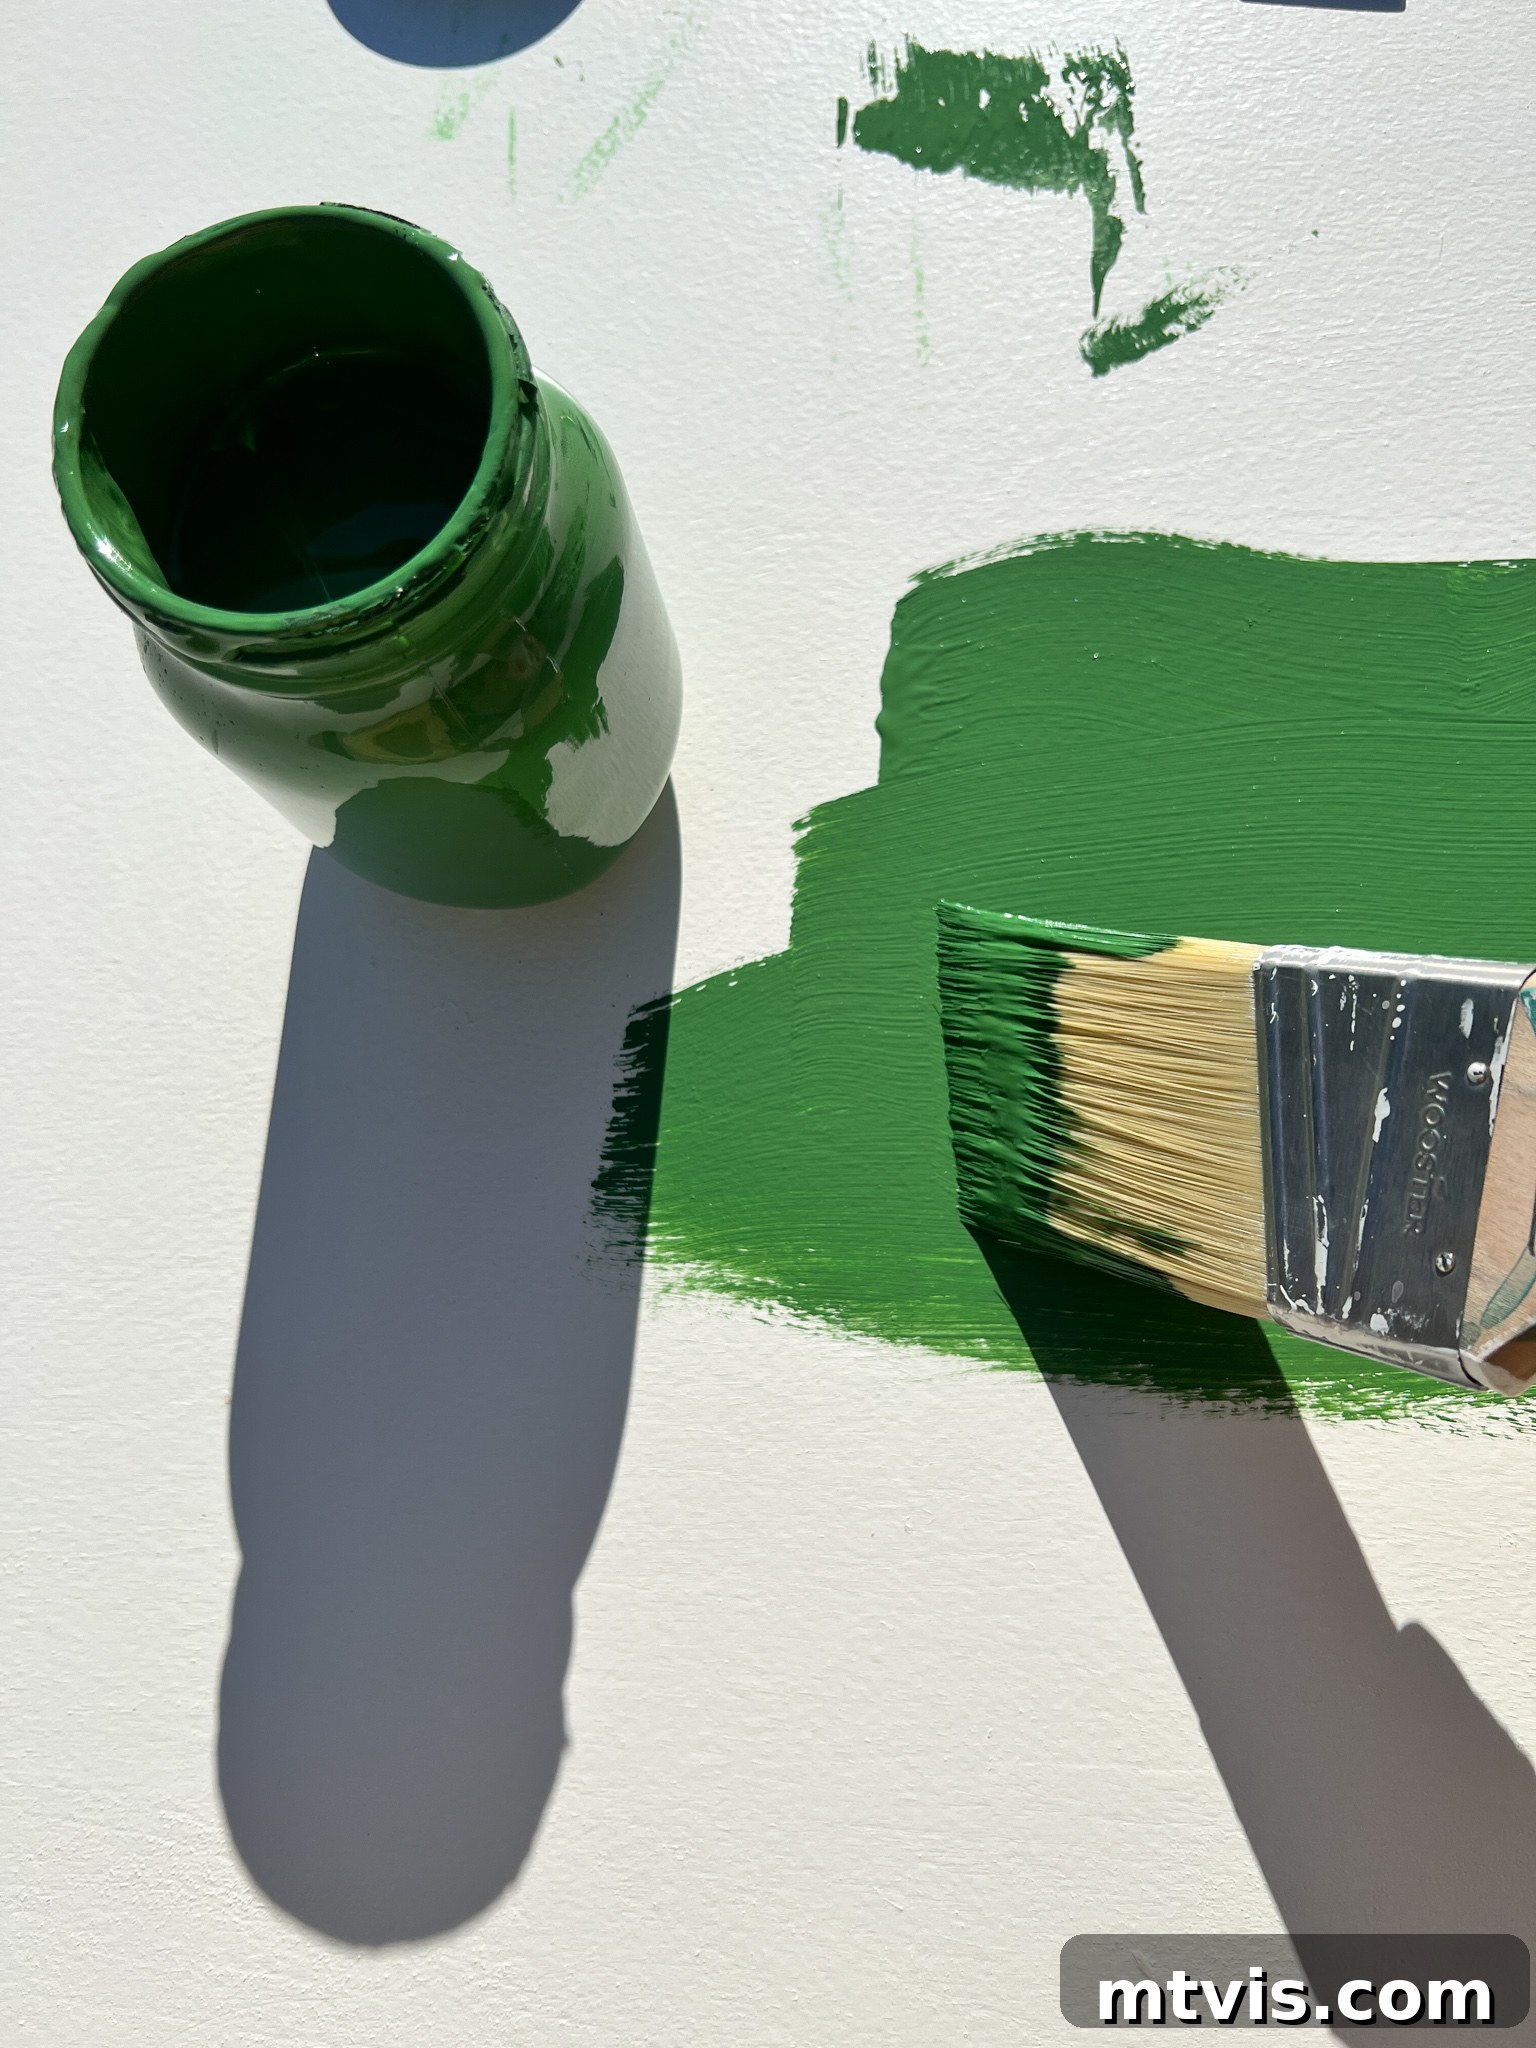
Once your plywood is sized, it’s time to apply the background color. Select a paint that complements your chosen design and your home’s aesthetic. We used this lovely green shade, which offered a vibrant base for our festive design. For best results, ensure your plywood surface is clean and dry before painting. Apply thin, even coats, allowing each layer to dry completely according to the manufacturer’s instructions. Depending on your paint color and type, two or three coats might be necessary to achieve full, opaque coverage and a smooth finish.

-
3. Sketch out your design with chalk.
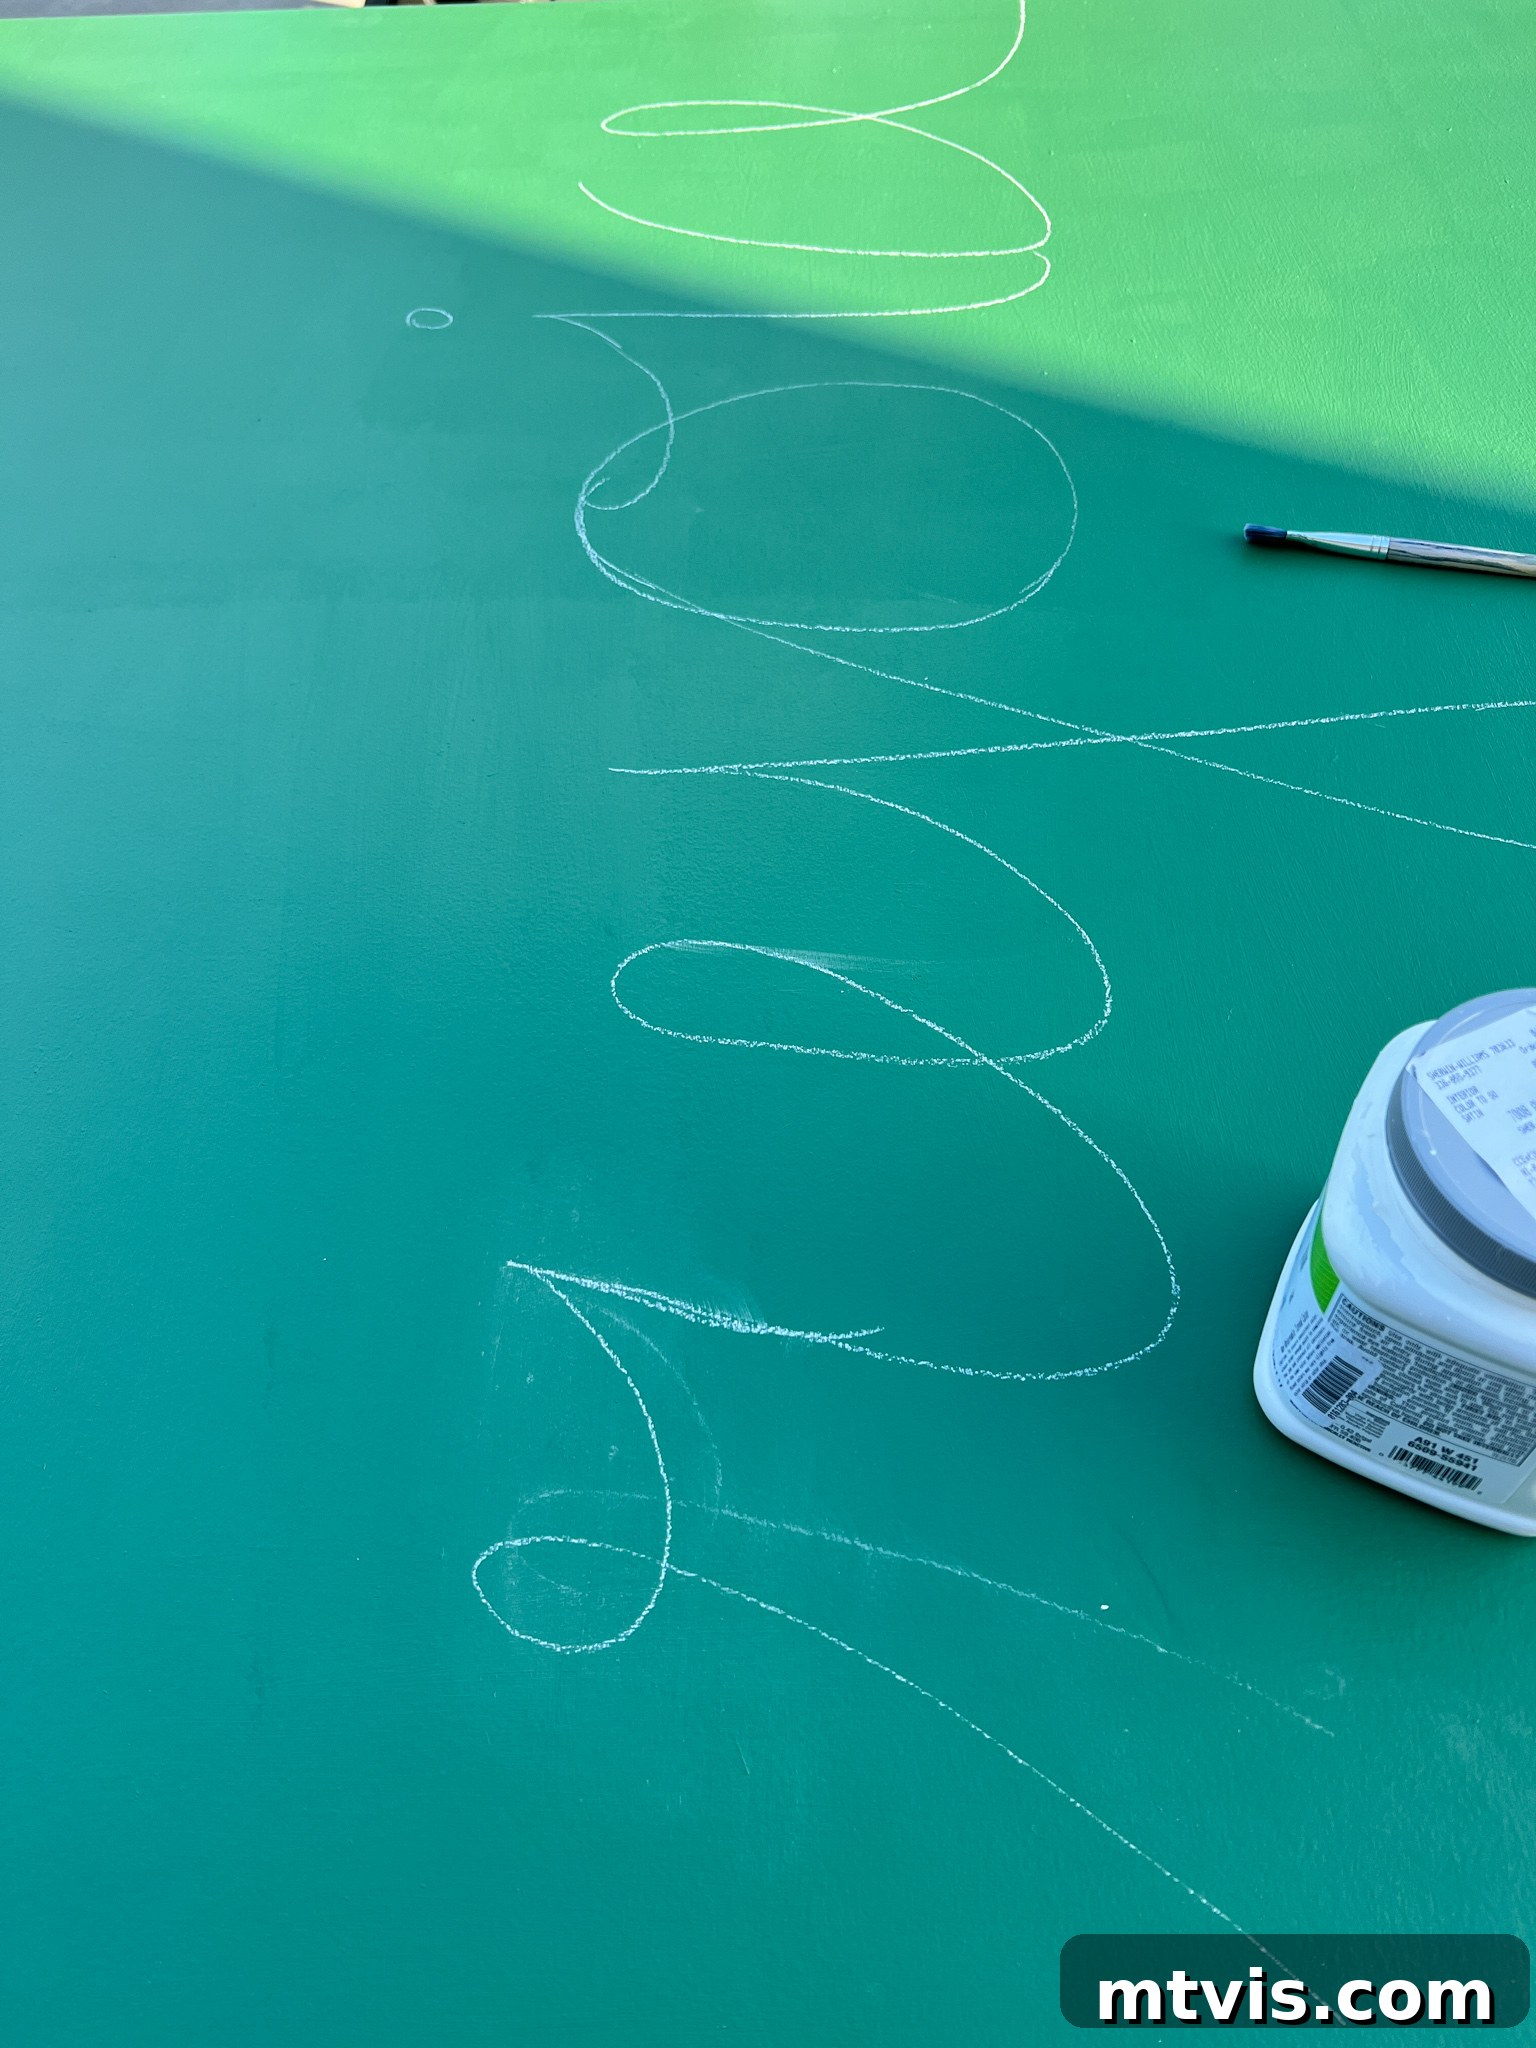
After your background paint has thoroughly dried, it’s time for the creative part: sketching your design. Chalk is your best friend here! Its impermanent nature allows you to draw and erase repeatedly until you’re completely satisfied with your layout. For our project, we lightly drew the word “Rejoice” onto the painted surface. Consider using a stencil, projector, or freehand drawing to achieve your desired lettering or image. Chalk is infinitely better than pencil for this stage, as pencil marks can sometimes show through even after being painted over. Take your time with this step, as it forms the visual core of your light-up art.
-
4. Paint your design.
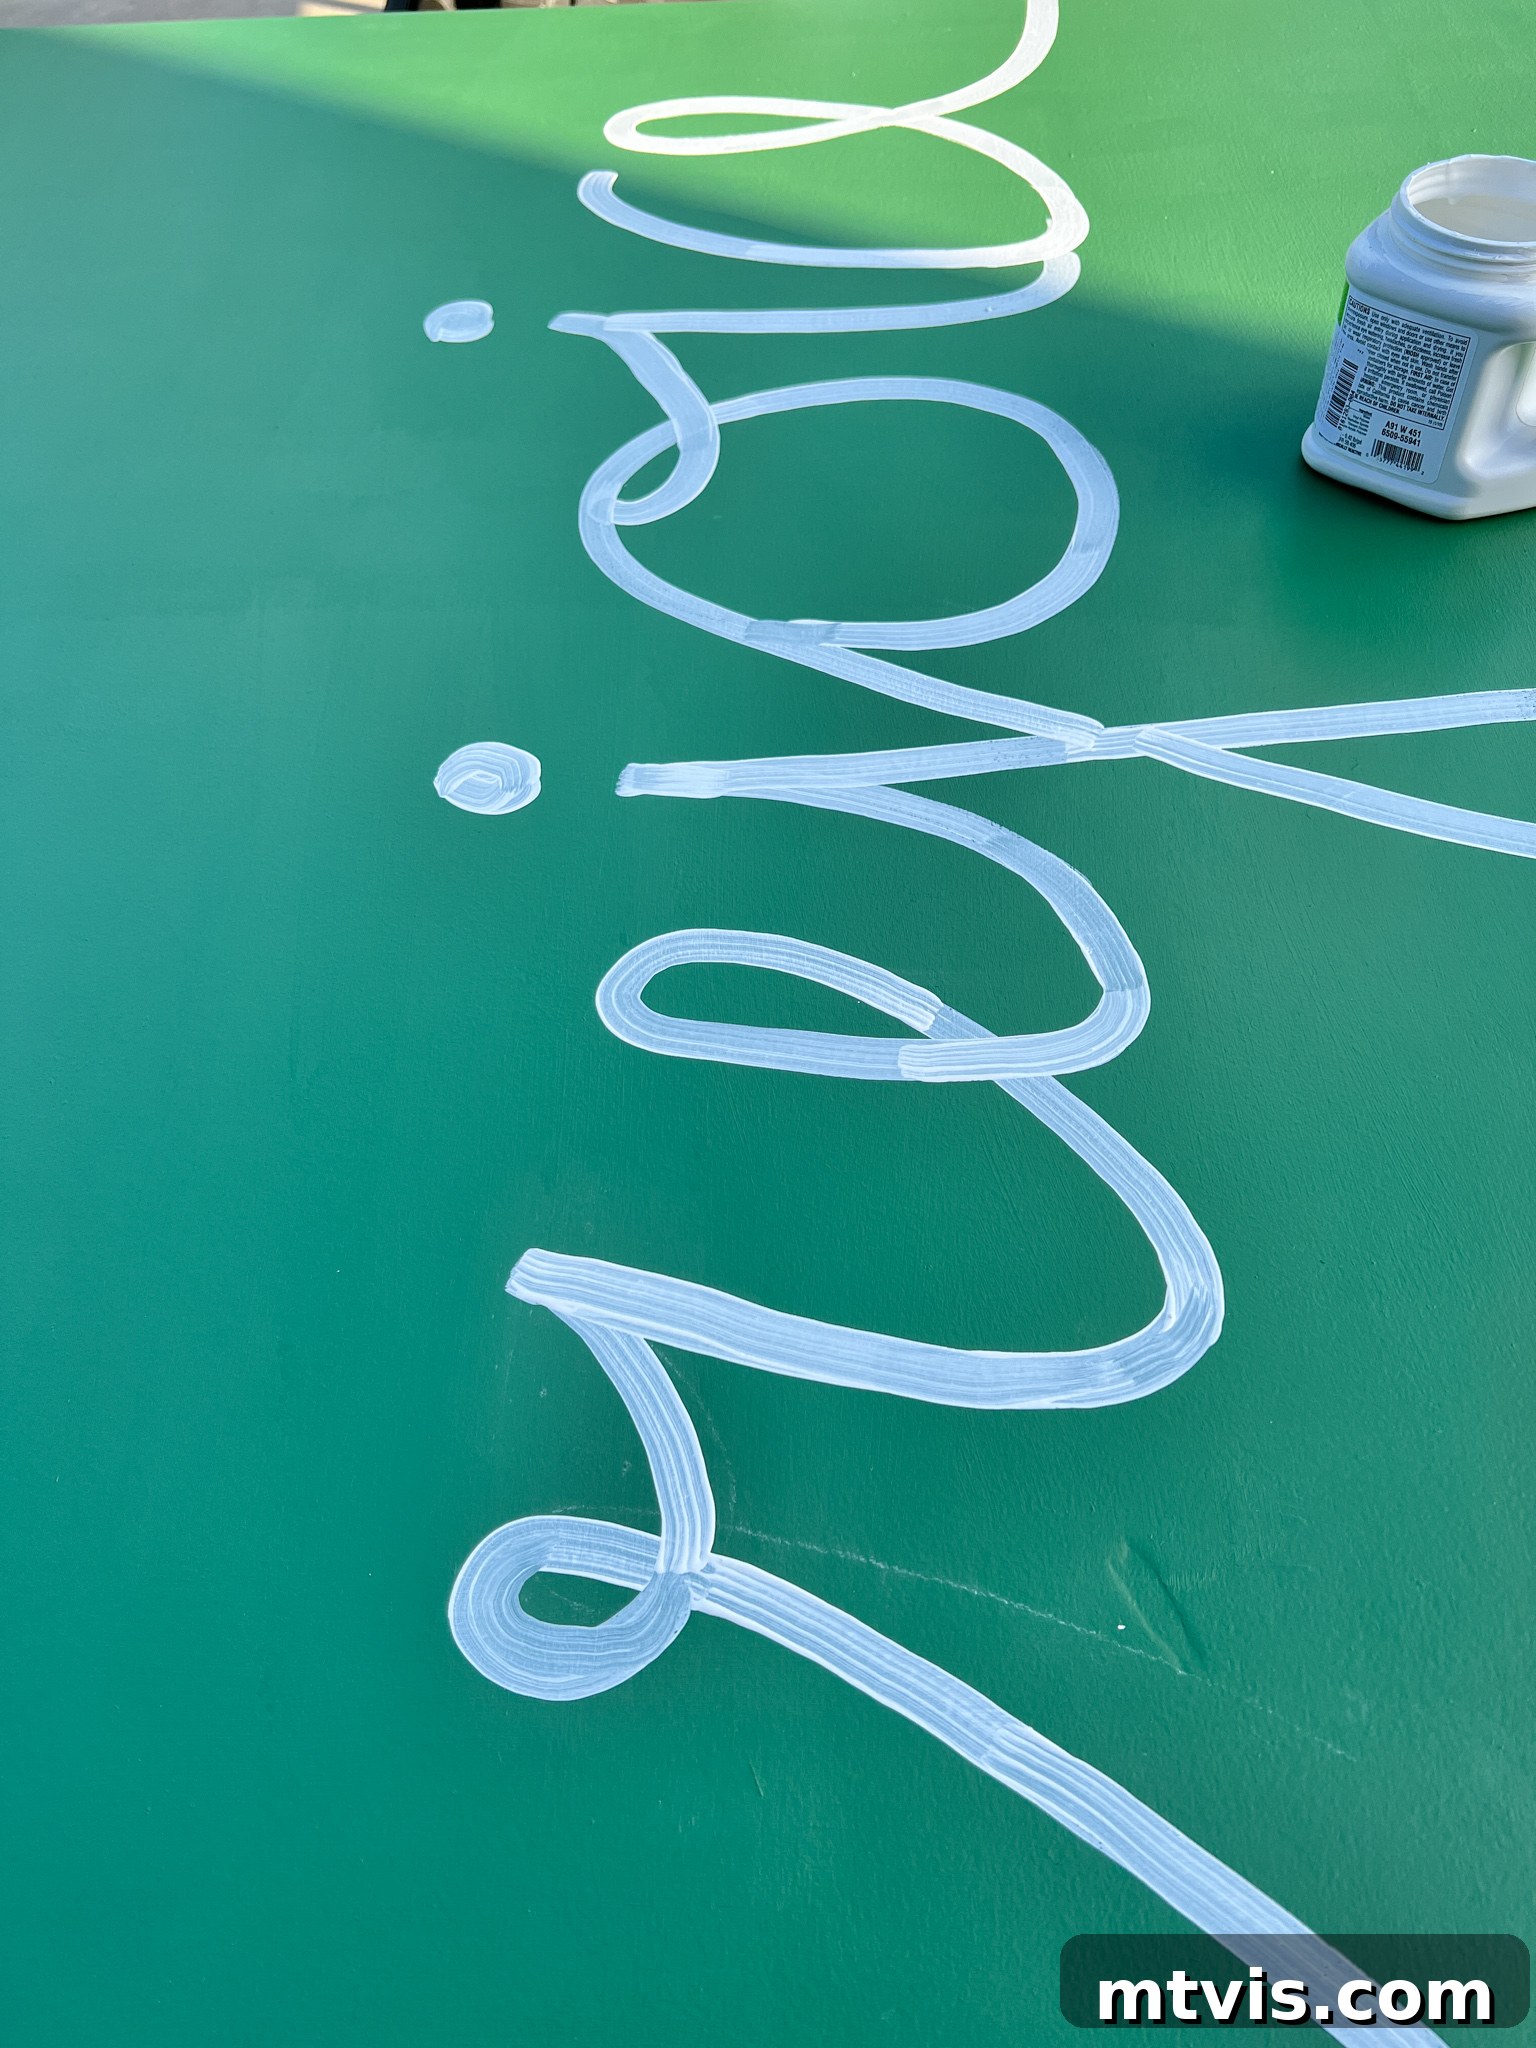
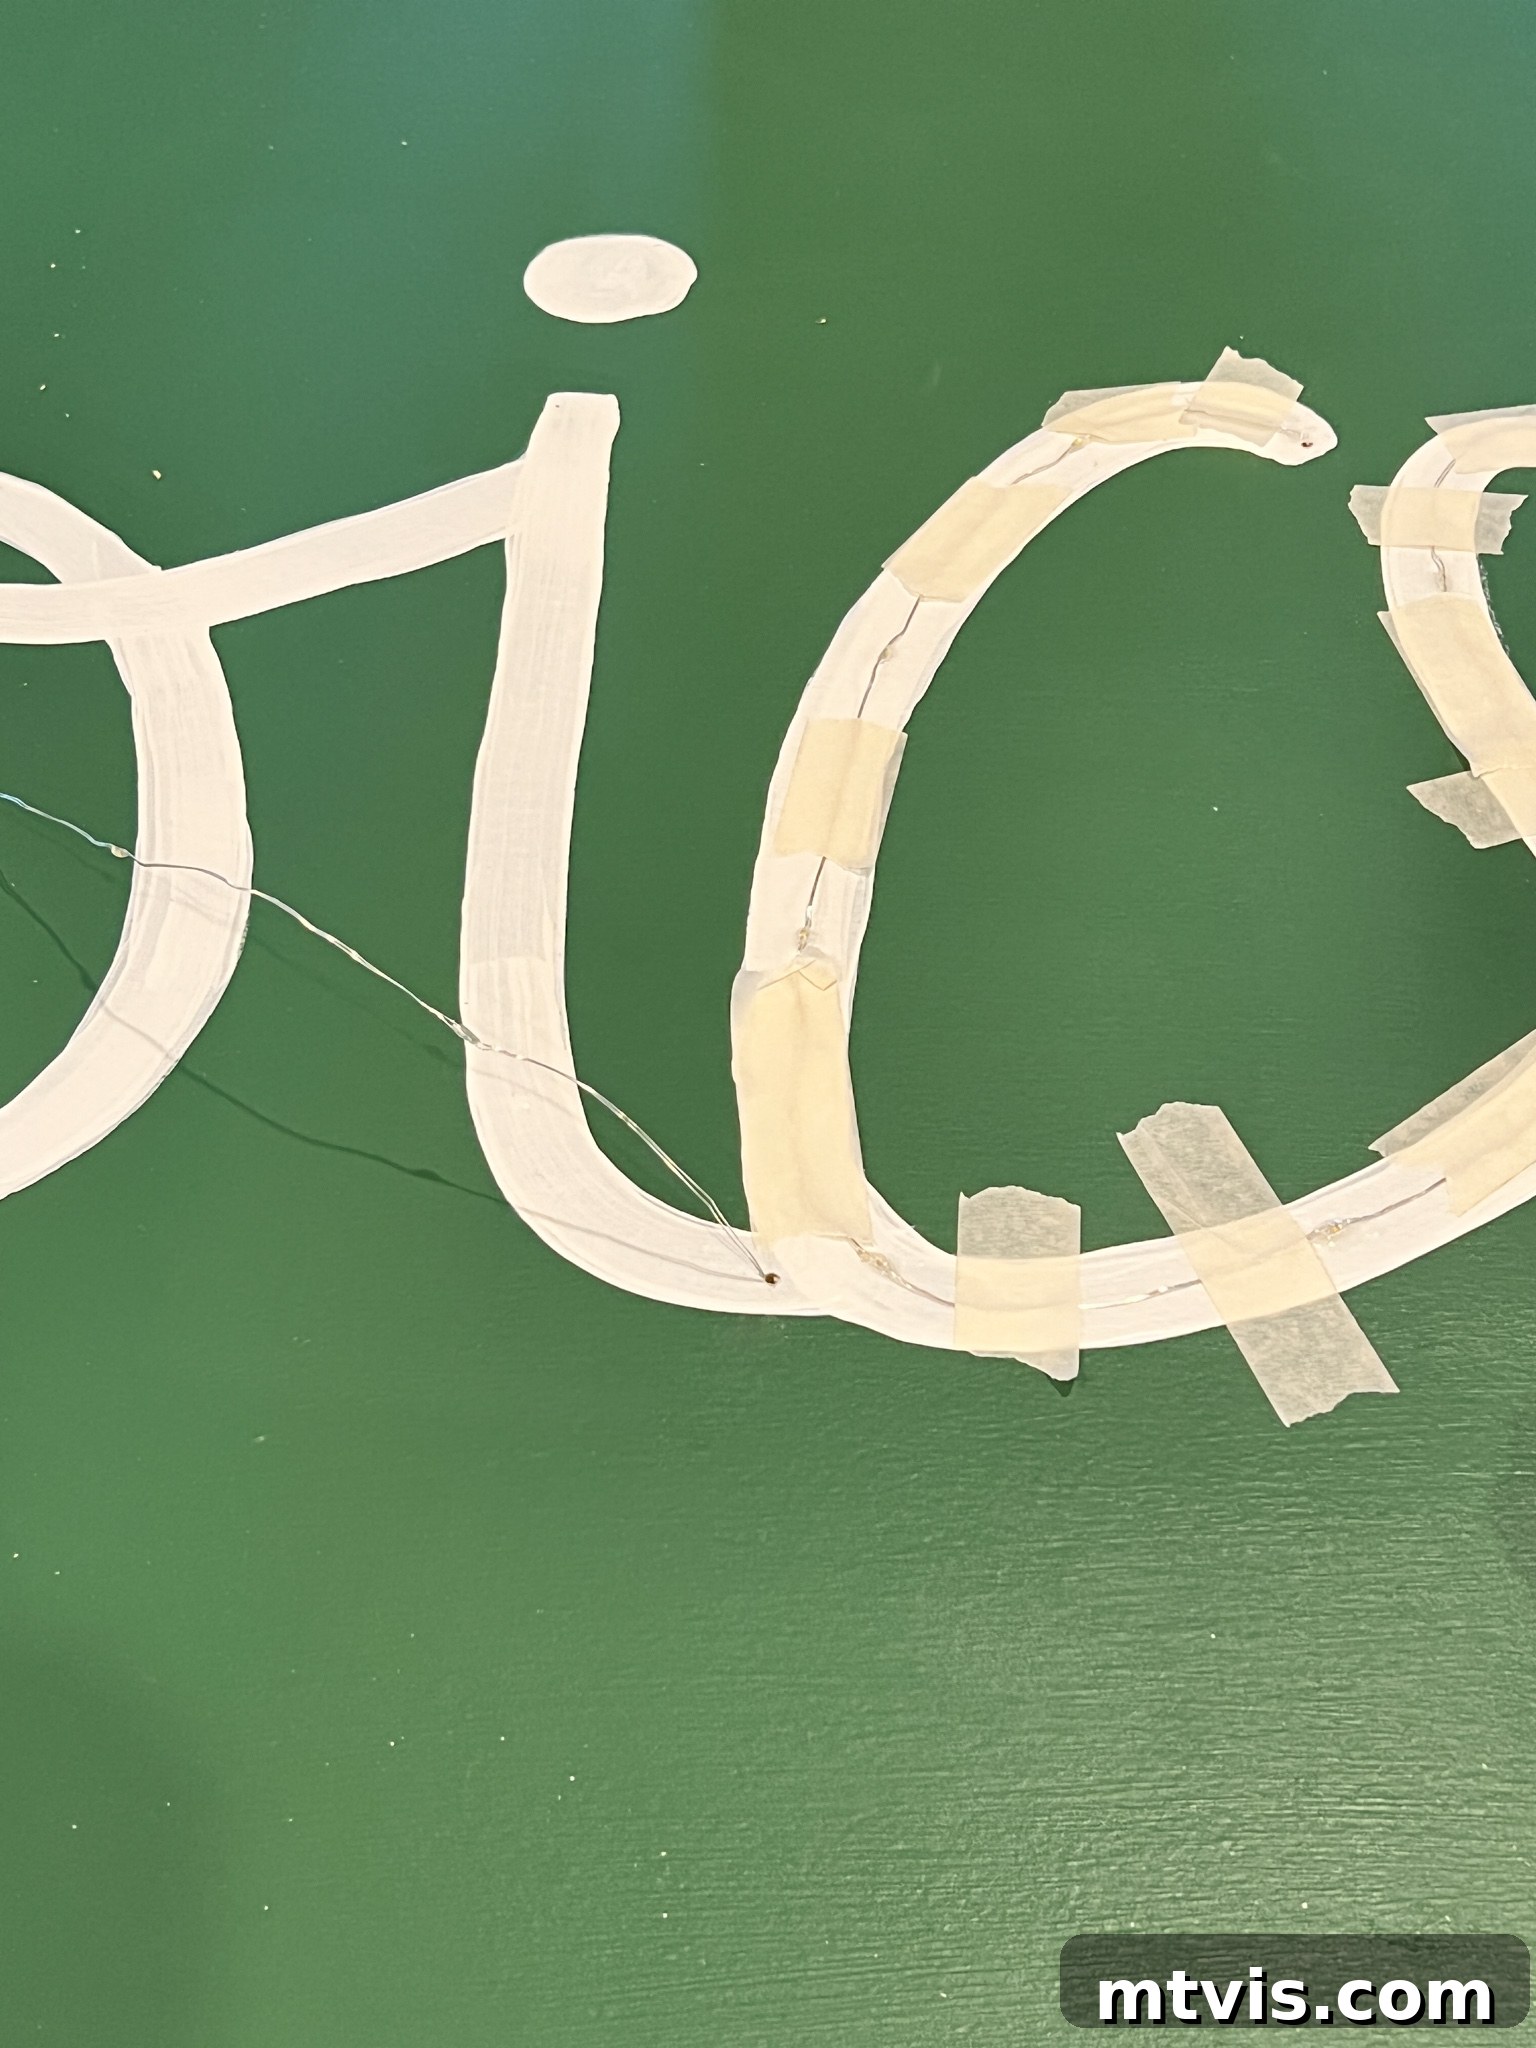
Once you’re happy with your chalk outline, carefully paint over it using an artist’s brush. We used some leftover white paint we had on hand. If your paint isn’t highly opaque, you may need multiple coats to achieve a crisp, solid color. For our “Rejoice” design, three coats were needed to ensure the white stood out vibrantly against the green background. Apply paint smoothly and try to stay within your chalk lines. Don’t worry if it’s not perfect on the first coat; subsequent coats and careful touch-ups will refine your design. The photo below illustrates how it looked after just one coat of white paint, highlighting the need for patience for a professional finish.
-
5. Attach your frame.
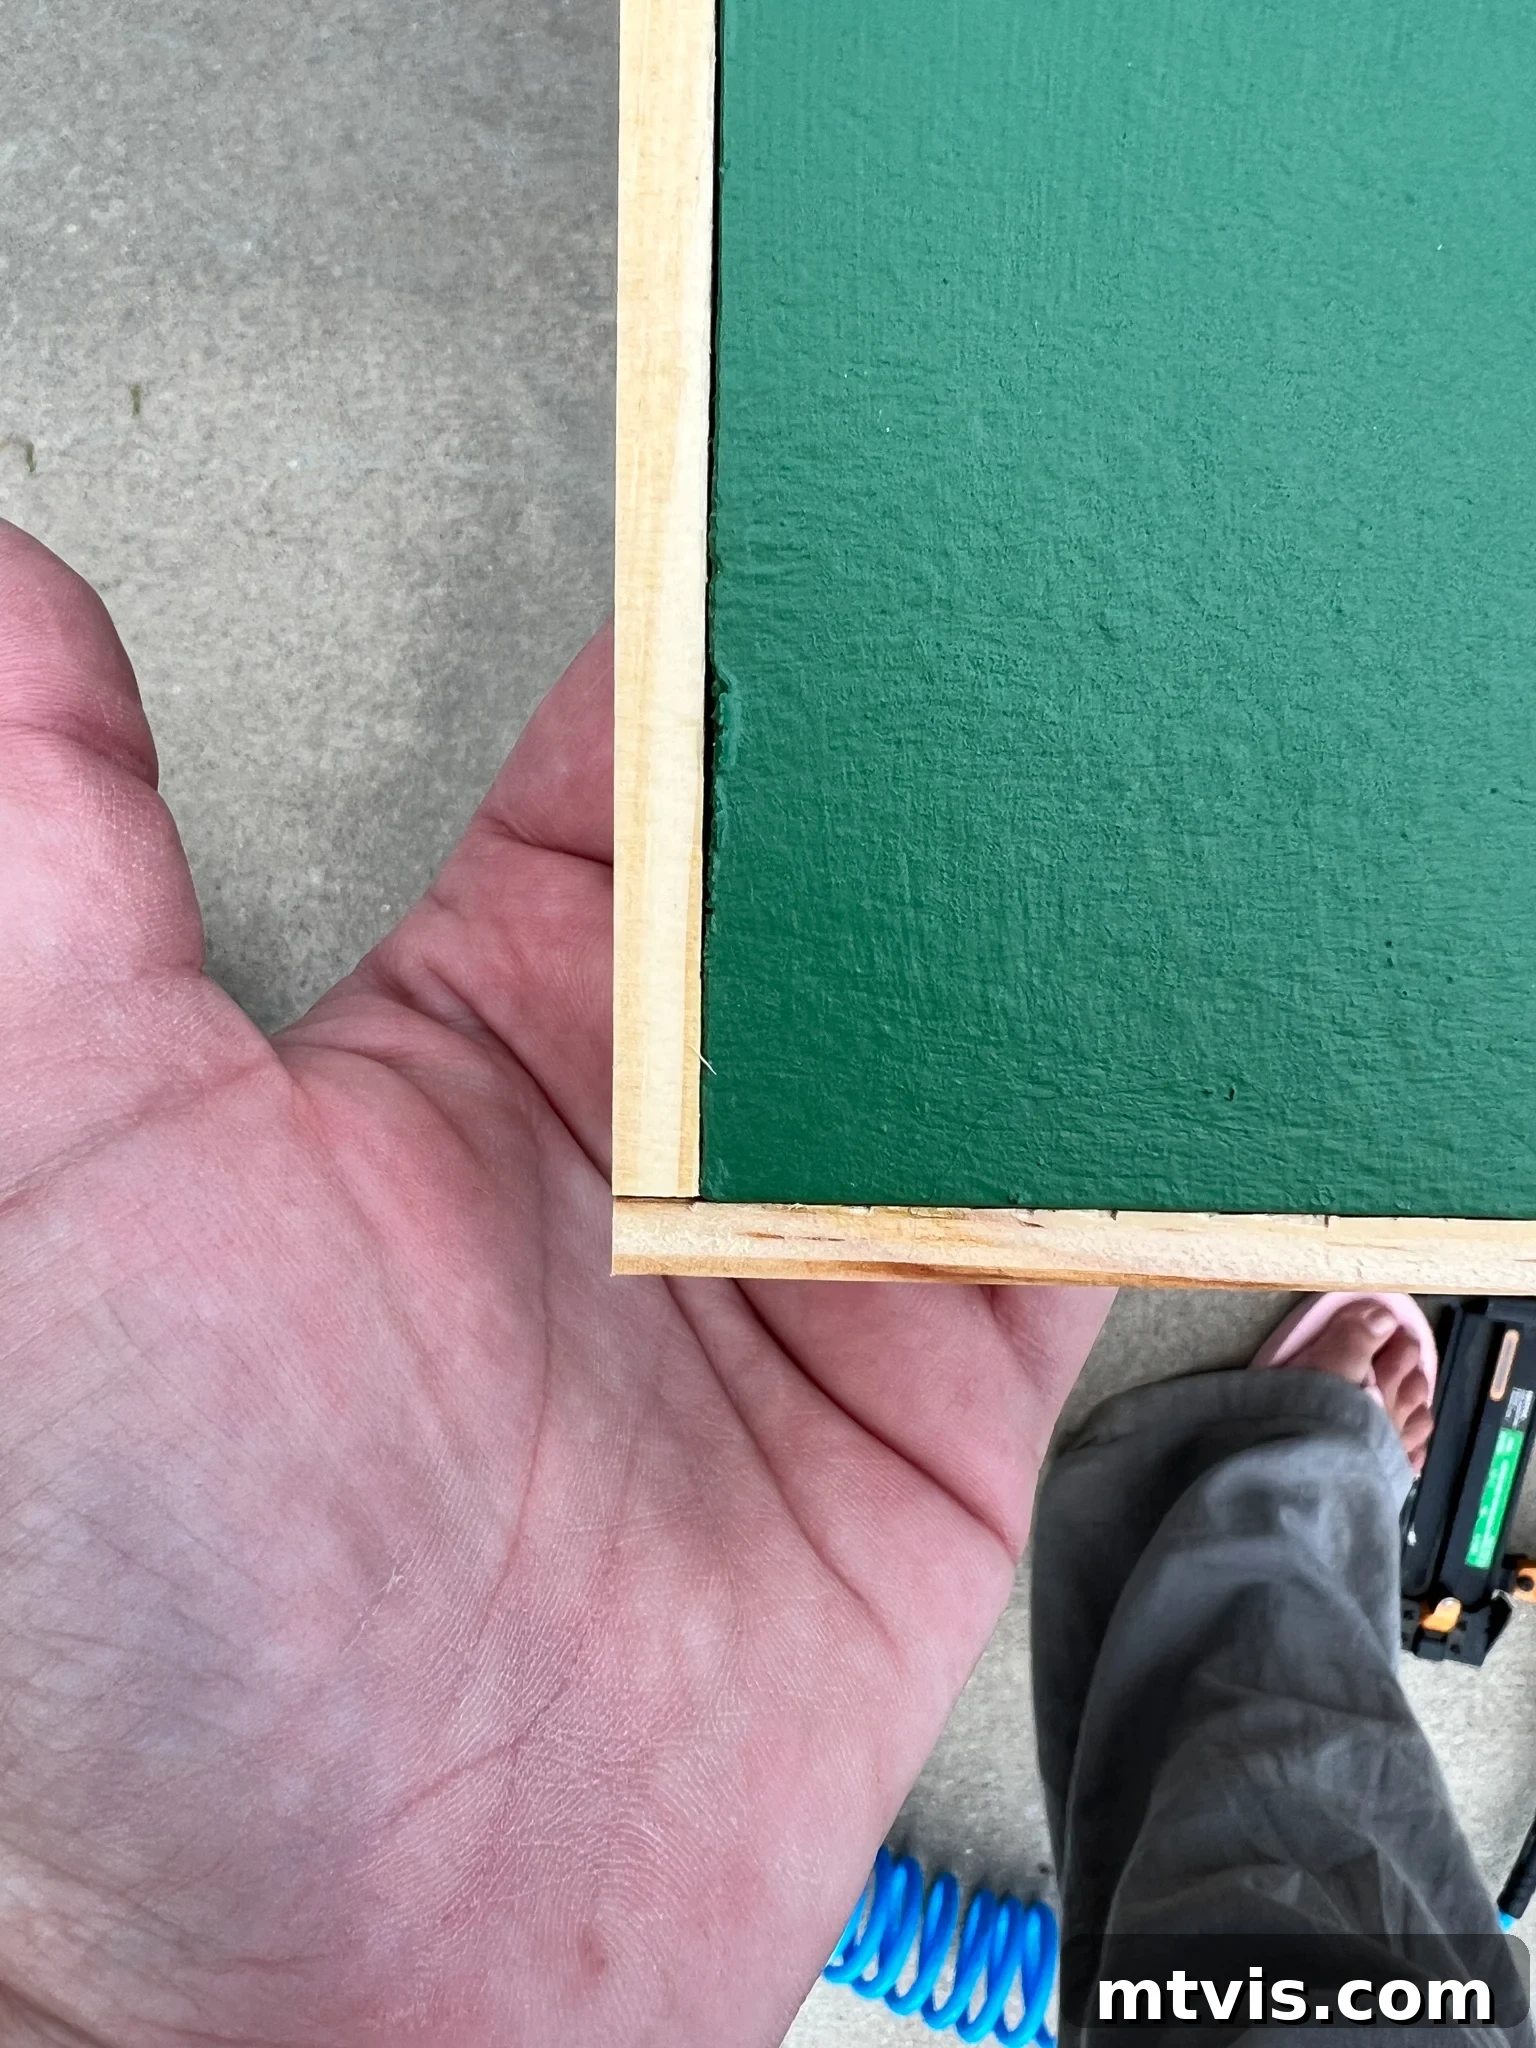
With all your painting complete and thoroughly dry, it’s time to add the finishing touch: the frame. Use the wood lattice strips to frame the edges of your DIY art. Measure and cut the strips to the precise length for each side. While we opted to preserve the natural pine look for a rustic touch, you could paint or stain your strips to match or contrast your artwork. We chose a simple butt joint for ease of construction, which involves placing the end of one strip flush against the side of another. Crucially, attach the strips so they are flush with the front surface of your plywood. This design creates an overhang on the backside, which is strategically important as it will perfectly conceal the battery packs for your dewdrop lights, keeping them out of sight. A brad nailer makes this process incredibly fast and secure, providing a clean attachment without visible screw heads.
-
6. Fill any nail holes with wood filler.
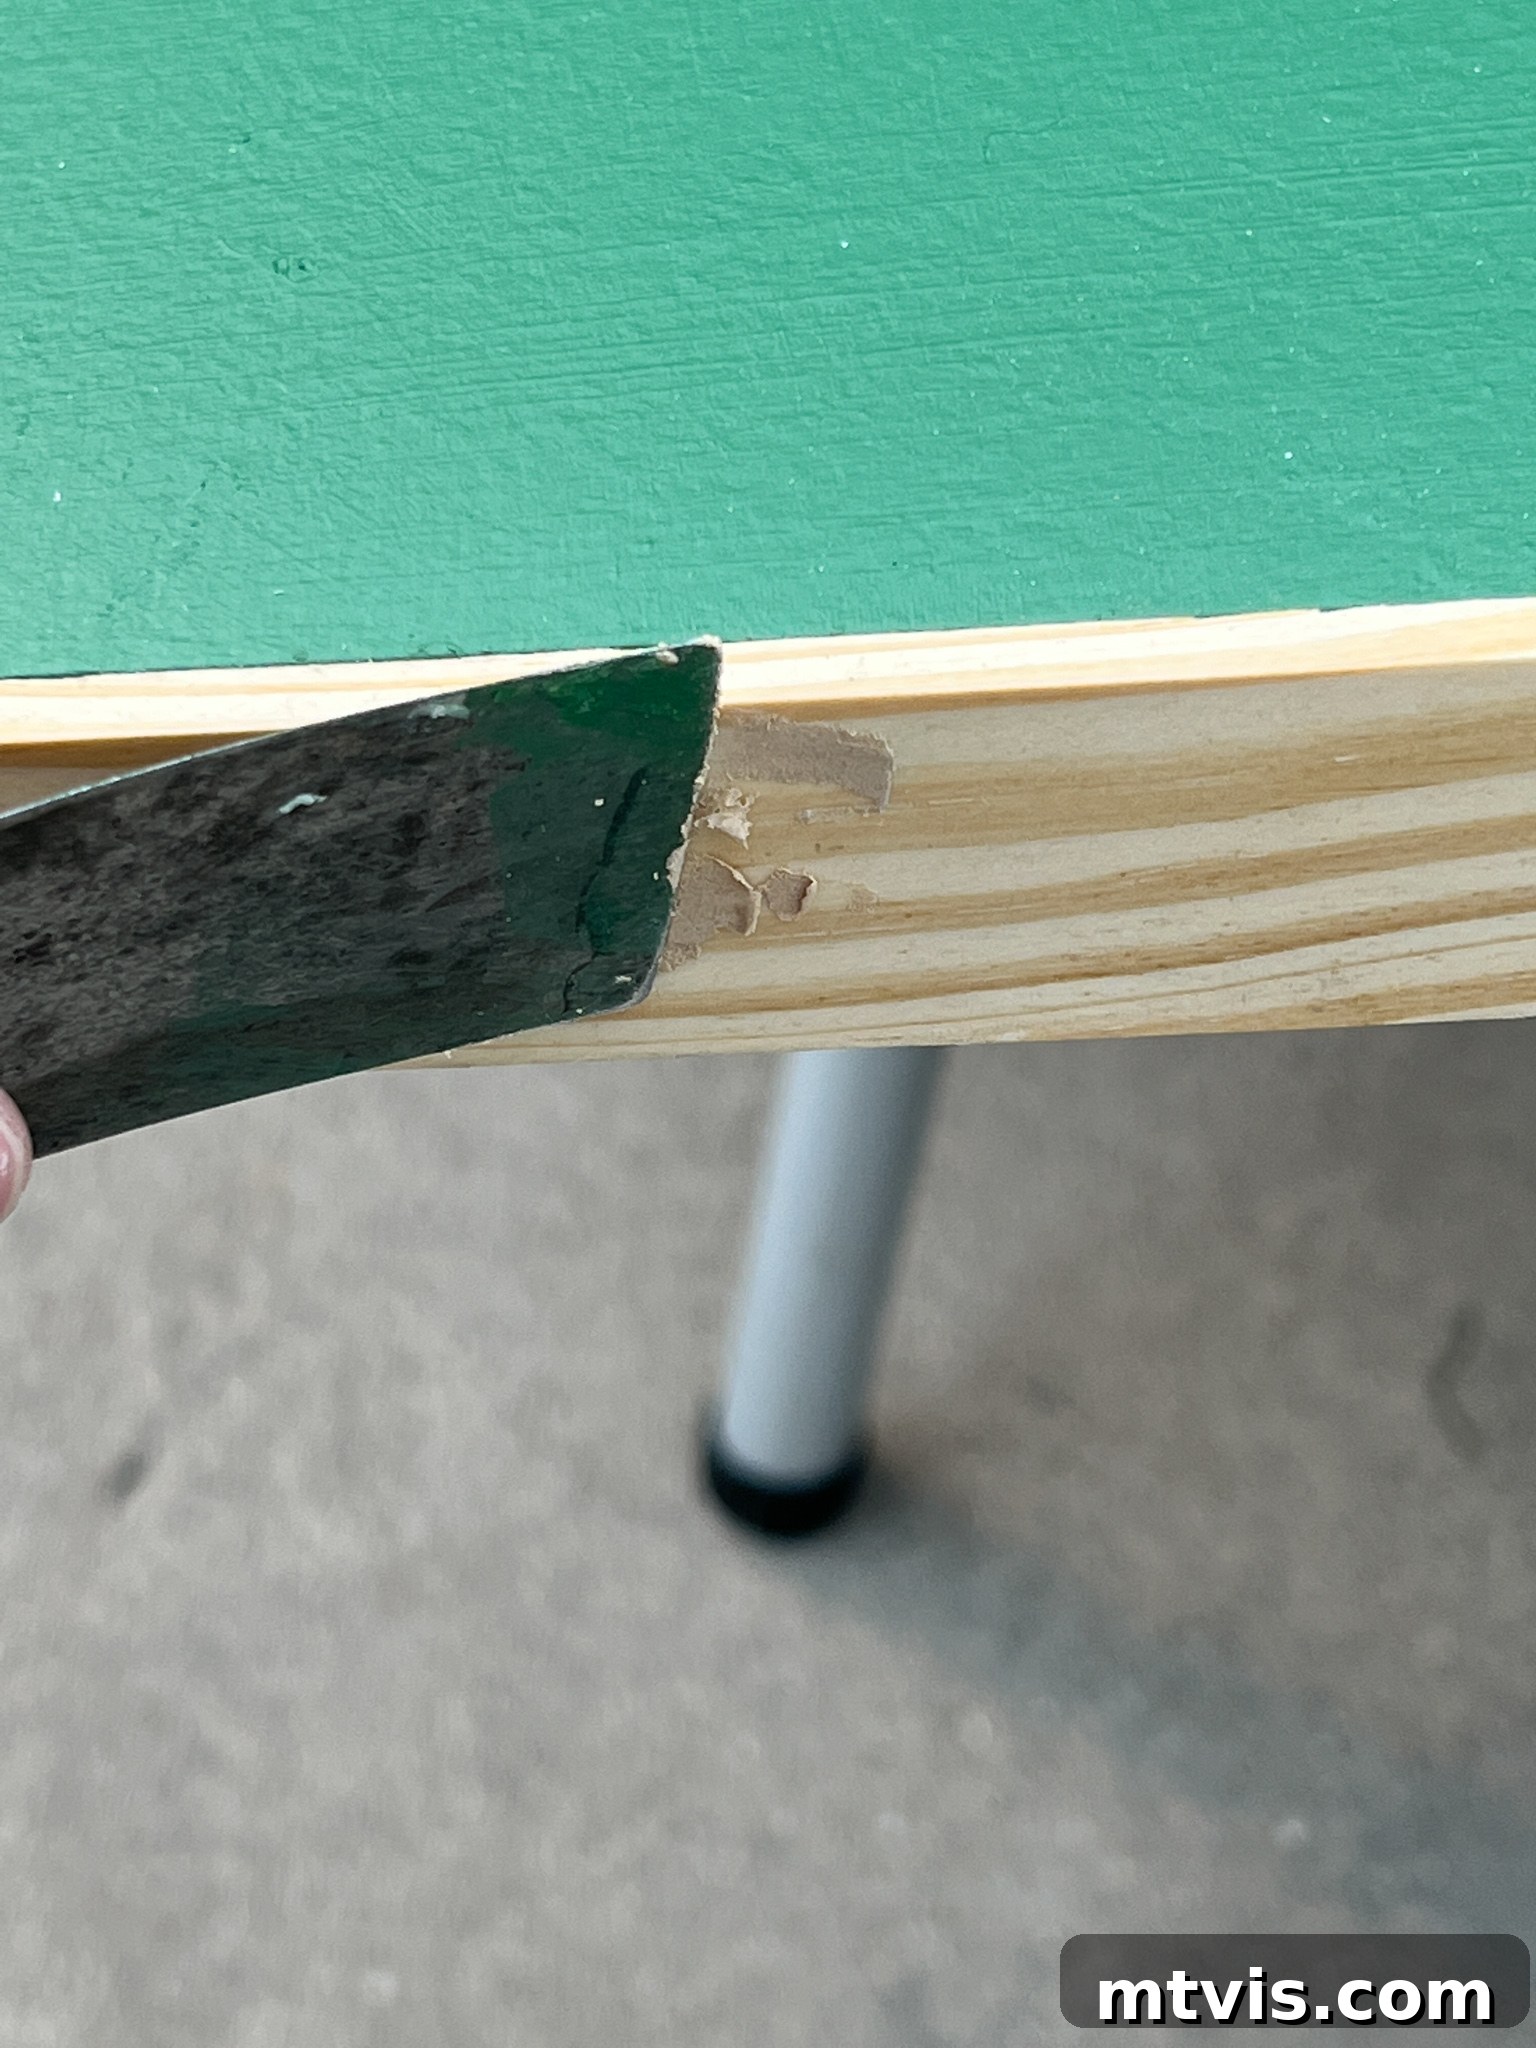
For a truly polished and professional look, addressing any visible nail holes is essential. We used DAP Plastic Wood X to fill in the small indentations left by our brad nails. Apply a small amount of wood filler to each hole, pressing it in firmly to ensure it’s completely filled. Allow the filler to dry thoroughly, which typically takes a few hours depending on the product and humidity. Once dry, gently sand the filled areas smooth and flush with the surrounding wood surface. This step creates an unblemished frame that enhances the overall aesthetic of your light-up art, making it look custom-made and high-quality.
-
7. Prepare your fairy or dewdrop lights.
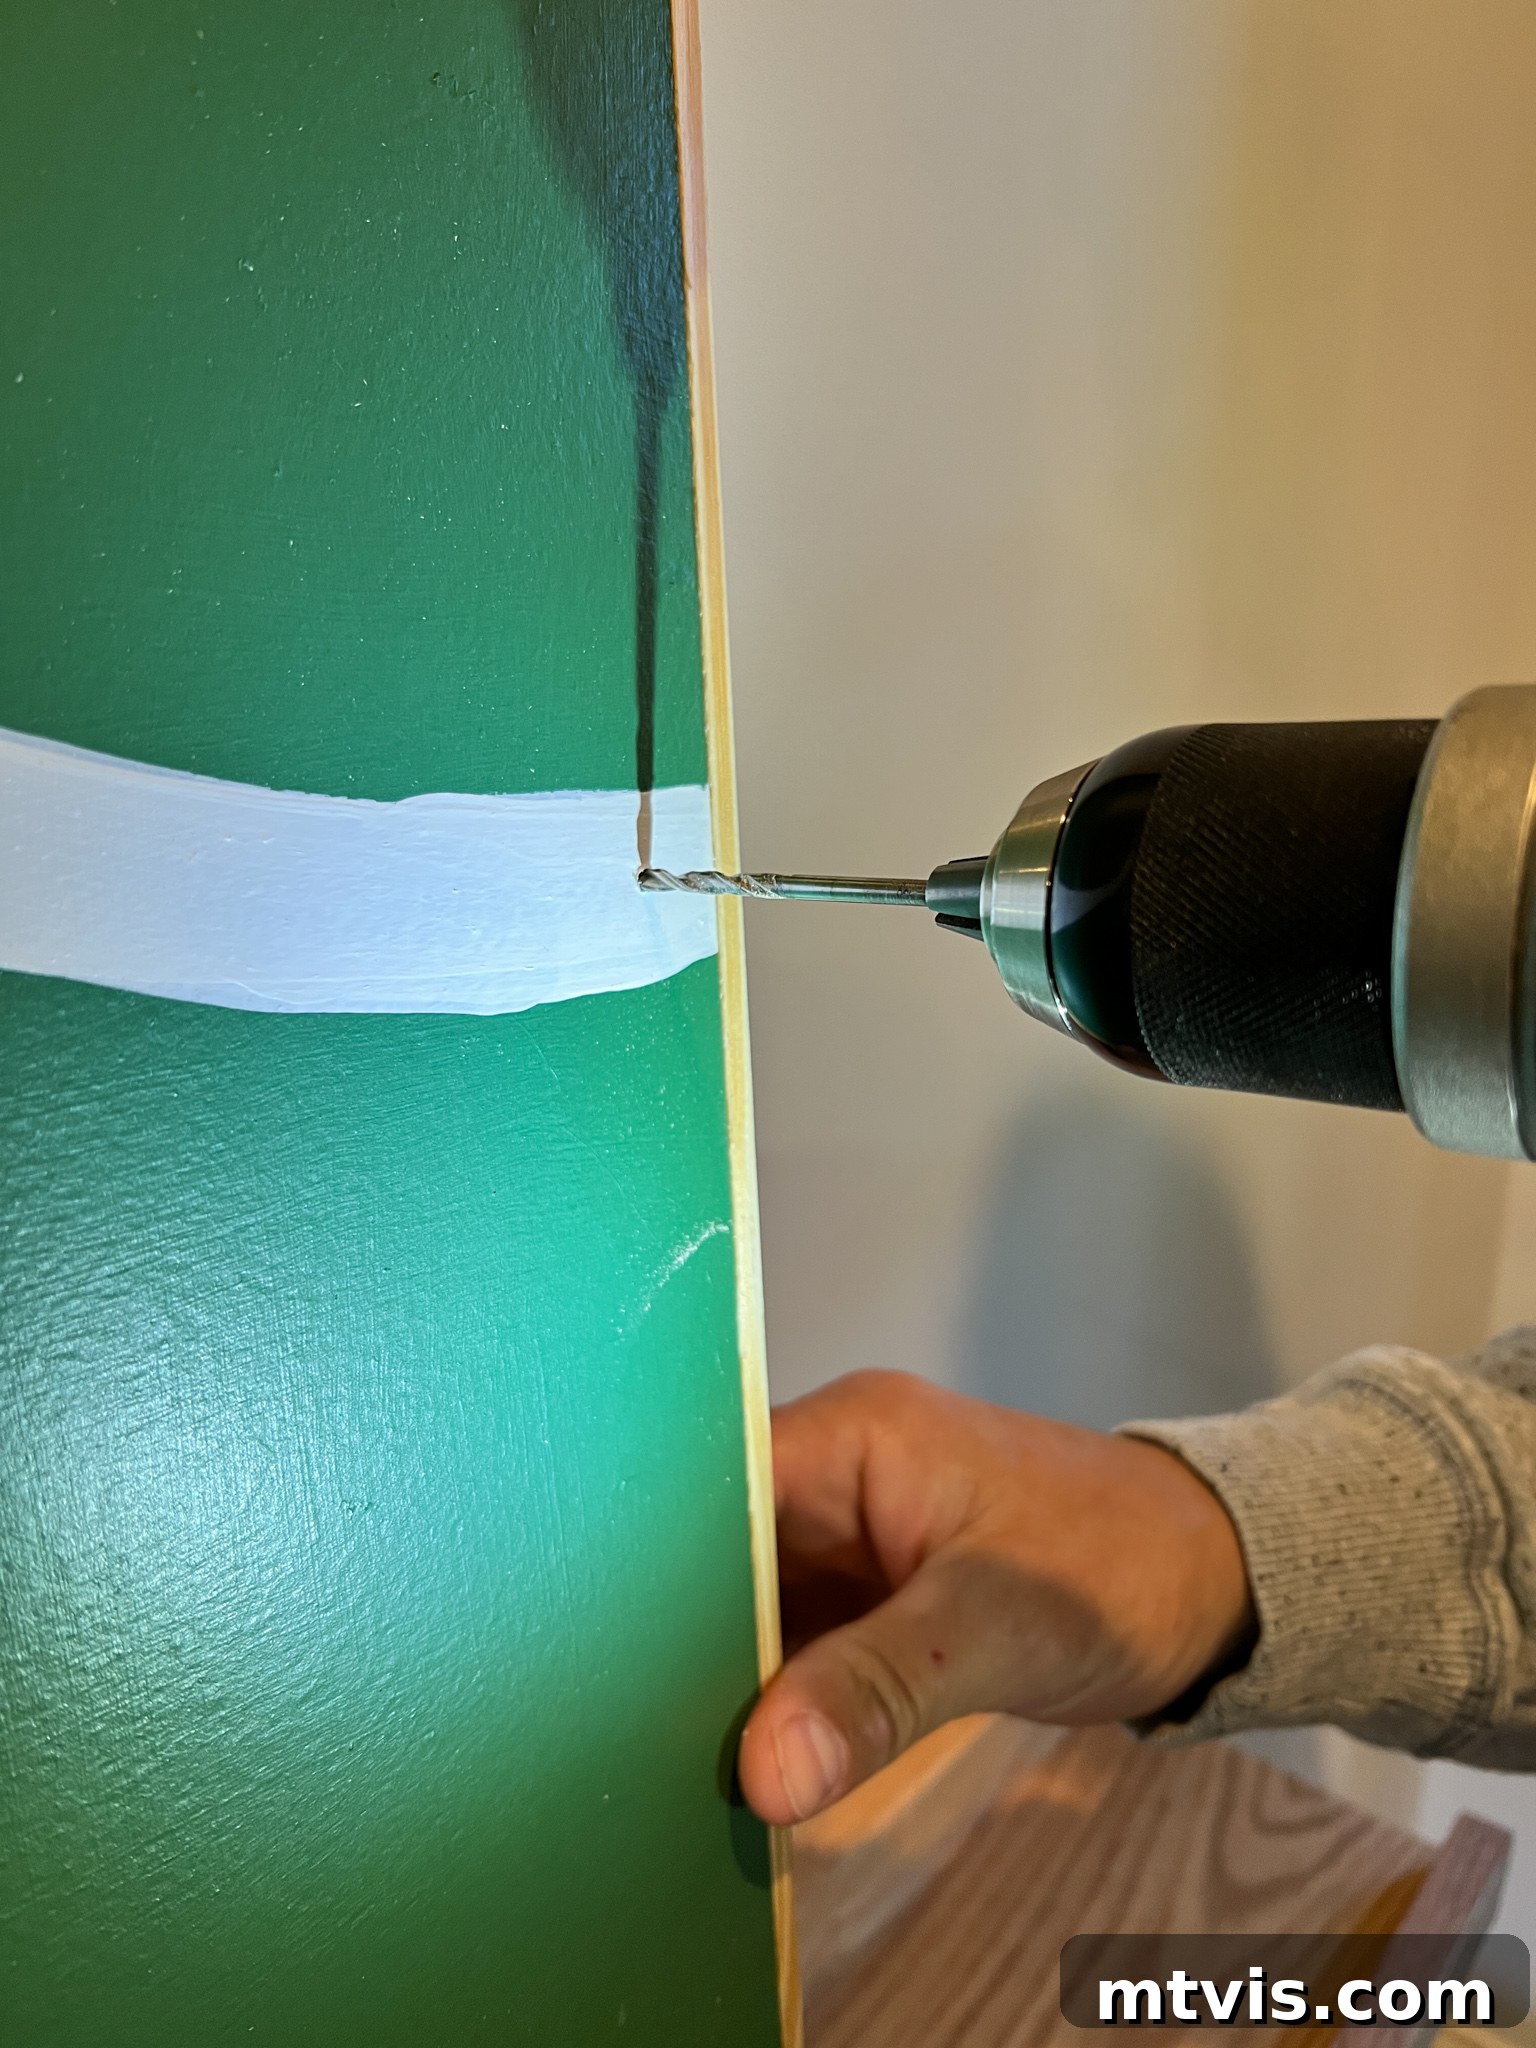
Now for the exciting part – transforming your painted art into a captivating light-up display! Begin by strategically drilling a small hole near the starting or ending point of your design, close to the edge of the plywood. This hole should be just large enough to thread the delicate wire of your dewdrop lights through. The key is to keep the battery pack hidden. Thread the light strand through this initial hole, ensuring the battery pack remains neatly tucked away on the backside of your plywood, hidden by the frame overhang. Secure the battery pack to the back of your art piece using a hot glue gun or strong tape. This prevents it from shifting and keeps the front of your art clean and cable-free.
-
8. Attach the lights.
Carefully run your dewdrop lights along the center of your painted design. For each individual light, apply a small, precise drop of DAP RapidFuse Ultra Clear glue underneath it. Gently press the light into place, ensuring it adheres firmly to the painted surface. The choice of this specific glue is paramount; it dries perfectly clear, ensuring no visible residue or cloudy spots will mar the beauty of your glowing art. To hold each light securely while the glue cures, use small pieces of masking tape to temporarily secure the wire on either side of the light. Repeat this process methodically along your entire design. For larger pieces, like ours, you might need to drill additional small holes to thread through more light strands, resulting in multiple battery packs discreetly attached to the back. Fortunately, many modern dewdrop lights come with a convenient timer function, allowing them to automatically illuminate for a set period each day without manual intervention, making your magnificent, albeit heavy, art piece truly effortless to enjoy.
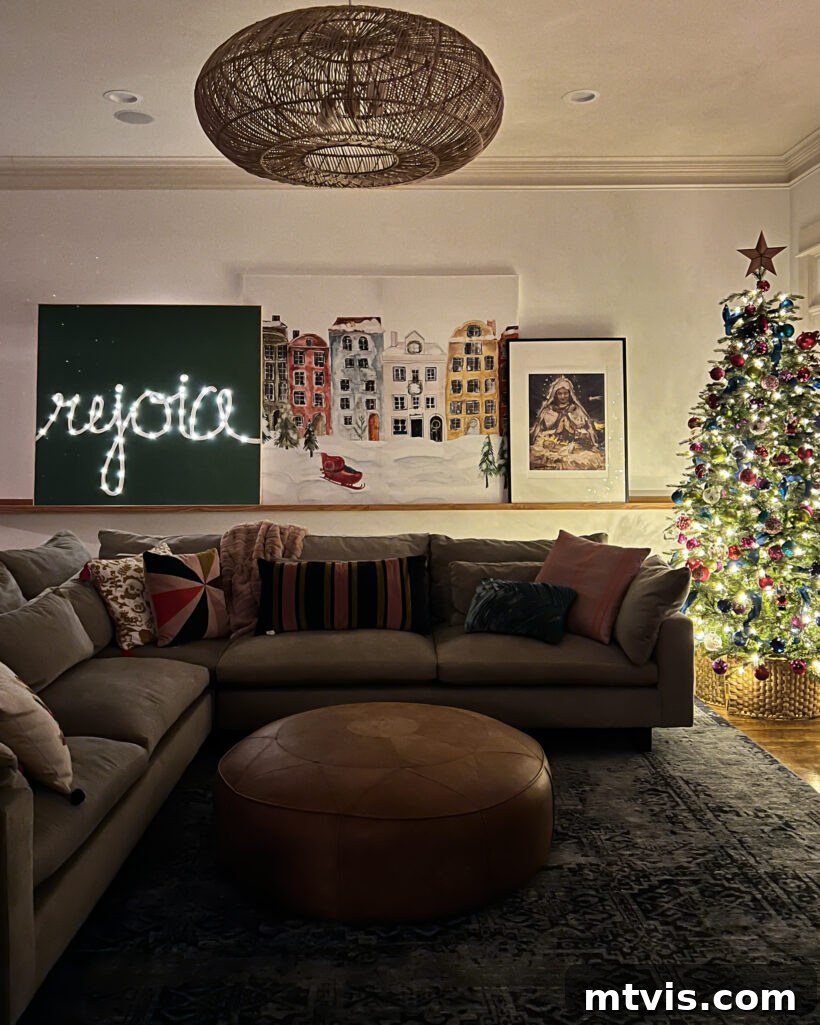
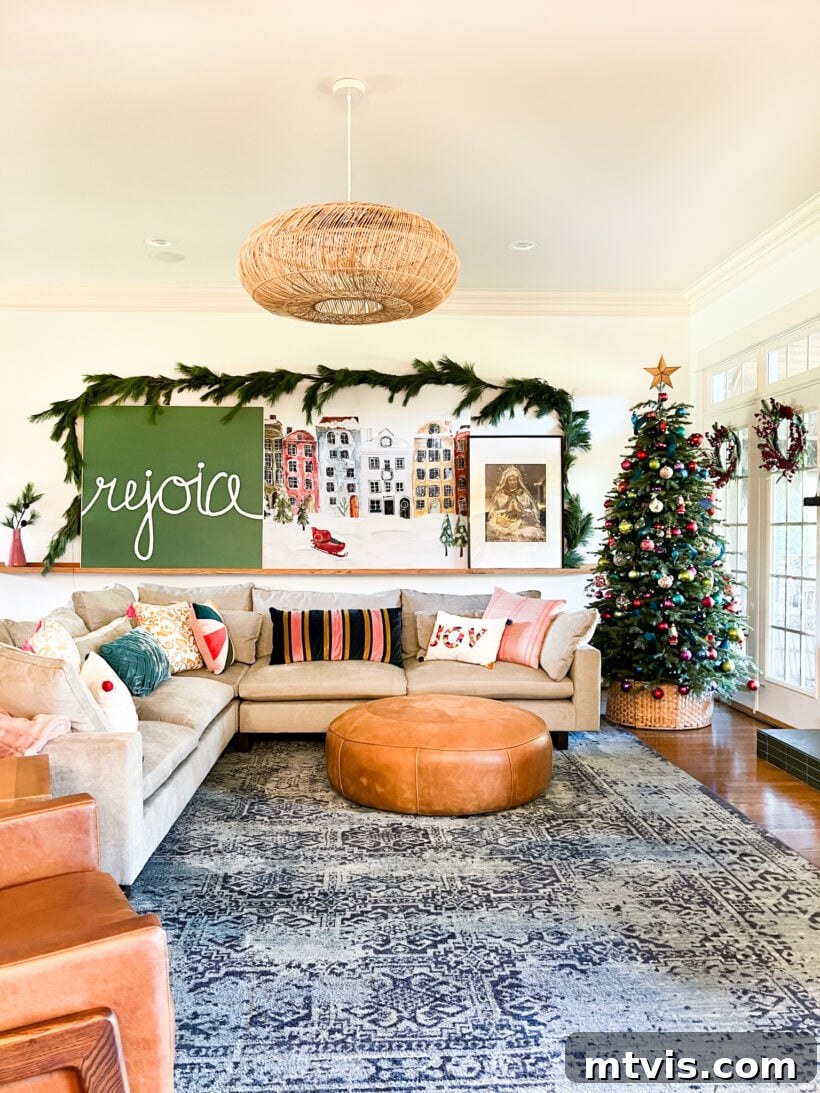
We couldn’t be more thrilled with the final outcome of our DIY light-up wall art! It brought such a unique and personal touch to our family room in 2021, elegantly resting on our custom-built art ledge.
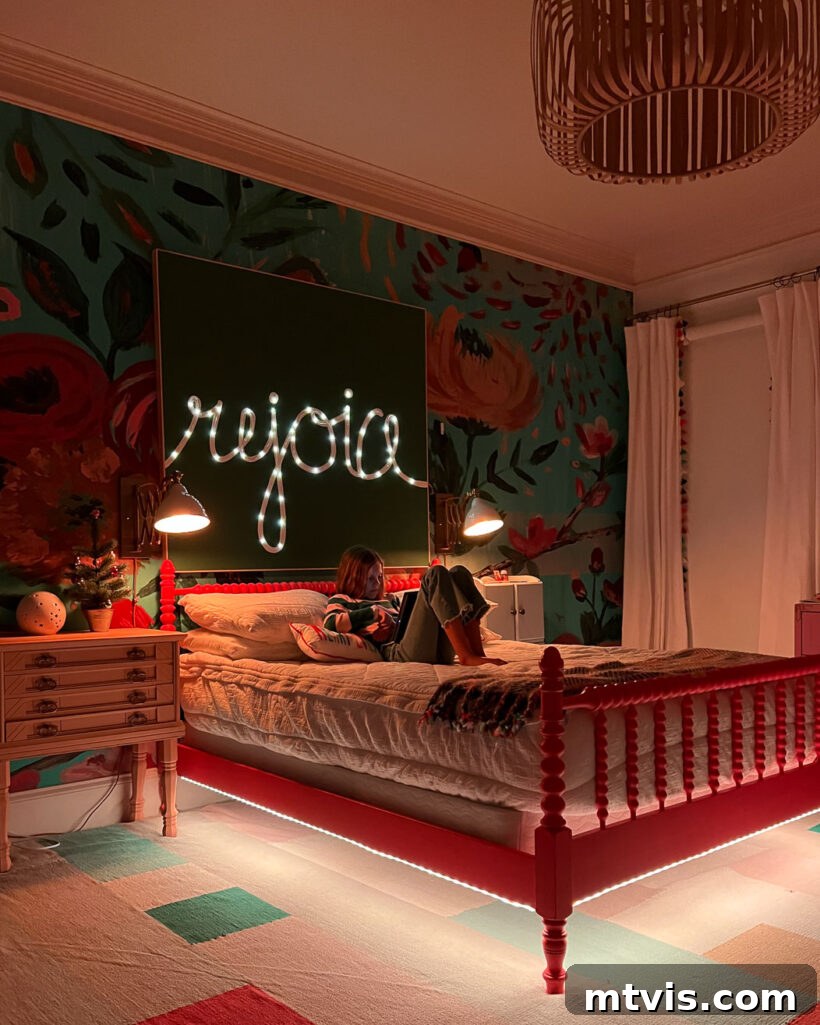
Its versatility allowed us to move it to one of our daughter’s rooms for Christmas in 2022, where it added another layer of whimsy and festive spirit. The beauty of this piece is its ability to adapt to different spaces and themes. Who knows where this enchanting piece will find its home this year?
What are your thoughts? Are you inspired to craft your very own light-up wall art? We truly hope this tutorial provides you with the confidence and motivation to embark on this magical project. Imagine the countless possibilities for personalization and the delightful ambiance it will bring to your home. We’d love to see what you create!
More Seasonal Posts
SEE ALL holiday POSTS
-
The Most Realistic Faux Garlands for 2025
-
Stunning Light-Up Paper Snowflake Lanterns
-
How to Decorate Bedroom Doors to Look Like Apartment Doors
-
DIY Santa Sacks Your Kids Will LOVE!
-
Magical Light-Up Paper Christmas Lanterns
-
Inspiring Front Porch Christmas Decorations & Tips
Here are a few other posts you might find enjoyable and inspiring:
- DIY Magical Christmas Lanterns
- DIY Advent Calendars
- 6 Secrets to Elevate Your Christmas Aesthetic
Curious about our unique approach to transforming rooms and spaces within our home? Explore Designer in a Binder® for an affordable and simple way to achieve your dream home decor.
For exclusive content, behind-the-scenes sneak peeks, and fresh inspiration delivered directly to your inbox, be sure to subscribe before you leave!