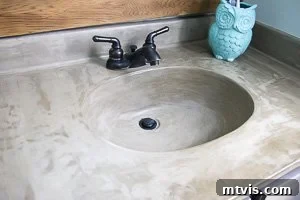
Dreaming of a sleek, modern concrete bathroom vanity but intimidated by the hefty price tag, complex custom formwork, and the sheer weight of a solid concrete slab? You’re not alone! Many DIY enthusiasts and homeowners desire the sophisticated aesthetic of concrete countertops but shy away from the traditional, labor-intensive methods. Fortunately, there’s a revolutionary, budget-friendly solution that allows you to achieve that coveted concrete look without any of the usual fuss. This guide will walk you through creating an incredibly easy DIY concrete vanity top and integrated sink using a concrete overlay technique, costing you less than $50. The best part? No heavy lifting, no intricate forms, and a stunning transformation is within reach for any skill level. Get ready to elevate your bathroom’s style with this surprisingly simple yet remarkably durable concrete makeover!
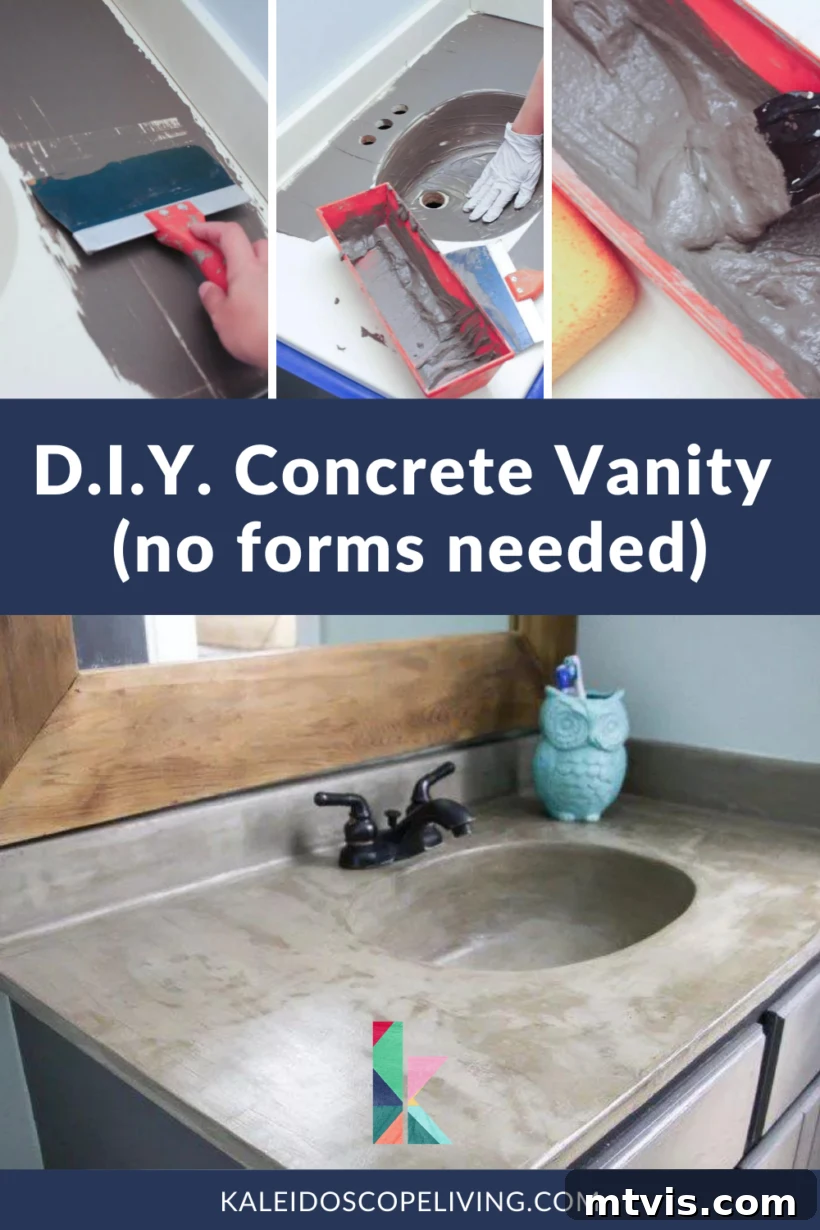
Table of Contents
Are your outdated bathroom vanities crying out for a refresh, but your budget is whispering “no”? Do you absolutely adore the sophisticated look of concrete vanity tops, yet feel overwhelmed by the thought of constructing custom forms, pouring heavy concrete, and then somehow maneuvering that massive slab into place? Let’s be honest, even a modest concrete vanity top can weigh a ton! Well, rejoice, because you’ve stumbled upon the perfect solution. I’m here to unveil every detail of my DIY vanity makeover, demonstrating how a simple, inexpensive concrete overlay can completely transform your existing vanity into a stunning “faux” concrete masterpiece. This method eliminates the need for any form building or strenuous lifting, making a stylish bathroom renovation accessible to everyone.
This remarkable transformation isn’t just a fleeting trend; it’s a testament to durability and lasting style. I originally completed this project in 2014, and it held up beautifully for over five years, enduring daily use and maintaining its pristine appearance. In 2019, I updated this post following a complete renovation of this very powder room, proudly showcasing just how well this DIY concrete overlay withstands the test of time. Its enduring quality proves that an affordable makeover can truly deliver long-term satisfaction.
The bathrooms in our previous home were unfortunately adorned with cultured marble countertops and integral sinks, a design choice that was wildly popular in the early 80s but certainly not my cup of tea. Replacing the vanity top in our powder room wasn’t an option due to budget constraints, so creativity became my best friend. Having successfully crafted our own DIY concrete fireplace and absolutely loving the results, we decided to take a calculated risk. We embarked on an ambitious project: using the very same DIY concrete overlay technique to create a “faux” concrete sink and vanity top for our powder room. And guess what? IT WORKED FLAWLESSLY! The outcome was beyond our expectations, proving that with a little ingenuity, you can achieve high-end looks on a DIY budget. Now, prepare to learn exactly how you can replicate this success in your own home!
Curious about its long-term performance? Watch the short video below to see an update on how this concrete vanity is holding up years later!
This post contains some affiliate links for your convenience. Click here to read my full disclosure policy.
DIY “Faux” Concrete Vanity Top & Sink Tutorial
Achieving a stunning, durable concrete vanity top and sink doesn’t have to be complicated or expensive. This tutorial leverages a clever concrete overlay technique, often referred to as “feather finish” concrete, to transform your existing vanity surface. By applying thin layers, you build up a realistic concrete appearance that’s incredibly strong and easy to maintain. Follow these steps for a complete guide to your DIY bathroom vanity makeover!
Materials Needed
Gathering the right materials is the first crucial step for any successful DIY project. For this faux concrete vanity, you’ll need just a few key items, most of which are readily available at hardware stores or online. Investing in good quality tools and materials will ensure a smoother application and a more durable, professional finish.
- Ardex Feather Finish or Henry’s Feather Finish: These are specialized concrete patching compounds that dry very quickly and can be applied in thin layers, perfect for overlays.
- 14-inch drywall tray: Ideal for mixing small batches of concrete overlay material. Its flat bottom and sloped sides make mixing and scooping easy.
- 6-inch metal Drywall knife: Essential for applying the concrete mixture smoothly and evenly across larger flat surfaces.
- 2-inch putty knife: Useful for precision application in smaller areas, corners, and the sink basin.
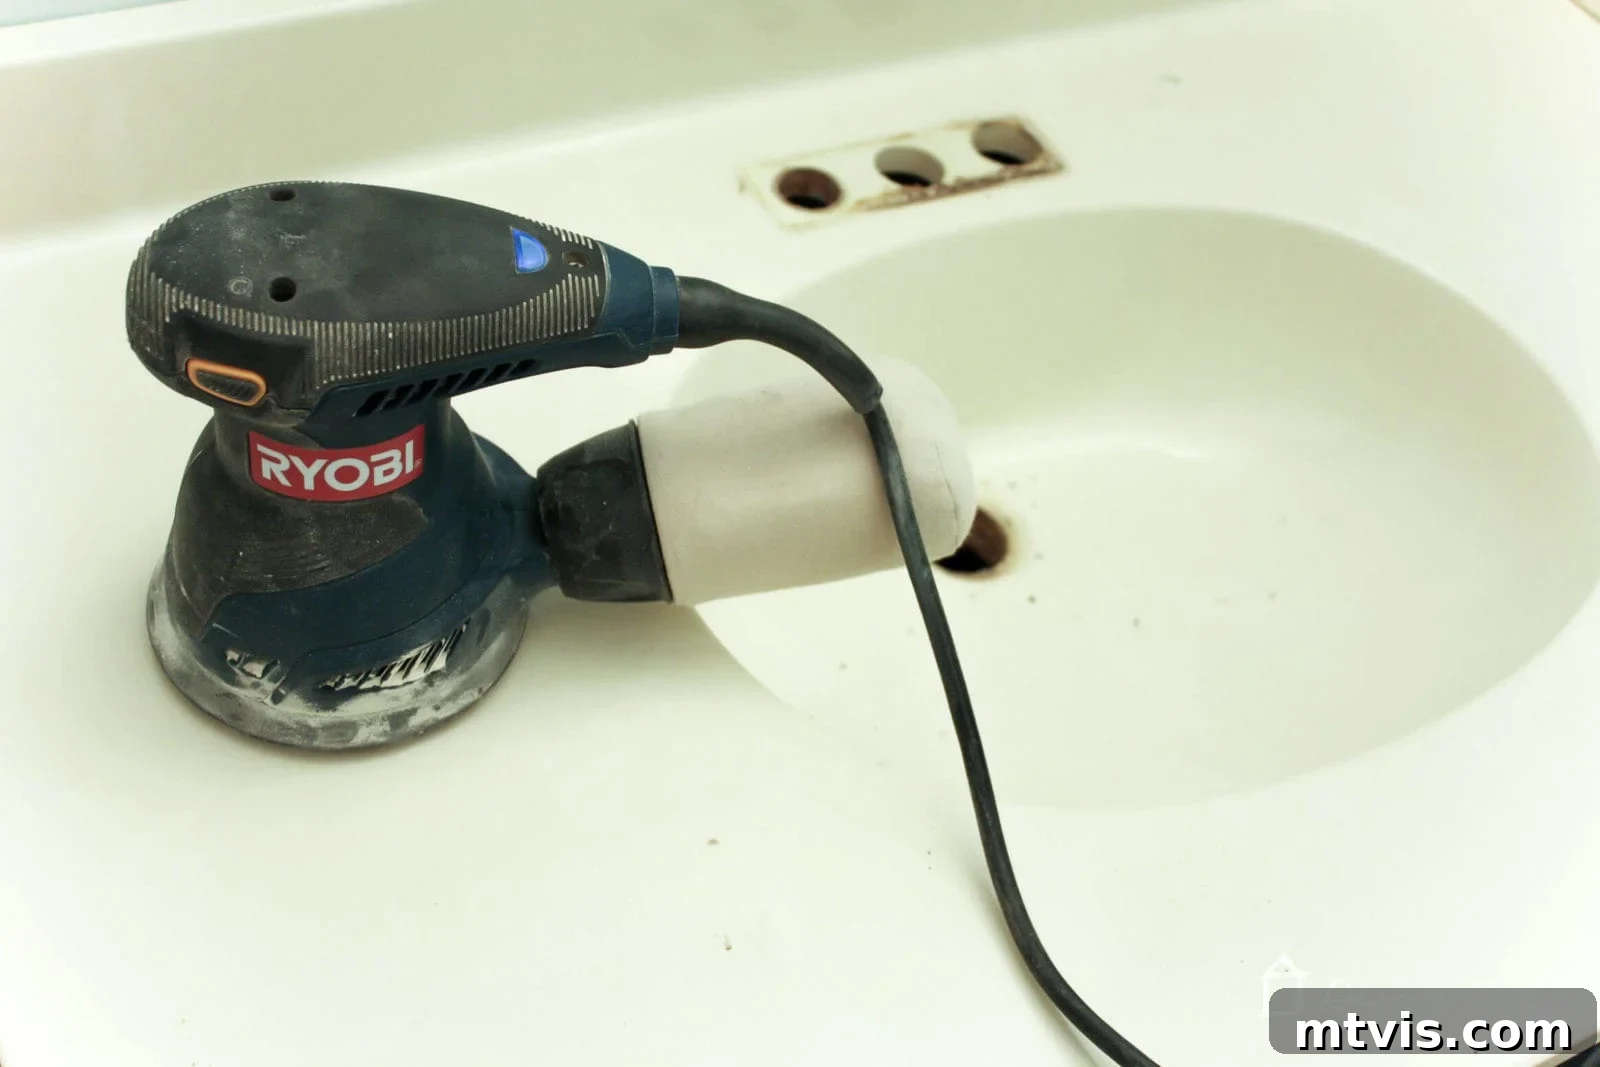
- An electric sander (optional but highly recommended): While hand sanding is possible, an electric sander, like the Ryobi Random Orbit Sander, significantly speeds up and eases the sanding process, especially after the first few coats.
- Latex gloves: Crucial for protecting your hands during concrete application, especially when working in the sink basin.
- Acrylic concrete sealer: A high-quality sealer is vital for protecting your new concrete surface from water and stains. We used Quikrete 873002 Concrete Cure And Seal Satin Finish for excellent results.
- 150 and 220 grit sandpaper: Used for smoothing out imperfections between coats and for the final, fine sanding.
- A large sponge: Helpful for smoothing concrete in the sink basin and wiping away excess.
NOTE: We also opted to paint the vanity cabinet to complement the new concrete top for a complete update. We utilized the same effective process and paint as we did when tackling our kitchen cabinets, which you can find all the details about here. This comprehensive approach ensures a cohesive and polished look for your entire bathroom vanity. Additionally, another method I have successfully employed for painting cabinets also yields brilliant results!
Step-by-Step Tutorial
Embarking on this DIY concrete vanity project is surprisingly straightforward, designed for efficiency and stunning results. The process involves several simple steps, focusing on preparation, careful application, and a protective finish. This entire transformation is quick and easy, allowing you to enjoy your newly upgraded bathroom in no time.
Time needed: 2 hours and 30 minutes
This entire project, excluding drying time, can be completed in approximately 2.5 hours. It’s a quick and easy way to achieve a high-impact bathroom upgrade!
-
Remove your old faucet.
Begin your vanity makeover by completely removing your existing faucet. This clears the workspace and prevents it from getting coated in concrete. If you also plan to replace your drain stopper, now is the ideal time to remove it. However, if you intend to reuse your current drain stopper, leave it securely in place to protect the drain opening during the concrete application process.
-
Scuff sand your countertop and sink.
Using sandpaper, thoroughly scuff sand the entire surface of your existing countertop and sink. The primary goal here is not to remove the finish completely, but rather to create a dull, textured surface. This dulling process significantly improves adhesion, allowing the concrete overlay to bond more effectively and prevent peeling or cracking in the future. This step should be quick and doesn’t require excessive effort – just ensure the entire shiny surface has been lightly abraded with scuff marks. Remember, proper surface preparation is key to a long-lasting finish.

-
Install your drain stopper.
If you’re upgrading both your faucet and drain stopper, it’s critically important to install the new drain stopper now, before applying any concrete. Do not install the new faucet yet, but ensure the drain stopper is firmly in place. Our original attempt skipped this step, leading to discoloration around the drain about a year later, likely due to water seeping underneath and darkening the concrete. We successfully fixed it by carefully removing the drain, reapplying concrete around the edge, and reinstalling it (you can see the detailed fix here). To avoid this extra work, trust us: secure your drain stopper first. This proactive step creates a seamless, protected barrier and prevents future headaches.
-
Mix your concrete overlay.
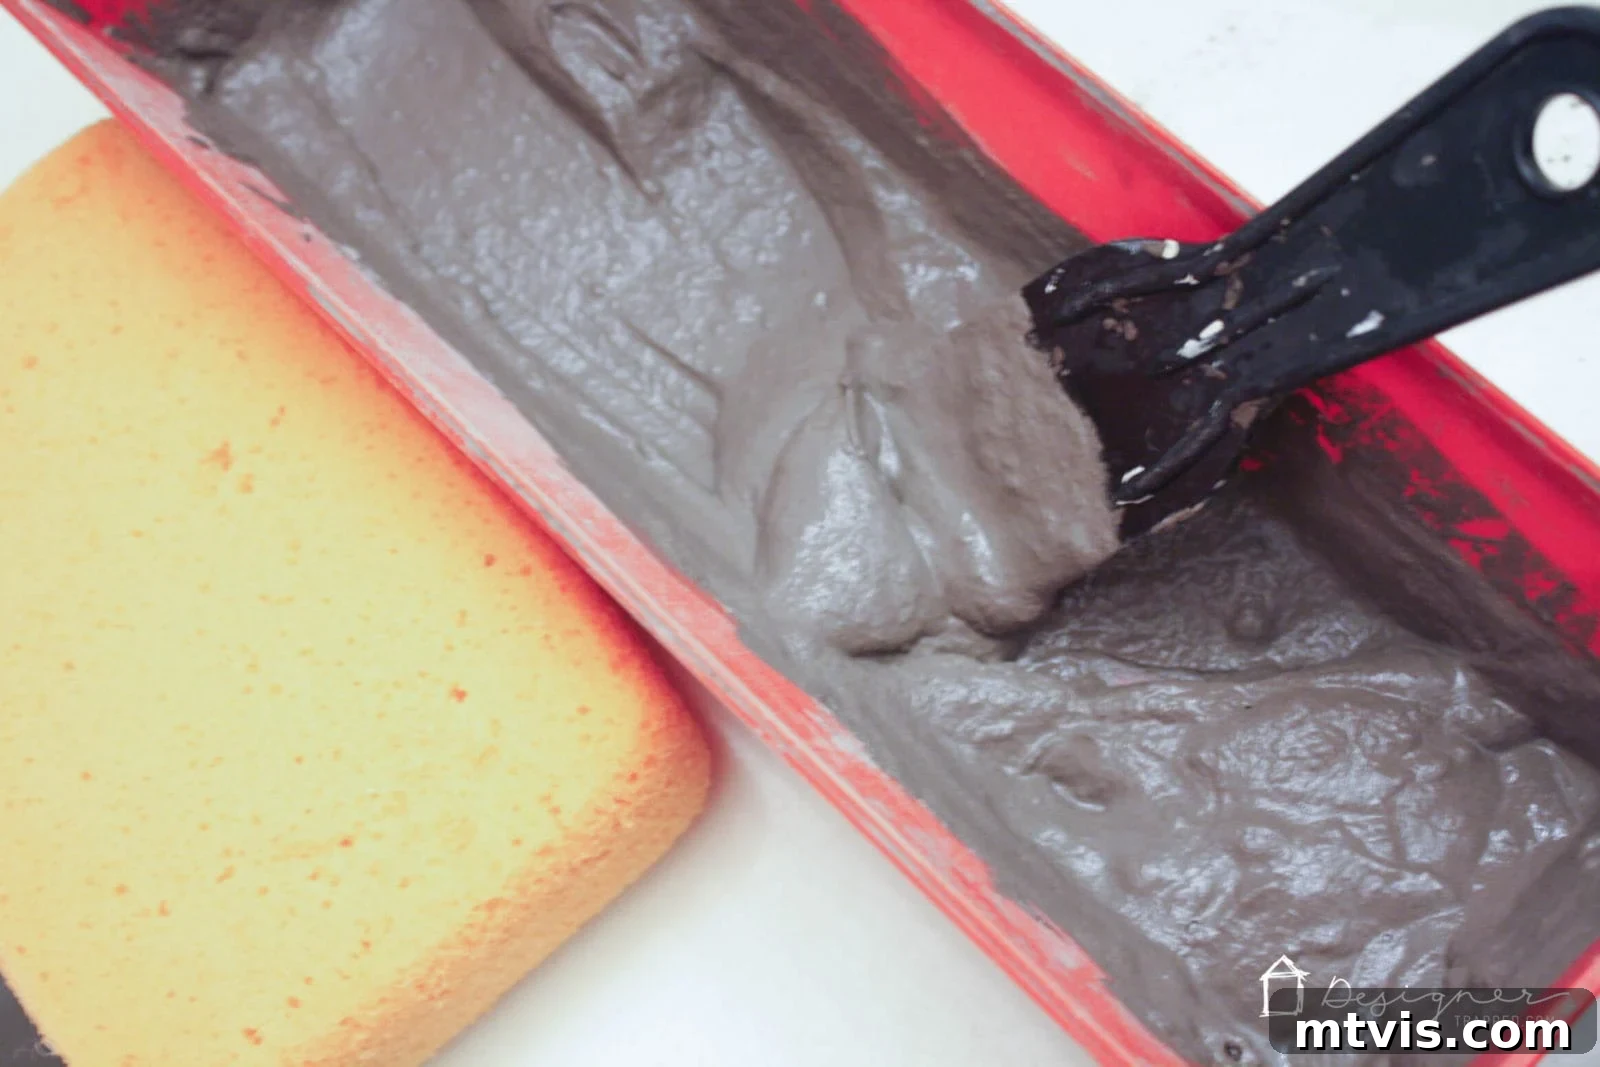
Now, it’s time to prepare your Feather Finish concrete overlay mixture. Pour a manageable amount of the dry mix into your drywall tray. Gradually add water, mixing thoroughly with a small putty knife until you achieve a consistency similar to that of thick pancake batter – smooth but not runny. After your initial mix, let it rest for a few minutes. This allows the polymers to fully hydrate, improving workability and adhesion. Give it a final stir, and your concrete overlay is ready for application. Mixing it correctly ensures it spreads smoothly and adheres properly.
-
Apply your first coat of concrete.
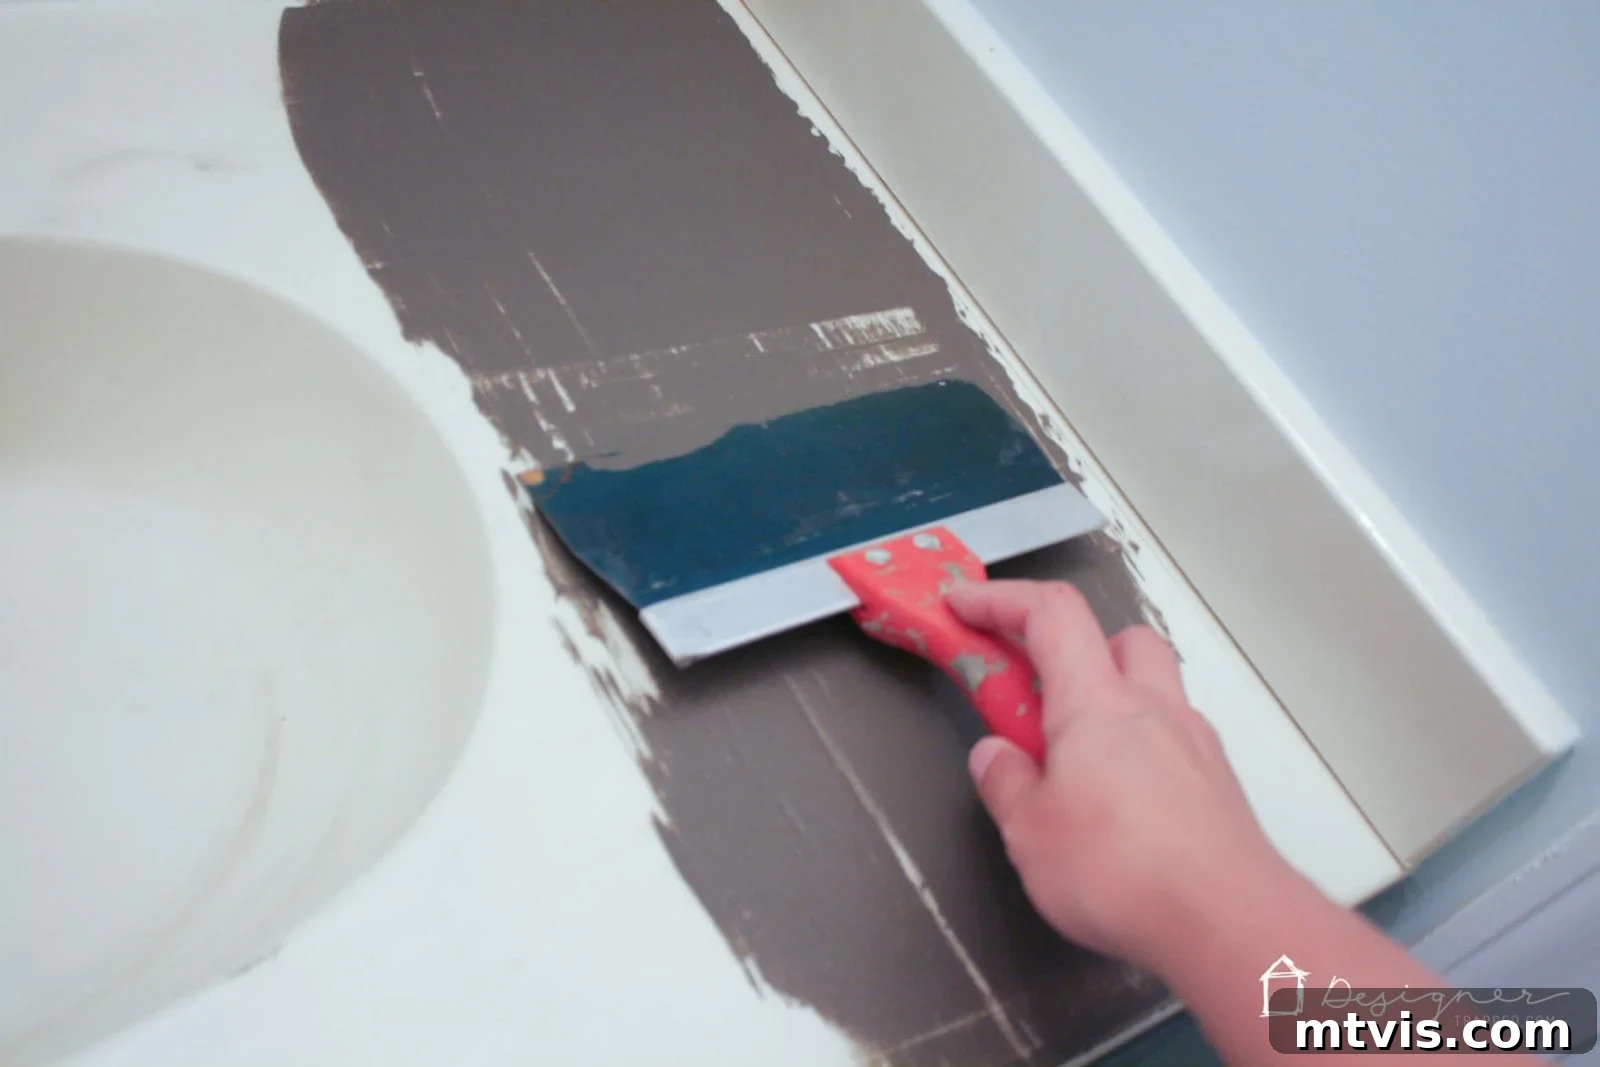
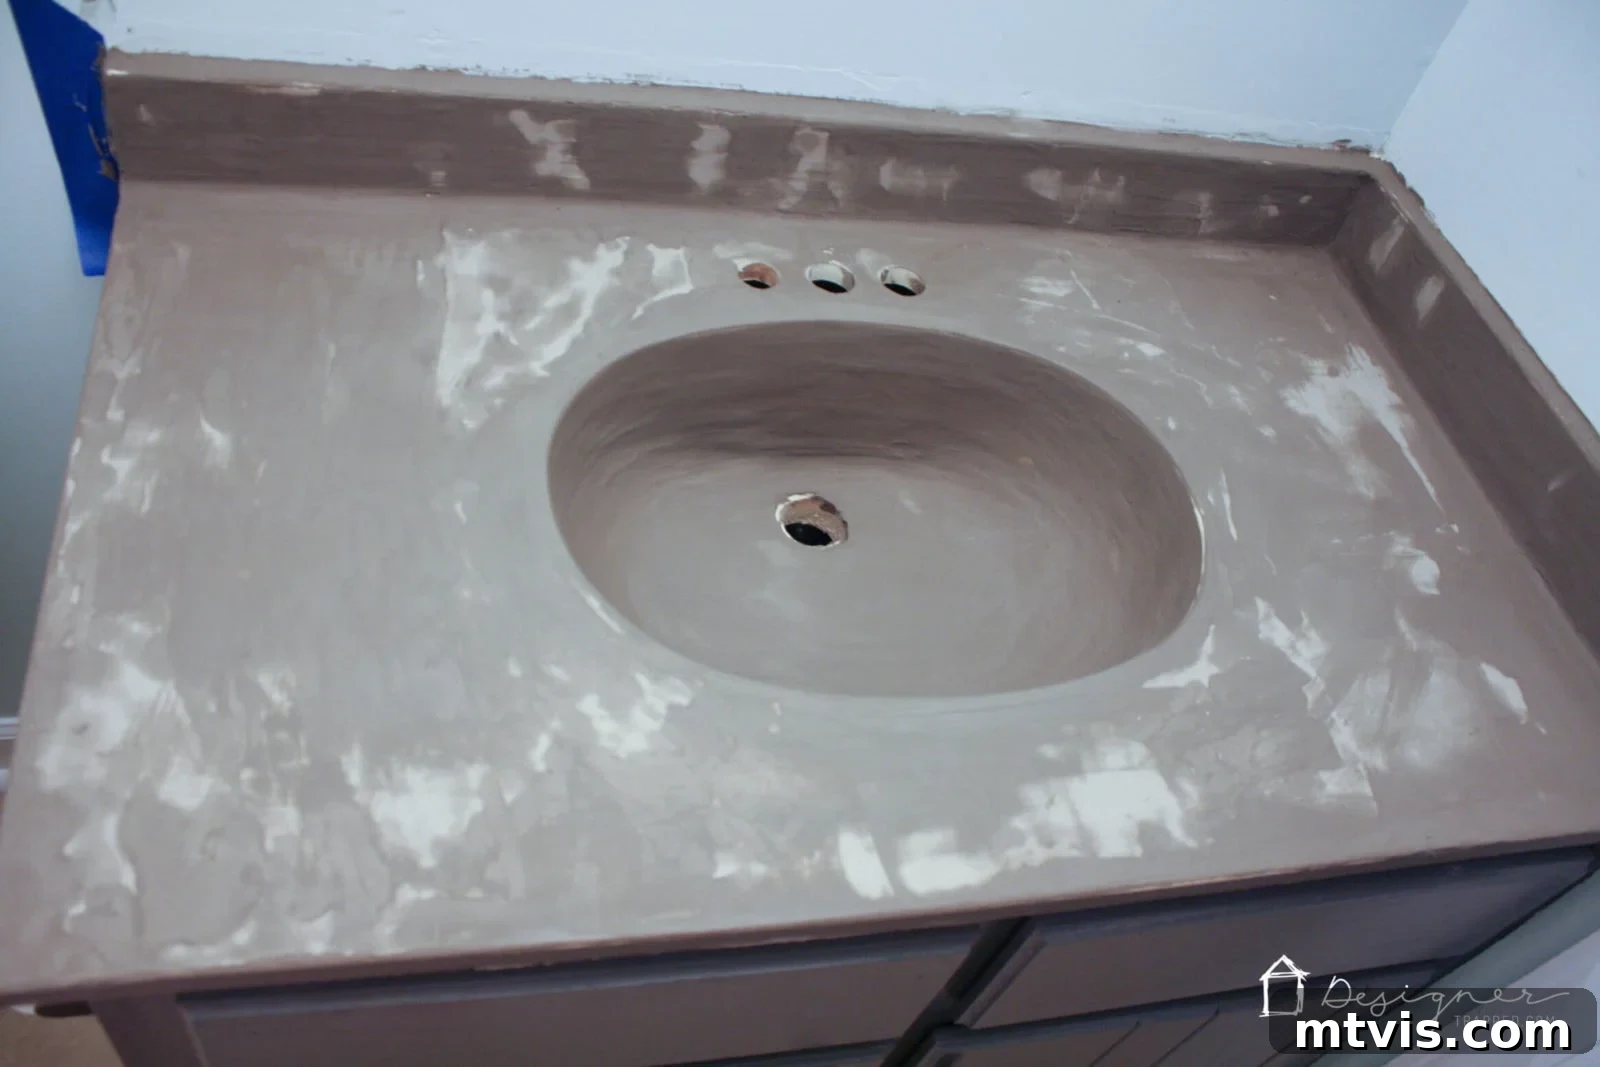
Using your large drywall knife, apply a very thin and even layer of concrete overlay to the entire cultured marble countertop surface, including any existing backsplash. Crucially, do not aim for full coverage with this first coat; its purpose is primarily to create a bonding layer for subsequent applications. It will likely look quite messy and patchy, resembling a “hot mess,” but do not be alarmed—this is perfectly normal and expected. For the main countertop, use the drywall knife, and switch to the smaller putty knife for the backsplash. For intricate areas like corners and the top of the edges, your fingers (protected with gloves!) will be your best tool for precise application. Don’t worry if you get some on the walls; it can be wiped off easily, even after it dries.
-
Apply concrete to the sink basin.
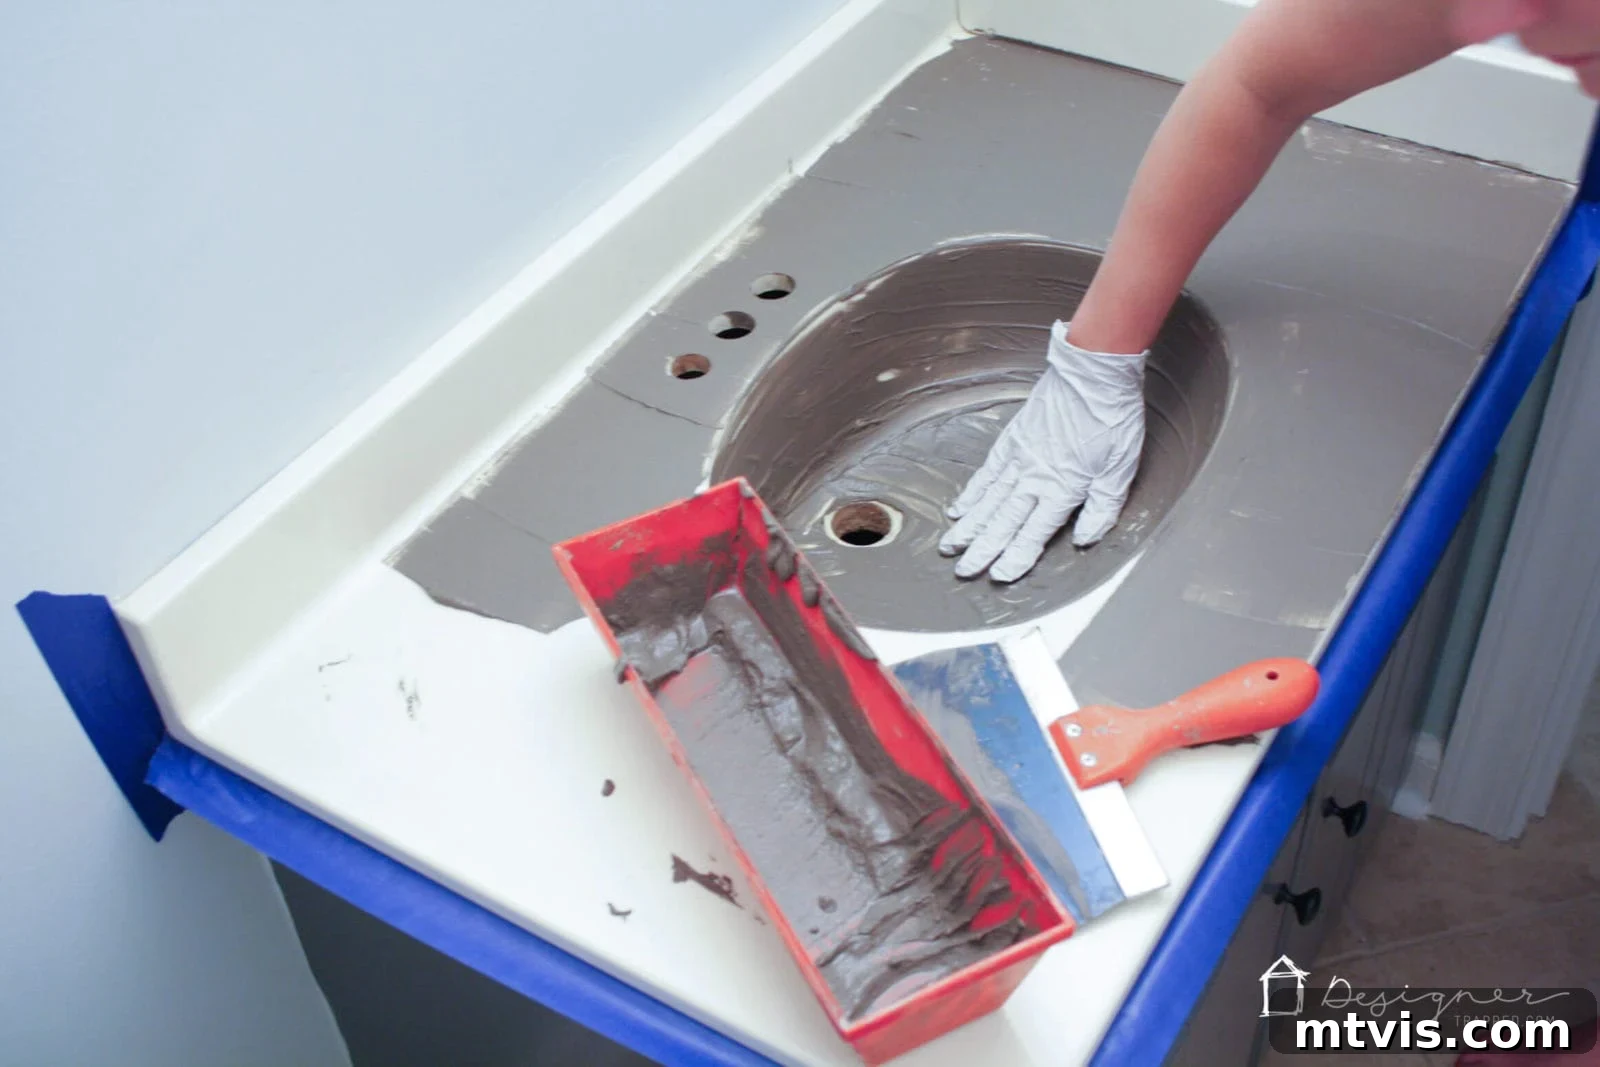
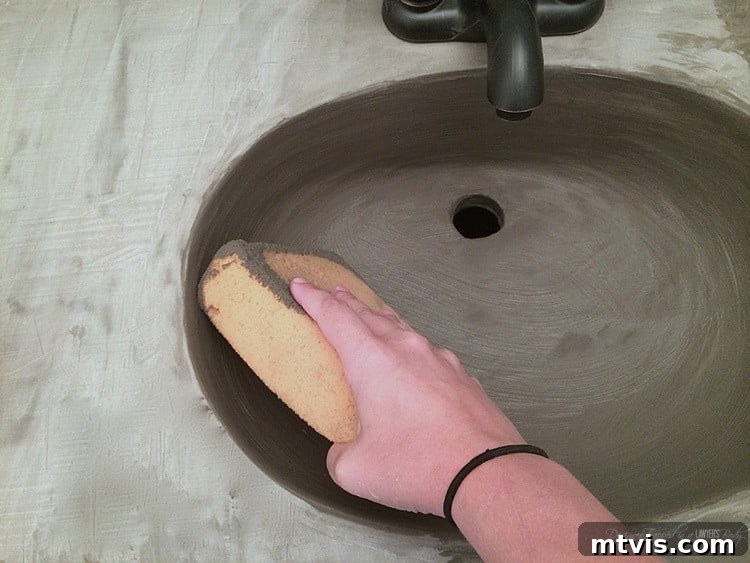
Immediately after applying the first coat to the countertop, turn your attention to the sink basin. This area typically requires a more tactile approach; you’ll need to apply the concrete directly with your gloved fingers. Spread the concrete around the basin as evenly as possible, ensuring coverage over all surfaces. Again, expect it to appear messy, and don’t be concerned about visible finger marks at this stage. Your primary focus is to get a thin, consistent layer down. Remember to keep your hands protected with latex gloves throughout this process to avoid skin irritation from the concrete.
-
Allow the first coat to dry.
After applying your first coat to both the countertop and sink, it’s essential to allow it to dry completely. While Feather Finish concrete dries relatively quickly to the touch, especially in thin layers, I recommend letting each coat cure overnight. This ensures maximum hardness and adhesion, preventing any issues when you apply subsequent layers or begin sanding. Patience at this stage will contribute significantly to the overall durability and finish of your concrete vanity.
-
Lightly sand.
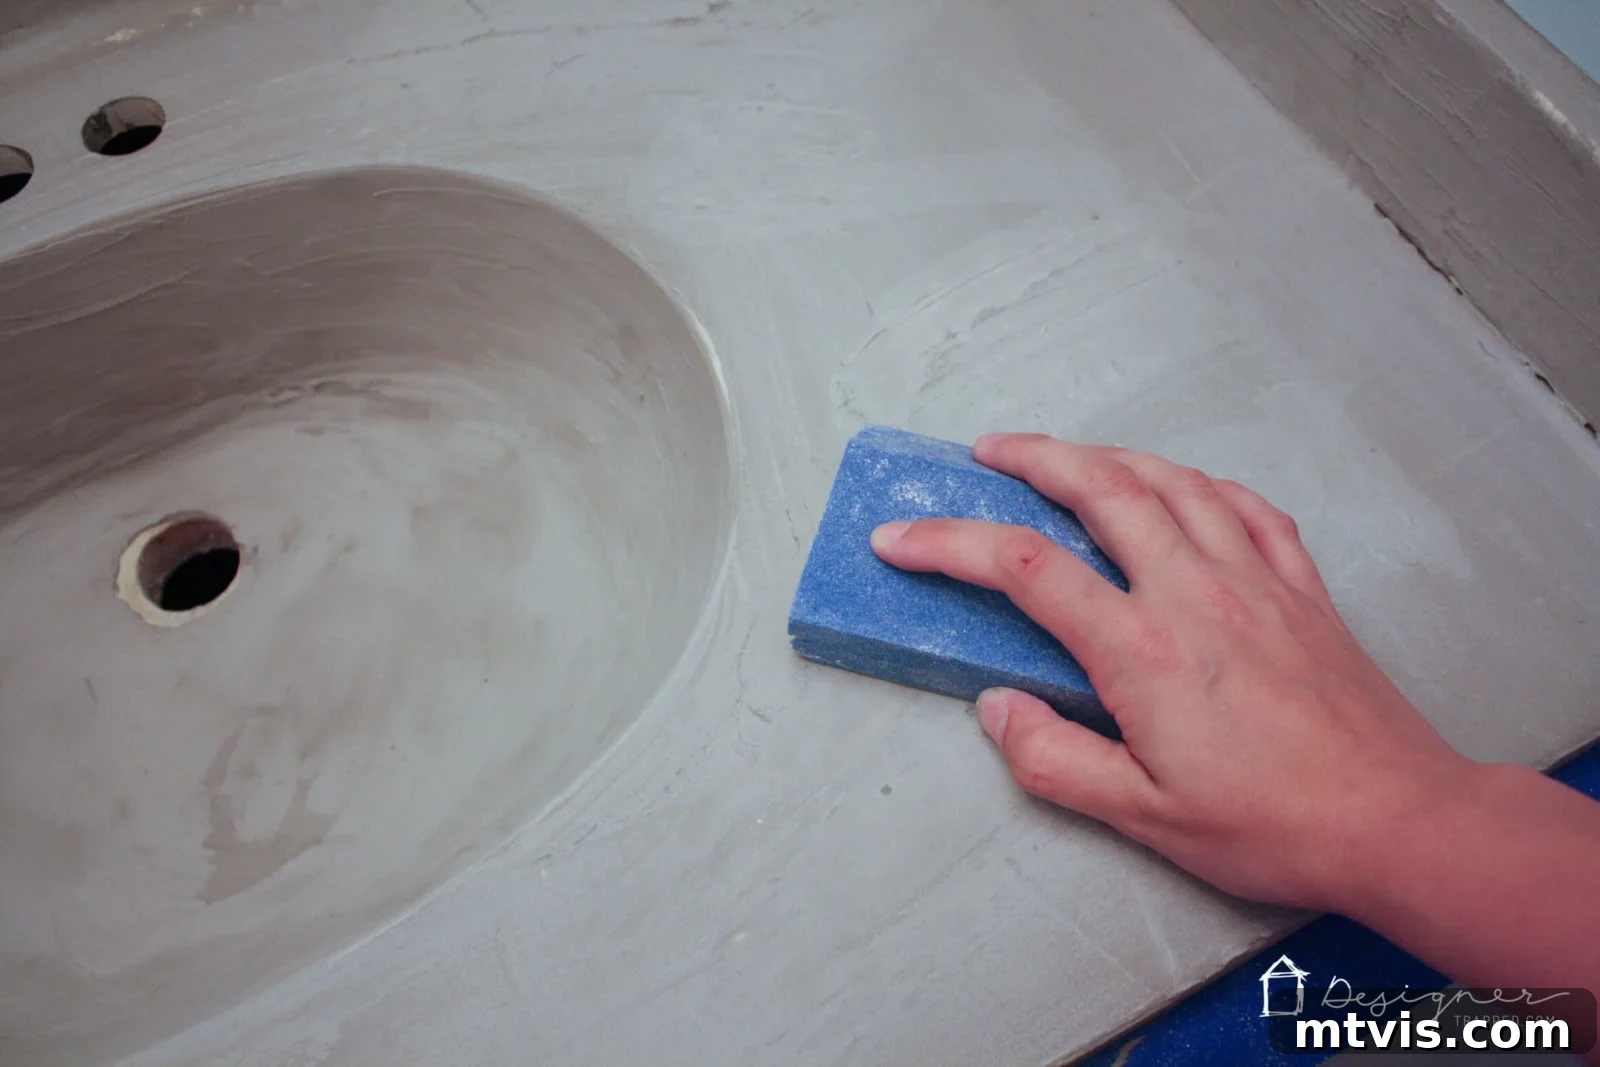
Once the first coat is thoroughly dry, gently hand sand the entire surface. The goal here is to knock down any high spots, rough edges, or noticeable imperfections, creating a smoother base for your next layer. Use 150-grit sandpaper for this initial sanding. If you find that your first coat was applied too thickly and has significant, stubborn imperfections, an electric sander can be used to expedite this process, though always with a light touch to avoid removing too much material. Remember to wear a dust mask during sanding to protect your lungs.
-
Layer additional coats of concrete until you are happy with the coverage.
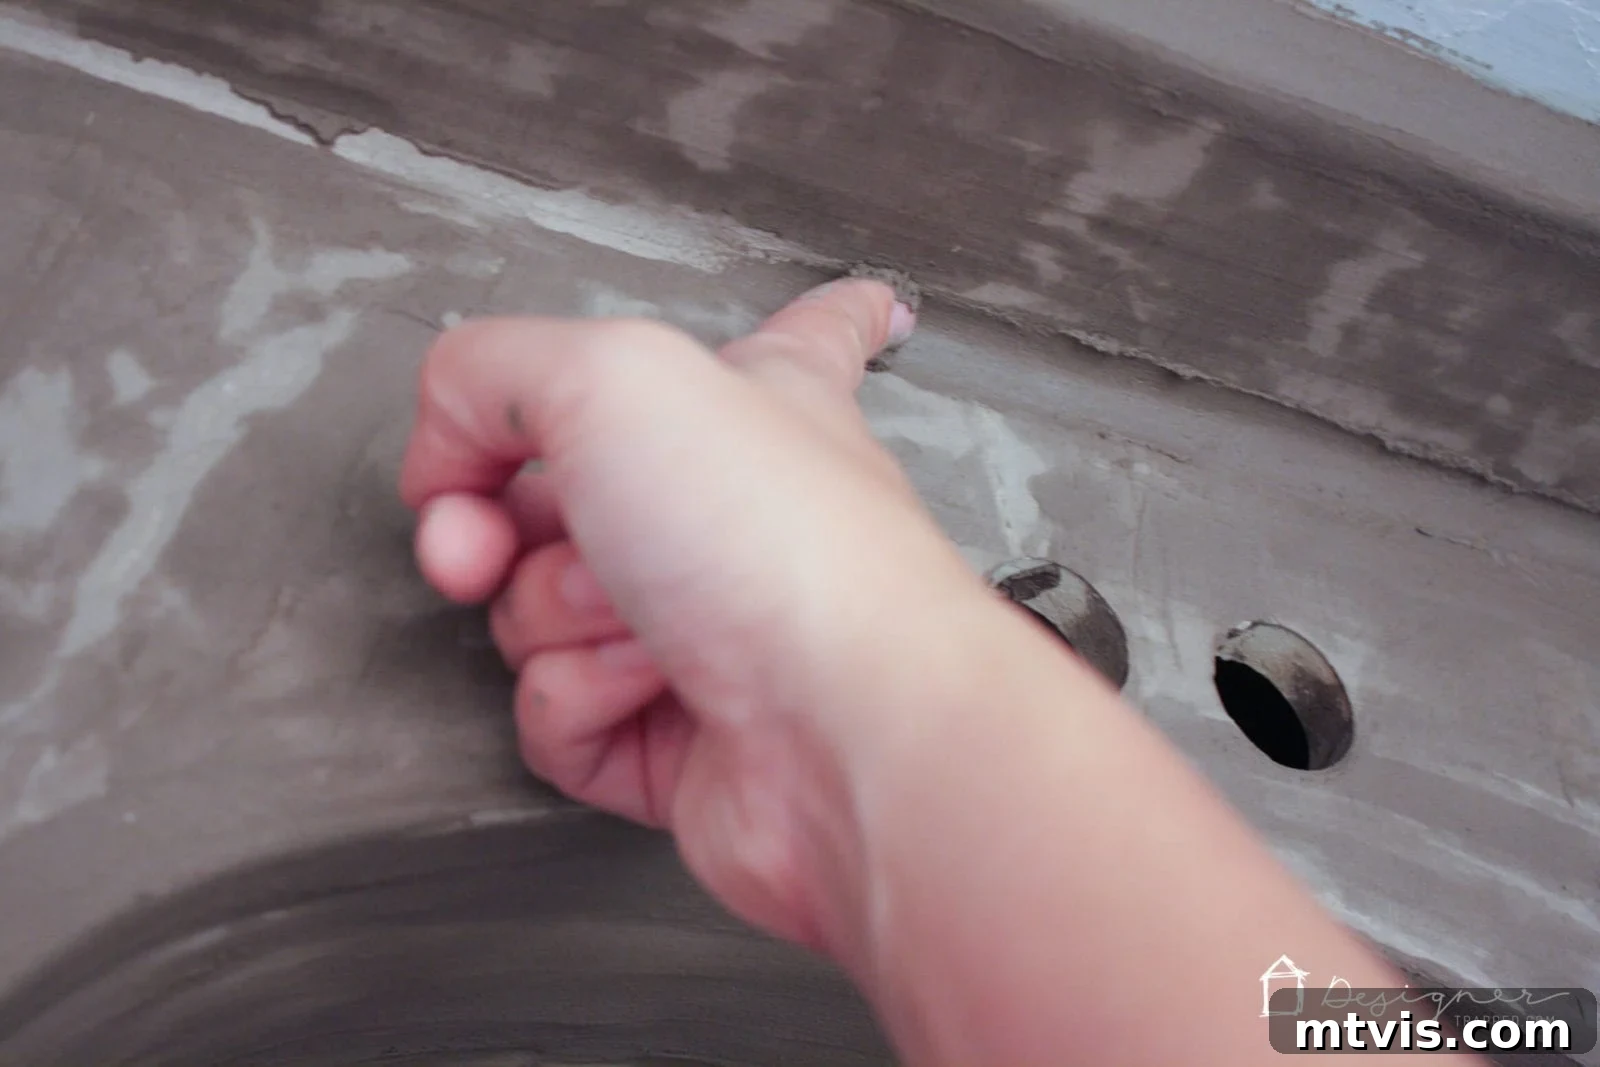
Repeat steps 5 through 8 (mix, apply, dry, sand) until you achieve your desired level of coverage and smoothness. With each subsequent coat, you’ll find it easier to build up the concrete, filling in any remaining uneven spots and effectively getting into corners and along ledges. I typically use my gloved fingers to meticulously work the concrete into these intricate areas, ensuring a seamless finish. I found that three coats were sufficient for my vanity, largely due to my prior experience with this product on our DIY concrete fireplace, which allowed me to apply it fairly smoothly. If you encounter more imperfections or are new to this technique, you might need four or even five coats to achieve that perfectly smooth, consistent finish. Don’t be alarmed if the drying second coat still looks splotchy, as shown in the photo below—this is completely normal and will even out with further layers and sanding.
The photograph below illustrates what the second coat looks like while drying—a rather mottled and uneven surface! DON’T PANIC! This splotchy appearance is entirely normal and will be rectified with subsequent applications and careful sanding. The key is to build thin layers, ensuring each one adheres properly and contributes to the overall strength and aesthetic of your faux concrete vanity.
-
Smooth out the concrete in the sink basin.
During the application of your second and third coats to the sink basin, a clever technique can help eliminate finger ridges and achieve a smoother finish. After applying the concrete, allow it to dry slightly until it’s just firm enough to work with, but not fully hardened. This typically takes about 10 to 20 minutes, though it requires a bit of trial and error to find the perfect timing based on humidity and coat thickness. At this point, gently smooth out the ridges using a damp sponge. If the concrete is too wet, you’ll simply wipe it off, which you want to avoid. The goal is to lightly glide the sponge over the surface, refining the shape and texture. Important: Do not attempt this smoothing technique on the first coat in the sink, as it will just wipe away the fresh concrete. Reserve this step exclusively for your second and subsequent layers for optimal results.
-
Do a final sanding.
Once you are completely satisfied with the coverage and smoothness of your concrete layers, it’s time for the final sanding. For this critical step, I highly recommend hand sanding the entire concrete vanity top, using finer 220-grit sandpaper. This approach allows for greater control, ensuring you don’t inadvertently remove too much concrete, especially around delicate edges and corners. The aim is to achieve a silky-smooth surface, free of any remaining imperfections or rough patches. However, if despite your best efforts, there are still significant uneven areas, you may need to carefully employ an electric sander to even them out, always proceeding with caution to maintain the integrity of your hard work.
-
Apply a concrete sealer.
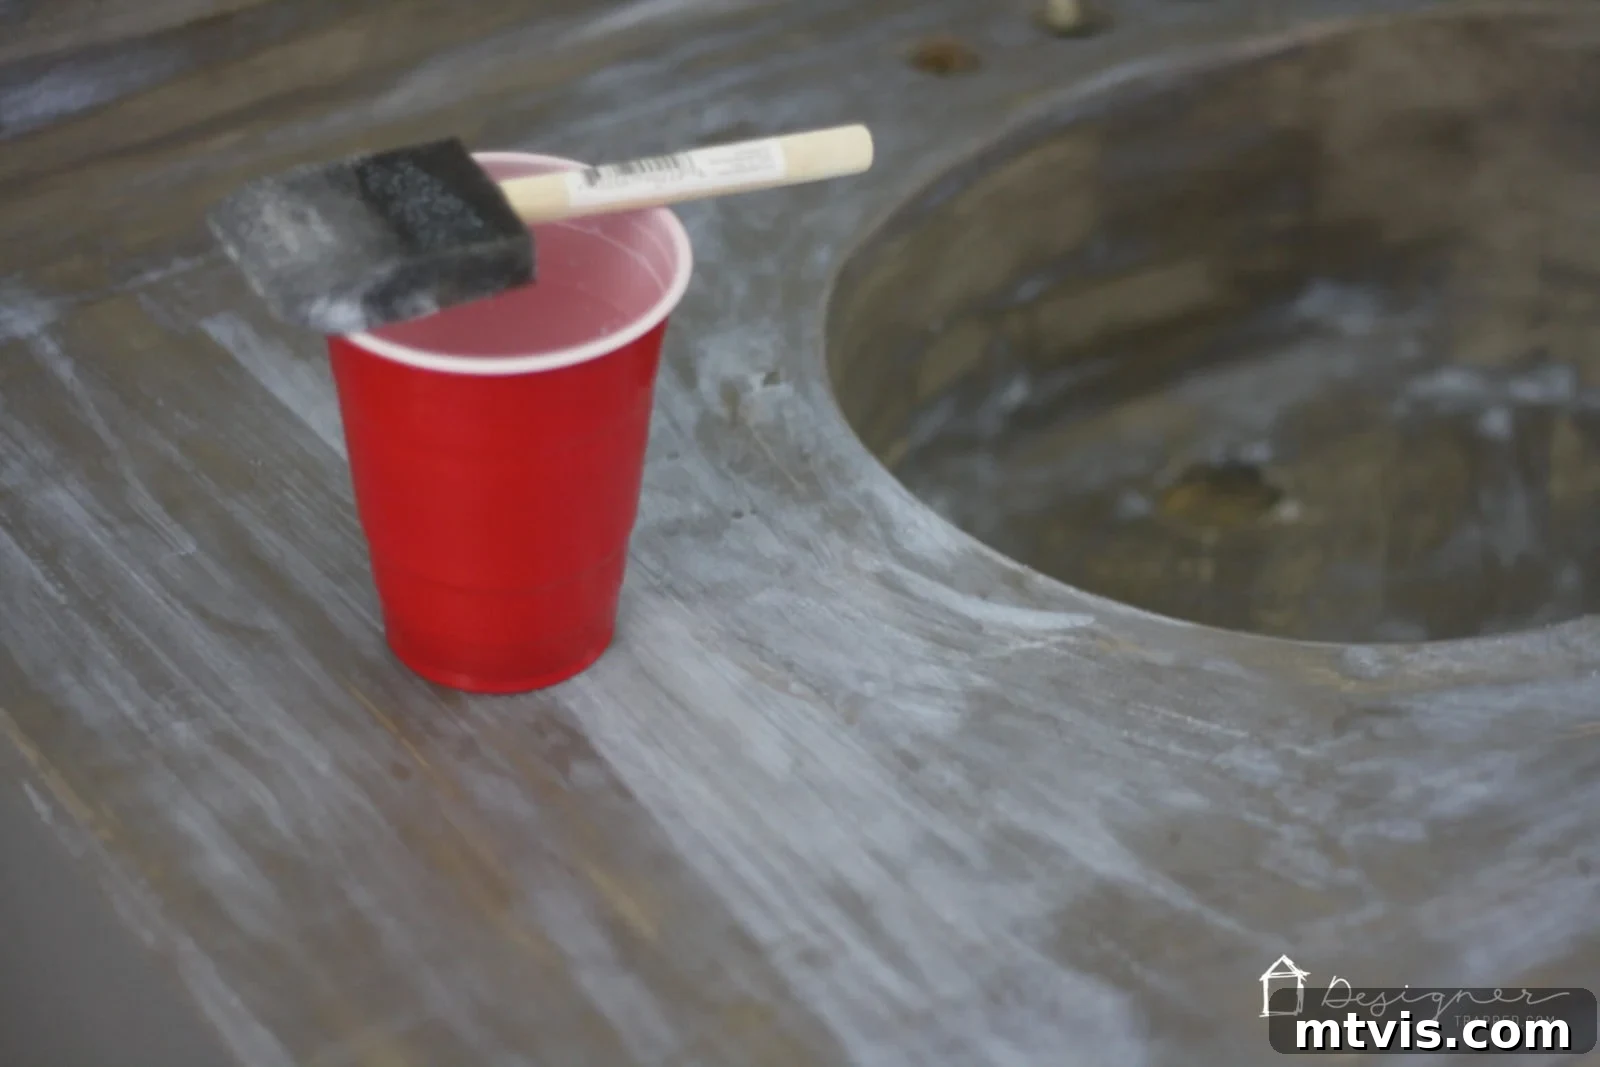
The final, essential step to protect and perfect your new concrete vanity is applying a high-quality sealer. I strongly recommend a water-based acrylic concrete sealer with a satin finish, as it provides excellent protection while imparting a beautiful, subtle sheen that enhances the natural concrete look. We achieved outstanding results with Quikrete 873002 Concrete Cure And Seal Satin Finish. When initially applied, the sealer will appear milky white, but do not worry—it dries to a perfectly clear finish. It also has the welcome effect of slightly darkening the concrete, deepening its tone for a richer aesthetic. Carefully follow the product’s directions: apply the sealer in thin, even coats, diligently avoiding puddles, which can dry unevenly and leave visible marks. Furthermore, be sure to smooth out any tiny air bubbles that may form during application. I applied two coats for optimal durability and protection. This step is crucial for making your concrete vanity waterproof and stain-resistant.
-
Install your new faucet.
With the concrete fully sealed and dry, your final task is to install your chosen faucet. Whether you’re reattaching your old faucet or upgrading to a brand-new one, this step brings your DIY concrete vanity to completion. We were thrilled to discover an amazing deal on Amazon for our sleek new faucet, purchasing it for just $39! This incredibly affordable find further cemented the budget-friendly nature of our entire renovation. You can find the exact faucet we purchased here, ready to complement your stunning new concrete countertop and sink.
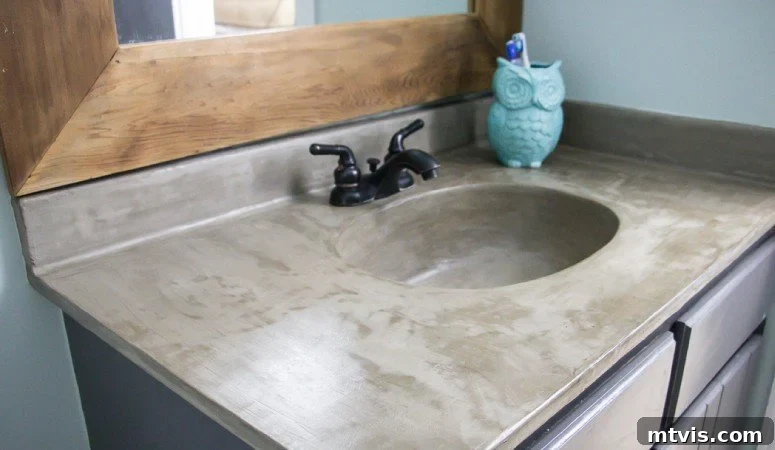
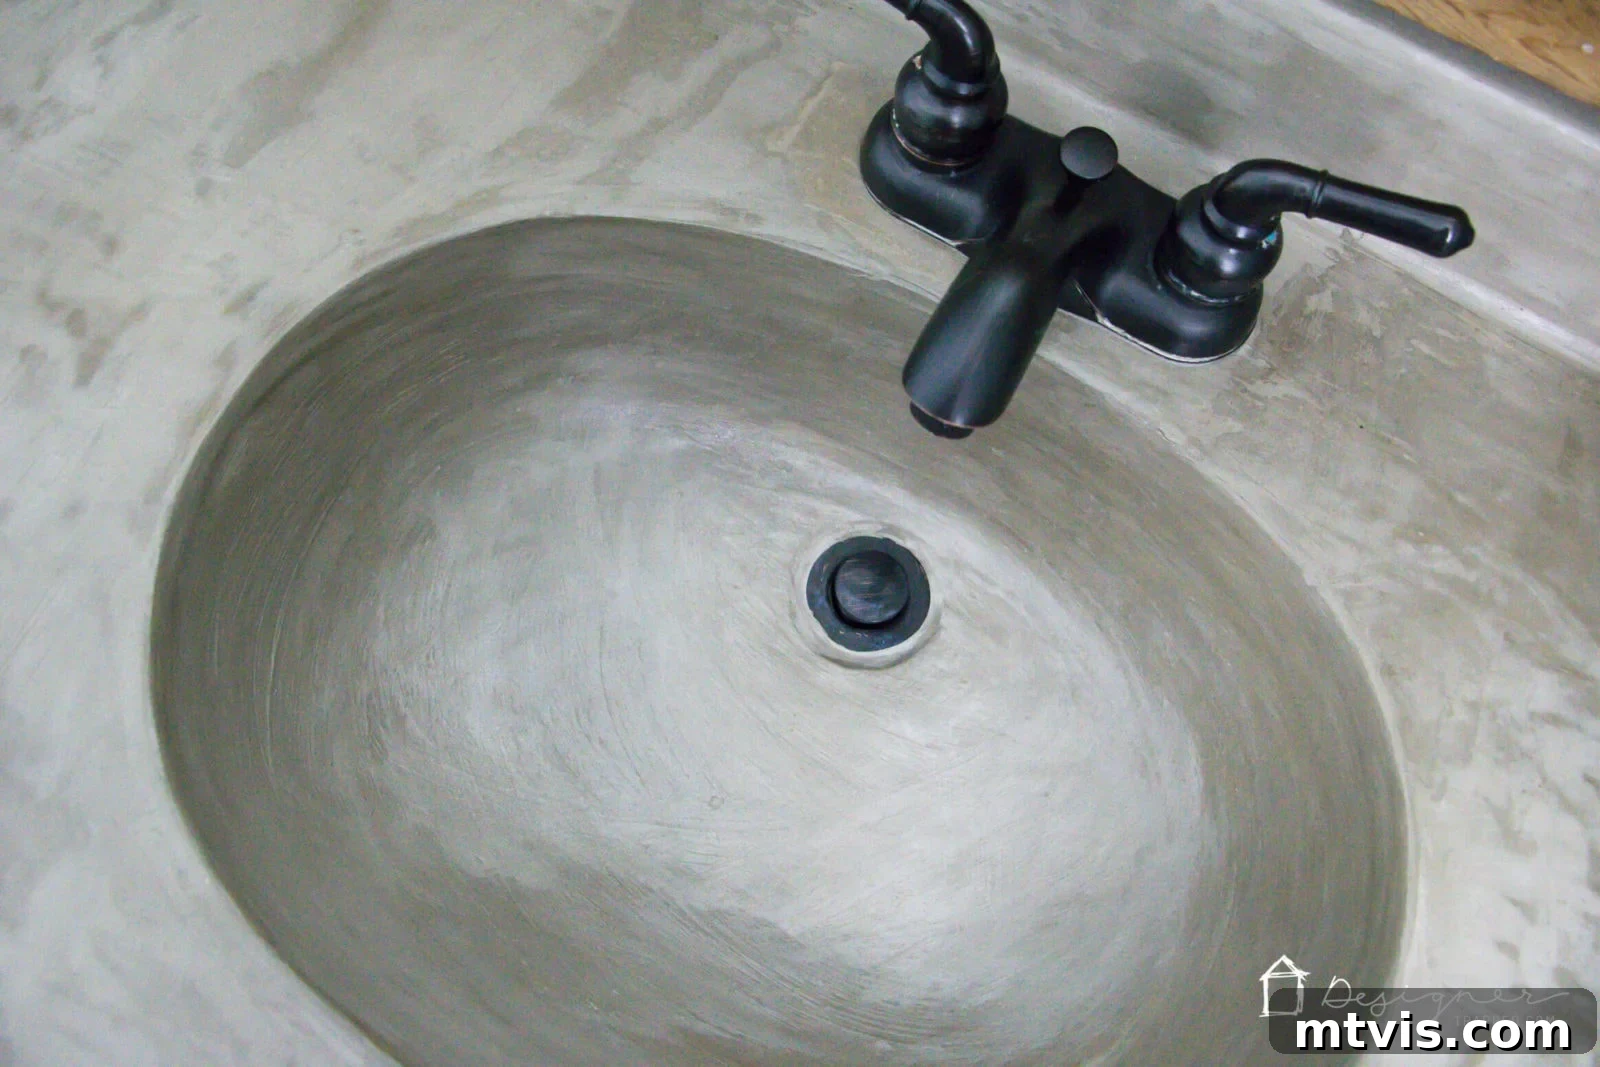
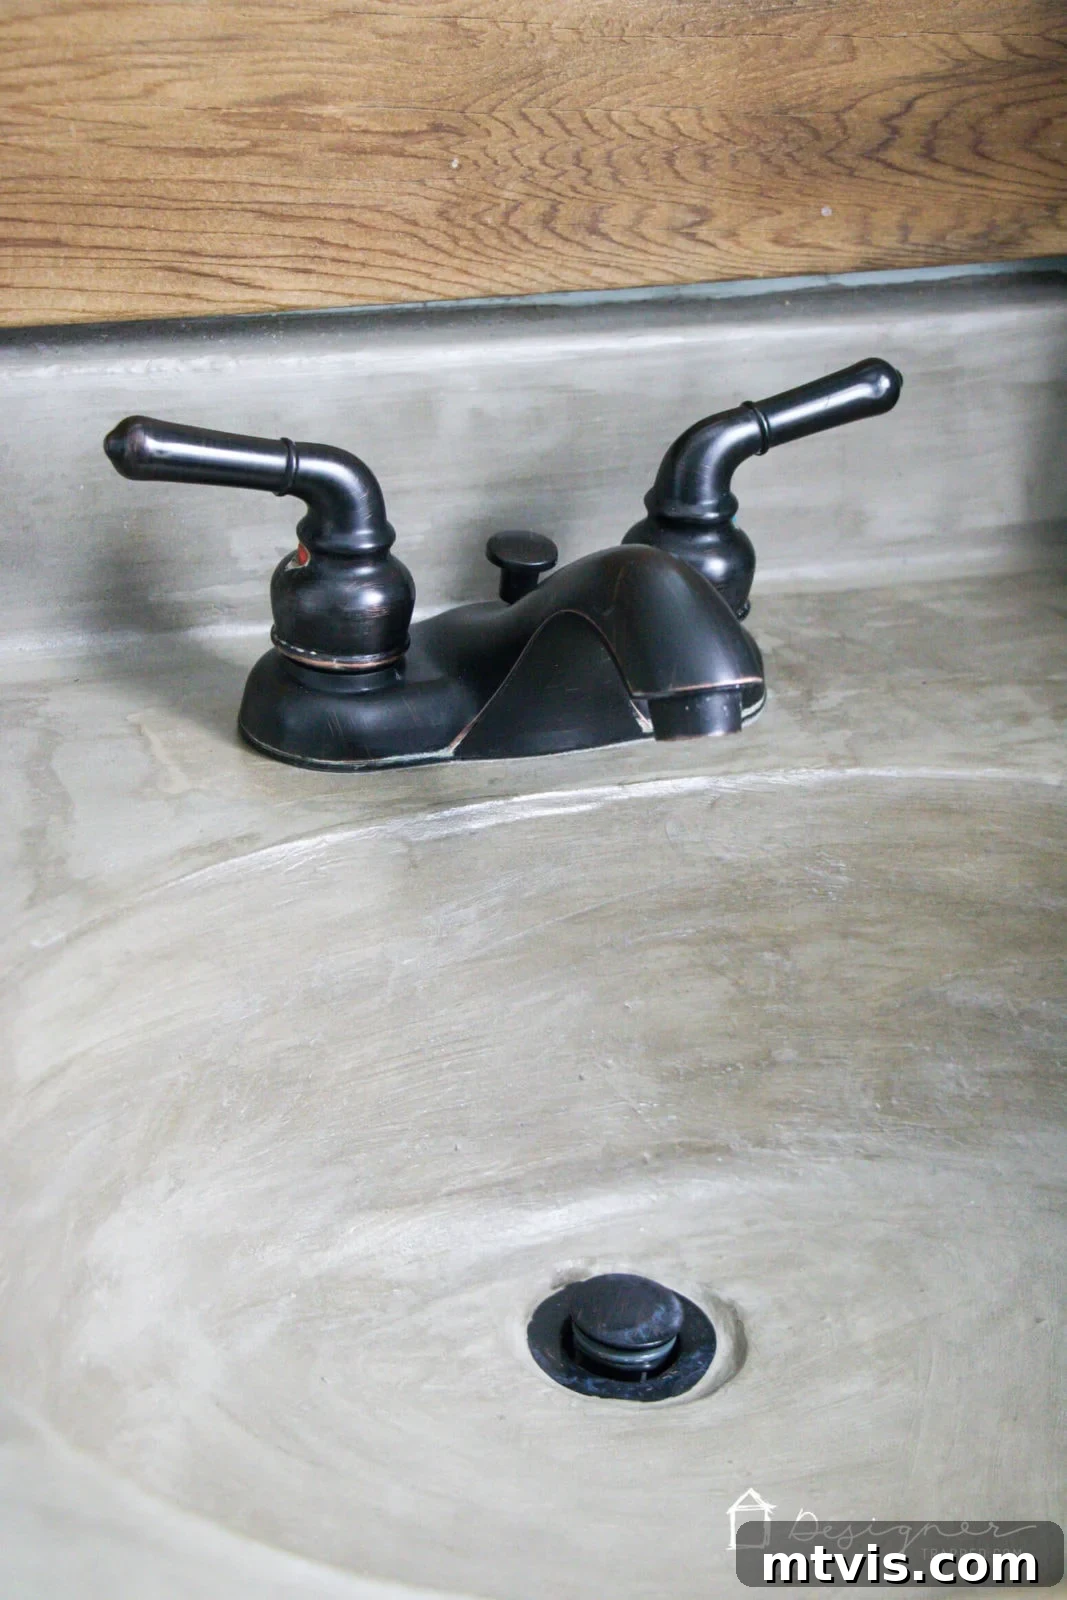
And here it is—a glimpse at the stunning final outcome! We were absolutely thrilled with the transformation. This DIY concrete overlay not only delivered the high-end aesthetic we craved but also proved to be an incredibly rewarding and budget-friendly project.
Time and Cost Involved
One of the most appealing aspects of this faux concrete vanity project is its remarkable efficiency, both in terms of time and cost. You might be surprised to learn just how little of each is required to achieve such a high-impact transformation. Each application and sanding cycle, from mixing the concrete to a light smoothing, took me approximately 30 minutes. When you factor in the initial removal of the faucet, all the coating and sanding cycles, and the final sealing and reinstallation of the faucet, the hands-on working time for this entire project was only about 2.5 hours. This timeframe excludes drying time, which I typically allowed to happen overnight, spreading the project across several evenings after my work and putting my girls to bed. This makes it an ideal weekend project or something easily tackled in short bursts.
The cost savings are equally impressive. This entire concrete overlay project came in well under $20.00! We purchased a box of Henry’s Feather Finish from Home Depot for a mere $16.00 and ended up using less than a quarter of the contents for this vanity. The acrylic concrete sealer we used was leftover from a previous project where I applied this same technique in our laundry room, further reducing expenses. As avid DIYers, we already had the necessary drywall knives, sandpapers, and gloves on hand. Even if you needed to purchase the sealer and some of the smaller tools, your total investment for this DIY vanity makeover would still be significantly less—hundreds of dollars, in fact—than what you would spend on a brand new vanity unit or a custom-fabricated countertop. This project truly embodies budget-friendly, high-impact home improvement, making a modern bathroom update accessible to everyone.
Frequently Asked Questions About This Project
After sharing this DIY concrete vanity tutorial, I’ve received numerous questions from eager homeowners curious about its longevity, maintenance, and applicability to other areas. Here are some of the most common inquiries, along with detailed answers to help you confidently embark on your own concrete overlay project.
I’m thrilled to report that this vanity held up absolutely beautifully throughout its entire lifespan in our home! From the moment we completed it in 2014 until we finally deconstructed it in 2019 for a comprehensive new powder room design, it remained durable and stylish. It truly exceeded all our expectations for a DIY, budget-friendly project. You can actually see the stunning results of our powder room renovation reveal here, which showcases the enduring quality of this concrete overlay. For visual proof of its resilience, I encourage you to watch the video embedded earlier in this post, where you can see for yourself how impeccably it held up over the years.
No, not at all! This is a common concern, but thanks to the application of a high-quality acrylic concrete sealer, the surface of your faux concrete vanity is fully protected against water absorption. The sealer creates a waterproof barrier that prevents moisture from penetrating the concrete, meaning you won’t experience any darkening or discoloration when water splashes onto it during normal use. For a live demonstration of this, I highly recommend watching the video embedded just before the tutorial in this post—it clearly shows how the concrete remains unchanged even when wet.
Absolutely no regrets whatsoever! In fact, I would wholeheartedly do this project again a million, zillion times over. The sheer satisfaction of achieving such a high-end look for around $20 is unparalleled. As I mentioned in the tutorial, my only minor wish is that we had initially left the drain stopper in place to prevent the slight discoloration we experienced later. However, even if we hadn’t taken the time to fix that small issue, the cosmetic imperfection around the drain would certainly not deter me from embarking on this project again. We are incredibly happy with the results and the value it brought to our bathroom!
Maintaining your concrete vanity and sink is surprisingly simple, especially with the protective sealer in place. For everyday cleaning, a gentle, non-abrasive cleaner and a soft cloth or sponge are usually sufficient. Avoid harsh chemicals, acidic cleaners, or abrasive scrubbing pads, as these could potentially damage the sealer over time. The best way to understand the cleaning process and see how easily it maintains its pristine condition is to watch the short video provided below—it offers practical insights into keeping your concrete vanity sparkling clean.
While the concrete overlay is incredibly durable for vanity tops, I would strongly advise against using this method in a shower or tub. These areas experience far more rigorous conditions than a vanity, including prolonged exposure to large volumes of standing water and constant foot traffic (in a shower). The thin layers of concrete, while strong, are not designed to withstand the immense hydrostatic pressure of a filled tub or the repeated impact and wear of standing directly on them in a shower. For wet areas like showers and tubs, specialized waterproofing and tiling systems are necessary to ensure proper drainage and prevent leaks.
Theoretically, yes, it is possible to apply this concrete overlay technique to a “shell” or scalloped sink. However, I must caution that achieving a smooth and even finish in such intricately shaped sink basins would be particularly challenging. The complex curves and detailed indentations would make it very difficult to apply the concrete uniformly and then smooth out all the ridges and imperfections. While flat-bottomed or gently curved sinks are manageable, the highly contoured nature of shell or scalloped designs would significantly increase the difficulty and time required to achieve a professional-looking result. It would demand a high level of patience and meticulous attention to detail.
Other posts you may enjoy for more DIY inspiration:
- The Easy Way to Update Bathroom Tile Without Replacing It!
- 15 Affordable DIY Countertops That Will Blow Your Mind
- 25 Stunning Powder Room Makeovers
- Attley’s Budget-Friendly Bathroom Renovation
- Avery’s Budget-Friendly Bathroom Makeover
- Affordable Master Bathroom Remodel REVEAL
Are you wondering how I approach transforming rooms and spaces throughout our home, from conceptualization to execution? Unlock the secrets to successful DIY decorating with Designer in a Binder®. This comprehensive guide simplifies the decorating process, making it accessible and enjoyable for everyone.
For exclusive content, behind-the-scenes sneak peeks, and fresh DIY ideas delivered straight to your inbox, be sure to subscribe before you leave!