
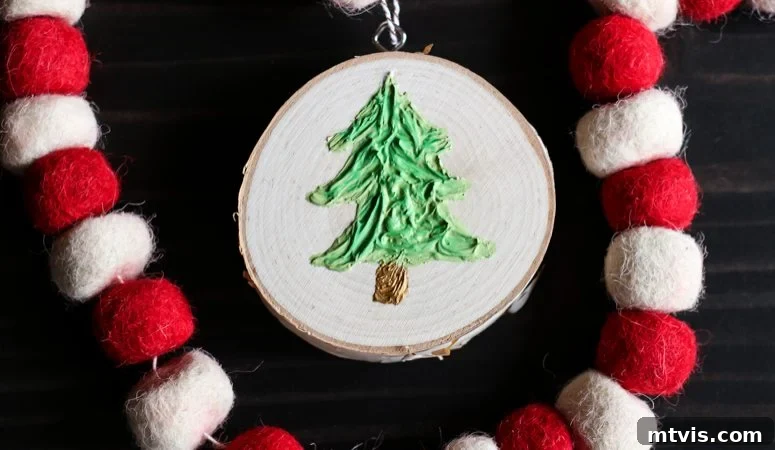
Thank you to DAP Products for sponsoring this post. As always, all opinions are 100% my own based on personal experience.
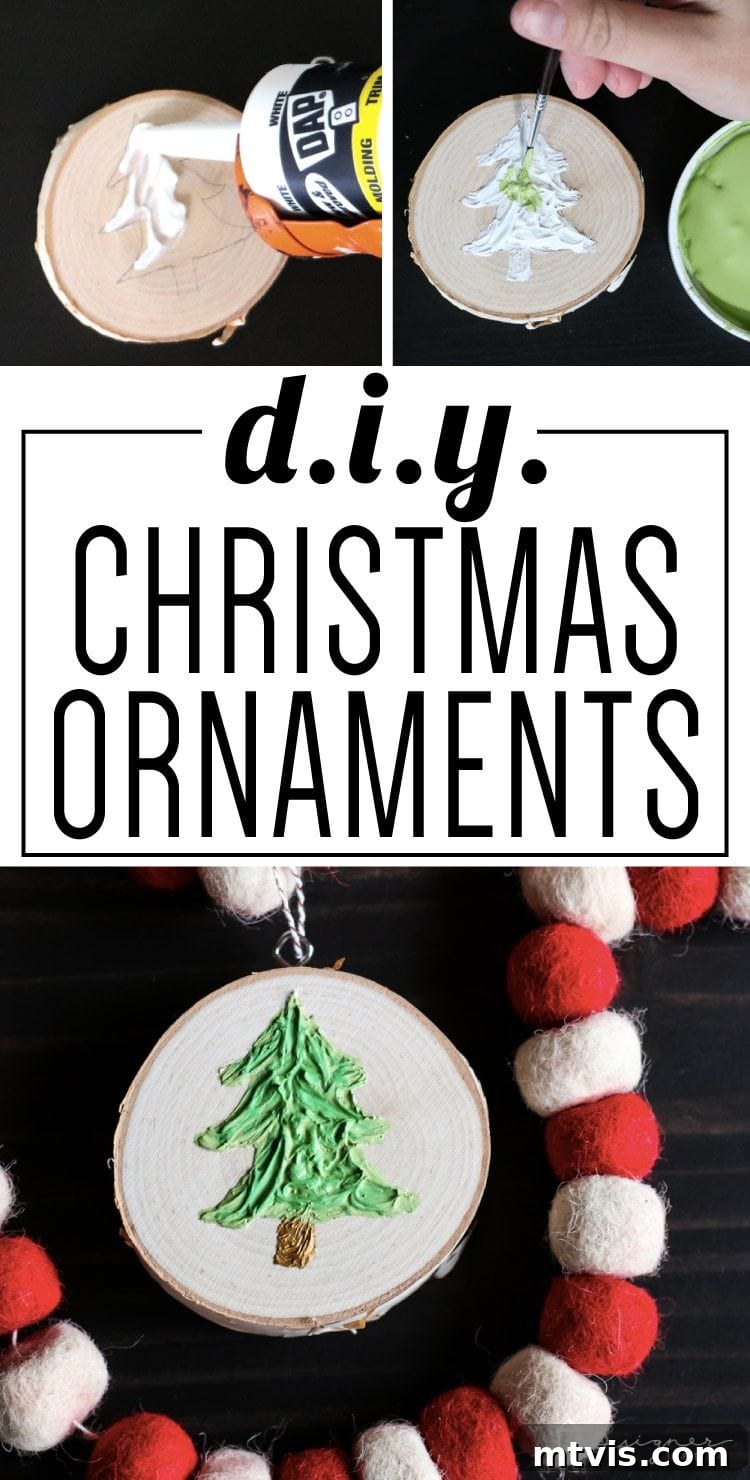
Craft Unique Textured Christmas Ornaments: A Simple DIY Guide Using Caulk
The holiday season is a magical time, filled with warmth, joy, and the sparkle of festive decorations. For many DIY enthusiasts, it’s also the perfect opportunity to unleash creativity and craft unique handmade items. Among the most cherished holiday crafts are DIY Christmas ornaments. There’s a special satisfaction that comes from adorning your tree with pieces you’ve created yourself, each one telling a story or holding a memory.
This year, let’s venture into a truly distinctive ornament project that promises stunning results with an unexpectedly simple material: caulk! Yes, you read that right – the same caulk you might use for home repairs can be transformed into beautiful, highly textured Christmas ornaments that will undoubtedly become conversation starters. Forget flat, predictable designs; we’re going for dimension, character, and a touch of rustic charm with wood slices and vibrant paint.
This tutorial will guide you through crafting unique, textured Christmas tree ornaments that are not only easy to make but also incredibly rewarding. You’ll be amazed at how a common household material can achieve such artistic flair, making your holiday decor truly one-of-a-kind. Get ready to add a personalized touch to your festive season, creating keepsakes that will be admired for years to come.
Before diving into the full tutorial, don’t forget that I offer a collection of super affordable printable art in my shop, perfect for complementing your festive decor! These printables are designed to add instant charm and holiday cheer to any space.
This post contains some affiliate links for your convenience. Click here to read my full disclosure policy.
Why Choose Caulk for Your Christmas Ornaments?
You might be wondering, “Why caulk?” It’s a valid question! While typically associated with sealing gaps and cracks, caulk possesses several properties that make it an excellent medium for crafting, especially when you want to achieve pronounced texture:
- Versatility: Caulk can be applied in varying thicknesses, allowing you to create subtle ridges or bold, sculptural elements.
- Durability: Once cured, caulk provides a robust and lasting finish, ensuring your ornaments withstand the test of time.
- Paintable Surface: Many types of caulk, like the DAP Alex Plus we recommend, are readily paintable, opening up a world of color possibilities.
- Affordability: Caulk is a budget-friendly material, making this an accessible DIY project for everyone.
- Ease of Use: With a caulk gun, application is straightforward, even for beginners.
The ability of caulk to hold its shape and offer a tactile finish allows for truly dynamic designs. This project transforms simple wood slices into captivating pieces of art, proving that creativity knows no bounds and the best crafting materials can sometimes be found in the most unexpected places.
Materials You’ll Need for Your Textured Ornaments
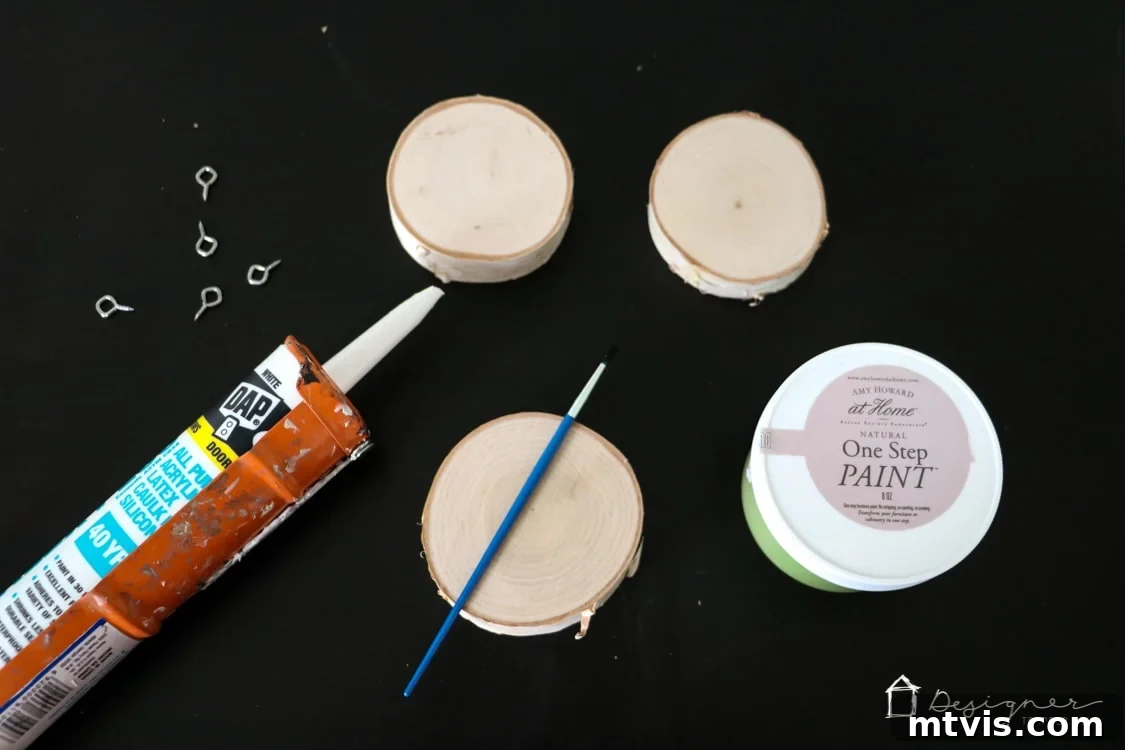
Gathering your supplies is the first exciting step in any DIY project. For these handmade wood slice ornaments, you’ll need a few common items, many of which you might already have around your home. The key ingredient, of course, is caulk, specifically DAP Alex Plus, which is renowned for its quick-drying and paintable qualities, making it ideal for craft applications.
Materials Needed:
- Dap Alex Plus Caulk, white: Essential for creating the texture. White caulk is preferred as it provides a neutral base for painting.
- Caulk gun: Necessary for precise and controlled application of the caulk from the tube.
- Small screw eyes: These tiny metal loops will be inserted at the top of your ornament, providing a sturdy point for hanging.
- Wood slices, 3 to 4 inch diameter: These natural wood bases give your ornaments a charming, rustic foundation. The size is perfect for a visible yet not overly bulky ornament.
- Green and gold paint: Choose your favorite shades of green for the tree body and a shimmering gold for the trunk, or experiment with other festive colors like red, silver, or blue.
- Small paint brush: For detailed painting and to help spread the caulk precisely.
- Pencil: For sketching your design onto the wood slice before applying caulk.
Step-by-Step Guide: How to Make Your Textured Christmas Ornaments
Creating these easy DIY Christmas decorations is a straightforward process, even for beginner crafters. Follow these steps carefully, and you’ll soon have a collection of beautifully textured ornaments ready to adorn your tree or give as thoughtful gifts.
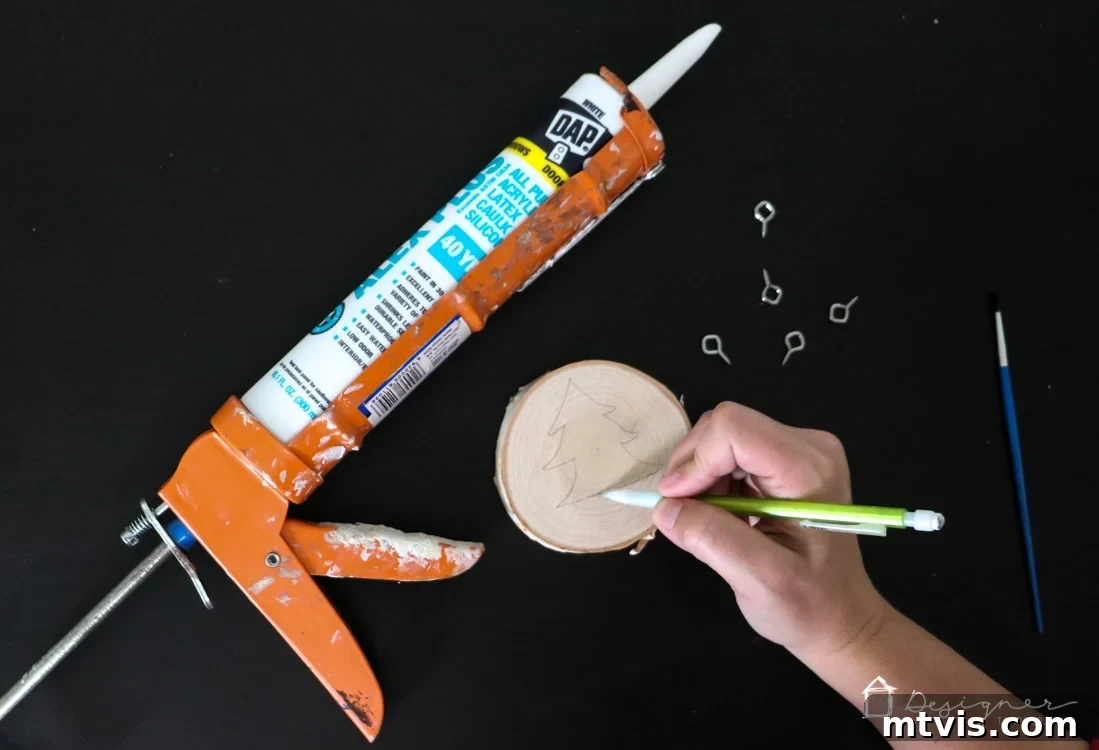
Step 1: Design Your Ornament with a Pencil
The first step is to personalize your ornament by sketching your desired shape onto the wood slice. This initial outline will serve as your guide for applying the caulk. While I chose a classic Christmas tree, feel free to let your imagination run wild! Consider other festive shapes like stars, snowflakes, bells, or even simple abstract designs. Use a light hand with your pencil, as this sketch will eventually be covered by caulk and paint.
Step 2: Apply the Initial Caulk Outline
With your design sketched, load your DAP Alex Plus caulk into the caulk gun. Carefully begin to trace your pencil outline with a steady bead of caulk. The goal here is to create a raised boundary for your design. Don’t worry about being overly precise in this step; the beauty of this technique lies in its organic, textured feel. The caulk will create a defined edge, giving your ornament that desired three-dimensional quality right from the start. Practice on a scrap piece of cardboard if you’re new to using a caulk gun to get a feel for the pressure and flow.
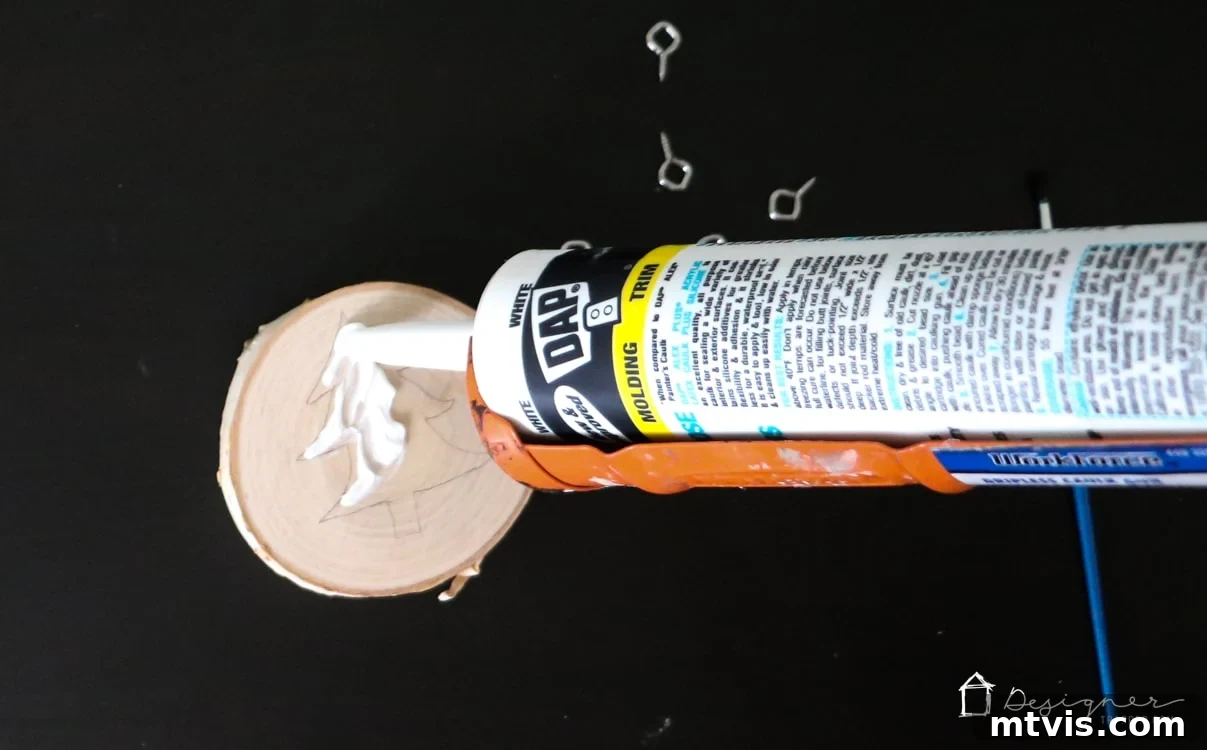
Step 3: Fill and Texture Your Design
Once your outline is complete, it’s time to fill in the shape and add texture. Use your caulk gun to roughly fill the interior of your design. Then, pick up your small paintbrush. This is where the magic happens! Use the brush to spread the caulk more precisely within the outline. You can create various textures here: gentle swirls for a soft, snowy look, short dabs for a more rugged feel, or even comb through it with the bristles to create fine lines. Experiment with different brush strokes to achieve the desired effect. The goal is to build up the caulk to give your ornament a rich, tactile surface.
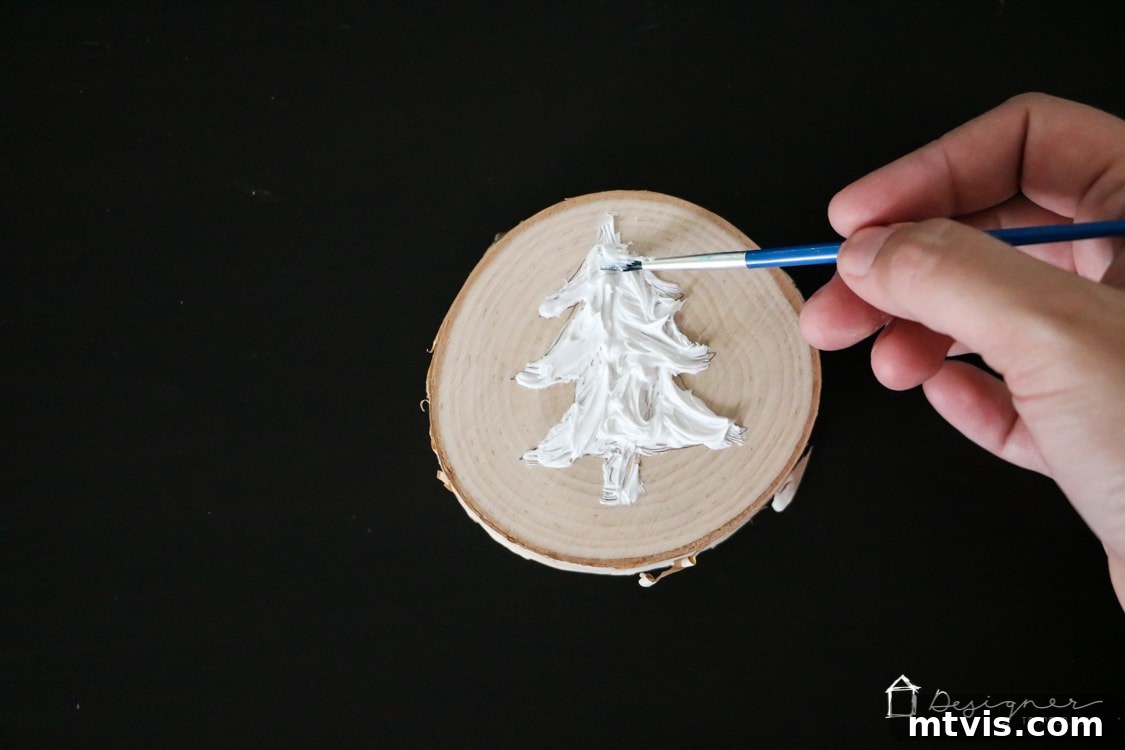
Step 4: Allow to Dry and Paint Your Ornament
Patience is key during this stage. Allow the caulk to dry completely. The great advantage of DAP Alex Plus caulk is its quick-drying formula, often paintable within 30 minutes, though thicker applications might require a bit more time. Ensure the caulk is firm to the touch before proceeding. Once dry, it’s time to bring your design to life with color! I used two different shades of green to add depth and dimension to the Christmas tree, giving it a more natural appearance. For the tree trunk, a metallic gold paint adds a touch of festive shimmer. Feel free to use acrylic paints, chalk paints, or any craft paint that adheres well to a caulk surface. Apply thin layers for best results, allowing each coat to dry before applying the next.
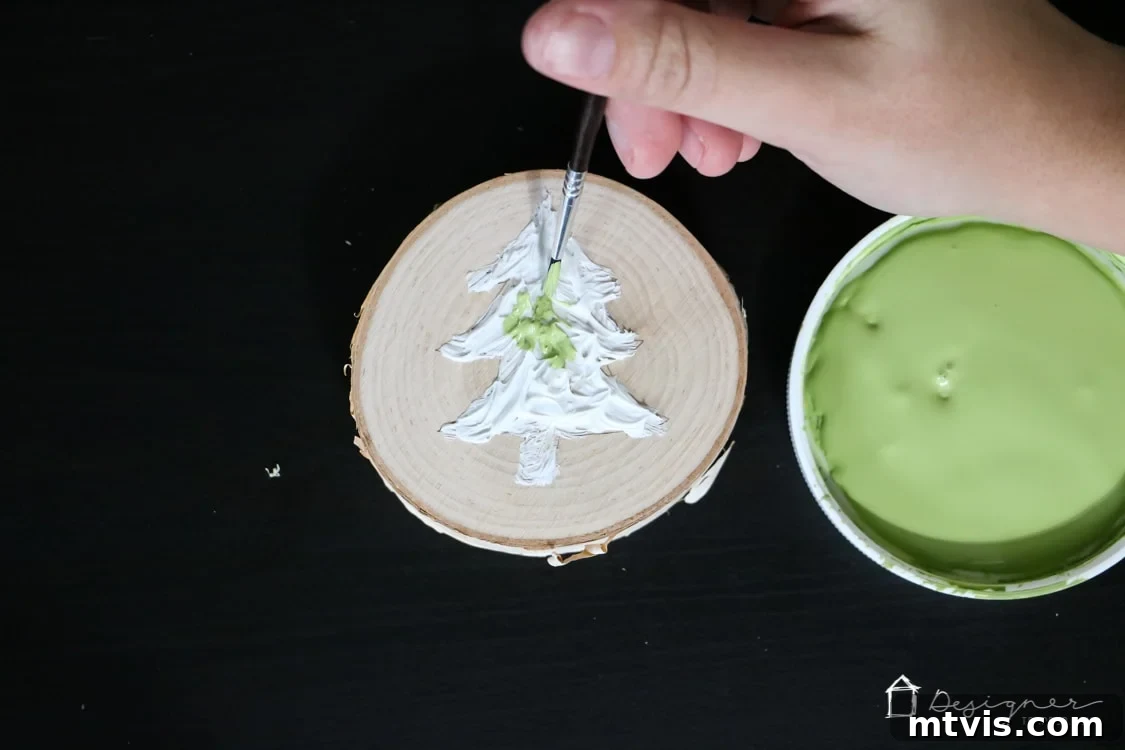
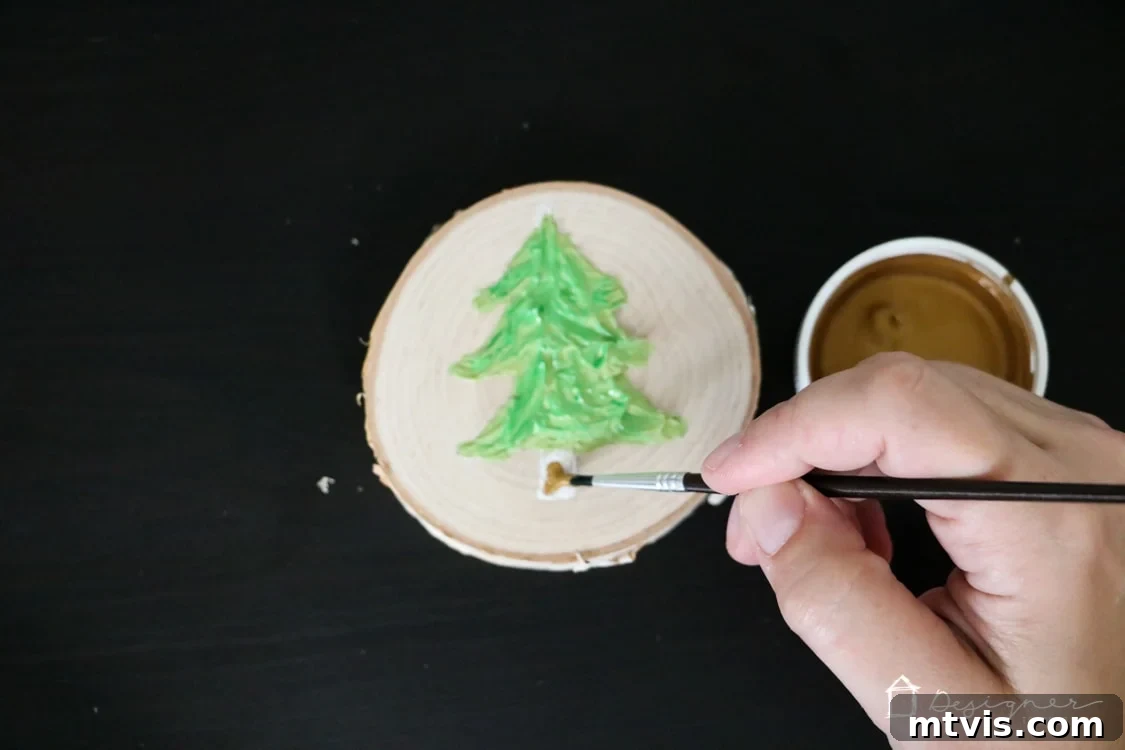
Step 5: Add Hanging Hardware and Finishing Touches
The final step is to prepare your ornament for hanging. Once the paint is completely dry, carefully screw a small screw eye into the top edge of your wood slice. Most wood slices are soft enough for the screw eye to be inserted by hand with a bit of twisting pressure. If you encounter resistance, you can pre-drill a tiny pilot hole. After the screw eye is securely in place, thread some baker’s twine, festive ribbon, or natural jute through the loop. Tie it off securely, and your beautiful, unique Christmas tree decoration is ready to be hung and admired!
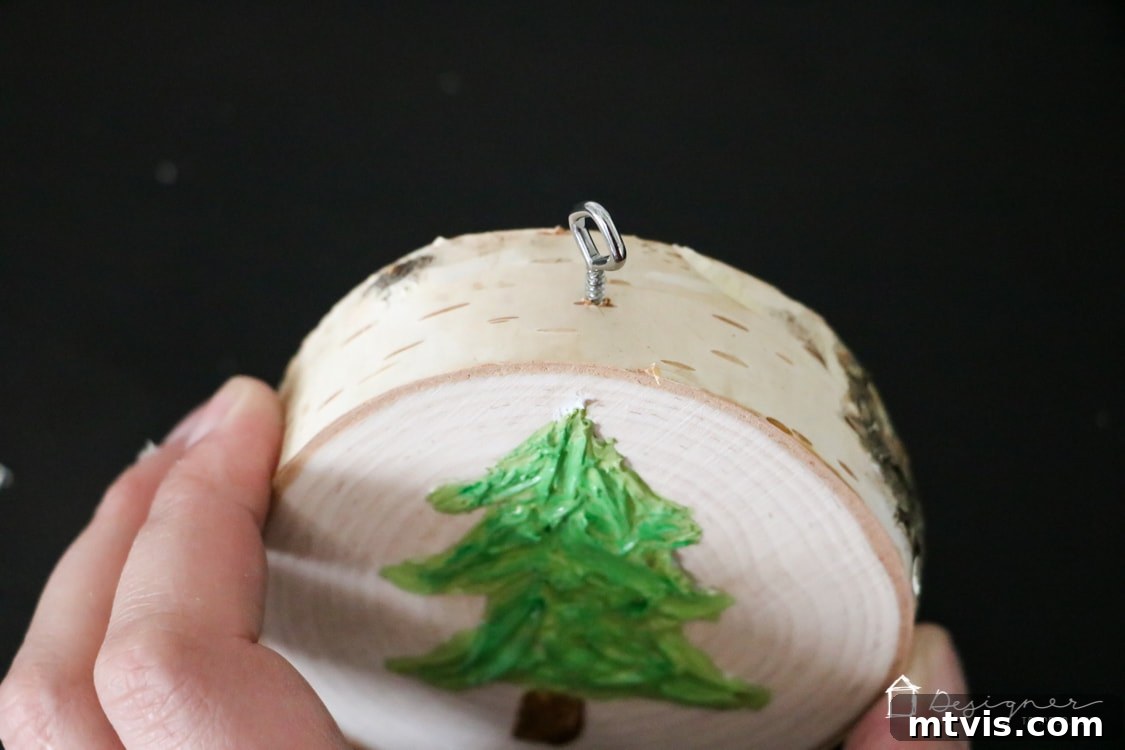
The Finished Textured Caulk Ornament
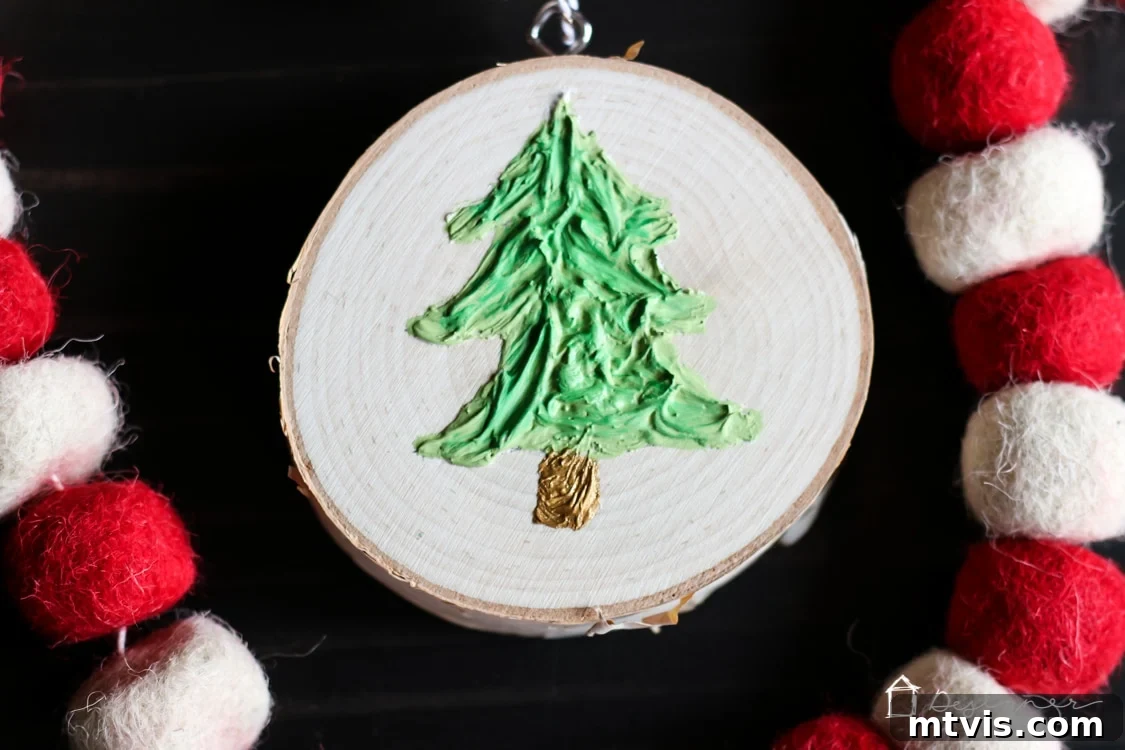
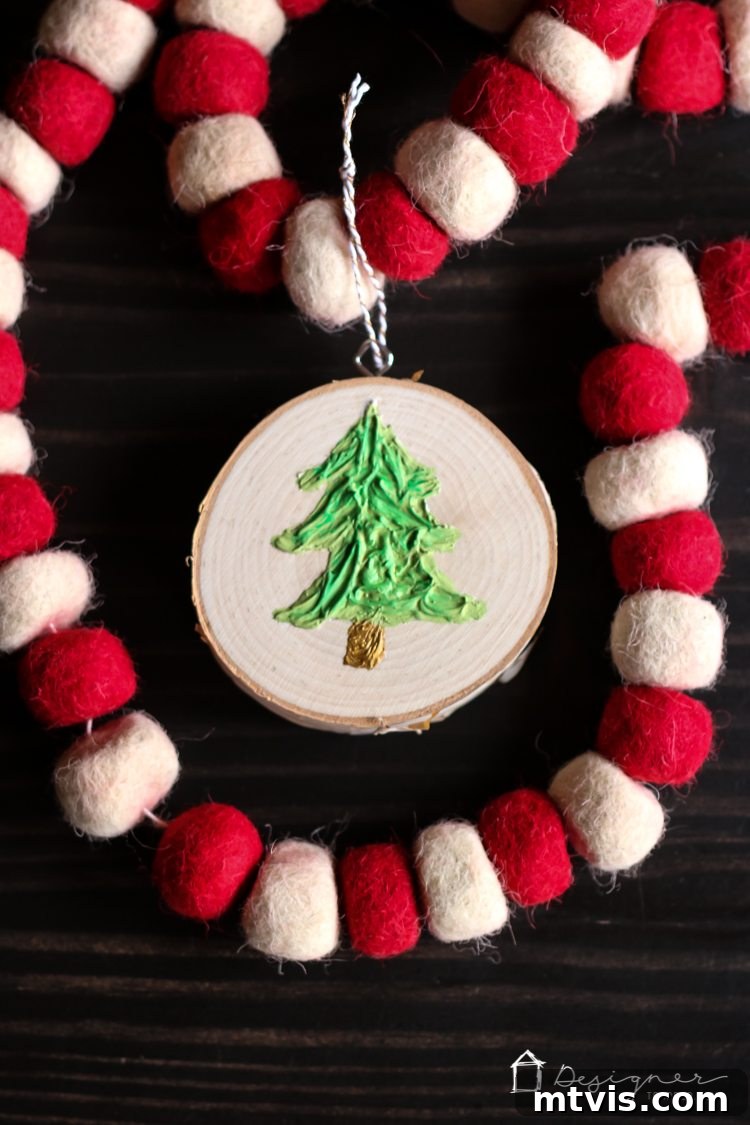
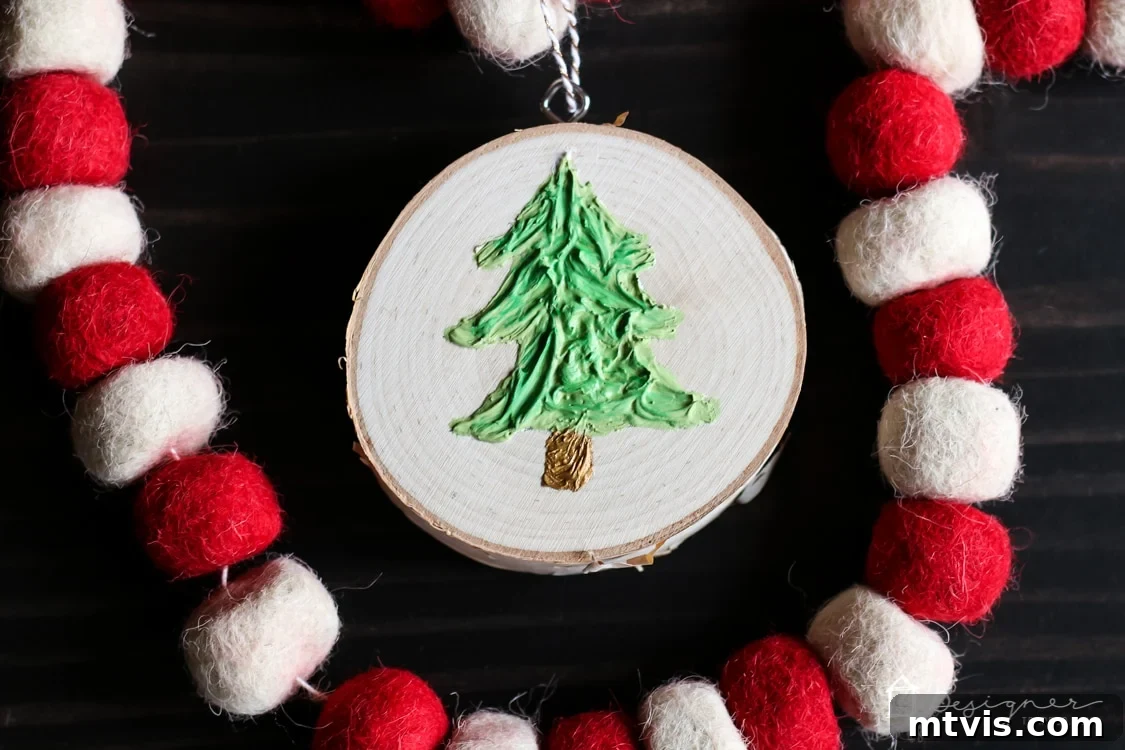
That’s it! In just a few simple steps, you’ve transformed ordinary materials into an extraordinary piece of holiday decor. The tactile quality of the caulk creates a dimension that regular paint simply can’t achieve, making these ornaments truly stand out. The rich texture adds depth and visual interest, inviting people to touch and admire your craftsmanship. I am absolutely thrilled with how this project turned out and the incredible texture it boasts. The potential for more caulk-based projects seems endless!
Tips for Achieving the Best Results
- Work in a Ventilated Area: While caulk is generally safe, it’s always best to work in a well-ventilated space.
- Practice Makes Perfect: If you’re new to using a caulk gun, try practicing on a piece of scrap cardboard first to get comfortable with the pressure and flow.
- Don’t Rush Drying Time: Although DAP Alex Plus is fast-drying, ensure the caulk is fully cured before painting, especially if you apply thicker layers. Humidity levels can also affect drying times.
- Experiment with Tools: Beyond a paintbrush, you can use toothpicks, sponges, or even your fingers (wearing gloves!) to create different textures in the wet caulk.
- Seal for Longevity: For extra durability and protection, consider applying a clear sealant or varnish over your painted ornament once it’s completely dry. This will protect the paint and caulk from wear and tear.
- Creative Color Palettes: Don’t limit yourself to green and gold. Experiment with frosty blues and silvers for a winter wonderland theme, or bright reds and whites for a classic holiday look.
Unleash Your Creativity: Variations and Customization
The beauty of custom Christmas ornaments lies in their endless possibilities for personalization. Here are a few ideas to inspire further creativity:
- Different Shapes: Explore other holiday motifs like snowflakes, stars, reindeer, or even simple geometric patterns.
- Add Glitter or Beads: While the caulk is still wet, sprinkle fine glitter over it for extra sparkle. You can also press small beads or sequins into the caulk for added embellishment.
- Distressed Look: After painting, lightly sand certain areas to give your ornament a rustic, distressed finish.
- Personalized Messages: Use a fine-tip paint pen to add names, dates, or special messages to the back of your ornaments, making them perfect gifts or cherished family keepsakes.
- Layered Effects: Apply multiple layers of caulk in different patterns to create even more complex and intriguing textures.
Final Thoughts on Your Textured Ornament Journey
Creating these festive DIY decorations is a delightful way to spend an afternoon and add a truly personal touch to your holiday season. The unique texture achieved with caulk makes these ornaments stand out, bringing an unexpected element of artistry to your Christmas tree. Not only are they fun to make, but they also offer a cost-effective solution for beautiful, bespoke decor. Imagine the joy of hanging these handmade treasures year after year, knowing you created them with your own hands. They make fantastic gifts too, imbued with the thoughtfulness of a handmade present. So, grab your caulk gun, unleash your inner artist, and get ready to transform simple wood slices into spectacular holiday highlights!
What do you think of this innovative approach to ornament making? I’m truly in love with the results, and I hope you will be too! Share your creations with me; I’d love to see how you bring your textured ornaments to life!