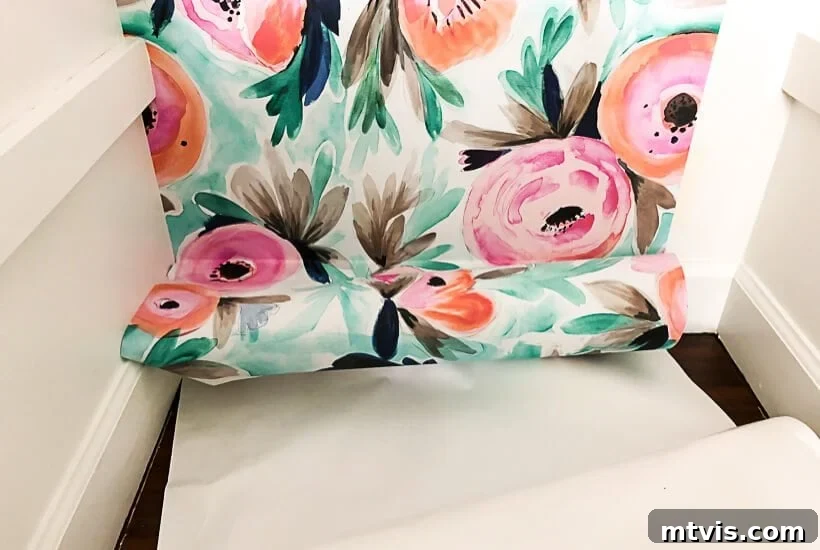
Transform Your Space: The Ultimate Guide to Installing Removable Peel and Stick Wallpaper
Imagine transforming any room in your home with vibrant patterns and rich textures, all without the daunting commitment or the nightmare of traditional wallpaper removal. Installing removable wallpaper, often known as peel and stick wallpaper, is not only achievable but surprisingly simple, even for a beginner DIY enthusiast. This comprehensive guide will equip you with all the knowledge and confidence you need to successfully install your favorite temporary wallpaper, turning your design dreams into a stunning reality in no time.
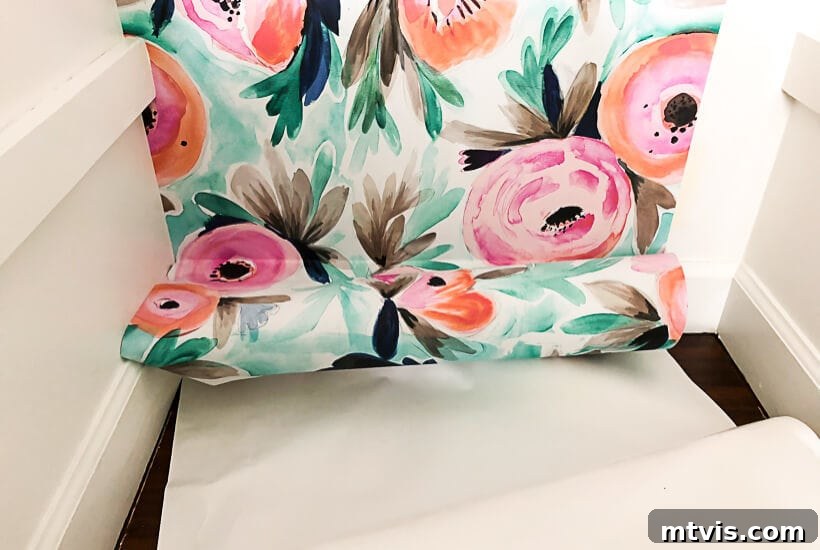
Table of Contents
This post contains affiliate links for your convenience. Click here for my full disclosure policy.
We’ve all been there: captivated by a stunning interior design magazine spread or a viral Pinterest image, featuring a wall adorned with the most exquisite wallpaper. The desire to replicate that look is instant and intense. But then, the dreaded memories of traditional wallpaper removal flood your mind – the steaming, scraping, and endless hours of tedious work. This often leads to abandoning the idea altogether. What if I told you there’s a revolutionary solution? A way to enjoy the aesthetic appeal of wallpaper without the permanence or the removal headache? Enter removable wallpaper, a game-changer for homeowners and renters alike, offering a flexible and stylish decor option (and yes, you can even make any wallpaper renter-friendly if you’re truly adventurous!).
Finding Your Perfect Removable Wallpaper
For years, the mere thought of wallpaper sent shivers down my spine. The laborious process of stripping old wallpaper has been one of my least favorite DIY tasks, leading me to steadfastly avoid it in all our previous homes. However, the allure of those captivating patterns and rich colors was simply too strong to ignore. My curiosity led me to explore the world of temporary wallpaper options. What I discovered was a fantastic tool that every DIY enthusiast and homeowner should consider: peel and stick wallpaper. This innovative product makes it easy to refresh any space, from an accent wall in your living room to the inside of a closet, or even for unique applications on furniture (there are so many creative ways to use wallpaper beyond just walls!).
My Chosen Removable Wallpaper
After extensive research and sifting through countless wallpaper samples, I finally found a removable wallpaper of exceptional quality from this reputable shop – a place I also frequently trust for ordering fabric. I specifically opted for their woven peel and stick wallpaper option, largely due to testimonials suggesting it was far less prone to wrinkling or binding during application. While it represented a slightly higher investment, the peace of mind and flawless results made it unequivocally worthwhile. I can confidently say I encountered absolutely no issues with wrinkles or creases. Furthermore, its “repositionable” claim is not an exaggeration; I personally had to adjust one strip multiple times to achieve perfect alignment, and it peeled off and re-adhered without any loss of stickiness or damage to the wall. This flexibility is truly a game-changer for DIY projects, allowing for adjustments until you get it just right.
Exploring Beautiful Peel & Stick Wallpaper Options
If you haven’t yet delved into the vast array of removable wallpaper available today, prepare to be pleasantly surprised! The market is overflowing with incredible designs, colors, and textures suitable for every aesthetic. From bold geometrics and serene botanicals to classic damasks and whimsical patterns, there’s truly something for everyone. You can find options that mimic expensive textiles, subtle textures that add depth, or vibrant murals that create a dramatic focal point. Brands are constantly innovating, offering papers that are not only beautiful but also durable and easy to maintain. Whether you’re aiming for a minimalist Scandinavian look, a cozy farmhouse feel, or a vibrant bohemian vibe, you’ll discover a peel and stick wallpaper that perfectly complements your vision. Consider factors like the scale of the pattern in relation to your room size, the color palette that harmonizes with your existing decor, and the overall mood you wish to create.
Explore the endless possibilities and find the design that speaks to your personal style.
Now, let’s put theory into practice. This step-by-step tutorial will demonstrate just how incredibly easy it can be to install peel and stick wallpaper, empowering you to tackle your next home decor project with confidence.
How to Install Removable Wallpaper
While traditional wallpaper hanging often benefits from an extra set of hands, one of the significant advantages of peel and stick wallpaper is its DIY-friendly nature. For smaller areas or accent walls, you can absolutely tackle this project solo with great success. I personally installed my removable wallpaper in our linen closet entirely by myself, without encountering any major difficulties. The forgiving nature of the repositionable material makes it a perfect project for single-person execution, allowing you to work at your own pace and make adjustments as needed.
Materials and Tools Needed
Gathering the right tools beforehand is crucial for a smooth and efficient installation. Here’s what you’ll need:
- Removable wallpaper of your choice: (this is the woven wallpaper I highly recommend) Ensure you purchase enough rolls to cover your desired area, accounting for pattern repeats and potential mistakes.
- Sharp utility or craft knife with plenty of fresh blades: A sharp blade is paramount for clean, precise cuts. Dull blades will tear the wallpaper, leading to frustrating results. Have several fresh blades on hand, as they dull quickly.
- A squeegee or smoothing tool: Essential for smoothing out air bubbles and ensuring firm adhesion to the wall. A felt-edged squeegee is ideal to prevent scratching the wallpaper surface.
- Measuring tape: For accurately measuring your walls and wallpaper strips.
- Level (or laser level): Absolutely critical for marking a perfectly plumb (vertical) line. This ensures your wallpaper hangs straight, preventing a wonky appearance.
- Pencil: For marking your plumb line and making any necessary notations.
- Clean cloth: For wiping down walls and cleaning up any dust.
Time needed: Approximately 2 hours for a small project.
I completed my removable wallpaper installation in less than 2 hours. The total time required for your project will vary depending on the size and complexity of the surface area you are covering, as well as your experience level.
Step-by-Step Installation Guide
-
1. Prepare Your Walls.
The foundation of a successful wallpaper installation is a well-prepared wall. Your surface must be smooth, thoroughly clean, and completely dry. If your walls have any holes, cracks, or imperfections, plan to patch and sand them smooth at least a day before you intend to wallpaper. For detailed guidance, you can find my wall patching tips here. Furthermore, if your wall is currently painted a very dark color and your chosen wallpaper is light, I highly recommend applying a coat of primer. This prevents the dark color from potentially showing through your lighter wallpaper, ensuring the pattern’s true vibrancy. As a bonus tip, if you plan to paint any adjacent areas with a color that beautifully complements your new wallpaper, refer to my guide on how to match a paint color. Most importantly, if you do prime or paint your walls, allow the paint to fully cure for at least 7-14 days (check your paint can’s instructions). Applying wallpaper to uncured paint can cause bubbling or adhesion issues. This is what our linen closet looked like before I began its vibrant transformation.
-
2. Prepare Your Removable Wallpaper.
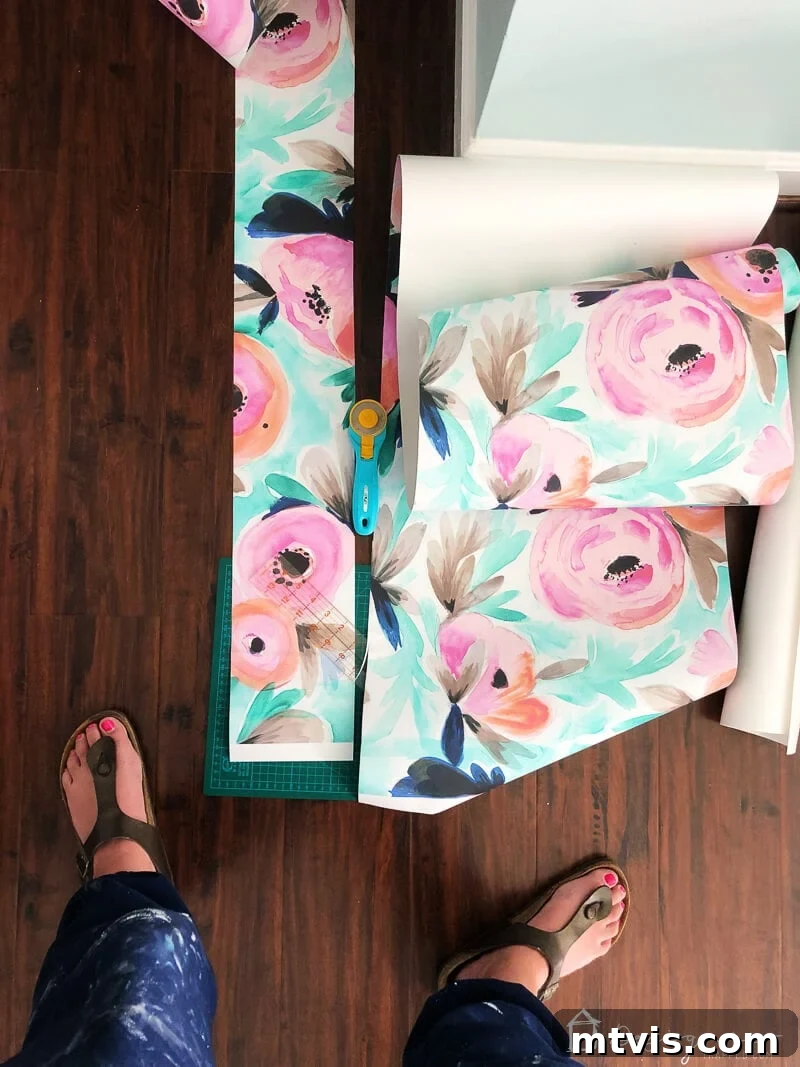
Each removable wallpaper brand may have slightly different preparation instructions, so it’s essential to consult the specific guidelines provided with your paper. For instance, if you order from a supplier like Spoonflower (as I did), you might need to re-roll your wallpaper so that the beginning (top) of the strip is on the outside of the roll. This makes the initial application much easier as you unroll it down the wall. Always check for specific pattern match instructions as well.
-
3. Mark a Plumb Vertical Line on Your Wall Using Your Level.
This step is absolutely critical and cannot be overstated. Do not assume your ceilings, floors, or corners are perfectly straight – they almost never are! You MUST use a level (a laser level is fantastic for this) to draw a perfectly plumb vertical line where your first strip of wallpaper will begin. This line will serve as your guiding edge. Without it, your wallpaper strips could gradually drift off-kilter, resulting in a noticeably crooked and unprofessional finish. Take your time to get this right, as the entire installation will depend on the accuracy of your first line.
-
4. Start Hanging Your Wallpaper.
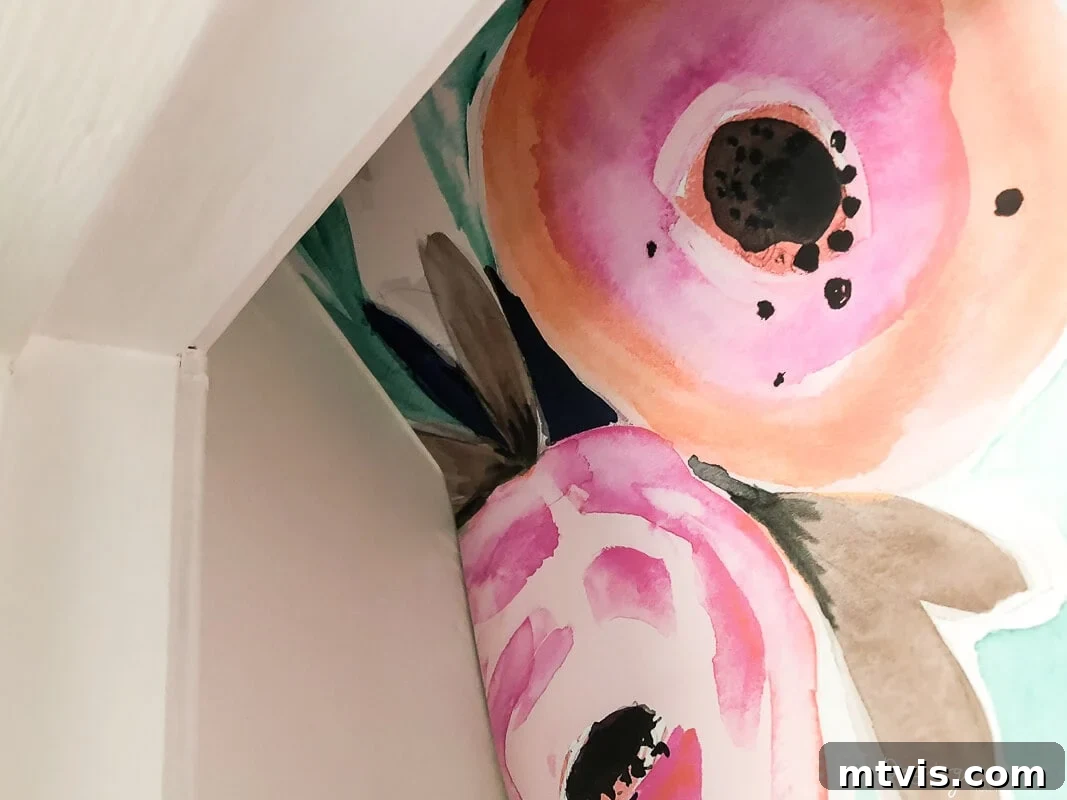
You are now ready to begin the exciting part! Start applying your first strip at the left upper corner of your wall, aligning it precisely with the plumb vertical line you just marked. For my linen closet project, this meant starting at the top-left edge. Begin by peeling back only the top few inches of the paper backing. Carefully align the exposed edge of the wallpaper with your plumb line, ensuring it’s perfectly straight. This first piece is the most crucial, as it sets the stage for all subsequent strips, so take your time and be meticulous. The inherent beauty of peel and stick wallpaper is its forgiving nature: if your initial placement isn’t perfect (which happened to me!), simply peel it off gently and try again. No stress, no mess! Once satisfied with the alignment, use your squeegee to smooth the wallpaper into place. Work from the center outwards, pushing any trapped air bubbles towards the edges until they disappear. You might notice the ceiling in our linen closet was slightly slanted, which presented a minor challenge, but the repositionable nature of the wallpaper made it manageable.

-
5. Continue Work in 5 to 10 Inch Increments.
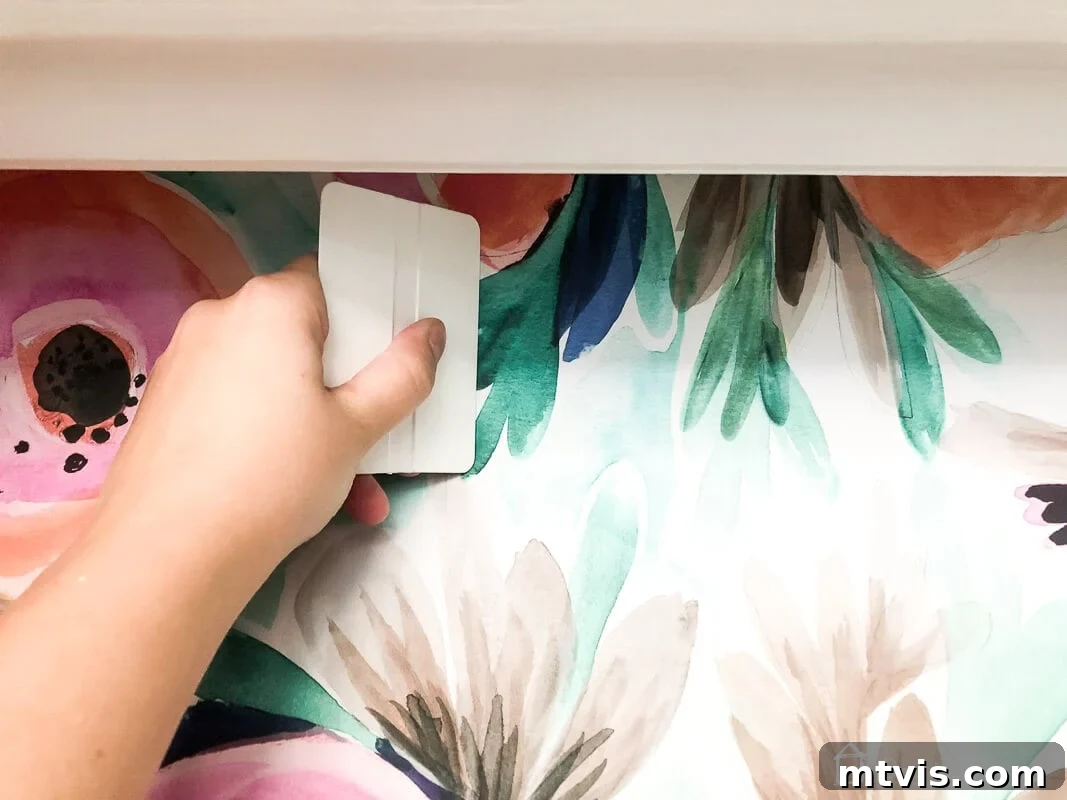
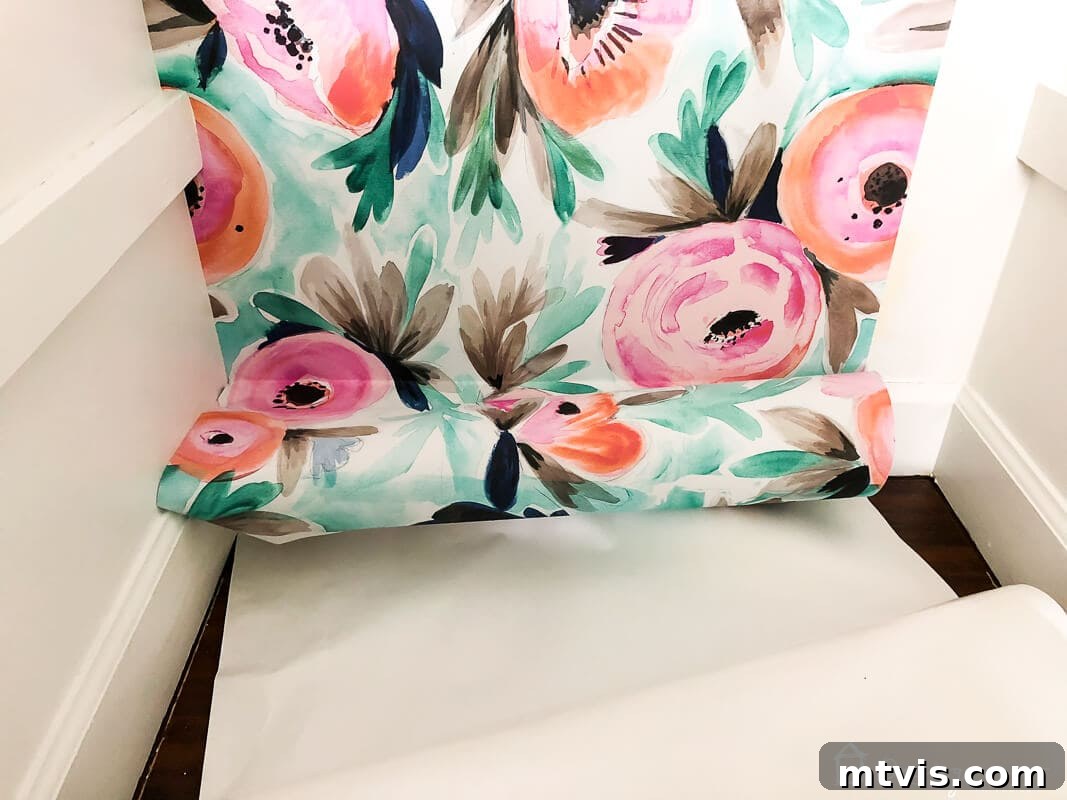
Once the top portion of your first strip is securely in place, continue working your way down the wall in manageable sections. Hold the roll of wallpaper with one hand, gently peeling the paper backing off only 5 to 10 inches at a time. This controlled approach prevents the large, sticky sheet from adhering incorrectly or folding onto itself, which can lead to frustrating wrinkles. As you expose each new section of wallpaper, immediately use your squeegee to smooth it onto the wall, pressing firmly and moving from the center out towards the edges. This continuous smoothing process helps to eliminate air bubbles and ensures consistent adhesion along the entire length of the strip. Maintaining this incremental method will help you maintain control and achieve a professional-looking finish.
-
6. Cut the Wallpaper to Fit Around Trim or Other Obstacles.
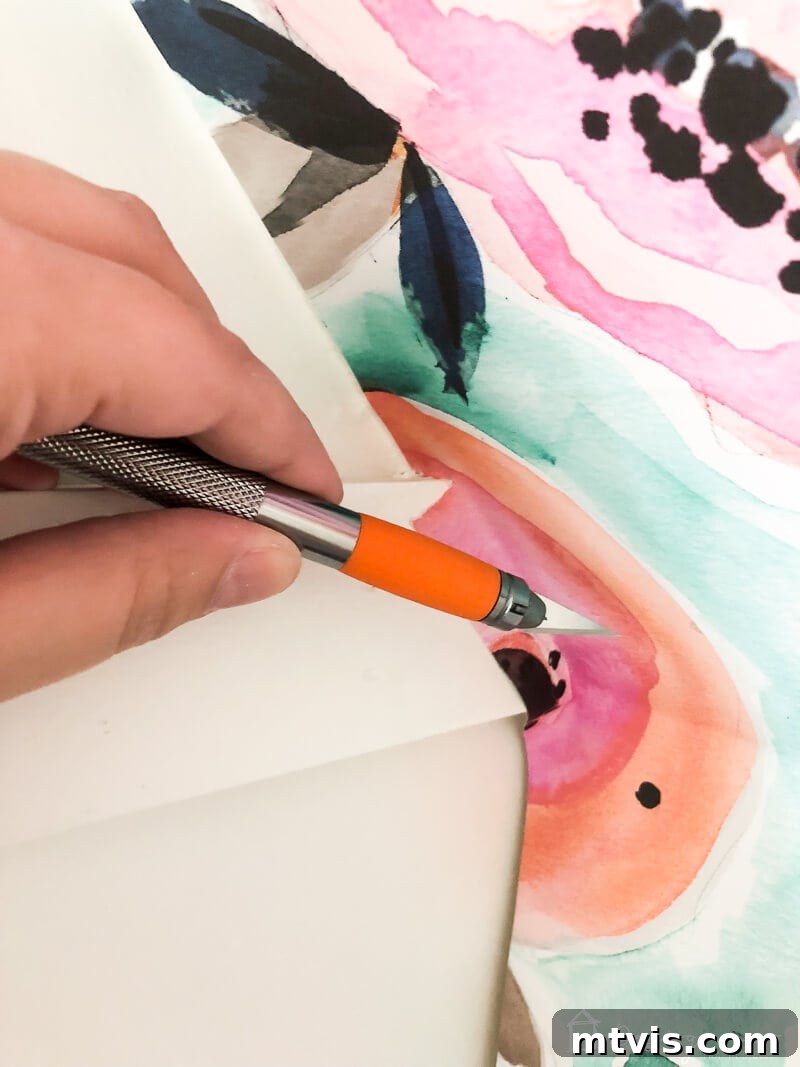
When you encounter obstacles such as door frames, window casings, light switches, or permanent fixtures, precision is key. Press the wallpaper firmly against the edge of the trim or obstacle. Using your sharp utility knife, make a few small relief cuts (slits) in the wallpaper towards the molding or fixture. These cuts allow the wallpaper to conform neatly around the shape. Once the cuts are made, gently press the wallpaper into the area around the obstacle, ensuring full adhesion. Then, carefully trim away any excess paper using your utility knife. I had to navigate around the shelf brackets in our linen closet, and while I initially felt a little apprehensive, the process proved to be surprisingly simple and straightforward. Take your time, make small cuts, and you’ll achieve a clean, custom fit.
-
7. Cut Off the Excess Wallpaper.
Once your first vertical strip of wallpaper is completely applied and smoothed onto the wall, you’ll likely have some excess material at the bottom. To achieve a clean, professional edge, use your utility knife to carefully trim this excess wallpaper. Press the blade firmly against the baseboard or the edge of the wall, and run your knife along it in a steady motion. A ruler or straight edge can be helpful here to ensure a perfectly straight cut. Remove the trimmed waste immediately to keep your workspace tidy.
-
8. Repeat Until You Are Done!
With your first strip perfectly in place, you now need to repeat the entire process for any remaining vertical runs until your entire wall is beautifully covered. Before applying each subsequent strip, be sure to consult your specific brand’s instructions regarding pattern matching and overlapping. Some brands require a slight overlap (e.g., 3/4 of an inch, as mine did) to ensure the pattern seamlessly aligns, while others are designed for butt-joint installation (where edges simply meet). For my wallpaper, overlapping by 3/4 of an inch was essential for the pattern repeat to match up flawlessly. When nearing the end of your wall, you may have only a small, narrow section left to cover. In this scenario, it’s often easiest to pre-cut a strip that is slightly wider (about an inch) than the area you need to cover. Then, repeat the steps above, carefully aligning it and smoothing it down. Finally, trim any excess wallpaper from the edge and the bottom using your sharp utility knife. Again, any initial hesitation I felt quickly dissipated as I found the process incredibly simple and satisfying. Continue this methodical approach, and your space will soon be transformed!
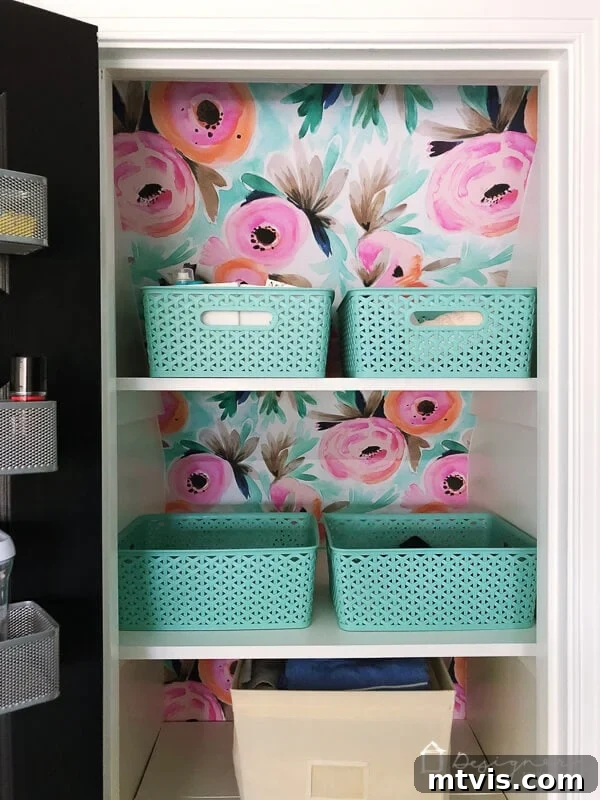
That’s truly all there is to it! With these steps, you can achieve a stunning transformation. Here’s how everything looks with the wallpaper beautifully installed and complemented by some smart linen closet organization. I absolutely adore the burst of color and unique pattern the wallpaper adds to this formerly plain space. What are your thoughts? Are you ready to embrace the ease and beauty of removable wallpaper?
Other posts you may enjoy:
- 18 Unique Wallpaper Ideas I Love
- Stunning Accent Wall Ideas to Transform Any Room
- Unique Family Photo Gallery Wall
- 23 Clever & Inspiring Hallway Decor Ideas
Curious about my unique approach to transforming rooms and spaces throughout our home? Be sure to explore Designer in a Binder®, my signature system for affordable and simple home decoration.
And for exclusive content, behind-the-scenes sneak peeks, and more design inspiration delivered straight to your inbox, be sure to subscribe to my newsletter before you go!