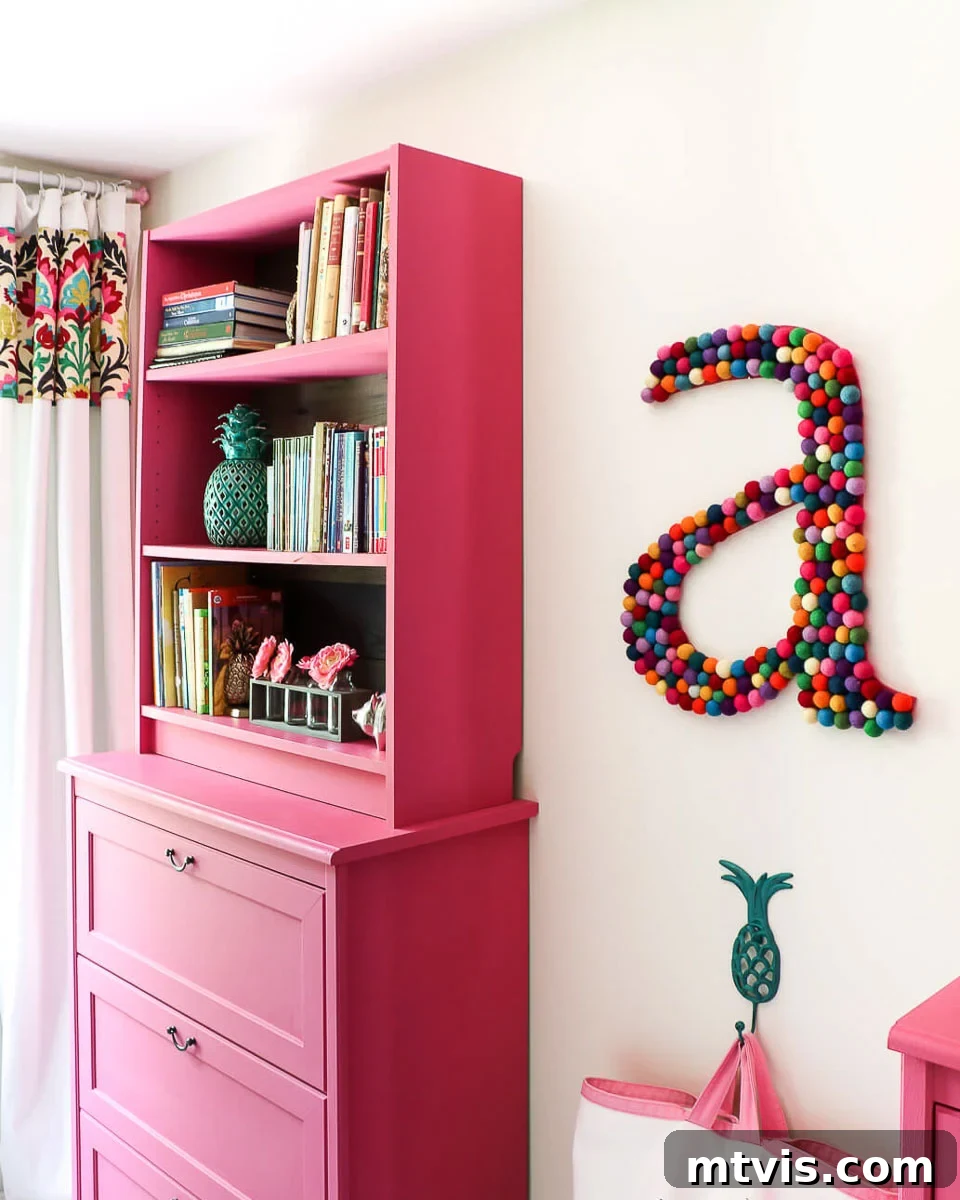
Welcome, fellow DIY enthusiasts! As someone who has transformed countless spaces and objects since 2002, from floors and rugs to countertops and a myriad of IKEA furniture pieces, I’ve encountered almost every painting challenge imaginable. I still vividly recall the cringe-worthy moment years ago when I attempted to paint my very first piece of IKEA laminate furniture, only to watch the paint immediately bead up and separate. It was disheartening, to say the least. But giving up isn’t in a DIYer’s vocabulary! Through persistent experimentation and a few invaluable discoveries, I cracked the code on making paint adhere beautifully and durably to everything from those ubiquitous IKEA Billy bookcases to the sleek Lack tables.
The best part? My method delivers results that truly last, transforming inexpensive furniture into custom pieces that stand the test of time. If you’ve ever dreamt of personalizing your IKEA furniture with a fresh coat of paint but worried about peeling or chipping, this step-by-step guide is for you. Learn my proven techniques for painting IKEA furniture (or any laminate furniture) yourself and achieve professional-looking finishes.
And here’s the spoiler you’ve been waiting for: there’s a vital, game-changing trick to successfully painting IKEA furniture, and surprisingly, it doesn’t involve sanding! This crucial step is the key to achieving a flawless finish that you won’t believe is so easy.
IKEA furniture holds a special place in many homes, including mine. Its unbeatable prices, especially when decorating on a budget, and the stylish, often durable designs make it a go-to choice for furnishing any space. Over the years, our home has been filled with countless IKEA pieces, proving their versatility and appeal. However, there’s one common limitation: the factory finish color palette. While classic white, black-brown, or “walnut” options are fine for some, there are times when you crave a specific hue to perfectly match your interior design vision.
The internet abounds with incredible IKEA hacks and clever IKEA bookcase transformations. These often involve intricate modifications and power tools, which are fantastic for those seeking a major overhaul. But what if you simply want a color change, a fresh look without the commitment of a full-blown construction project? You’re not alone! For all IKEA lovers who wish to inject a dose of personalized color into their homes, the answer is simple: PAINT IT!
Understanding the Challenge: Why Painting IKEA Furniture Requires a Special Approach
Unlike traditional solid wood furniture, which readily accepts paint thanks to its porous surface, most IKEA furniture is constructed from laminate-covered particle board. While IKEA does offer a selection of solid wood pieces, its most popular and affordable lines—such as Billy, Lack, Kallax, and Malm—are predominantly made of this slick, non-porous laminate material. And therein lies the challenge.
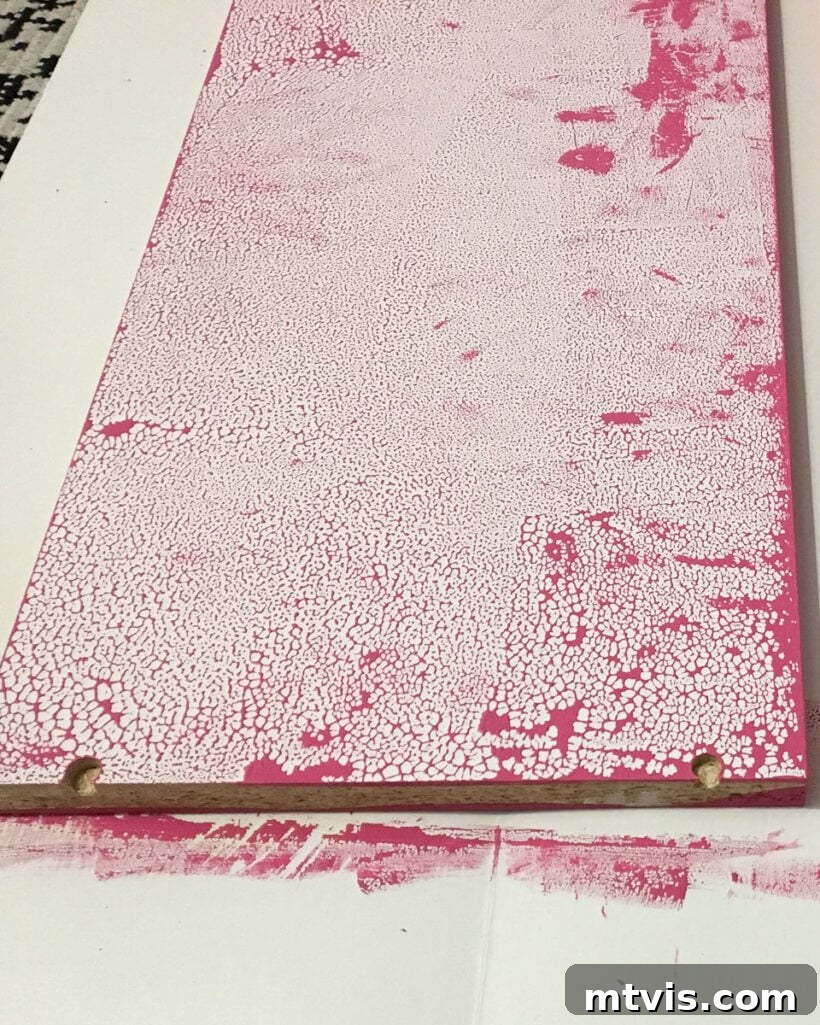
Laminate is designed to be smooth and resistant to absorption, making it an excellent protective layer but a nightmare for paint adhesion. Attempting to paint directly onto a laminate surface without proper preparation is a recipe for disaster. The paint will likely bead up, separate, and refuse to form a cohesive coat, as you can see in the frustrating example below. Even if by some chance a layer of paint manages to stick and dry, the adhesion will be incredibly poor, leading to premature chipping, peeling, and a finish that certainly won’t stand up to daily use. This is precisely why a standard wood primer or general-purpose paint won’t cut it for IKEA laminate.
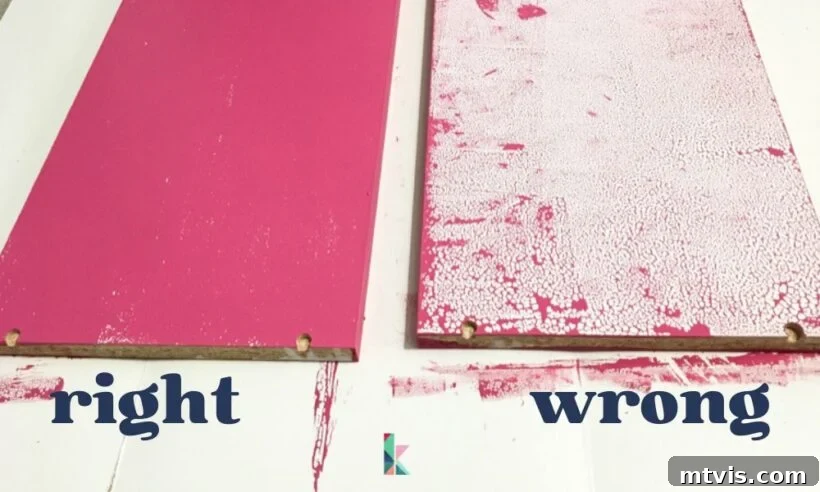
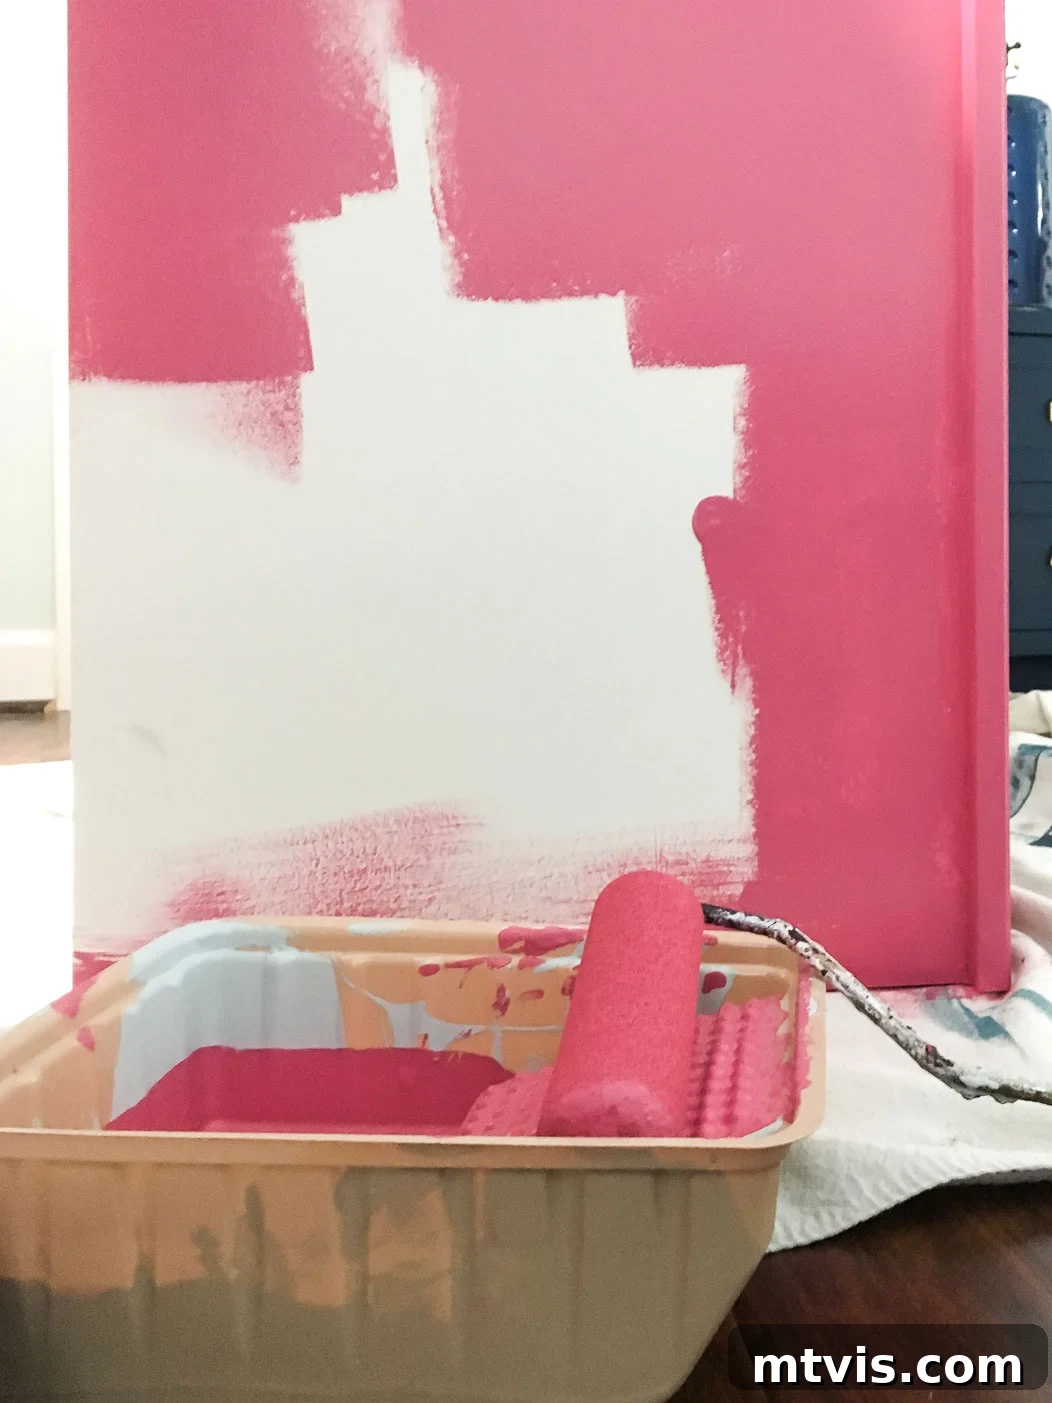
To vividly illustrate this point, I conducted a simple experiment on an IKEA Billy bookcase shelf. The section on the right was painted without using the essential BIN shellac-based primer, clearly showing the paint beading up and failing to adhere. In stark contrast, the shelf on the left, after receiving just one coat of shellac-based primer followed by one coat of paint, displays flawless coverage and adhesion. This side-by-side comparison underscores a crucial truth: the right primer is not just recommended; it is absolutely CRUCIAL for achieving a durable, long-lasting finish on laminate surfaces.
While the process does require a bit of patience and some dedicated prep work due to the priming step, the stunning and enduring results make it immensely worthwhile. Imagine transforming your plain IKEA laminate furniture into a custom-colored statement piece that perfectly complements your home’s aesthetic! Now that you understand the “why,” let’s dive into the practical “how” with our detailed tutorial.
This post contains affiliate links for your convenience. Click here for my full disclosure policy.
Your Step-by-Step Guide to Painting IKEA Furniture Flawlessly
Essential Materials for a Lasting Finish
Gathering the right tools and materials is the first and most important step to a successful IKEA furniture painting project. Do not skimp on quality, especially when it comes to the primer!
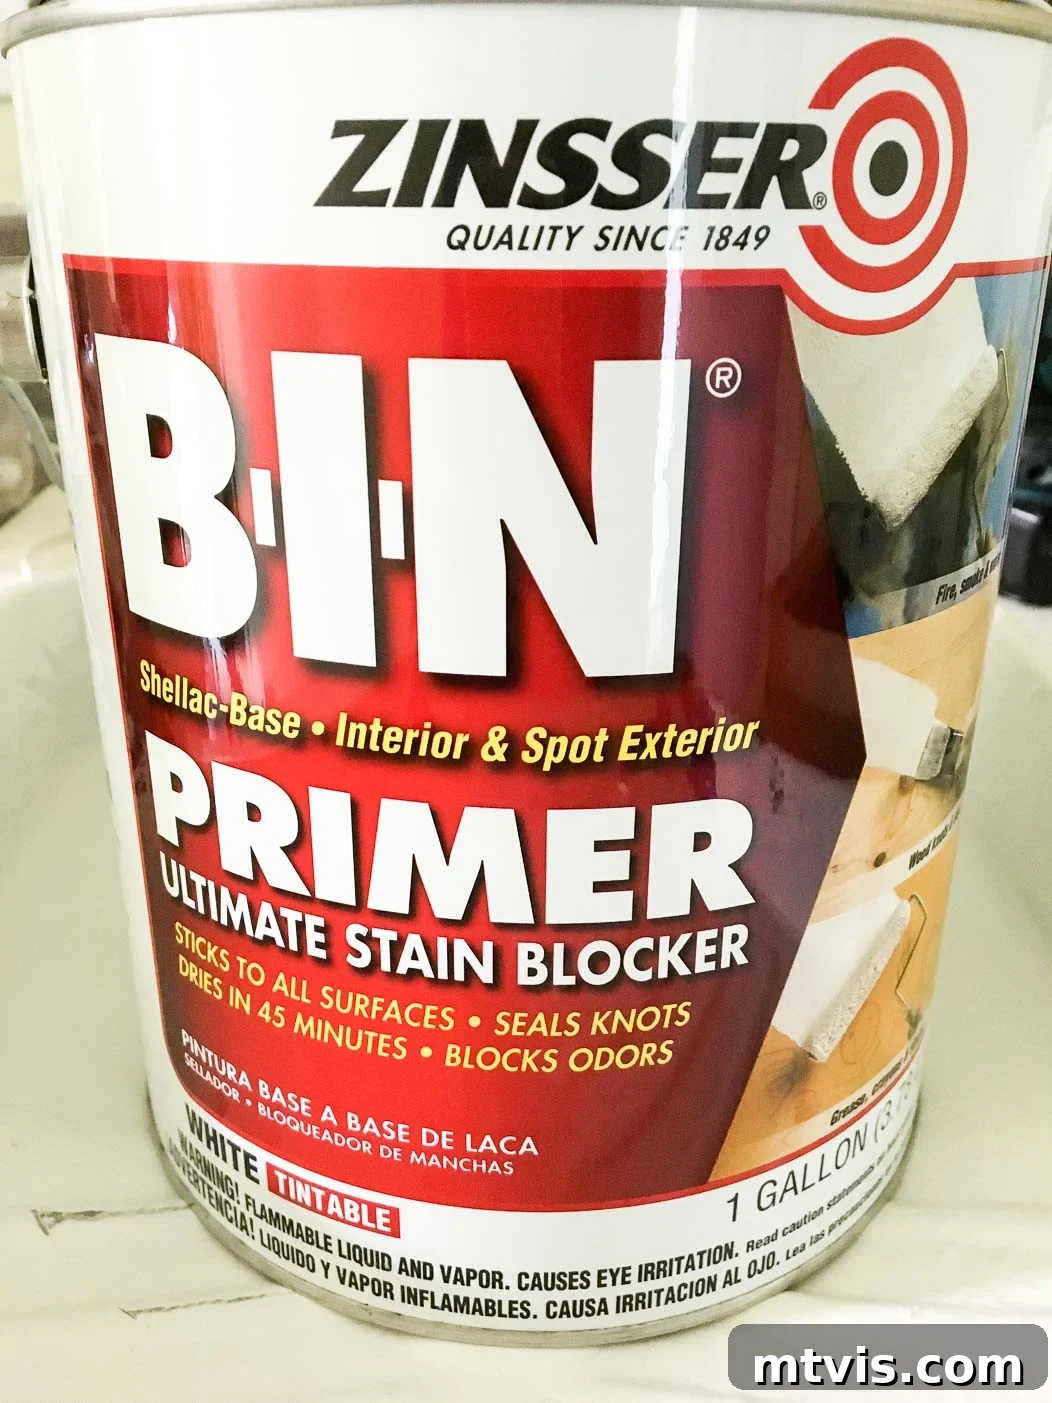
- Zinsser B.I.N. Shellac-Based Primer: This is your non-negotiable hero product. Unlike water-based or oil-based primers, shellac-based primers create an incredibly strong bond with slick, non-porous surfaces like laminate. They dry quickly, effectively block stains, and provide the perfect foundation for your paint. Accept no substitutes for this crucial step!
- High-Quality Furniture Paint: Opt for paints specifically designed for furniture, such as chalk paint or mineral paint. These paints offer excellent adhesion, superior coverage, and a durable finish. I achieved beautiful results on this project using Amy Howard At Home One-Step Paint in Drama Queen. For other top recommendations, explore my guide to the best paints for furniture. Avoid standard latex wall paints, as they lack the necessary durability for furniture.
- High-Quality Paintbrush: A good quality brush (synthetic for water-based paints, natural bristle for oil/shellac-based) ensures smooth application, especially for detailed areas and edges.
- Dense Foam Roller: Essential for achieving a smooth, streak-free finish on large, flat surfaces. Foam rollers minimize texture and brush strokes.
- Drop Cloths or Plastic Sheeting: To protect your work area from paint drips and spills.
- Cleaner (e.g., Simple Green or Krud Kutter): For thoroughly cleaning your furniture before priming.
- Clean Rags or Sponges: For cleaning and wiping down surfaces.
- Painter’s Tape (Optional): Useful for masking off areas you don’t want to paint, like hardware holes or adjacent surfaces.
Time needed: 6 hours
This comprehensive guide provides everything you need to successfully paint laminate IKEA furniture. The total project time will vary depending on the size and complexity of your furniture piece, as well as drying times between coats.
- Step 1: Prepare Your Furniture by Removing Hardware and Cleaning
Begin by carefully removing any existing hardware, such as knobs, pulls, or hinges. This step is crucial for achieving clean, professional-looking edges and ensuring that your paint covers every surface evenly without obstructions. Place hardware in a safe, labeled bag if you plan to reuse it.
Next, thoroughly clean your furniture piece. Even new furniture can have residue from manufacturing, dust, or fingerprints that will interfere with paint adhesion. I highly recommend using a strong degreaser like Simple Green or Krud Kutter to remove all dirt, grime, and oils. Spray the cleaner, let it sit for a moment to break down grease, then wipe it clean with a damp rag or sponge. After this initial cleaning, wipe your piece down again with a separate cloth or sponge saturated with plain water to ensure all residual cleaning solution is removed. Any lingering cleaner can create a barrier, preventing your primer from bonding effectively. Allow the surface to dry completely before proceeding.
- Step 2: Apply the Crucial Shellac-Based Primer
This is the most critical step for painting laminate furniture. As highlighted earlier, a shellac-based primer is absolutely essential for paint adhesion. I use and recommend Zinsser B.I.N. Primer due to its exceptional bonding properties and quick-drying nature, but any quality shellac-based primer will work. While many suggest a light scuff sanding at this stage, I’ve found it unnecessary when using the correct primer. My method consistently delivers excellent results without sanding, saving you significant time and effort.
Apply a thin, even coat of primer using your paintbrush for corners and details, and your foam roller for larger, flat surfaces. The goal is complete, even coverage, not thick coats. Shellac primers dry remarkably fast, often within 30-45 minutes, but always check the manufacturer’s recommendations for specific drying times. Ensure the primer is completely dry to the touch before moving on to the next step. If you notice any drips or uneven spots, lightly sand them smooth with fine-grit sandpaper (220-grit) after drying, then wipe clean before applying paint.

- Step 3: Apply Two Coats of High-Quality Furniture Paint
Once your primer is fully dry, it’s time for the color! As emphasized in the materials section, using one of the paints I recommend for furniture is paramount. Quality paint makes a world of difference in adhesion, coverage, and the overall durability of your finished piece. Steer clear of standard latex house paint, as it’s not formulated for the wear and tear furniture experiences and is often the second major mistake DIYers make.
For a beautifully smooth finish, I strongly recommend using a dense foam roller for all large, flat surfaces. Roll with light, even pressure to avoid streaks and bubbles. Reserve your paintbrush for intricate details, edges, and areas inaccessible to the roller. Apply your first coat of paint, ensuring even coverage without over-applying. Allow this coat to dry completely according to the paint manufacturer’s instructions, which typically takes a few hours. Proper drying time between coats is key to achieving a hard, durable finish and preventing peeling.
After the first coat is dry, apply a second coat using the same technique. With high-quality furniture paint, two coats are usually sufficient to achieve full coverage and a rich color. However, if you’re painting a very dark color over a light base or vice-versa, or if you desire deeper saturation, an additional thin coat may be applied. Once your final coat is on, allow the paint to dry and cure fully. While it may be dry to the touch within hours, full curing can take anywhere from 24 hours to several days or even weeks, depending on the paint type and humidity. Avoid heavy use or stacking pieces until the paint has completely cured to prevent damage.
- Step 4: Consider Sealing for Added Protection (Optional but Recommended)
While many high-quality furniture paints (especially mineral or chalk paints) offer excellent durability on their own and may not strictly require a topcoat, adding a sealer provides an extra layer of protection and can enhance the longevity and finish of your piece. This step is particularly recommended for high-traffic furniture, such as coffee tables, desks, or items in children’s rooms.
You have several options for sealing:
- Wax: For a soft, matte, or slightly satin finish, furniture wax is a beautiful choice. It adds a lovely depth to the color and feels wonderful to the touch. I used Amy Howard At Home Light Antique Wax over my pink IKEA bookcases. Apply thinly with a wax brush or lint-free cloth, and buff to your desired sheen.
- Polycrylic or Polyurethane Topcoat: For maximum durability and a more robust protective layer, a water-based polycrylic or oil-based polyurethane is an excellent option. Water-based polycrylics, like Minwax Polycrylic, are typically non-yellowing, quick-drying, and suitable for lighter paint colors. Oil-based polyurethanes offer superior protection but can sometimes impart a slight amber tint, making them better suited for darker colors. Always ensure that your chosen topcoat is compatible with the type of paint you used to avoid adhesion issues or discoloration. Apply thin, even coats, allowing sufficient drying time between each.
Regardless of your choice, ensure your paint has fully cured before applying any sealer. This typically means waiting at least 24-48 hours after the final paint coat, or longer if the paint manufacturer recommends it.
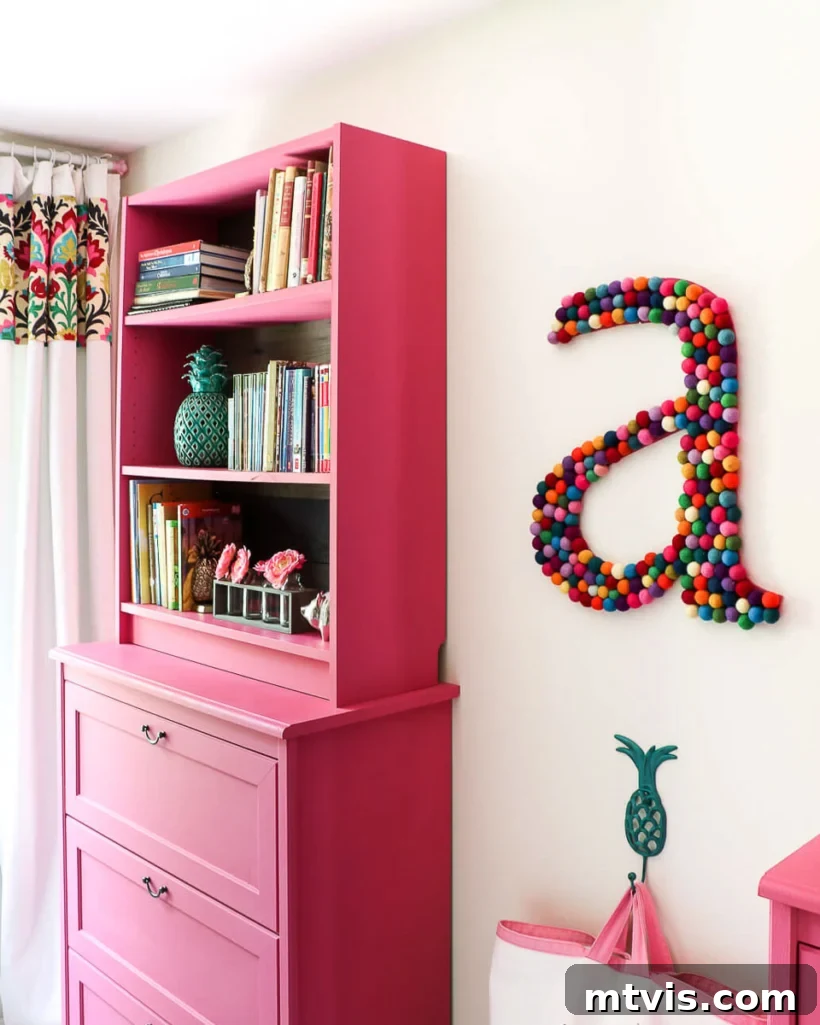
That’s truly all there is to successfully painting IKEA furniture and achieving results that not only look fantastic but also endure for many years to come! After allowing our freshly painted pieces to dry for over 24 hours, we stacked two 41-inch IKEA Billy bookcases on top of IKEA Aspelund chests of drawers. This clever arrangement instantly created the look of custom built-ins, but with significantly less work and expense. The transformation resulted in abundant storage for our daughters’ shared bedroom, and these vibrant pink pieces held up fabulously for several years.
When our girls eventually moved into separate bedrooms, I decided to refresh the bookcases with a deep purple hue. There was no need to re-prime them; I simply applied the high-quality paint directly over the existing pink finish. They continued to perform beautifully for another 18 months or so, until we moved and happily sold them on Facebook Marketplace, still in excellent condition!

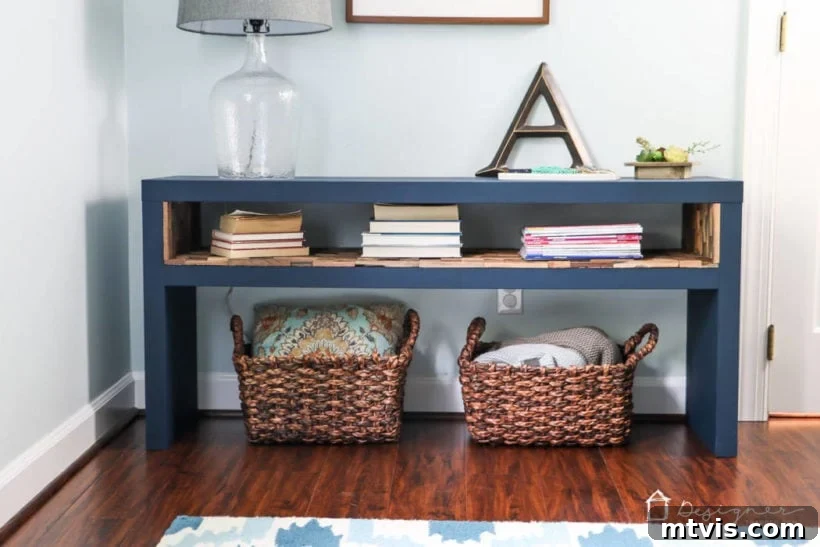
Over the years, I’ve applied this exact method to countless other pieces of IKEA laminate furniture, consistently achieving stunning and durable results. One of my favorite examples is this IKEA Lack Hack, which transformed a simple side table into a custom, high-end looking piece. I promise this technique works incredibly well, and I sincerely hope you’ll feel confident enough to give it a try yourself!
Frequently Asked Questions about Painting IKEA Furniture
It’s crucial to know the material of your IKEA piece before you begin painting. The easiest and most reliable way to check is to visit the official IKEA website. Search for your product name, then navigate to the “Product Details” section, followed by “Materials.” If you see terms like “particle board” combined with “acrylic paint” or “acrylic lacquer,” it indicates your furniture is made of laminate. Conversely, if your piece is solid wood, the materials list will specify “solid pine,” “solid birch,” “solid oak,” or similar solid wood descriptions. This quick check will confirm whether you need the special shellac-based primer.

Yes, absolutely! As long as you use a high-quality shellac-based primer, you can effectively paint your laminate IKEA furniture without the need for prior sanding. I have personally never sanded any of the numerous IKEA pieces I’ve transformed before applying the shellac primer, and my results have consistently been durable and beautiful. The shellac primer creates such a strong bond that sanding becomes an optional step rather than a mandatory one. That said, if you wish to go the extra mile, a light scuff sanding with fine-grit sandpaper (around 180-220 grit) before priming would certainly enhance adhesion even further. This is entirely up to your personal preference and willingness to invest additional effort. Additionally, a quick, light sanding with fine-grit sandpaper between paint coats can help achieve the smoothest possible finish, especially if you notice any minor imperfections or texture. While I haven’t always done this myself, it’s a technique many professionals use for an ultra-smooth result.
There are valid pros and cons to both approaches, and ultimately, it often comes down to personal preference and the specific furniture piece. Painting individual components before assembly can make it easier to reach every nook, cranny, and hidden edge, ensuring complete and even coverage. This can be particularly helpful for complex units with many shelves or internal compartments. However, painting before assembly often necessitates touch-up painting after the piece is put together, as assembly can cause minor scuffs or expose unpainted edges. In my experience, many of my IKEA pieces were already assembled and in use for years before I decided to paint them. For instance, with bookcases, I was able to remove the individual shelves for painting, making the process smoother. For larger, more complex pieces, painting after assembly often means taping off areas and working around the existing structure. Consider the shape of your furniture: for simple, flat pieces, painting after assembly might be just as easy, while intricate designs might benefit from painting individual parts. There’s no single right answer, so weigh the convenience of each option for your specific project.
Yes, you can use spray paint on IKEA laminate furniture, but the same crucial rule applies: you must use a shellac-based primer first! Just like with brush-on paint, direct spray paint application onto laminate will likely bead and peel without proper adhesion. Once primed, choose a high-quality spray paint designed for furniture or multi-surface use. Apply several thin, even coats, allowing adequate drying time between each, to prevent drips and achieve a smooth finish. Spray painting can be faster for certain pieces, but ensure you work in a well-ventilated area and protect your surroundings thoroughly.
With the proper shellac-based primer and high-quality paint, your painted IKEA furniture can last for many years! As illustrated with my Billy bookcases, they held up beautifully through multiple repaints and daily use in a child’s bedroom for several years before being sold still in excellent condition. The key is the initial bond created by the shellac primer, which prevents the paint from chipping or peeling. Once cured, the finish is remarkably durable. For items that see exceptionally heavy wear and tear, adding a topcoat (wax or polycrylic) will provide an extra layer of protection, further extending the life of your painted piece.
If you’re planning your own IKEA furniture painting project, be sure to save this post to Pinterest so you can easily refer back to these tips and tricks later!
More Paint Projects and Tips
EXPLORE ALL PAINTING GUIDES
-
9 Life-Changing Painting Hacks Everyone Should Know
-
How Durable are DIY Painted Kitchen Cabinets?
-
How to Paint Kitchen Cabinets (From a DIYer Who Has Done it 3 Times)
-
How Have Our Painted Countertops Held Up?
-
How to Paint IKEA Furniture and Mistakes to Avoid
-
How Much Paint Do I Need for My Room?
Curious about how I approach transforming rooms and spaces in our home from start to finish? Discover my step-by-step framework in Designer in a Binder® – your affordable and simple guide to decorating your home with confidence.
For exclusive content, behind-the-scenes sneak peeks, and fresh DIY inspiration delivered directly to your inbox, be sure to subscribe before you go!