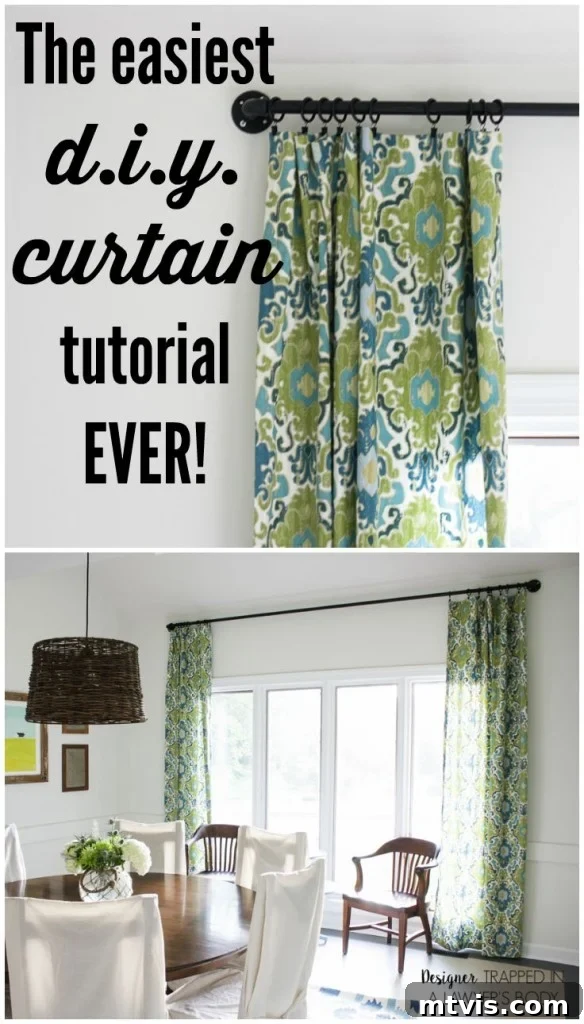
Unlock Your Inner Designer: Master the Art of Easy DIY Curtains
Hey there, fellow home decor enthusiasts! Have you ever found yourself on a seemingly endless quest for the perfect curtains? It’s a common dilemma, one I’ve certainly wrestled with in the past. You might fall in love with a particular design or fabric, only to discover it doesn’t come in the right length. (Seriously, why are 84-inch curtains so ubiquitous, leaving those with taller windows in a lurch?) Or perhaps you stumble upon panels with the ideal dimensions, but their price tag sends shivers down your spine, or the fabric just isn’t quite what you envisioned. It’s a frustrating cycle for anyone trying to create a cohesive and stylish living space.
But what if I told you there’s a simple, cost-effective, and incredibly rewarding solution? What if you could craft stunning, custom curtains that perfectly fit your windows, complement your decor, and reflect your personal style, all without breaking the bank or requiring advanced sewing skills? Well, you absolutely can! I’m here to guide you through making beautiful curtains the easy way, empowering you to transform any room in your home. Get ready to unleash your creativity and say goodbye to generic, ill-fitting window treatments. This post contains some affiliate links for your convenience. Click here to read my full disclosure policy.
My Journey to DIY Drapery: A Personal Anecdote
The inspiration for this project stemmed from a very real need in my own home. When we recently embarked on redecorating our dining room, I knew exactly what I wanted for the windows: elegant, floor-length panels measuring a generous 104 inches. I scoured countless stores, both online and brick-and-mortar, but my search for ready-made curtains in that specific, longer length proved fruitless. The options were either too short, too expensive, or made from fabrics that didn’t align with my vision for the space.
Just as I was about to give up hope, fate intervened. During a routine trip to Joann Fabrics to pick up supplies for a completely different project, I stumbled upon the most exquisite fabric. It was love at first sight! The pattern, the texture, the drape – everything about it was perfect. Despite my previous aversion to sewing (which, I confess, used to feel more like a chore than a hobby), I knew this was my chance. With my new sewing machine, a Christmas gift that has genuinely transformed my relationship with needle and thread, the idea of tackling a sewing project no longer filled me with dread. In fact, I was excited. So, I decided to go for it!
Simplicity is Key: The Beauty of Easy Curtain Design
True to my nature, and my usual approach to any DIY or sewing endeavor, I aimed for maximum impact with minimal complexity. My design philosophy for these curtains was as simple as possible: straightforward 1/2-inch hems on all four sides of each panel. I already knew I wanted to hang the curtains using drapery rings and clips, which conveniently eliminated the need to sew a rod pocket or intricate pleats. This decision alone significantly streamlined the entire process, making it accessible even for beginner sewers.
And here’s an even bigger secret: if you don’t own a sewing machine, or if the thought of operating one still feels intimidating, you can absolutely create these curtains without a single stitch! Simply opt for a high-quality iron-on hem tape, and you can “sew” your hems with nothing more than an iron. This no-sew method is incredibly effective, durable, and provides a beautifully clean finish, proving that gorgeous custom curtains are within everyone’s reach, regardless of their crafting skill level.
The Golden Rule of Curtain Hanging: Elevate Your Windows!
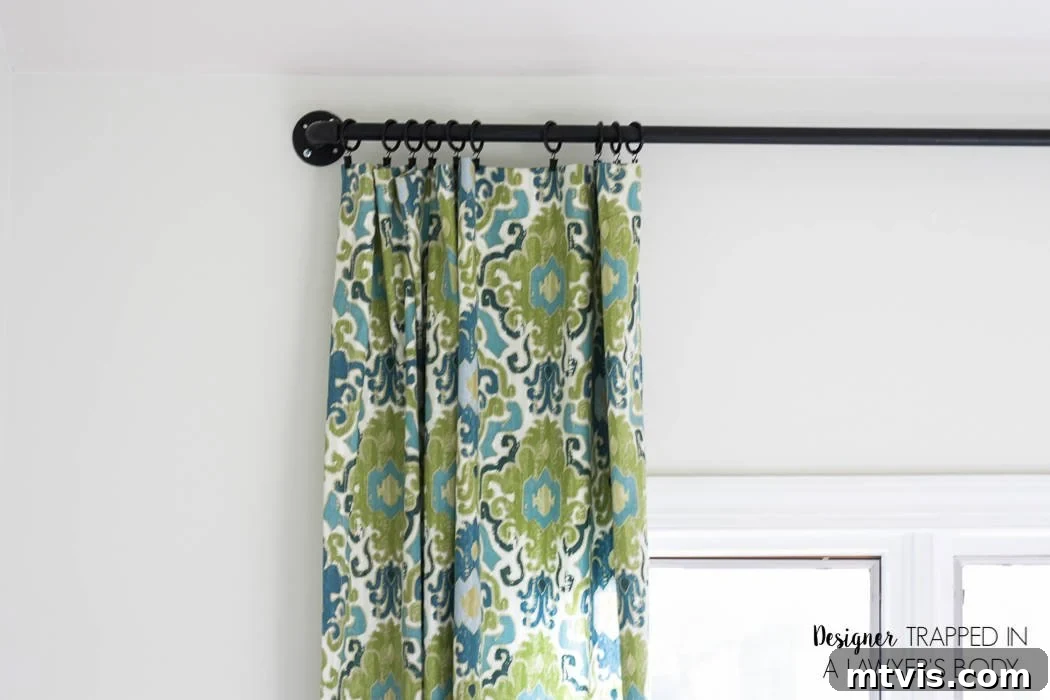
* A quick, but crucially important, note before we dive into the step-by-step tutorial. This is a fundamental principle of interior design that can dramatically impact the perceived size and elegance of your windows and room. I FIRMLY believe that curtains should always be hung as close to the ceiling as possible, and they should extend beyond the outer frame of the window. Why? Because this simple trick makes your windows appear significantly larger and taller, instantly adding a sense of grandeur and sophistication to your space. Avoid the common mistake of hanging your curtains directly on the window frame or just barely above/beside it – you’ll inadvertently make your windows look smaller and your ceilings lower. Embrace the high and wide approach for maximum visual impact! *
Gather Your Essentials: Supplies Needed for DIY Curtains
Before you begin, ensure you have all the necessary materials on hand. Having everything organized will make your curtain-making process smooth and enjoyable:
- Fabric: This is where your personality shines! As I mentioned, I found my perfect fabric at Joann Fabrics. When selecting yours, consider the width of the fabric bolt – standard widths are often 44″ or 54″. For my project, I used 54-inch wide fabric. To determine how much fabric you need, measure the desired finished length of your curtain panels (remembering the “hang high” rule!), then add extra for top and bottom hems. For my 104-inch long panels, I purchased 6 yards of fabric per pair, which allowed for two panels and generous hems. Always buy a little extra to account for any errors or pattern matching.
- Drapery Rings and Clips: These are essential for the easy hanging method we’re using. These drapery rings and clips are not only functional but also add a decorative touch. Ensure you have enough clips to space them evenly across the top of your curtain panel, typically every 4-6 inches.
- Sewing Machine and Thread OR Iron-On Hem Tape: Choose your preferred method! If you’re sewing, you’ll need a sewing machine with a basic straight stitch function and coordinating thread. This is my exact sewing machine – and I can’t recommend it enough! It’s incredibly user-friendly and consistently produces beautiful stitches, making sewing a joy rather than a chore. If you opt for the no-sew route, purchase a high-quality iron-on hem tape that is suitable for your fabric type.
- Sharp Scissors: A good pair of fabric scissors will make cutting your fabric clean and straight.
- Iron and Ironing Board: An iron is indispensable for pressing your fabric and creating crisp, professional-looking hems, whether you’re sewing or using hem tape.
- Measuring Tape or Ruler: For accurate measurements of your fabric and hems.
- Pins (optional, but recommended for sewing): To hold hems in place before sewing.
How to Make Curtains: Your Step-by-Step Tutorial
Now, let’s get down to the fun part! Follow these simple steps to create beautiful, custom curtains for your home. Remember, precision in ironing is your best friend for a professional finish.
Step 1: Preparing and Cutting Your Fabric Panels
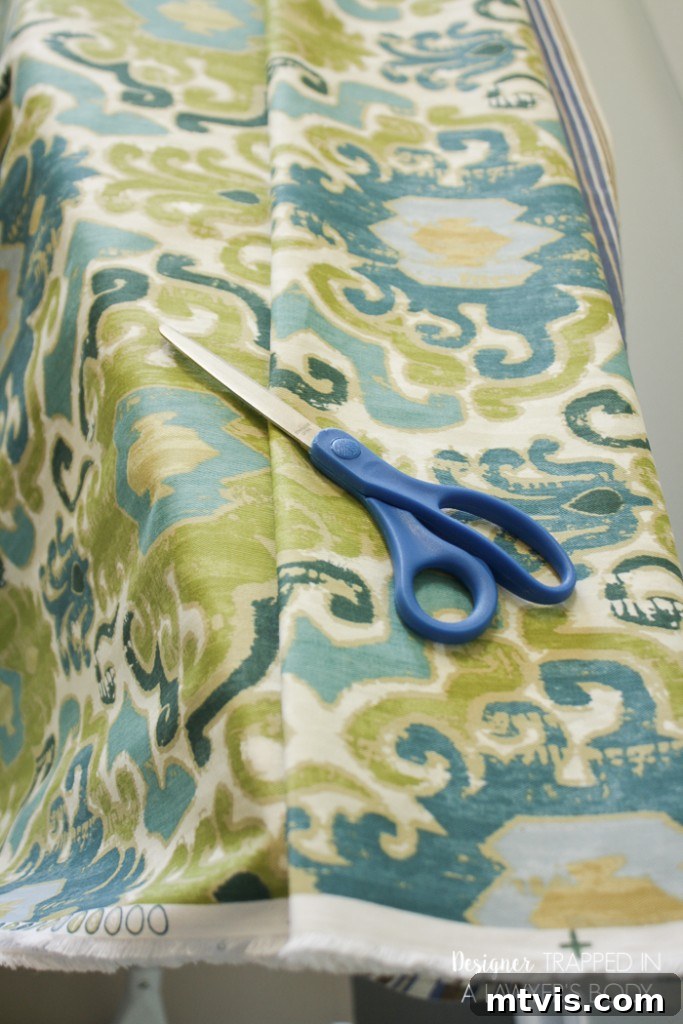
Before you cut, it’s a good idea to pre-wash and dry your fabric according to its care instructions. This prevents any shrinkage after your curtains are made. Once dry, press the fabric thoroughly to remove all wrinkles. Since my two panels needed to be identical in size (104 inches long), I found the easiest way to ensure consistency was to fold my entire length of fabric in half lengthwise, carefully aligning the selvage edges. This created a perfectly straight guide for my cut. Then, I simply cut along the fold, yielding two perfectly matched panels. If your fabric has a directional pattern, be sure to account for that when folding and cutting to ensure the pattern faces the correct way on both panels.
Step 2: Creating Flawless Double-Fold Hems
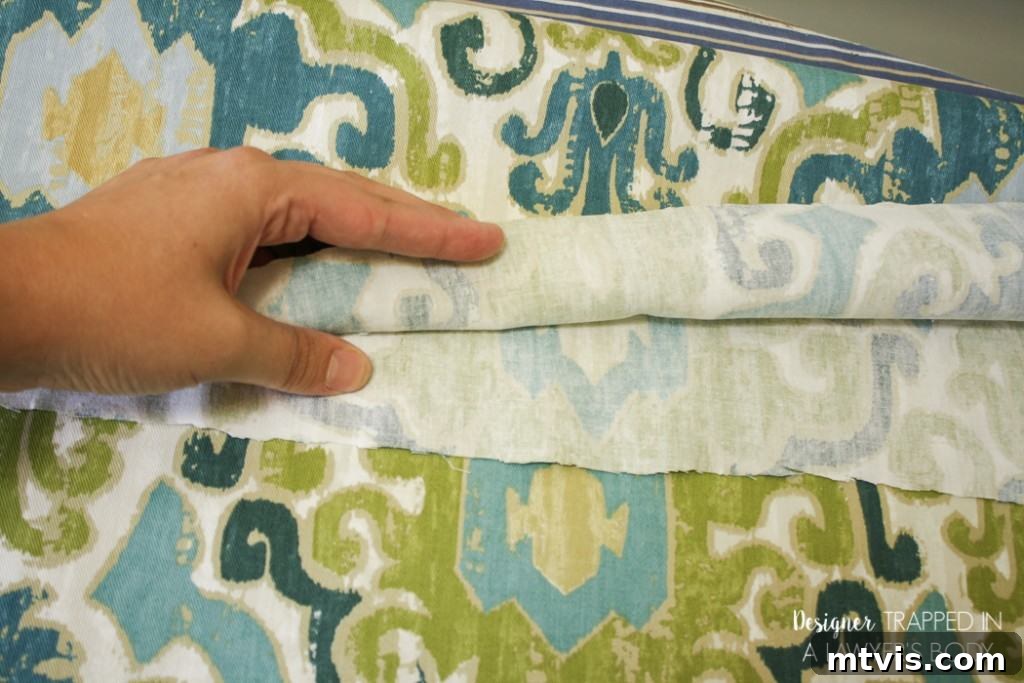
This step is crucial for achieving a clean, professional finish and preventing your fabric from fraying. Begin by taking one of your fabric panels and lay it flat on your ironing board. Fold one raw edge of your panel over by approximately 1/2 inch towards the wrong side of the fabric. Press this fold flat with your iron, creating a crisp crease. This first fold encloses the raw edge, making your hem neat.
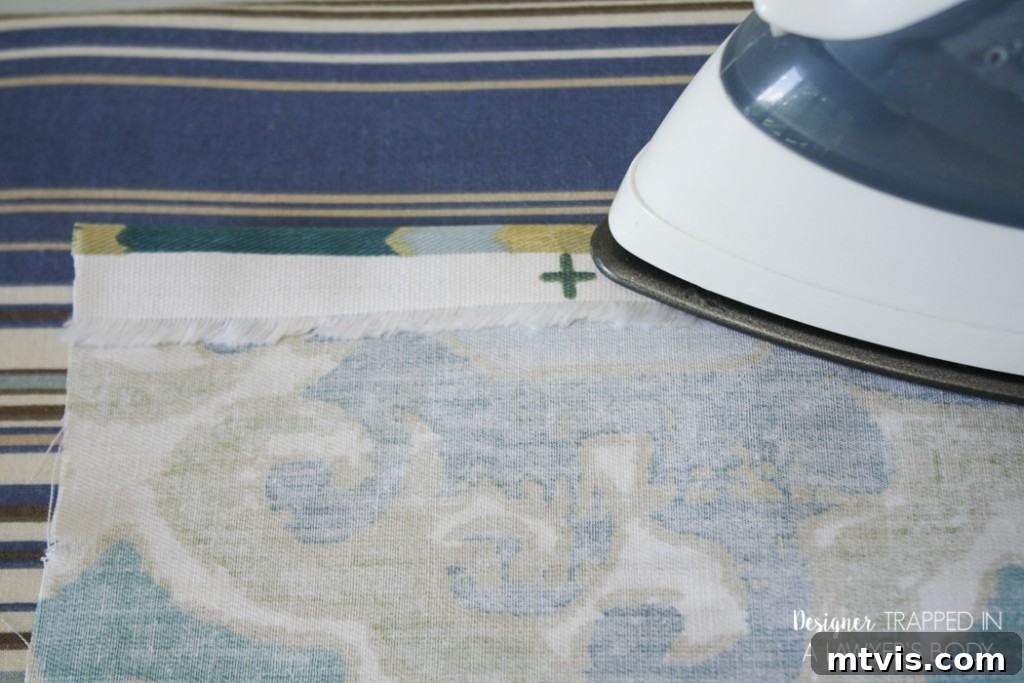
Next, fold the already pressed edge over again by another 1/2 inch. Press this second fold flat as well. This creates a beautifully finished edge with no raw fabric showing. This double-fold technique is the secret to durable, elegant hems. Take your time with the ironing; a well-pressed hem is much easier to sew (or tape!) straight. Complete this double-fold ironing process for both of the long vertical edges of your curtain panel first. This establishes the side hems and helps define the overall width of your finished curtain.
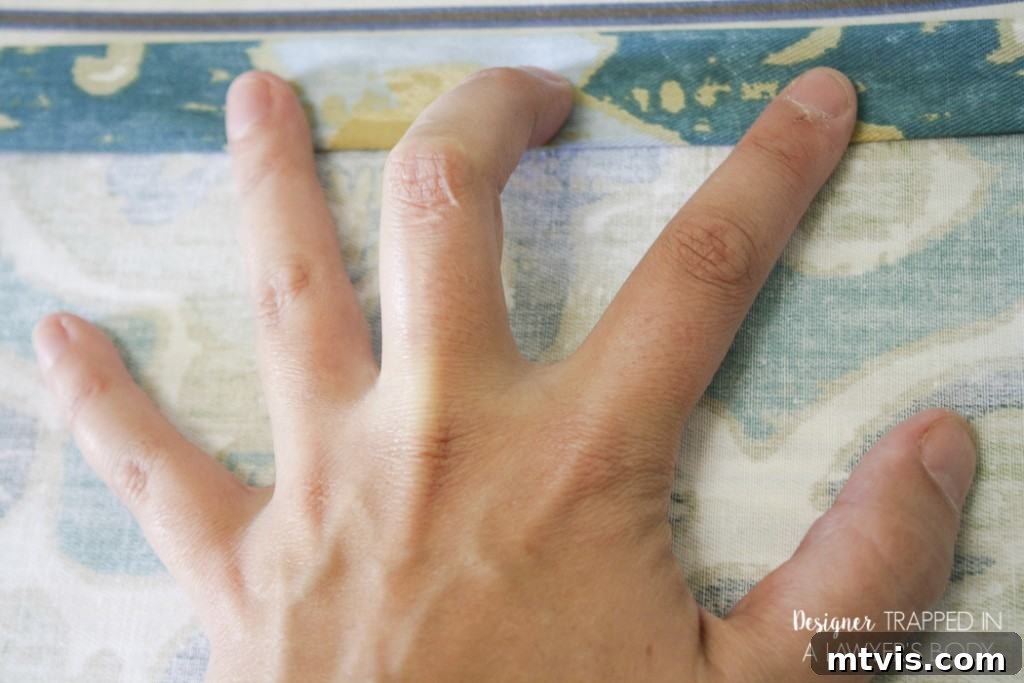
**Important Note for No-Sew Curtains:** If you are using iron-on hem tape, you will integrate it into this step. After making your second fold (the one that creates the finished edge), carefully place the hem tape underneath this fold, ensuring it runs along the entire length of the hem. Then, following the specific instructions on your hem tape package regarding iron temperature and pressing time, iron the hem flat. The heat from the iron will activate the adhesive, permanently bonding the hem in place. Work in sections if needed to ensure a strong, even bond.
Step 3: Securing the Side Hems (Sewing or Taping)
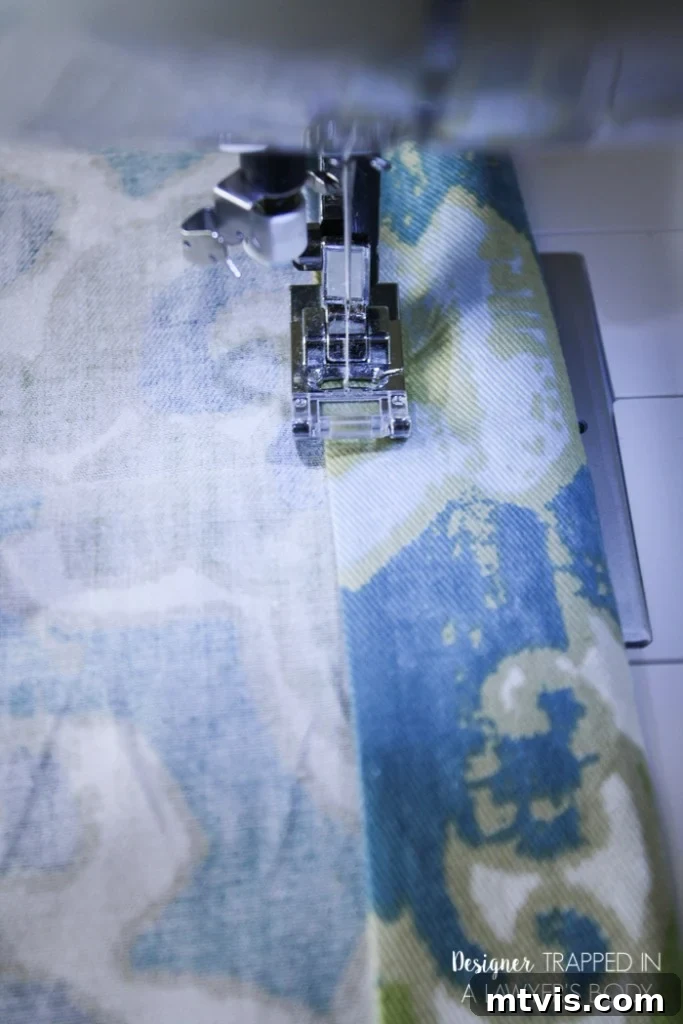
Once your two long edges are perfectly ironed and folded, it’s time to secure them. If you are sewing, use a basic straight stitch on your sewing machine to sew along the inner edge of your pressed hem. Be sure to backstitch at the beginning and end of each seam to reinforce it. A stitch length of 2.5-3mm is generally suitable for most fabrics. Try to keep your stitches as straight as possible, running close to the inner folded edge for a clean, professional look. If you are using iron-on hem tape, your side hems are already secured from Step 2!
Step 4: Finishing the Top and Bottom Edges
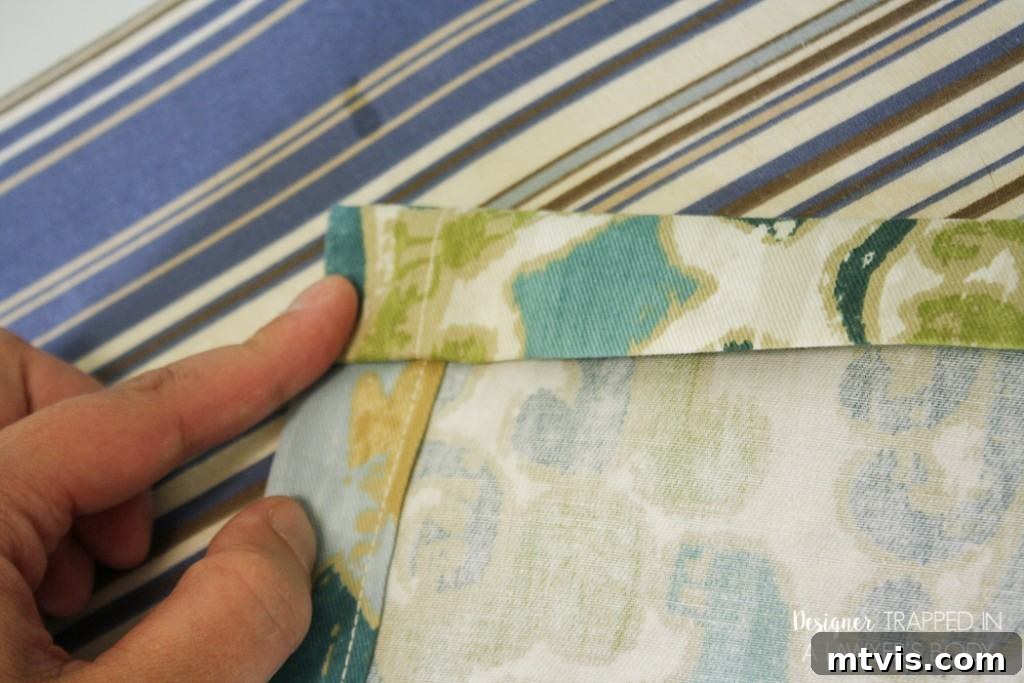
With your side hems completed, repeat steps 2 and 3 for the top and bottom edges of your curtain panel. Again, precision is key. Measure your 1/2-inch folds carefully, press them flat, then fold over again and press to create that double-fold, finished edge. Whether you’re sewing or using hem tape, ensure these hems are just as neat and straight as your side hems. The top hem will be where your drapery clips attach, so a sturdy, even finish here is important. The bottom hem provides a weighted, polished look to the curtain, so pay attention to making it perfectly straight across.
Step 5: Attach Clips and Hang Your Masterpiece!
Congratulations, your curtain panels are now complete! The final step is to add your drapery clips. Space the clips evenly across the top finished hem of each panel. A good rule of thumb is to place them every 4-6 inches, or closer together for a more gathered, luxurious look. Simply clip them onto the fabric, ensuring they are securely fastened. Once all the clips are attached, you can effortlessly hang your beautiful new panels onto your curtain rod using the rings. Step back and admire your handiwork – you’ve just created custom window treatments that elevate your entire room!
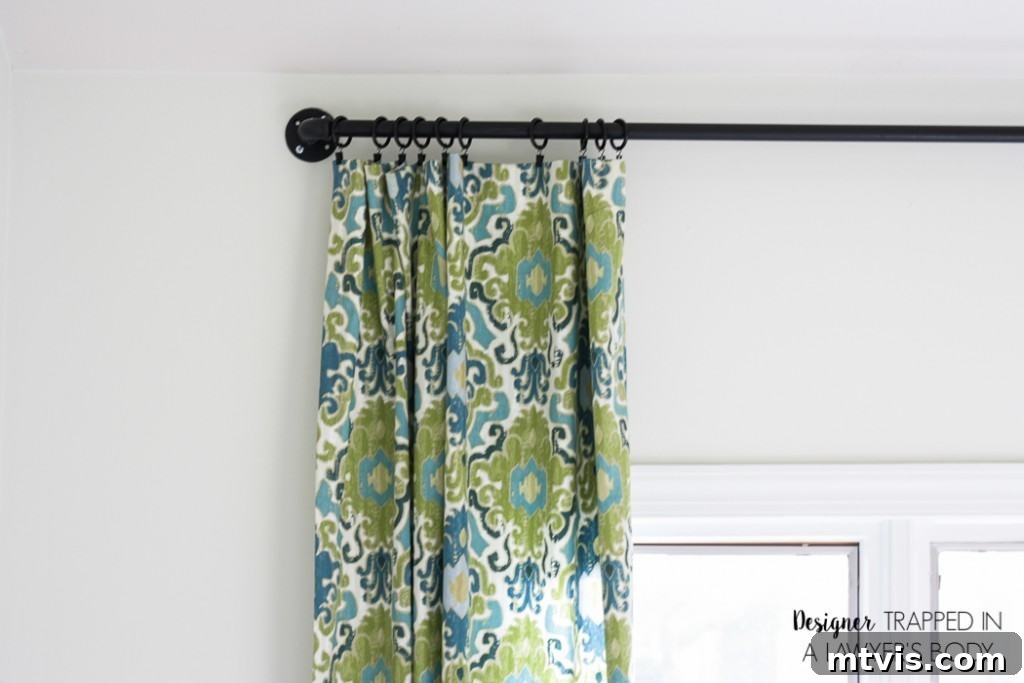
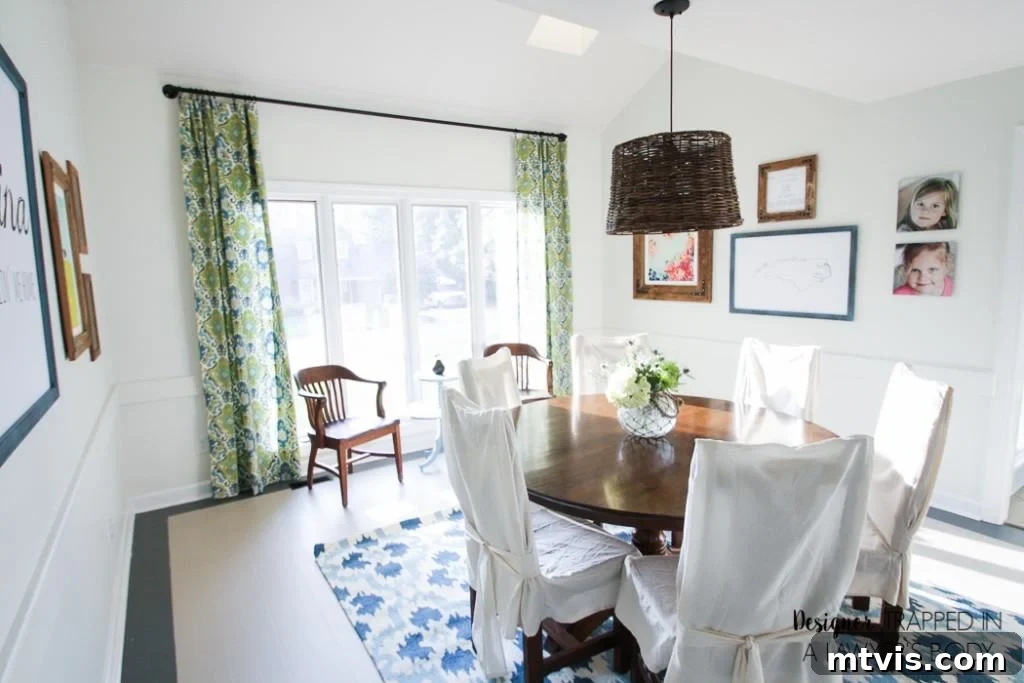
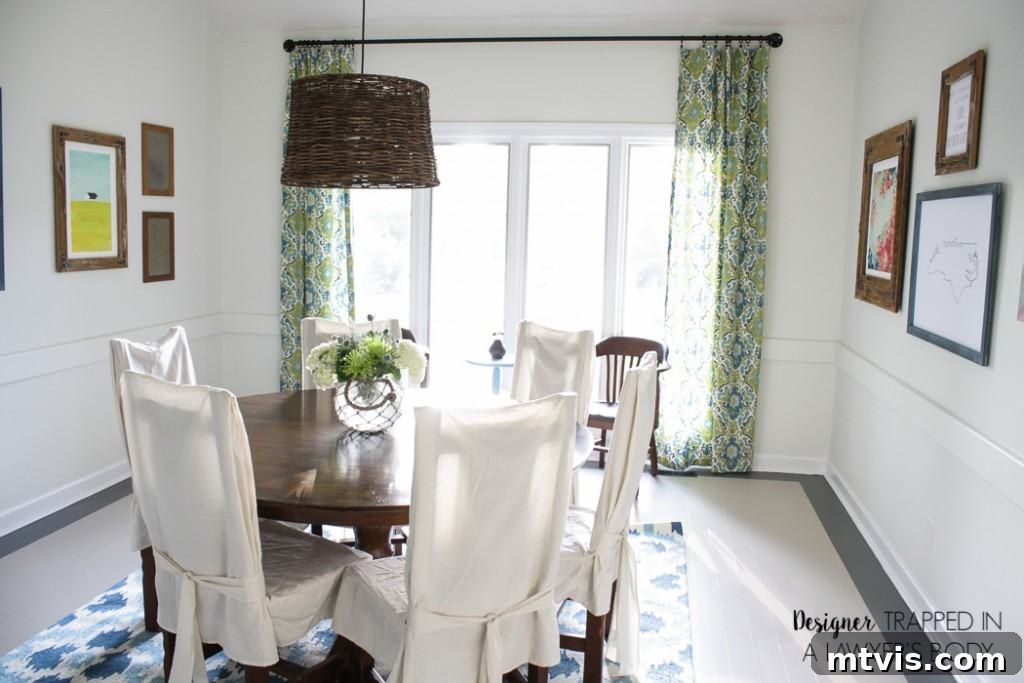
The Reward: Stunning Curtains at an Unbeatable Price
See? That wasn’t so bad at all, was it? In fact, it was quite straightforward! For my dining room, I was able to create these gorgeous, extra-long curtain panels for approximately $60.00 for the pair. Given the custom length and high-quality fabric, that’s an incredible deal compared to what you’d pay for similar ready-made options. The satisfaction of knowing you created them yourself, perfectly tailored to your space, is truly priceless.
What do you think? Do you feel empowered to tackle this project? I hope this tutorial has demystified the process of making curtains and given you the confidence to try it. It’s a fantastic way to add a personal touch to your home decor and save money in the process!
Continue Your DIY Journey: More Inspiring Home Projects
Before you head off to select your fabric, be sure to explore all the beautiful details of our dining room makeover for more inspiration. If you enjoyed this curtain project and are eager for more creative home decor ideas, you’ll love these other popular tutorials:
|
|
|
|