
Thank you to DAP Products for sponsoring this post. As always, the opinions and text are all mine.
Revitalize Your Home: A Comprehensive Guide to Removing and Replacing Caulk
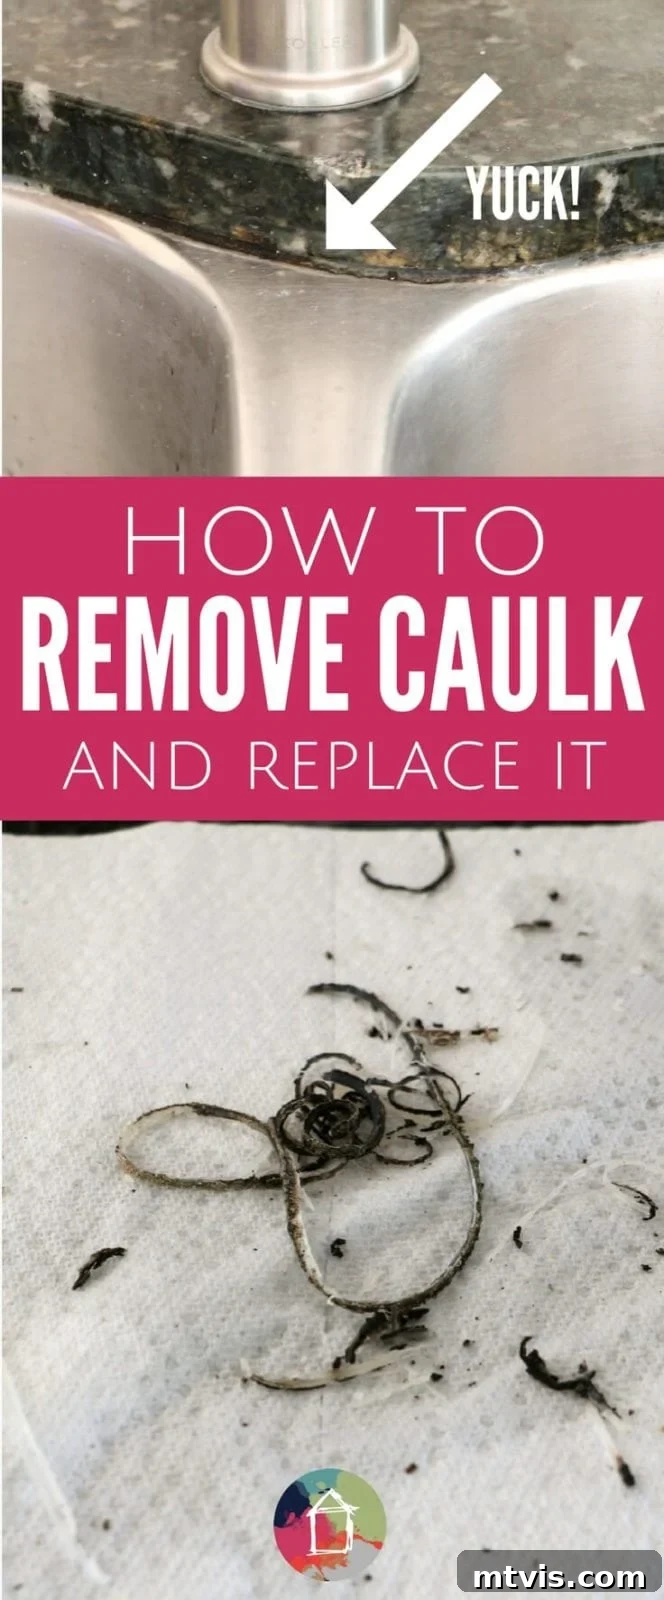
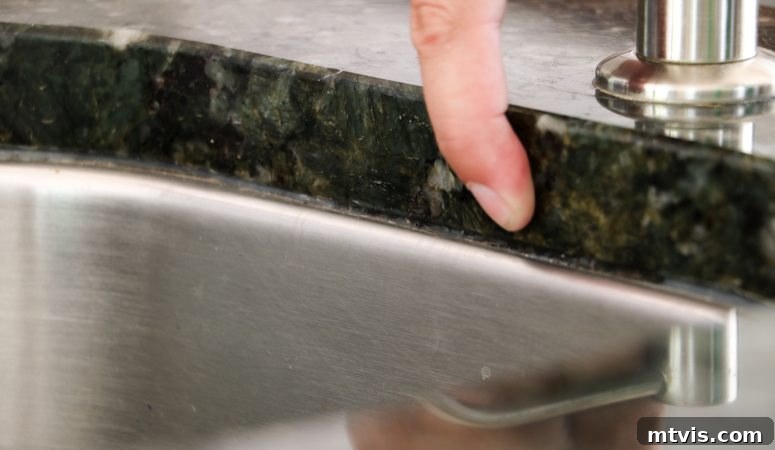
There’s a secret lurking in many homes that even the tidiest residents might overlook: the humble caulk around sinks, tubs, and showers. It’s often out of sight, out of mind, until one day, you take a closer look and realize it’s become a moldy, discolored, and frankly, disgusting mess. If this sounds familiar, you’re not alone. We pride ourselves on keeping a clean home, but the caulk around our under-mount sinks had fallen into disrepair, becoming an unsightly breeding ground for mildew. It was high time for a refresh, which meant tackling the seemingly daunting task of removing the old caulk and applying a fresh, clean seal.
The good news? This essential home maintenance task is far less intimidating than it appears. In fact, learning how to remove caulk is surprisingly easy, especially when you have the right tools and a clear, step-by-step guide. Today, we’re going to walk you through the entire process, from scraping away the old sealant to expertly applying a new, long-lasting bead. Get ready to transform your kitchen and bathroom surfaces and enjoy a healthier, more aesthetically pleasing environment.
The Embarrassing Truth: Why Old Caulk Needs Replacing
Before we dive into the nitty-gritty of caulk removal, let me show you what prompted this necessary renovation. We have two sinks in our kitchen – a main sink and a smaller prep sink on the island. Unfortunately, both suffered from the same unsightly caulk problem. Take a look at these “before” photos:
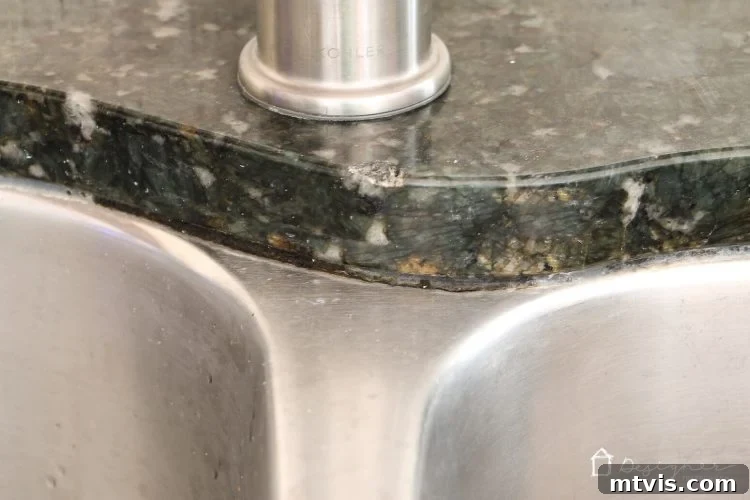
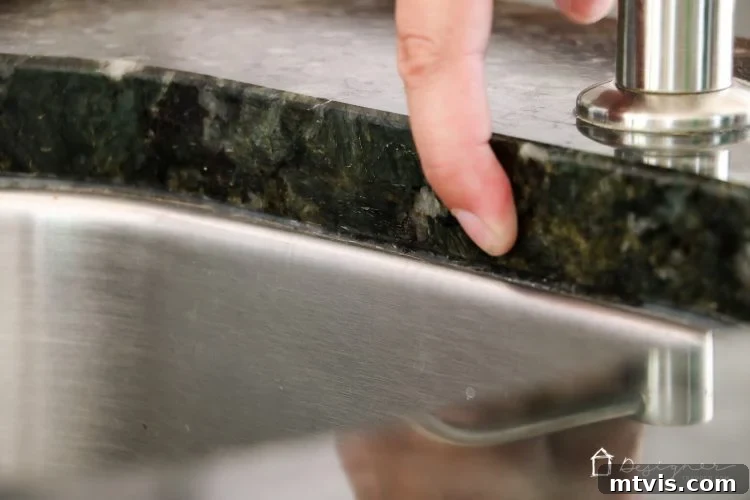
You can probably see why these images are a bit embarrassing to share! However, it’s crucial to be transparent because this is a common issue many homeowners face. Old, cracked, or moldy caulk isn’t just an eyesore; it’s a potential harbinger of more serious problems, including water damage and persistent mildew growth. If your caulk looks anything like this, it’s a clear signal that it’s time for a refresh. Don’t worry, with our guide, you’ll learn exactly how to remove caulk and replace it, restoring beauty and protection to your surfaces.
This post contains some affiliate links for your convenience (which means if you make a purchase after clicking a link I will earn a small commission which helps keep my blog up and running but it won’t cost you a penny more)! Click here to read my full disclosure policy.
Understanding Why Caulk Fails and Why Fresh Caulk Matters
Before delving into the how-to, it’s beneficial to understand why caulk deteriorates in the first place. Caulk, while incredibly durable, isn’t immortal. Over time, constant exposure to moisture, temperature fluctuations, and everyday wear and tear can cause it to crack, shrink, and lose its adhesion. This creates tiny gaps where water can seep in, leading to the dreaded mold and mildew growth you saw in our “before” photos. Beyond aesthetics, compromised caulk can lead to:
- Water Damage: Water seeping behind sinks or into wall cavities can cause structural damage, rot, and encourage pest infestations.
- Mold and Mildew Growth: These aren’t just ugly; they can also pose health risks, particularly for those with allergies or respiratory sensitivities.
- Reduced Hygiene: Cracked caulk traps dirt, soap scum, and grime, making cleaning more difficult and less effective.
- Unattractive Appearance: Fresh, clean caulk instantly brightens and modernizes any kitchen or bathroom, providing a crisp, professional finish.
Replacing old caulk is a simple yet impactful home improvement project that addresses these issues, protecting your home and enhancing its cleanliness and curb appeal.
Materials Needed for Your Caulking Project:
- Caulk Removal Tool (a dedicated tool makes this job significantly easier; we used a trusty one we’ve had for years).
- Paper towels or clean rags.
- DAP Kwik Seal Ultra (This is our top recommendation for kitchen and bathroom applications due to its superior performance. Learn from our previous mistake with bathroom caulking here).
- Rubbing alcohol.
- Household bleach.
- Cleaning brush or an old toothbrush.
- Caulk gun.
- Utility knife (to open caulk tube).
- Bucket or plastic bag (for old caulk disposal).
- Optional: Painter’s tape (for crisp lines, especially for beginners).
- Safety gloves and eye protection.
Step-by-Step Guide: How to Remove Old Caulk
Removing old caulk is the most critical first step, and it sets the stage for a perfect new seal. Don’t rush this part!
Phase 1: Old Caulk Removal
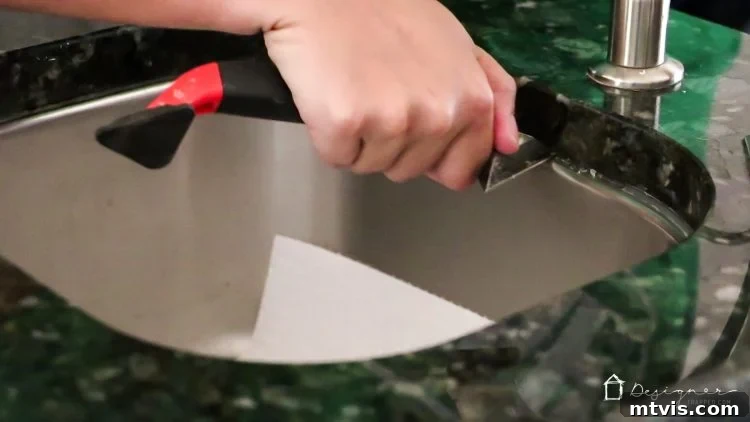
1) Scrape Away the Old Sealant with Precision: The dedicated caulk removal tool is your best friend here. These tools are designed with specific angles and blades to get under and lift old caulk without damaging your surfaces. Position the tool firmly against the old caulk line and push or pull along the seam, carefully scraping it out of the joint. For sinks, we recommend placing drain stoppers and lining the bottom of the basin with paper towels. This prevents chunks of old, potentially moldy caulk from falling into your plumbing and causing future blockages. Work methodically, section by section, ensuring you remove as much of the old material as possible.
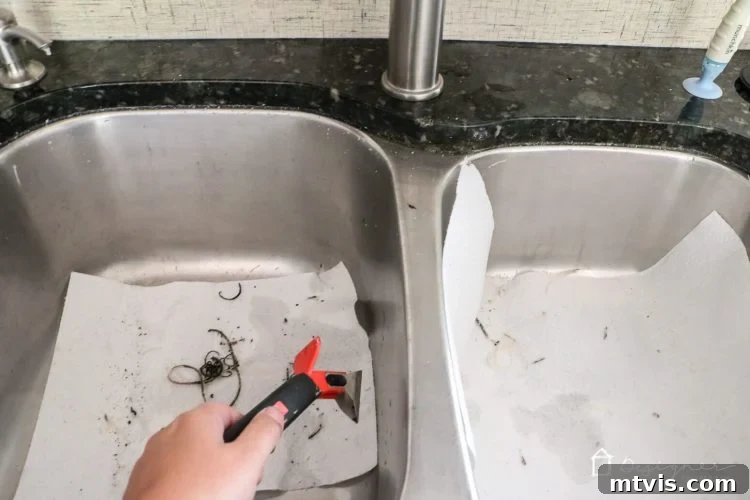
2) Thoroughly Scrub Away Remaining Residue: After the main strips of caulk are removed, you’ll likely find stubborn bits and adhesive residue still clinging to the surface. Do not skip this step! Use a smaller scraping edge of your tool or a stiff cleaning brush (an old toothbrush works wonders for tight corners) to scrub away any lingering fragments. The cleaner the surface, the better the new caulk will adhere. Patience here pays off immensely.
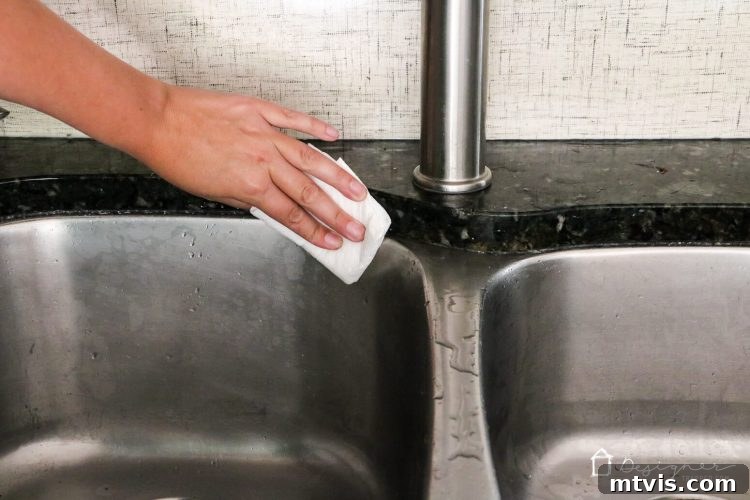
3) Clean with Rubbing Alcohol for Optimal Adhesion: Once the visible caulk is gone, it’s time to prep the surface for new application. Dampen a paper towel or clean rag with rubbing alcohol and wipe down the entire joint. Rubbing alcohol is excellent for removing grease, soap scum, and any fine residue that could hinder proper adhesion. It also evaporates quickly, leaving a perfectly clean and dry surface.
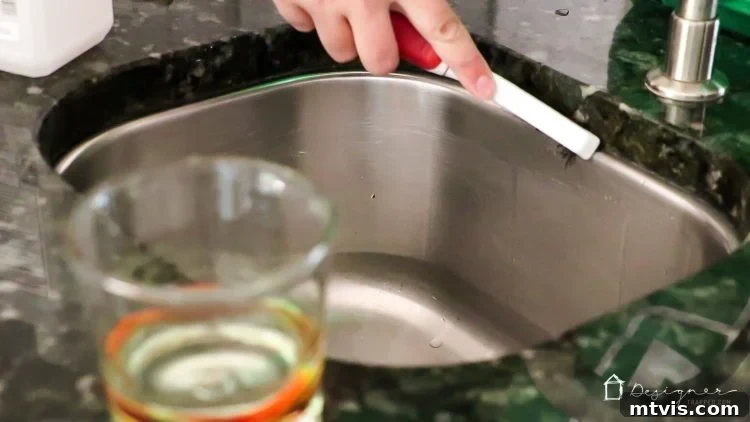
4) Sanitize with a Diluted Bleach Mixture: To ensure that any lingering mold or mildew spores are completely eradicated, follow up with a diluted bleach solution. Mix about 1 part bleach to 10 parts water. Apply this mixture to the joint with a brush or sponge, letting it sit for a few minutes (check bleach product instructions for specific dwell times). This step is crucial for preventing mold and mildew from returning under your fresh caulk. Remember to wear gloves and ensure good ventilation when working with bleach. Rinse the area thoroughly with clean water afterward and allow it to dry.
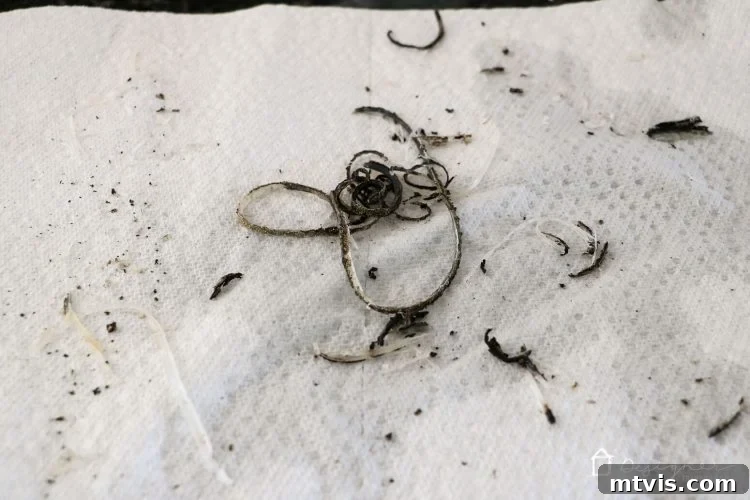
And before we move on, just take a moment to appreciate the sheer quantity of “grossness” (yes, that’s definitely a word when describing old caulk!) that was removed from our sinks. It’s a testament to how much hidden grime can accumulate!
Applying the New Caulk: Steps for a Perfect, Long-Lasting Seal
With the old caulk removed and the surface meticulously cleaned, you’re ready for the rewarding part: applying the new, sparkling fresh caulk. This phase requires attention to detail, but the results are incredibly satisfying.
Phase 2: New Caulk Application
5) The Critical Step: Ensure Complete Dryness: This is arguably the most important step for long-lasting caulk. The joint you are about to caulk must be completely and absolutely bone-dry before you apply any new caulk. Applying caulk over even slightly damp surfaces will severely compromise its adhesion and lead to premature failure, peeling, and mold regrowth. Allow ample time for the area to air dry – ideally several hours, or even overnight if humidity is high. You can use a fan to speed up the process. Once fully dry, prepare your caulk gun and your chosen caulk.
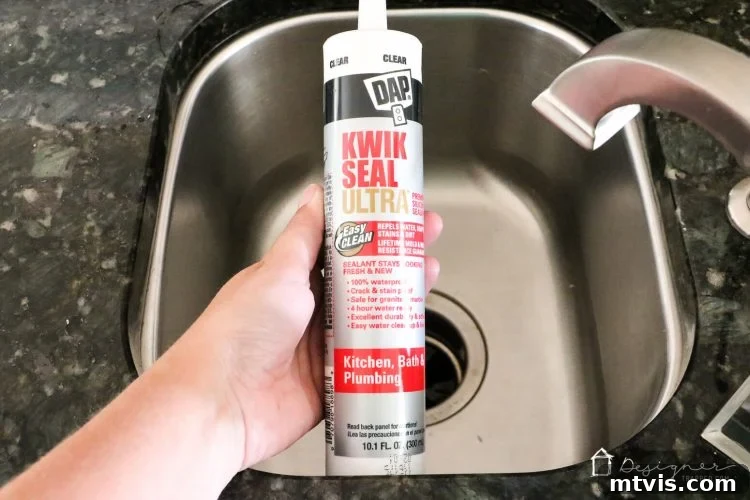
Choosing Your Caulk: Why DAP Kwik Seal Ultra is Our Go-To: We highly recommend DAP Kwik Seal Ultra for kitchen and bathroom applications. This product stands out for several reasons:
- Advanced Adhesion: It provides a strong, durable bond to most surfaces.
- Water Ready in Hours: Unlike some caulks that require 24-48 hours before water exposure, DAP Kwik Seal Ultra is water-ready in just 4 hours, a huge convenience!
- Mold and Mildew Resistance: It comes with a lifetime mold and mildew resistance guarantee, crucial for wet environments.
- Repels Dirt and Soap Scum: Its innovative formula helps keep surfaces cleaner longer, resisting common bathroom and kitchen grime.
- Goes on White, Dries Clear: This feature is fantastic! You can easily see exactly where you’re applying the caulk as you work, but it dries to a clear, discreet finish, ensuring a clean look without visible white lines.
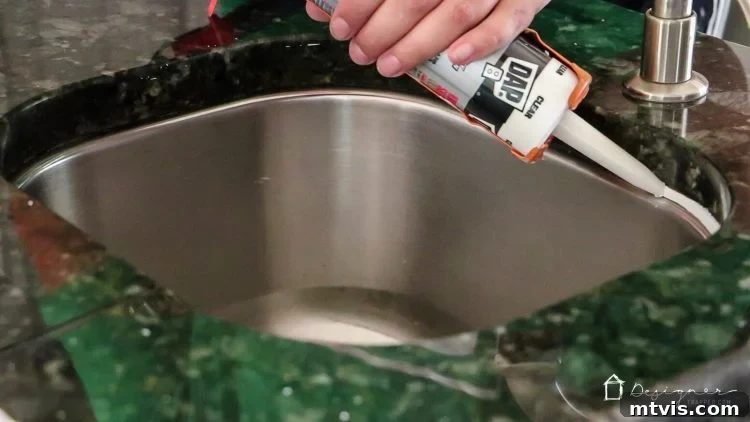
Applying the Bead: Load your caulk tube into the caulk gun and cut the tip at a 45-degree angle, making an opening just slightly smaller than the bead you intend to apply. For a clean, professional finish, consider applying painter’s tape along both sides of the joint, leaving only the gap to be caulked exposed. Then, apply a steady, even bead of DAP Kwik Seal Ultra along the entire joint. Maintain consistent pressure on the caulk gun trigger and move at a steady pace. Aim for a continuous, smooth line.
6) Smoothing the Caulk and Curing Time: Once the caulk is applied, you have a short window (usually a few minutes) to smooth the bead. You can use a wet finger, a specialized caulk smoothing tool, or even a damp sponge. Gently run it along the bead to create a smooth, concave finish, removing any excess. If you used painter’s tape, carefully peel it away immediately after smoothing the caulk, before it begins to skin over. This will leave you with incredibly crisp, straight lines.
After smoothing, it’s crucial to respect the recommended drying time. As mentioned, DAP Kwik Seal Ultra is water-ready in only 4 hours, which is a significant advantage. However, while it can be exposed to moisture after this period, it takes a few days for the caulk to fully cure and achieve its maximum strength and clarity. During this time, try to avoid harsh scrubbing or heavy impact on the newly caulked areas. Its advanced formula also repels dirt and soap scum, resists stains, and has a lifetime mold and mildew resistance guarantee, ensuring your surfaces stay cleaner and healthier for longer.
The Transformation: Enjoying Your Refreshed Space
It takes just a few days for the caulk to fully cure and turn completely clear, revealing the stunning transformation. The difference is truly remarkable! Our sinks look SO much better now – clean, crisp, and brand new. Beyond the aesthetics, we have the peace of mind knowing that we have a strong, reliable seal that will protect our surfaces from water infiltration and inhibit mold and mildew growth. The old caulk was not only unsightly but also showed signs of cracking, which is a clear indicator that replacement is needed, regardless of whether mold is present.
This DIY project is a perfect example of how a relatively small amount of effort and the right materials can make a significant impact on the look and longevity of your home. You’ve learned how to remove caulk and how to replace it, gaining a valuable skill that will serve you well for years to come.
So there you have it! Don’t let unsightly, failing caulk detract from your beautiful home any longer. Armed with this comprehensive guide, you have everything you need to tackle this project yourself and achieve professional-looking results. Enjoy your revitalized kitchen and bathroom spaces!
