
Unlock High-End Finishes on a Budget: The Ultimate DIY Faux Gold Transformation with Rub N Buff
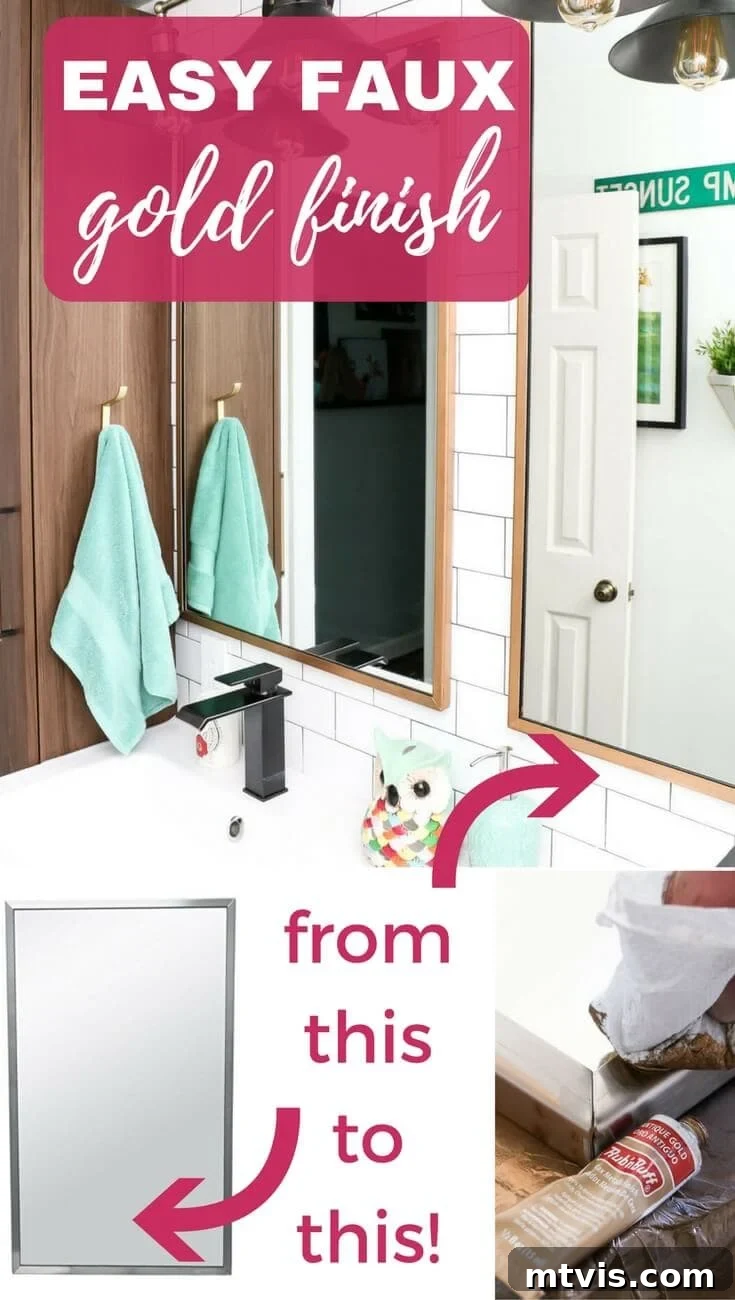
Are you dreaming of elegant, rich gold accents in your home but cringing at the exorbitant price tags? You’re not alone! Achieving a luxurious, high-end look often comes with a hefty cost, especially when it comes to decorative items like mirrors and hardware. However, what if I told you there’s a simple, budget-friendly DIY secret that can transform ordinary pieces into stunning gold masterpieces in mere minutes? Forget expensive decorator stores or flimsy metallic spray paints that chip and peel. Today, we’re diving into the magic of Rub N Buff to create a gorgeous faux gold finish that looks incredibly expensive without breaking the bank.
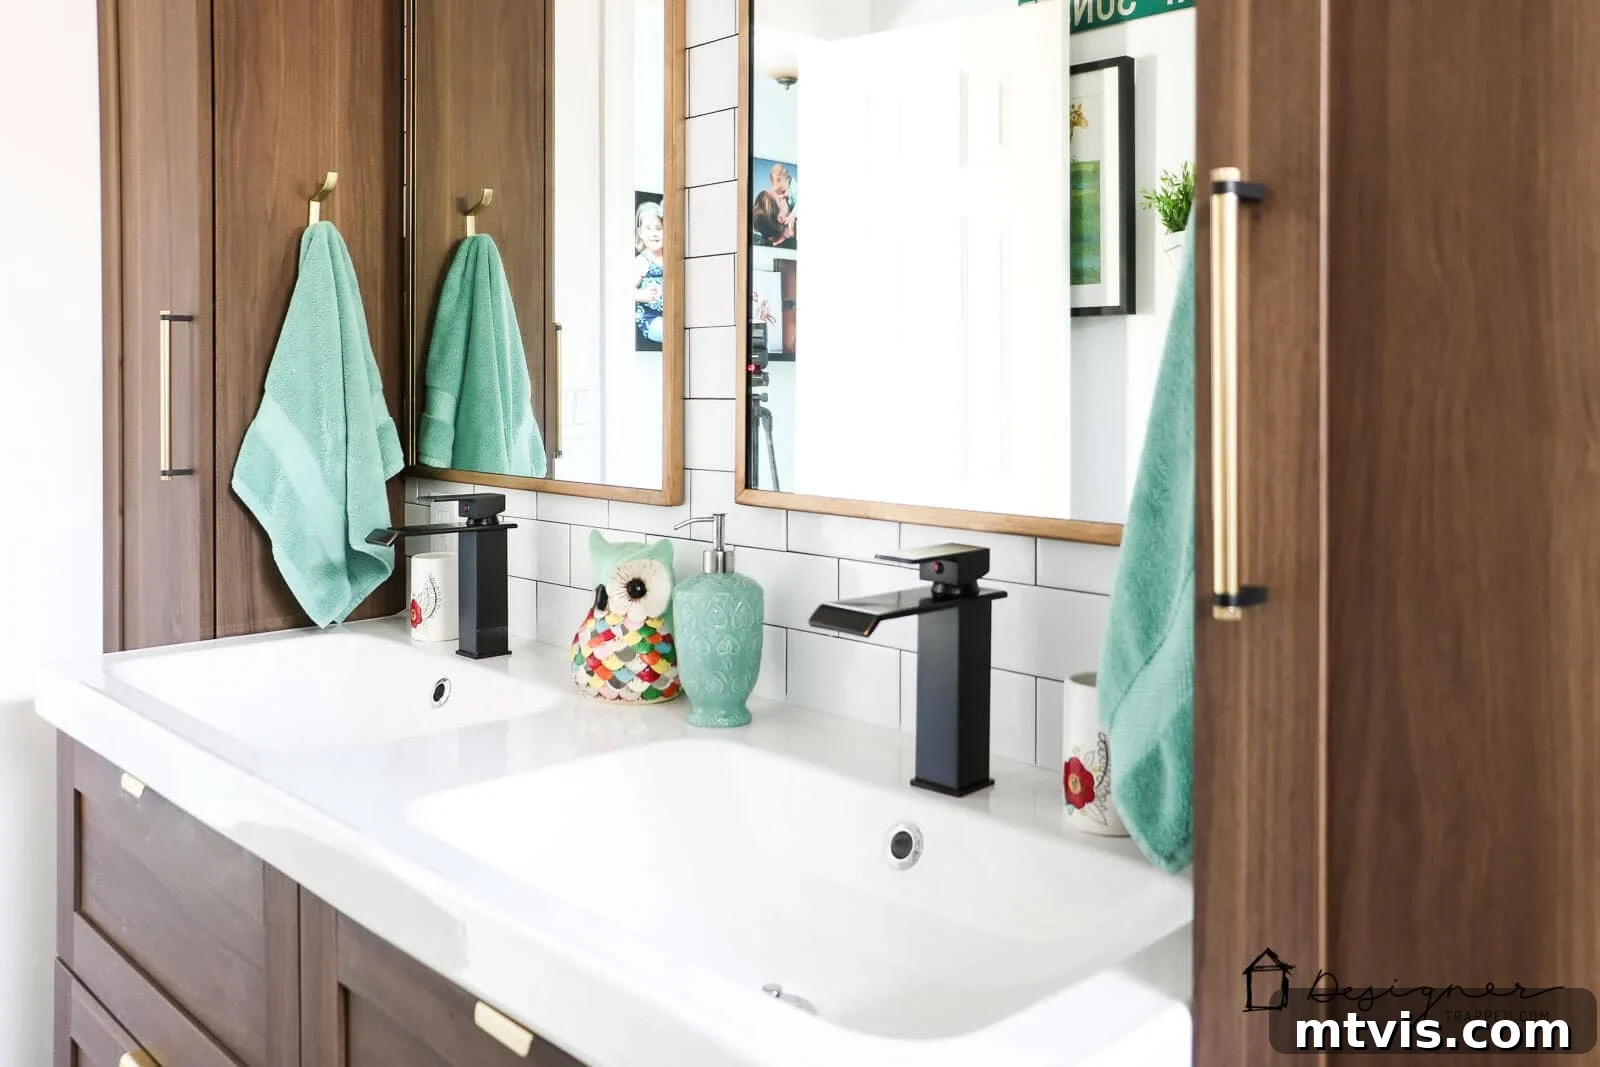
My own journey to discover this amazing product began during a recent renovation of our twin girls’ bathroom. As I scoured stores for the perfect mirrors, I found myself captivated by the allure of beautiful, gleaming gold options. They offered a touch of sophistication and warmth that I knew would elevate the entire space. The only problem? Their prices were astronomical! Mirrors themselves can be quite an investment, and adding a designer gold frame seemed to push our renovation budget far beyond its limits. I was determined to achieve that desired aesthetic without compromising our financial plan, leading me on a quest for a durable, affordable, and easy-to-apply gold solution.
I wasn’t keen on using gold leaf, as it can be delicate and prone to damage, especially in a busy bathroom environment frequented by young children. Toothpaste splatters, splashes, and general wear and tear require a finish that can truly stand up to daily life. Furthermore, my past experiences with metallic spray paints left much to be desired. While initially appealing, they often chipped, scratched, and lost their luster over time, necessitating frequent touch-ups. I needed something different – a game-changer that offered both beauty and lasting durability. That’s when I discovered Rub N Buff, and frankly, it completely blew my mind! We were able to transform plain, commercial-grade silver mirrors into elegant gold beauties in less than 10 minutes per mirror, and the results have been phenomenal. This isn’t just a quick fix; it’s a lasting transformation.
This post contains some affiliate links for your convenience, meaning if you make a purchase after clicking a link, I will earn a small commission at no extra cost to you. This helps keep my blog running with fresh content and innovative DIY ideas. Click here to read my full disclosure policy.
DIY Faux Gold Finish: Your Step-by-Step Tutorial to Luxury on a Budget
Materials You’ll Need for This Elegant Transformation:
- Mirror with a Metal Frame: We specifically used these exact mirrors, but Rub N Buff works wonderfully on various metal surfaces.
- Rub N Buff in Antique Gold: A single small tube is incredibly potent and will be more than sufficient for multiple projects. Its concentrated formula ensures fantastic coverage.
- Painter’s Tape (Optional but Recommended): Essential for precise application and protecting surrounding areas, especially for beginners.
- Soft Cloths or Paper Towels: An old t-shirt, microfibre cloth, or sturdy paper towels work perfectly for applying and buffing.
- Amy Howard At Home Dark Wax (Optional for Patina): To add depth and an aged, antique look to your gold finish.
- Amy Howard At Home Dust of Ages (Optional for Patina): Further enhances the authentic vintage aesthetic, creating subtle highlights and shadows.
- Razor Blade (Optional): Useful for carefully scraping away any accidental smudges on glass surfaces.
The Simple Steps to a Stunning Faux Gold Finish:
For those who prefer a visual guide, a video overview of this project is available below, demonstrating each step in real-time.
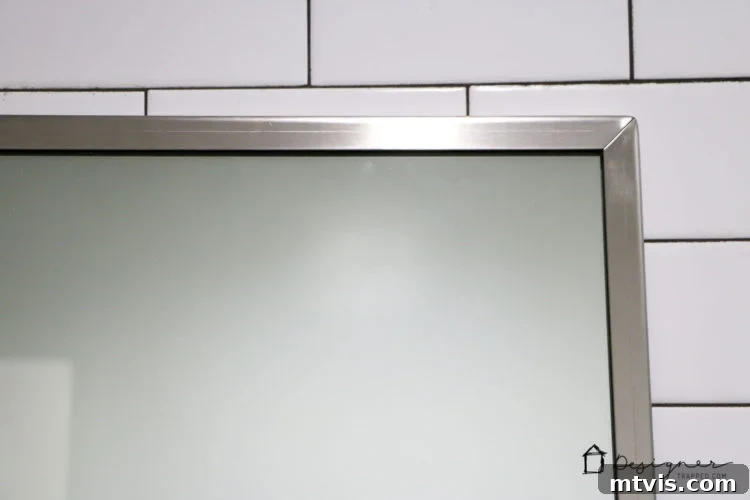
Before we dive into the transformation, let’s take a moment to appreciate the “before” state of these mirrors. The stark, shiny stainless steel frame was a dead giveaway of their commercial origin and budget price point. While functional, it lacked any sense of warmth or style, making our bathroom feel less like a cozy home space and more like a fast-food restroom. That industrial look was precisely what I aimed to change with a touch of DIY magic.
1) Preparation and Taping (The Foundation for Perfection):
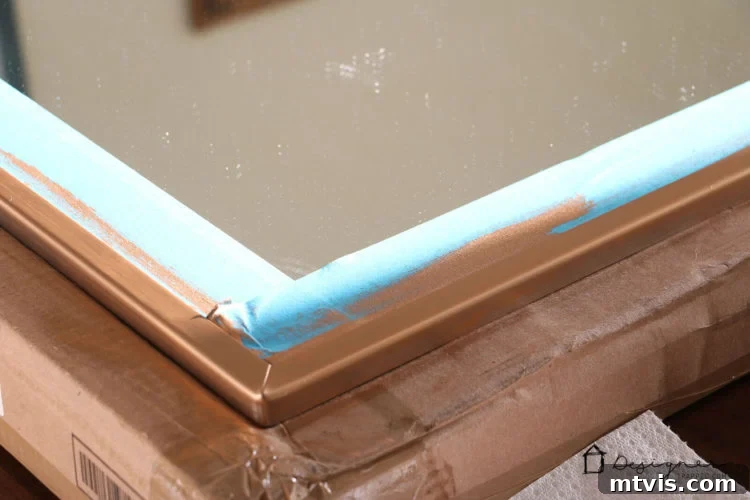
The first crucial step in any successful DIY project is preparation. Start by thoroughly cleaning the metal frame of your mirror to ensure it’s free of dust, grime, and oils. A clean surface allows the Rub N Buff to adhere beautifully and evenly. Once clean and dry, you have an optional but highly recommended step: apply painter’s tape meticulously around the edge of the mirror’s frame where it meets the glass. While I grew confident enough to “wing it” with the second mirror, relying on a razor blade to clean up any stray product, for your first attempt or if you desire a perfectly crisp line, painter’s tape is your best friend. It provides a protective barrier and ensures a clean, professional finish, saving you time and potential frustration during cleanup.
2) Applying Rub N Buff (The Golden Touch):
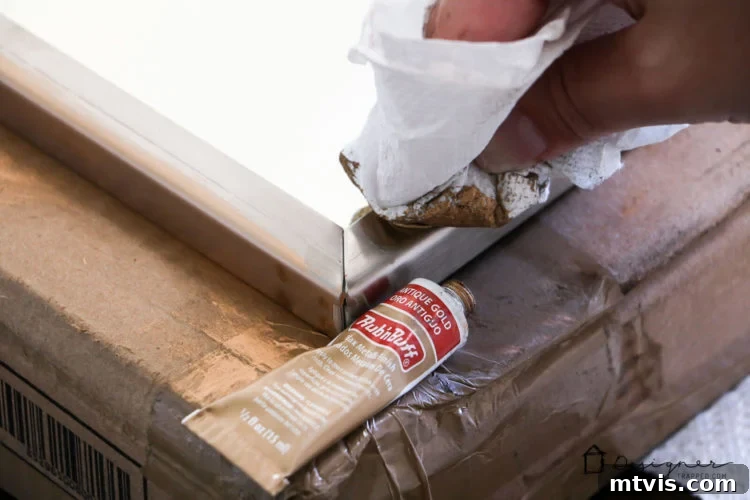
Now for the exciting part! Squeeze a tiny amount of Rub N Buff onto a paper towel, a soft cloth, or an old t-shirt. Remember, a little goes a very long way with this product due to its rich pigmentation. Gently rub the wax onto the metal frame using small, circular motions. The beauty of Rub N Buff lies in its unique wax-based formula. Unlike traditional paints, it’s a blend of wax and metallic pigments, which allows it to be worked into the surface, creating an incredibly realistic and durable metallic sheen. I found that applying two very light coats yielded the best results; one coat might not give you full, opaque coverage, and a thick single coat can sometimes look less authentic. Allow a few minutes between coats for the product to set slightly. It dries remarkably fast, making the process quick and efficient, and is far less messy and odorous than spray paint. This wax-based application ensures superior adhesion and a finish that resists chipping and peeling, crucial for high-traffic areas.
3) Creating an Authentic Patina (Optional, but Highly Recommended for Character):
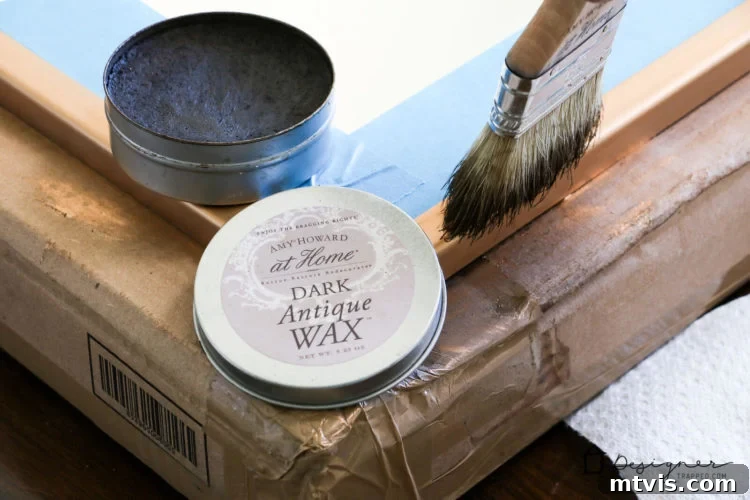
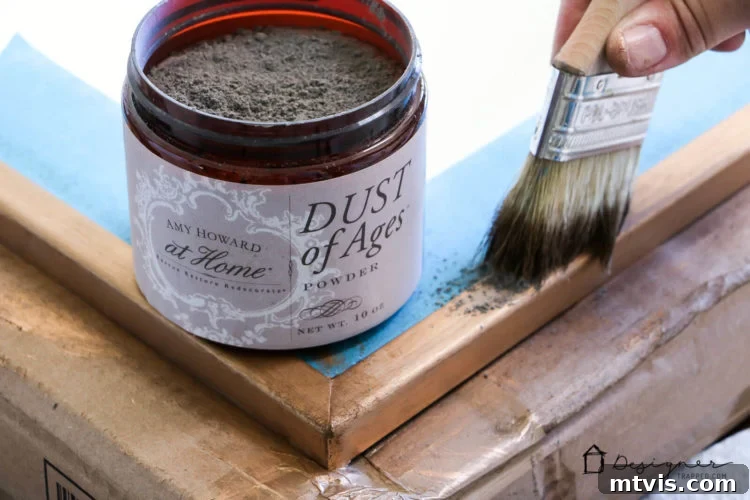
If you desire to add even more character and an authentic, antique look to your newly gilded frame, consider applying Amy Howard At Home Dark Wax and then Amy Howard At Home Dust of Ages. This step is entirely optional but can truly elevate your project, giving it a sophisticated, aged patina that mimics years of natural oxidation. The dark wax adds subtle shadows and depth, settling into any crevices and enhancing the texture of the frame. Follow this with a light dusting of Dust of Ages, which can be gently buffed to highlight raised areas, creating a beautifully nuanced finish that looks genuinely vintage. This technique is perfect for those who appreciate the charm and story behind antique pieces and want to replicate that coveted aesthetic.
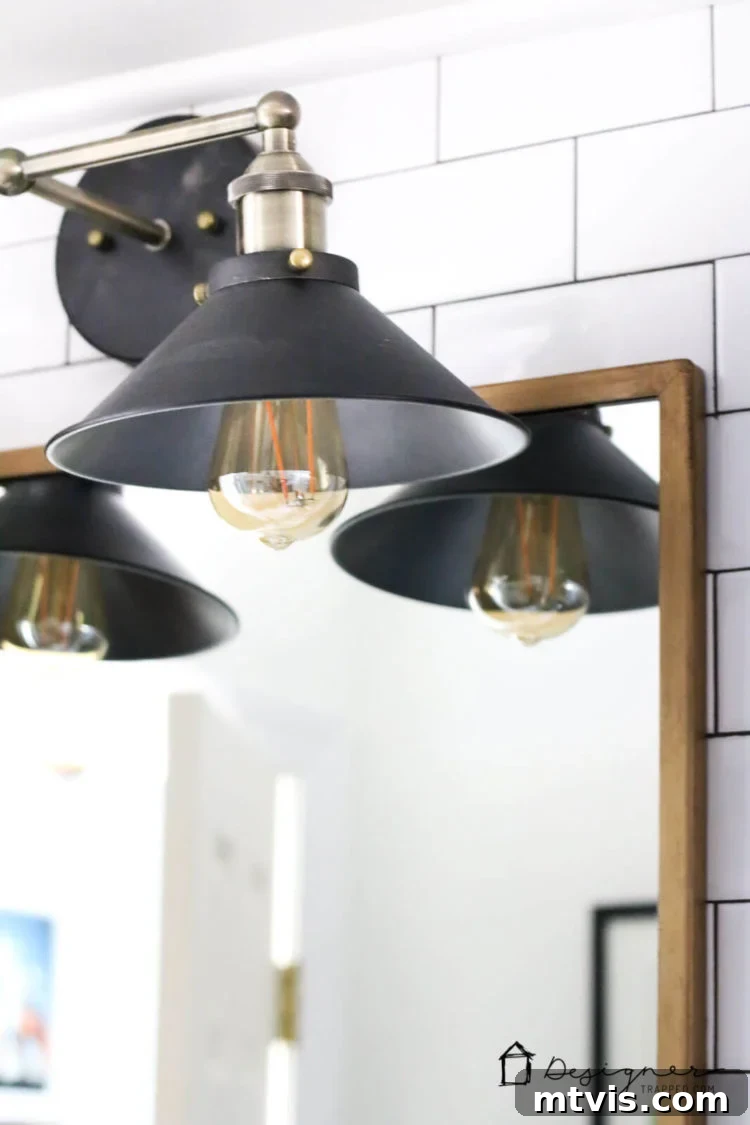
And that’s genuinely it! This has to be one of the easiest, most impactful DIY tutorials I’ve ever tackled. The speed and simplicity of the process are truly remarkable, allowing for a dramatic transformation in under fifteen minutes per item. We completed these mirrors about eleven months ago, and I am thrilled to report that they are holding up absolutely perfectly. I initially had reservations about using glass cleaner on the mirrors, fearing it might damage or strip the new gold finish. To my delight, it hasn’t affected it in the slightest! The Rub N Buff finish remains as vibrant and intact as the day it was applied, proving its superior durability. Check out the stunning results below and see for yourself how an inexpensive commercial mirror can be elevated into a chic, designer-inspired piece.
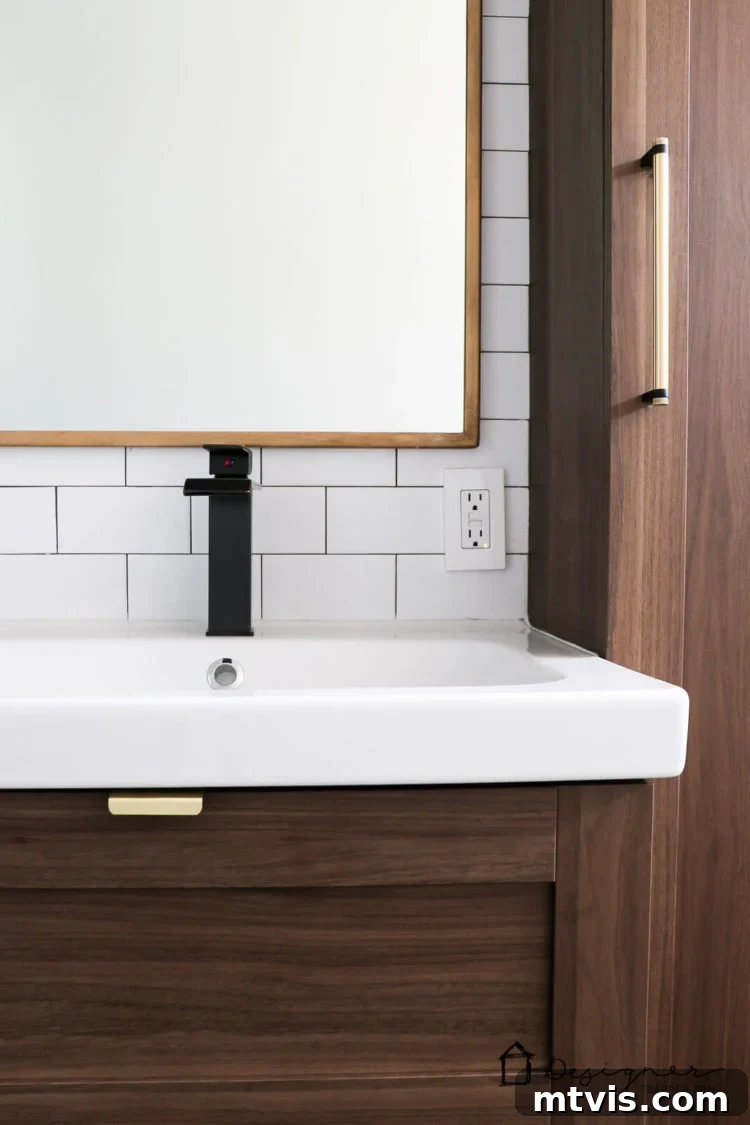
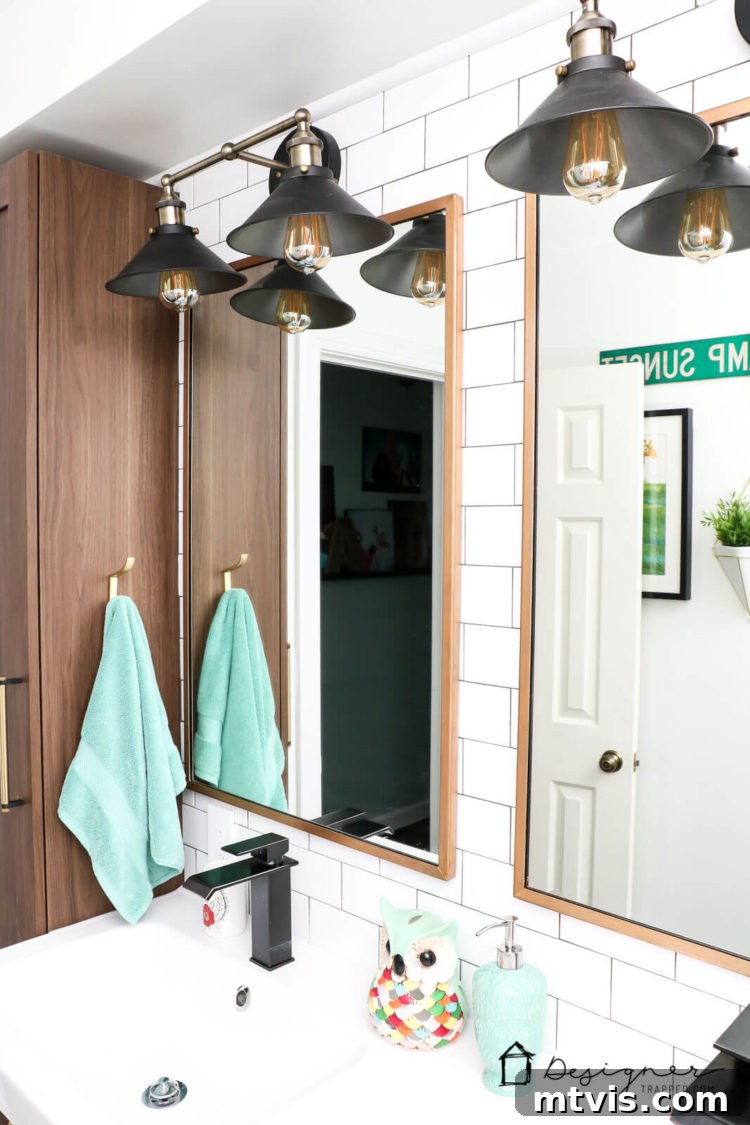
Why Rub N Buff is Your Go-To for Faux Metallic Finishes
The true genius of Rub N Buff lies in its versatility and resilience. Unlike many metallic spray paints that create a superficial layer prone to chipping, Rub N Buff is a wax-based product that effectively “stains” and bonds with the surface it’s applied to. This creates a deeply embedded, authentic-looking metallic sheen that is incredibly resistant to wear, tear, and even cleaning products. It provides a professional, high-quality finish that genuinely rivals factory-applied treatments. This project allowed me to achieve the exact elegant, gilded look I desired for a tiny fraction of the price of purchasing new, high-end gold mirrors. Best of all, because Rub N Buff delivers exceptional durability, these stunning results are built to last, enduring as long as the mirrors themselves hang proudly on our walls. It’s an investment in style and quality that truly pays off.
Expand Your DIY Horizons with Rub N Buff
The applications for Rub N Buff extend far beyond mirror frames. Imagine transforming old cabinet hardware, picture frames, light fixtures, or even small decorative objects into gleaming gold, silver, or copper treasures. It’s an essential tool for anyone looking to upgrade their home decor on a budget, offering an instant facelift to tired pieces. Its ease of use and long-lasting finish make it superior to many other metallic crafting methods. Say goodbye to the frustrations of runny paints, messy gold leaf, or the constant need for touch-ups. With Rub N Buff, you can confidently create beautiful, durable metallic accents throughout your home.
If you’re inspired by this project and eager to try it yourself, be sure to save it to Pinterest or share it on Facebook so you can easily find this guide again later. Don’t forget to grab my free guide on “How to Design a Room You Love” before you go – it’s packed with tips and insights to help you create spaces that truly reflect your style and personality. Happy crafting, and get ready to transform your home with stunning, budget-friendly gold finishes!
