
This post is proudly sponsored by The Home Depot.
DIY Stocking Holder Stand: Your Perfect Holiday Solution (No Mantel Needed!)
The holiday season is a magical time, filled with warmth, joy, and cherished traditions. One of the most beloved traditions for many families is hanging Christmas stockings, eagerly awaiting Santa’s arrival. But what if your home lacks a traditional fireplace mantel? Fear not, fellow DIY enthusiasts! We have the perfect, elegant, and incredibly versatile solution for you: a stunning DIY Stocking Holder Stand.
Today, we’re thrilled to be part of The Home Depot’s #DIYworkshop virtual party, bringing you an exclusive tutorial on how to craft this beautiful and functional piece of holiday decor. Not only will I guide you through creating my unique version of this stand, but you’ll also discover a wealth of inspiration from over 20 talented bloggers (links to their incredible projects await you at the end of this post).
Beyond our virtual celebration, The Home Depot invites you to join their in-person workshops! This specific Holiday Stocking Post workshop is scheduled for November 19th. Imagine getting hands-on guidance and expert tips to build your own stand. It’s an experience you won’t want to miss! Click here or click the image below to secure your spot and register now.
Unleash Your Inner DIYer with The Home Depot Workshops
The Home Depot is a beacon for creators, offering fantastic workshops designed to empower everyone, from novice builders to seasoned DIY pros. They cater to a diverse audience with three distinct types of workshops:
- Do-It-Yourself (DIY): These workshops are perfect for anyone looking to learn new skills, tackle home improvement projects, or simply enjoy a creative outlet. You’ll gain practical knowledge and confidence under the guidance of experienced instructors.
- Do-It-Herself (DIH): Specifically curated for women, these workshops foster a supportive and inspiring environment, encouraging women to embrace tools and master various DIY tasks. It’s about building skills, confidence, and community.
- Kids Workshops: Introduce the younger generation to the joy of creation! These fun, hands-on sessions teach basic building skills in a safe and engaging way, sparking creativity and a love for making things from an early age. Our twin girls are already natural-born DIYers, and we absolutely plan to take advantage of these workshops for years to come!
Participating in a workshop is not just about building a project; it’s about learning valuable techniques, connecting with fellow enthusiasts, and walking away with a sense of accomplishment. Now, let’s dive into the detailed steps for crafting my version of this versatile DIY stocking holder stand.
Your Guide to Building a Festive DIY Stocking Holder Stand
This project is designed to be straightforward and rewarding, even for those new to DIY. I sourced all my materials from The Home Depot, ensuring quality and convenience. Here’s what you’ll need to bring this festive vision to life:
Materials Required:
- 1 – 4″ x 4″ x 4 1⁄2′ Pressure-Treated Pine Wood Premium Eased Edge Deck Post: This sturdy post forms the central pillar of your stand, offering excellent durability and a clean aesthetic.
- 1 – 22⁄32″ x 2′ x 2′ Sanded Plywood: We purchased a 2′ x 4′ piece and cut it down to size. This will serve as the stable base for your stand, preventing it from tipping.
- 1 – 4″ x 4″ Wood Bun Foot: This decorative element will cap the top of your post, adding a polished, finished look to your project.
- 1 – 2′ x 5/8″ Wooden Dowel: These dowels will be cut and used as the arms from which your stockings or lanterns will hang.
- Phillips Flat-Head Wood Screws: Essential for securely fastening the post to the base.
- Drill and Appropriate Drill Bits: For pre-drilling holes and driving screws, ensuring clean and strong connections.
- Hack Saw: Ideal for precise cuts on smaller wooden items like the dowel and the boxwood wreath stand.
- Circular Saw: For efficiently cutting the plywood base to the desired dimensions.
- Boxwood Wreath on Stand: An elegant decorative element to crown your stocking holder. Look for one that complements your holiday decor.
- Optional: 4 Luminaries or Lanterns: For transforming your stocking stand into a beautiful outdoor lantern display. (I personally used 2 of these white, battery-operated lanterns and 2 of these white, battery-operated lanterns for a cohesive look.)
- Measuring Tape: Crucial for accurate measurements, ensuring your cuts and placements are precise.
- Chalk Line: For marking straight lines on your plywood, guaranteeing a perfectly centered post.
- Black Paint (and primer if needed): To give your stand a sleek, uniform, and finished appearance.
- Green Felt Balls & Hot Glue: For decorative accents on the dowel ends.
- Vinyl Cutter (optional) & Vinyl: For personalizing your stand with names or festive messages.
Step-by-Step Tutorial: Crafting Your Stocking Holder Stand
Follow these detailed instructions to create your own functional and beautiful holiday decor piece:
1) Preparing the Plywood Base:
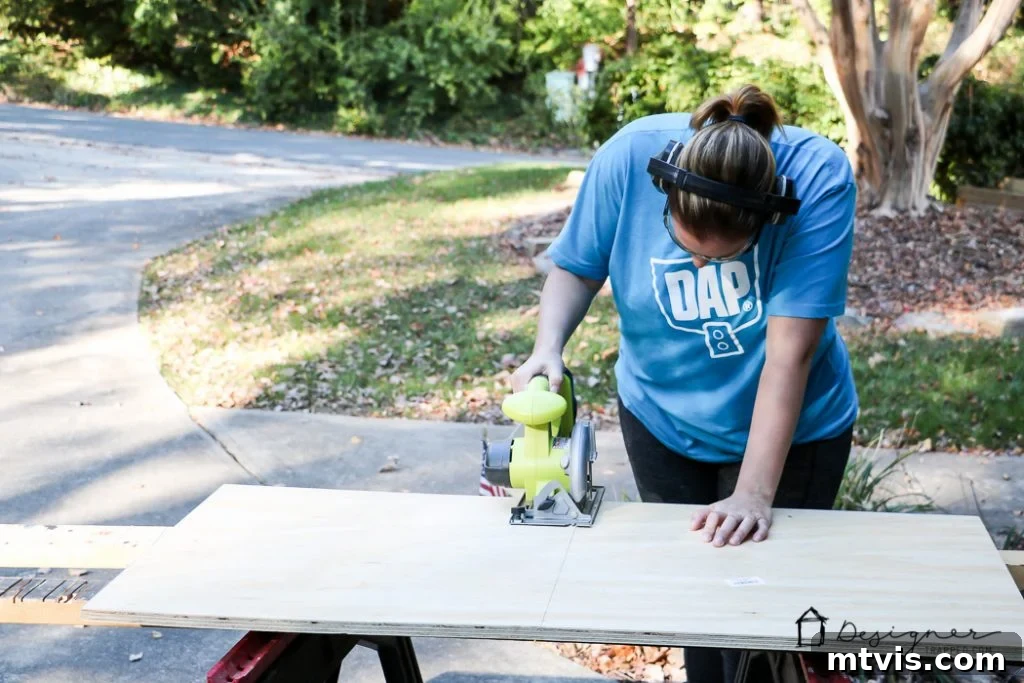
We began by carefully cutting our plywood down to a 2′ x 2′ square. A precise base is fundamental for the stability of your entire stand. My lovely daughter, Avery, with her budding passion for photography, captured this moment as I measured for the cut – a truly precious memory! When using a circular saw, always ensure you have a stable work surface and wear appropriate safety gear, including eye protection. Measure twice, cut once, to ensure your base is perfectly square and ready to support the vertical post.

2) Dividing the Wooden Dowel:
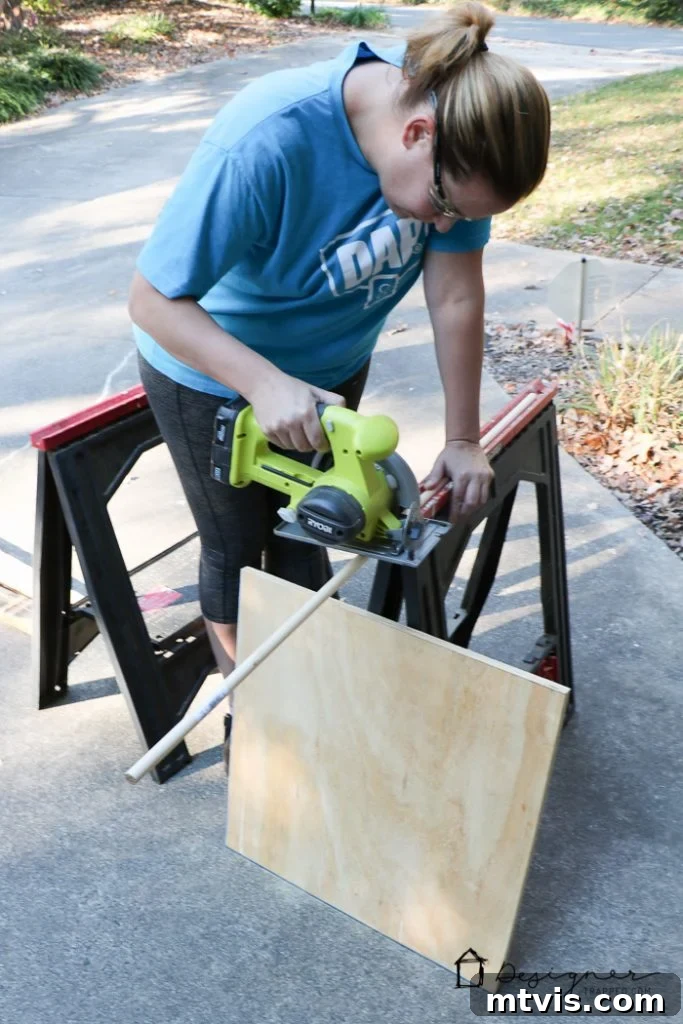
Next, I took my 2-foot wooden dowel and cut it precisely in half. This gives you two 1-foot sections, which will serve as the arms from which you’ll hang your stockings or lanterns. Using a hacksaw for this step provides a clean, controlled cut, ensuring both dowel pieces are uniform and ready for installation. Having two shorter dowels allows for better weight distribution and offers flexibility in hanging arrangements.
3) Adjusting the Boxwood Wreath Stand:
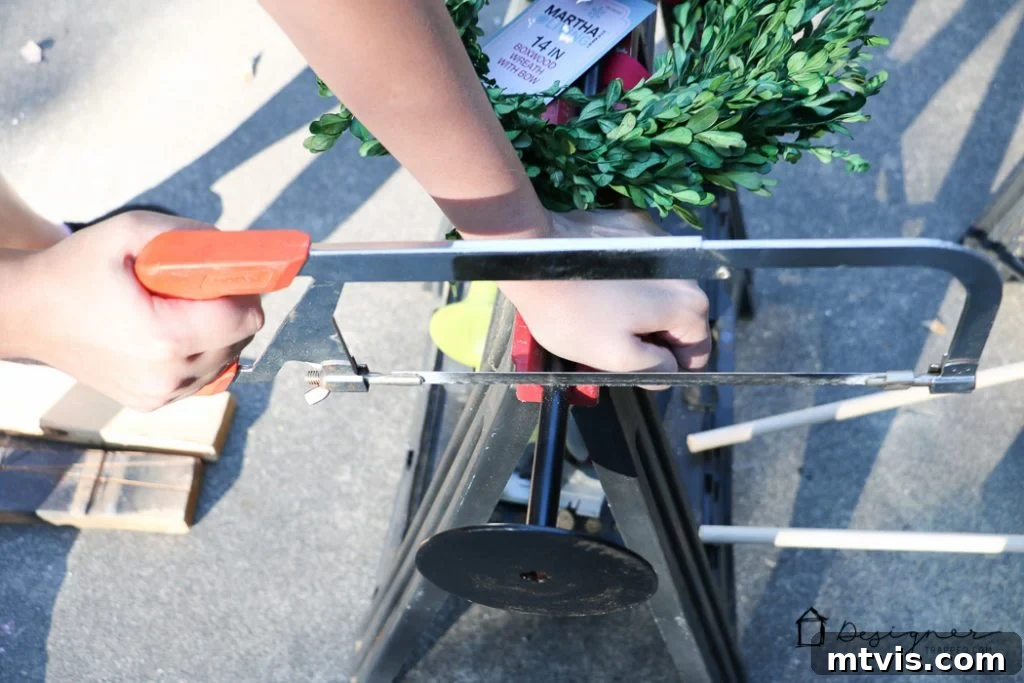
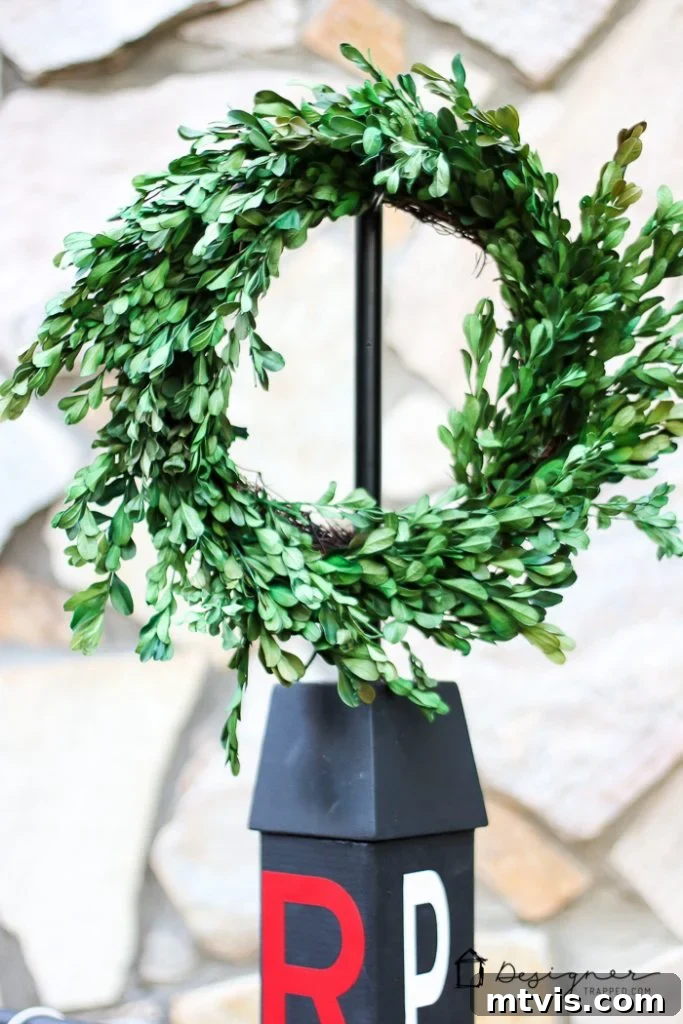
I absolutely adored the boxwood wreath on a stand I found at The Home Depot. However, for my specific vision of the stocking holder, its original height was a little too tall. To achieve the perfect aesthetic balance, I carefully used my hacksaw to shorten the stand’s pole. This customization ensures that the wreath sits beautifully atop the finished project without overpowering the design. Always measure against your main post to visualize the final height before making your cut.
4) Marking, Drilling, and Painting Components:
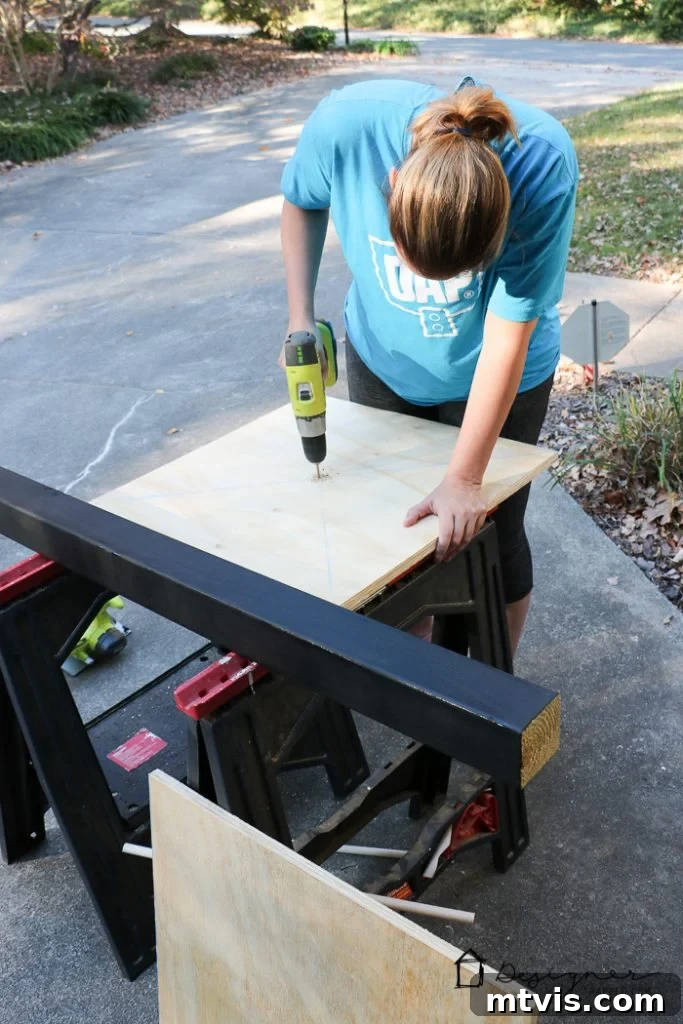
The next step is crucial for both structure and aesthetics. First, I marked the precise center of my plywood base using a chalk line. This ensures the main post will be perfectly centered, providing optimal stability. Then, I drilled a pilot hole in the center of the plywood to make attaching the post much easier later. Following this, I painted the plywood base, the main post, the bun foot, and both wooden dowels with black paint. Painting all components before final assembly allows for smoother, more even coverage and prevents drips or missed spots once everything is put together. Allow ample drying time for each coat.
5) Assembling the Stand and Installing Dowel Rods:
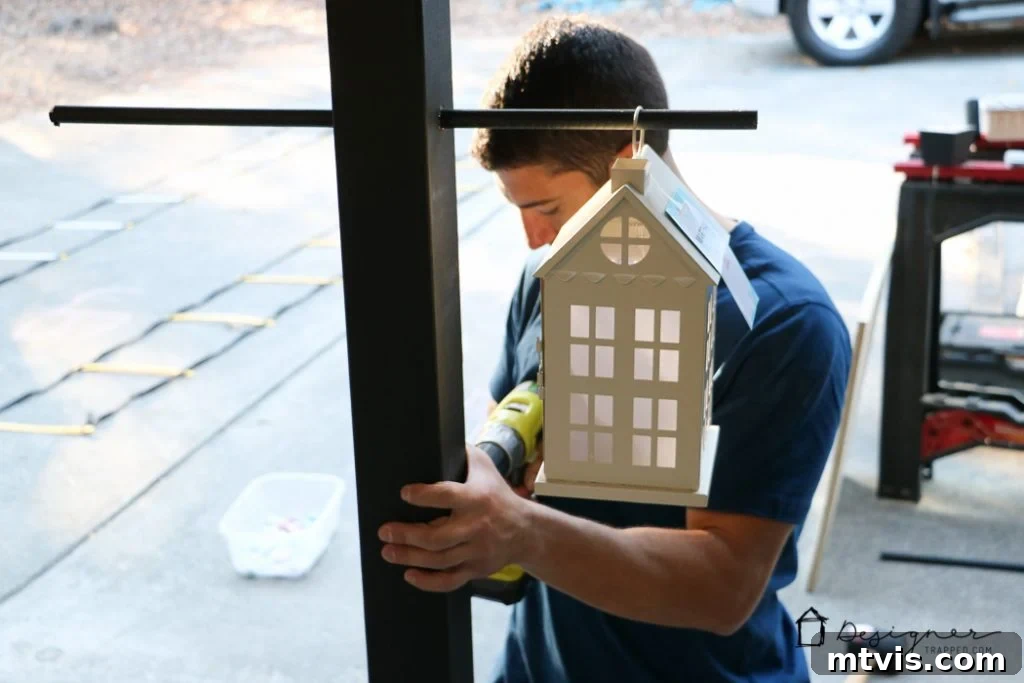
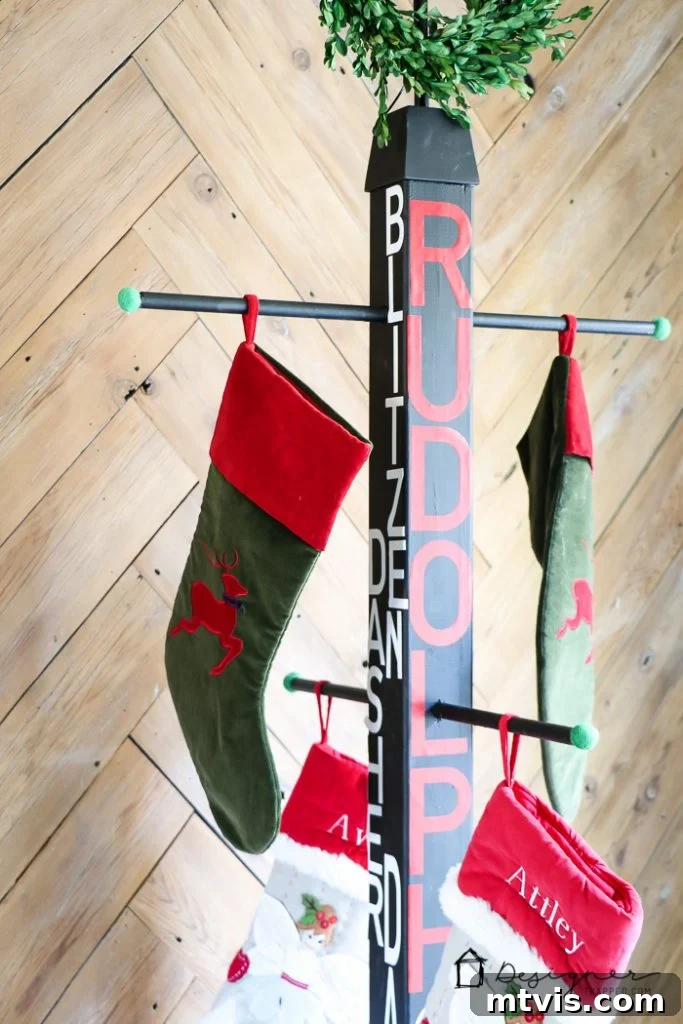
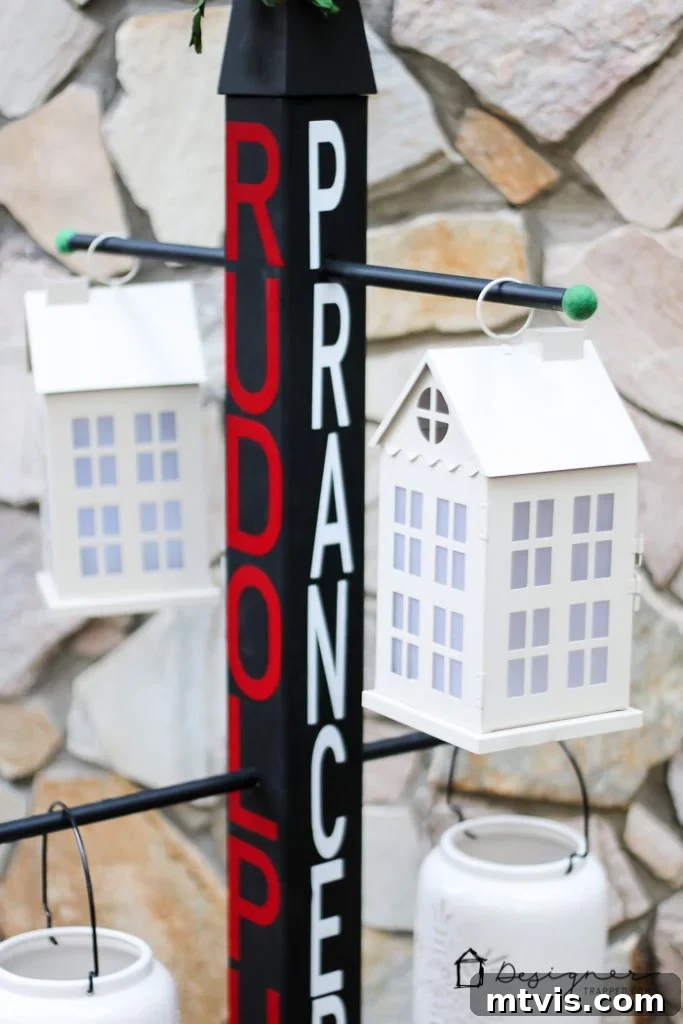
Once all the painted components were thoroughly dry, it was time for assembly. We securely attached the main post to the plywood base using sturdy wood screws, ensuring a rock-solid foundation. Next, the decorative bun foot was attached to the very top of the post, giving it a refined and finished appearance. Then came the key step for hanging: we drilled holes all the way through the post for the wooden dowels using a 5/8″ paddle bit. It’s important to select a drill bit that matches the diameter of your dowels for a snug fit. We installed the top dowel rod first. To determine the ideal placement for the lower dowel, we hung our tallest lantern and longest stocking on the top rod, then marked the perfect spot for the second rod, ensuring ample clearance. As you can observe, we strategically positioned the rods on opposite planes of the post to maximize hanging space and maintain balance.
6) Adding the Boxwood Wreath:
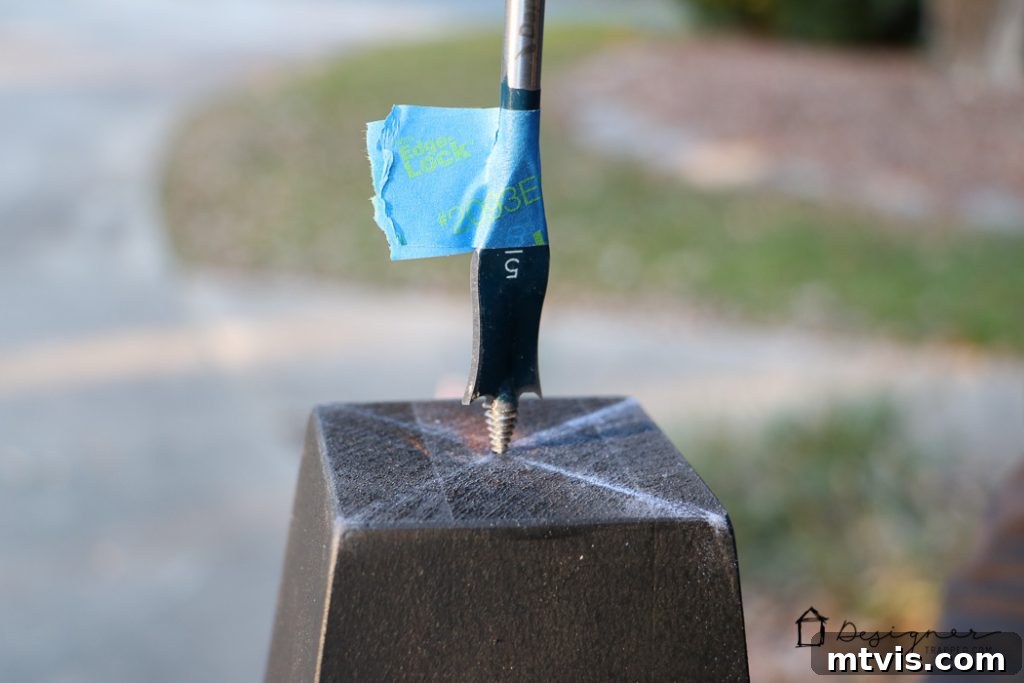
To complete the top of the stand, we drilled a final hole on the bun foot’s surface, perfectly sized to accommodate the pole of our custom-height boxwood wreath. Once the wreath was inserted, our stocking holder stand was officially “in business,” adorned with a lovely touch of greenery that beautifully complements the festive theme.
7) Personalizing with Festive Decorations:
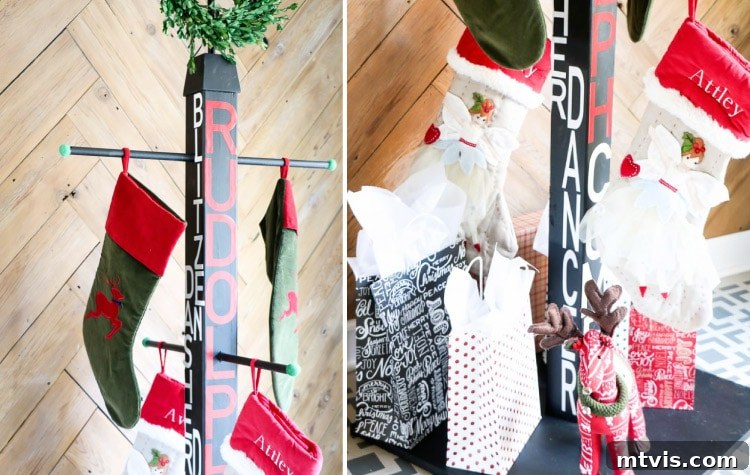
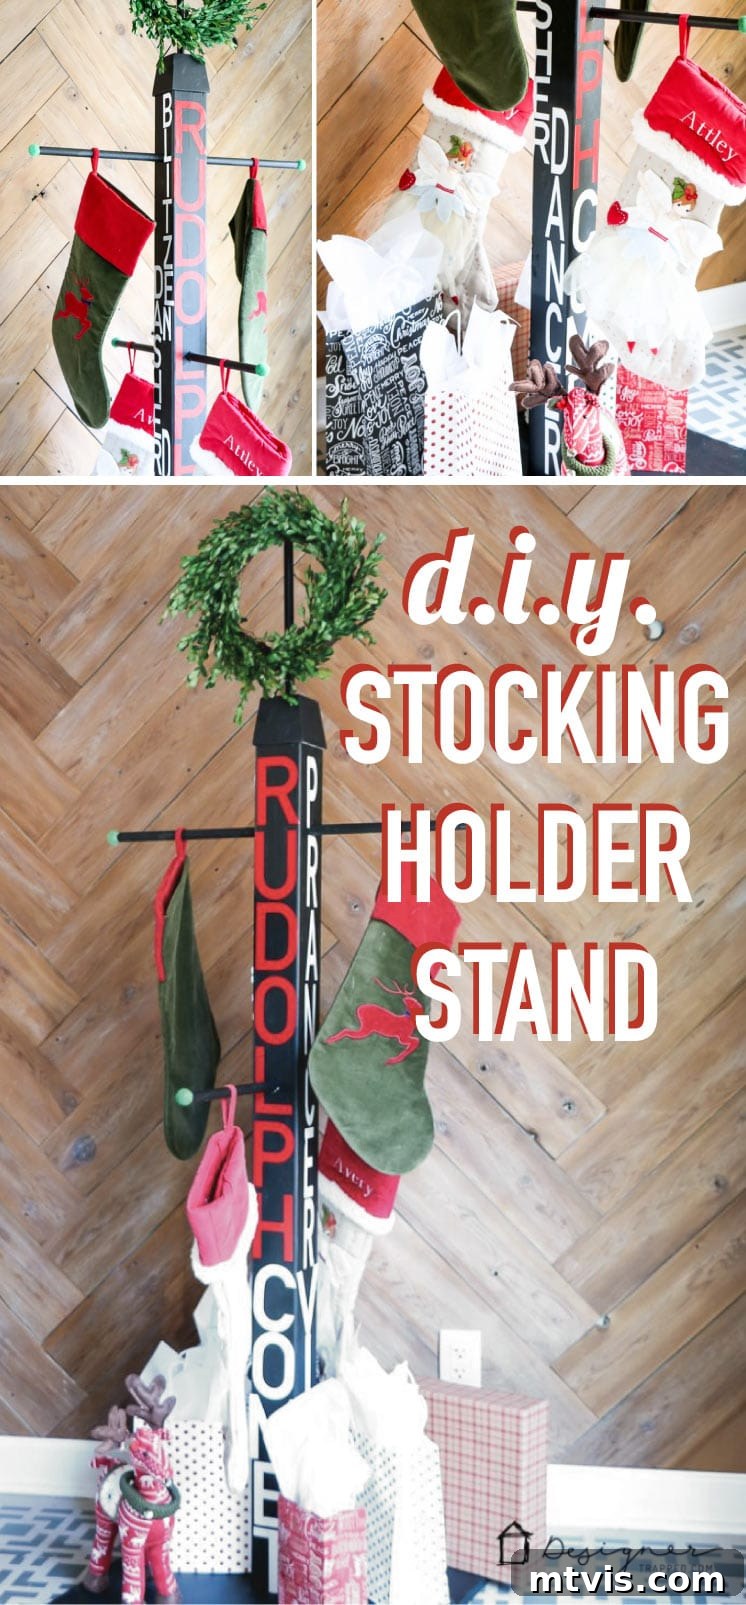
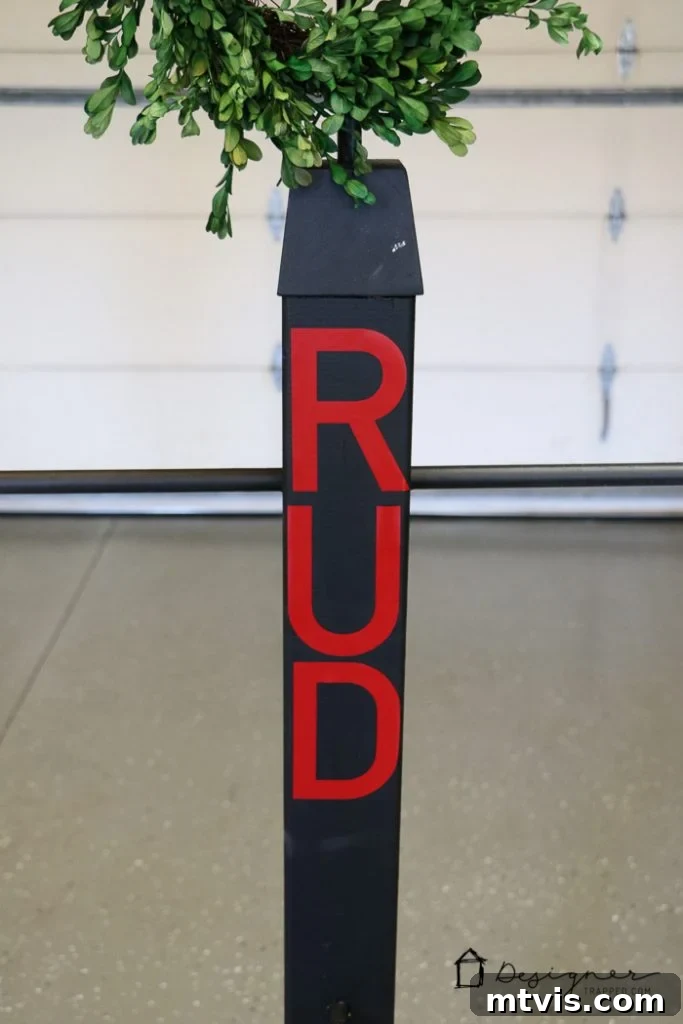
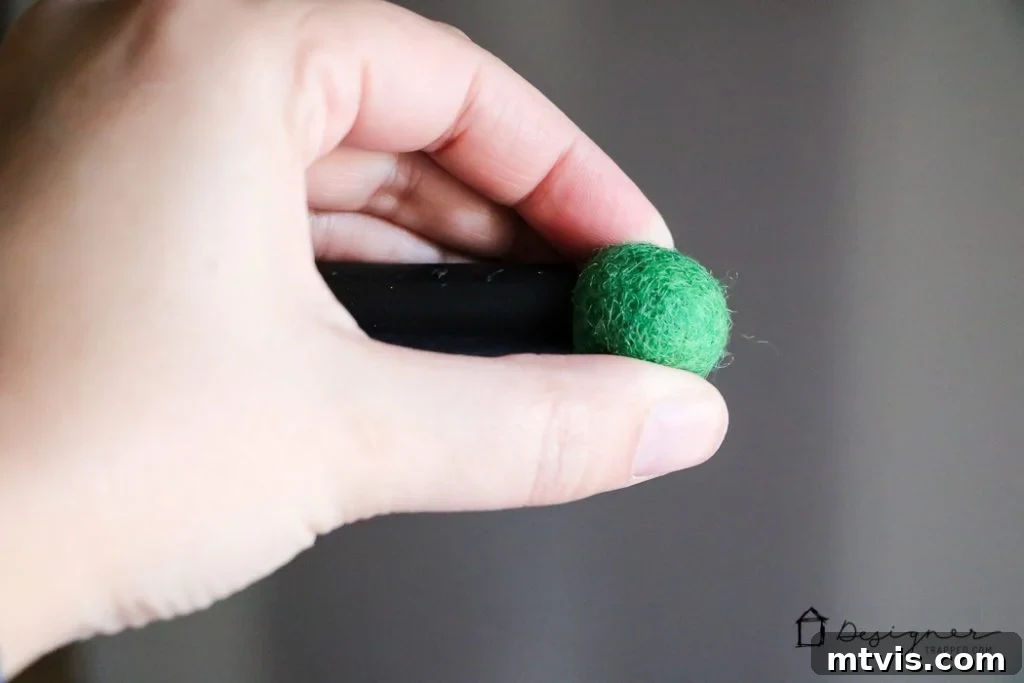
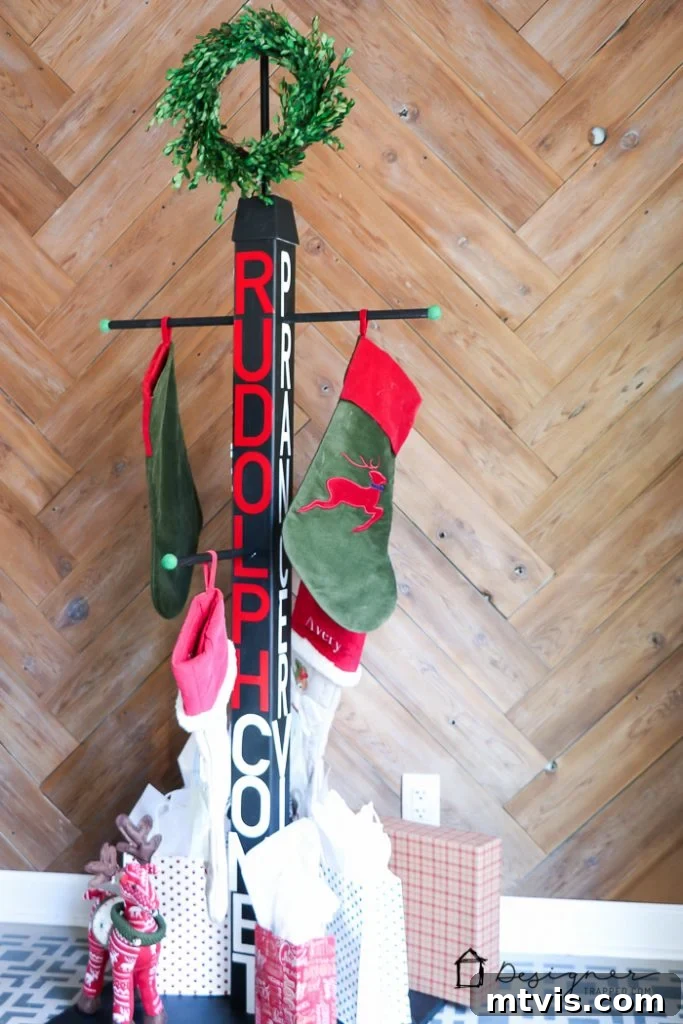
To truly make this stocking holder stand special, I added a personal touch. I used a vinyl cutter to create the names of all of Santa’s reindeer and carefully applied them to the main post. This adds a whimsical and thematic element to the stand. Additionally, to give the dowel rods a finished and playful look, I used hot glue to attach vibrant green felt balls to each end. You could also use family names, festive quotes, or even hand-paint designs to customize your stand even further. Ribbons, small ornaments, or tiny bells could also be incorporated for extra flair.
The Finished Masterpiece: Versatility and Charm
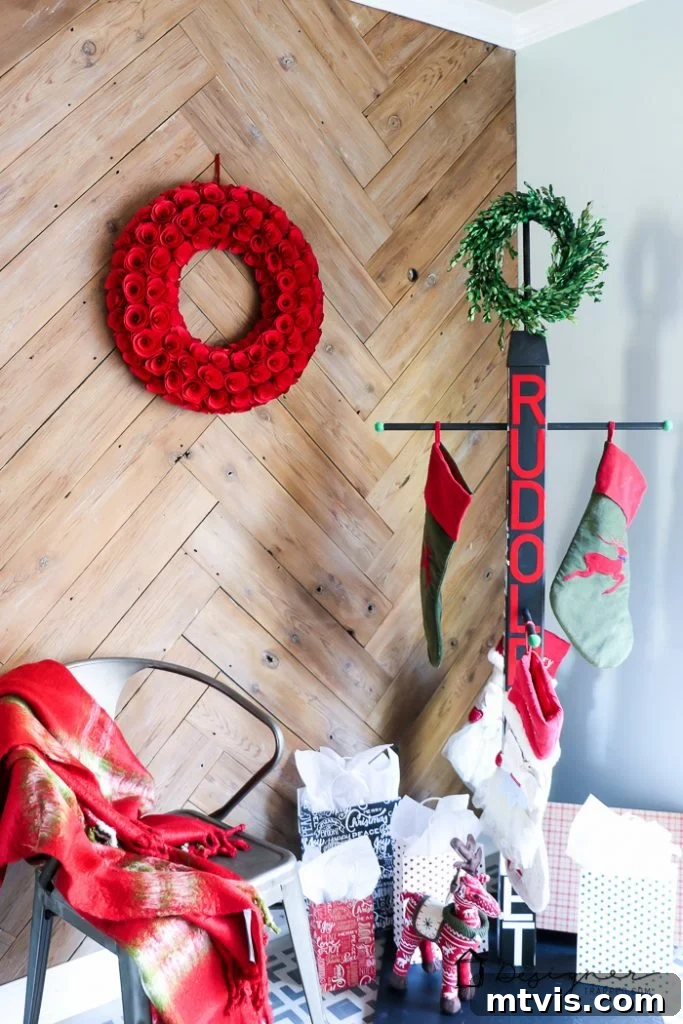
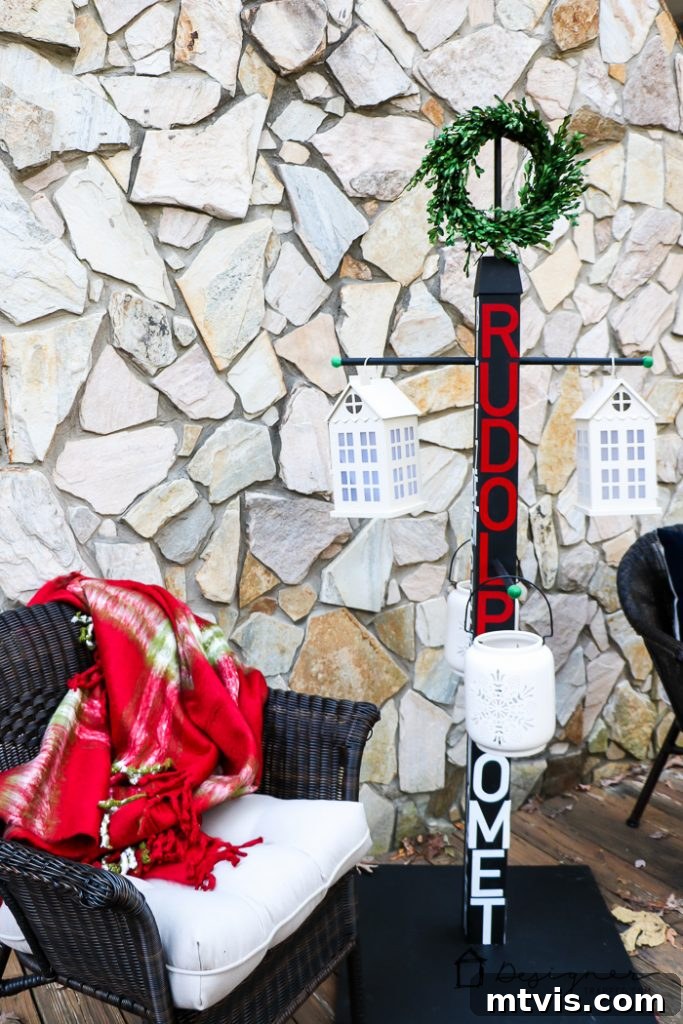
Behold the finished DIY stocking holder stand! Isn’t it wonderfully charming and functional? This project shines not only as an elegant solution for hanging stockings indoors, especially if you lack a traditional mantel, but also as a versatile display for lanterns outdoors. Let’s admire its dual functionality!
Indoor Elegance: A Perfect Stocking Display
Imagine this stand as the focal point of your holiday decor, beautifully displaying your family’s stockings. It brings that quintessential Christmas warmth and anticipation right into your living space. Its sturdy construction ensures your stockings, even when filled with festive goodies, will hang securely. It’s a delightful way to maintain the cherished tradition of hanging stockings, no matter your home’s layout.

Outdoor Radiance: A Chic Lantern Holder
But the fun doesn’t stop there! Transition your stand outdoors, and it transforms into a magnificent lantern holder, casting a warm, inviting glow on your porch, patio, or garden. It’s perfect for welcoming guests during holiday gatherings or simply adding a touch of ambient light to your evenings. This adaptability makes it a truly remarkable and enduring piece of home decor, usable far beyond just the Christmas season. Imagine it adorned with seasonal flowers in spring, or string lights for summer evenings!
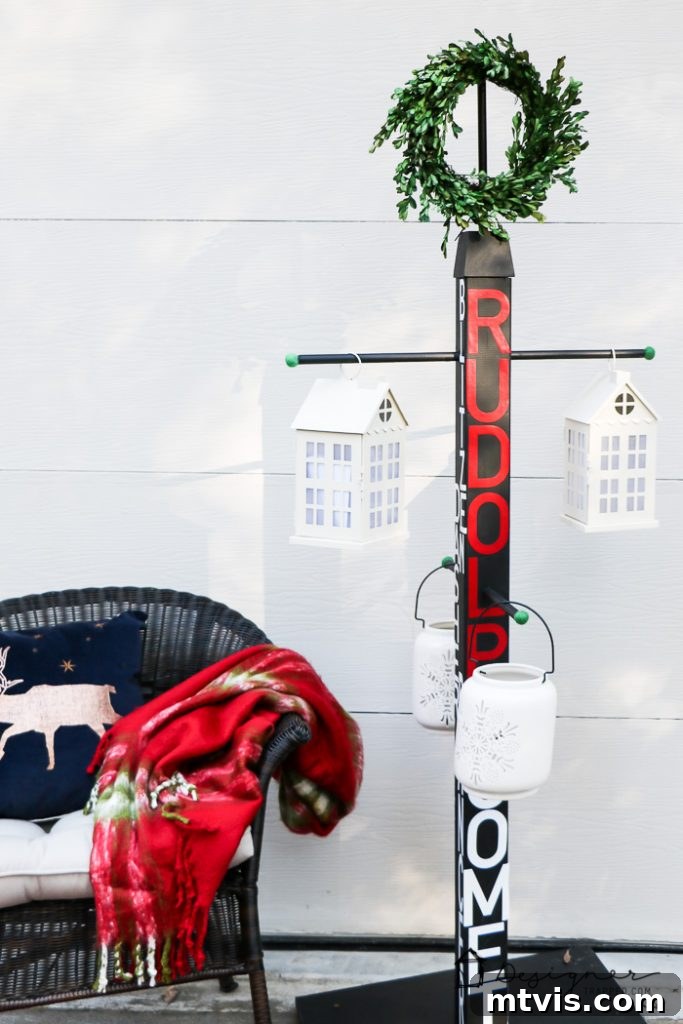 What are your thoughts on this incredible dual-purpose project? I absolutely adore how versatile it is! And here’s the best part: it’s entirely achievable, even if you’re just starting your DIY journey. If you’re eager for hands-on, expert guidance from the best in the business, don’t forget to click here to sign up for The Home Depot’s in-store Holiday Stocking Post workshop, happening on November 19th. Learning a new skill and creating something beautiful for your home is an incredibly rewarding experience!
For even more creative ideas and unique interpretations of this project, make sure to explore what over 20 other incredibly talented bloggers have crafted! Each one brings their distinct style and flair, offering a huge spectrum of inspiration. Simply click on any of the links below to discover their amazing creations:
More DIY Stocking Holder Stand Inspiration:
Domestic Charm
Homemade By Carmona
My Altered State
Smart Girls DIY
Chaotically Creative
Ciburbanity
Lazy Guy DIY
Build Basic
That’s My Letter
Her Toolbelt
The Handmade Home
The Heathered Nest
The Chronicles of Home
Cherished Bliss
Just a Girl and Her Blog
House of Wood
Shades of Blue Interiors
Uncookie Cutter
Ella Claire Inspired
Shine Your Light Blog
Sawdust 2 Stitches
Remodelando La Casa
Paper Daisy Design
Fix This Build That
