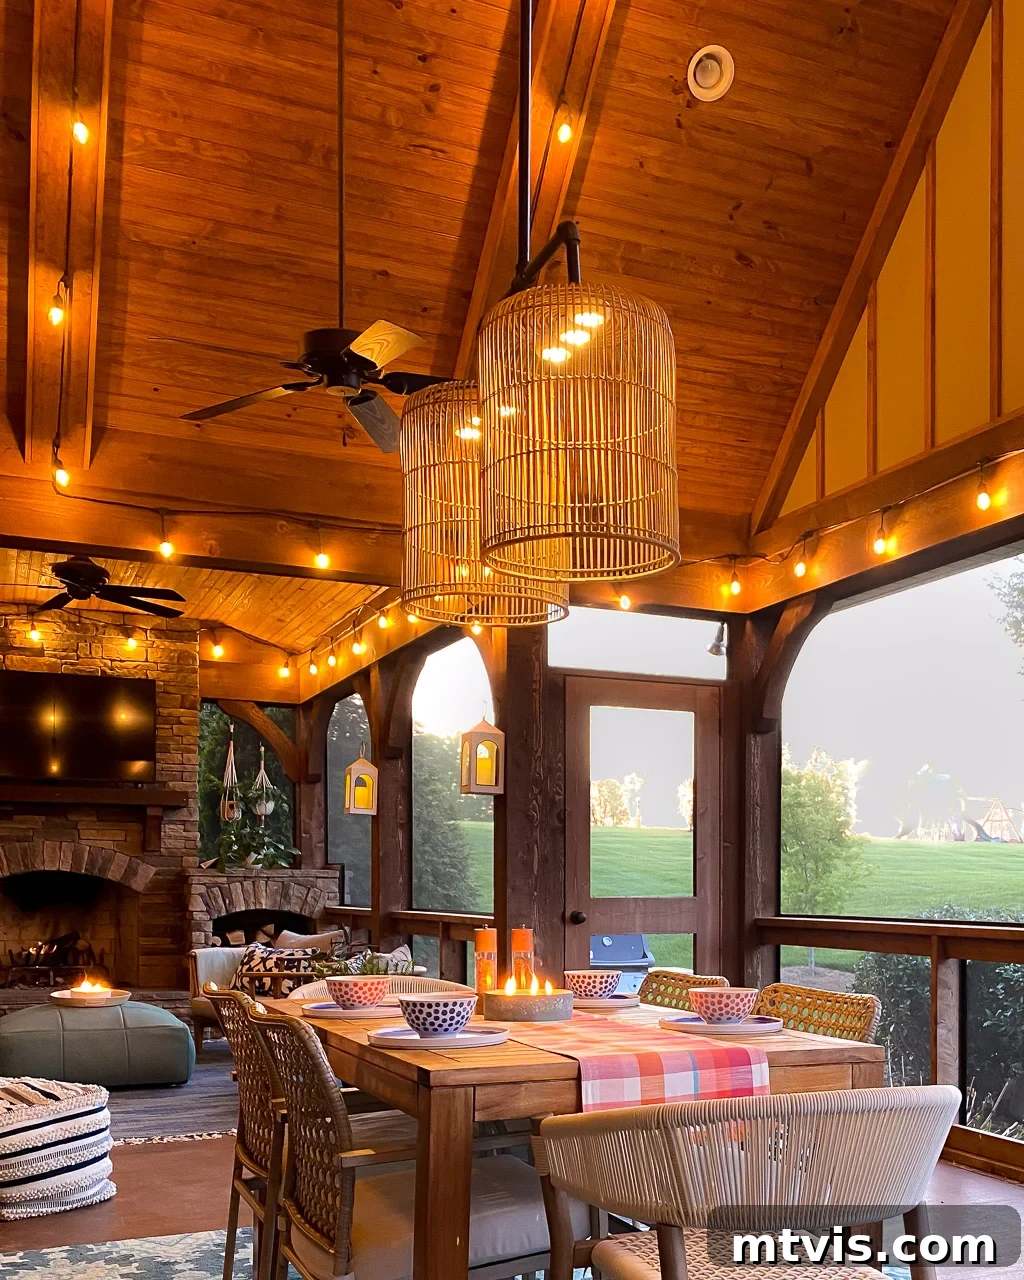
Dreaming of a captivating outdoor space that exudes warmth and charm, especially as dusk settles? Outdoor lighting is often overlooked, yet it’s the secret ingredient to creating an inviting atmosphere that beckons you to linger longer. However, the thought of complex electrical wiring or expensive designer fixtures can deter many from pursuing this essential upgrade. What if we told you that you could craft a stunning, high-impact outdoor chandelier with your own hands, requiring absolutely no power tools or electrical expertise? Imagine transforming your outdoor dining area or screened-in porch into a magical oasis in just a couple of hours.
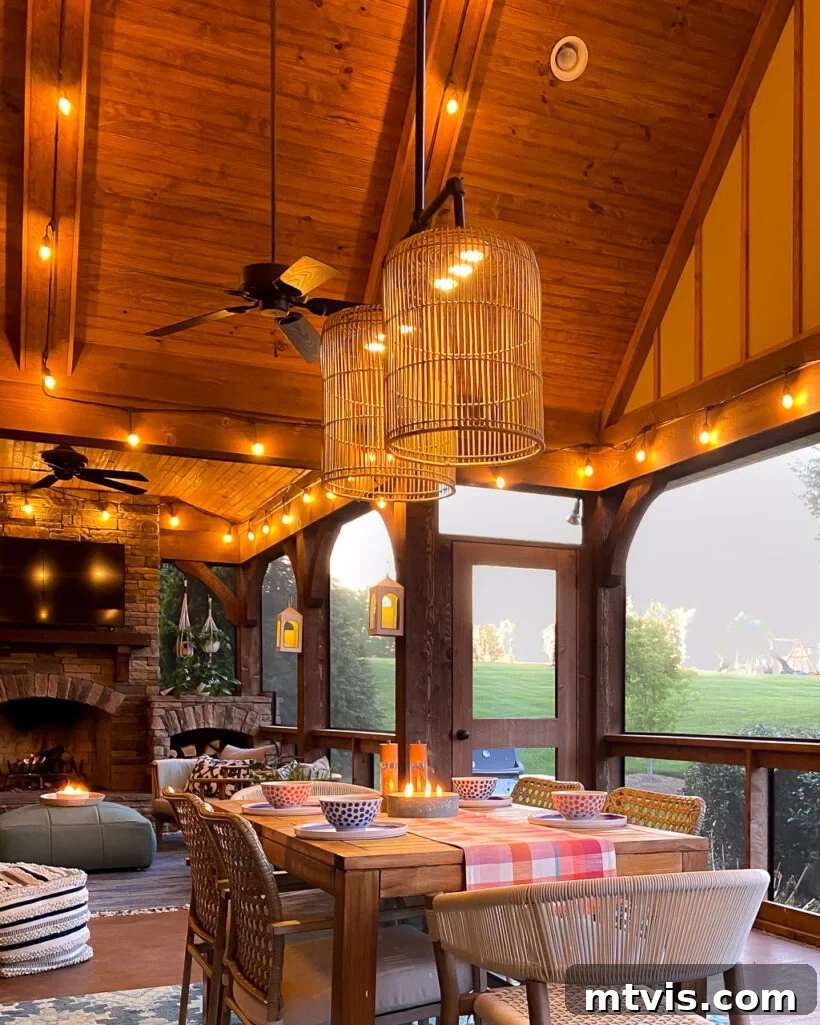
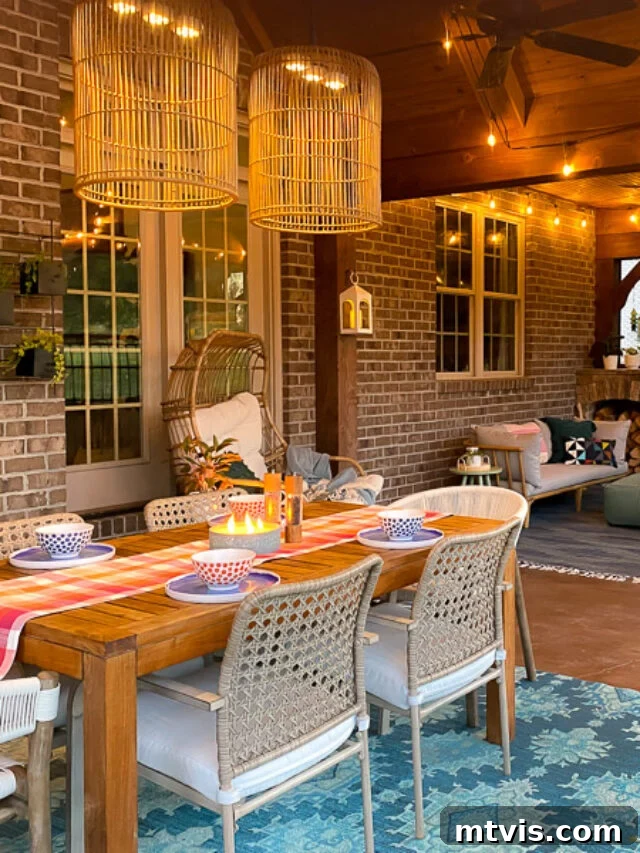
A few years ago, we embarked on this very project, creating a magnificent DIY outdoor chandelier to hang gracefully above our outdoor dining table. The result was not only easy to achieve but also made an incredibly dramatic impact on our entire screened-in porch. When we first unveiled this addition on Instagram, the response was overwhelmingly enthusiastic! It seems many of you share our passion for enchanting outdoor spaces and simple, yet transformative, DIY solutions.
It’s no surprise, really. Incorporating both overhead and ambient lighting is one of our top porch decorating tips for a reason. Good lighting instantly elevates any outdoor area, making it feel more like an extension of your indoor living space. So, by popular demand, we’ve put together this comprehensive, step-by-step tutorial to empower you to create your very own DIY outdoor chandelier!
Why This DIY Outdoor Chandelier is Your Next Project
This isn’t just another DIY project; it’s a game-changer for anyone looking to enhance their outdoor living without the hassle. Here’s why this particular outdoor chandelier stands out:
- Beginner-Friendly: Seriously, if you can hold a drill, you can make this. The only “tool” we used was a drill driver to secure the chandelier in place.
- No Electrical Wiring Required: This is the magic part! We utilize a clever hack known as the “magic light trick” which means no complex wiring, no electrician, and no safety concerns related to outdoor electricity. We’ve successfully used this trick before to create a colorful DIY gallery wall, proving its versatility and effectiveness.
- Huge Visual Impact: For minimal effort and cost, this chandelier delivers maximum style and presence. It instantly becomes a focal point and elevates the aesthetic of your entire outdoor space.
- Cost-Effective: Compared to purchasing a ready-made outdoor chandelier, especially one of this size, going the DIY route saves you a significant amount of money.
- Customizable: While we provide specific materials, the concept is flexible. You can adapt the style of baskets, the finish of the pipe, and even the number of lights to perfectly match your outdoor decor.
This post contains affiliate links for your convenience. Click here for my full disclosure policy.
How to Make a Stunning DIY Outdoor Chandelier
Ready to bring some dazzling light to your patio or porch? Let’s gather our supplies and get started!
Materials and Tools Needed
- Krud Kutter or a similar degreaser for cleaning pipes.
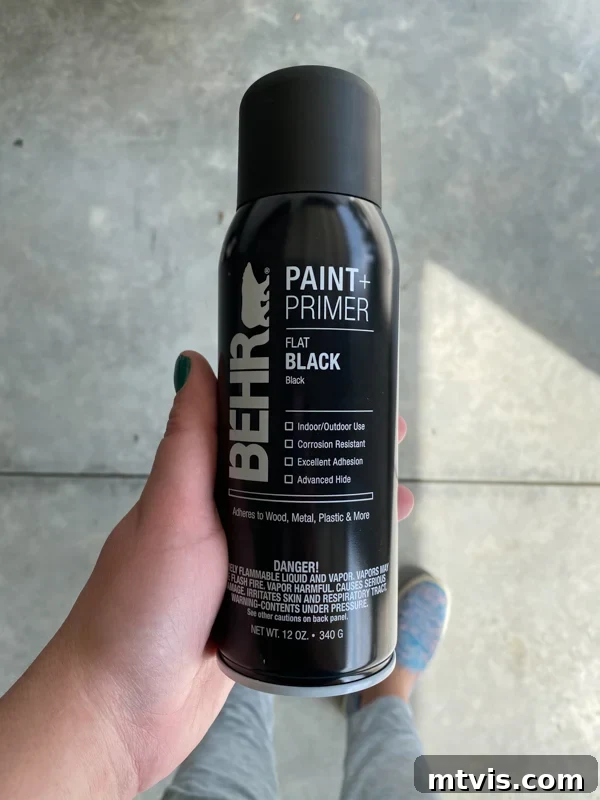
- Flat Black Spray Paint (optional, but recommended for a cohesive look).
- 2 large, sturdy baskets (these will serve as your lamp shades – consider woven, rattan, or metal for an outdoor aesthetic).
- 6 battery-operated puck lights with a remote control (the secret to no wiring!).
- Hot glue gun and glue sticks.
- 1 “T” joint (3/4 inch diameter to match pipe).
- 2 elbow joints (3/4 inch diameter to match pipe).
- 3 floor flanges (3/4 inch diameter to match pipe).
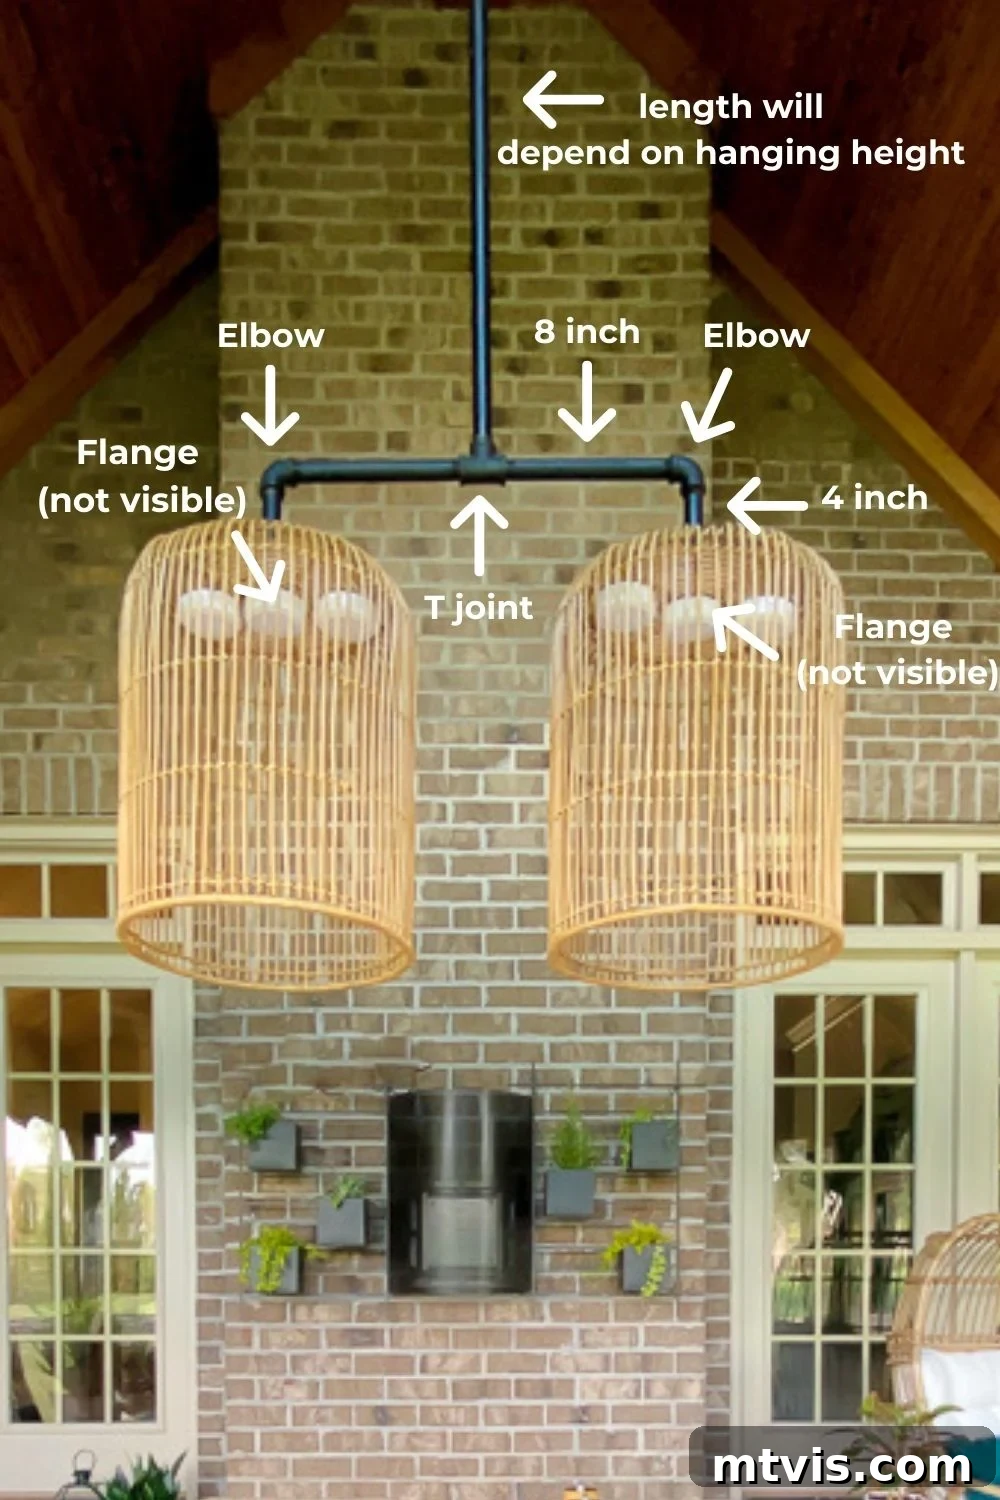
- 3/4 inch gas pipe (the total amount will vary depending on your ceiling height or desired hanging point. Ensure all fittings match this diameter). NOTE: We chose gas pipe because it’s already black and takes spray paint well. We also opted for pre-cut lengths to avoid the need for pipe cutting and threading, simplifying the project significantly. Refer to the diagram below for approximate lengths used in our design.
Steps to Create Your Outdoor Chandelier
For those who prefer visual guidance, you can also check out this Instagram reel or these Instagram story highlights where I walk through the process in more detail.
Step 1: Clean All Pipe Components
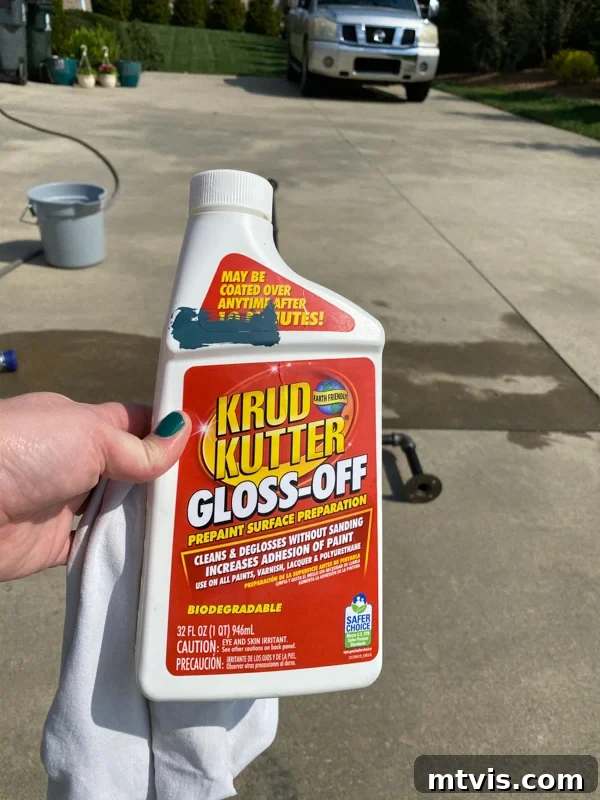
Before assembly or painting, it’s crucial to thoroughly clean all your gas pipe pieces. New pipes typically come coated in grease, which can prevent paint from adhering properly. Use Krud Kutter or a similar heavy-duty degreaser. Apply it generously, scrub the pipes, and rinse them clean. Allow them to dry completely before proceeding.
Step 2: Assemble the Chandelier Base Structure
This is where your pipe and joints come together to form the core of your chandelier. Carefully thread the “T” joint, two elbow joints, and two of the floor flanges onto shorter lengths of gas pipe to create the horizontal arms as shown in the diagram. This forms the base from which your “lampshades” will hang. Ensure all connections are tightened securely for stability.
Step 3: Spray Paint Your Components (Optional but Recommended)
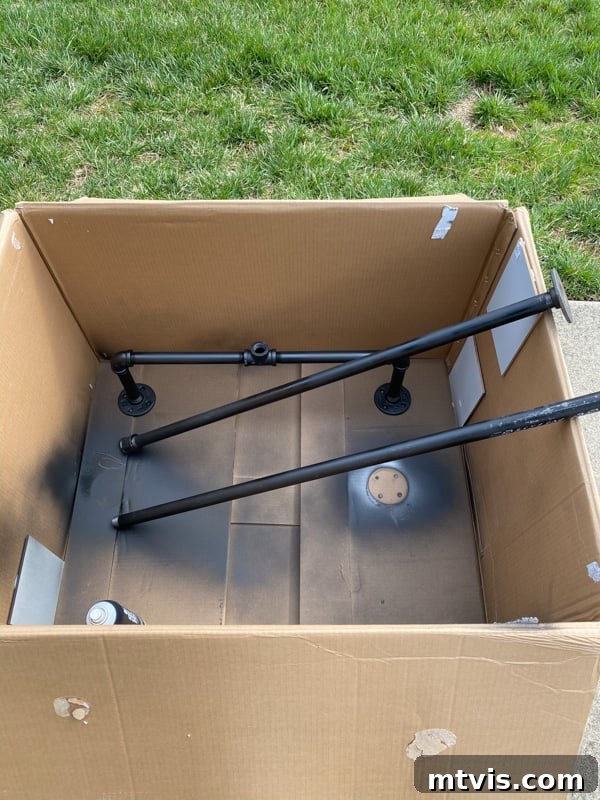
While gas pipe is typically black, it often has printed branding or size information. To achieve a perfectly seamless and polished look, we chose to spray paint all our pipe parts with flat black spray paint. This step ensures a uniform color and hides any factory markings. Lay out your cleaned pipes in a well-ventilated area, preferably on a drop cloth or inside a cardboard box to contain overspray, and apply several light, even coats. Allow each coat to dry thoroughly before applying the next, and ensure complete drying before proceeding with assembly.
Step 4: Attach the Main Support Pipe
Once the paint is dry, thread your chosen long, straight pipe into the central “T” joint of the base you assembled in Step 2. This pipe will be the main vertical support, determining the height at which your chandelier hangs. Ensure it is tightly secured.
Step 5: Hang Your Chandelier Frame
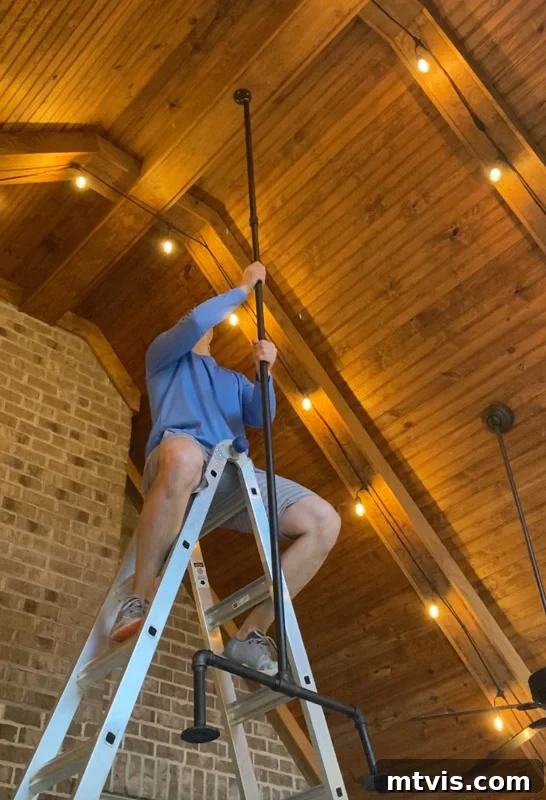
This step requires careful placement and secure attachment. First, identify the exact spot on your ceiling or desired hanging surface where the chandelier will be mounted. Using a drill driver, screw the third floor flange (the one not used in the base assembly) directly onto this surface. Ensure it is firmly anchored to a stud or appropriate ceiling support for safety. Once the flange is secure, carefully lift your assembled chandelier frame and thread/screw the top of the long support pipe into the attached floor flange. Double-check that all connections are tight and the chandelier hangs straight and securely.
Step 6: Prepare Your Basket Shades
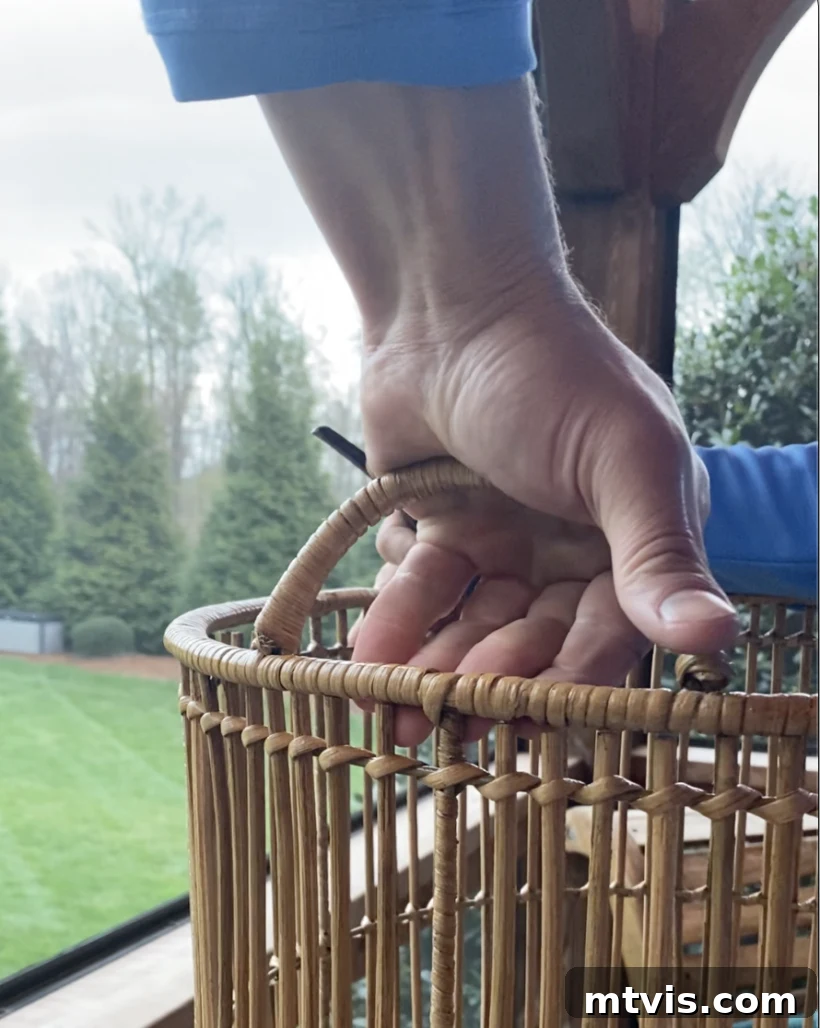
Take your two chosen baskets that will act as your chandelier shades. Many baskets come with handles. For a clean, seamless look, you’ll want to remove these. We found that gently bending the handles back and forth several times at their attachment points was enough for them to snap off easily. Depending on your basket material, you might need wire cutters for metal handles or scissors for woven ones. Ensure the rim of the basket is smooth after removal.
Step 7: Attach the Baskets to the Chandelier Base
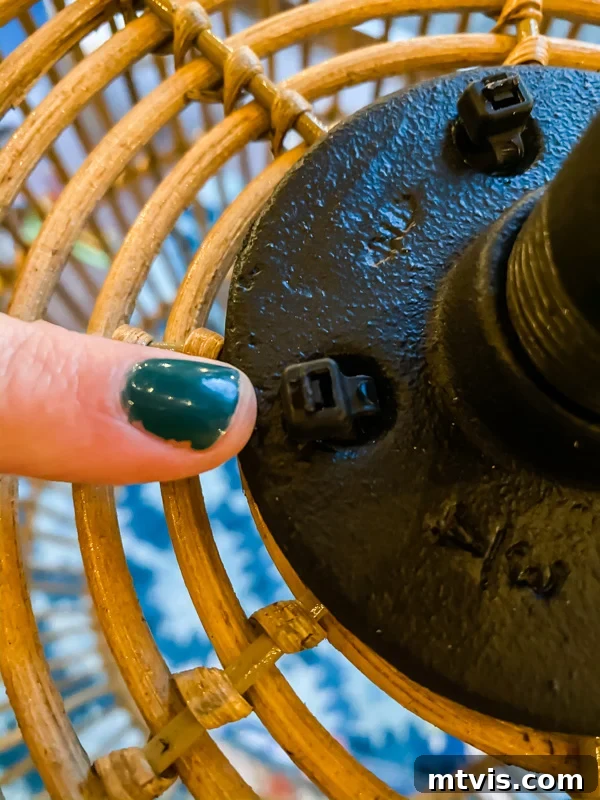
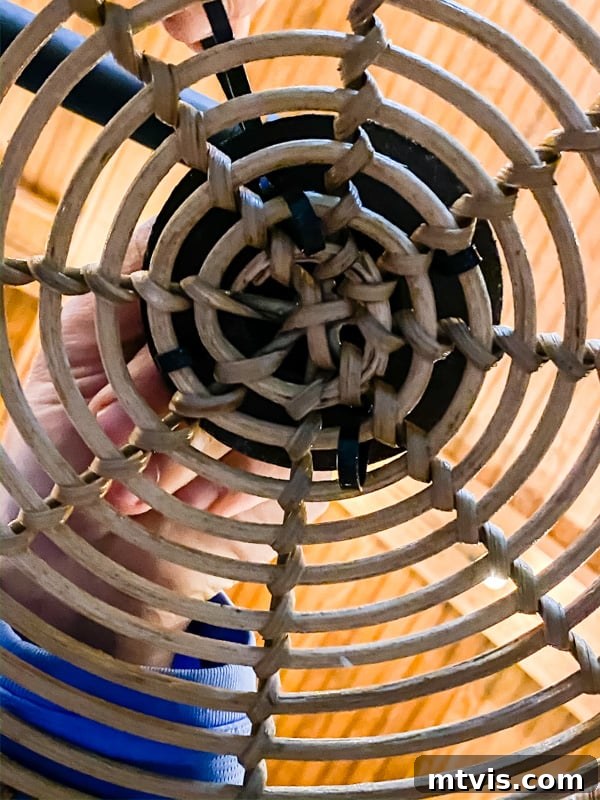
Now it’s time to add your “lampshades” to the chandelier frame. Position each basket so that it covers one of the floor flanges on the horizontal arms of your chandelier base. Use zip ties to securely attach the basket to the floor flange. Loop the zip ties through the weave of the basket and around the flange, pulling them tight. Trim any excess zip tie material for a neat finish. We recommend using several zip ties per basket to ensure they are stable and hang evenly.
Step 8: Install the “Magic Lights”
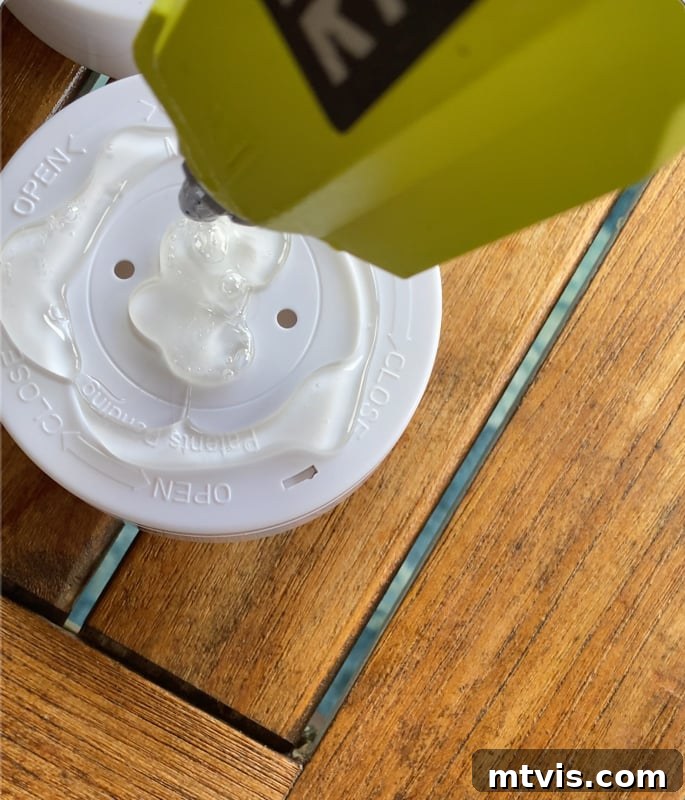
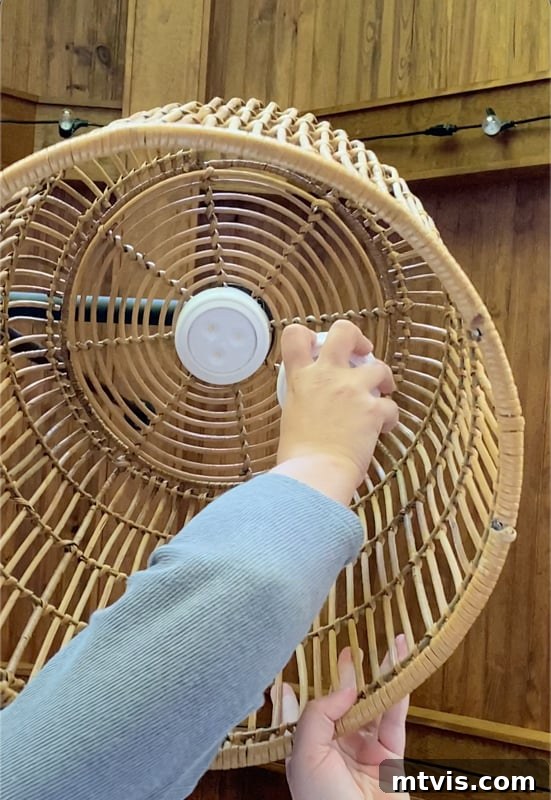
Here’s where the “magic light trick” comes into play! Take your battery-operated puck lights. We used three per basket for optimal brightness and ambiance. Apply hot glue generously to the back of each puck light and firmly press it onto the inside top surface of each basket. Arrange them evenly to ensure a balanced glow. The hot glue provides a strong, quick bond that holds the lights in place. Since these lights are battery-operated and controlled by a remote, there’s absolutely no wiring required, making this project incredibly safe and simple for outdoor use.
Enjoying Your New Outdoor Chandelier!
That’s it! Your gorgeous DIY outdoor chandelier is now complete. The battery-operated puck lights we used come with a small remote control, which we conveniently keep on our outdoor dining table. With a simple click, you can turn them on and off, adjusting the light to create the perfect amount of ambiance for evening meals, lively conversations, or quiet relaxation. They cast a soft, inviting glow that’s ideal for both atmosphere and ensuring enough visibility in your outdoor space.
Customization Tips & Variations
While we love the rustic-industrial look of our gas pipe and woven baskets, feel free to get creative! Here are a few ideas for customizing your DIY outdoor chandelier:
- Basket Style: Experiment with different basket materials like metal, wire, or even plastic ones spray-painted to look metallic.
- Pipe Finish: Instead of black, you could spray paint your pipes a metallic bronze, silver, or even a bold color to match your decor.
- Light Quantity: If your baskets are smaller or you desire more intense lighting, you could add more puck lights. Conversely, fewer lights would create a softer, more intimate glow.
- Embellishments: Consider adding faux greenery, beaded garlands, or outdoor-rated fairy lights wrapped around the pipes for extra sparkle.
What do you think of this easy and impactful outdoor lighting solution? We are thrilled with how it transformed our screened-in porch into a true sanctuary. This isn’t our first venture into DIY lighting, and it certainly won’t be our last! We believe well-designed lighting is key to creating a home you love, both indoors and out. Below, you can explore some of our other lighting projects and discover more ideas for enhancing your outdoor spaces:
- DIY Bentwood Pendant Light
- DIY Wood Bead Chandelier
More OUTDOOR IDEAS
SEE ALL outdoor POSTS
Fire Pit Ideas for Every Outdoor Space
How to Make a DIY Outdoor Chandelier
Modern DIY Garden Trellis
DIY Outdoor Electrical Box Cover
DIY Diamond Wire Trellis for a Vine
A Complete Review of Vego Garden Beds: Pros, Cons, and Everything In-between
Curious about how we approach transforming rooms and spaces throughout our home? Our unique methodology is detailed in Designer in a Binder® – your ultimate guide to decorating your home with confidence and ease.
And if you want to stay in the loop for exclusive content, behind-the-scenes sneak peeks, and fresh DIY and design inspiration delivered straight to your inbox, be sure to subscribe before you head out! We’re always sharing new ways to make your home beautiful and functional.