
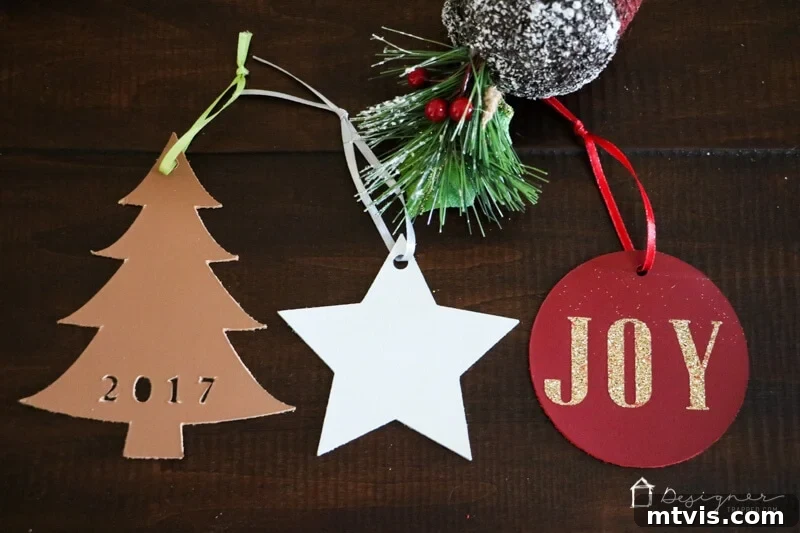
Elevate Your Christmas Decor with Unique Handmade Leather Ornaments
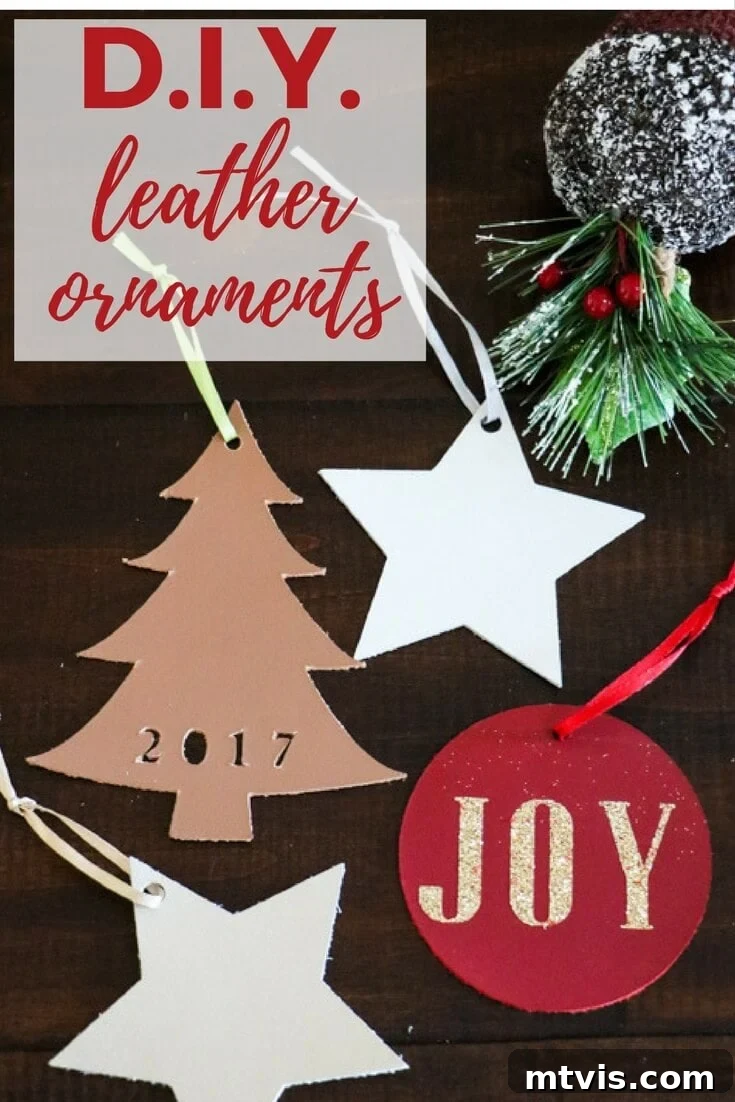
Are you looking to infuse your Christmas tree with a touch of modern elegance and a unique handcrafted charm this holiday season? Look no further than these stunning DIY leather Christmas ornaments! Not only do they offer a sophisticated aesthetic that stands out from traditional decorations, but they are also incredibly simple to create, especially when you have the right tools at your disposal. Crafting with leather might sound intimidating, but with a precise cutting machine like the Cricut Maker, transforming raw leather into beautiful, personalized ornaments is a quick and enjoyable process.
If you’ve been following my creative journey, especially on Instagram, you’ll know that this year was all about handmade ornaments for our nine-foot Christmas tree. It was a delightful challenge, but one that brought immense joy and precious bonding moments with my daughters. Together, we crafted a diverse collection, including DIY photo Christmas ornaments, charming felt ornaments, and beautiful wood and leather creations. These elegant leather ornaments are the perfect culmination of my handmade ornament tutorials, offering a contemporary twist to festive decorating that I’m excited to share with you. They perfectly blend rustic charm with a sleek, minimalist design, ensuring your tree looks both cozy and chic.
This post contains some affiliate links for your convenience (which means if you make a purchase after clicking a link I will earn a small commission but it won’t cost you a penny more)! Click here to read my full disclosure policy.
Crafting Modern Leather Christmas Ornaments: A Step-by-Step Guide
There’s something incredibly rewarding about adorning your home with decorations you’ve made yourself. These DIY leather Christmas ornaments offer not just a creative outlet but also a chance to add truly unique pieces to your festive collection. Leather provides a tactile and visually appealing texture that elevates any Christmas tree, making it feel both rustic and contemporary. Follow this comprehensive tutorial to create your own set of stylish, personalized leather ornaments that will be cherished for years to come.
Why Choose Leather for Your Christmas Ornaments?
Leather might not be the first material that comes to mind when thinking about Christmas ornaments, but its unique qualities make it an exceptional choice. Here’s why leather stands out:
- Modern Aesthetic: Leather offers a sleek, minimalist look that complements contemporary home decor trends. Its natural texture adds warmth and sophistication.
- Durability: Unlike delicate glass or fragile paper ornaments, leather is incredibly resilient. These ornaments are built to last, becoming treasured keepsakes year after year.
- Versatility: Leather comes in a variety of colors, finishes, and thicknesses. You can choose from metallics, rich jewel tones, or classic neutrals to match any decor theme.
- Personalization Potential: Leather is perfect for adding custom touches. Whether you cut intricate designs, apply iron-on vinyl, or even emboss, the possibilities for personalization are endless.
- Easy to Work With (with the right tools): While traditionally difficult to cut by hand, a precision cutting machine like the Cricut Maker makes working with leather incredibly simple and efficient.
MATERIALS NEEDED: Your Essential Toolkit for Leather Ornament Crafting
Before diving into the creative process, gathering all your materials is crucial for a smooth and enjoyable crafting experience. Here’s a detailed list of what you’ll need to create your beautiful leather Christmas ornaments:
- Cricut Leather: I highly recommend using Cricut brand leather for its consistent quality and ease of cutting with Cricut machines. It’s specifically designed to work well with their Adaptive Tool System. Experiment with various colors; for a festive yet modern look, I used gold, silver, and cranberry, but feel free to choose shades that complement your existing Christmas decor.
- Cricut Maker cutting machine: This machine is truly a game-changer for working with materials like leather. Its Adaptive Tool System allows for incredibly precise cuts on thicker materials, ensuring clean edges and intricate details that would be nearly impossible by hand. If you’re on the fence about investing in a cutting machine, you can read my comprehensive review of Silhouette vs. Cricut machines and my full review of the Cricut Maker to help you decide.
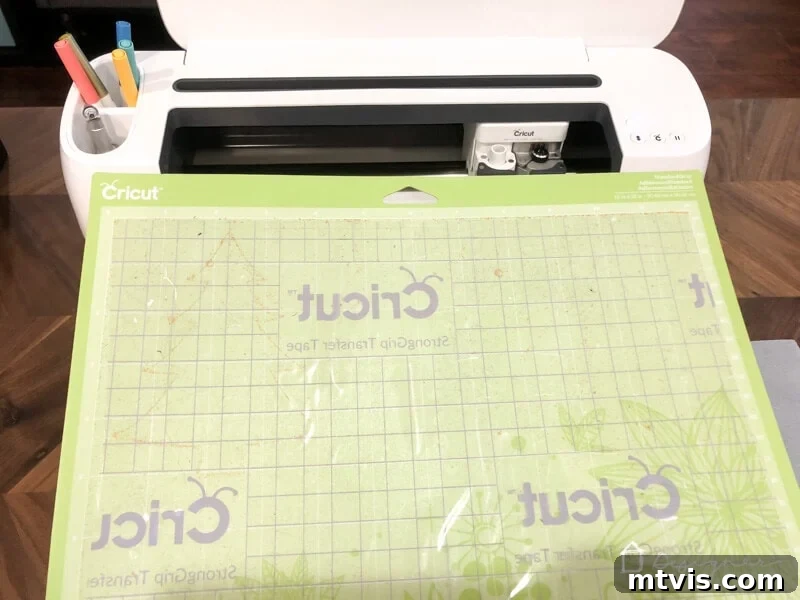
- Cricut StrongGrip Transfer Paper: This is a secret weapon for clean leather cuts! Applying this to your cutting mat before placing the leather helps stabilize the material, prevents shifting during cutting, and significantly reduces the amount of residue left on your mat.
- Cricut cutting mat: A standard StrongGrip mat (purple) is generally recommended for leather, but the transfer paper will help protect it.
- Ribbon or suede cord: Choose a material that complements your leather colors and desired aesthetic. Suede cord offers a rustic touch, while satin or velvet ribbon can add a luxurious feel.
- Cricut Iron On: If you plan to add words or intricate designs to your leather, iron-on vinyl is perfect. I used glitter gold for a sparkling festive touch, but metallic, matte, or holographic iron-on would also look fantastic.
- Cricut EasyPress or high-quality iron: An EasyPress provides consistent, even heat distribution, which is ideal for applying iron-on vinyl smoothly and securely. A good quality iron can also work, but ensure it maintains a steady temperature.
- Blanket or towel: Essential for protecting your work surface from the heat of the EasyPress or iron.
- Scissors: For trimming ribbons and any excess material.
- Weeding tool: Indispensable for removing excess iron-on vinyl from your cut designs, especially for intricate text or patterns.
- Optional (but REALLY helpful for weeding the glitter iron on) is the Cricut BrightPad: This illuminated light pad makes seeing cut lines on glitter iron-on incredibly easy, saving you time and frustration during the weeding process.
STEPS: Your Guide to Crafting Stunning Leather Ornaments
If you prefer a visual guide, many excellent video tutorials are available online that walk you through the Cricut Design Space process and machine operation for cutting leather.
1) Design Your Ornaments in Cricut Design Space: The Creative Core
- Cricut Design Space is your creative hub. It’s where you’ll bring your ornament ideas to life. For your convenience, I’ve shared my exact design files, which you can access directly:
- Click here to access my leather Christmas tree ornaments design file.
- Click here to access my leather Christmas star ornaments design file.
- Click here to access my leather Christmas circle ornaments with iron-on words design file.
- Click here to access my leather Christmas tree ornamentswith year and wordcutouts design file.
- Customization is Key: While these files provide a great starting point, I encourage you to unleash your creativity! You can easily modify these designs, add personalized monograms, names, special dates, or incorporate other festive shapes like reindeer, snowflakes, or stockings. Experiment with layering different shapes for a multi-dimensional effect. Ensure your designs are sized appropriately for ornaments – typically between 3-5 inches for good visibility on a tree. Remember to mirror your design in Design Space if you plan to use iron-on vinyl.
2) Precise Cutting of Leather Shapes: The Cricut Maker Difference
Once your designs are finalized, it’s time for the Cricut Maker to work its magic. This step is where the precision of the machine truly shines, allowing for intricate cuts that are impossible by hand.
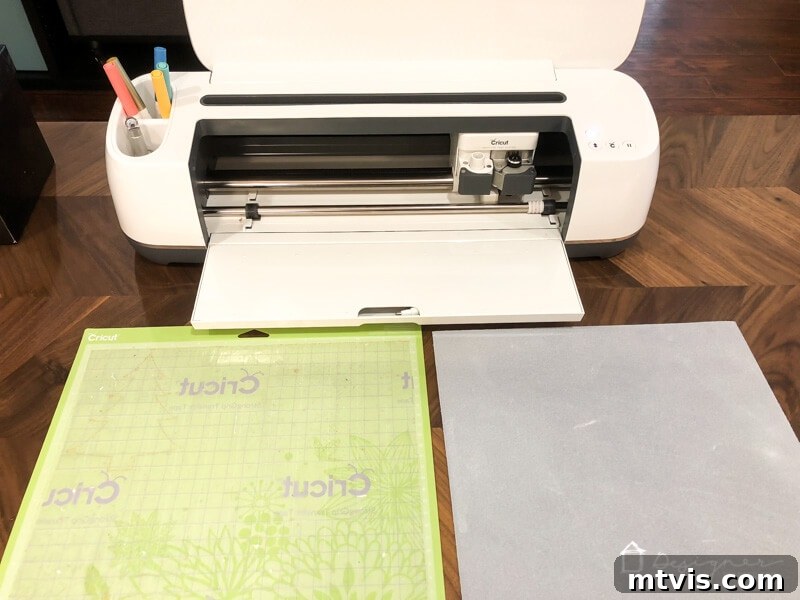
- Preparing Your Mat: For the star and Christmas tree ornaments, the cutting process is straightforward. However, for cleaner cuts and to protect your cutting mat, I discovered a game-changing tip: place Cricut StrongGrip transfer paper down on your cutting mat first, and then firmly adhere your leather on top of the transfer paper. This creates a more stable surface for the leather, preventing it from shifting during cutting and minimizing the leather fibers left behind on your mat. This “AHA!” moment saved me from sticky messes and significantly prolonged the life of my mats.
- Loading and Cutting: Select the “Tooling Leather” or “Faux Leather” setting in Design Space, depending on your material, and ensure the Deep-Point Blade (or Knife Blade for thicker leather) is installed. Load your prepared mat into the machine and press “Go.” The Cricut Maker will meticulously cut out your chosen shapes with impressive accuracy.
3) Applying Glitter Iron-On: Adding Sparkle and Personalization
If you’re creating the personalized leather Christmas ornaments with glitter iron-on, this step adds that extra layer of festive sparkle and customized messaging.
- Cutting Your Iron-On: In Design Space, make sure you’ve selected the appropriate iron-on setting and remember to MIRROR your design before cutting. Cut out both your leather ornament circles and your iron-on transfer words.
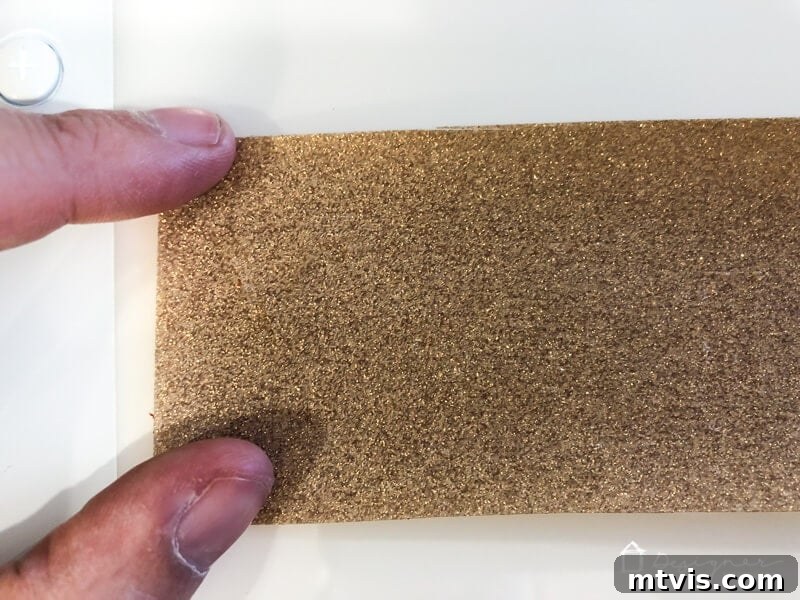
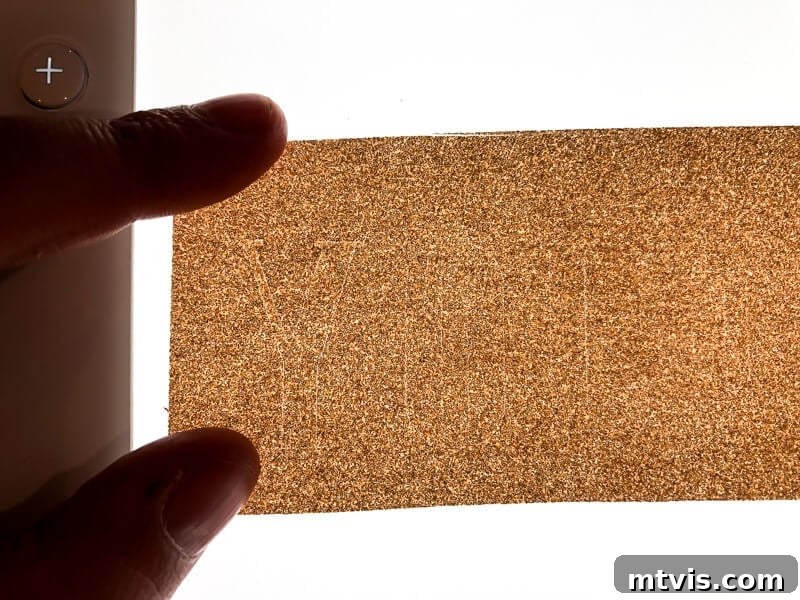
- Weeding the Design: After cutting, carefully weed your iron-on designs. This involves removing all the excess vinyl that isn’t part of your final design. For intricate patterns or glitter iron-on, this can be challenging. I found my Cricut BrightPad to be incredibly helpful here. Its bright, even illumination made the cut lines of my red glitter iron-on incredibly visible, transforming a potentially tedious task into a much easier process.
4) Ironing On Your Designs: Secure and Smooth Application
With your iron-on designs weeded, it’s time to transfer them onto your leather ornaments. Proper heat and pressure are crucial for a lasting bond.
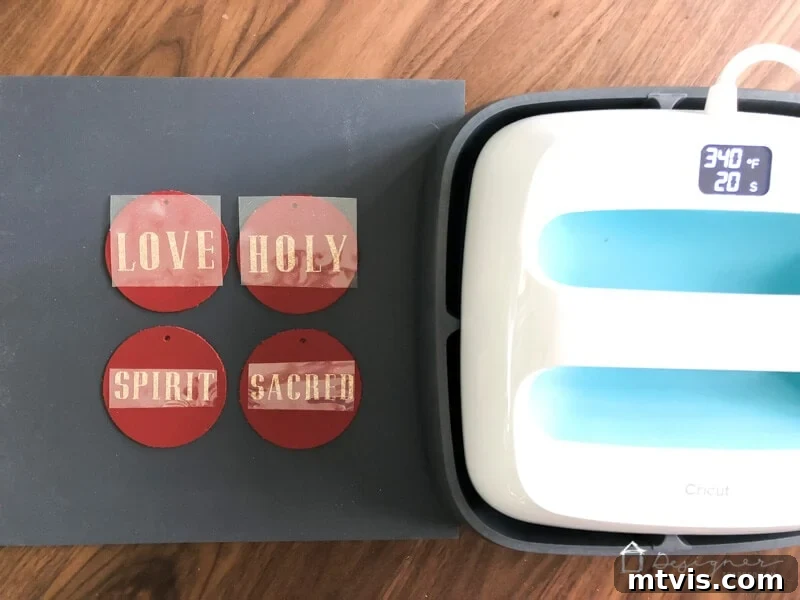
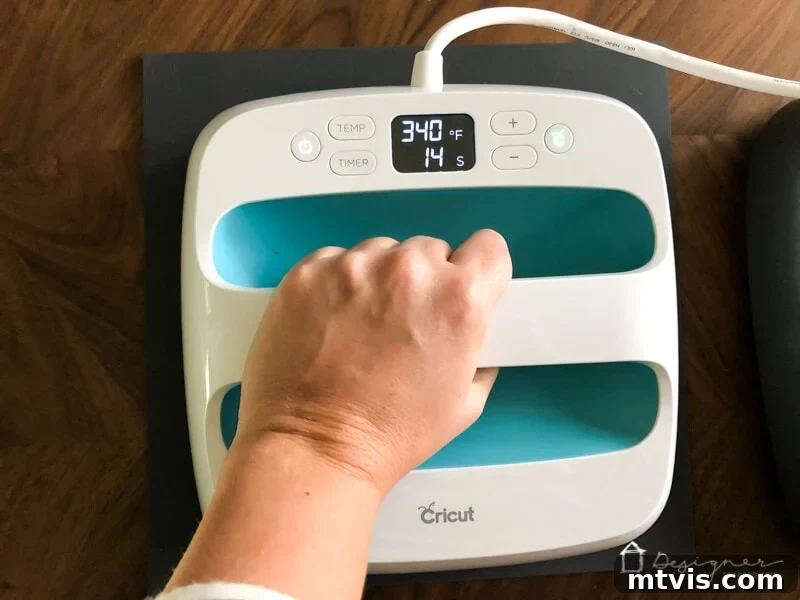
- Preheat and Prepare: While you’re weeding, preheat your iron or Cricut EasyPress. I set mine to 340 degrees Fahrenheit (approximately 170 degrees Celsius) and the timer to 20 seconds. Always place a thick towel, blanket, or silicone mat under your project to protect your work surface from the intense heat.
- Application: Carefully position your weeded iron-on design onto your leather circle. Apply even pressure with your EasyPress or iron for the set time. The settings I used worked perfectly every single time, resulting in a flawless transfer without damaging the leather. Once the iron-on has cooled slightly, carefully peel back the carrier sheet. If any part of the design lifts, simply re-apply heat for a few more seconds.
5) Finishing Touches: Adding Ribbons and Cords
The final step is to add the hanging element, bringing your beautiful leather ornaments to completion.
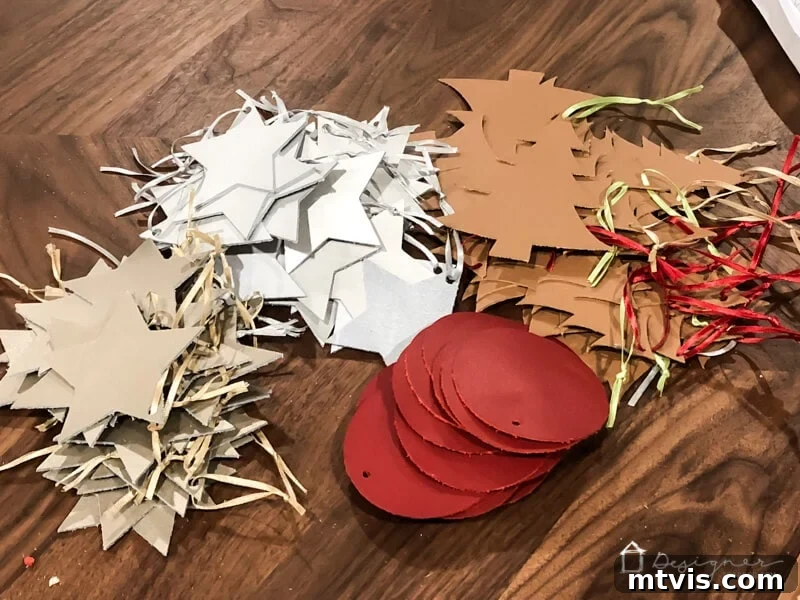
- Tie it Up: Once all your designs are cut and applied, thread your chosen ribbon or suede cord through the pre-cut holes in your leather ornaments. You can opt for a simple knot, a decorative bow, or even add a small bead for an extra touch of flair. My sweet girls were a huge help with this step – and thank goodness, because we had quite a number to tie! Seeing their little hands meticulously adding the cords made the experience even more special.
Tips for Flawless Leather Ornament Crafting
- Material Settings: Always double-check your material settings in Design Space. Leather thickness varies, so a test cut on a small scrap piece is always a good idea to ensure perfect cuts without damaging your material or blade.
- Blade Care: Keep your Deep-Point Blade (or Knife Blade) clean and sharp. Leather can be tough on blades, so replace them when you notice cuts aren’t as clean.
- Mat Maintenance: The StrongGrip transfer paper is excellent for keeping your mat clean, but regular cleaning of your mat will also extend its life and adhesive quality.
- Storage: Store your completed leather ornaments flat in a box to prevent them from bending or getting creased, especially if they have delicate cutouts or iron-on details.
The End Result: Semi-Handmade Perfection
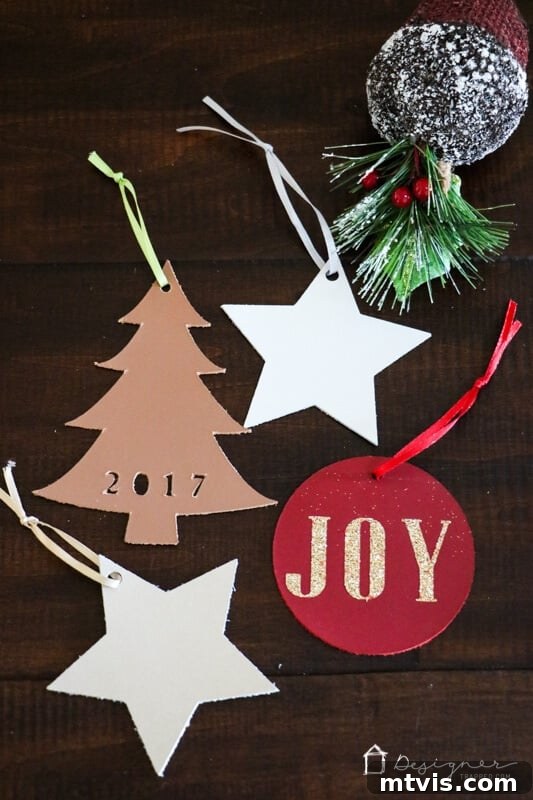
I absolutely adore how these leather handmade Christmas ornaments turned out. The combination of the rich texture of leather with modern designs creates a truly captivating look that elevates our Christmas tree. The best part? The Cricut Maker meant I didn’t have to cut everything out by hand, saving countless hours and ensuring precision. I guess you could call them “semi-handmade Christmas ornaments,” but the love and care that goes into designing and assembling them makes them truly special!
Share Your Creations & Get More Inspiration!
If you’re as smitten with these handmade leather Christmas ornaments as I am, please do me a favor and save this idea to Pinterest or share it on Facebook. It helps spread the joy of crafting and allows others to discover this unique decorating idea. Your shares are incredibly valuable!
And before you go, don’t forget to grab my collection of free Christmas printables to further enhance your holiday decor. There’s always more inspiration to be found for making your home festive and cozy!
