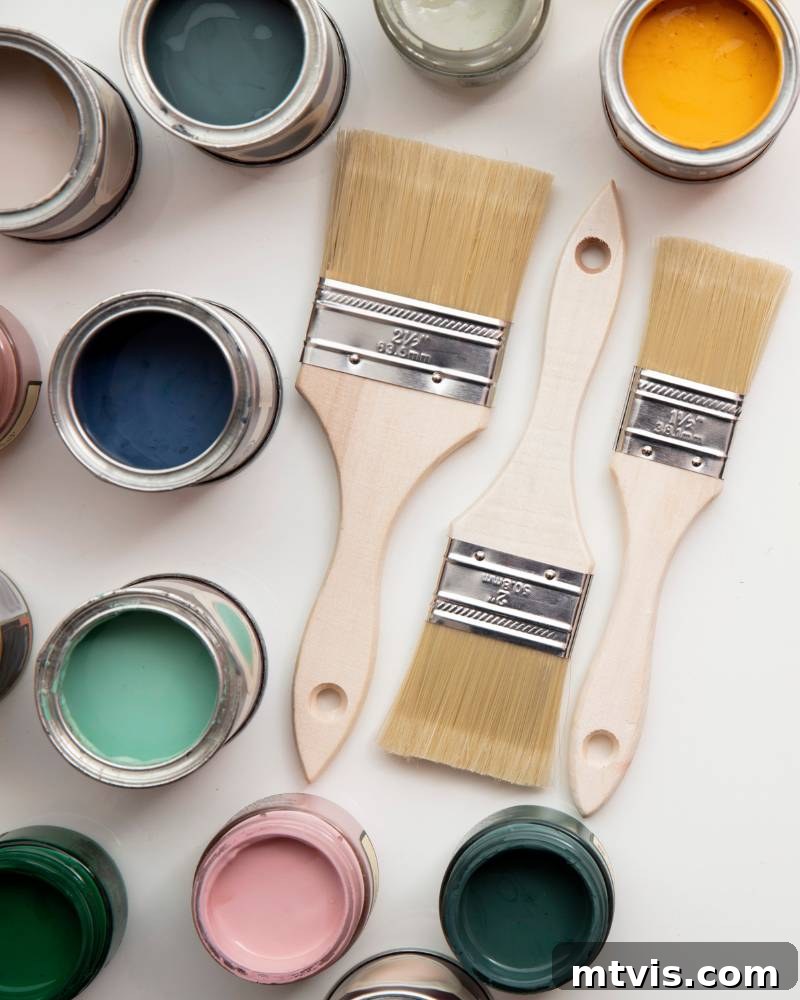
Embarking on a DIY room painting project is an exciting way to transform your living space. However, one of the most common questions that quickly arises is: “How much paint do I actually need?” This seemingly simple question can lead to frustrating repeat trips to the hardware store for more paint, or worse, overbuying and wasting money on unused gallons. As experienced homeowners who have tackled countless painting projects, we understand this challenge intimately. We’ve developed a reliable system to accurately estimate paint quantities, and we’re thrilled to share our time-tested paint calculator formulas, guidelines, and expert tips to help you master your next room painting endeavor.
Accurately determining the right amount of paint is crucial for a smooth and efficient project. It’s not just about the size of the room; factors like wall condition, dramatic color changes, and the specific type of paint you choose all play a significant role. This comprehensive guide will walk you through everything you need to know, ensuring you buy just the right amount of paint, every single time.

Table of Contents
Painting a room involves more than just picking up a brush. Before you even open a can, you need to navigate several important decisions. First, selecting the perfect paint color that sets the right mood for your space is key. Then, understanding different paint sheens is essential, as gloss levels dramatically impact durability and appearance. We always recommend taking the time to test paint color samples on multiple walls to see how light affects them throughout the day. Once these creative decisions are made, the practical task of figuring out how much paint to buy becomes the next crucial step. Let’s dive into the detailed process of accurately calculating your paint needs for any project.
How Do I Calculate How Much Paint I Need?
A Note About Priming: When to Prime and Why It Matters
Many DIY painters are tempted to skip the priming step, especially with the prevalence of “paint + primer in one” products. However, understanding the true purpose of primer can save you significant time, money, and frustration in the long run. Priming walls before painting is often a highly recommended, if not essential, step that lays the foundation for a flawless finish.
While many modern paints boast a “paint + primer in one” formula, these are best suited for surfaces that are already in good condition and being painted with a similar color. A dedicated primer offers distinct advantages. For instance, if you’re painting new or unfinished drywall, priming is absolutely mandatory. Unprimed drywall will absorb paint unevenly, leading to a patchy finish and requiring excessive coats. Primer creates a uniform surface, ensuring consistent absorption and a professional look.
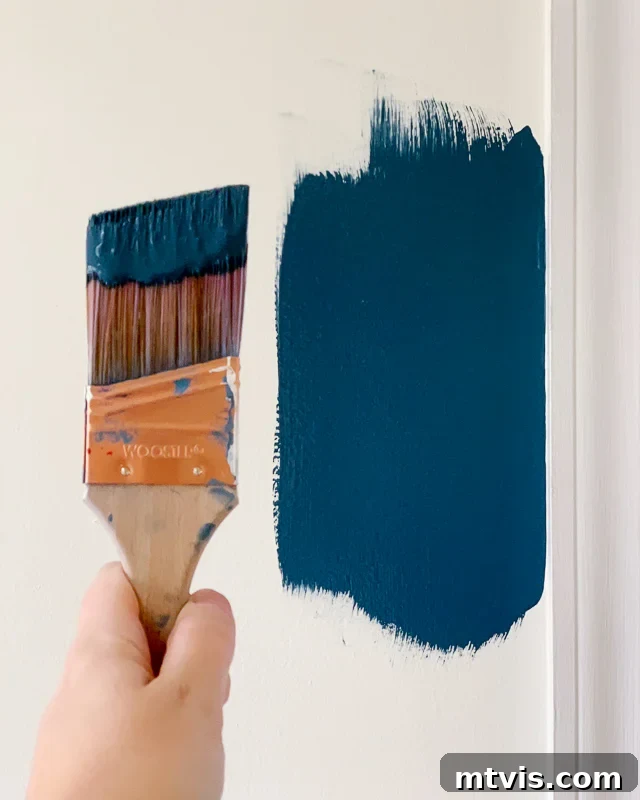
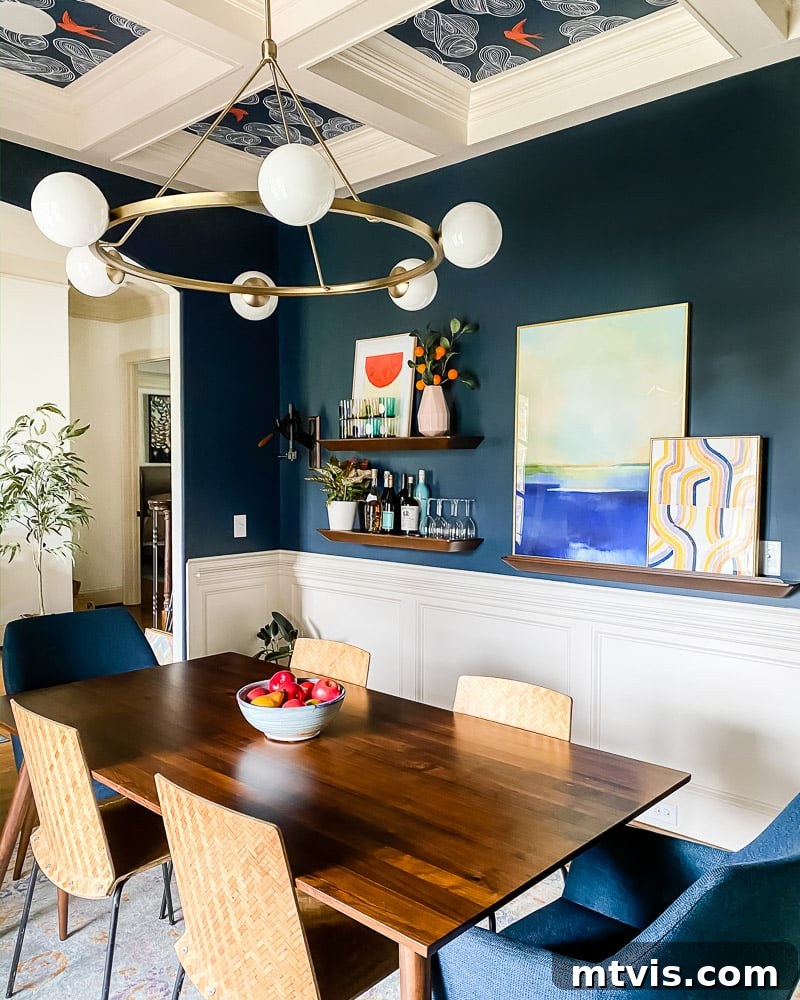
Furthermore, separate primers excel at covering previous colors, particularly when transitioning from a dark shade to a lighter one. They also effectively hide stains and imperfections—such as water damage, crayon marks, or smoke residue—in a way that combined paint + primer products simply cannot. Tinted primers are especially useful; if you’re planning to paint your walls a dark color, ask your paint store to tint the primer towards your chosen shade. This dramatically improves coverage, often allowing you to achieve full color saturation with one less coat of your expensive finish paint, ultimately saving you money. For example, when painting walls in rich navy blue hues, a tinted primer has proven invaluable for us, ensuring superior coverage and a vibrant, even color.
That said, there are situations where skipping primer is acceptable. If you’re painting over a previously painted or primed surface that is clean and in excellent condition, and you’re using a similar color (or precisely matching an existing paint color), you might be able to forgo a separate primer coat. Always assess your wall’s condition and color change before deciding.
Step 1: Calculate the Surface Area You Will Be Painting
The first and most critical step in determining your paint needs is accurately calculating the total surface area you intend to cover. This involves simple measurements and basic arithmetic. You’ll need a tape measure, a notepad, and a pen.
- Measure Wall Lengths: Measure the length of each wall you plan to paint.
- Measure Wall Height: Measure the height of the walls from floor to ceiling. Ensure this measurement is consistent around the room.
- Calculate Individual Wall Area: Multiply the length of each wall by its height to get the square footage of that wall.
- Sum Wall Areas: Add together the square footage of all the walls to get your total wall area.
- Account for Doors and Windows (Optional, but Recommended for Accuracy): While often overlooked, subtracting the area of doors and windows can lead to a more precise estimate, especially in rooms with many openings. Measure the height and width of each door and window, calculate their individual areas, and subtract these from your total wall area. For a quick estimate, you can often ignore these small subtractions, but for large openings or multiple features, it can make a difference.
- Calculate Ceiling Area: If you plan to paint your ceiling the same color as your walls, or a different color altogether, you’ll need its area. Measure the length and width of the room, then multiply these two values to get the ceiling’s square footage. Add this to your total wall area if painting it the same color.
IMPORTANT CONSIDERATION: TEXTURED SURFACES
Textured walls or ceilings, such as those with popcorn ceilings or heavy knockdown textures, have a significantly increased surface area compared to smooth walls. This means they will absorb more paint and require more coverage. When calculating for textured surfaces, it’s advisable to add approximately 20 percent more to your total calculated square footage. For instance, if your room measures 400 square feet of wall area, adjust your calculation to 480 square feet to account for the texture.
EXAMPLE CALCULATION: Let’s assume you have a rectangular room that is 12 feet long and 10 feet wide, with walls that are 8 feet high. You plan to paint all four walls and the ceiling the same color.
- Wall Area: Two walls are 12 ft long, two are 10 ft long. All are 8 ft high.
- (12 ft * 8 ft) * 2 = 96 sq ft * 2 = 192 sq ft
- (10 ft * 8 ft) * 2 = 80 sq ft * 2 = 160 sq ft
- Total Wall Area = 192 sq ft + 160 sq ft = 352 sq ft
- Ceiling Area: 12 ft * 10 ft = 120 sq ft
- Total Paintable Surface Area = 352 sq ft (walls) + 120 sq ft (ceiling) = 472 sq ft
Knowing the precise square footage of your painting area is the fundamental step. This measurement forms the basis for all subsequent calculations and helps prevent those inconvenient mid-project runs to the store for more paint.
Step 2: Check the Coverage Area of the Paint
Once you have your total surface area, the next step is to understand how much area a single gallon of your chosen paint can cover. Paint coverage is a critical factor, as insufficient paint will result in bare spots, visible old colors, or a streaky finish. The good news is that this information is readily available.
Every can of paint has a label that specifies its “coverage area” or “spread rate,” indicating how many square feet it can cover per gallon for a single coat. This number can vary depending on the paint’s quality, sheen, and the manufacturer. A general rule of thumb for most high-quality paints on a smooth, primed, or previously painted surface is approximately 350-400 square feet per gallon. However, this coverage can decrease significantly under certain conditions:
- Unprimed or Porous Surfaces: New drywall, unfinished wood, or highly porous surfaces will absorb more paint, reducing coverage to potentially 250-300 square feet per gallon.
- Textured Walls or Ceilings: As discussed in Step 1, textured surfaces have an increased surface area and require more paint, also reducing coverage to around 250-300 square feet per gallon.
- Drastic Color Changes: Painting a light color over a dark one, or using very vibrant, intense colors, may require more paint for full opacity, even if the surface is smooth.
Always refer to the specific paint can’s label for the most accurate coverage estimate, as this will be tailored to that product’s formulation.
EXAMPLE CALCULATION (Continued): Let’s continue with our room example from Step 1, which has a total paintable surface area of 472 square feet. Suppose the can of paint you plan to use states it covers 400 square feet per gallon on a smooth surface. To calculate the number of gallons needed for a single coat, divide your total surface area by the paint’s coverage area:
Gallons for One Coat = Total Surface Area / Paint Coverage per Gallon
472 sq ft / 400 sq ft/gallon = 1.18 gallons
In this scenario, for a single coat, you would need slightly more than one gallon of paint.
Step 3: Factor in the Number of Coats Needed
Rarely does a painting project require only a single coat of paint for a professional, durable finish. The number of coats needed is a crucial factor that significantly impacts your total paint requirement. While a single coat might suffice if you’re touching up a wall with the exact same color, most projects will demand at least two coats, and sometimes even three.
Consider these factors when determining the number of coats:
- Color Change: Painting over a dark or bright color with a much lighter one almost always requires two, if not three, coats for full opacity and an even finish, even with a primer.
- Paint Quality: Higher quality paints generally offer better coverage and hide imperfections more effectively, sometimes allowing for solid coverage in two coats. Lower quality paints may require more.
- Paint Sheen: Matte or flat paints tend to cover better than higher sheen paints (like satin or semi-gloss), which can sometimes appear more translucent.
- Surface Condition: A highly absorbent or patchy surface, even if primed, might benefit from an extra coat to achieve a consistent look.
- Desired Intensity: For truly vibrant or deep colors, an additional coat can enhance color richness and depth.
More often than not, even with high-quality paint and similar existing colors, we opt for at least two coats to ensure a durable, beautiful, and long-lasting finish. Therefore, it’s prudent to plan for at least two coats in most scenarios, and possibly three for significant color transformations.
To determine the exact number of gallons to purchase, multiply the gallons needed for one coat (calculated in Step 2) by the total number of coats you anticipate applying:
Total Gallons = (Total Surface Area / Paint Coverage per Gallon) * Number of Coats
EXAMPLE CALCULATION (Continued): If our room has a surface area of 472 square feet, and we need 1.18 gallons for a single coat (as calculated in Step 2), and we decide on two coats for the best finish:
(472 sq ft / 400 sq ft/gallon) * 2 coats = 1.18 gallons * 2 = 2.36 gallons
So, you would need approximately 2.36 gallons of paint for this project.
Step 4: Account for Waste and Touch-ups
Even the most meticulous painter will encounter some form of paint wastage. Spills, splatters, paint left in roller trays or brushes, and paint absorbed into drop cloths are all part of a typical painting project. More importantly, you’ll want to have a small amount of leftover paint for future touch-ups. Scuffs, minor damage, or future decor changes might require a quick repair, and having the original paint on hand is invaluable for a seamless fix.
The last thing you want is to be nearing completion of your project, only to run out of paint and face a last-minute dash to the store. This can be particularly frustrating if you’re using a custom color or if the specific batch of paint is no longer available, leading to potential color inconsistencies. To avoid this common roadblock, it’s wise to factor in a buffer for potential waste and future needs.
A good rule of thumb is to add an extra 10% to 15% to your final calculated paint amount. This buffer will comfortably cover minor mishaps and provide a reservoir for touch-ups down the line.
FINAL CALCULATION (Continued): Using our example where we calculated a need for 2.36 gallons of paint for two coats:
2.36 gallons * 1.10 (for 10% waste) = 2.596 gallons
Since paint is typically sold in full gallon (or quart) containers, you would round up. In this case, buying three gallons would be the most sensible option. It is always better to have a little extra than to run short and halt your progress!
Properly storing your leftover paint will ensure it’s ready for those future touch-ups. Keep it in a cool, dry place, sealed tightly to prevent air exposure.
Additional Paint Planning Tips
Beyond the core calculations, a few other considerations can refine your paint estimate and ensure a smoother project:
- Paint Sheen and Its Impact: Different paint sheens (flat, eggshell, satin, semi-gloss, gloss) can subtly affect coverage and the number of coats required. Higher sheen paints tend to highlight imperfections more, sometimes leading to the desire for an extra coat for a flawless finish. They also can sometimes offer slightly less hiding power than flat finishes.
- Trim and Doors: If you’re painting trim, baseboards, crown molding, or doors with a different color than your walls, you’ll need to calculate these areas separately. For trim, a good estimate is often one gallon for every 400 linear feet. For doors, measure each side. Typically, one quart of trim paint can cover the trim and doors in an average-sized room.
- Choosing the Right Tools: The type of rollers and brushes you use can also influence paint consumption. Thicker nap rollers designed for textured surfaces will hold and apply more paint than smoother nap rollers. While not directly part of the calculation, selecting the right tools can make paint application more efficient and reduce overall waste.
- Online Paint Calculators: Many paint brands and home improvement stores offer free online paint calculators. These can be a fantastic tool to double-check your manual calculations or quickly get an estimate. Simply input your room dimensions, and they will provide a suggested quantity.
- Batch Consistency: When purchasing multiple gallons, especially for large projects, try to buy them all at once. Even slight variations between paint batches can lead to noticeable color differences on the wall. If you have to buy more later, mix the new paint with existing leftover paint in a larger bucket (called “boxing” or “intermixing”) to ensure color uniformity.
Frequently Asked Questions About Paint Quantity
As a general guideline, one gallon of paint typically covers approximately 350-400 square feet on a smooth, primed surface. This is roughly enough for a small room like a bathroom that is about 400 square feet, assuming one coat. However, this is a very rough estimate. The actual coverage depends heavily on several factors: the paint’s quality, the surface texture (textured walls will absorb more paint), whether the walls were primed, and the existing color versus the new color. For the most accurate estimate, always use the detailed formula outlined in this guide, factoring in your specific room’s dimensions and chosen paint.
The amount of paint needed for a bedroom varies significantly based on its size. An average-sized bedroom, which might range from 10×12 feet to 12×14 feet (around 800 square feet of wall area for two coats), usually requires approximately two to three gallons of paint. This estimate assumes two coats on a prepared, smooth surface. If the bedroom has high ceilings, a darker existing color, or textured walls, you may need closer to three or even four gallons. Always measure your specific bedroom’s dimensions and apply the calculation steps for the most precise estimate.
The cost to paint a bedroom varies widely depending on whether you DIY or hire professionals, the brand and quality of paint, and if you’re also painting trim and ceilings. If you choose to DIY, a gallon of high-quality paint, like Sherwin Williams Super Paint (a personal favorite), often costs around $50-$70 per gallon (often on sale around $50, non-sale closer to $69). So, for an average bedroom requiring two gallons, your paint material cost would be roughly $100 to $140. If you hire professional painters, costs can range significantly. Based on our experience, having walls double-coated in a bedroom (excluding trim or ceilings) can cost between $350 and $600 per room. This price can fluctuate based on location, wall condition, and the painter’s rates.
A medium-sized living room (e.g., 12×12 feet with 8-foot ceilings) will typically require around three gallons of paint for two coats. However, living rooms often present unique challenges: they can be larger, have higher ceilings, open floor plans connecting to other areas, or more windows and doors. An expansive living room or one with vaulted ceilings could easily require four to five gallons or more. Always calculate the total square footage of your specific living room, including any connected areas if you’re painting them the same color, and then apply the steps for coats and waste.
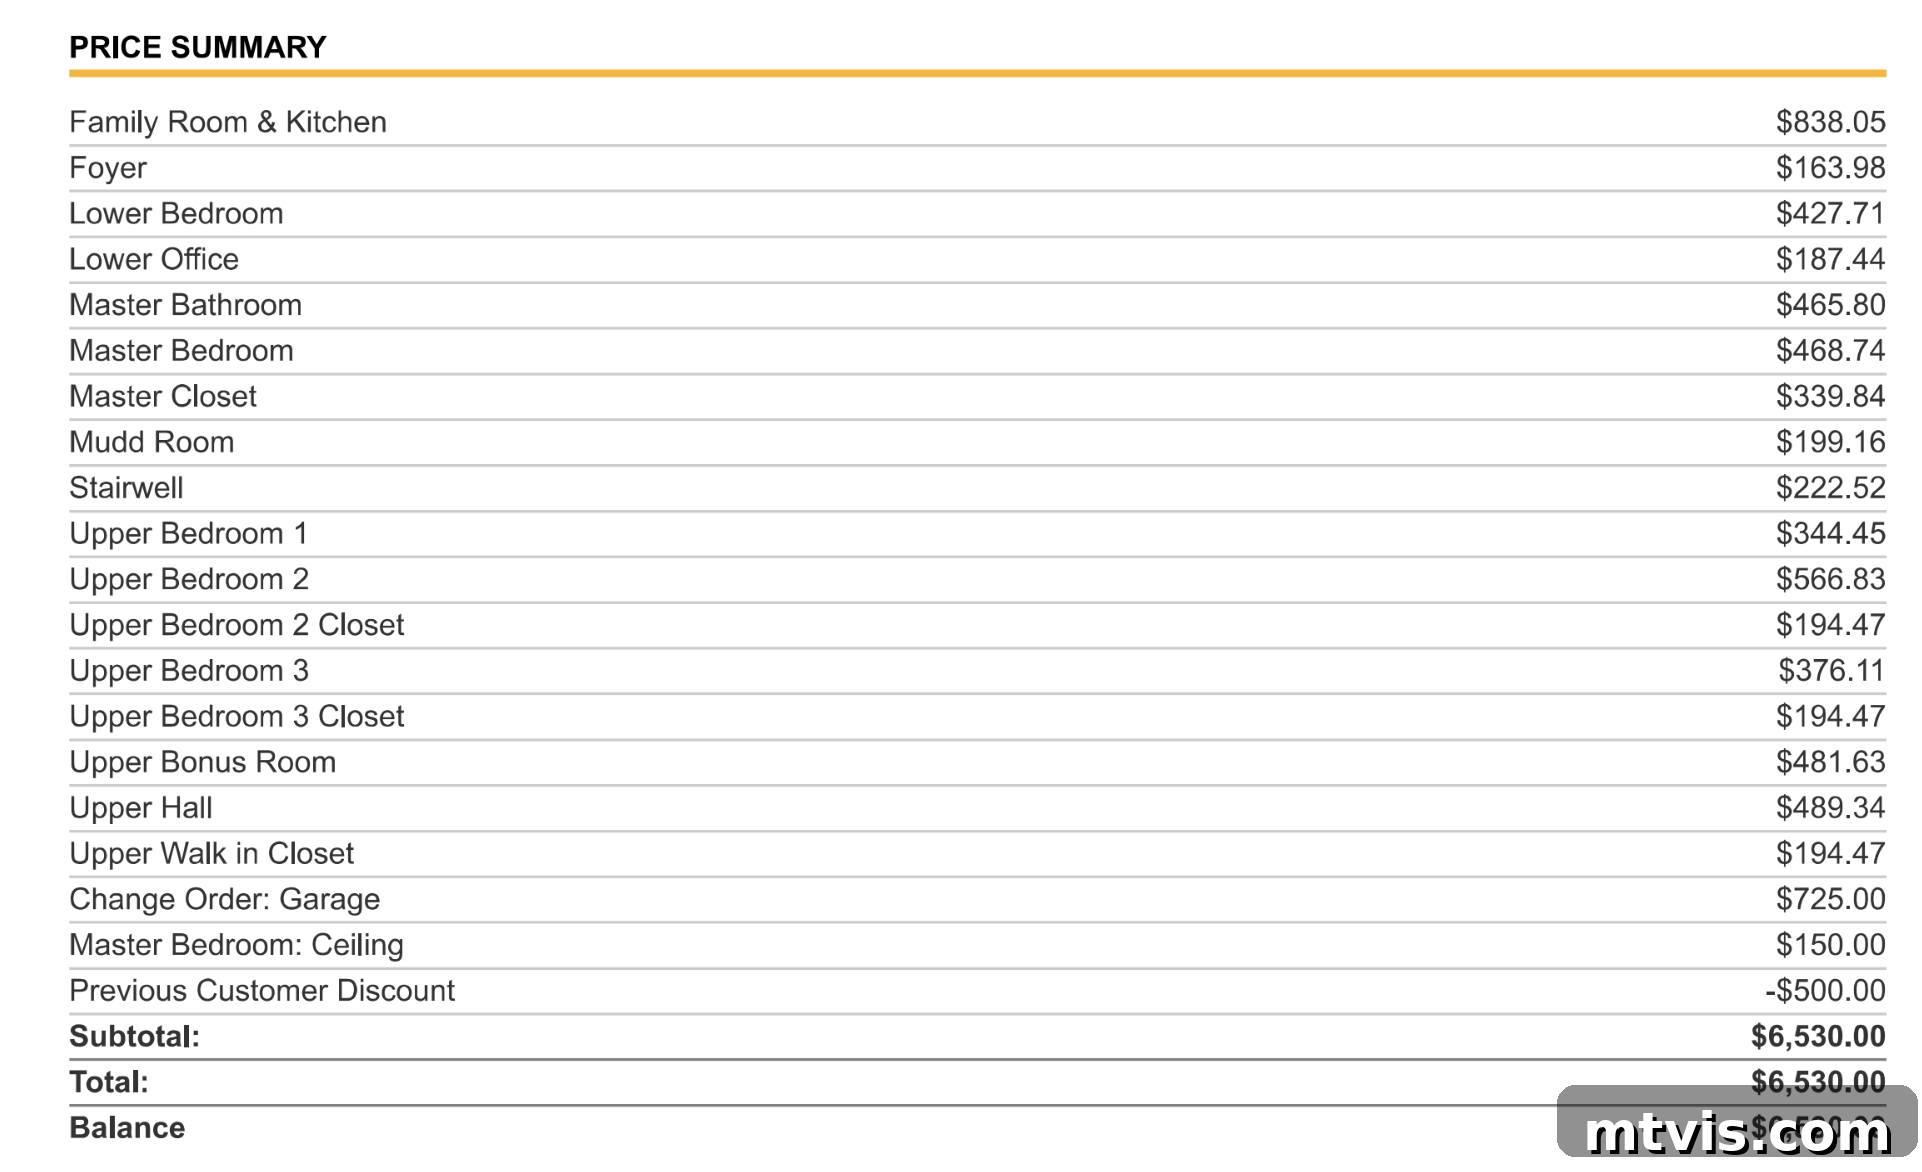
Hiring professional painters is an excellent option when time, energy, or expertise is limited. The cost per room can vary greatly by region, the complexity of the job, and the scope of work. Based on our past experience, for walls that received two coats (without painting trim or ceilings), we paid approximately $344 to $566 per bedroom. Larger spaces, like a great room (family room and kitchen combined), cost us around $838. Smaller areas such as walk-in closets or mudrooms were typically around $200 each. These figures were from October 2020 in North Carolina and included Sherwin-Williams Super Paint by CertaPro painters. Prices can differ substantially based on your geographic location and the current market rates. Always obtain detailed quotes from multiple reputable painting companies to compare costs and services.
For context, here’s a breakdown of what we paid for various rooms:
Mastering the art of paint estimation is key to a successful and stress-free DIY room transformation. By diligently following this four-step formula—calculating surface area, checking paint coverage, factoring in the number of coats, and accounting for waste—you equip yourself with the knowledge to purchase precisely the right amount of paint. Let the math do the hard work for you! This meticulous planning on the front end will prevent frustrating delays and ensures your project flows smoothly from start to finish. You’ll be delighted by how much easier and more enjoyable your painting experience becomes, all thanks to a little preparation.
More Paint Posts
SEE ALL PAINT POSTS
-
9 Life-Changing Painting Hacks Everyone Should Know
-
How Durable are DIY Painted Kitchen Cabinets?
-
How to Paint Kitchen Cabinets (From a DIYer Who Has Done it 3 Times)
-
How Have Our Painted Countertops Held Up?
-
The Best Neutral Paint Colors for Kitchen Cabinets
-
How to Paint IKEA Furniture and Mistakes to Avoid
Wondering how to approach transforming rooms and spaces in your home with confidence? Discover the strategies and inspiration within Designer in a Binder®.
For exclusive content, behind-the-scenes sneak peeks, and more DIY and design inspiration, be sure to subscribe before you go!