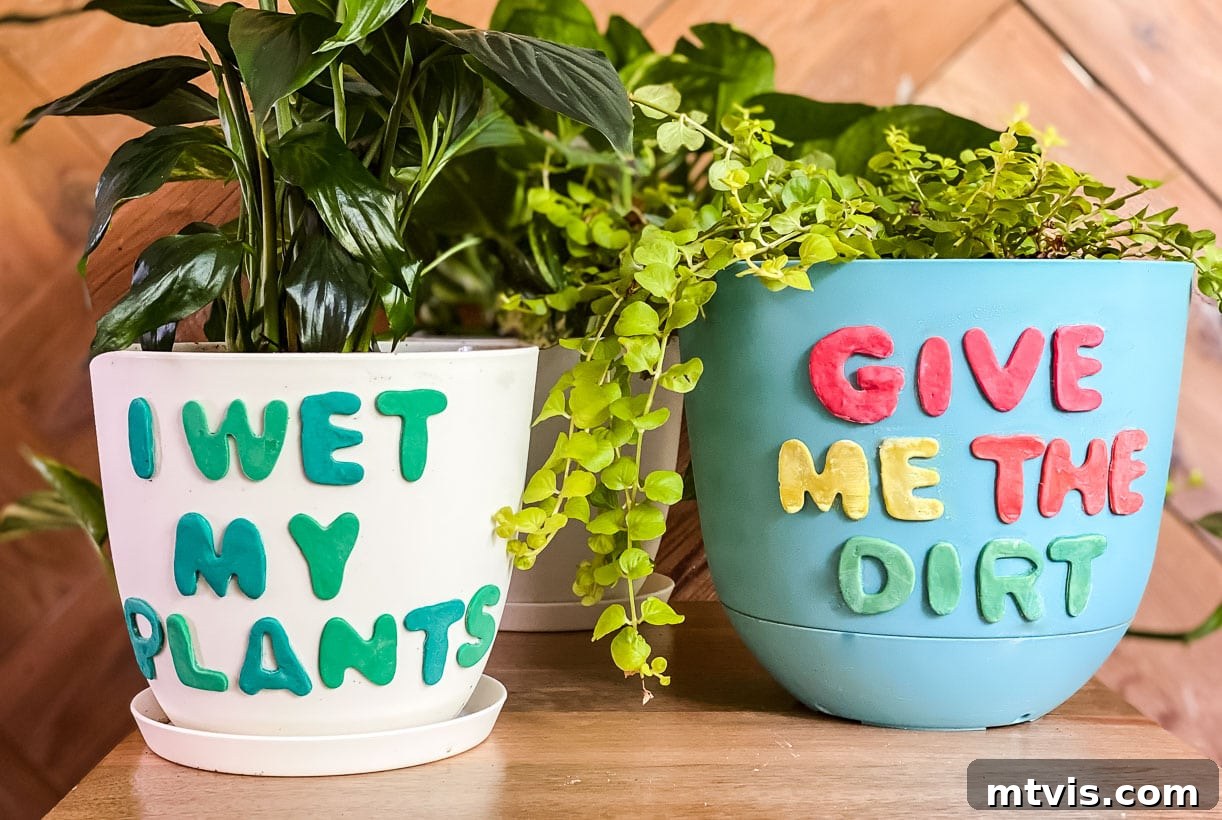
Elevate Your Indoor Garden: A Step-by-Step Guide to Decorating Plant Pots with Polymer Clay
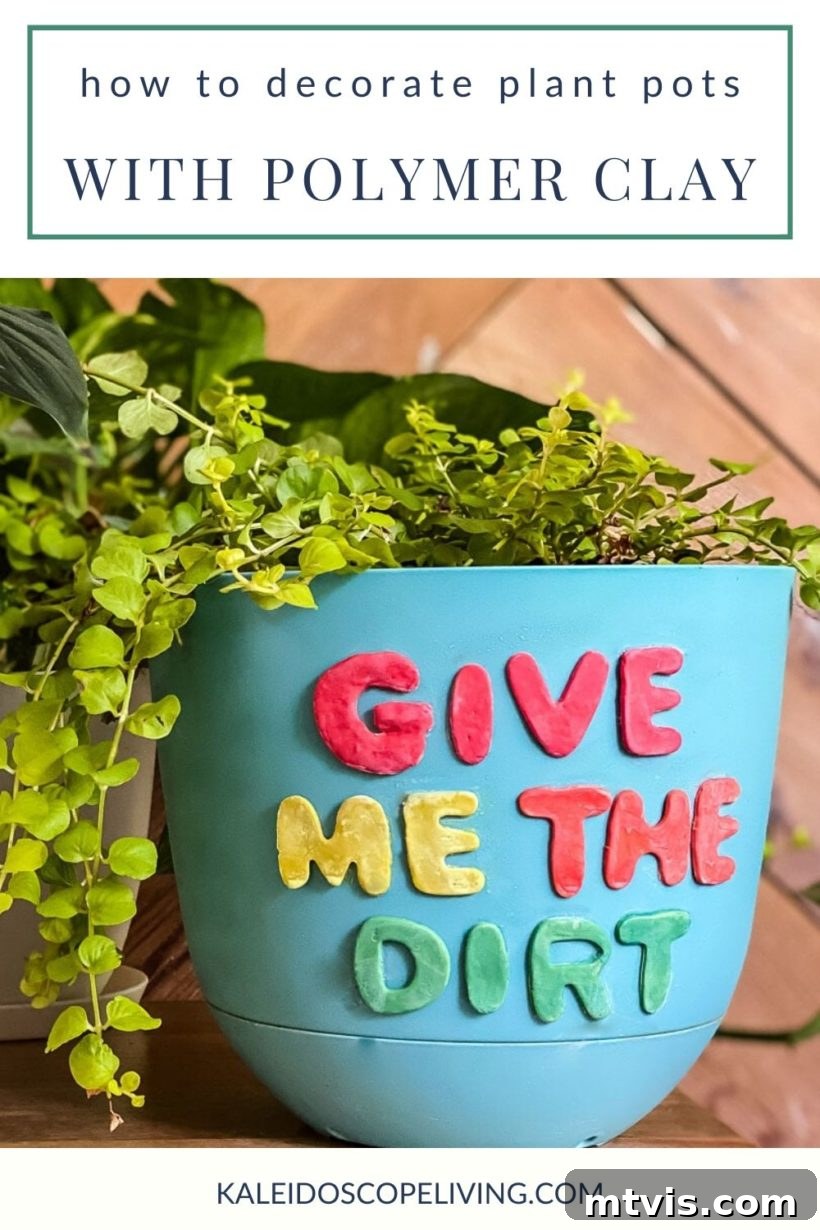
Greetings, fellow plant enthusiasts and DIY aficionados! If you’ve been following my journey on Instagram, you’ll know that I’ve wholeheartedly embraced the delightful world of being a plant parent. My home has blossomed with vibrant greenery, from the serene corners of our master bedroom to the bustling hub of our kitchen. It’s truly incredible how adding a touch of nature can transform any space, creating an atmosphere of calm and beauty. As I always say, every room benefits immensely from at least one living plant, a topic we explored in depth in this podcast episode.
The transition into serious plant parenthood has been a joy, and honestly, a little addictive! Once you bring home that first plant that captures your heart, it’s hard not to want more. And the beauty of it is, plants themselves are often quite affordable, especially if you venture into propagating your own (which I’ve already begun doing in Avery’s room). However, if there’s one area where costs can quickly escalate, it’s in finding stylish, unique, and good-quality planters and plant pots. The market is flooded with options, but the prices for truly eye-catching pieces can be surprisingly high, often dwarfing the cost of the plants themselves.
This challenge led me on a quest to discover creative and budget-friendly ways to house my growing collection of botanical beauties. I’m thrilled to share one of my absolute favorite solutions: transforming inexpensive, plain plastic pots into stunning, personalized works of art using polymer clay. This method isn’t just cost-effective; it’s incredibly fun, allowing for endless creativity and a truly custom look that store-bought pots simply can’t match. Imagine crafting planters that perfectly reflect your personality or complement your home decor! All you need are some basic plastic pots and a spectrum of colorful polymer clay, along with a few other simple tools. Let’s embark on this exciting DIY journey and learn how to easily decorate plant pots, adding a unique flair to your indoor garden.
This creative guide is proudly sponsored by DAP, ensuring our clay designs adhere beautifully. Please note, this post contains some affiliate links for your convenience. Click here to read my full disclosure policy.
How to Decorate Plant Pots with Polymer Clay: A Creative DIY Tutorial
Tired of generic plant pots? This tutorial will walk you through creating bespoke planters that stand out. Polymer clay offers incredible versatility, allowing you to craft intricate designs, bold patterns, or even whimsical characters to adorn your pots. It’s a durable and waterproof material once baked, making it an ideal choice for decorating items that will be exposed to moisture and sunlight. Follow these simple steps to bring your plant pot visions to life.
Materials Needed:
Gathering your supplies is the first exciting step. Most of these items are easily found at craft stores or online, making this a highly accessible DIY project.
- Inexpensive Plastic Pots: Start with basic, smooth plastic pots. Their affordability makes them perfect canvases for transformation. I particularly love these white ones for a clean base, and I found a charming blue option here. Ensure they are clean and dry before starting.
- Polymer Clay: The star of our show! Polymer clay comes in an astonishing array of colors and finishes. This particular set offers a fantastic variety to get you started. Choose colors that complement your plants or home decor.
- DAP Rapid Fuse With Plastic Primer: This is crucial for ensuring a strong, lasting bond between the baked clay and the plastic pot. Regular super glues often fail to adhere effectively to plastic without a primer.
- Corn Starch: A simple yet essential item. Corn starch helps prevent the clay from sticking to your work surface and tools, making it much easier to handle and shape.
- Cookie Cutters: These are perfect for creating uniform shapes, letters, and intricate designs. I used these specific ones for my pots, but feel free to experiment with any shapes you love.
- Parchment Paper, a Cookie Sheet, and an Oven: Necessary for baking and curing your polymer clay creations safely and evenly.
- Sandpaper and Wax (Optional): For an ultra-smooth finish and enhanced color, fine-grit sandpaper and a polymer clay wax can elevate your final product.
Instructions: Crafting Your Polymer Clay Masterpiece
Follow these detailed steps to transform your ordinary plastic pots into extraordinary decorative pieces. Precision and patience will lead to the best results!
Step 1: Prepare Your Workspace with Corn Starch
Before you begin handling the clay, lightly dust your clean, flat work surface with a small amount of corn starch. This simple step is vital as polymer clay can be quite sticky, especially when softened. The corn starch acts as a non-stick barrier, preventing the clay from adhering to your table or rolling pin, ensuring smooth manipulation and easy cleanup.
Step 2: Condition Your Polymer Clay
Select the first color of polymer clay you wish to work with. Polymer clay, straight out of the package, can be firm and crumbly. It needs to be “conditioned” or kneaded to become pliable and smooth. This process is quick and enjoyable! Simply warm it up in your hands, mush it, roll it, and twist it with your fingers until it becomes soft, warm, and easy to work with. Proper conditioning removes air bubbles and ensures a consistent texture, which is crucial for even rolling and baking.
Step 3: Roll Out the Clay to Desired Thickness
Once conditioned, place your softened clay on your corn-starched surface. Use a round object to roll the clay out evenly. The polymer clay set I ordered conveniently included a handy acrylic roller, which is perfect for this task. Aim for a consistent thickness across your clay sheet. While I rolled mine pretty thin to create delicate designs, there are no strict rules here—experiment with varying thicknesses for different effects. Thicker clay will create more robust designs, while thinner clay offers flexibility, especially useful for curving around your pots.
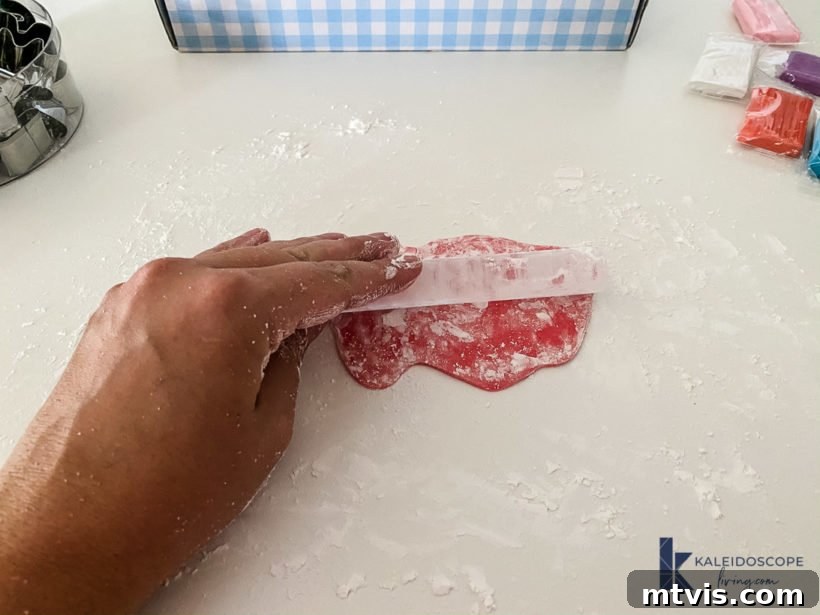
Step 4: Cut Out Your Polymer Clay Shapes
Now for the creative part! Grab your cookie cutters and press them firmly into the rolled-out clay to cut out your desired words, shapes, or patterns. Apply even pressure to get clean edges. If you find the cut clay sticking inside the cookie cutters, gently use the eraser end of a pencil or a small modeling tool to push them out. Remember to be gentle to avoid distorting your carefully crafted shapes. You can also freehand cut designs with a craft knife if you prefer unique, organic forms.
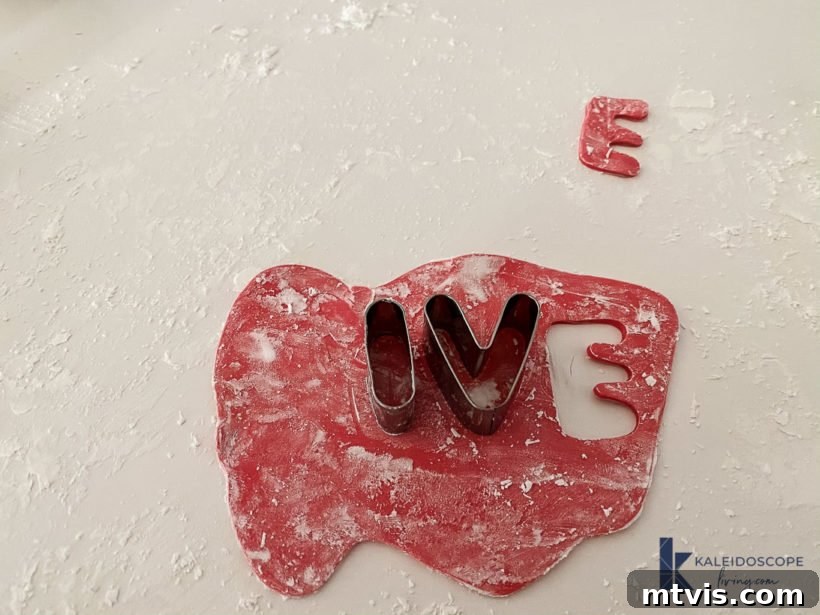
Step 5: Refine and Prepare Shapes for Baking
Once you have cut all your polymer clay shapes, carefully transfer them onto a cookie sheet lined with folded parchment paper. The parchment paper prevents sticking and ensures easy removal after baking. Before baking, take a moment to dip your finger in a little water and gently smooth out any rough edges, fingerprints, or imperfections on your clay pieces. This step also helps to remove any excess corn starch, leaving your designs clean and refined. This attention to detail now will significantly enhance the final appearance of your decorations.
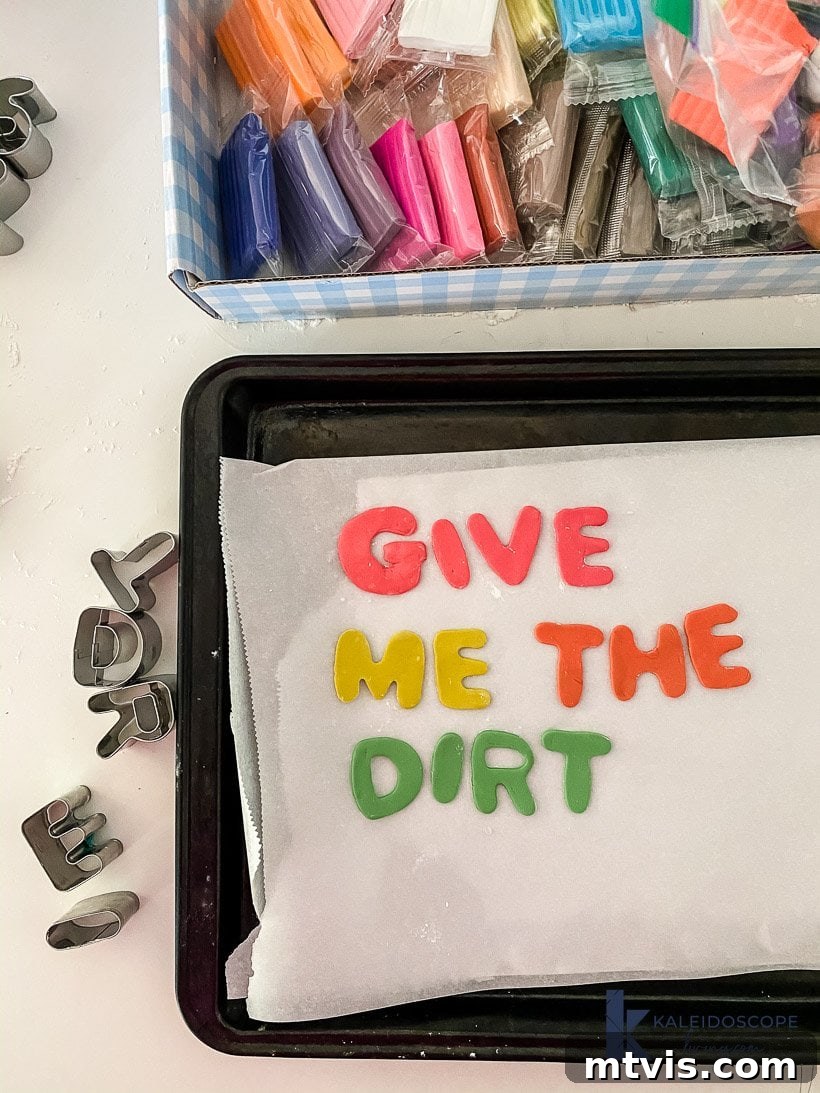
Step 6: Bake the Polymer Clay Shapes
Baking is crucial for hardening and curing your polymer clay. Always refer to the specific directions on your particular brand of polymer clay packaging, as baking times and temperatures can vary. For my chosen clay, I baked the shapes at 275 degrees Fahrenheit (135 degrees Celsius) for 10 minutes. Ensure your oven is preheated to the correct temperature. Over-baking can cause colors to fade or burn, while under-baking can leave the clay brittle. A properly baked piece will be slightly flexible but firm to the touch after cooling.
Step 7: Apply Plastic Primer for Optimal Adhesion
After your polymer clay shapes have completely cooled, you’ll notice they retain a slight flexibility—this is perfectly normal and actually ideal for conforming to the curved surface of your plant pots! Now, it’s time to prepare them for permanent adhesion. Flip each polymer clay shape over and thoroughly rub the DAP plastic primer over the entire back surface. Equally important, apply the primer to the specific areas on your plastic pot(s) where you intend to glue the shapes. This primer creates a receptive surface for the adhesive, ensuring a super strong and durable bond. Allow the primer to sit and activate for at least 1 minute, as directed, before proceeding to the next step. Do not skip this step, especially when working with plastic, as it dramatically improves glue performance.
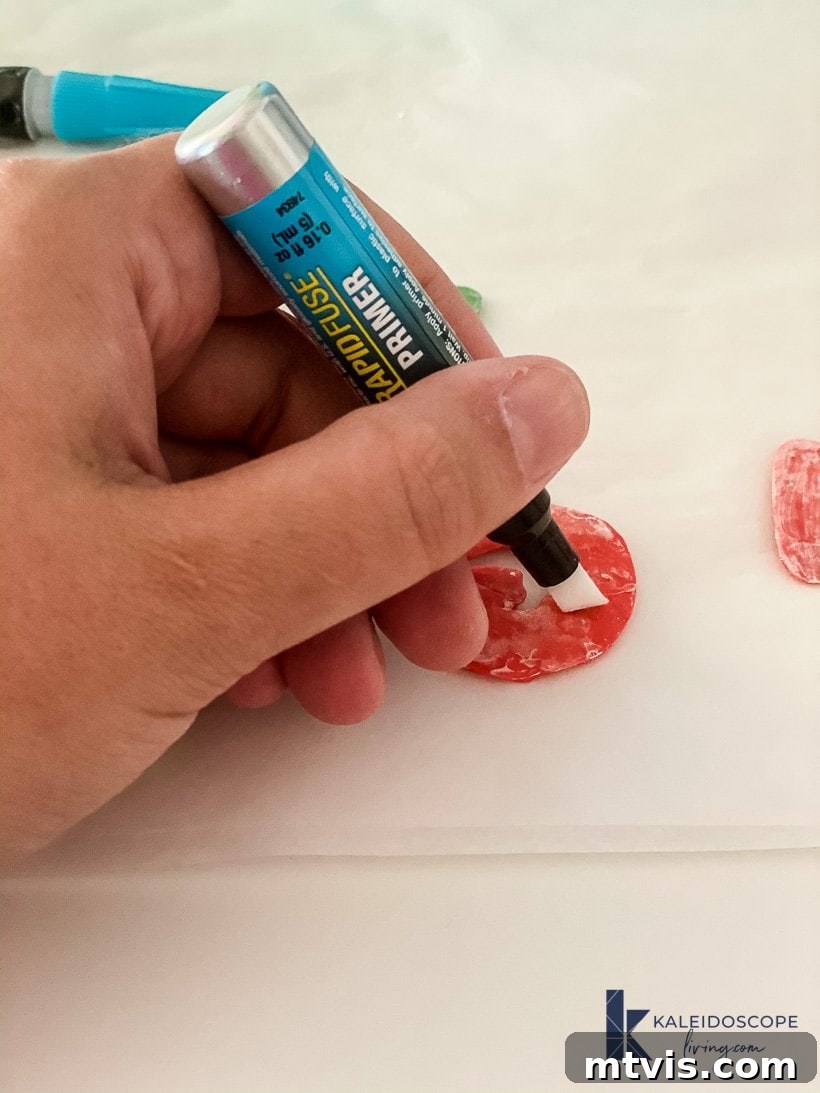
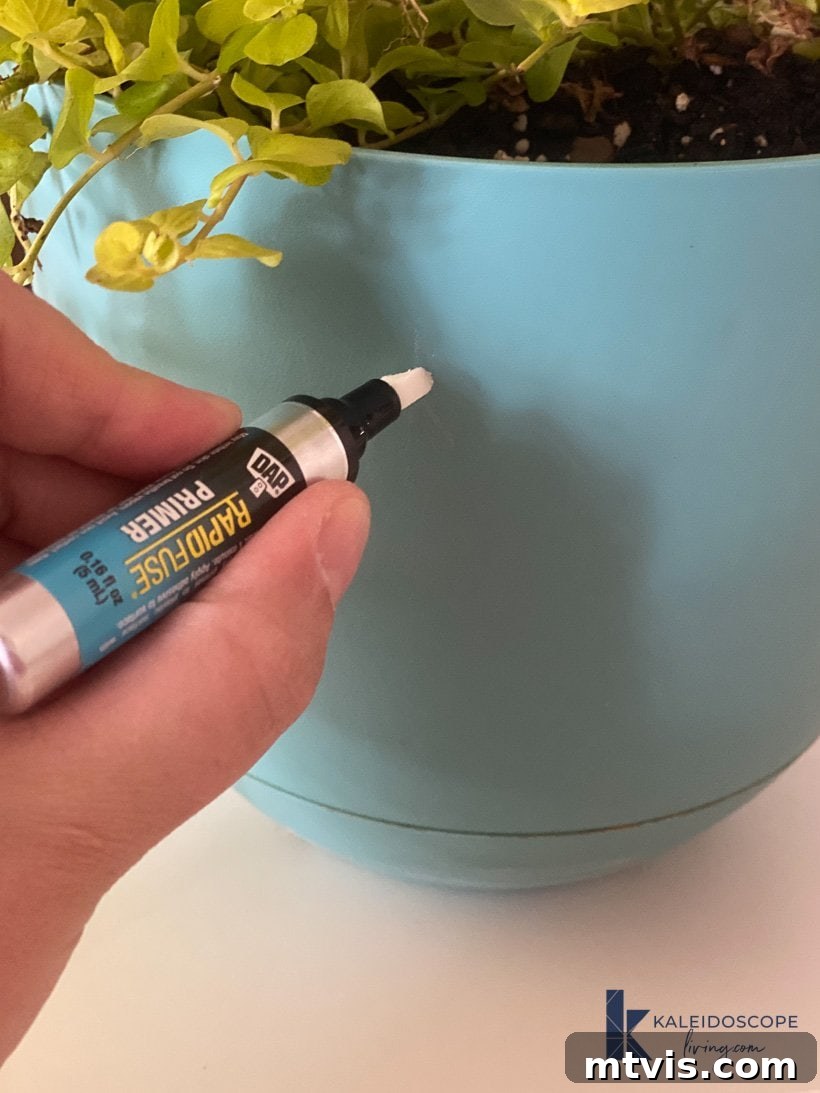
Step 8: Secure Shapes with DAP Rapid Fuse
Once the primer has set, carefully squeeze a small, even amount of your DAP Rapid Fuse adhesive all over the backside of each polymer clay shape. Position the shape precisely on the primed area of your plastic pot. Hold it firmly in place for a short period until it sets. This adhesive is incredibly fast-acting—for lightweight polymer clay pieces, it usually takes less than 30 seconds to form a strong initial bond. Repeat this process for all your shapes until your pot is decorated to your satisfaction. Work efficiently but carefully, as the glue sets quickly.
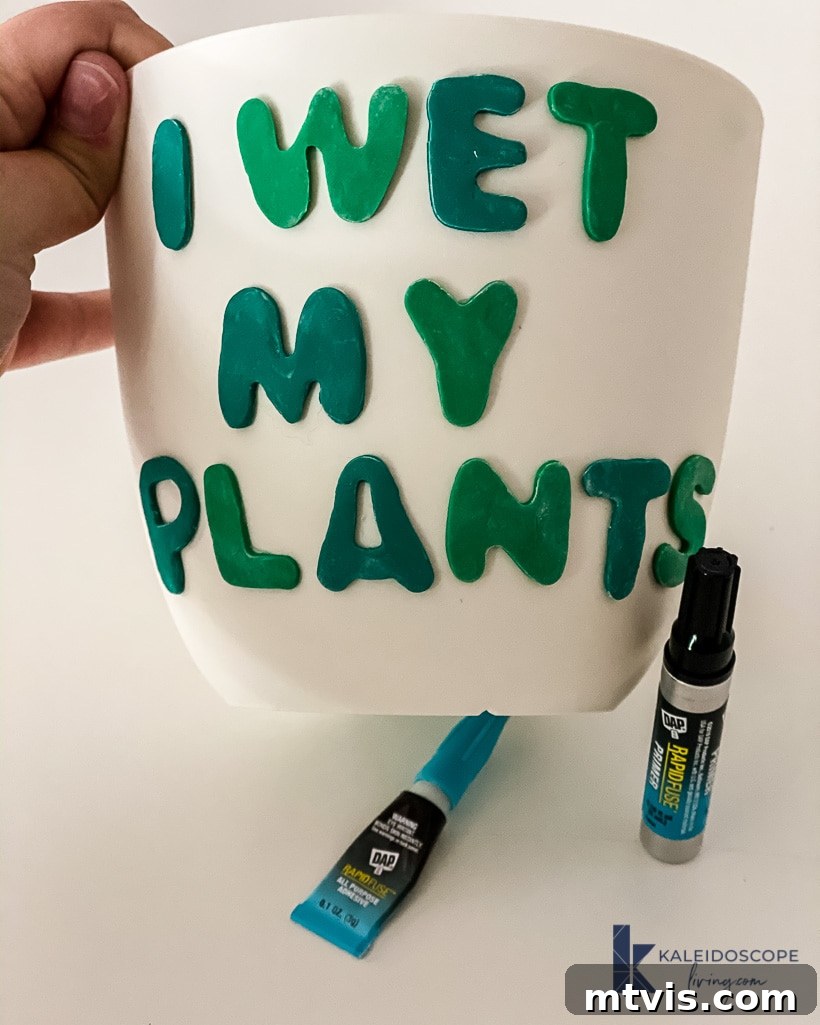
Step 9 (Optional): Sand and Wax for a Professional Finish
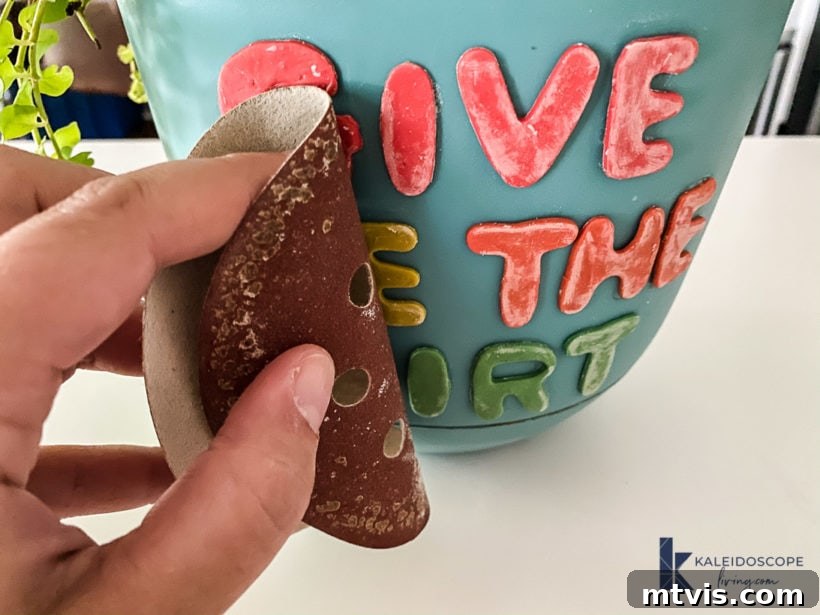
For an extra touch of polish, you can lightly sand your polymer clay shapes once they are securely attached to the pot. Use a very fine-grit sandpaper (around 400-600 grit) to gently smooth out any remaining minor imperfections or rough edges. After sanding, wipe away any dust. Then, apply a thin coat of polymer clay wax. The wax not only helps to further smooth the surface but also intensifies the color of the clay, giving your designs a beautiful, professional sheen and added protection. This step is optional but highly recommended for a truly refined look. If your pots will be used outdoors, consider an outdoor-grade sealant for maximum longevity against the elements.
That’s it! Your formerly plain plastic pots are now transformed into charming, personalized pieces of home decor. Aren’t they absolutely adorable? I’m incredibly excited to make even more of these. So far, I’ve created two, but the possibilities are endless! These decorated pots are not only fantastic for enhancing your own living space but also make for truly thoughtful and unique gifts for your plant-loving friends and family. Imagine gifting a beautiful plant in a custom-decorated pot – it’s a present with a personal touch that shows how much you care.
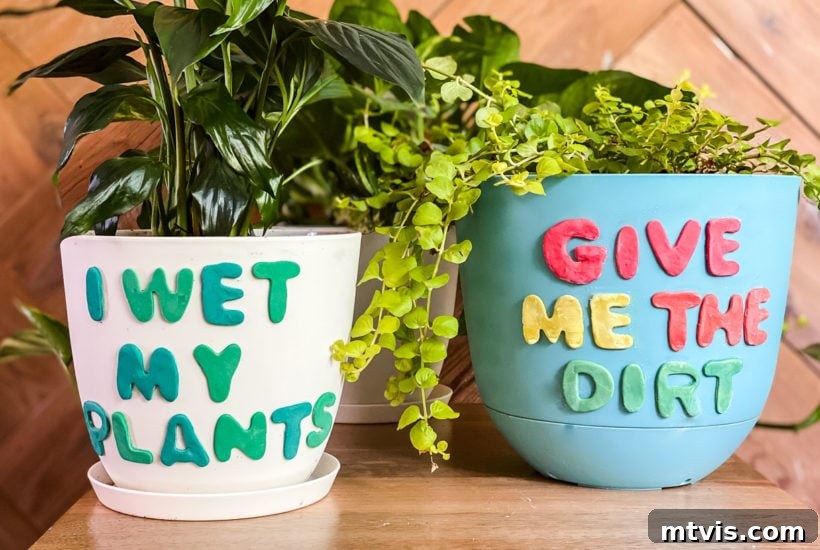
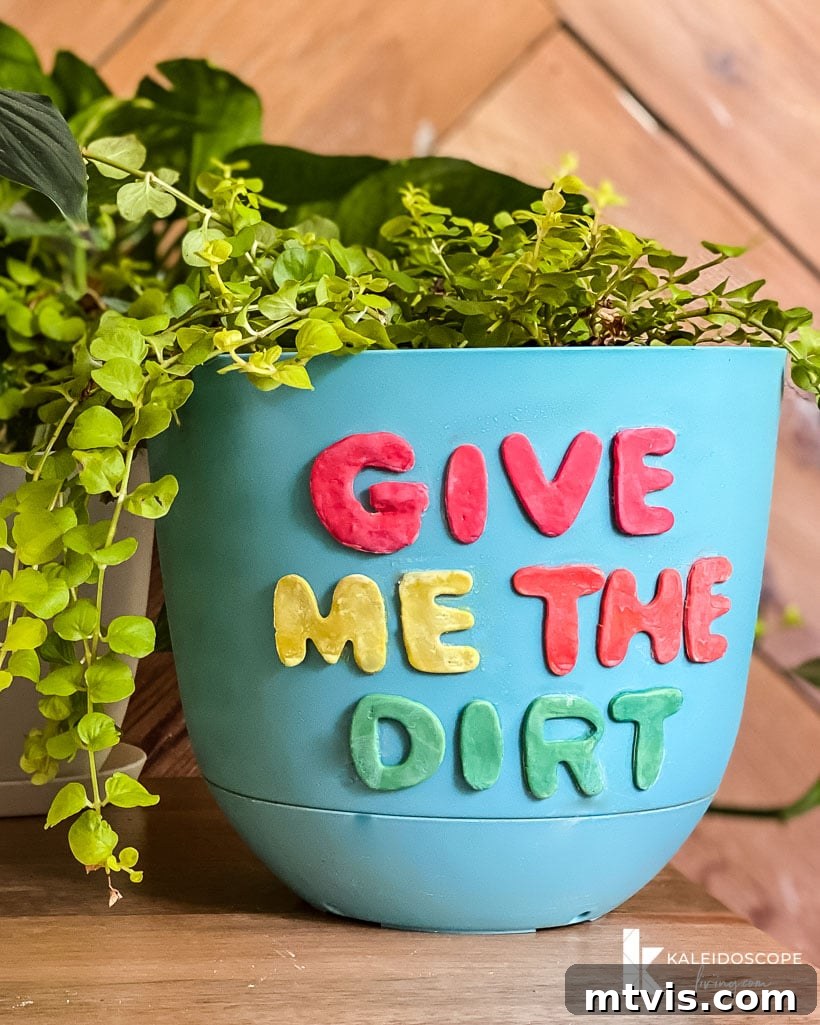
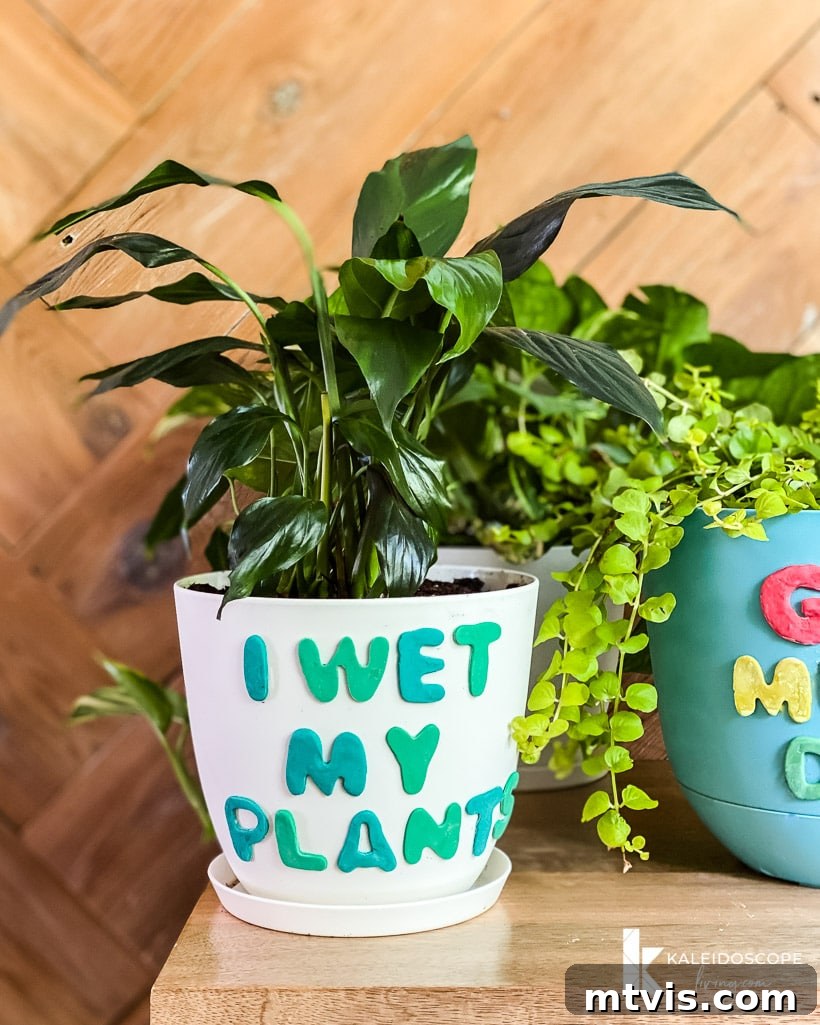
Now that I’ve unlocked the secret to decorating plant pots with polymer clay, I have a strong suspicion that my home will soon be brimming with these vibrant, custom planters. And if you happen to be a friend or a cherished loved one, please do your best to act surprised if one of these unique creations makes its way to you! This project is not just about decorating; it’s about infusing personality and charm into every corner of your home, making your space truly your own.
If you’re eager to discover more about my approach to transforming rooms and spaces within our home, I highly recommend checking out Designer in a Binder®. It’s an invaluable resource packed with practical tips and strategies to help you achieve a beautifully cohesive and stylish home design without breaking the bank. It provides a structured, simple way to tackle interior design projects, giving you the confidence to make bold and beautiful changes.
And for those who crave exclusive content, behind-the-scenes sneak peeks into my latest DIY adventures, and personal tips delivered right to your inbox, be sure to subscribe to my newsletter before you go! You won’t want to miss out on the inspiration and practical advice that can help you transform your home into a kaleidoscope of living art.
Happy crafting, and may your plants (and pots!) flourish beautifully!