
This is a sponsored conversation written by me on behalf of Schlage. The opinions and text are all mine.
Transform Your Home on a Budget: The Power of Black Interior Doors and Updated Hardware
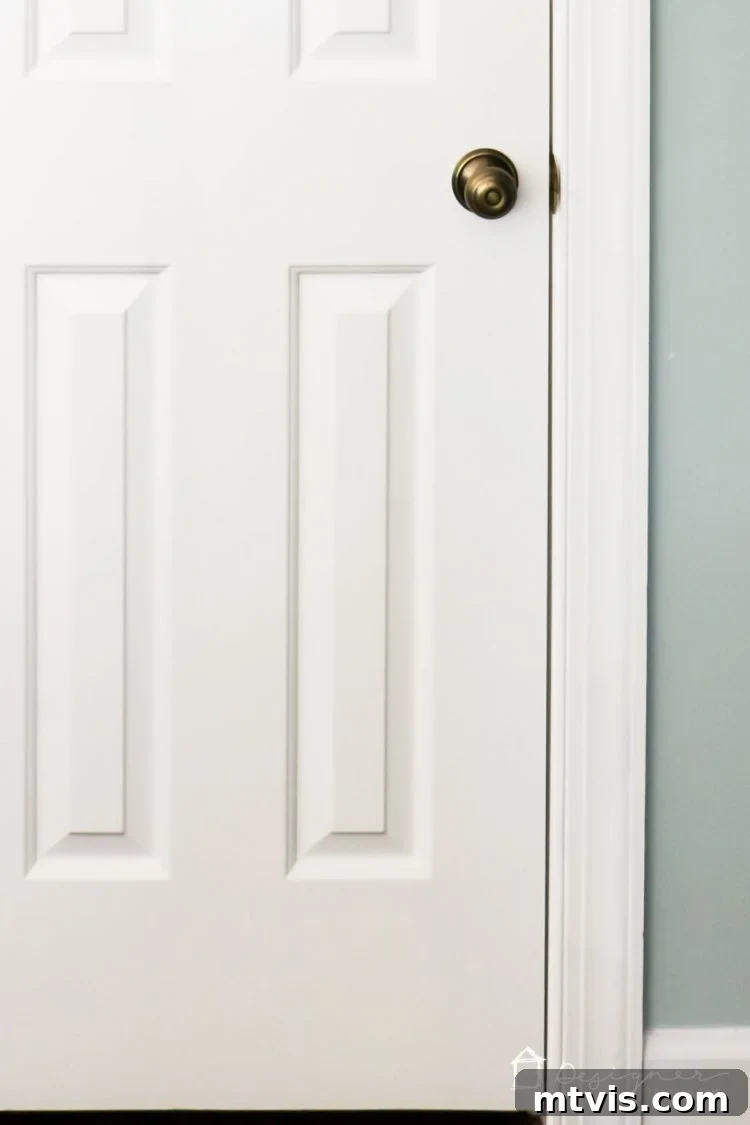
Are you looking for a high-impact, budget-friendly way to refresh your home’s interior? Many of us live in homes with outdated elements that, while not broken, certainly don’t align with modern aesthetics. Our home, built in 1986, was no exception. It featured an abundance of old, tarnished brass door knobs and uninspiring paneled doors that simply didn’t reflect our personal style. Replacing all interior doors would be a significant expense, far exceeding our current budget for home improvements.
However, we discovered an incredibly effective and affordable solution: painting our interior doors a sophisticated black and upgrading the door hardware. This DIY project is surprisingly easy to tackle and delivers dramatic results, making it an ideal choice if you’re seeking a low-investment update that can truly transform the look and feel of your living space. If you’re ready to give your home a stylish facelift, keep reading to learn just how simple it is to achieve this stunning transformation yourself.
Why Black Interior Doors Are a Game Changer for Home Aesthetics
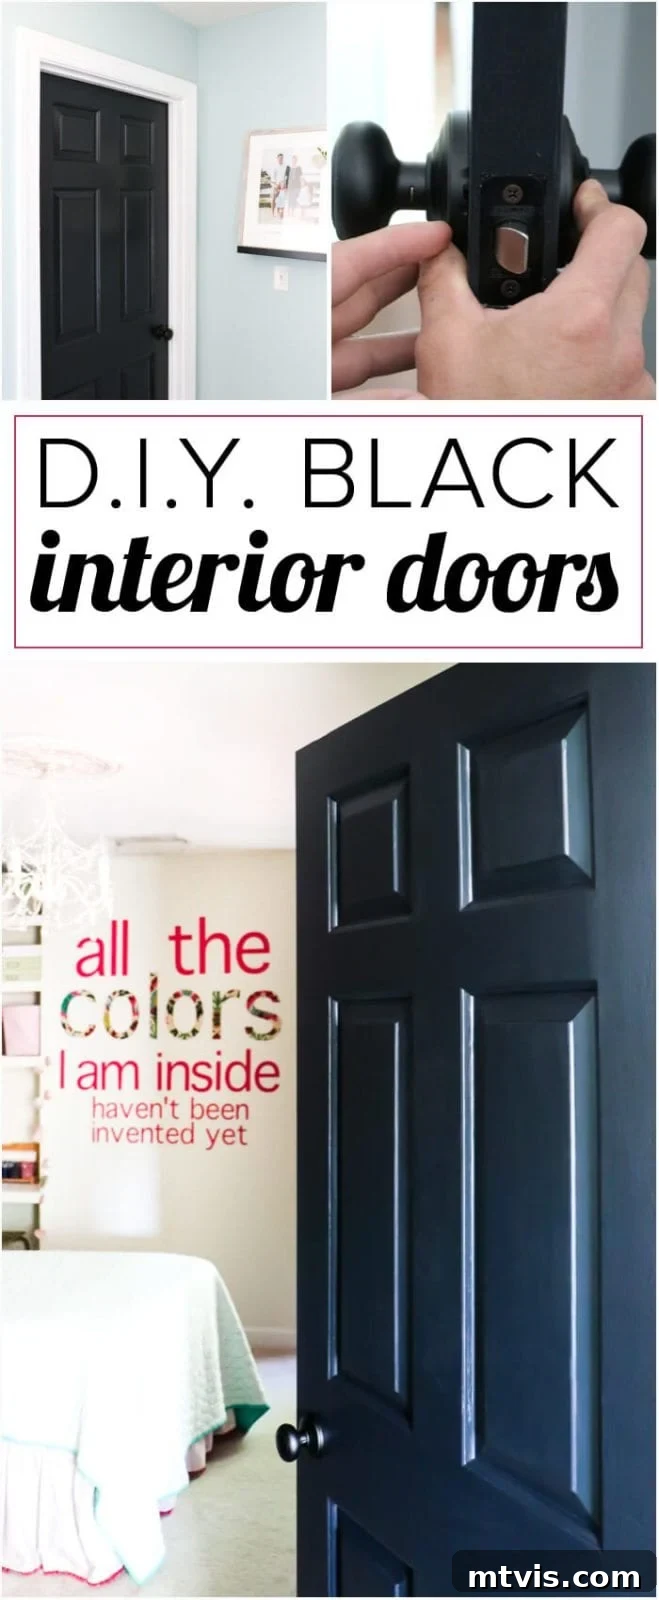
Choosing black for your interior doors might seem bold, but it’s a design choice that offers incredible versatility and visual impact. Black doors instantly introduce a sense of sophistication and modern elegance to any room. They create a striking contrast against lighter walls, making architectural details pop and adding depth to your home’s design. Far from being too dark, black acts as a powerful neutral, complementing almost any color scheme and interior style, from farmhouse chic to contemporary minimalist.
Beyond aesthetics, black doors are practical. They tend to hide fingerprints and scuffs better than lighter colors, making them an excellent choice for high-traffic areas or homes with children and pets. This durable, stylish update elevates the perceived value of your home, signaling a deliberate and tasteful design approach. It’s an easy way to achieve a custom, high-end look without the custom price tag.
The Unsung Hero: Upgrading Your Door Hardware
While painting your doors black provides the canvas, the door hardware is truly the “jewelry” that completes the look. Outdated brass, chrome, or builder-grade knobs and hinges can detract significantly from even the most beautiful doors. By replacing them with modern, stylish alternatives, you can achieve a cohesive and polished finish that ties your entire design together.
For our project, we chose Schlage door hardware, specifically their Andover style knobs and trim in an Aged Bronze finish. Schlage is renowned for its quality, durability, and extensive range of designs, ensuring there’s a perfect match for every homeowner’s taste and existing decor. The difference new hardware makes is truly astounding. We were particularly impressed with how much the updated hinges enhanced the overall look – an often-overlooked detail that contributes immensely to the final transformation. The Aged Bronze finish beautifully complements the black doors, creating a warm, inviting, yet distinctly modern appeal throughout our home.
DIY Guide: How to Paint Interior Doors Black & Update Hardware
This project is incredibly gratifying and straightforward, perfect for a weekend warrior or someone new to DIY. Here’s everything you’ll need and a step-by-step breakdown:
Materials Needed:
- New Door Knobs and Hinges: Select a style and finish that complements your home’s aesthetic. We highly recommend exploring Schlage’s extensive collection. Their Andover style knobs and trim in Aged Bronze were perfect for our black doors. Don’t forget to check out Schlage’s Style Guide for inspiration.
- Interior Black Paint: A semi-gloss or satin finish is ideal for doors as it’s durable and easy to clean. We used Valspar Kettle Black in semi-gloss, which provided a rich, elegant look.
- Foam Paint Roller: Excellent for smooth, even coverage on flat surfaces, minimizing brush marks.
- High-Quality Bristle Brush: Essential for reaching recessed areas, trim, and corners with precision.
- Screwdriver: A multi-bit screwdriver or a power drill with a Phillips head bit will make hardware removal and installation much quicker.
- Painter’s Tape (Optional): If you choose to paint doors while still hung.
- Drop Cloths or Tarps: To protect your floors and workspace from paint drips.
- Sawhorses or Sturdy Work Surface: If you remove the doors for painting.
- Cleaning Supplies: A degreaser or all-purpose cleaner to prep the door surface.
- Fine-Grit Sandpaper (Optional): For light sanding between coats or to rough up glossy surfaces.
Steps for a Flawless Transformation:
Step 1: Remove Old Hardware and Prepare Your Doors
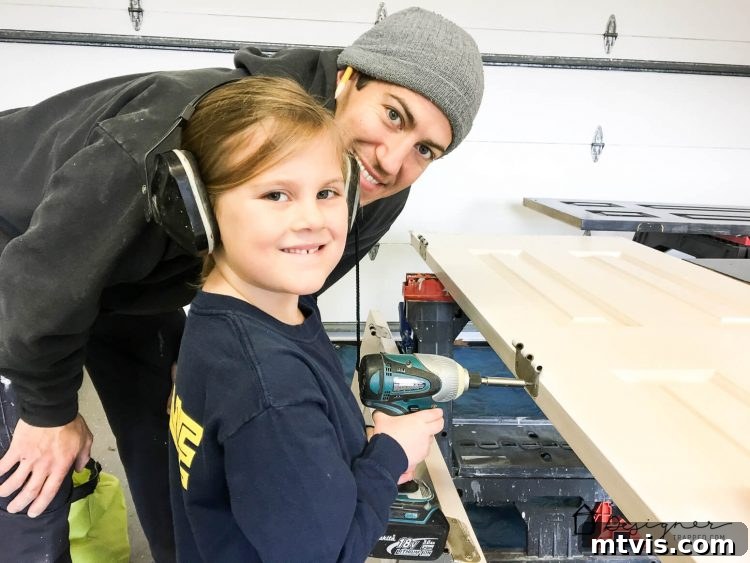
The first step is to carefully remove all existing door hardware, including knobs, latches, and hinges. We started with the bedroom and closet doors in our twin girls’ rooms, completing four doors so far. We opted to remove the doors from their frames and lay them flat on sawhorses, which makes painting all sides and edges much easier and helps prevent drips. While removing doors adds an extra step, it often results in a smoother finish. However, if time is a factor, you could try painting them while they are still hanging, using painter’s tape to protect hinges and door frames.
Once the hardware is removed, give the doors a thorough cleaning. Use a degreaser or mild soap and water to remove any grime, oils, or residues. For glossy finishes, a light sanding with fine-grit sandpaper (220-grit) can help the new paint adhere better. Wipe away any sanding dust before proceeding.
Step 2: Paint Your Doors Black
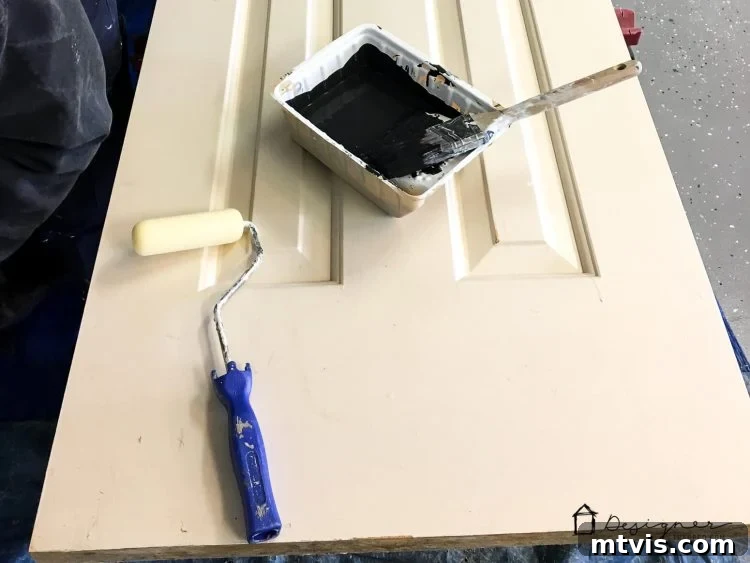
Now for the fun part! Begin by painting the recessed areas and edges of the door panels using your bristle brush. Once those intricate areas are covered, switch to your foam roller for all the flat surfaces. The foam roller helps achieve a remarkably smooth, streak-free finish. Apply thin, even coats, allowing sufficient drying time between each. Depending on the original color of your doors and the opacity of your black paint, you will likely need two to three coats for full, rich coverage. Remember, patience is key to a professional-looking result. Ensure good ventilation in your workspace while painting and drying.
Step 3: Install Your New Hinges
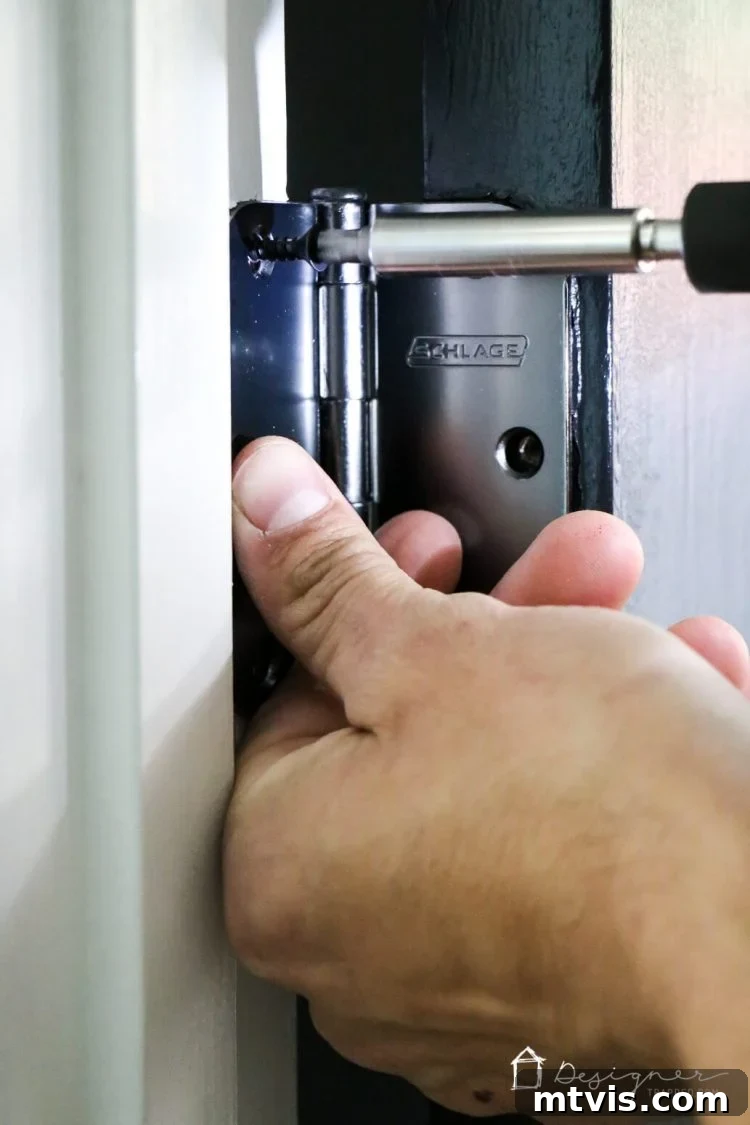
Once the paint is completely dry and cured according to the manufacturer’s instructions, it’s time to install your beautiful new hinges. We chose Schlage Aged Bronze hinges, and the transformation was immediate and impressive. It’s often surprising how much impact new hinges can have, elevating the entire door’s appearance from mundane to magnificent. Carefully align the new hinges with the pre-drilled holes in the door and frame, then secure them with the provided screws. Ensure they are installed correctly for smooth door operation.
Step 4: Install Your New Knobs
Finally, install your new door knobs. We continued with our chosen Schlage Andover style knobs in Aged Bronze. Selecting the right door knobs is like choosing the perfect piece of jewelry for your outfit – it completes the look and adds a touch of personal flair. We opted for the Aged Bronze finish because its warm, rich tone perfectly complements the deep black of the doors, creating a harmonious and sophisticated aesthetic. To ensure a cohesive look throughout your home, consider using the same style and finish of hardware on all interior doors.
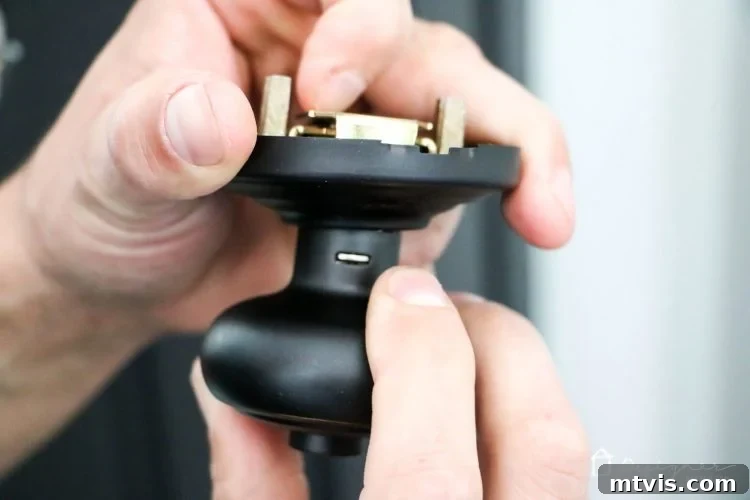
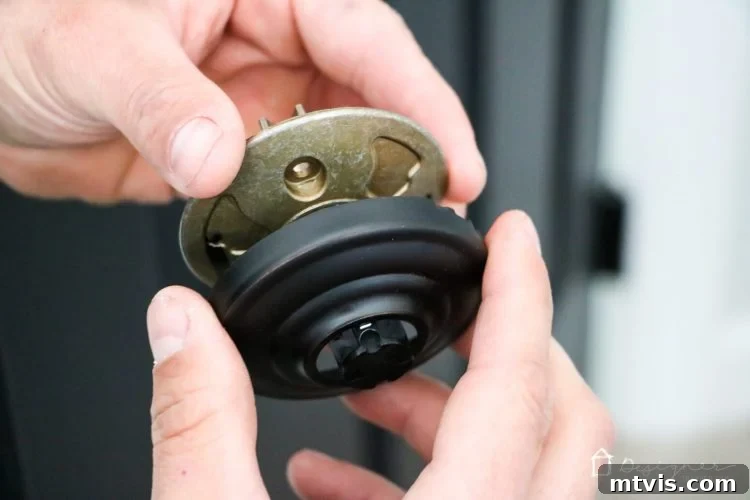
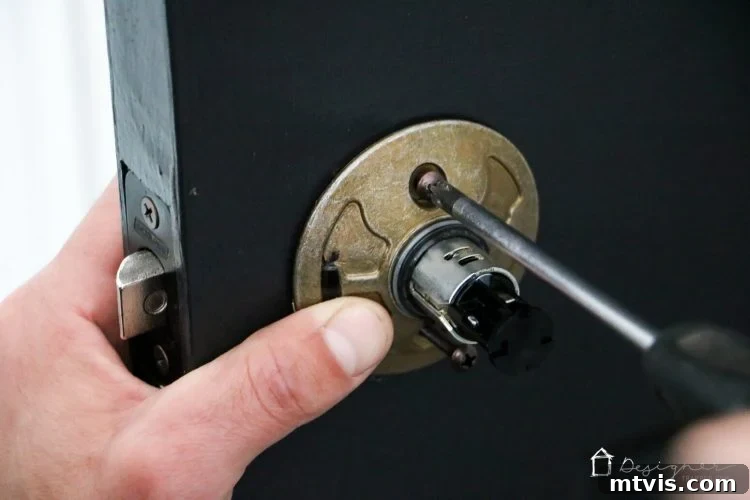
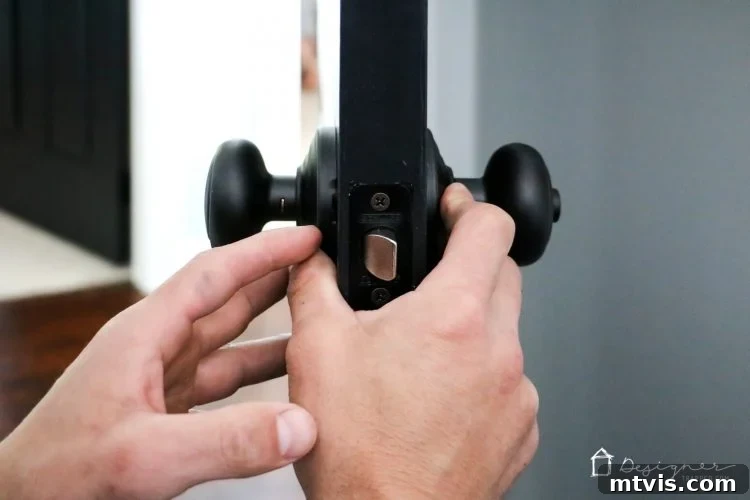
One of the many reasons we chose Schlage knobs is their thoughtful design: there are no visible screws on the installed knobs. This detail provides a much cleaner, more refined appearance. Instead, they feature a barely visible tab that, when pressed, allows you to release the knob’s collar, revealing an inner plate that screws securely onto the door. The collar then presses back into place, completely concealing the screws and offering a sleek, professional finish.
Before & After: Witnessing the Dramatic Transformation
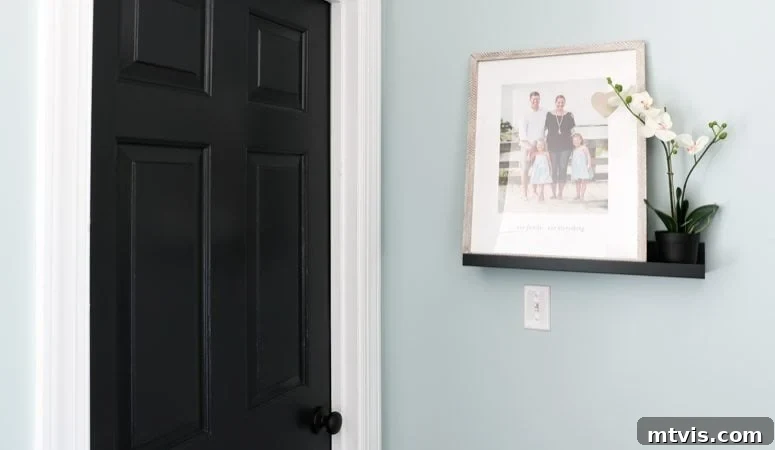
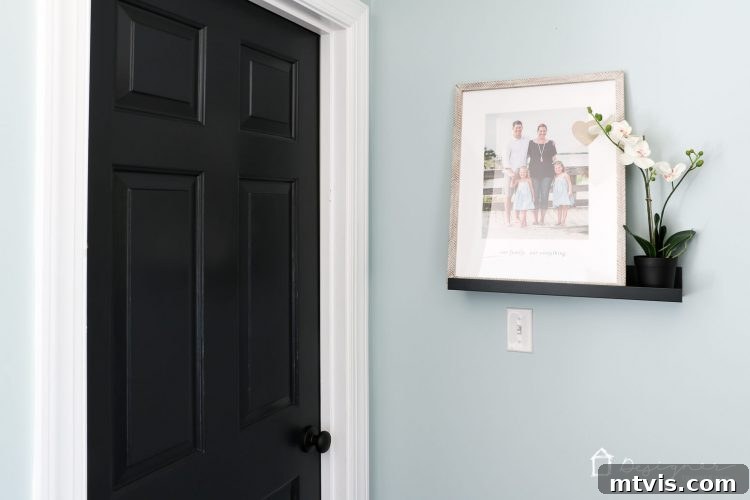
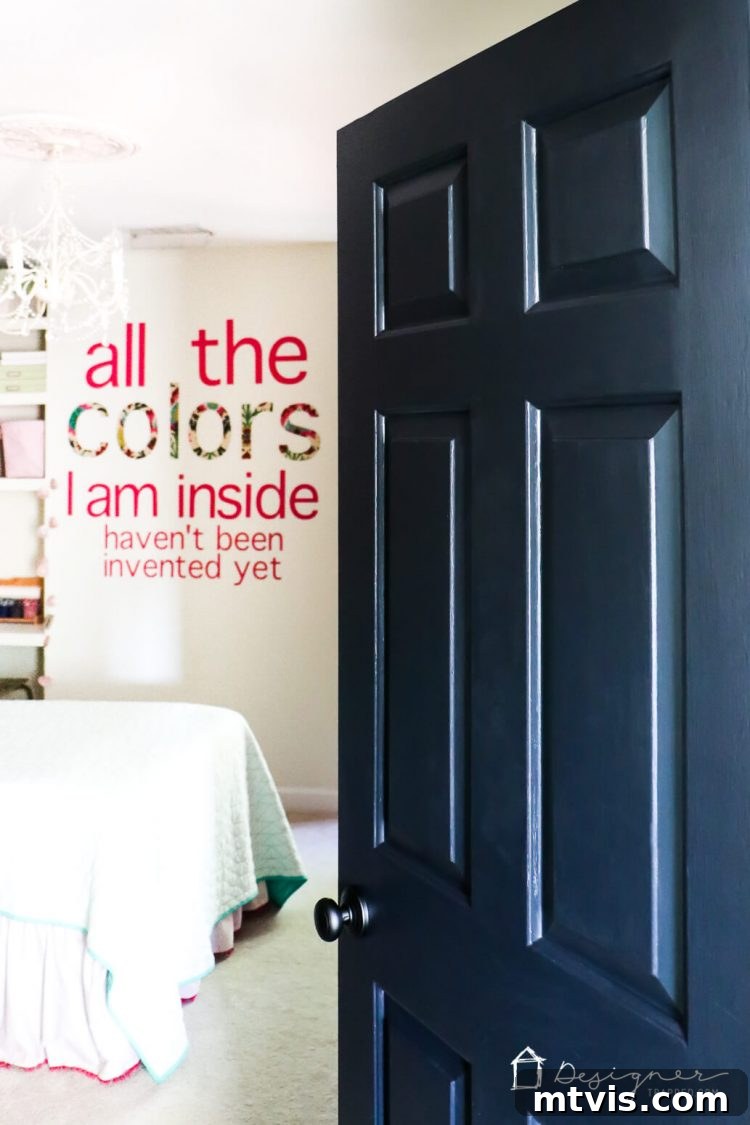
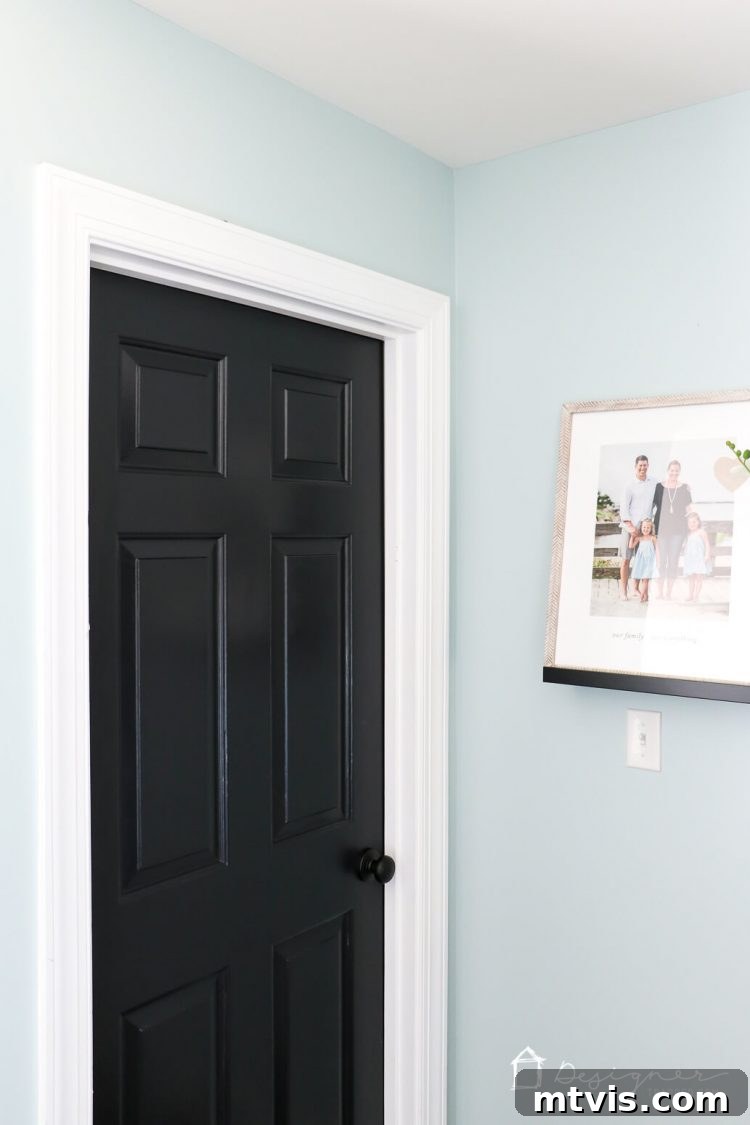
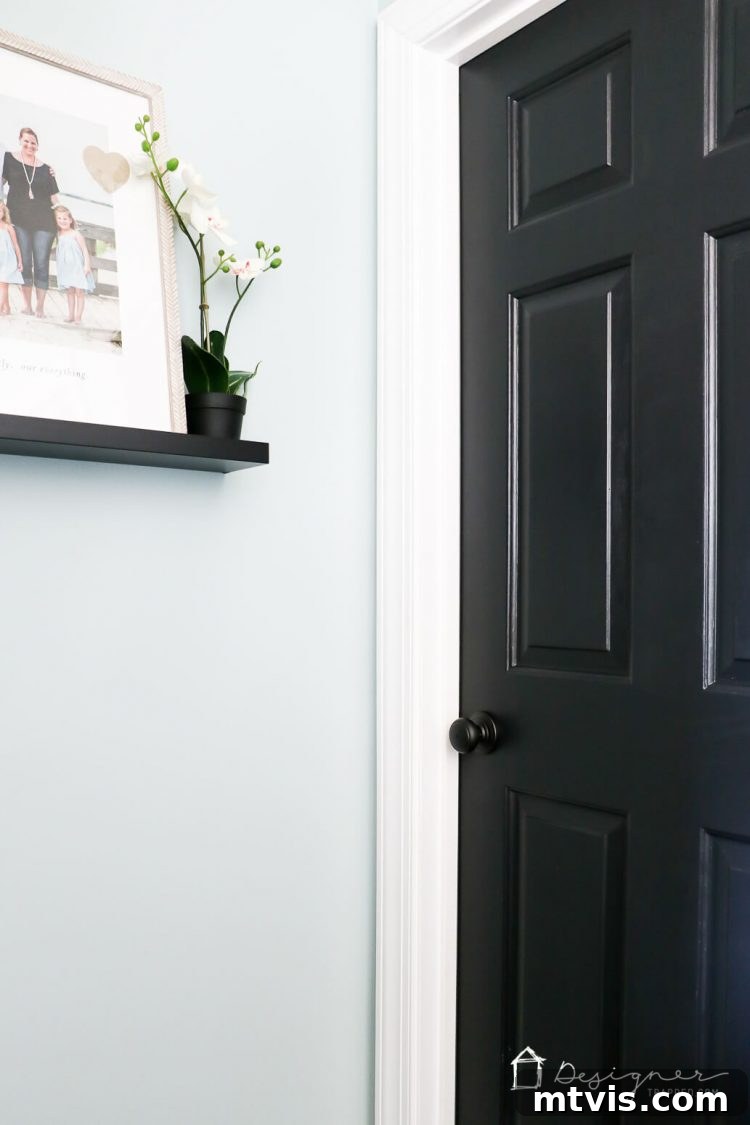
The entire process, from start to finish, is straightforward, resulting in a significant upgrade without the hefty price tag. Our black interior doors paired with Aged Bronze door knobs truly delivered a ‘wow’ factor that completely revitalized our hallways and rooms. It’s hard to believe the impact such a simple change can have!
Here’s a look at what our doors looked like before we embarked on this project, highlighting the dated appearance that desperately needed a refresh:
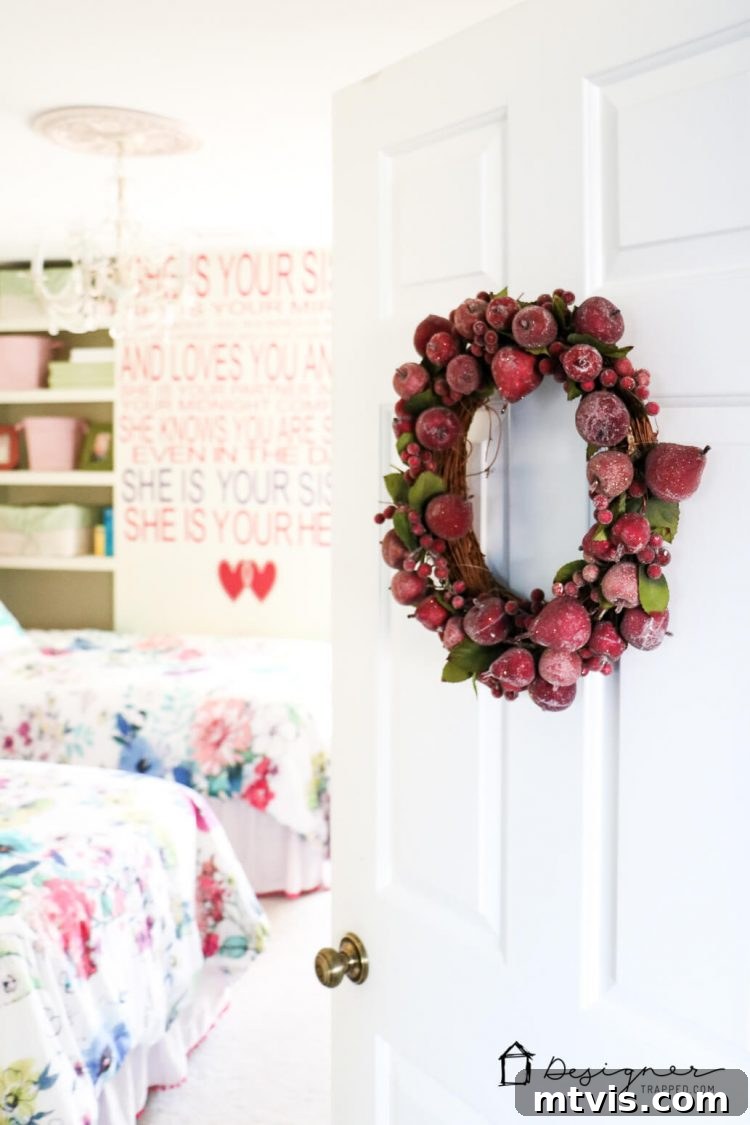
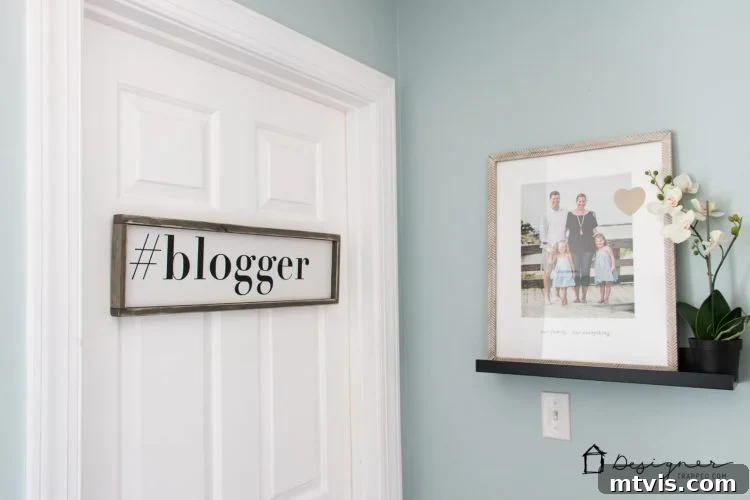
And now, behold the stunning transformation! The new black doors, accented with elegant Aged Bronze hardware, have completely modernized our home, creating a sleek and sophisticated atmosphere:
The Lasting Impact of a Simple Home Upgrade
Our doors now boast a contemporary elegance that aligns perfectly with our evolving home style. This project has not only updated the aesthetic but also added a sense of continuity and thoughtful design throughout our living space. The best part? This interior update can be tackled at your own pace. We plan to work our way through all the remaining doors in our home, fitting it in whenever our schedule allows and between other DIY home improvement projects. It’s a manageable task that yields incredibly rewarding results.
If you’re seeking to refresh your home with a stylish, affordable, and impactful DIY project, painting your interior doors black and upgrading your hardware is an excellent choice. The combination breathes new life into your space, making it feel more modern, cohesive, and custom-designed. For more inspiration on door styles and hardware options that can elevate your home, be sure to connect with Schlage on their social media channels. You can find them on Facebook, Instagram, Twitter, and Pinterest.
Embark on this simple yet powerful home improvement journey and enjoy the sophisticated upgrade it brings to your living environment!