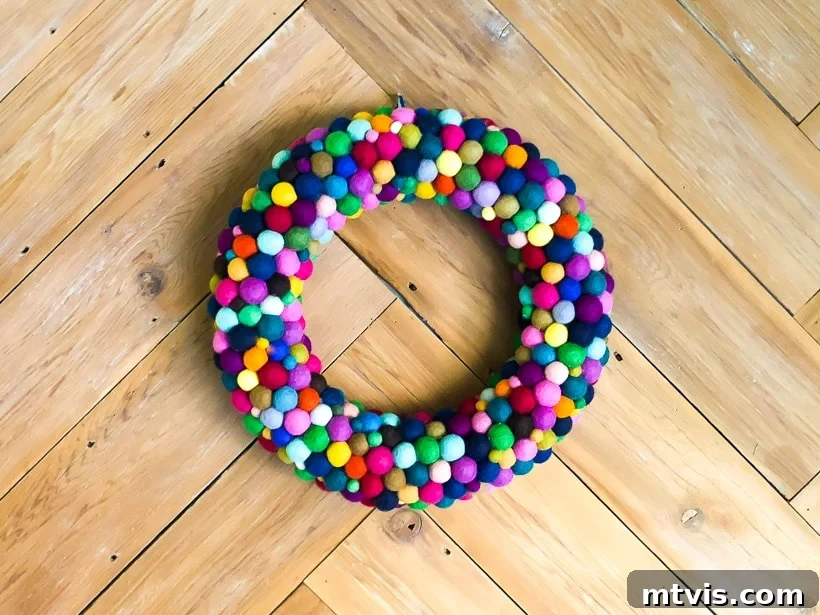
If your heart beats for vibrant hues and joyful accents in your home, then you’re going to adore this delightful DIY felt ball wreath! Crafted from an array of colorful felt balls, this project is not only incredibly charming but also wonderfully simple to create. Forget bland, off-the-shelf decorations; this tutorial empowers you to infuse your space with personalized, eye-catching charm. Dive into our easy-to-follow guide and prepare to add a magnificent splash of color to your home with your very own handmade felt ball wreath!
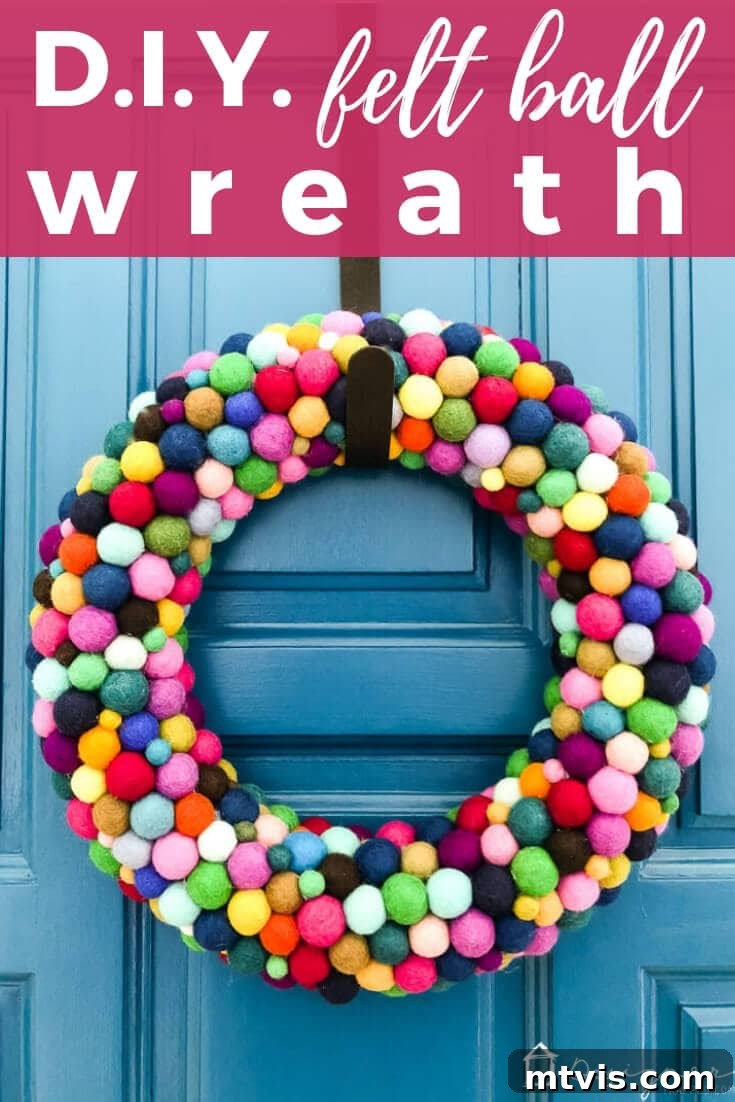
Why Choose a DIY Felt Ball Wreath? Infuse Your Home with Personalized Color
For those who frequent my blog, it’s no secret that I have an unwavering passion for color in all its glory. This love for a vibrant palette often leads to disappointment when I’m searching for seasonal or holiday wreaths in stores. Standard selections often lack the dynamic burst of color and unique charm I crave, which is precisely why I ventured into making my own DIY pom-pom wreath. That particular project turned out perfectly for Fall and Winter, and I’m still absolutely captivated by its whimsical appeal.
This year, as I planned to elevate my Christmas decor with an even richer array of colors beyond the traditional red, white, and green, I knew a store-bought wreath simply wouldn’t suffice. The solution was clear: create my own! This allowed me complete freedom to design a wreath as vivid and unique as my imagination desired, ensuring it perfectly complemented my vision for festive cheer.
While my previous DIY pom-pom wreath was undoubtedly fun to create, it was quite a time-intensive endeavor. In contrast, this DIY felt ball wreath project is remarkably quick and straightforward, making it an ideal choice for crafters looking for a high-impact, low-effort decoration. Read on to discover just how easy it is to craft your very own vibrant felt ball masterpiece.
This post contains some affiliate links for your convenience. Click here to read my full disclosure policy.
DIY Felt Ball Wreath Tutorial: Your Guide to Crafting a Colorful Masterpiece
Ready to embark on this delightful crafting journey? This section provides a comprehensive, step-by-step tutorial designed to guide you through creating your stunning felt ball wreath with ease. Gather your materials, prepare your workspace, and let’s bring some vibrant cheer into your home!
Gathering Your Materials: What You’ll Need for Your Felt Ball Wreath
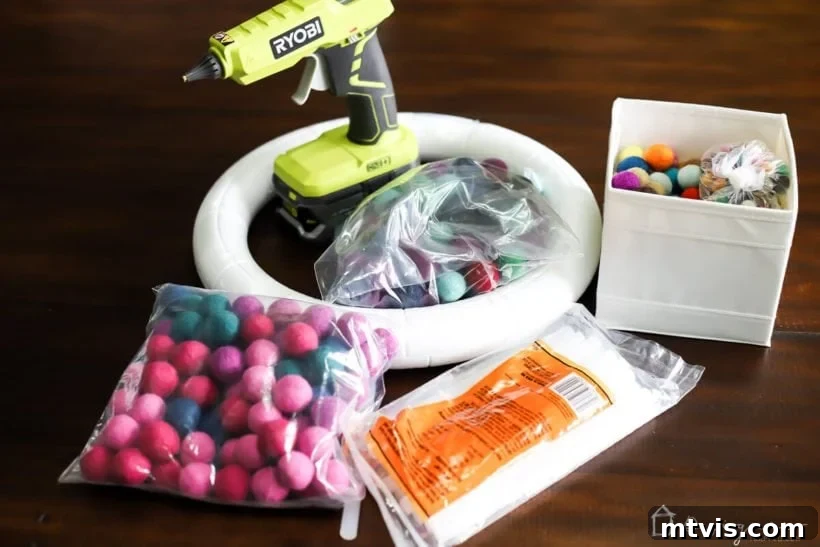
Before you begin, ensure you have all the necessary supplies. Investing in quality materials can make a significant difference in the final look and durability of your felt ball wreath. Here’s a detailed list of what you’ll need:
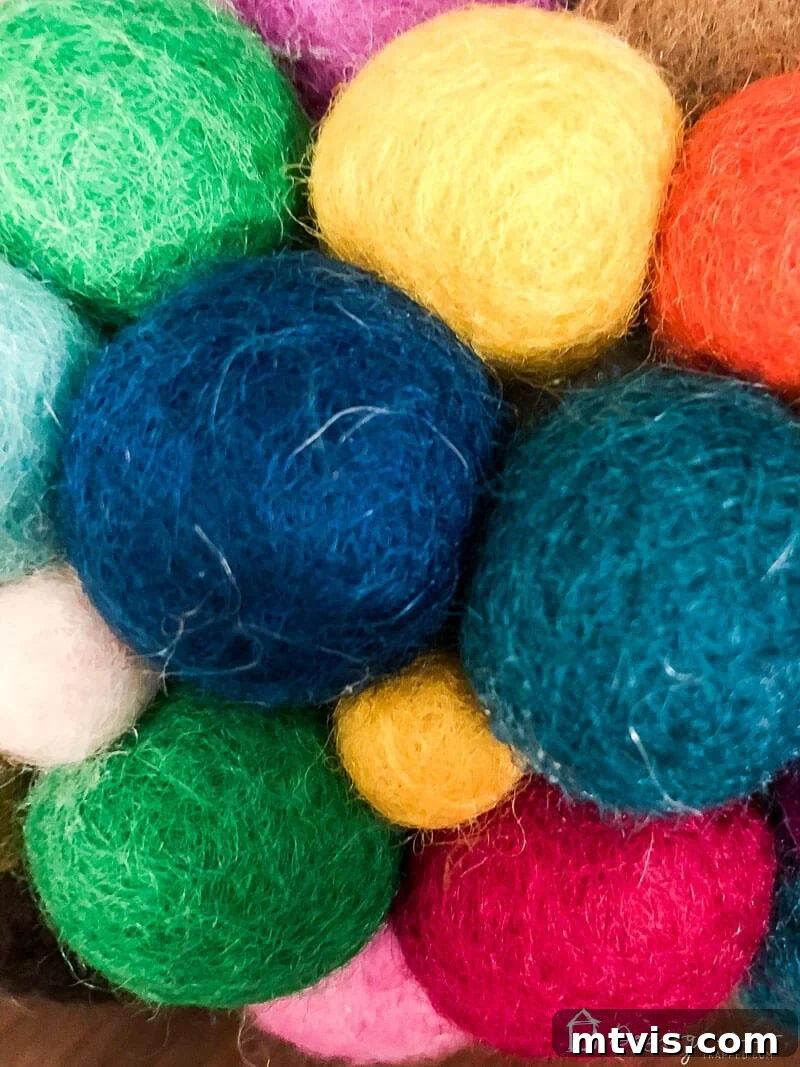
- Felt Balls: The stars of our project! I utilized approximately 170 2cm felt balls sourced from this shop. These larger balls will form the primary texture and color base of your wreath. To fill in any smaller gaps and add depth, I also used about 30 10mm felt balls from this versatile variety pack. Choosing a diverse color palette is key to achieving that vibrant, fun look. Consider mixing brights with pastels, or selecting colors that complement your existing home decor or a specific holiday theme.
- 14-inch Foam Wreath Form: This lightweight and easy-to-work-with base provides the perfect foundation for your felt balls. A 14-inch form is versatile for many spaces, but feel free to adjust the size to fit your specific needs. Foam forms are ideal because they are easy to pierce with hot glue and relatively inexpensive.
- Hot Glue Gun: A reliable hot glue gun is essential for securely attaching your felt balls. I personally recommend this model, which has been a fantastic upgrade from the basic one I used for years. A good glue gun heats up quickly, maintains a consistent temperature, and has a comfortable grip for extended use.
- Hot Glue Sticks: Stock up! You’ll need a generous supply of hot glue sticks to cover your entire wreath form. Clear, all-purpose glue sticks are usually best, as they dry transparently and won’t detract from your felt balls’ vibrant colors.
- Ribbon: Choose a sturdy and aesthetically pleasing ribbon for hanging your finished wreath. Consider a color or pattern that either contrasts boldly with your felt balls or harmonizes subtly, depending on the look you’re going for. The length will depend on how low you wish your wreath to hang.
Step-by-Step Instructions: Crafting Your Felt Ball Wreath
This engaging DIY project is not only satisfying but also incredibly straightforward. The short video below offers a concise overview of the entire process, allowing you to visualize each step before you begin. Following the video, you’ll find comprehensive written instructions to ensure every detail is covered for your crafting success.
Let’s get started on creating your beautiful felt ball wreath:
1) Attaching the Larger Felt Balls for Full Coverage: There’s no complex trick to starting this project; simply grab your hot glue gun and begin applying the larger 2cm felt balls to your wreath form. Apply a modest dab of hot glue to one side of each felt ball, then firmly press it onto the foam wreath form. Hold it in place for a few seconds to allow the glue to cool and set securely. You’ll repeat this step numerous times, ensuring each ball is placed closely next to its neighbors to create a dense, full appearance. For this initial phase, your goal is to cover the entire visible surface of your wreath form with these larger felt balls. You’ll find this step progresses surprisingly quickly, making visible progress almost instantly!
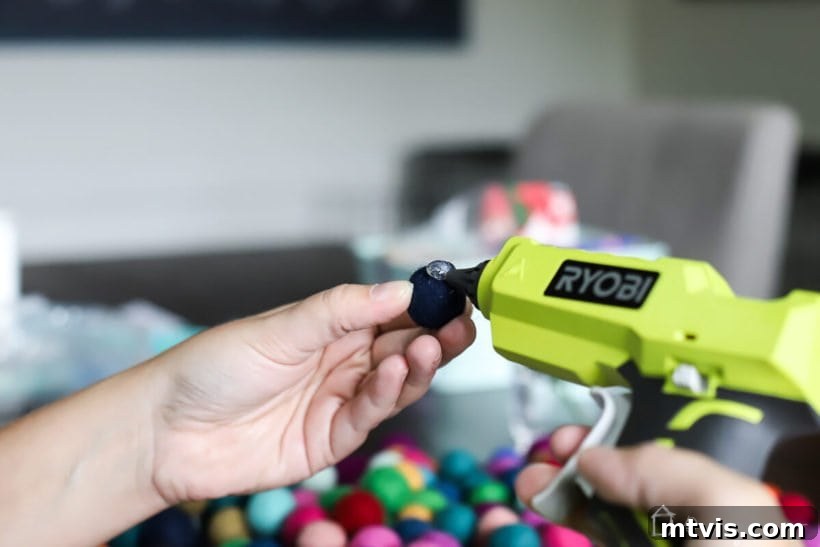
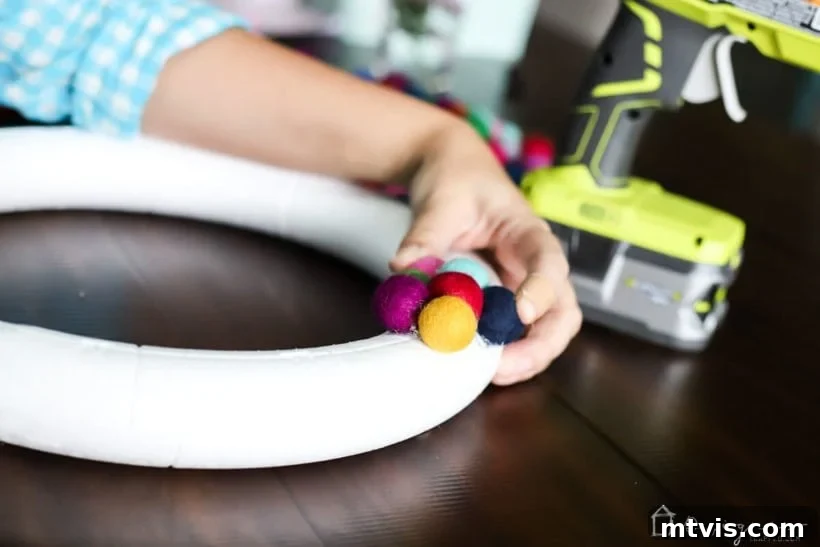
A crucial tip for this stage is to lay your wreath form flat on your work surface. This allows you to easily identify which areas need coverage while deliberately leaving the very back of the wreath uncovered. By doing so, your finished felt ball wreath will sit flush and elegantly against the wall or door where it will eventually hang, creating a polished and professional look.
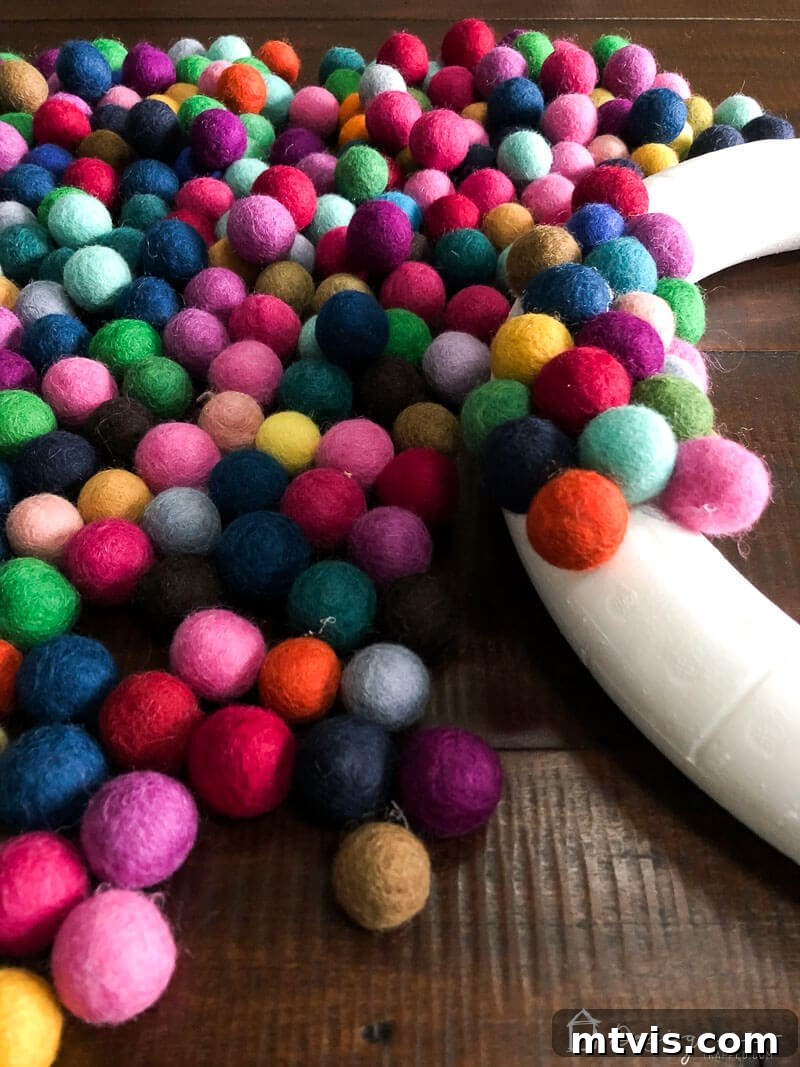
Once the front and sides of your wreath form are substantially covered with the larger felt balls, gently flip your wreath upside down. This position makes it much easier to access and meticulously fill in any remaining bare spots along the sides and inner/outer curves, ensuring a complete and seamless appearance from every angle.
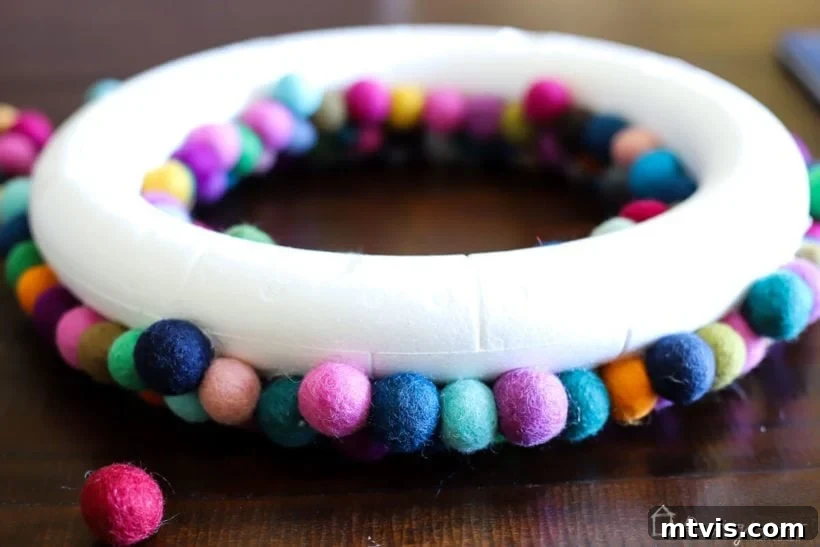
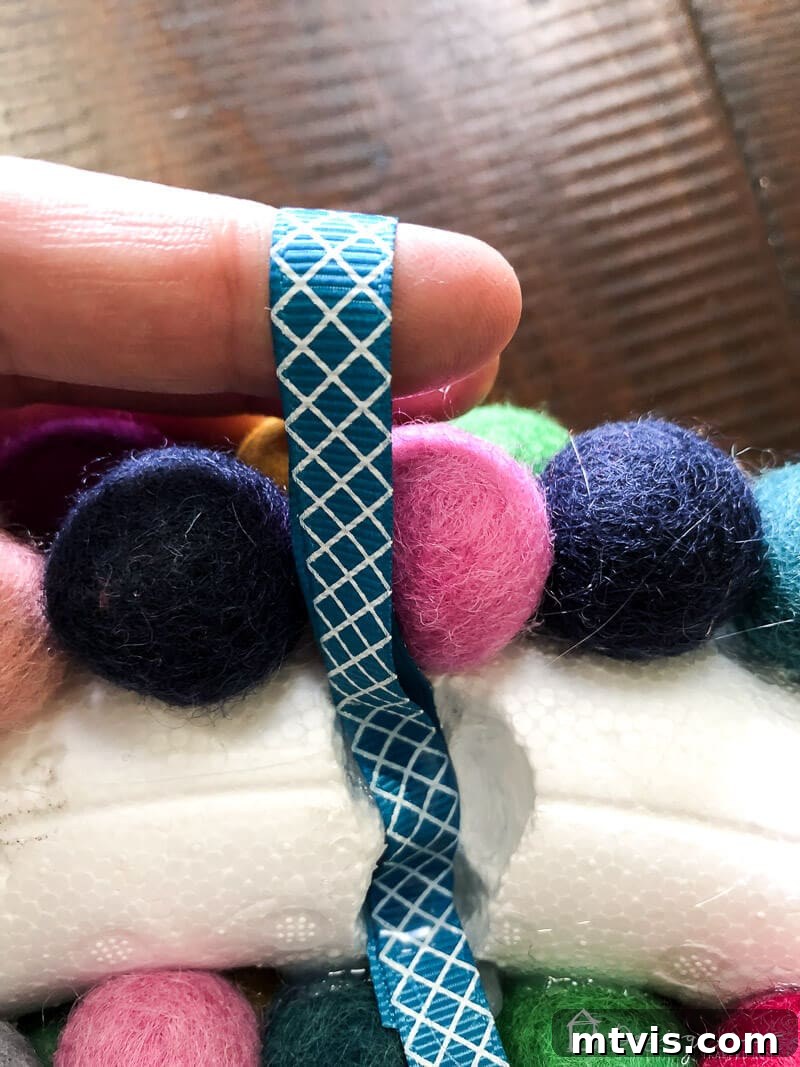
Upon completing this step, the back of your wreath should resemble the image below. Notice that the felt balls generously cover the inside and outside curves, creating a lush, rounded profile. However, the very flat back surface remains uncovered, which is intentional for ensuring a snug fit against your chosen hanging surface.
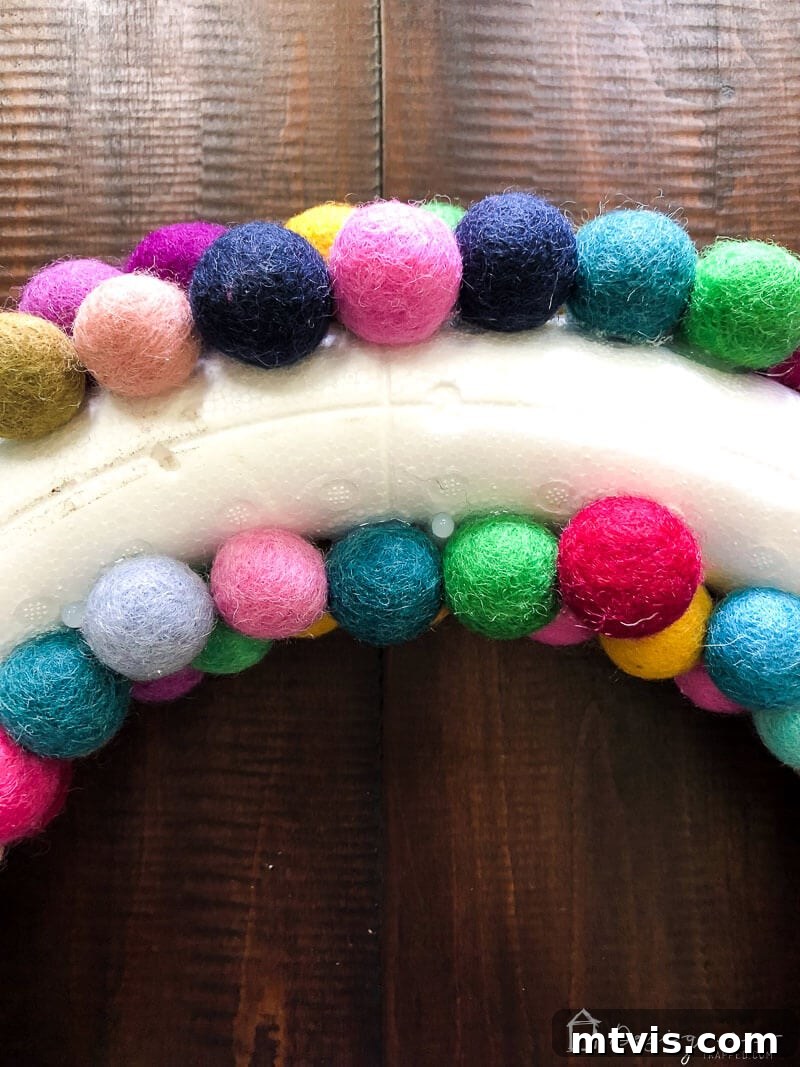
2) Filling in Gaps with Smaller Felt Balls: Once the primary coverage with your larger 2cm felt balls is complete and the visible portion of your wreath form is mostly adorned, take a moment to carefully inspect your work. Look for any small gaps where the white foam of the wreath form might still be peeking through. This is where your smaller 10mm felt balls come into play! Using your hot glue gun, carefully apply these smaller balls into any remaining crevices. This step is crucial for achieving a perfectly full, dense, and professionally finished look, ensuring no unsightly bare spots detract from your colorful creation. These tiny felt balls add an extra layer of texture and richness, enhancing the overall aesthetic.
3) Attaching the Hanging Ribbon: With all your felt balls securely in place, the final structural step is to add a reliable method for hanging your beautiful creation. Cut a desired length of your chosen ribbon (consider doubling it for extra strength if needed). Apply a generous amount of hot glue to the bare back of your wreath, specifically where you want the ribbon to be anchored. Press the ends of your ribbon firmly into the hot glue, holding them in place until the glue completely cools and sets. This ensures a secure loop for hanging your wreath from a nail or hook.
CAUTION: Be aware that if your hot glue gun operates at a very high temperature, like mine does, it might cause the foam wreath form to slightly melt upon contact. Don’t fret if this happens! The good news is that the ribbon will still adhere robustly, and since this area faces the wall, nobody will ever see it. Just ensure the ribbon is firmly attached for long-lasting display.
Behold Your Masterpiece: The Finished Felt Ball Wreath!
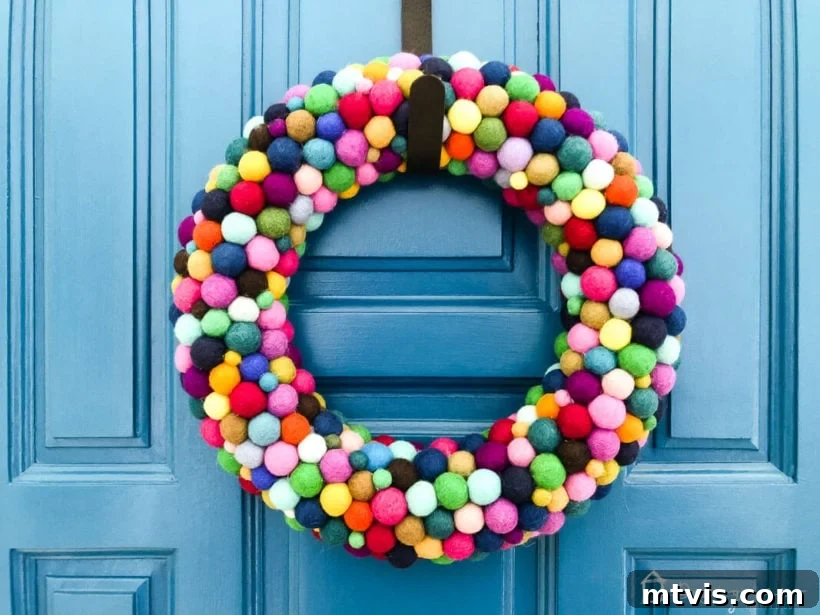
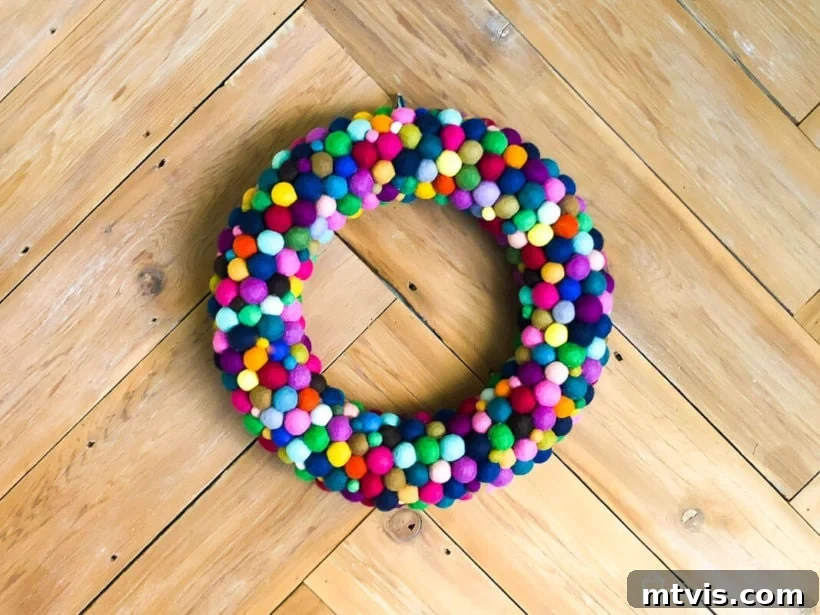
That’s it! Your stunning, vibrant DIY felt ball wreath is complete! Take a moment to admire your handiwork. I am absolutely head-over-heels in love with how mine turned out. The sheer volume of color and the delightful texture it adds are simply captivating. This wreath is truly a testament to the power of handmade decor. I can hardly wait to reveal where this gorgeous piece will find its home within our Christmas decor this year, but you’ll have to stay tuned to see the grand reveal!
What do you think of this colorful creation?!
More Seasonal Posts & Decor Inspiration
SEE ALL HOLIDAY POSTS
-
The Most Realistic Faux Garlands for 2025
-
Stunning Light-Up Paper Snowflake Lanterns
-
How to Decorate Bedroom Doors to Look Like Apartment Doors
-
DIY Santa Sacks Your Kids Will LOVE!
-
Magical Light-Up Paper Christmas Lanterns
-
Inspiring Front Porch Christmas Decorations & Tips
Transform Your Home Decor with Confidence!
Wondering how to approach transforming rooms and spaces in your home with a coherent and stylish vision? Be sure to check out Designer in a Binder®. It’s an innovative, simple, and affordable system designed to empower you to decorate your home like a pro, guiding you through every step of the design process.
Stay Inspired and Get Exclusive Content!
For even more exclusive content, behind-the-scenes sneak peeks, and fresh DIY ideas directly to your inbox, don’t forget to subscribe to our newsletter before you leave!